Getac Technology PHS8-PP WWAN Module User Manual PS336
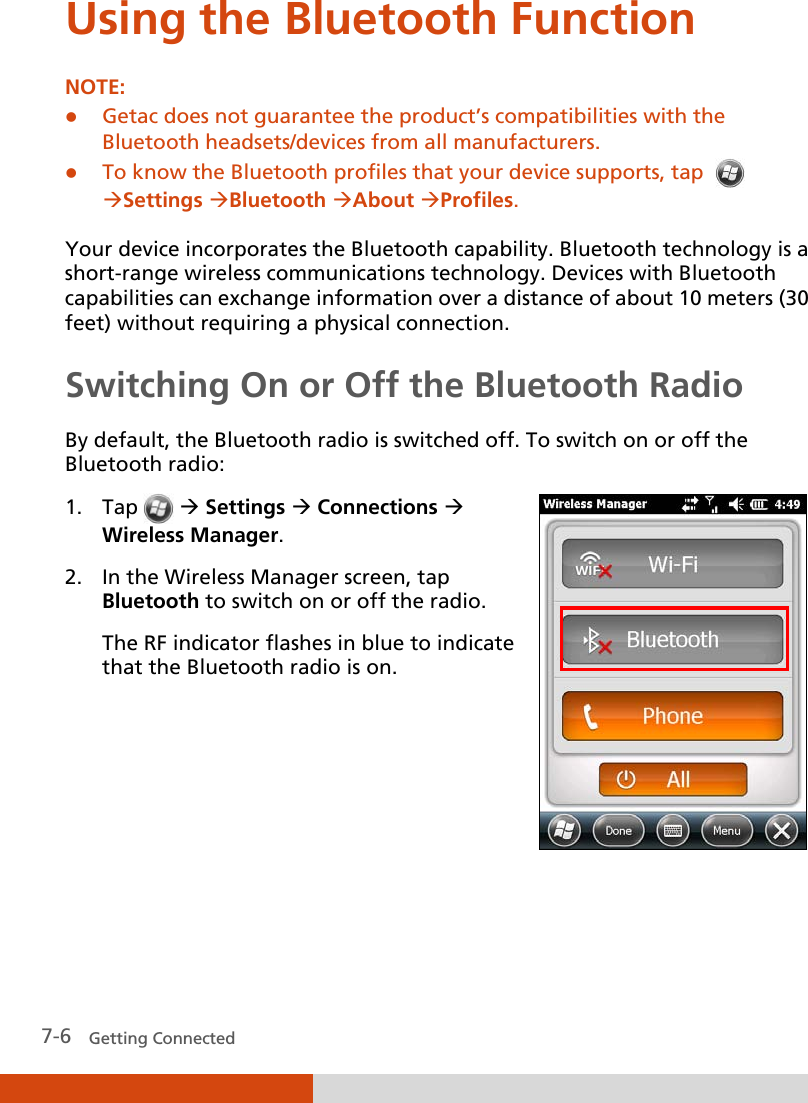
Getac Technology Corporation WWAN Module PS336
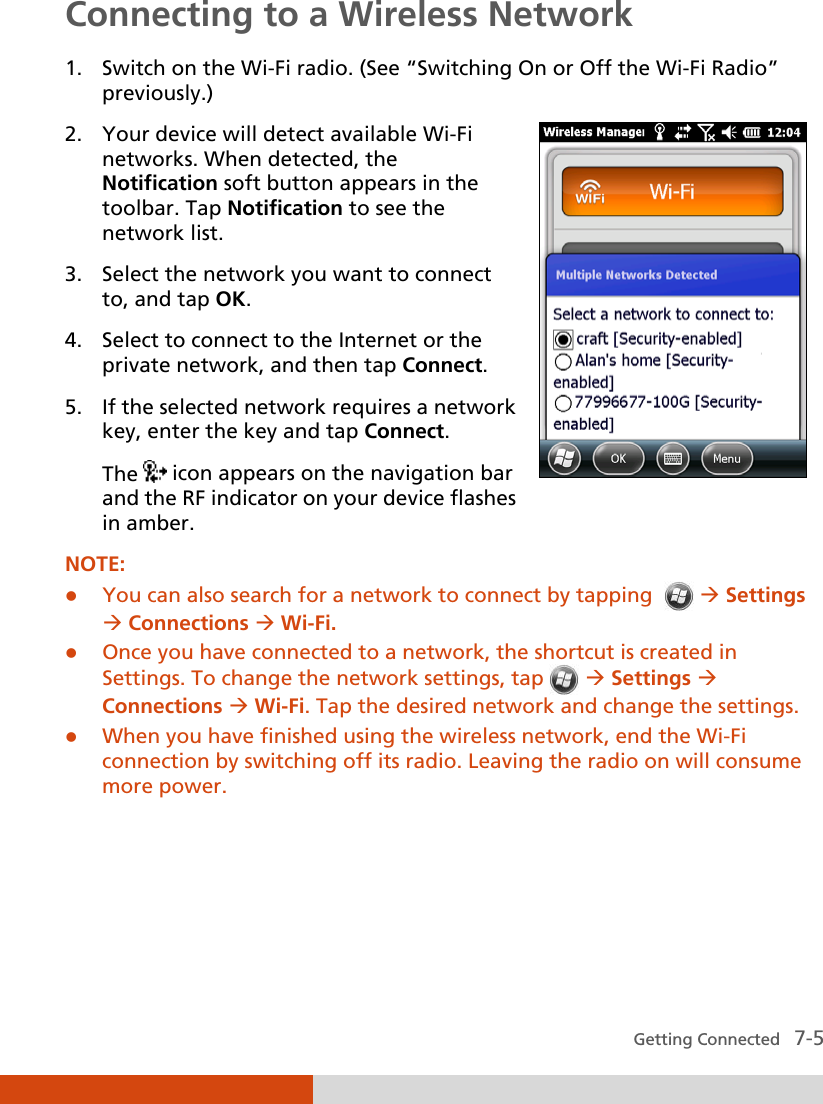
UserManual.wiki
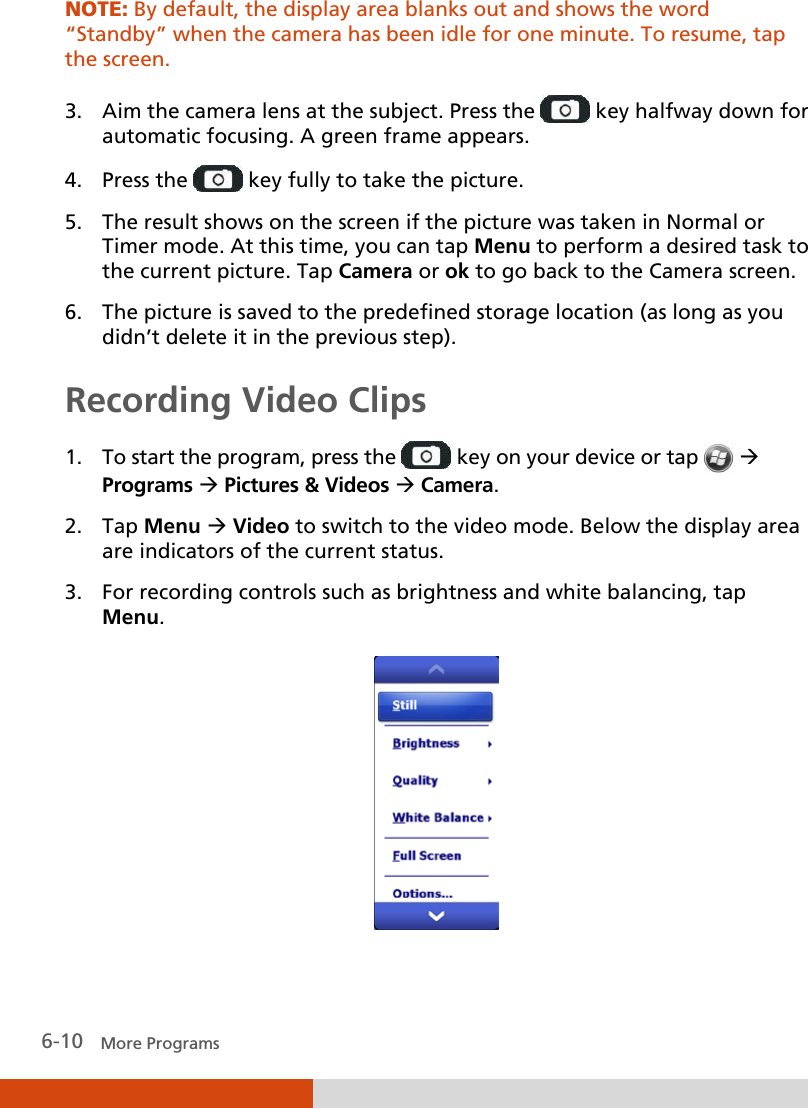
>
Getac Technology
>
PHS8 PP User Manual
User Manual
Navigation menu
Upload a User Manual
Namespaces
Wiki Guide
HTML
PDF
Info
Views
User Manual
Discussion / Help
Navigation


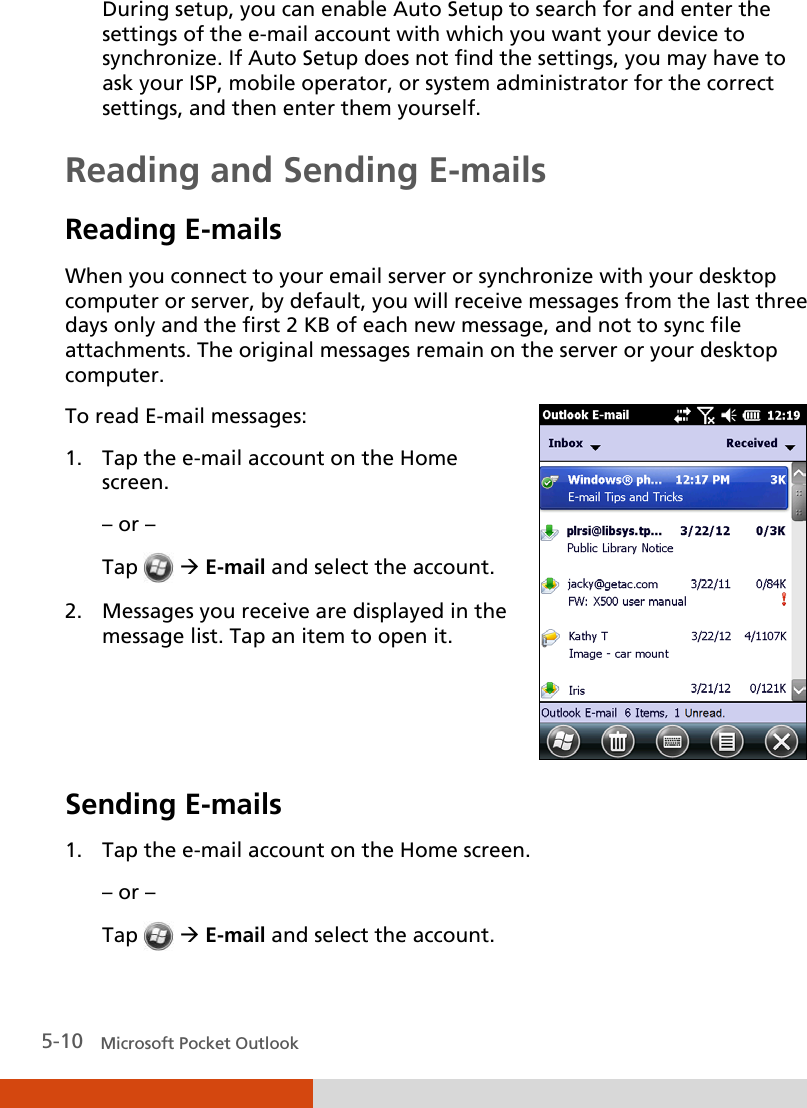
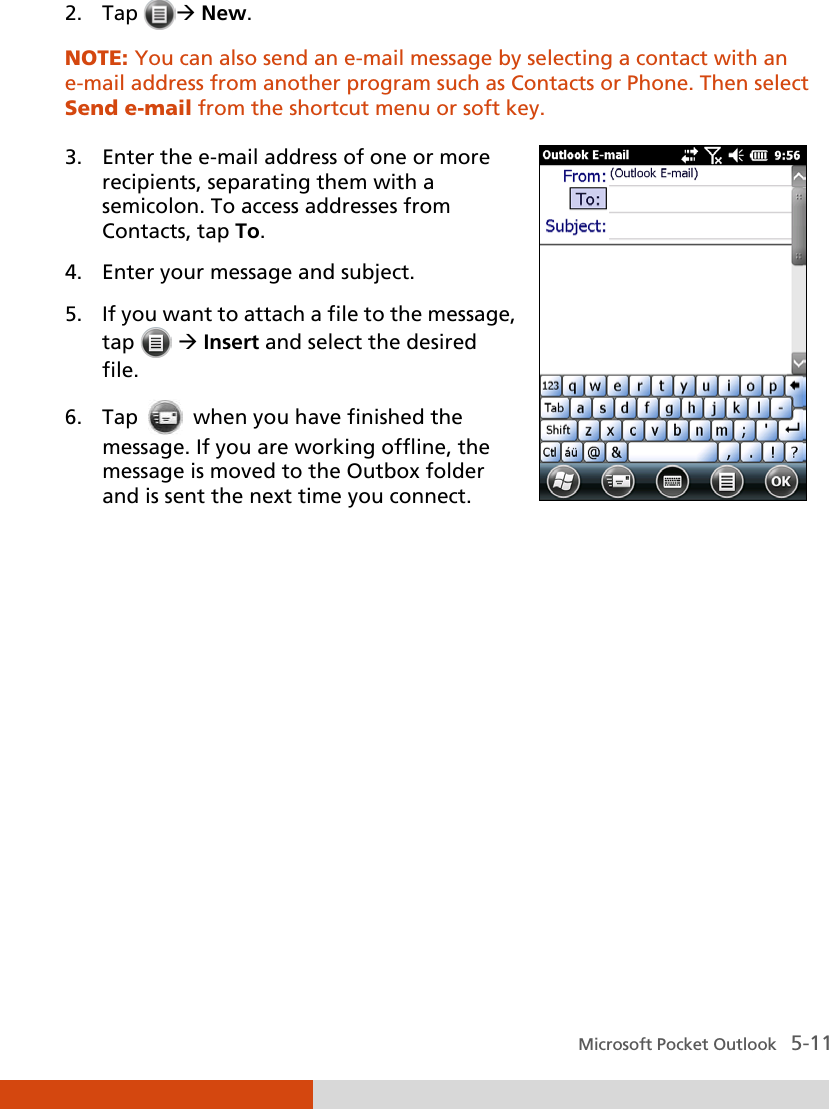
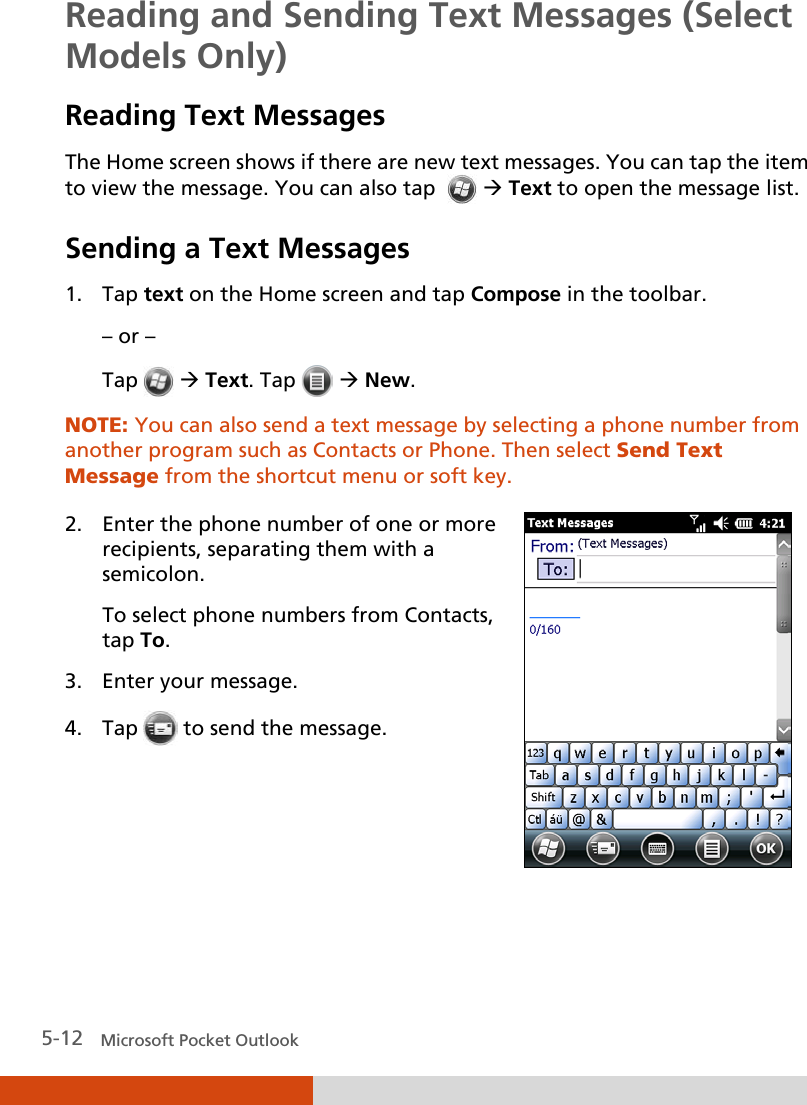
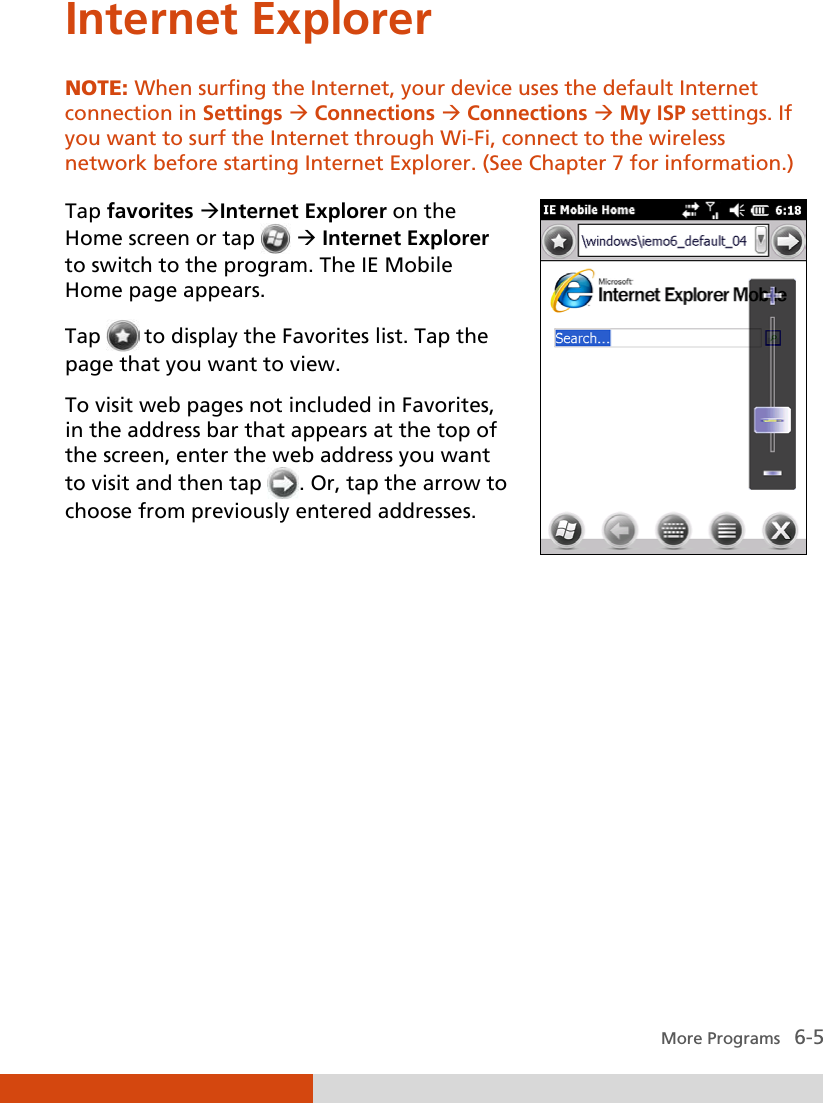

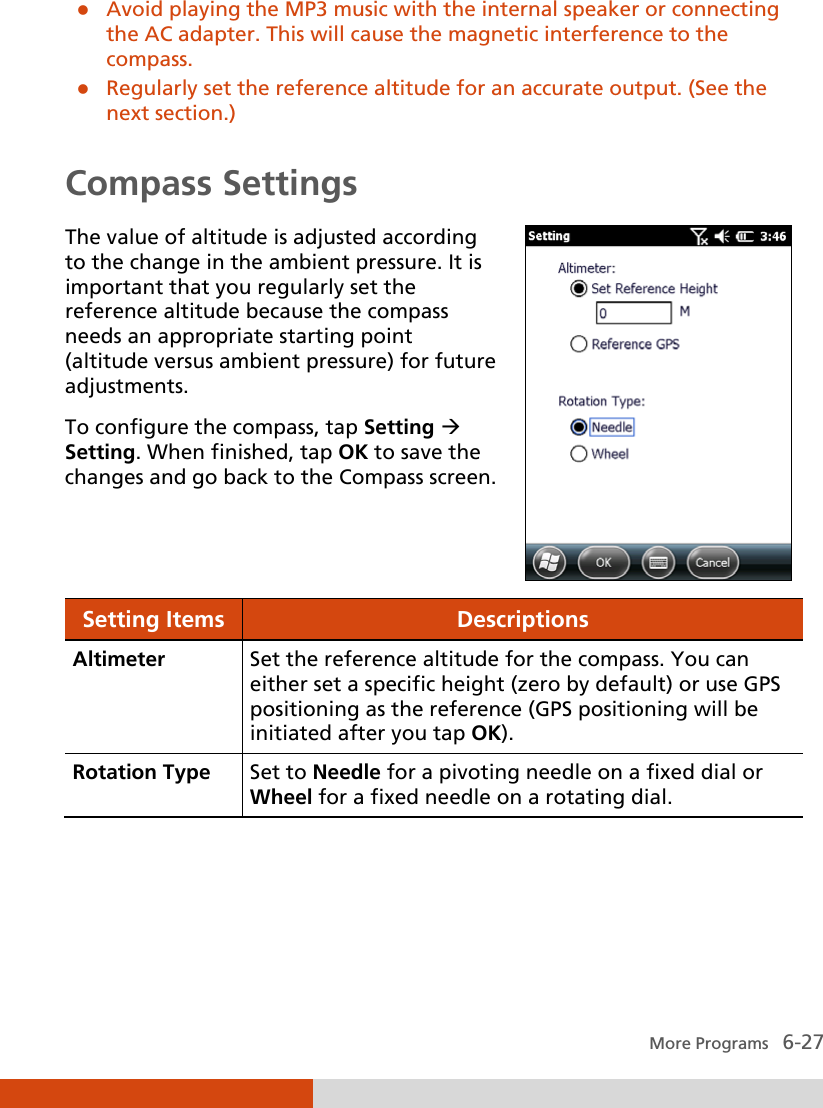
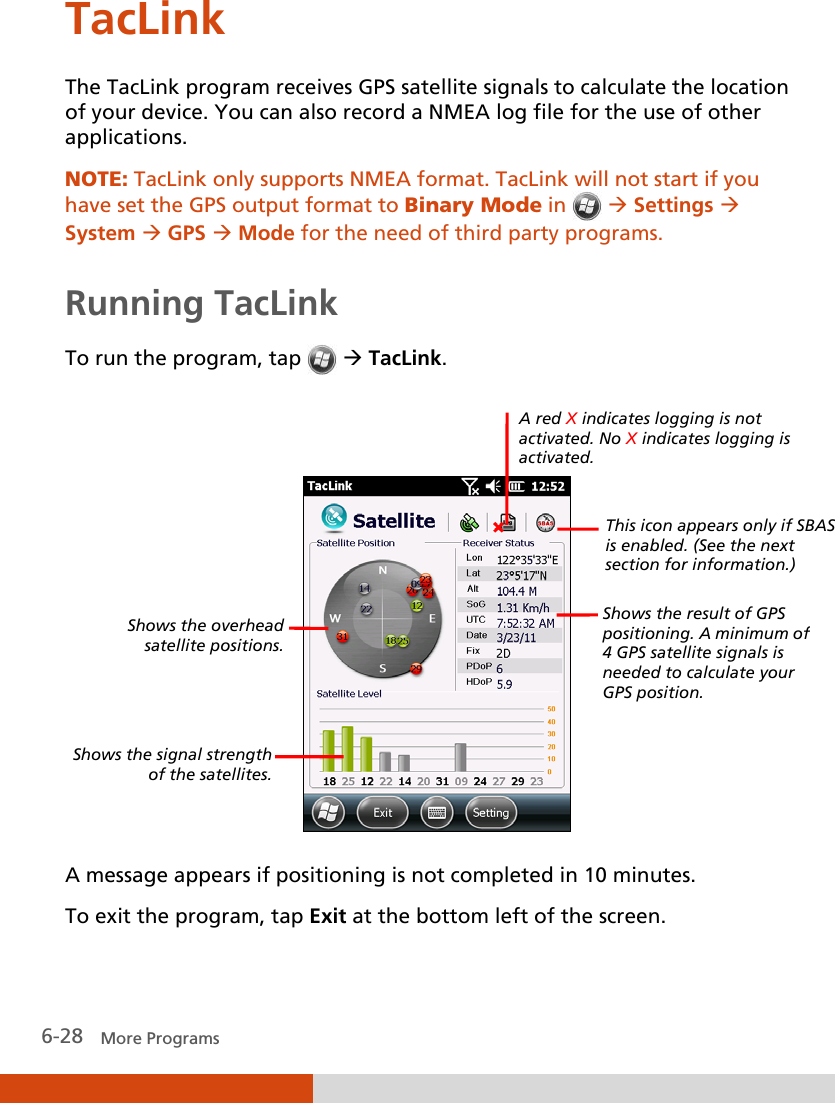
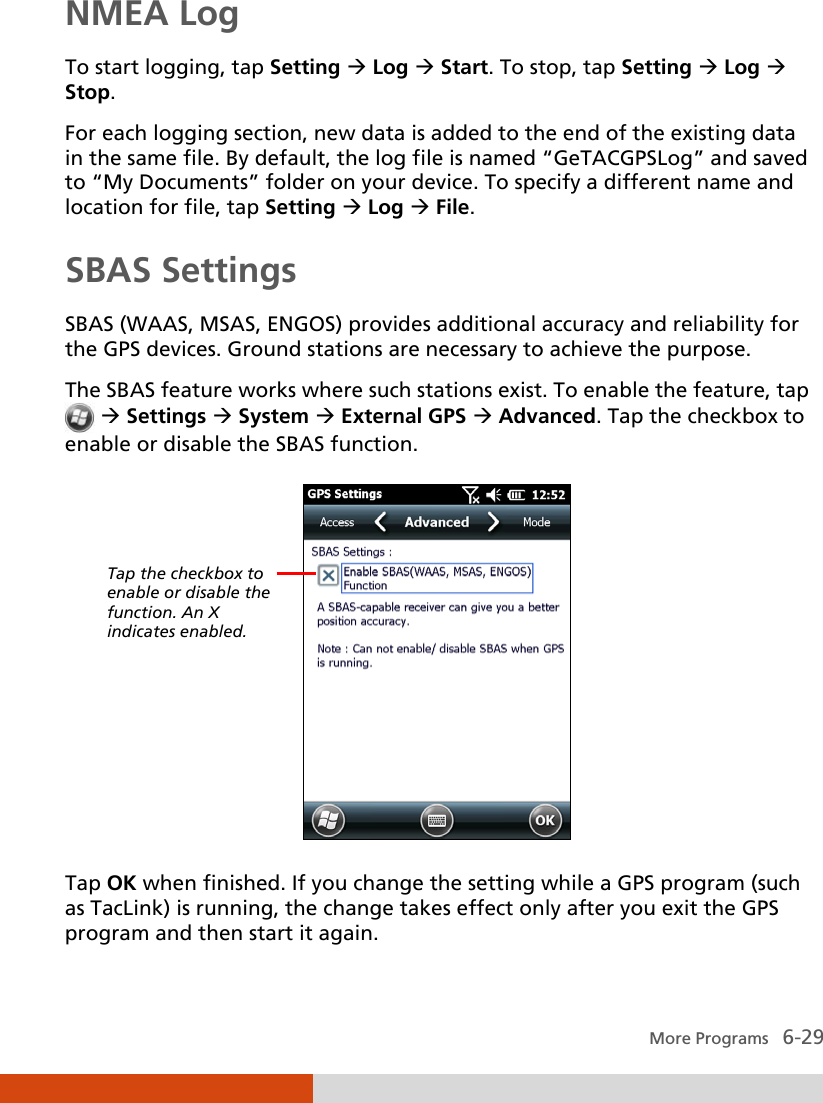
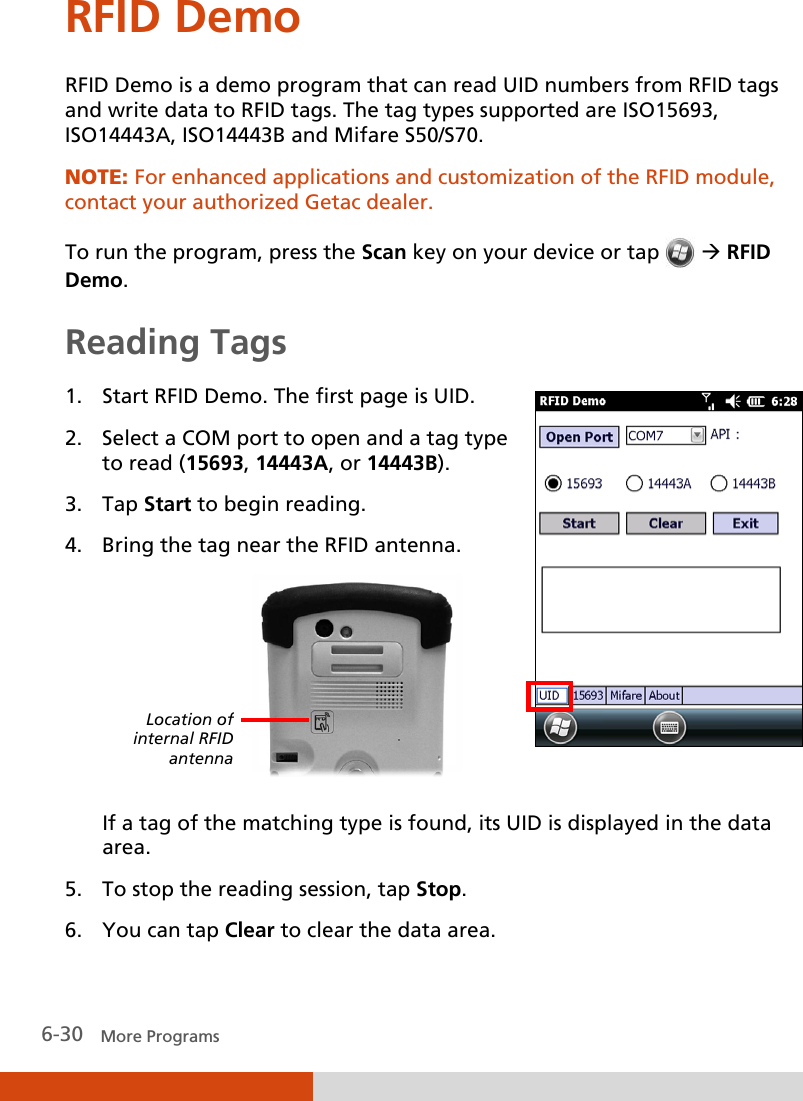

![Getting Connected 7-7 3. For other devices to detect your device, tap Menu Bluetooth Settings Mode Make this device visible to other devices. 4. Tap OK. NOTE: When not using the Bluetooth function, switch off the Bluetooth radio. Leaving the radio on will consume more power. Sending Files via the Bluetooth Function 1. Switch on the Bluetooth radio. (See “Switching On or Off the Bluetooth Radio” previously.) 2. From the program, tap and hold the item you want to beam, such as an appointment in Calendar, a task in Tasks, a contact card in Contacts, or a file in File Explorer. 3. Tap Beam [type of item] in the shortcut menu. 4. Your device searches for other devices with Bluetooth capabilities within close range, and displays them in the list. Tap the device to which you want to send the item. CAUTION: Files are saved automatically before they are beamed. If a Word document or Excel workbook was created on a computer, unsupported content and formatting may be lost when the files are saved.](https://usermanual.wiki/Getac-Technology/PHS8-PP/User-Guide-1849747-Page-121.png)