Getech Technology ESP8266 WIFI module User Manual
Shenzhen Getech Technology Co.,Ltd. WIFI module
UserManual.wiki
>
Getech Technology
>
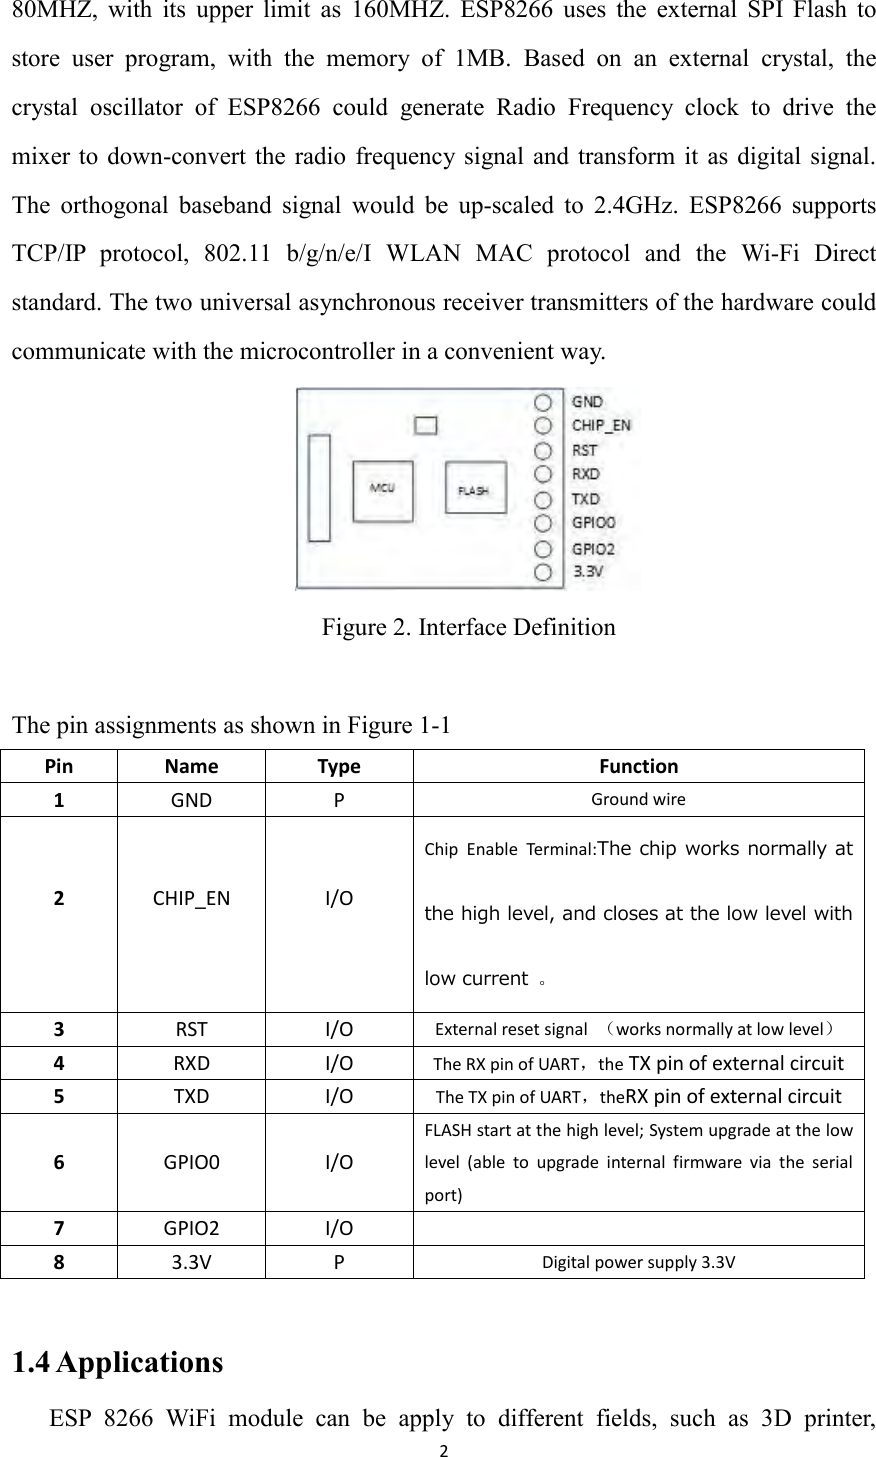
ESP8266 User Manual
User Manual
Navigation menu
Upload a User Manual
Namespaces
Wiki Guide
HTML
PDF
Info
Views
User Manual
Discussion / Help
Navigation

![10 Description Change password, including ordinary user and administrator. eg. pab Return Succ 2.5 Define the Interface for Uploading Files Upload files to the TF card built in the 3D printer. The format of data package: Format M210 SD0 file name; file offset; file length; binary file data; check digit\n Description M210 is a gcodeinstrution;the following parameters are similar to the function fwrite in the programming language C;\n is the terminator. The file content could be gcode, UI images, bin files, txt files for config., etc. Check CRC16 Return Success or fail eg. ushort crc16( byte[] d, intlen) { byte b = 0 ; ushortcrc = 0xff00 ; inti, j; for (i = 0 ; i<len; i ++ ) { for (j = 0 ; j < 8 ; j ++ ) { b = (byte)(((d[i] << j) & 0x80) ^ ((crc& 0x8000) >> 8)); crc<<= 1; if (b != 0 ) crc ^= 0x1021 ; } } crc = (ushort)~crc; return crc; } This device complies with part 15 of the FCC Rules. Operation is subject to the following two conditions: (1) this device may not cause harmful interference, and (2) this device must accept any interference received, including interference that may cause undesired operation. Any changes or modifications not expressly approved by the party responsible for compliance could void the user's authority to operate the equipment. NOTE: This equipment has been tested and found to comply with the limits for a Class B digital device, pursuant to Part 15 of the FCC Rules. These limits are designed to provide](https://usermanual.wiki/Getech-Technology/ESP8266/User-Guide-3720540-Page-11.png)