Giant Electronics T59XX Transmitter Portion of FRS + GMRS User Manual
Giant Electronics Ltd Transmitter Portion of FRS + GMRS
UserManual.wiki
>
Giant Electronics
>
T59XX User Manual
User manual
Navigation menu
Upload a User Manual
Namespaces
Wiki Guide
HTML
PDF
Info
Views
User Manual
Discussion / Help
Navigation


![Control Buttons12PreliminaryControl ButtonsUse P to:• Turn power on/off• Adjust volumeLED Indicator LightUse M to: • Talk • Save a settingUse ^ to: • Transmit call toneSpeakerUse \ to:• Lock the keypad (when held down and not in a menu)• Exit the menu (when pressed while in a menu)Accessory Jack CoverUse Q to: • Monitor channel activityUse [ ]to:• Scroll through menusMicrophone2238\<>J^4110w17o.book Page 12 Monday, January 20, 2003 12:20 PM](https://usermanual.wiki/Giant-Electronics/T59XX/User-Guide-324704-Page-13.png)
![Getting Started17Preliminary1. With the radio on, press \. The current channel flashes.2. Press ] or [ to set the channel.3. Press M to save the channel setting.Channels and FrequenciesChannel Frequency Description Channel Frequency Description1 462.5625 MHz GMRS/FRS 12 467.6625 MHz FRS2 462.5875 MHz GMRS/FRS 13 467.6875 MHz FRS3 462.6125 MHz GMRS/FRS 14 467.7125 MHz FRS4 462.6375 MHz GMRS/FRS 15 462.5500 MHz GMRS5 462.6625 MHz GMRS/FRS 16 462.5750 MHz GMRS6 462.6875 MHz GMRS/FRS 17 462.6000 MHz GMRS7 462.7125 MHz GMRS/FRS 18 462.6250 MHz GMRS8 467.5625 MHz FRS 19 462.6500 MHz GMRS9 467.5875 MHz FRS 20 462.6750 MHz GMRS10 467.6125 MHz FRS 21 462.7000 MHz GMRS11 467.6375 MHz FRS 22 462.7250 MHz GMRS4110w17o.book Page 17 Monday, January 20, 2003 12:20 PM](https://usermanual.wiki/Giant-Electronics/T59XX/User-Guide-324704-Page-18.png)
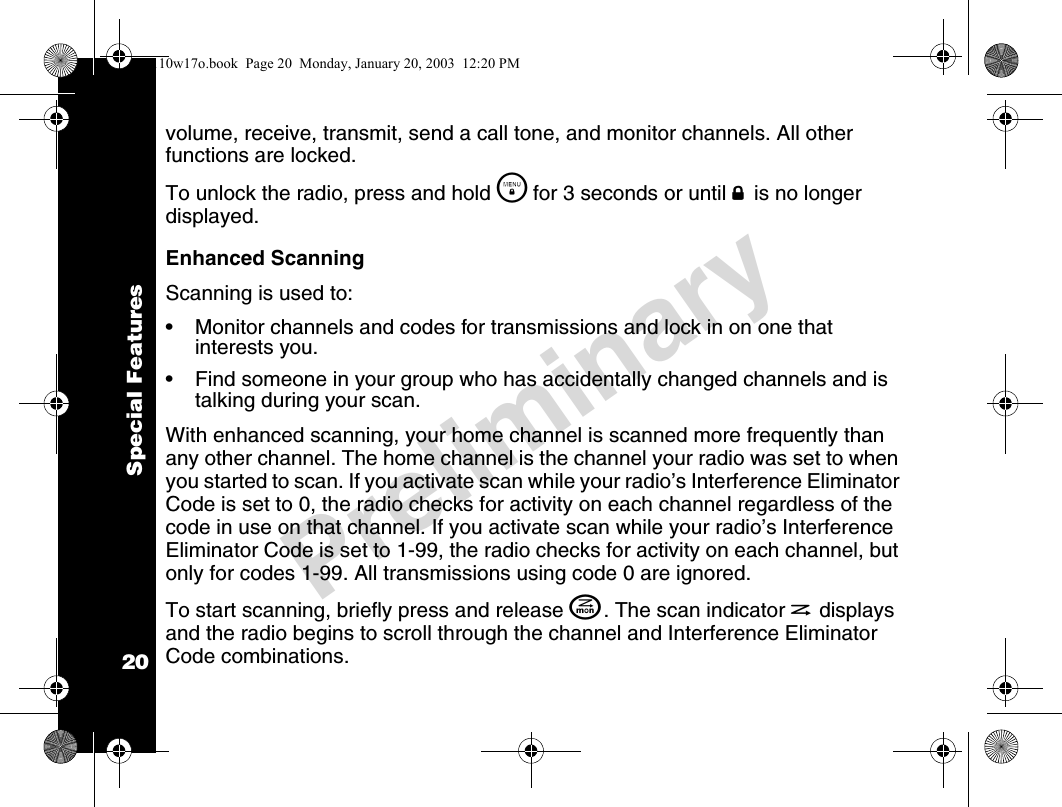
![Special Features19PreliminarySpecial FeaturesInterference Eliminator CodesInterference Eliminator Codes help minimize interference by providing you with a choice of code combinations.To set the code for a channel:1. Press \ until the code starts to flash.2. Press ] or [ to select the code.3. Press M to save the code setting.You can set a different code for each channel using this procedure.Note: You must set the Interference Eliminator Code to 0 on an FRS radio that uses Interference Eliminator Codes to communicate with other FRS radios that do not have Interference Eliminator Codes.Push to Talk Timeout TimerTo prevent accidental transmissions and save battery life, the radio emits a continuous warning tone and stops transmitting if you press M for 60 continuous seconds.Keypad LockTo avoid accidentally changing your radio settings, press and hold \ for 3 seconds or until f displays. You can turn the radio on and off, adjust the 4110w17o.book Page 19 Monday, January 20, 2003 12:20 PM](https://usermanual.wiki/Giant-Electronics/T59XX/User-Guide-324704-Page-20.png)
![Special Features21PreliminaryWhen the radio detects activity, it stops scanning and you can hear the transmission on that channel. To respond and talk to the person transmitting, press M within 5 seconds.To stop scanning, briefly press and release J. Note: If you press M while the radio is scanning, the radio transmits on the channel you selected before you activated scan. If no transmission occurs within 5 seconds, scanning will resume.Scan AdvanceIf the radio stops scanning on a channel you do not want to listen to, briefly press and release ] or [ to resume scanning for the next active channel.Removing Channels from the Scan List (Scan Delete)To prevent the radio from scanning a channel, press and hold [ or ] for at least 3 seconds, then release, when the scan first stops on that channel. This temporarily removes the channel from the scan list. To restore the channel, turn the radio off and then back on.Note: You cannot remove your home channel from the scan list. The home channel is the channel your radio was set to when you started scanning.4110w17o.book Page 21 Monday, January 20, 2003 12:20 PM](https://usermanual.wiki/Giant-Electronics/T59XX/User-Guide-324704-Page-22.png)
![Alerts22PreliminaryAlertsChannel Busy IndicatorWhen a channel is busy, the LED flashes twice per second.Setting and Transmitting Call Tones Your radio has 10 different call tones that you can transmit to other radios in your group to alert them that you want to talk.To set a call tone:1. With the radio on, press \ 3 times. The current call tone setting flashes and E displays.2. Press ] or [ to change and hear the call tone.3. Press \ or M to set the new call tone. To transmit your call tone to other radios set to the same channel and Interference Eliminator Code as your radio, press ^.Note: Setting the call tone to 0 disables the call tone feature.4110w17o.book Page 22 Monday, January 20, 2003 12:20 PM](https://usermanual.wiki/Giant-Electronics/T59XX/User-Guide-324704-Page-23.png)
![Alerts23PreliminaryTransmitting a Talk Confirmation ToneYou can set your radio to transmit a unique tone when you finish transmitting. It is like saying Roger or Over to let others know you are finished talking. • To turn talk confirmation on, press and hold ] while you turn the radio on. When you release M after transmitting, your call tone transmits and ! displays.• To turn talk confirmation off, turn your radio off and then back on while pressing and holding ].QT Noise FilteringThe QT noise filtering feature helps ensure uninterrupted communication by preventing you from hearing transmissions from other radios. It is useful in places where there is heavy radio traffic, such as at an amusement park or ski resort.Note: QT noise filtering is not available while the radio is scanning. To turn QT noise filtering on and off:1. Press \ until F displays.2. Press ] until Y displays to turn QT noise filtering on, or [ to turn it off.3. Press \ to confirm your selection.To transmit to a radio that has QT noise filtering turned on:1. Select the same channel and Interference Eliminator Code as the other radio.2. Press ^ to send a call tone and temporarily open the speaker on the receiving radio.4110w17o.book Page 23 Monday, January 20, 2003 12:20 PM](https://usermanual.wiki/Giant-Electronics/T59XX/User-Guide-324704-Page-24.png)
![Alerts24PreliminaryNow you can transmit and receive as usual.If you do not transmit or receive for 30 seconds, the QT noise filtering feature will close the speaker on the receiving radio. Press ^ to open the speaker on the receiving radio again.VibraCall® Alert (Models T5920 and T5950 Only)VibraCall is a vibrating alert that notifies you that your radio is receiving a message. This is useful in noisy environments. When the alert is on, the radio vibrates once every 30 seconds when you receive a message on the channel and code you set.• To turn vibrating alerts on, press \ until i is displayed, then press ] to display Y. • To turn vibrating alerts off, press [ until < is displayed in the same menu. 4110w17o.book Page 24 Monday, January 20, 2003 12:20 PM](https://usermanual.wiki/Giant-Electronics/T59XX/User-Guide-324704-Page-25.png)
![Accessories25PreliminaryAccessoriesThere are many accessories (sold separately) available for your radio. For more information, refer to the brochure included with your radio, contact the place of purchase, call Motorola at 1-800-353-2729 in the USA or 1-800-739-7834 (TTY), or visit our website at www.motorola.com/talkabout.Using Audio Accessories1. Make sure the radio is off.2. Plug the audio accessory into the accessory port (see page 12 for accessory port location).3. Turn the radio on. Lower the volume before placing the accessory on your head or in your ear.4. Press J while rotating P to adjust the volume to a comfortable level.5. To transmit, press M and speak into the accessory microphone, if any.6. To receive, release M.Handsfree Use Without Accessories (iVOX)You can use the radio’s iVOX feature to transmit handsfree without the need for any additional voice activation (VOX) accessories. Once this feature is activated, the radio detects your voice and transmits when you speak.1. Press \ until g flashes.2. Press ] or [ until Y displays.4110w17o.book Page 25 Monday, January 20, 2003 12:20 PM](https://usermanual.wiki/Giant-Electronics/T59XX/User-Guide-324704-Page-26.png)
![Accessories26Preliminary3. Press M twice to confirm.Handsfree Use with Accessories (VOX) You can transmit handsfree with the use of optional accessories. Once this feature is activated, the radio detects your voice and transmits when you speak.1. Make sure the radio is off.2. Plug the VOX accessory into the accessory port (see page 12 for accessory port location).3. Turn the radio volume down, and then turn the radio on. g flashes on the display.4. Adjust the volume appropriately by pressing ] or [.Note: There is a short delay between the time you start talking and when the radio transmits.To turn VOX off, press Mor remove the audio accessory.Setting the Sensitivity Level Adjusting the radio’s sensitivity level helps minimize the possibility of unintended noises triggering a transmission and helps the radio pick up soft voices.1. Press \ until g displays. 4110w17o.book Page 26 Monday, January 20, 2003 12:20 PM](https://usermanual.wiki/Giant-Electronics/T59XX/User-Guide-324704-Page-27.png)
![Accessories27Preliminary2. Press ] or [ to select the sensitivity level:Note: When you connect a VOX accessory, the radio is automatically set to the last chosen sensitivity level.3 = High Sensitivity for quiet environments 2 = Medium Sensitivity for most environments 1 = Low Sensitivity for noisy environments4110w17o.book Page 27 Monday, January 20, 2003 12:20 PM](https://usermanual.wiki/Giant-Electronics/T59XX/User-Guide-324704-Page-28.png)