Gilmour 9400 Users Manual Microsoft Timer Rev [Compatibility Mode]
9400 to the manual 4ff6a026-8719-484e-a740-fc4f6355e6bd
2015-02-09
: Gilmour Gilmour-9400-Users-Manual-560365 gilmour-9400-users-manual-560365 gilmour pdf
Open the PDF directly: View PDF ![]() .
.
Page Count: 35

1
Electronic Timers
Four Program (Model #9400)
Eight Program (Model #9408)
Quick Start …………………….……………… 3
Detachable Electronics ………..…………… 4
Detailed Set Up
…………………….…..........
5
Detailed Set Up
…………………….…..........
5
Time and Day ……….…….……….… 6
Watering Time …………….…………. 12
Watering Days …………………….…. 20
Skip Days ……………………….….…. 27
Changing a Program ……………...………. 34
Program Review …………………...….……. 35

2
Models #9400 & #9408
The 4 Program Electronic Timer
(Model #9400) offers you up to
four different programs and the 8
Program Electronic Timer (Model
#
9408
)
offers
you
up
to
8
different
#
9408
)
offers
you
up
to
8
different
program options.
You can water every day, more
than once a day, every other day
or every third day.

3
Quick Start
Programming the timer is quick
and easy. Just answer the
questions flashing on the screen.
Press “OK” to start programming.
Use
“Arrow”
keys
to
review
Models #9400 & #9408
Use
“Arrow”
keys
to
review
functions to set and “OK” to select
that function. Then as they flash,
use the “Arrow” keys to set hours,
minutes, am/pm, or day and “OK”
to accept that setting.

4
Detachable Electronics
Easy to Program
Models #9400 & #9408
The electronics portion of the
timer can be removed from
the valve section for easier
programming
.
Press
the
gray
Just squeeze the side
grips and pull to remove.
programming
.
Press
the
gray
buttons on each side of the
timer body to release the
electronics.
After programming, slide the
electronics back over the
valve until the gray buttons
snap back into place.
5
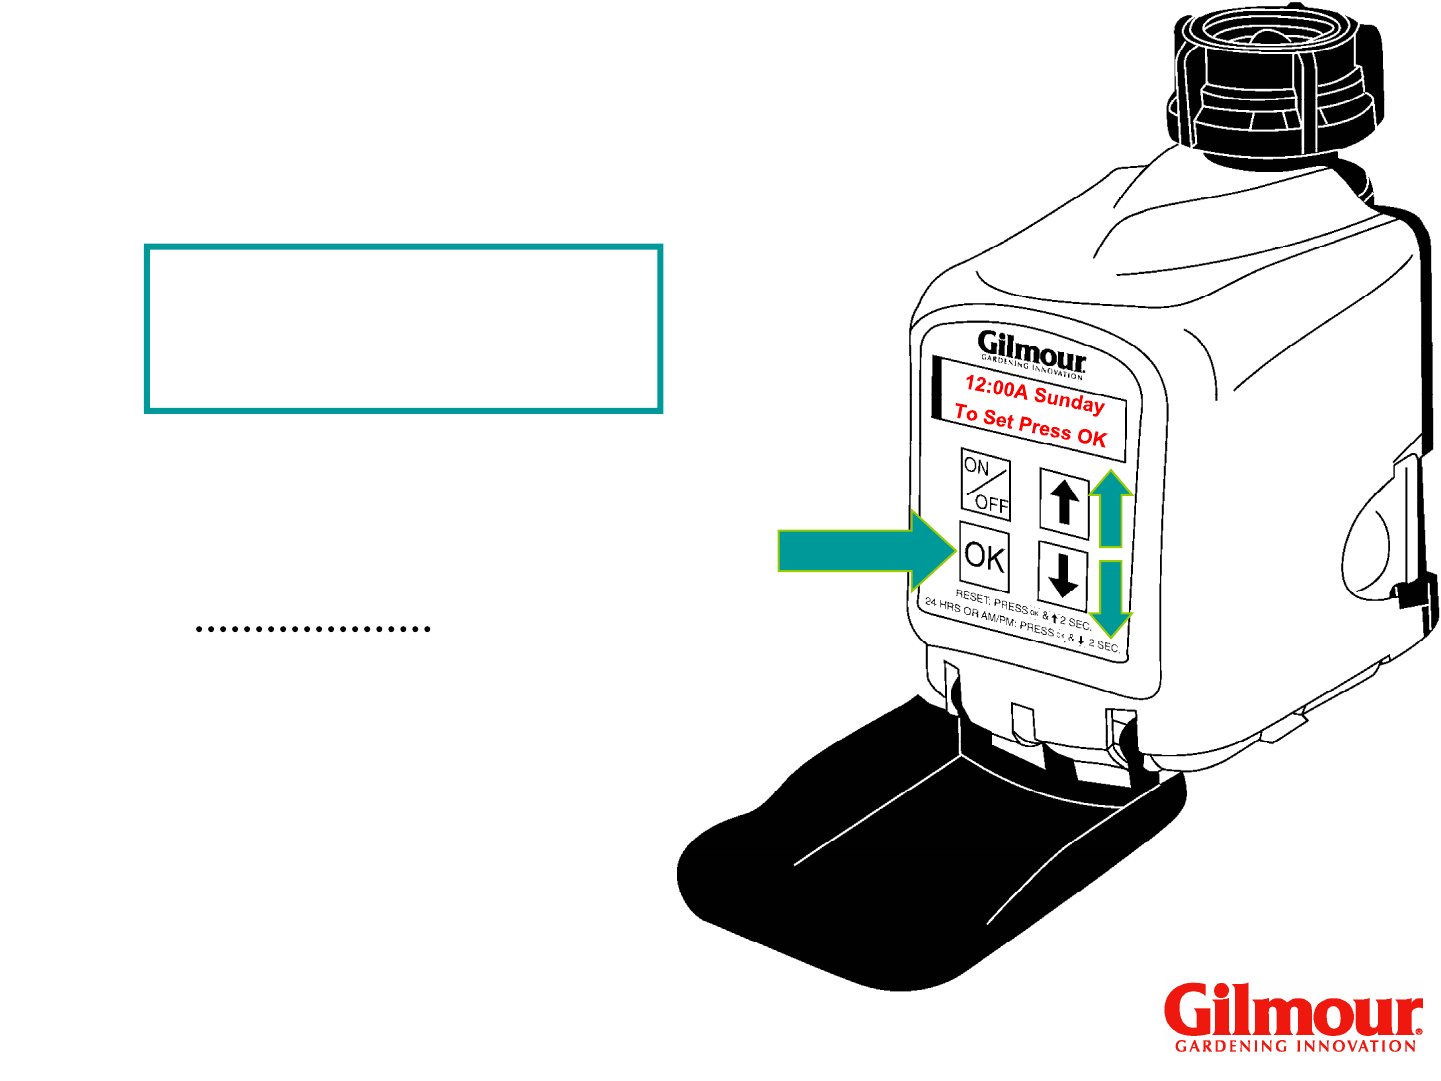
Press any key (including
On/Off) to activate the
screen.
Models #9400 & #9408
On/Off is used to
manually open or close
manually open or close
the valve.
The display will power down
if no keys are pressed
within 2 minutes.
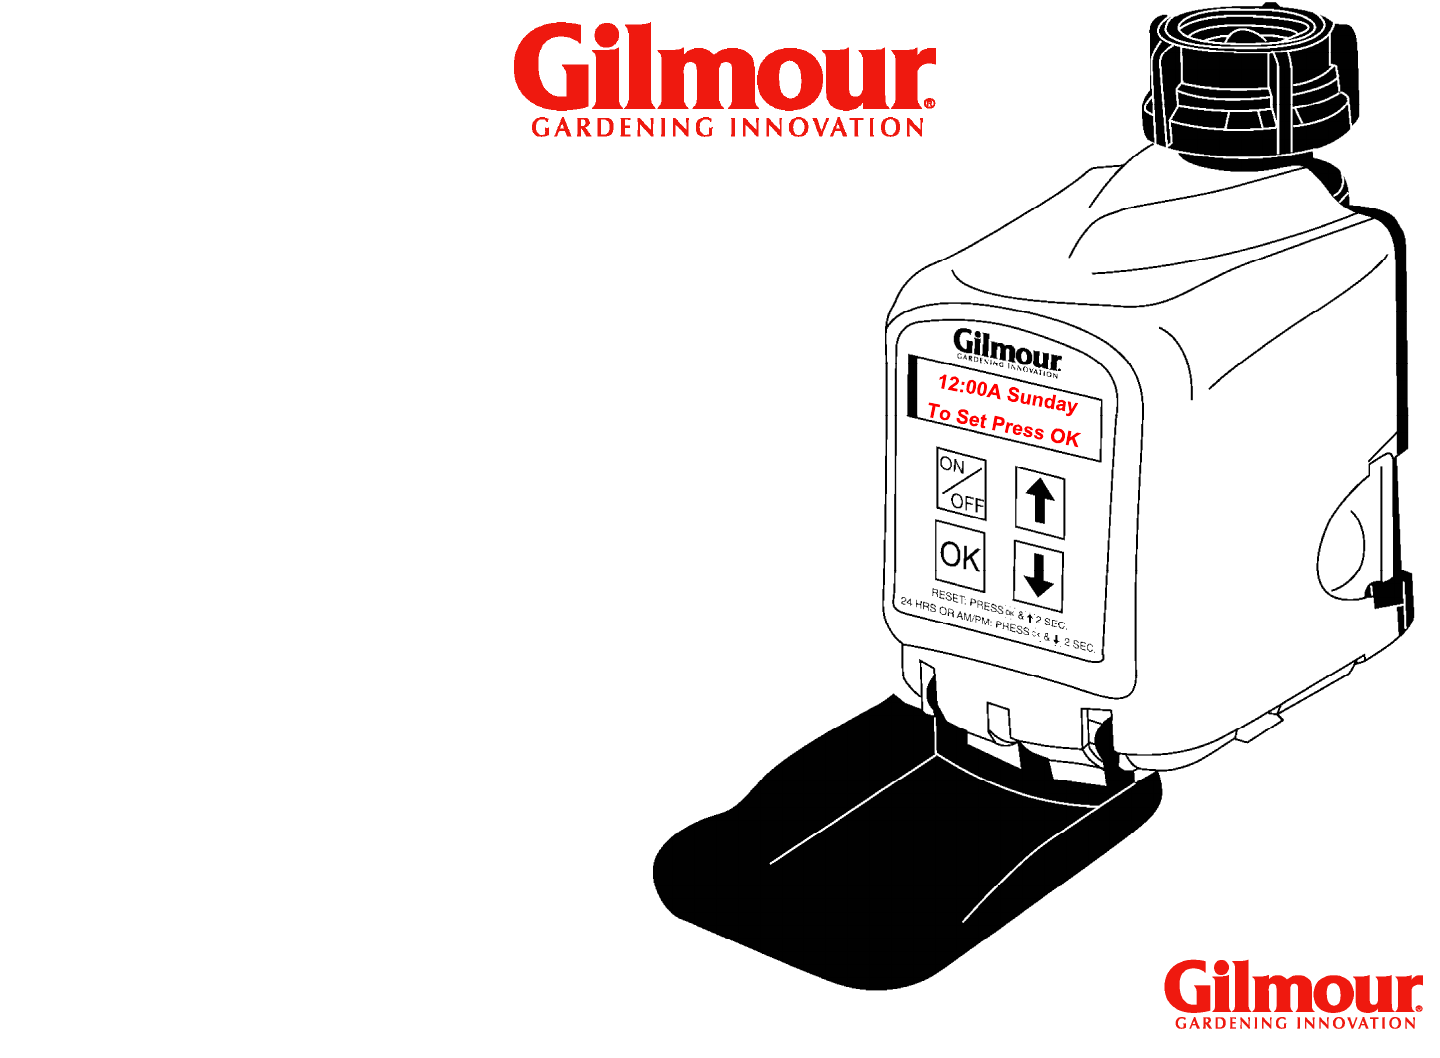
6
12:00A Sunday
To Set Press OK
Detailed Set Up
Time and Day
The screen will be flashing
“To Set Press OK.”
Models #9400 & #9408
“To Set Press OK.”
Press “OK” to begin.

7
Set Time & Day >OK
Set Program 1
<
>
Detailed Set Up
Time and Day
“Set Time & Day” will be
flashing.
Models #9400 & #9408
flashing.
Press “OK” to set.

8
Set Hour Now
:00 A Then OK
12
Detailed Set Up
Time and Day
<
>
“Hours” will flash.
Models #9400 & #9408
Use up and down
arrows to set the
hour.
Press “OK” to set.

9
Set Minutes Now
12: A Then OK
00
Detailed Set Up
Time and Day
<
>
“Minutes” will flash
next.
Models #9400 & #9408
Use up and down
arrows to set the
minutes.
next.
Press “OK” to set.

10
Set AM OR PM Now
12:00 Then OK
Detailed Set Up
Time and Day
<
>
“A” for a.m. or
“P” for p.m.
will be
A
Models #9400 & #9408
Press “OK.”
Choose either “A” for
a.m. or “P” for p.m.
with arrow keys.
“P” for p.m.
will be
flashing.

11
Set Day & OK
12:00 A Sunday
Detailed Set Up
Time and Day
<
>
“Day of Week”
will
Models #9400 & #9408
“Day of Week”
will
be flashing.
Press “OK.”
Choose day of week
with arrow keys.
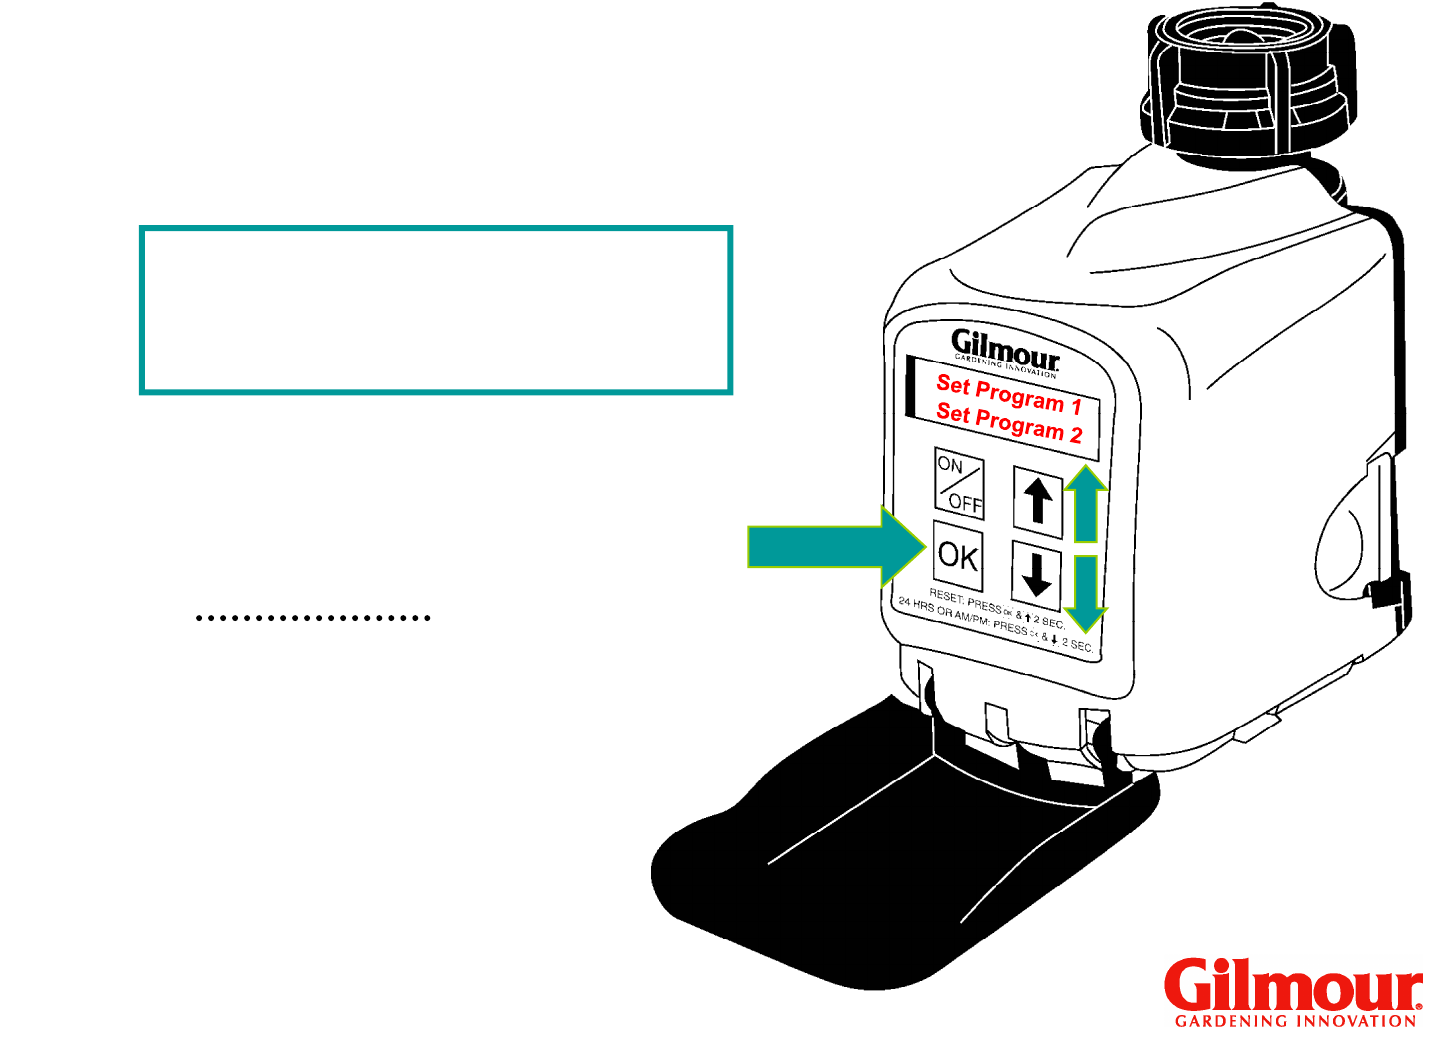
12
Set Program 1 OK
Set Program 2
>
Watering Time
<
>
“Set Program 1”
will
Models #9400 & #9408
“Set Program 1”
will
be flashing.
Press “OK.”

13
Set Start Time 1
12:00 A Then OK
<
>
Watering Time
Program 1
“Hours” will flash.
Models #9400 & #9408
Use up and down
arrows to set the
hour.
Press “OK.”

14
Set Start Time 1
12:00 A Then OK
<
>
Watering Time
Program 1
“Minutes” will flash.
Models #9400 & #9408
Use up and down
arrows to set the
minutes.
Press “OK.”

15
Set Start Time 1
12:00 A Then OK
<
>
Watering Time
Program 1
“A” for a.m. or
“P” p.m.
will be
Models #9400 & #9408
“P” p.m.
will be
flashing.
Press “OK.”
Choose either “A” for
a.m. or “P” for p.m.
with arrow keys.

16
Set End Time 1 OK
Days to Water
>
<
>
Watering Time
Program 1
Models #9400 & #9408
Press “OK.”

17
Watering Time
Set End Time 1
12:00 A Then OK
<
>
Program 1
“Hours” will flash.
Models #9400 & #9408
Use up and down
arrows to set the
hour.
Press “OK.”

18
“Minutes” will flash.
Watering Time
Set End Time 1
12:00 A Then OK
<
>
Program 1
Models #9400 & #9408
Use up and down
arrows to set the
minutes.
Press “OK.”

19
“A” for a.m. or
“P” p.m.
will be
Set End Time 1
12:00 A Then OK
<
>
Program 1
Watering Time
Models #9400 & #9408
Choose either “A” for
a.m. or “P” for p.m.
with arrow keys.
Press “OK.”
“P” p.m.
will be
flashing.

20
Days to Water OK
Set Skip Days
<
>
Program 1
Watering Days
>
“Days to Water” will
be flashing.
Models #9400 & #9408
Choose either
“DAYS TO WATER”
by pressing “OK” or
arrow down to select
“SET SKIP DAYS.”

21
If “Days to Water” is
selected, Water on
Sunday” with
“Yes”
Set Then OK
Watering Days
Program 1
Water on Sun
<
>
Yes
Models #9400 & #9408
>
Sunday” with
“Yes”
flashing is shown.
Use up and down
arrows to choose
“Yes or No.”
Press “OK.”

22
Watering Days
Program 1
Water on Mon
Set Then OK
<
>
Yes
Water on Mon with
“Yes” flashing is
shown.
Models #9400 & #9408
>
Use up and down
arrows to choose
“Yes or No.”
Press “OK.”
shown.
23
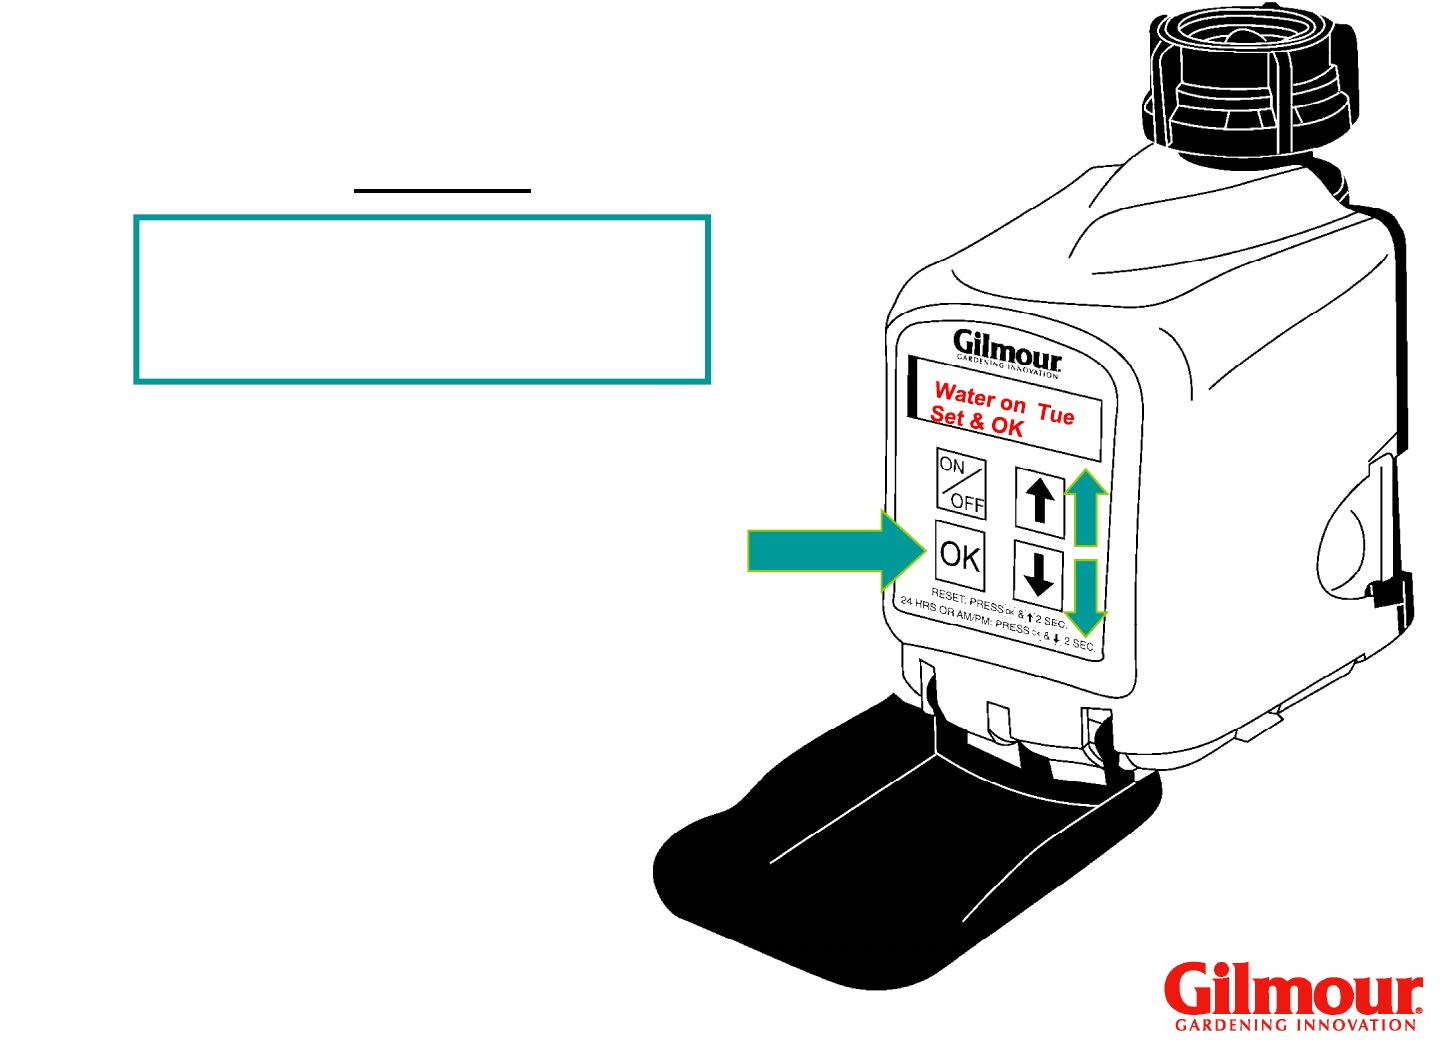
Watering Days
Program 1
Water on Tue
Set Then OK
<
>
Yes
Repeat for remaining
days of the week, using
Models #9400 & #9408
>
days of the week, using
arrow keys to set “Yes” or
“No” and “OK.”

24
Watering Days
Program 1
Water on Sat
Set Then OK
<
>
Yes
After Saturday is complete,
“Set Skip Days” will be
Models #9400 & #9408
>
“Set Skip Days” will be
flashing.
Press down arrow to choose
“FINISHED PGM 1” and
press “OK.”
25
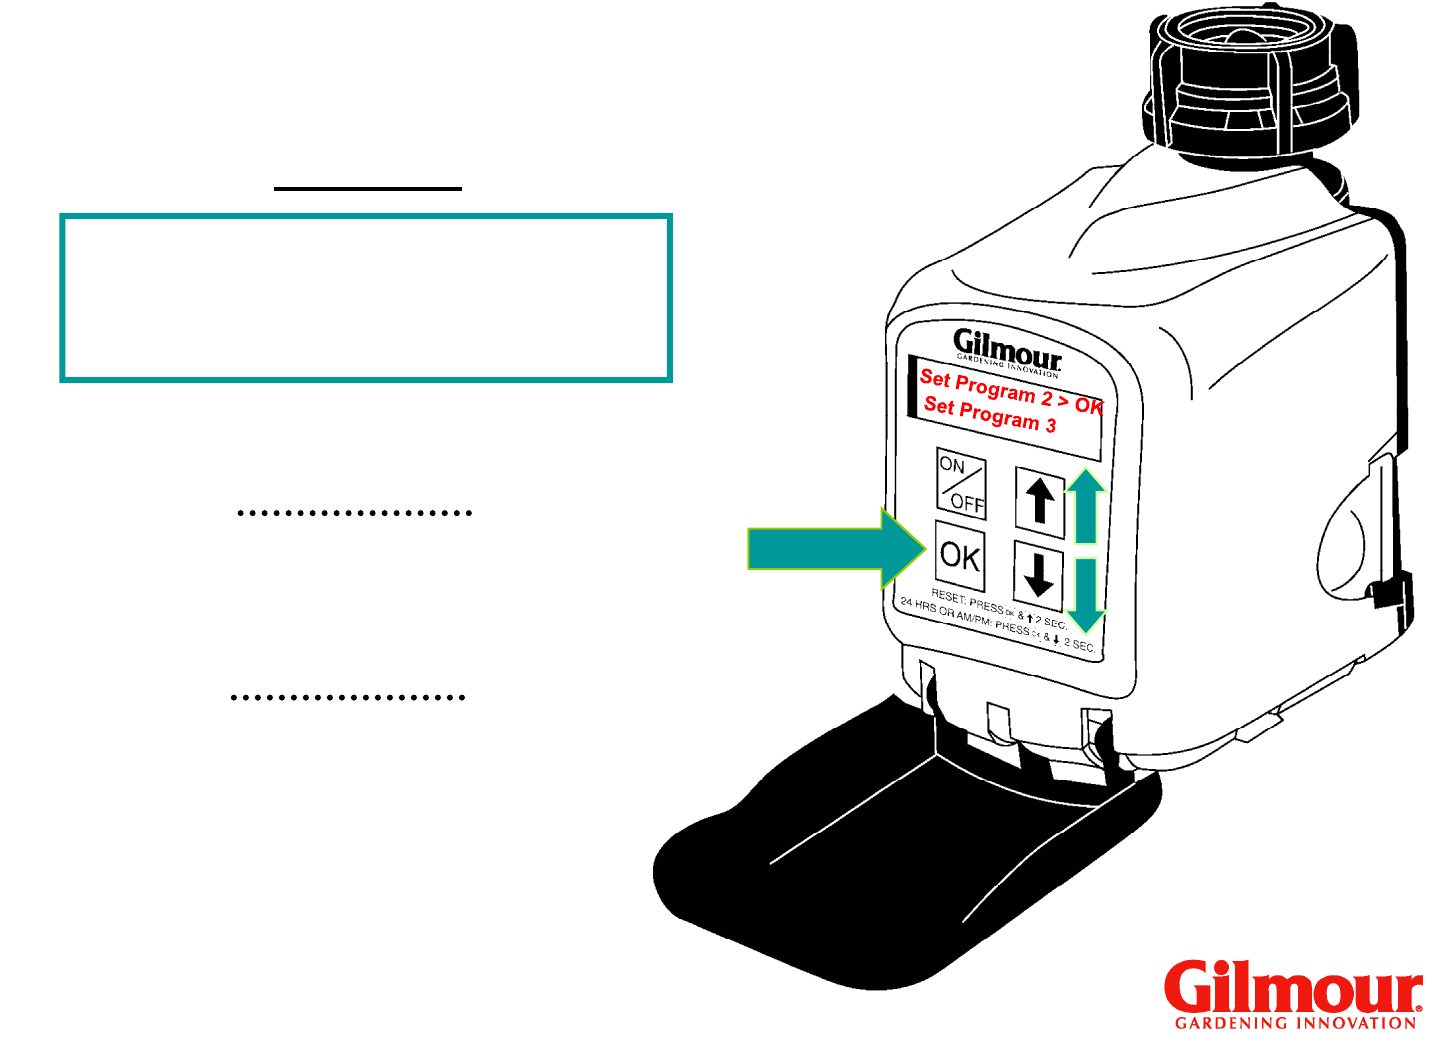
Set Program 2 >OK
Set Program 3
Program 2
Set Additional Programs
Models #9400 & #9408
<
>
“Set Program 2” will be flashing.
Press “OK” to begin
programming Program 2.
Follow the steps used for
Program 1.

26
Set Program 2 >OK
Set Program 3
Program 2
Set Additional Programs
Models #9400 & #9408
<
>
If not setting Programs
Press “OK.”
If not setting Programs
2, 3, 4, 5, 6, 7 or 8, use
arrow keys to move to
“Review Programs” or
“Finished.”

27
Set Skip Days
<
>
If Set Skip Days was
chosen, “Set Skip Days”
will be flashing.
Set Skip Days >OK
Models #9400 & #9408
Finished PGM 1
Program 1
will be flashing.
Press “OK.”

28
Water Ea 2nd Day
Set & OK
<
>
Set Skip Days
No
Models #9400 & #9408
If using “SET SKIP DAY,”
Timer will begin watering
on the day program is set.
Program 1
S M T W T F S
X X X X
on the day program is set.
For example, if you
program your timer on
Sunday, and you choose
“every 2nd day” then your
watering schedule will be:

29
Water Ea 2nd Day
Set & OK
<
>
Set Skip Days
No
Models #9400 & #9408
You can water every 2nd
day or every 3rd day.
Program 1
Press “OK.”
Use up and down arrows
to choose “Yes or No” to
“water every 2nd day” OR
“water every 3rd day.”

30
Set Start Time 1
Finished PGM 1
“Finished PGM 1”
will be flashing.
<
>
>
Set Skip Days
Models #9400 & #9408
Program 1
Press OK.

31
Program 2
Set Program 2 >OK
Set Program 3
Models #9400 & #9408
<
>
Set Additional Programs
“Set Program 2” will be flashing.
Press “OK” to begin
programming Program 2.
Follow the steps used for
Program 1.

32
Set Program 2 >OK
Set Program 3
Program 2
If not setting Programs 2,
Models #9400 & #9408
<
>
Set Additional Programs
Press “OK.”
If not setting Programs 2,
3, 4, 5, 6, 7 or 8, use arrow
keys to move to “Review
Programs” or “Finished.”

33
Set Skip Days
NOTE: If Set Skip Days is
set to yes, you cannot
choose Watering Days in
the same program.
Models #9400 & #9408
To change a program
back to Watering Days, go
to Set Skip Days and
choose “No” to water
each 2nd and 3rd days.

34
Changing a Program
Models #9400 & #9408
To make changes to a
program, press any key
(including On/Off) to activate
the screen.
Press “OK.”
Use the down arrow to
choose PGM Set/RePgm
and Press “OK.”
Use arrow keys to scroll
through programs.
Press “OK” to choose
program to reset.
Repeat programming steps.
35
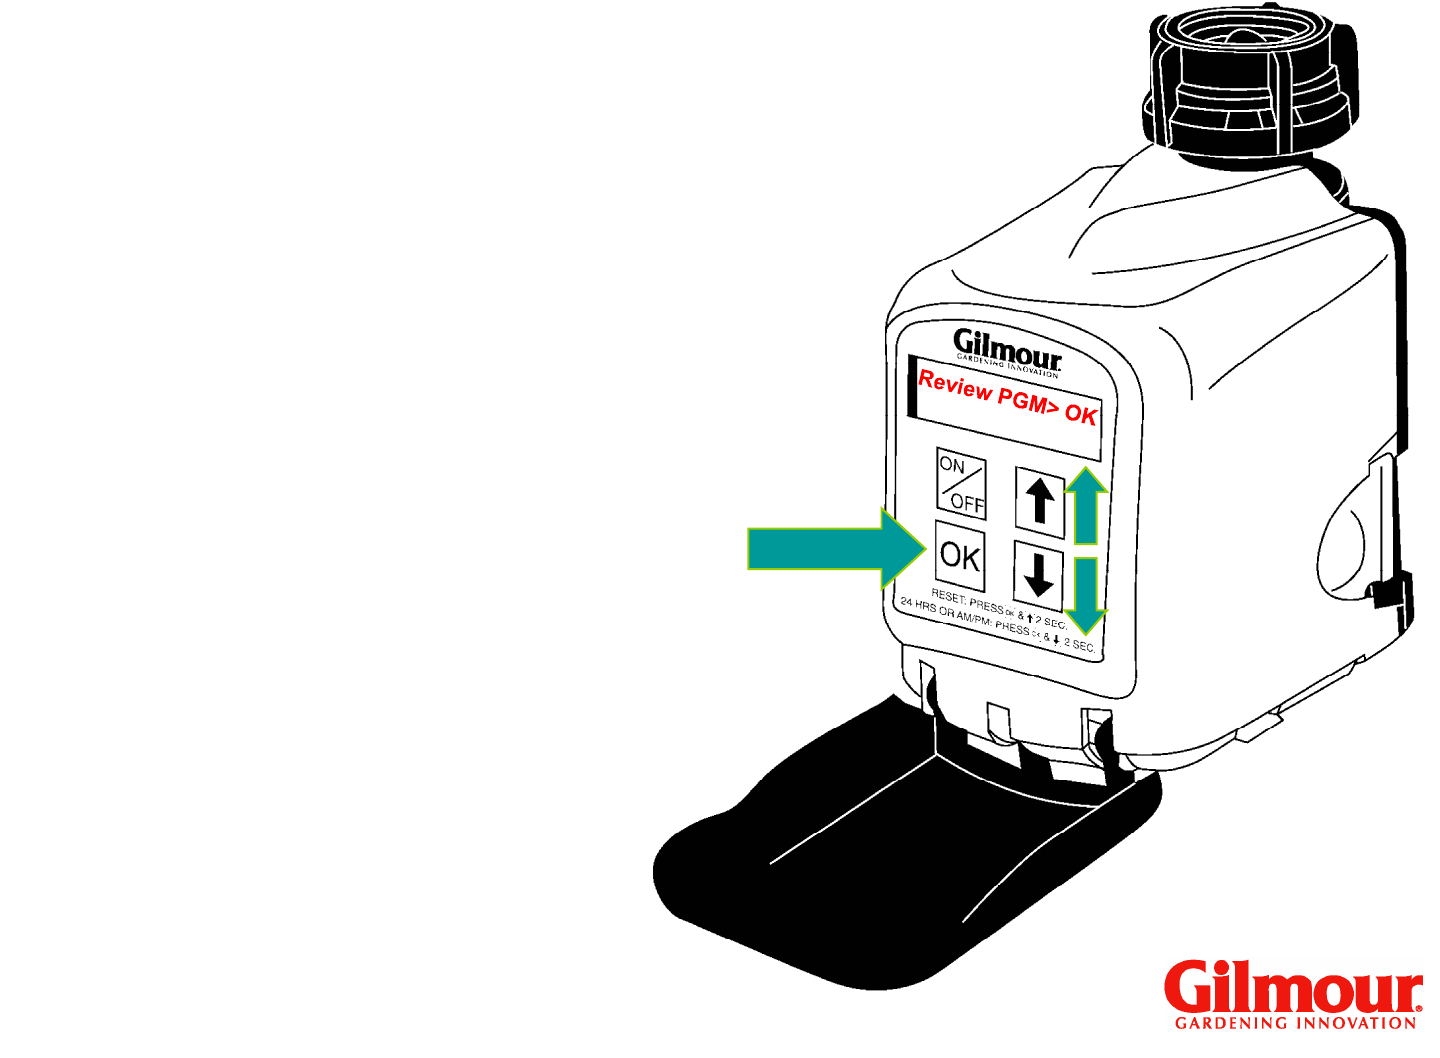
Program Review
Models #9400 & #9408
With “Review Program” flashing,
Press “OK.”
To review Program 1, press down arrow
key. Screen will show letters for each
day of the week and “Y” for yes or “N”
for no for each day. To the right it will
show start time on top and stop time on
bottom.
bottom.
Press arrow key to review Programs 1
through 8.
After Program 8, “Review Done” flashes.
Press “OK” to exit this section.
“Finished” will flash.
Press “OK” if finished.
