Grandway Technology MD41WX Digital Automatic Blood Pressure Monitor User Manual MD41W0 N3b Manual
Grandway Technology (Shenzhen) Limited Digital Automatic Blood Pressure Monitor MD41W0 N3b Manual
UserManual.wiki
>
Grandway Technology
>
MD41WX User Manual
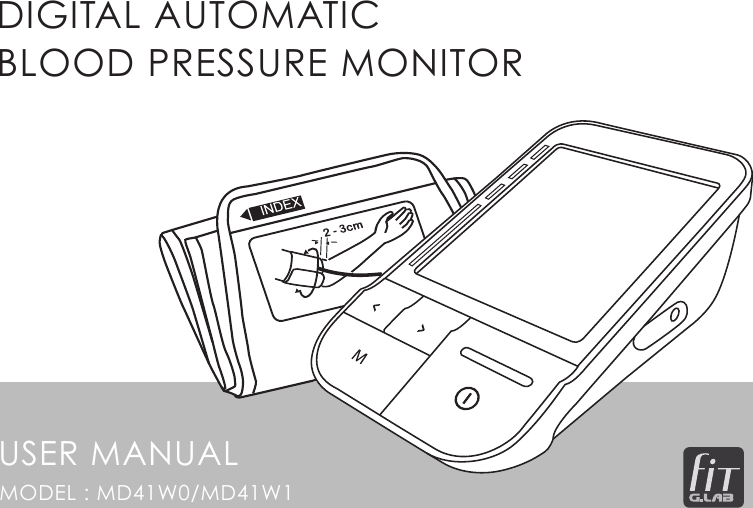
User Manual
Navigation menu
Upload a User Manual
Namespaces
Wiki Guide
HTML
PDF
Info
Views
User Manual
Discussion / Help
Navigation

![7PART IDENTIFICATIONButton Operations• Go to standby mode Press button.* The device goes to clock mode if idle for 2 min.• Recalling average data Press button.• Select between different users (User 1 / User 2 / User 3 / User 4) Press [ < ] or [ > ] buttonAir socketStart / StopButtonIncreaseButtonDecreaseButton MemoryButtonAir Connector PlugIndex MarkArm CuffAir HoseDC JackDisplayBattery Door](https://usermanual.wiki/Grandway-Technology/MD41WX/User-Guide-3728401-Page-8.png)
![10INSTALL/ CHANGE BATTERIES1. Push the battery cover located on the bottom side on the unit as shown in the figure.2. Remove old batteries and insert new ones. Use LR03 or AAA alkaline batteries and use batteries of the same type only.3. Make sure the battery polarities (+) and (-) match the making on the battery compartment.4. Place back the battery door.NOTE:• Insert the batteries as shown in the battery compartment. If not, the device will not work or even be damaged.• When battery power becomes weak, the [ ] icon and “E6” appear in the display, replace all batteries with new ones. Do not mix old and new batteries.• Never use rechargeable batteries. This may damage the unit.• Battery life may vary with ambient temperature and may be shorter at low temperature.](https://usermanual.wiki/Grandway-Technology/MD41WX/User-Guide-3728401-Page-11.png)

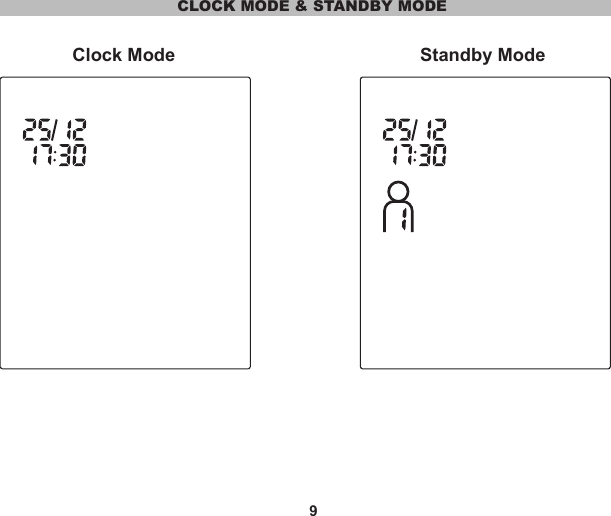
![12TO SET CLOCK / WIFIAfter inserting batteries or press and hold [ ] button for 5 sec to enter clock setting mode1. "Year” will blink on display automatically2. Press [<] / [>] button to select year3. Press [ ] button to confirm and "Month" will blink4. Press [<] / [>] button to select month5. Press [ ] button to confirm and "Day" will blink6. Press [<] / [>] button to select day7. Press [ ] button to confirm and "Hour" will blink8. Press [<] / [>] button to adjust to desired hour9. Press [ ] button to confirm and "Minute" will blink10. Press [<] / [>] button to adjust to desired minute11. Press [ ] button to confirm12. “ ” WIFI icon is displayed and “ ” will blink13. Press [<] / [>] button to select WIFI on or off.14. Set the WIFI to “On” mode, press and hold [<] and [>] buttons for 3 seconds to enter “AP” mode.15. “AP” is shown and “ ” WIFI icon will blink. 16. Install and open the application (APP) - G.LAB fit on your smartphone or tablet. Go to the setting manual and click [Change WIFI network]. 17. The APP will search and list all the available signal. Select your blood pressure monitor on the list. After connected to your WIFI network, the “ ” icon on the blood pressure monitor will turn on and stop blinking, settings are done.Note: Please repeat the above steps when using new WIFI network.Press [<] / [>] button to select WIFI on or offPress [<] and [>] buttonfor 3 seconds to enter“AP” mode.Install the application (APP) - G.LAB fit.](https://usermanual.wiki/Grandway-Technology/MD41WX/User-Guide-3728401-Page-13.png)
![13TO SET ALARM CLOCK1. To enter the alarm clock setting mode, press and hold [ ] button until Alarm 1 [ ] icon or Alarm 2 [ ] icon is flashing on the display. Press [<] / [>] to select between [ ] and [ ]. Press [M] button to confirm your selection.2. [On] or [OF] icon will blink, press [<] / [>] button to switch between ON and OFF. Press [M] button to confirm.3. When [On] icon is selected, “Hour” will blink. Press [<] / [>] button to adjust to desired hour. Press [M] button to confirm.4. “Minute” will blink. Press [<] / [>] button to adjust to desired minute. Press [M] button to confirm and settings are done. The alarm icon is turned on on the display.5. To turn off the alarm, enter the alarm clock setting mode and select the desired alarm icon. Press [M] button to confirm your selection. Press [<] / [>] button to switch to [OF] and press [M] button to confirm. The alarm is turned off.](https://usermanual.wiki/Grandway-Technology/MD41WX/User-Guide-3728401-Page-14.png)

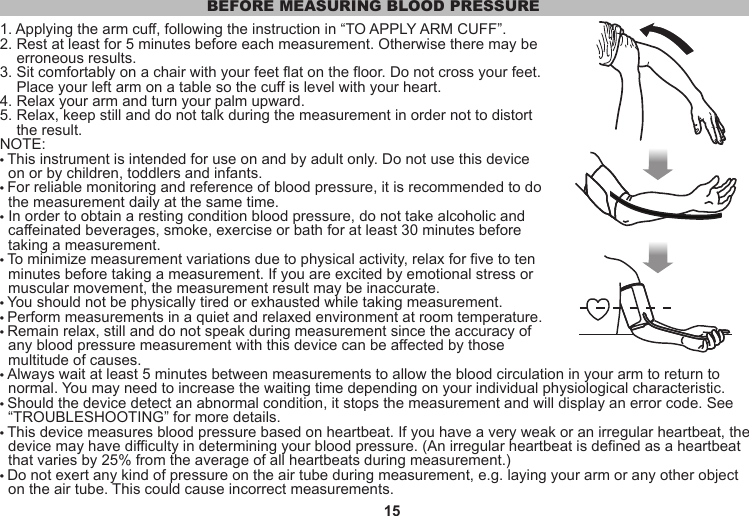
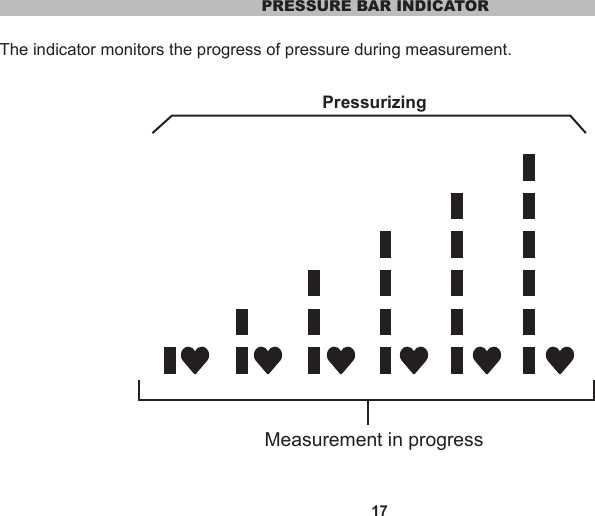
![16TO MEASURE YOUR BLOOD PRESSURE1. Follow the instruction in “BEFORE MEASURING BLOOD PRESSURE” to make yourself ready.2. Press [ ] button to turn the device from clock mode to standby mode.3. Press [<] / [>] to select user memory 1,2,3 or 4. Confirm selection by pressing [ ] button. Then press [ ] to start the measurement. OR Press [ ] second time to start the blood pressure measurement.4. The cuff starts to inflate. It is normal for the cuff to feel very tight. A pressure bar indicator is displayed during measurement. See “PRESSURE BAR INDICATOR” for more details.5. Once the pulse is detected, the [ ] blinks with each pulse beat, indicating that the measurement is in progress.6. When the measurement is complete, the systolic and diastolic pressure and pulse rate are displayed and stored. NOTE:You can stop inflation by pressing [ ] button at any time.Deflation for start measuring Record number and User ID are displayedInflation in progressMeasurement result shown](https://usermanual.wiki/Grandway-Technology/MD41WX/User-Guide-3728401-Page-17.png)

![19TO RECALL AVERAGE AND PREVIOUS MEASUREMENT DATAThis device has a memory capability to store the measurement readings for each user. Every time you complete the measurement, the device automatically stores the measurement result.1. Press [ ] button in standby mode to enter the memory mode, the average blood pressure for the latest 3 measurements is displayed.2. Press [>] button to view average data for lastest 7 days AM record (5:00 - 9:00 am).3. Press [>] button to view average data for lastest 7 days PM record (6:00 - 8:00 pm).4. Press [>] button to view the lastest measurement record.5. Continue to press [>] button to view older measurement records.6. Press [<] button to view previous measurement records.](https://usermanual.wiki/Grandway-Technology/MD41WX/User-Guide-3728401-Page-20.png)
![20TO DELETE MEASUREMENT DATA1. Press [ ] button simultaneously when the device is showing average or previous measurement data of selected user.2. Press and hold [ < ] and [ > ] for 3 seconds until [CL] and [00] are shown.3. All measurement data for the selected user will be deleted.All memories clearedPress [ ]Press and hold [ < ] and [ > ] at the same time](https://usermanual.wiki/Grandway-Technology/MD41WX/User-Guide-3728401-Page-21.png)

![This blood pressure monitor provides a blood pressure and pulse rate measurement even when an irregular heartbeat occurs. An irregular heartbeat is defined as a heartbeat that varies by 25% from the average of all heartbeats during the blood pressure measurement. It is important that you are relaxed, remain still and do not talk during measurements.NOTE:• We recommend you to contact your physician if you see this [ ] indicator frequently.• The “irregular heartbeat” function does not replace a cardiac examination, but may help to detect potential heart rate irregularities at an early stage. Always consult your physician to determine what will be suitable for you.• The “irregular heartbeat” function is not designed for diagnosing or treating an arrhythmic disorder. Arrhythmia can only be ascertained by a licensed physician.22WHAT IS AN IRREGULAR HEARTBEAT](https://usermanual.wiki/Grandway-Technology/MD41WX/User-Guide-3728401-Page-23.png)