Gree Electric Appliances of Zhuhai CS532U Air Conditioner User Manual user manul
Gree Electric Appliances, Inc. of Zhuhai Air Conditioner user manul
UserManual.wiki
>
Gree Electric Appliances of Zhuhai
>
CS532U User Manual
141121032GZU_12478A-CS532U_user manual
Navigation menu
Upload a User Manual
Namespaces
Wiki Guide
HTML
PDF
Info
Views
User Manual
Discussion / Help
Navigation

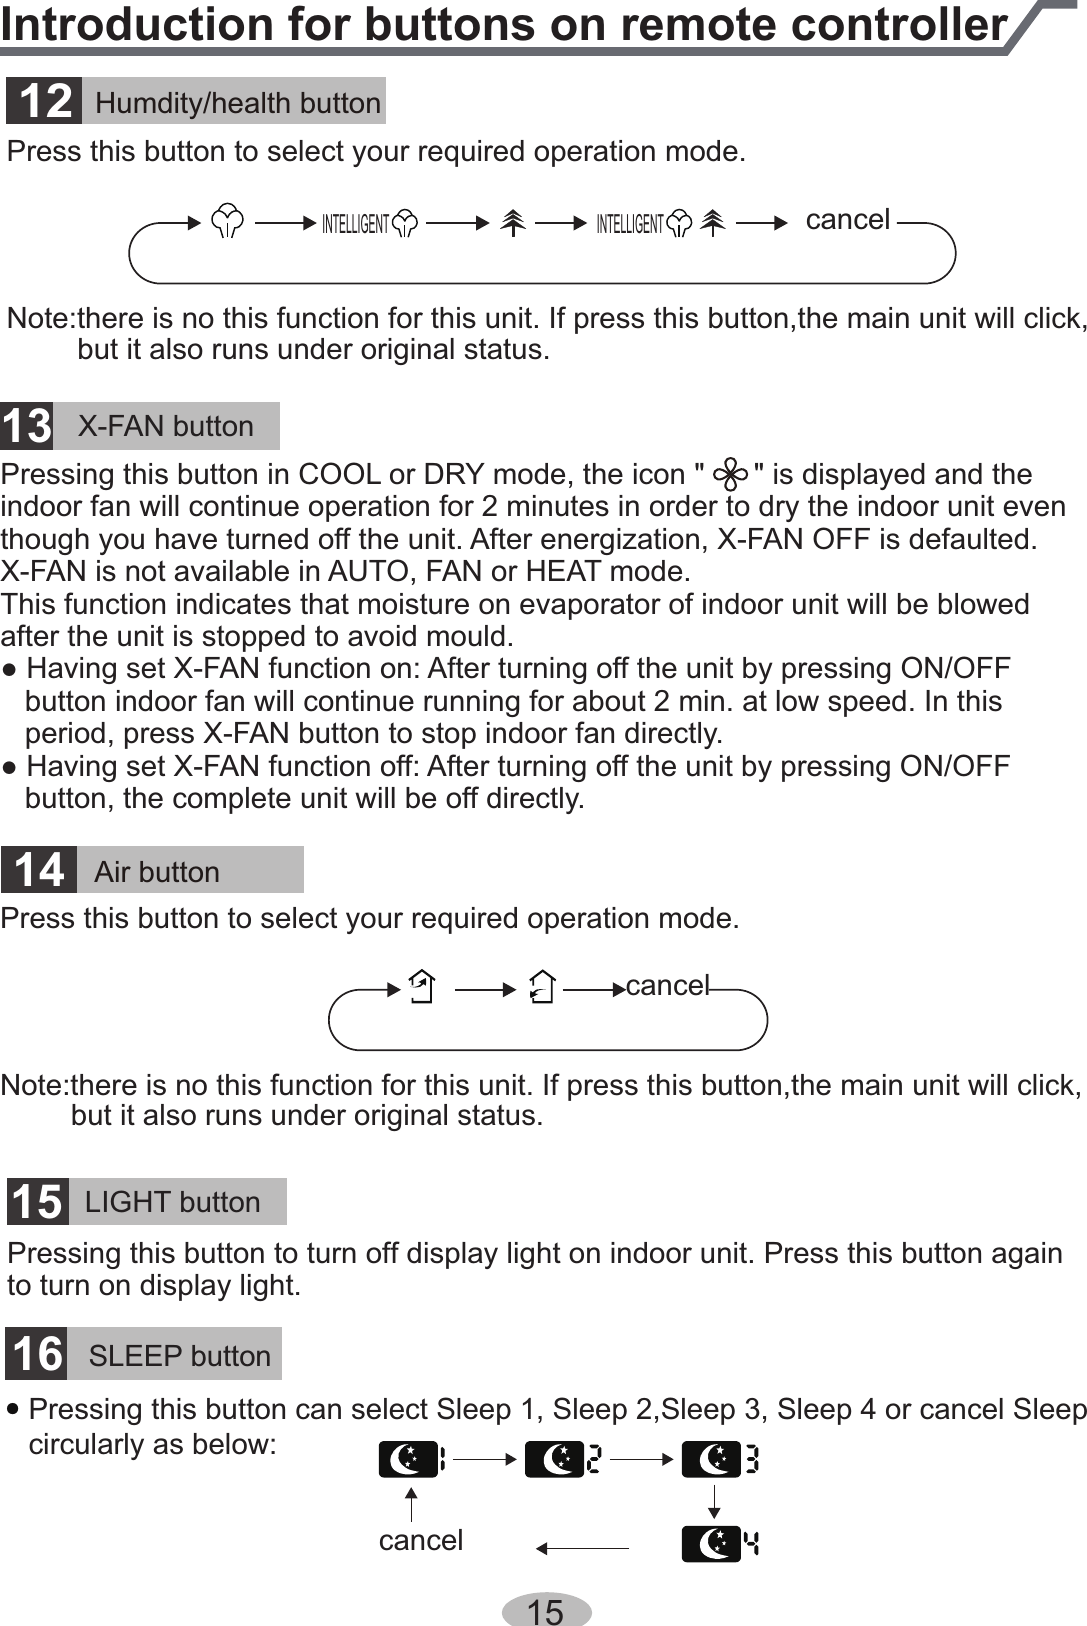
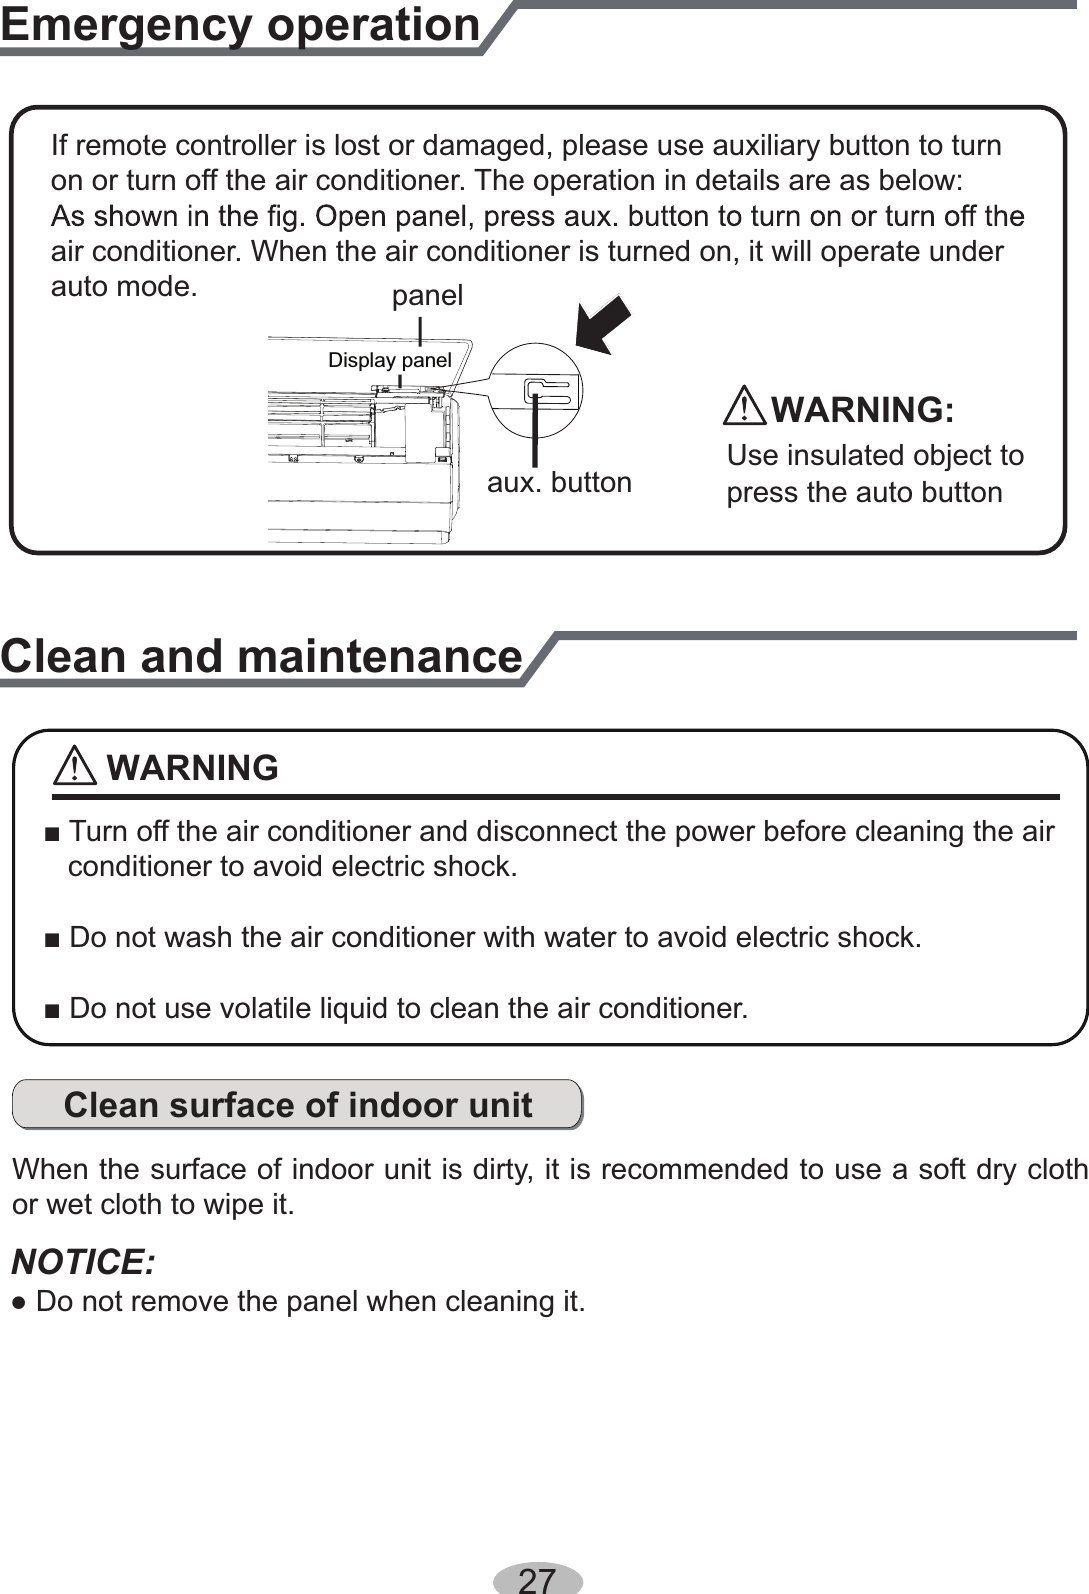
![26Operation of Smart Control (Smart Phone, Tablet PC)Ɣ 3RZHUVDYLQJ$IWHUHQHUJ\VDYLQJQDYLJDWLRQPRGHLVWXUQHGRQWKHDLUFRQGLWLRQHUZLOOGHWHFWLQGRRUWHPSHUDWXrHDQGRXWGRRUWHPSHUDWXUHDXWRPDWLFDOO\0HDQZKLOHWKHDLUFRQGLWLRQHUZLOODGMXVWIUHTXHQF\IDQVSHHGDQGVHWWHPSHUDWXUHDXWRPDWLFDOO\DFFRUGLQJWRWKHORDGVWDWXVIRUVDYLQJHQHUJ\Ɣ 1RLVH7KHQRLVHFXVWRPL]HGIXQFWLRQIRULQGRRUXQLWFDQEHDGMXVWHGDFFRUGLQJWRWKHDFWXDOLQGLYLGXDOUHTXLUHPHQW7KHGHWDLOHGDGMXVWPHQWUDQJHLVGLIIHUHQWIRUGLIIHUHQWPRGHOVZKLFKLVGHFLGHGE\LQGRRUXQLW](https://usermanual.wiki/Gree-Electric-Appliances-of-Zhuhai/CS532U/User-Guide-2579015-Page-27.png)