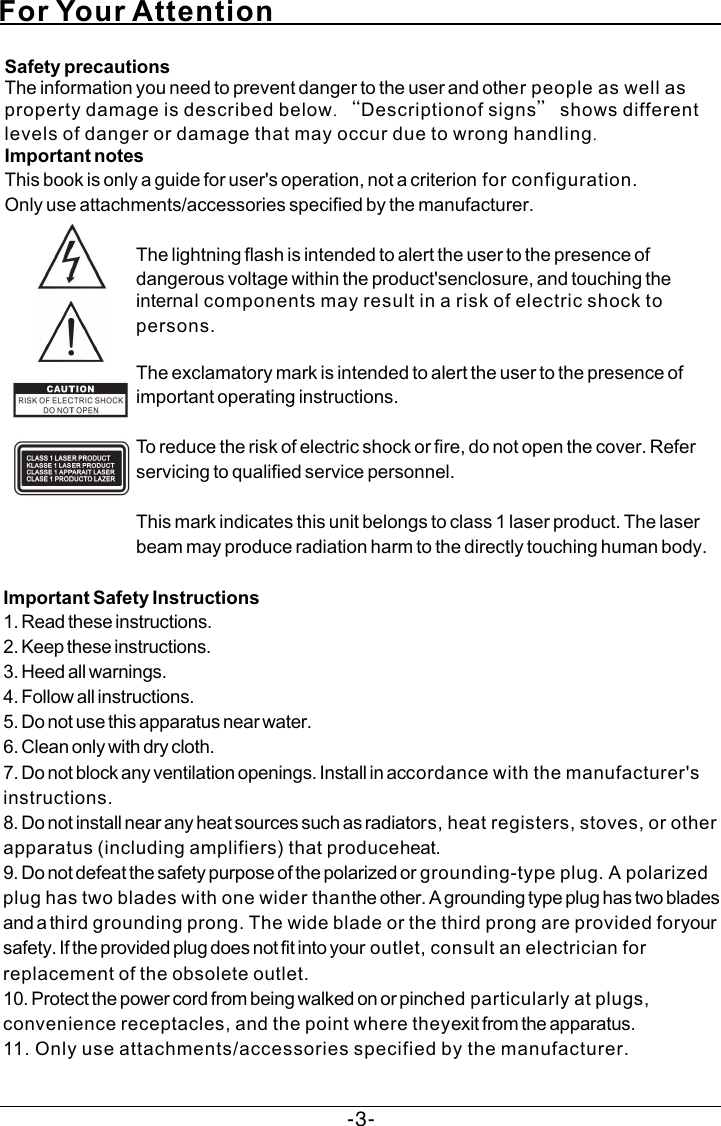
Guangzhou Panyu Juda Car Audio Equipment CM1551 CD MINI SYSTEM User Manual LF Sourcing NOXPS CM1551 ENGLISH
Guangzhou Panyu Juda Car Audio Equipment Co.,Ltd. CD MINI SYSTEM LF Sourcing NOXPS CM1551 ENGLISH
UserManual.wiki
>
Guangzhou Panyu Juda Car Audio Equipment
>
CM1551 User Manual
User Manual
Navigation menu
Upload a User Manual
Namespaces
Wiki Guide
HTML
PDF
Info
Views
User Manual
Discussion / Help
Navigation
![ConnectionsConnect the speakers to speaker output terminals with their attached speaker cables . LINE INThis unit has an extra group of audio input terminals. You can input the analogue stereo audio signals from extra devices such as VCD, CD, VCR,MP3 player, etc.Use the audio cable to connect the stereo audio output terminals of a VCD, CD, VCR player to the input terminal (LINE IN) of this unit. Its corresponding signal source is LINE IN which can be available by pressing [LINE] on the remote control.Speaker OutputAUDIO SYSTEM CONNECTIONThe model of the player is NOXPS, press [BT] button to switch to the corresponding signal source, use your smart phone to search the bluetooth signal of the player, then input the password 0000, at this time, " BT " will display on the display screen and the player will synchronize to play songs on your smart phone while they are connected successfully. Disconnect the bluetooth on the smart phone to switch off the bluetooth connect.Once the bluetooth is connected to your smart phone successfully for the first time, disconnect the bluetooth on your smart phone then reconnected it, the player will memorise your smart phone and re-pair automatically.Press [PLAY/PAUSE] to resume the playback.NOTE: In bluetooth mode, [PLAY/PAUSE], [MUTE],[NEXT] and [PREVIOUS] buttons are also active.BLUETOOTH CONNECTIONAmplifier Audio InputCD Audio OutputSpeaker Speaker outputR LBluetooth Model: NOXPS-6--](https://usermanual.wiki/Guangzhou-Panyu-Juda-Car-Audio-Equipment/CM1551/User-Guide-3882357-Page-7.png)
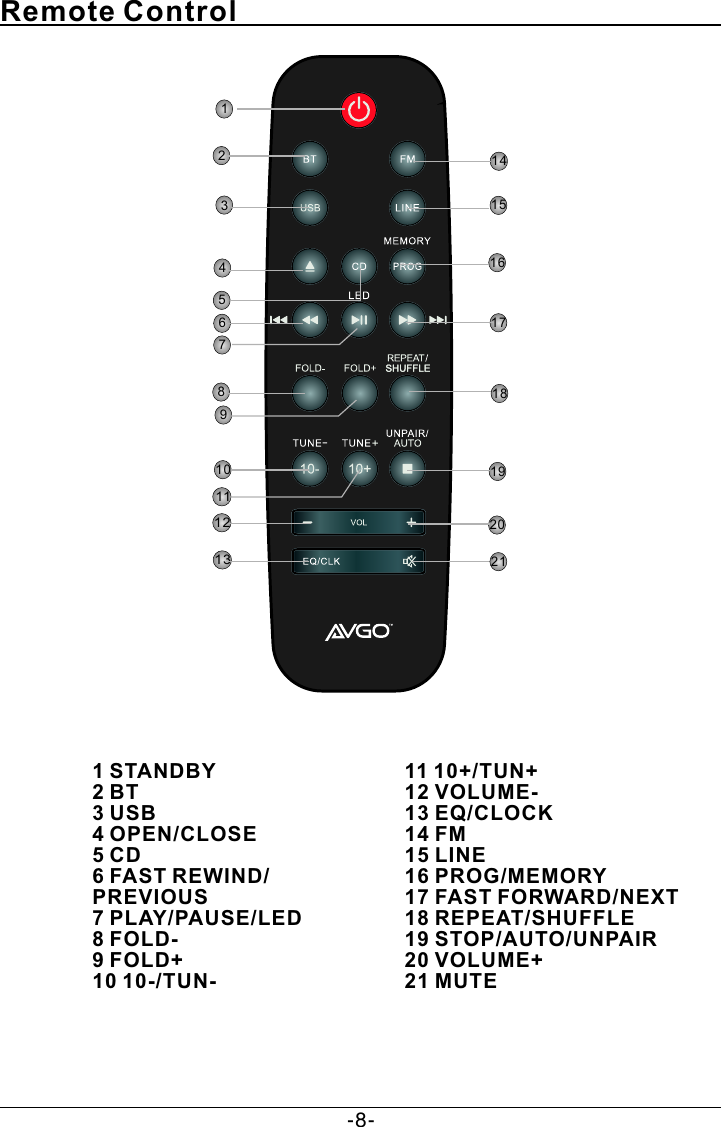
![●Press to switch on the unit. Press it again to put the unit in standby mode.●Press to temporarily pause a playback. Press it again to resume the playback.●Hold down repeatedly to switch the different color of LED indicator light display mode.●Press to stop a playback .●Hold down to disconnect bluetooth connection in bluetooth connection mode . Basic PlaybackCD Operation●Press to enter to CD mode.●Press to skip to the next chapter/track.●Press to return to the previous chapter/track.●Press to enter to USB mode.●Hold down for fast forward playback .●Hold down for fast rewind playback .●Press to enter to LINE IN mode.●Press to open or close the disc tray.●Press [VOLUME+] to turn up the volume.●Press [VOLUME-] to turn down the volume.●Press to enter to BLUETOOTH mode.●Press to enter to FM mode.LINEBTLED●In stop mode, place a CD and press [PROGRAM] to access to the program mode. Press the arrows [ ]/ [ ] button to select the desired track and press once again [PROGRAM] to confirm your selection. Press [ ] to start program playback. -9-](https://usermanual.wiki/Guangzhou-Panyu-Juda-Car-Audio-Equipment/CM1551/User-Guide-3882357-Page-10.png)
![●Press to temporarily switch off the sound . Press it again to switch it on. Basic Playback●Press repeatedly to switch the repeat and shuffle modes.●Press to skip the next folder .●Press this button for each time to increase ten tracks.●Press this button for each time to decrease ten tracks.● folder .Press to return to the previous ●Press to switch to the equalizer mode.●In standby mode, hold down this button and enter into clock set mode, press[ ]/[ ] button to select 12H or 24H clock display ,press clock button to confirm, then use [ ]/[ ] button to set the clock time, press it again to confirm it. Note: it is only available in standby mode.SHUFFLE-10-](https://usermanual.wiki/Guangzhou-Panyu-Juda-Car-Audio-Equipment/CM1551/User-Guide-3882357-Page-11.png)
![NOTE: In Tuner mode, [VOLUME+/-], [MUTE] buttons are also active. For details, please refer to the introduction of the CD operation in this chapter. The following buttons are used in tuner mode. Press [FM] button repeatedly to select tuner mode.●Press to skip to the next preset station.Tuner Operation Basic Playback●Press to skip to the previous preset station.●TUN+: press to fine tune (increase) the frequency;●TUN-: press to fine tune (decrease) the frequency.●Hold down [TUN+/-] to increase/decrease the frequency continuously. ●Hold down to do auto scanning for the broadcasting radio channels, press it again to stop auto scanning.Insert a USB drive in the USB slot, then press [USB] button on the remote control enter the connected USB drive and you can playback the readable files in it. ,USB Drive Playback●After tuning in a new frequency, press [MEMORY] then select a preferred station by pressing arrows [ ]/[ ], press [MEMORY] again to confirm and save it as a preset station.-11-](https://usermanual.wiki/Guangzhou-Panyu-Juda-Car-Audio-Equipment/CM1551/User-Guide-3882357-Page-12.png)
![TroubleshootingBefore resorting to maintenance service, please kindly check by yourself with the following chart.The player stops when a USB drive is inserted into the player.SoundThere is no sound or the sound is distorted.●The audio cables aren't connected securely.●The volume is set to the minimum level.●The sound is switched off.●Connect the audio cables securely.●Turn up the volume.●Press [MUTE] on the remote control to switch on the sound.●Press [PLAY/PAUSE].The remote control does not function.●There is no battery in the remote control.●The batteries are out of charge. ●The remote control isn't pointed to the remote sensor.●The remote control is out of its operating area.●The unit is shut down.Unable to play a disc●The disc is placed in the disc tray in a wrong way.●The unit isn't compatible with the disc.●The disc is dirty.●Check that the disc is placed in the disc tray with its label side upwards.●Clean the disc.Symptom Cause(s) Remedy●Switch off and unplug the unit. Then connect the plug to the power supply and switch it on again.●The unit is being interfered with static electricity etc.●The AC power cord is not connected to the power supply or is not connected to a power supply securely.●Please check that the AC power cord is connectedsecurely.No Power●The connected USB drive is probably not a certified one.●The player cannot play any uncertified USB drive.In case the player breaks down, turn it off, disconnect the power cord from the AC outlet and unplug the USB drive from the player. Then, power on the player again. The player will resume the normal functions.The buttons on theunit do not work●Install one AAA/1.5V battery in the remote.●Replace the batteries with new ones.●Make sure that the remote control is pointed to the remote control sensor.●Make sure the remote control is within the operating area.●Switch off the unit anddisconnect it from the AC outlet. Then power on the unit again. -12-](https://usermanual.wiki/Guangzhou-Panyu-Juda-Car-Audio-Equipment/CM1551/User-Guide-3882357-Page-13.png)