HARRIS TR-413-A2 cellular/pcs portable terminal User Manual exhibit 8b
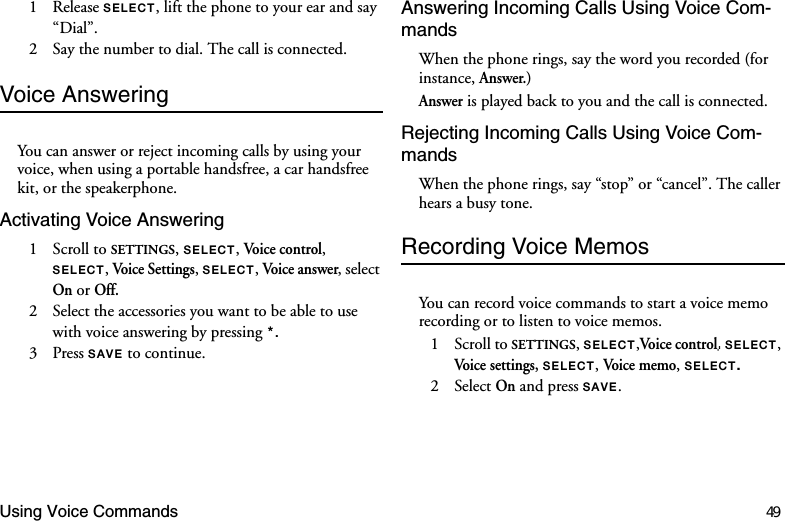
HARRIS CORPORATION cellular/pcs portable terminal exhibit 8b
UserManual.wiki
>
HARRIS
>
TR-413-A2 User Manual
>
exhibit 8b
Contents
1.
exhibit 8a
2.
exhibit 8b
3.
accessories and SAR performance
exhibit 8b
Navigation menu
Upload a User Manual
Namespaces
Wiki Guide
HTML
PDF
Info
Views
User Manual
Discussion / Help
Navigation

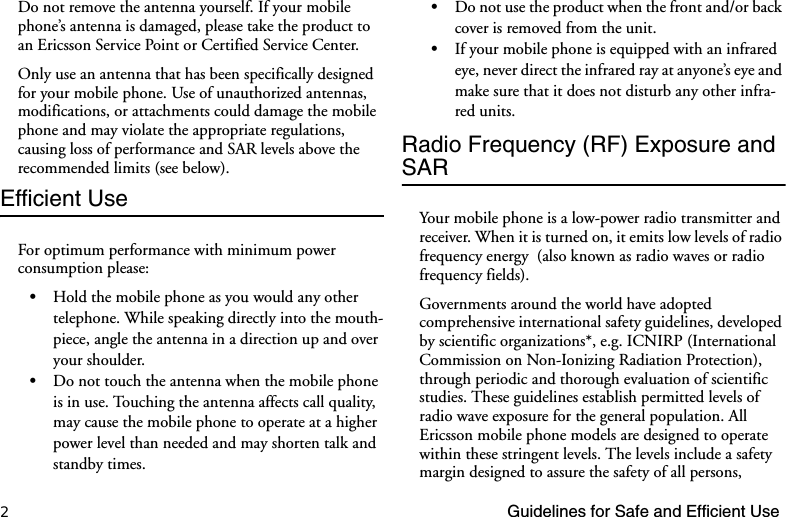

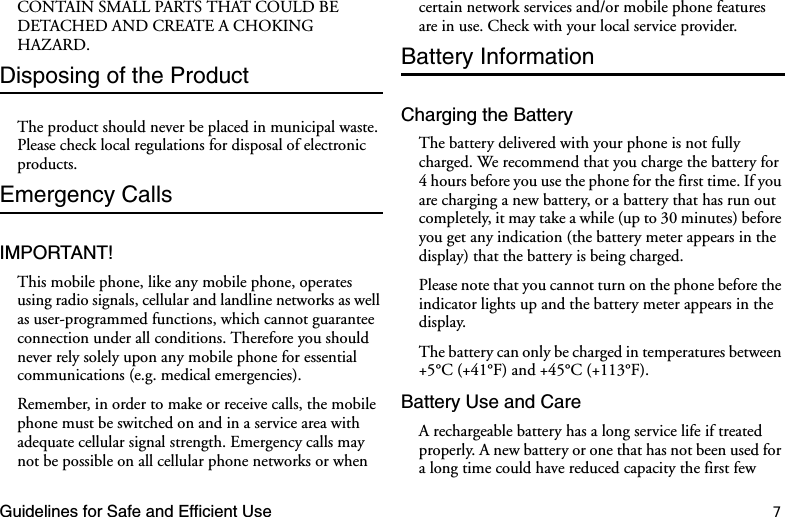


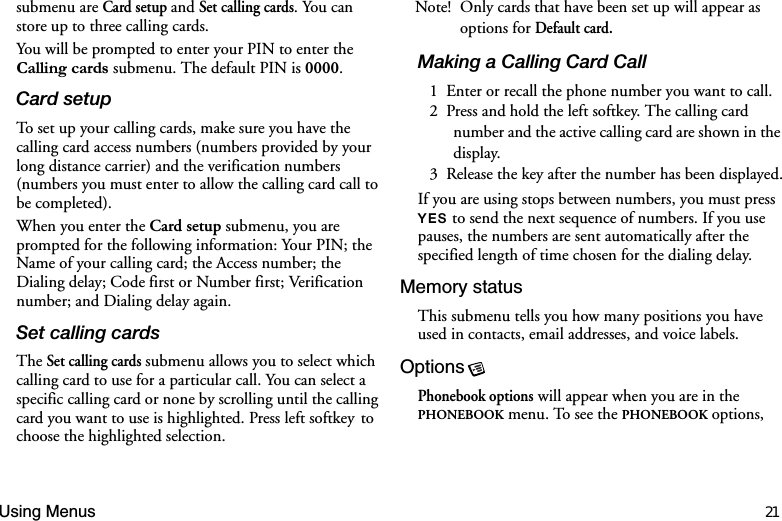
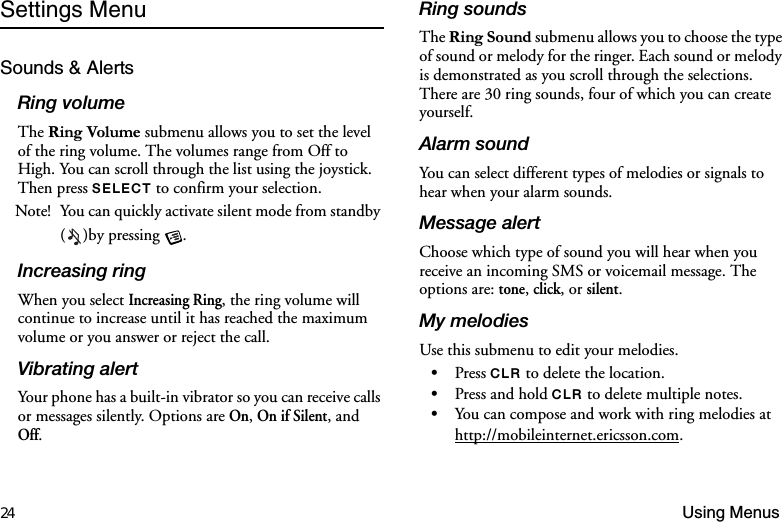
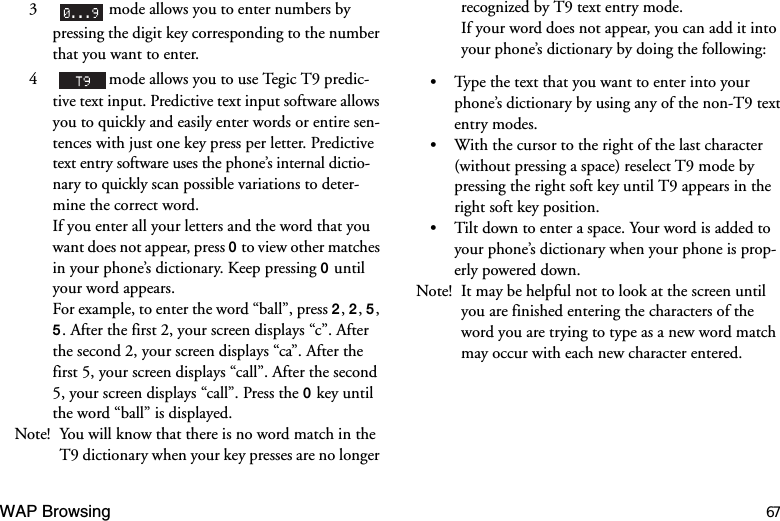
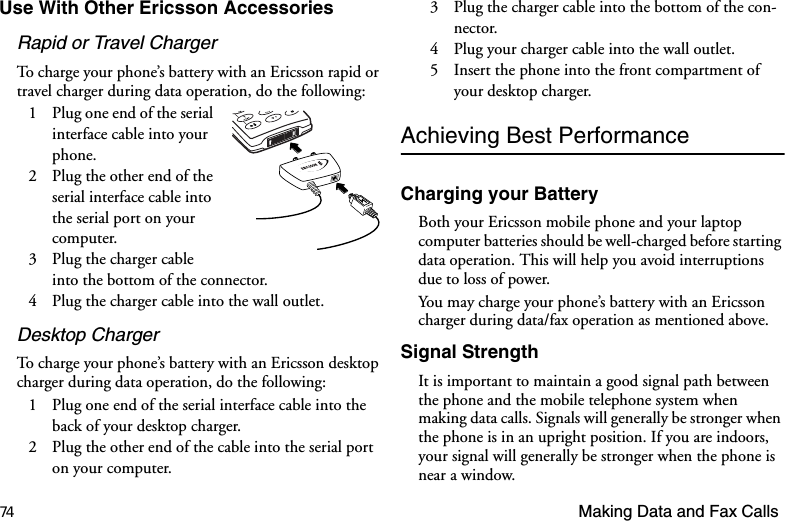
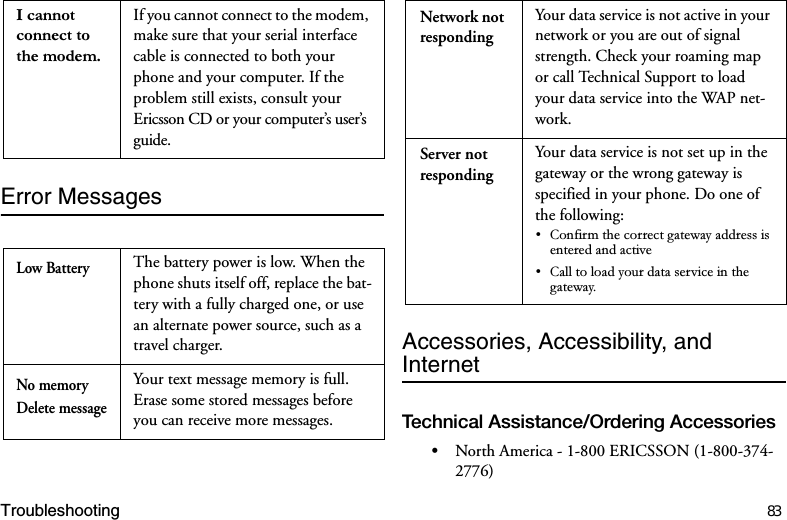
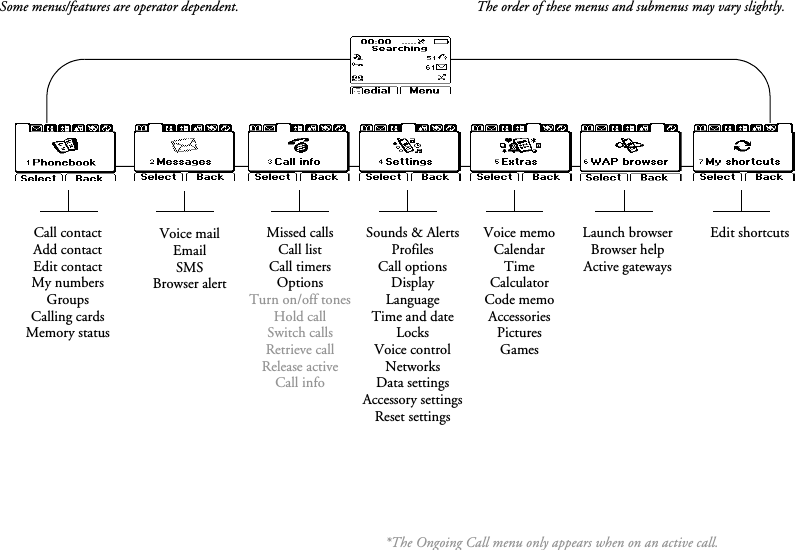
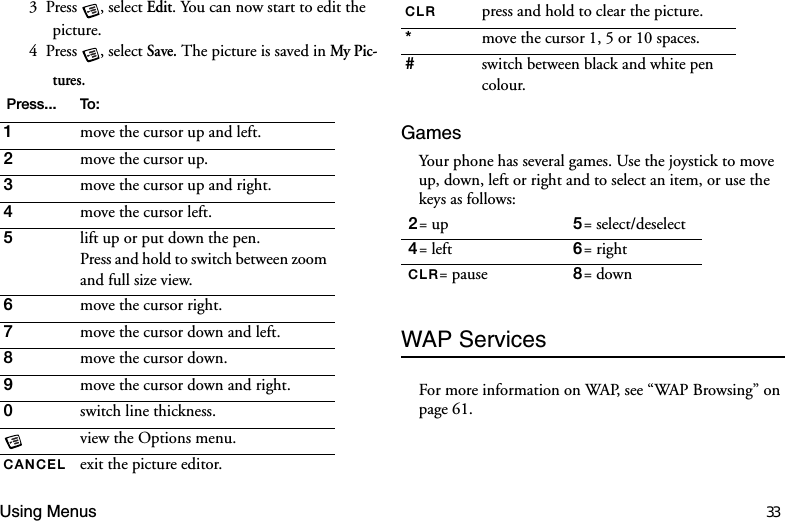
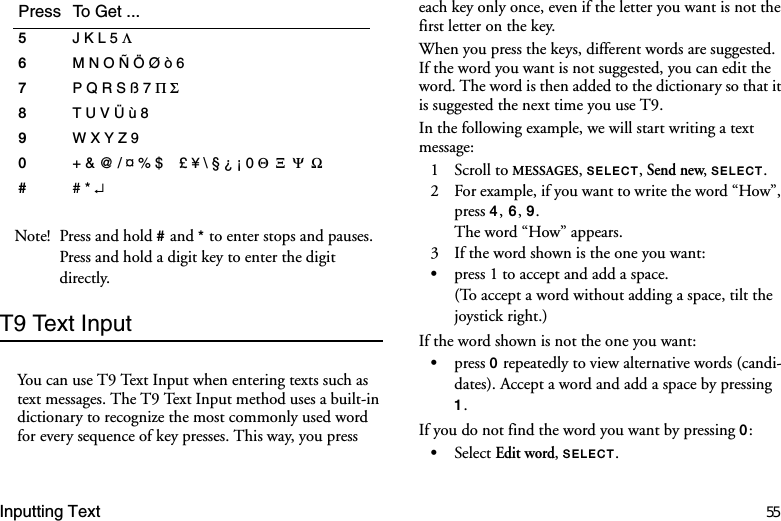
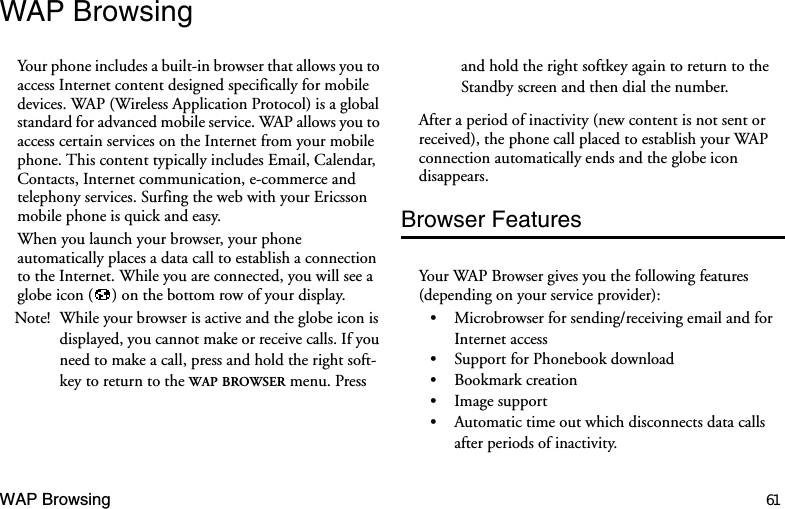
![28 Using MenusDisplayThe display submenu is used to change the Light, Display sleep, Background, Tex t s i z e, User greeting, and to activate/deactivate Menu Help./LJKWUse the light submenu to set the display and keypad backlighting to stay Off or to automatically turn On for 30 seconds when a call is received or a key is pressed.'LVSOD\VOHHSUse Display sleep to save battery power. The text in standby mode is reduced to one row at the top of the display a few minutes after you have pressed the last key.%DFNJURXQGYou can select an image to display on the background of your standby screen. For instructions on inserting background pictures, see “Pictures” on page 32.7H[WVL]HSelect the size of the font to appear in your display. The options include small (five lines of text), medium (four lines), and large (three lines).8VHUJUHHWLQJUse the Greeting submenu to alter the information that is displayed when your phone powers on. Options include: Ericsson Movie, My Greeting, My Animation, and, Off. With My Greeting, you can enter whatever message you would like to see (up to one line of text). You can also choose to add a movie to the greeting. The default movie is an Ericsson animation. You can also turn off the greeting.0HQXKHOSActivate or Deactivate pop-up Menu Help. For more information on Menu Help, see “Menu help” on page 20.LanguageThe Language submenu allows you to select the language used in the phone display. The languages vary between markets. Your mobile phone may support American English, Canadian French, Latin American Spanish, and Brazilian Portuguese. You can also use this submenu to change input languages and to activate/deactivate T9 Predictive text input.](https://usermanual.wiki/HARRIS/TR-413-A2.exhibit-8b/User-Guide-157927-Page-33.png)
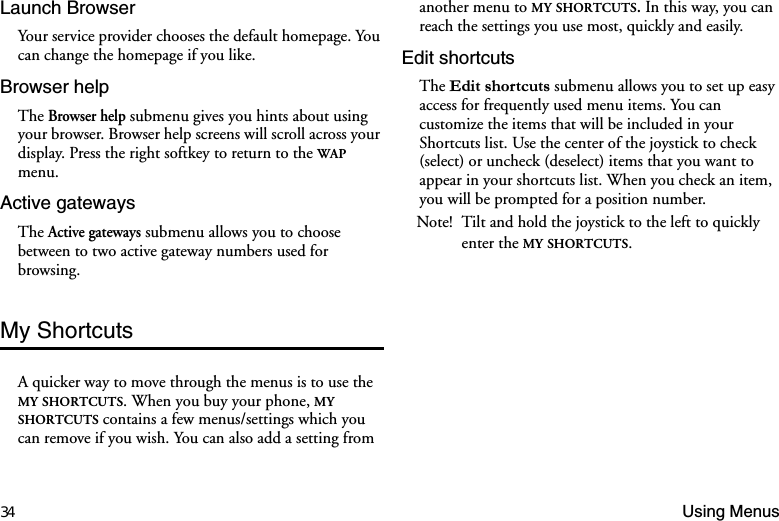
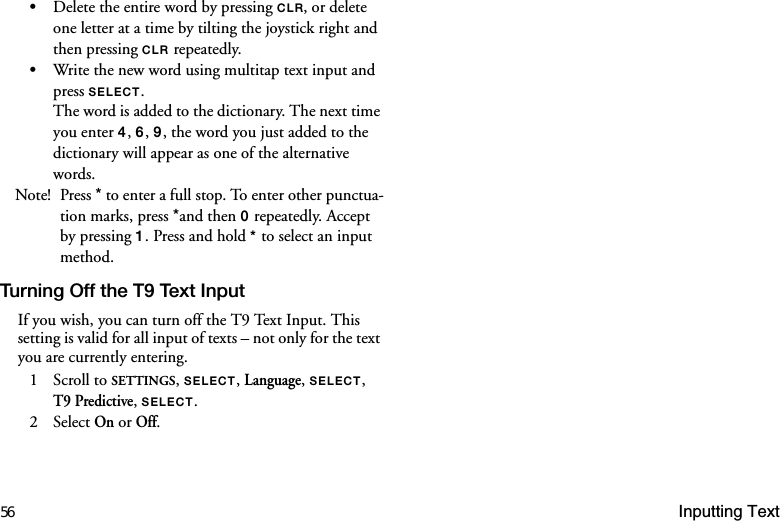
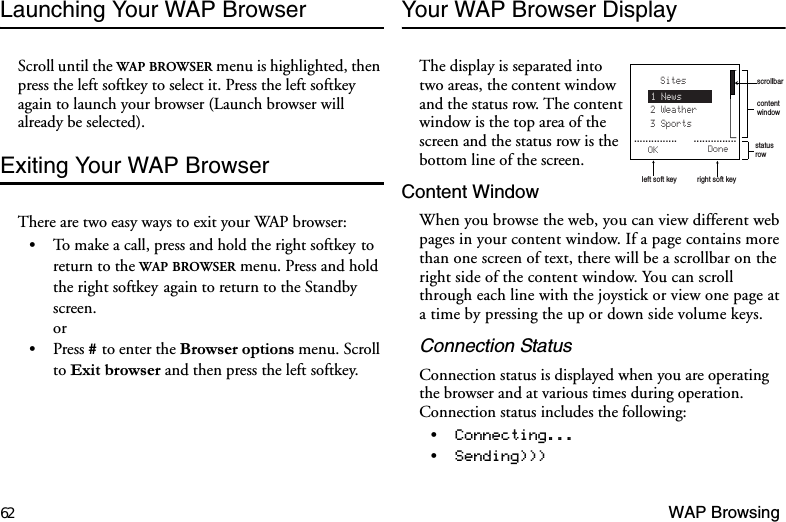

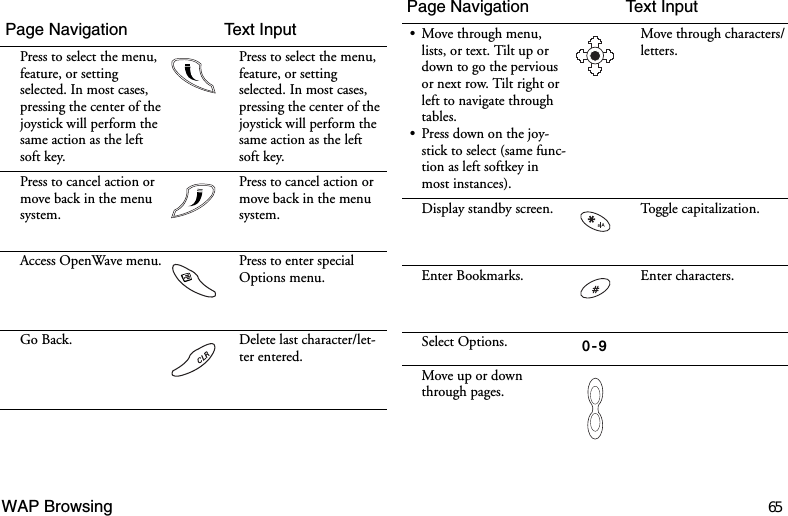
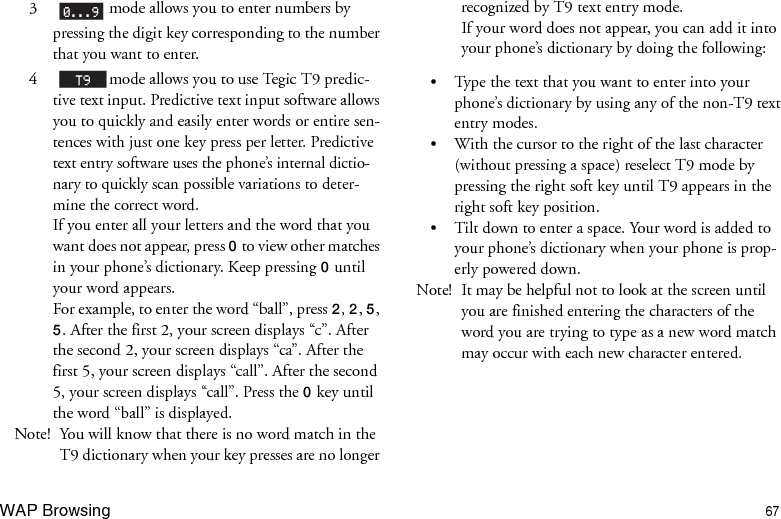
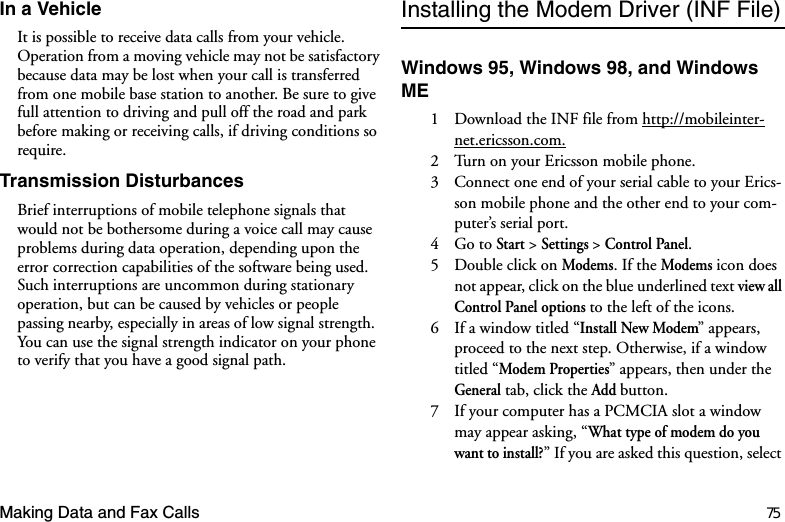
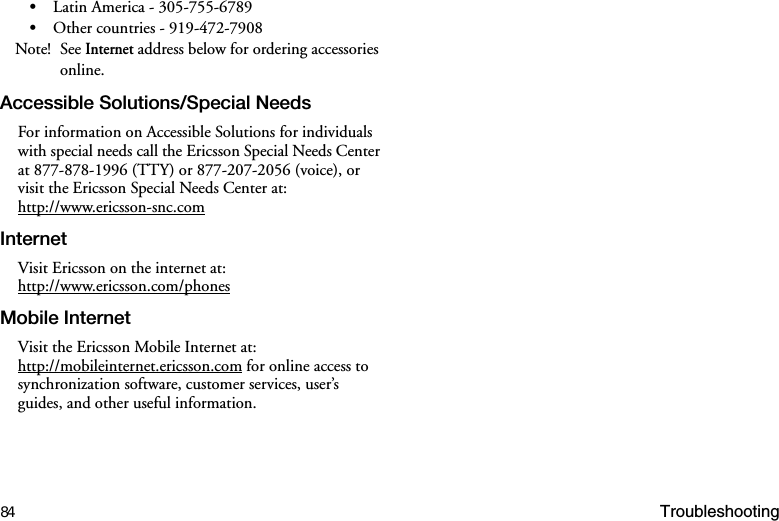
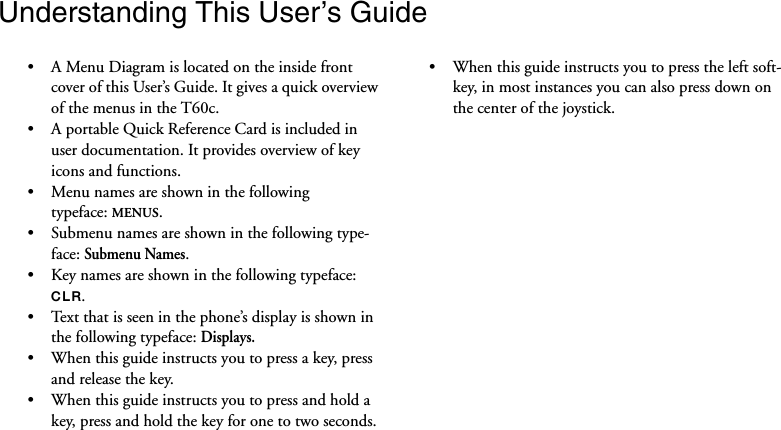
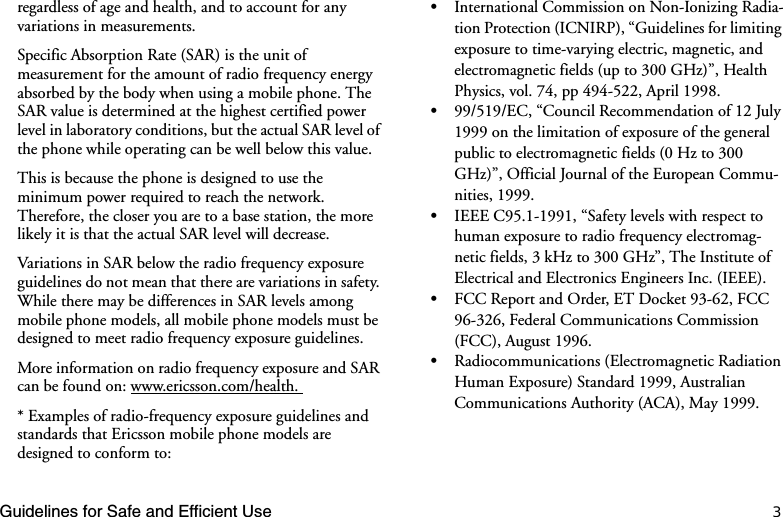
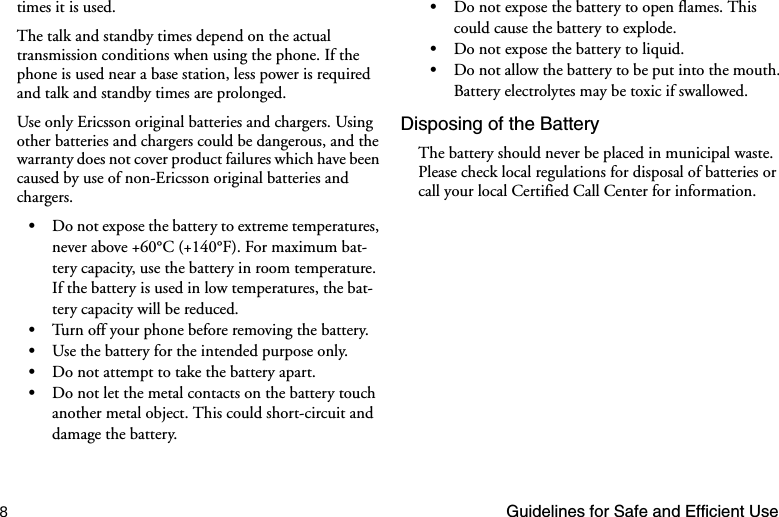
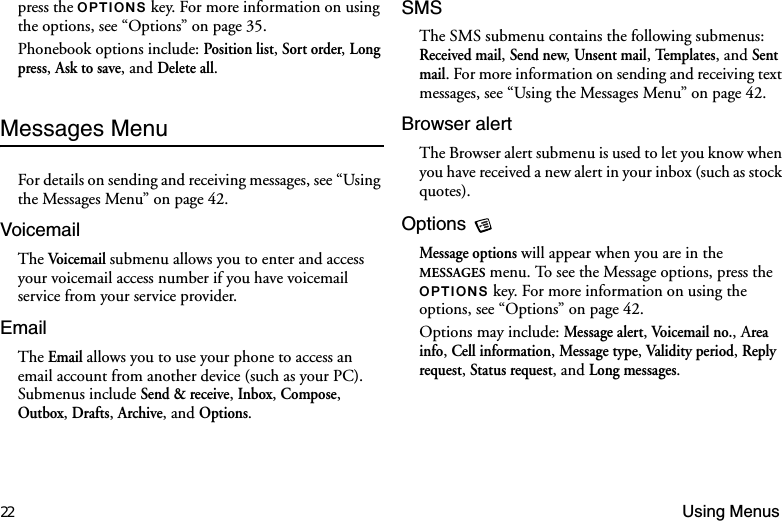
![66 WAP BrowsingText EntryYou can enter characters in four different modes. The active format is displayed in the right soft key position. Change the format in which characters are entered by pressing the right soft key.1 mode allows you to enter alphabetic text. Press the appropriate key, 0-9, or # repeatedly until the desired letter, character, or digit appears in the display. For example, to enter an a, press the numeric key 2 once. To enter a b, press the numeric key 2 twice. 2 mode allows you to select symbols and punctuation from a list. You can switch to symbol entry by pressing the right soft key until SYM is in the right soft key position. There are four screens of symbols. Press the left soft key to switch between each screen. Press the digit key corresponding to the symbol that you want to enter. Your phone auto-matically switches back to the previously-used method of text entry after you enter one symbol.Press To Get ...SPACE . , : ; ? ! ¿ ¡ _ " ’ « » ( ) 1A B C 2 À Á Â Ã ÇD E F 3 È É Ê ËG H I 4 Í Î ÏJ K L 5M N O 6 Ñ Ó Ô ÕP Q R S 7T U V 8 Ù Ú Û ÜW X Y Z 9 / * - + = < > 0# @ $ ^SYM1 . ? ! , ; : ‘ ’ " SYM2 . @ \ / | _ ~ $ ^SYM3 + - * / < > = % #SYM4 { } [ ] ( ) < > &Press To Get ...](https://usermanual.wiki/HARRIS/TR-413-A2.exhibit-8b/User-Guide-157927-Page-71.png)