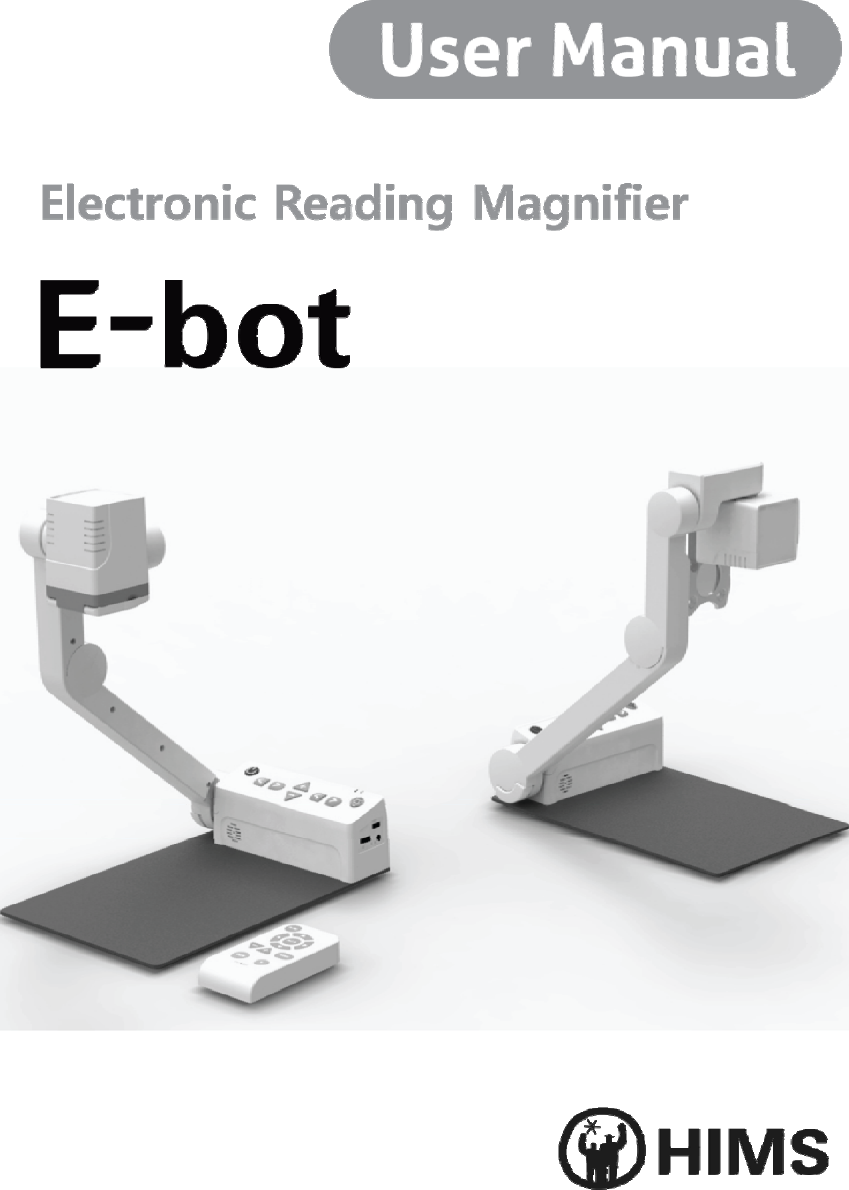
HIMS EB100A Electronic Magnifier (E-bot ADV) User Manual
HIMS International Corporation Electronic Magnifier (E-bot ADV)
UserManual.wiki
>
HIMS
>
EB100A User Manual
User Manual
Navigation menu
Upload a User Manual
Namespaces
Wiki Guide
HTML
PDF
Info
Views
User Manual
Discussion / Help
Navigation
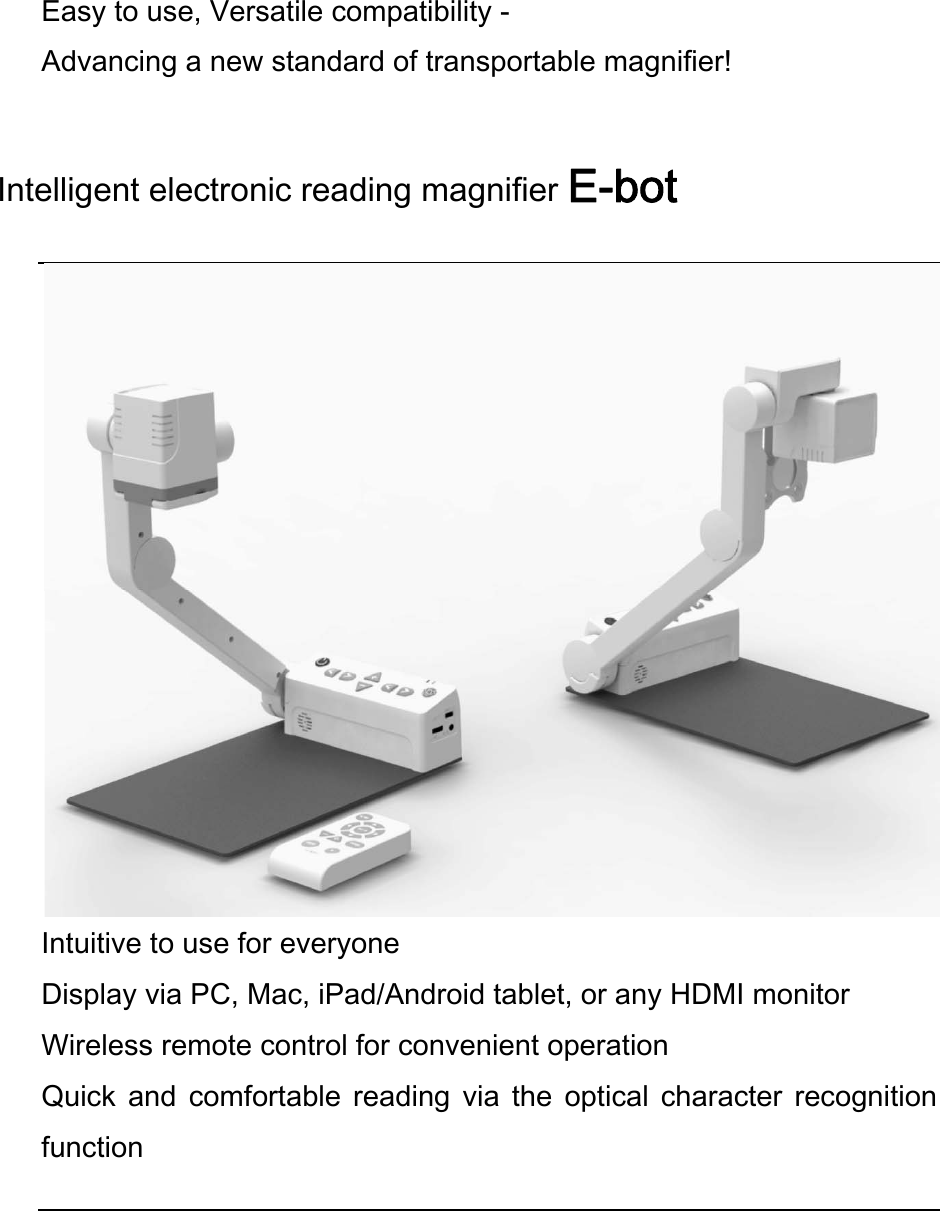

![E-bot manual ④ The text Letter Color is displayed on the screen. Select the color of the text using the left and right arrows * The text color and background color being displayed are exchanged when the [Reverse] button is pressed. ⑤ Select the Background color when you have finished selecting the text color. Use the same method as when setting the letter color.. * If Grayscale is chosen when selecting the Letter color, the Color setting mode is exited without selecting a Background color. ⑥ After you have selected the background color, you are returned to the menu window. To disable color modes You can disable color modes that are not useful to you so that you may cycle through useful color modes more quickly. ① Bring up the Menu, go to the Options tab, then select “Set color mode”. ② Select one of the color modes numbered 1 to 7. ③ If you press the Up arrow key when “Letter color” is displayed, a window appears asking whether to disable the current Color mode. Choose ‘Yes’ to disable the Color mode or ‘No’ to cancel.](https://usermanual.wiki/HIMS/EB100A/User-Guide-2276191-Page-30.png)
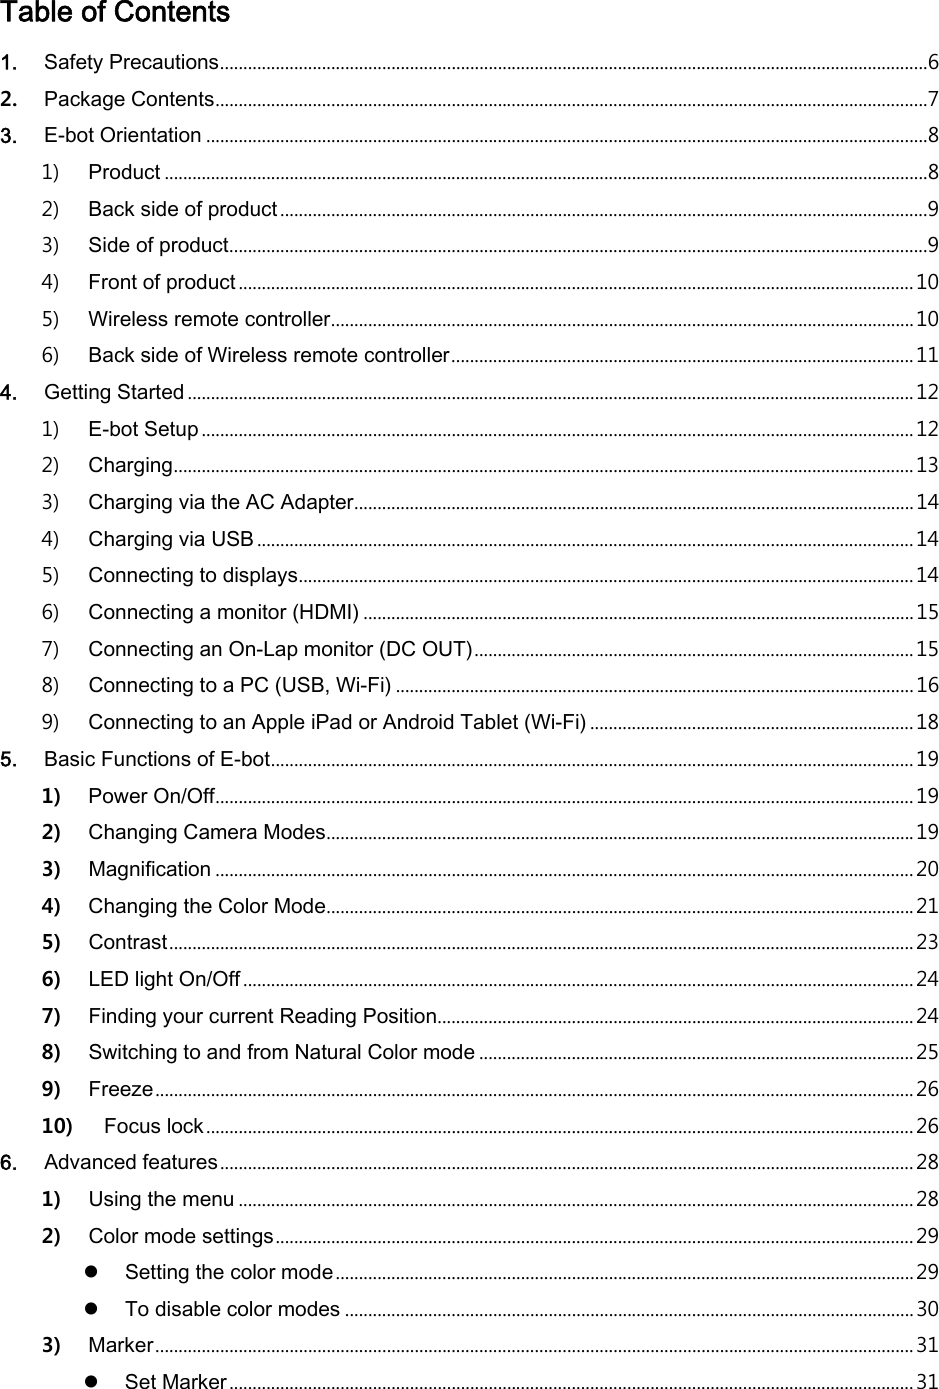
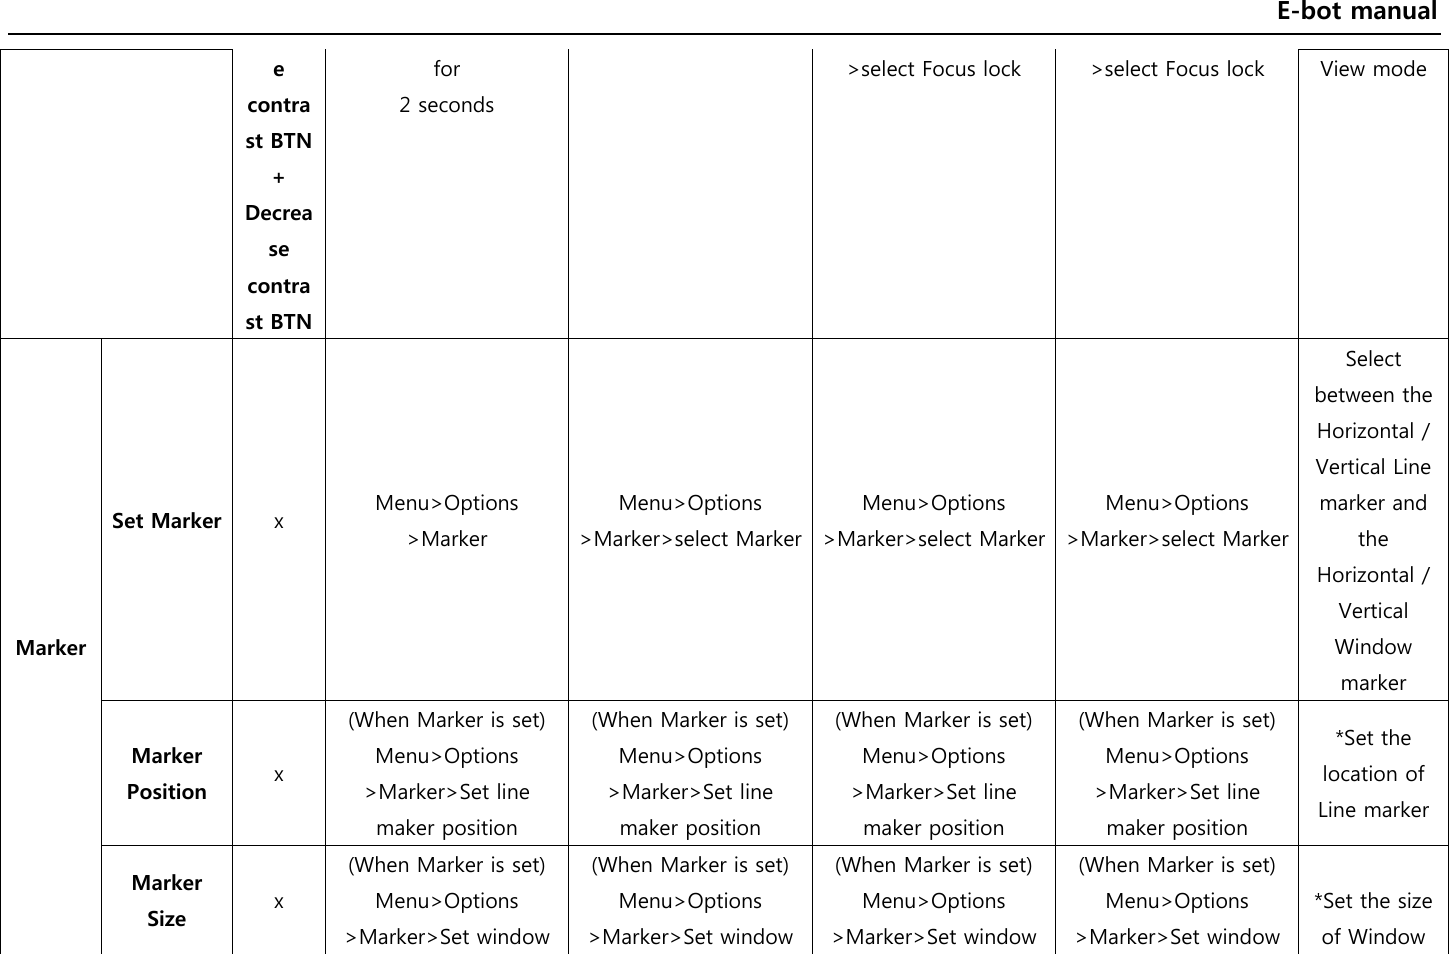
![E-bot manual ④ When you have made your selection, you are returned to the menu. 3) Marker The Marker helps you to focus on the text that you are reading by narrowing the display area with window markers or by underlining the sentence that you are reading. Set Marker There are 4 kinds of markers; Horizontal Line Marker, Vertical Line Marker, Horizontal Window Marker and Vertical Window Marker. Horizontal Line Marker Vertical Line Marker Horizontal Window Marker [A window asking whether to disable Color mode] ABCDEFGHIJKLMNOPQRABCDEFGHIJKLMNOPQRABCDEFGHIJKLMNOPQRABCDEFGHIJKLMNOPQRABCDEFGHIJKLMNOPQRABCDEFGHIJKLMNOPQRABCDEFGHIJKLMNOPQRABCDEFGHIJKLMNOPQR](https://usermanual.wiki/HIMS/EB100A/User-Guide-2276191-Page-31.png)


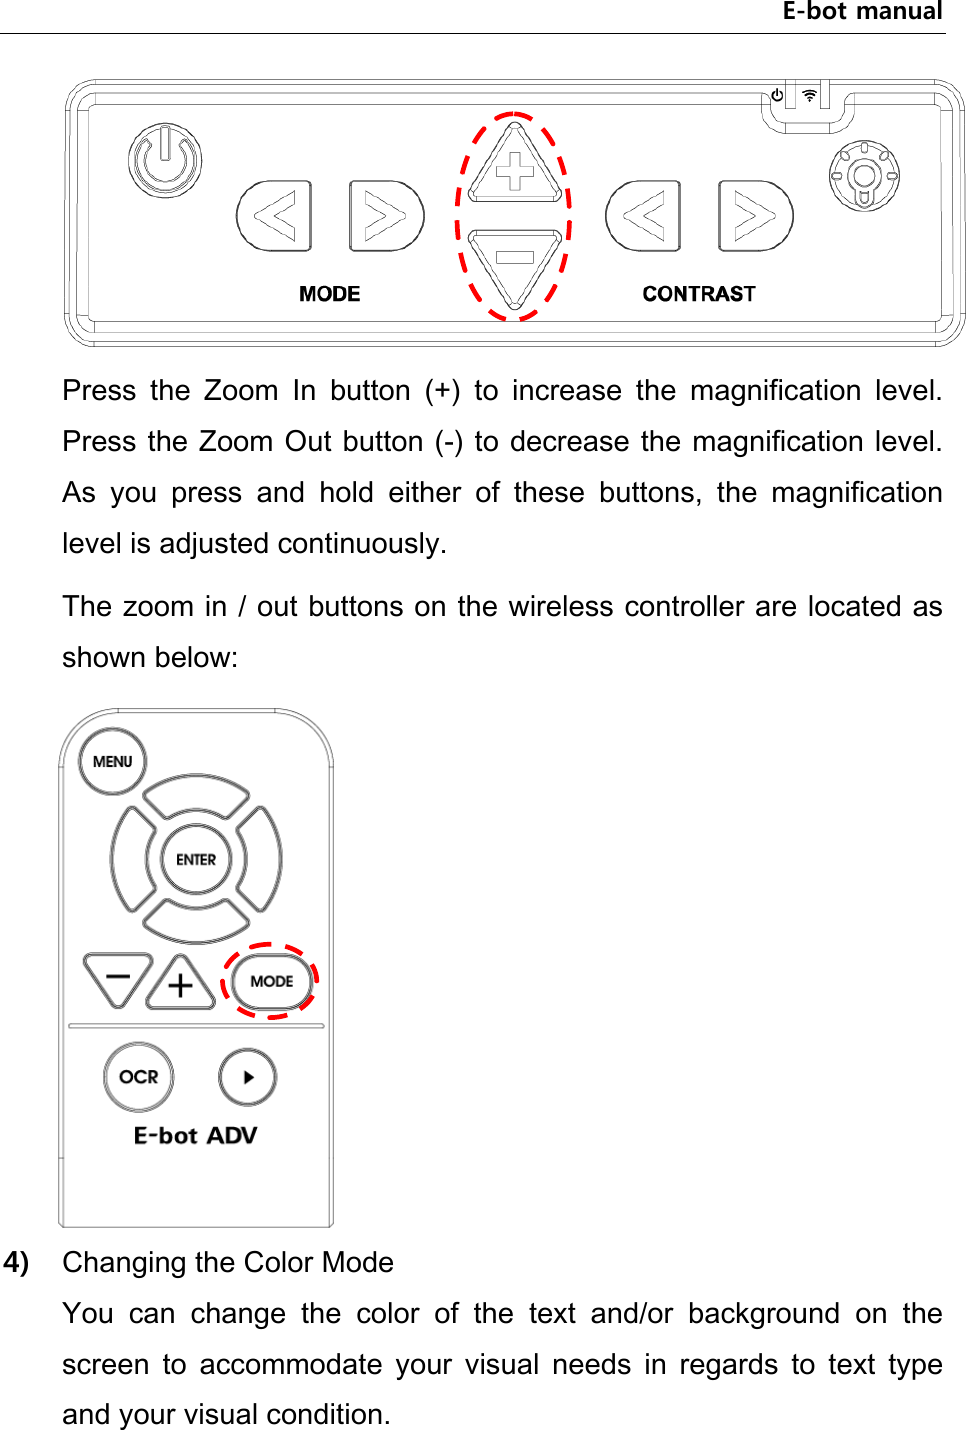
![E-bot manual ※ How to control Features How to Control Additional Description Main Body Remote Controller Keyboard Mouse Touchpad Power Power OnPower BTN shortly (when power is off) x x x x It takes around 45 seconds to boot E-bot up Power OffHold Power BTN over 3 seconds Sleep mode Power BTN shortly x x x x Enter/Release the Sleep mode Light On/Off Light BTN x x x x Only in Near View mode Zoom Zoom In Zoom In BTN Zoom In BTN [+] Wheel scroll up (click Left click to Move fingers away from each other Continuous zoom](https://usermanual.wiki/HIMS/EB100A/User-Guide-2276191-Page-48.png)
![E-bot manual stop zooming in) Zoom Out Zoom Out BTN Zoom Out BTN [ - ] Wheel scroll down (click Left click to stop zooming out) Pinch fingers towards each other Continuous zoom Find PositionZoom in BTN +Zoom out BTN Zoom In BTN +Zoom Out BTN Ctrl + [f] need to be kept holding x Two-finger one-tap on the bottom of the screen for more than 2 seconds Toggle between “Current zoom position" and “Minimum zoom position” Color Mode Mode changesPrevious Color Mode BTN/ Next Color mode BTN Color Mode BTN [m]/ [Shift]+[m] Left click shortly One-finger flick to right on the bottomChanges in the stored order Switch to Natural Color Mode x Hold the Color Mode BTN for 2 seconds [n] x Two-finger double-tap on the bottom Toggle between “Natural color mode”](https://usermanual.wiki/HIMS/EB100A/User-Guide-2276191-Page-49.png)
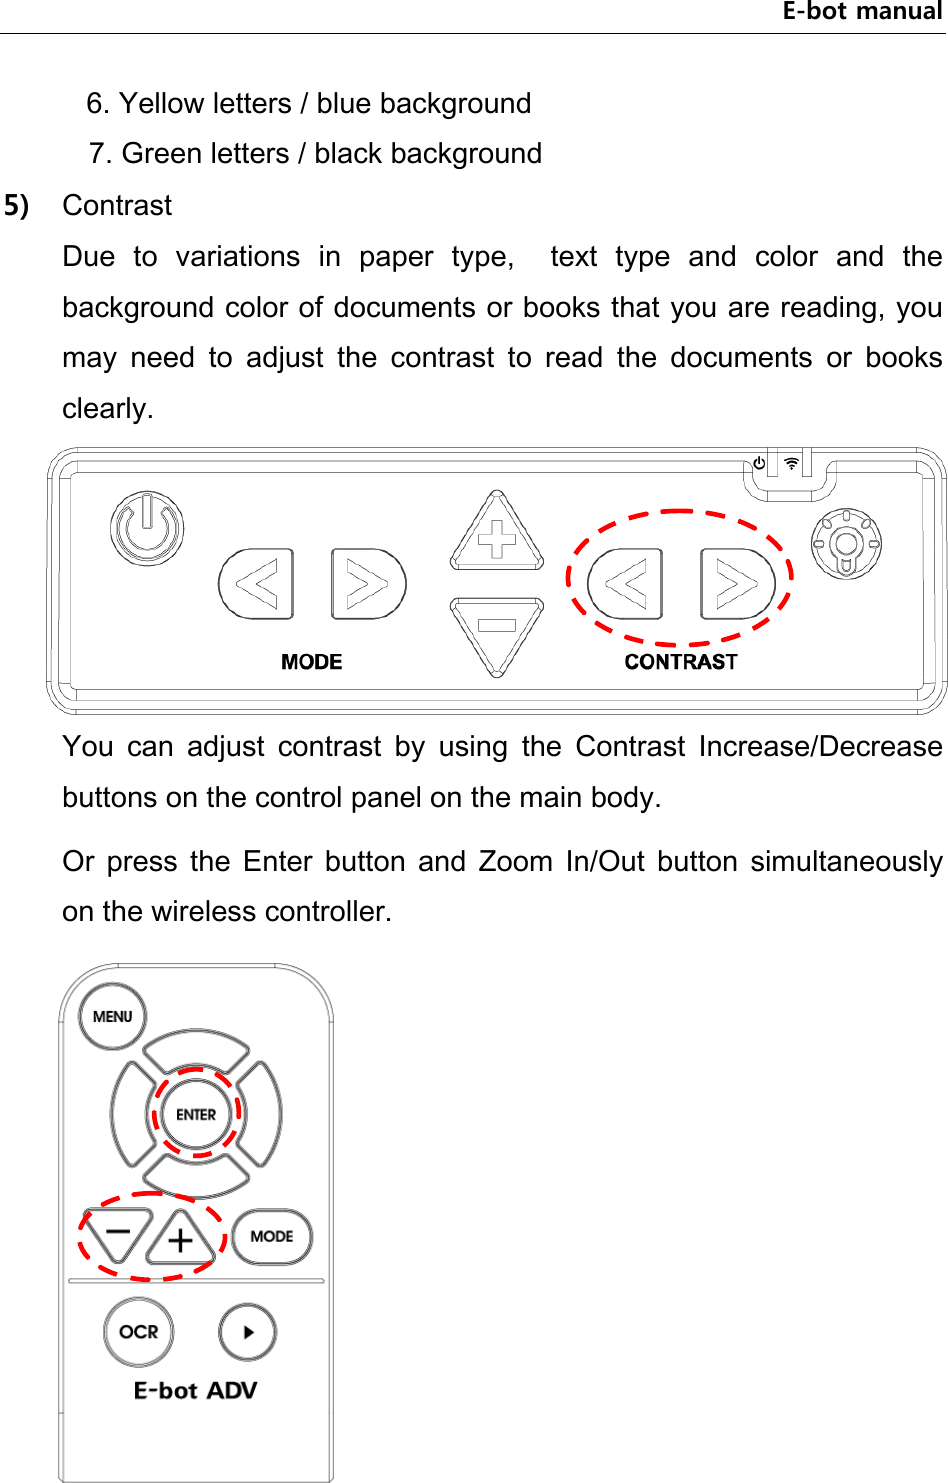
![E-bot manual and “previous color mode” Set Color Mode x Menu>Options >Set Color Mode Menu>Options >set Color mode Menu>Options >set Color mode Menu>Options >set Color mode Color modes from 1 to 7 can be set Reverse Color Mode x Menu>Options>Set Color Mode>select color mode want to change>[↓] Menu>Options>Set Color Mode>select color mode want to change>[↓] Menu>Options>Set Color Mode>select color mode want to change>[↓] Menu>Options>Set Color Mode>select color mode want to change>[↓] Disable Color Mode x Menu>Options>Set Color Mode>select color mode want to change>[↑] Menu>Options>Set Color Mode>select color mode want to change>[↑] Menu>Options>Set Color Mode>select color mode want to change>[↑] Menu>Options>Set Color Mode>select color mode want to change>[↑] Contrast Contrast Up Increase contrast BTN Enter BTN + Zoom In BTN [c] or [↑] Menu>Options >select Contrast One finger Tap on right end of the screen and flick to up Contrast Down Decrease contrast BTN Enter BTN + Zoom Out BTN [Shift]+[c] or [↓] Menu>Options >select Contrast One finger Tap on right end of the screen and flick to down Freeze On / Off x Play/Pause BTN [Space] x One finger Double-tap Focus Lock On / Off Increas Hold the Enter BTN [Ctrl] + [l] Menu>Options Menu>Options Only in Near](https://usermanual.wiki/HIMS/EB100A/User-Guide-2276191-Page-50.png)
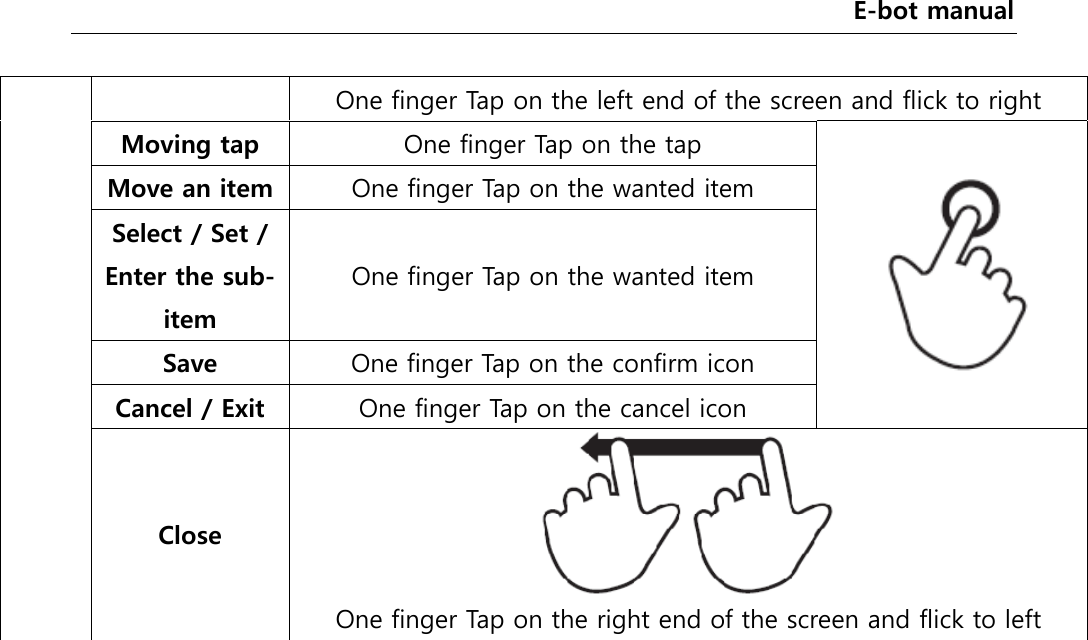
![E-bot manual marker size marker size marker size marker size marker Menu Open x Menu BTN [Ctrl] + [M] Right click One finger Tap on the left end of the screen and flick to right - Moving tap x Left (BTN), Right (BTN) (In the top-level menu item) (In the top-level menu item) [←], [→] Left click on the wanted item One finger Tap on the tap *Move between Main Category of menu item. *Two kinds of tabs: 'Options', 'OCR' Move an item x Up (BTN), Down (BTN) [↑], [↓] Left click on the wanted item One finger Tap on the wanted item Move between the items at the same level Select / Set / Enter the sub-item x Enter BTN [Enter] Left click on the wanted item One finger Tap on the wanted item - Cancel / Exit x Menu BTN [Back space] or ESC Left click on the ‘Exit’ item One finger Tap on the ‘Exit’ -](https://usermanual.wiki/HIMS/EB100A/User-Guide-2276191-Page-52.png)
![E-bot manual Close x Menu BTN (In the top-level menu item) (In the top-level menu item) [Back space] or [ESC]Left click on the ‘Exit’ item (In the top-level menu item) One finger Tap on the right end of the screen and flick to left- OCR OCR Execution x OCR BTN [o] Wheel click One finger Tap on the bottom for more than 2 seconds Execution / Play the OCR program OCR Play/ Pause x Play/Pause BTN [Space] x One finger Double-tap - Move Sentence x Left BTN/Right BTN [←], [→] x One finger flick to left or to right - Move paragraph x Up BTN/Down BTN [↑], [↓] x One-finger flick up or down - OCR Correction x Menu>OCR>OCR correction>Correct Angle or Perspective Menu>OCR>select OCR correction Menu>OCR>select OCR correction Menu>OCR>select OCR correction Angle correction and Perspective correction OCR Exit x OCR BTN or Menu BTN [ESC] x One finger Tap on the bottom for more than 2 seconds Exit the OCR / Switch to the Real View mode OCR View x Menu>OCR> Menu>OCR>select OCR View Menu>OCR>select OCR View Menu>OCR>select OCR View Choosing among Image, Full](https://usermanual.wiki/HIMS/EB100A/User-Guide-2276191-Page-53.png)
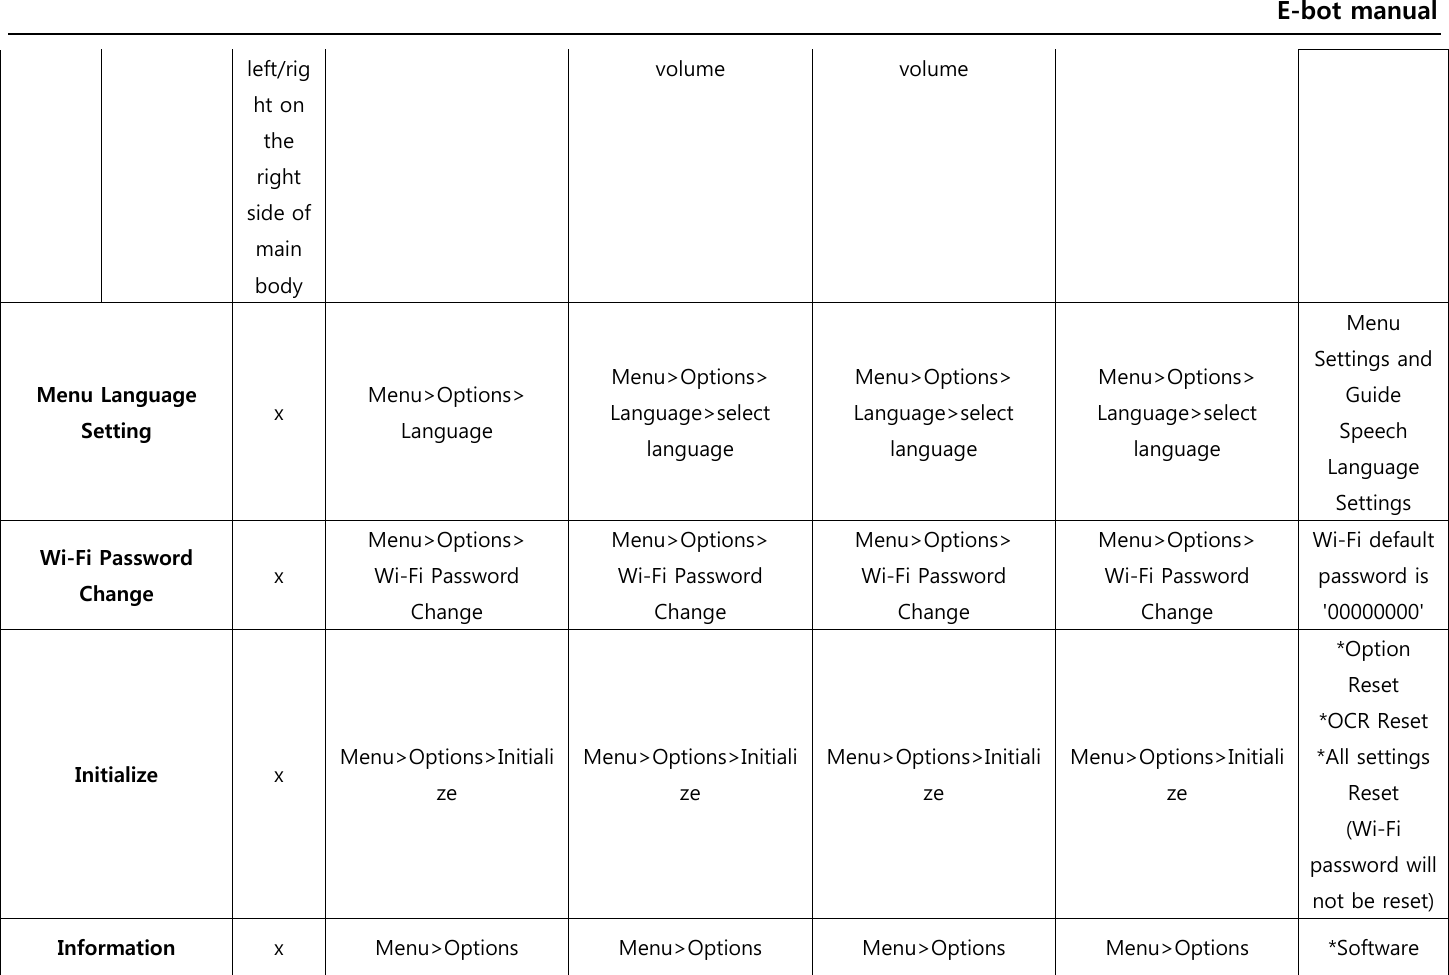
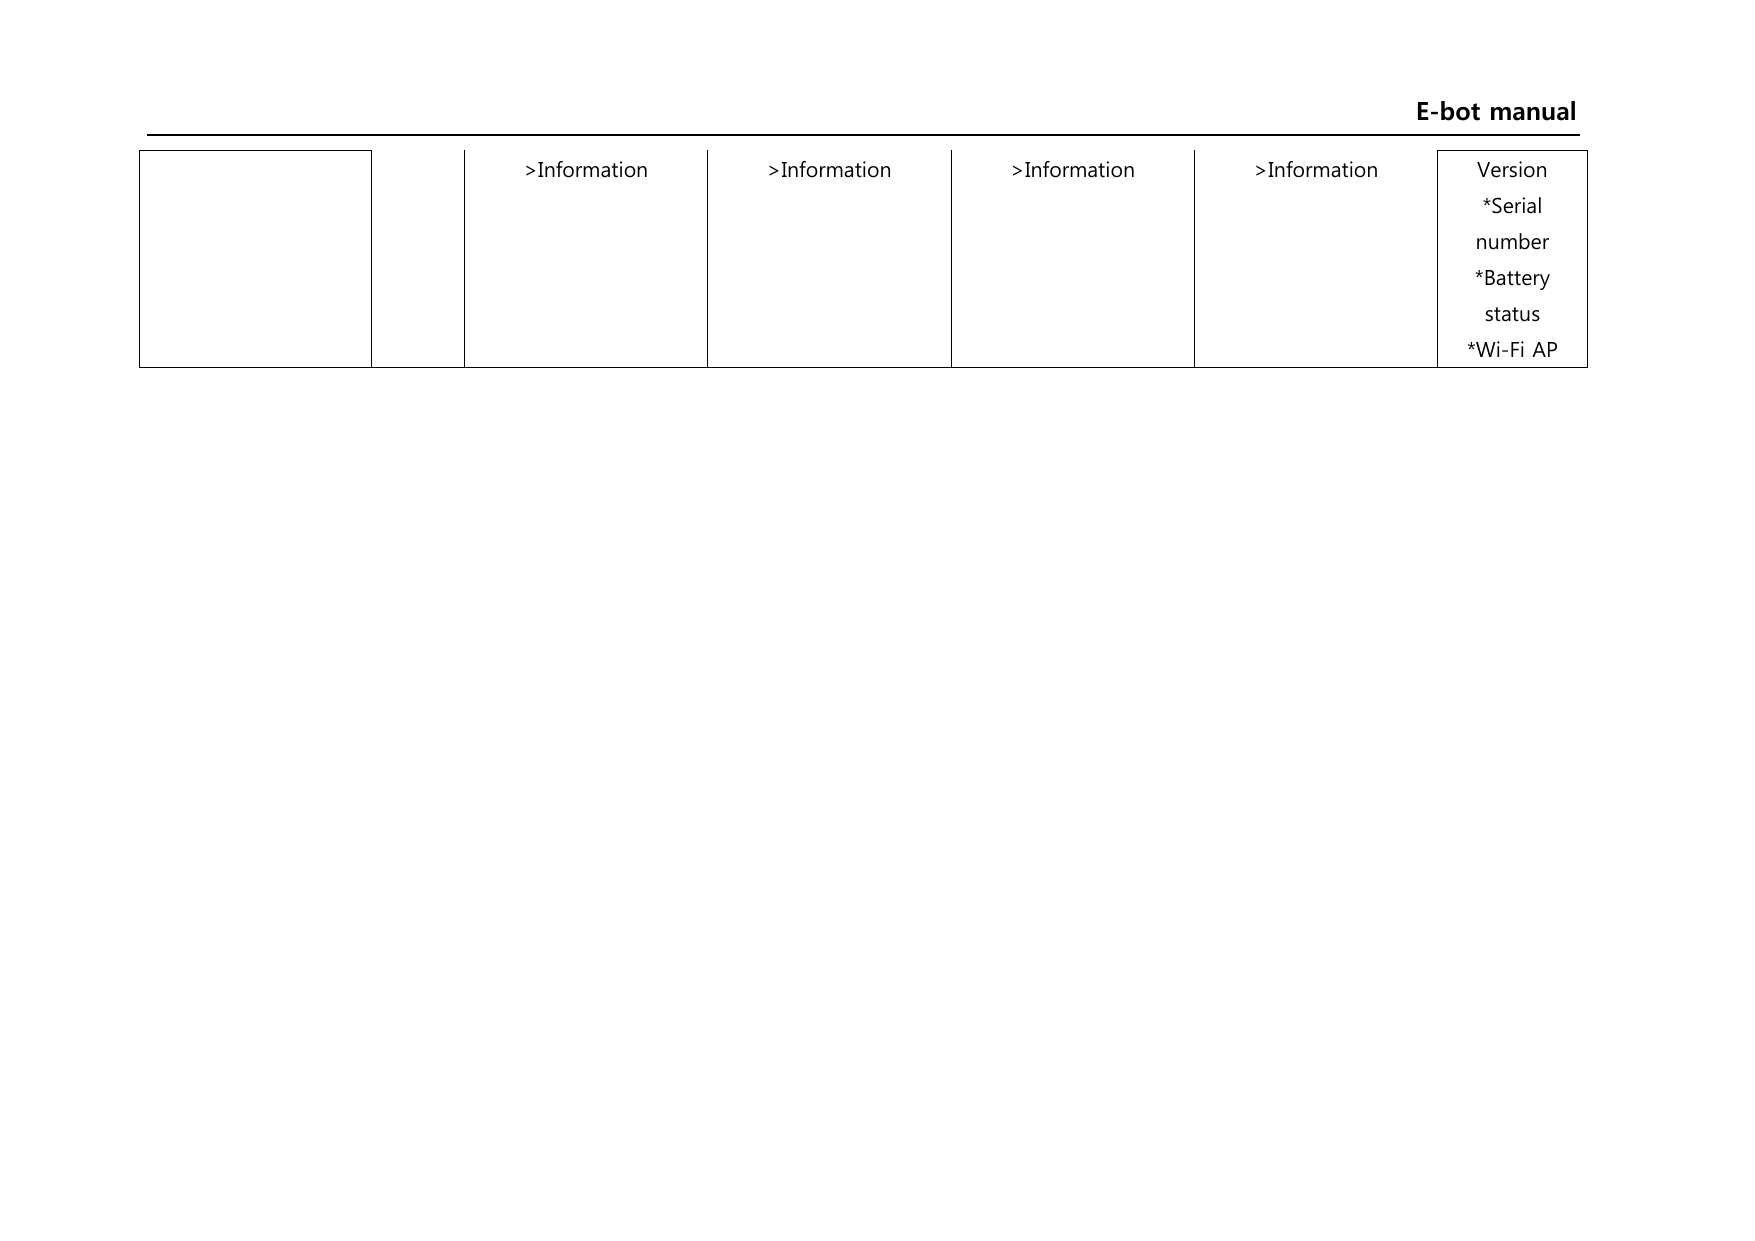
![E-bot manual text, Line and Word OCR Language Setting x Menu>OCR>OCR language Menu>OCR>select OCR language settingMenu>OCR>select OCR language settingMenu>OCR>select OCR language settingUp to 3 languages can be recognized at the same time Voice guide Voice Guide On/Off x Menu>Options >Voice guide On/Off Menu>Options >select Voice guide On/Off Menu>Options >select Voice guide On/Off Menu>Options >select Voice guide On/Off Set to ON/Off the Voice guide TTS Voice x Menu>OCR>Voice settings>TTS voice Menu>OCR>TTS setting>TTS voice>select Male/Female Menu>OCR>TTS setting>TTS voice>select Male/Female Menu>OCR>TTS setting>TTS voice>select Male/Female Select type of TTS playback voice TTS Speed x Menu>OCR>Voice settings>TTS speed Menu>OCR>TTS setting>TTS speed>select TTS speed or ] , [ Menu>OCR>TTS setting>TTS speed>select TTS speed Menu>OCR>TTS setting>TTS speed>select TTS speed TTS playback voice speed adjustment TTS pitch x Menu>OCR>Voice settings>TTS pitch Voice Volume Down/UpRotate wheel to the Menu>OCR>Voice settings>TTS volume Menu>OCR>TTS setting>TTS volume>select TTS Menu>OCR>TTS setting>TTS volume>select TTS Menu>OCR>TTS setting>TTS volume](https://usermanual.wiki/HIMS/EB100A/User-Guide-2276191-Page-54.png)