HIMS EB100PC Remote Controller (E-bot PRO Controller) User Manual
HIMS International Corporation Remote Controller (E-bot PRO Controller) Users Manual
UserManual.wiki
>
HIMS
>
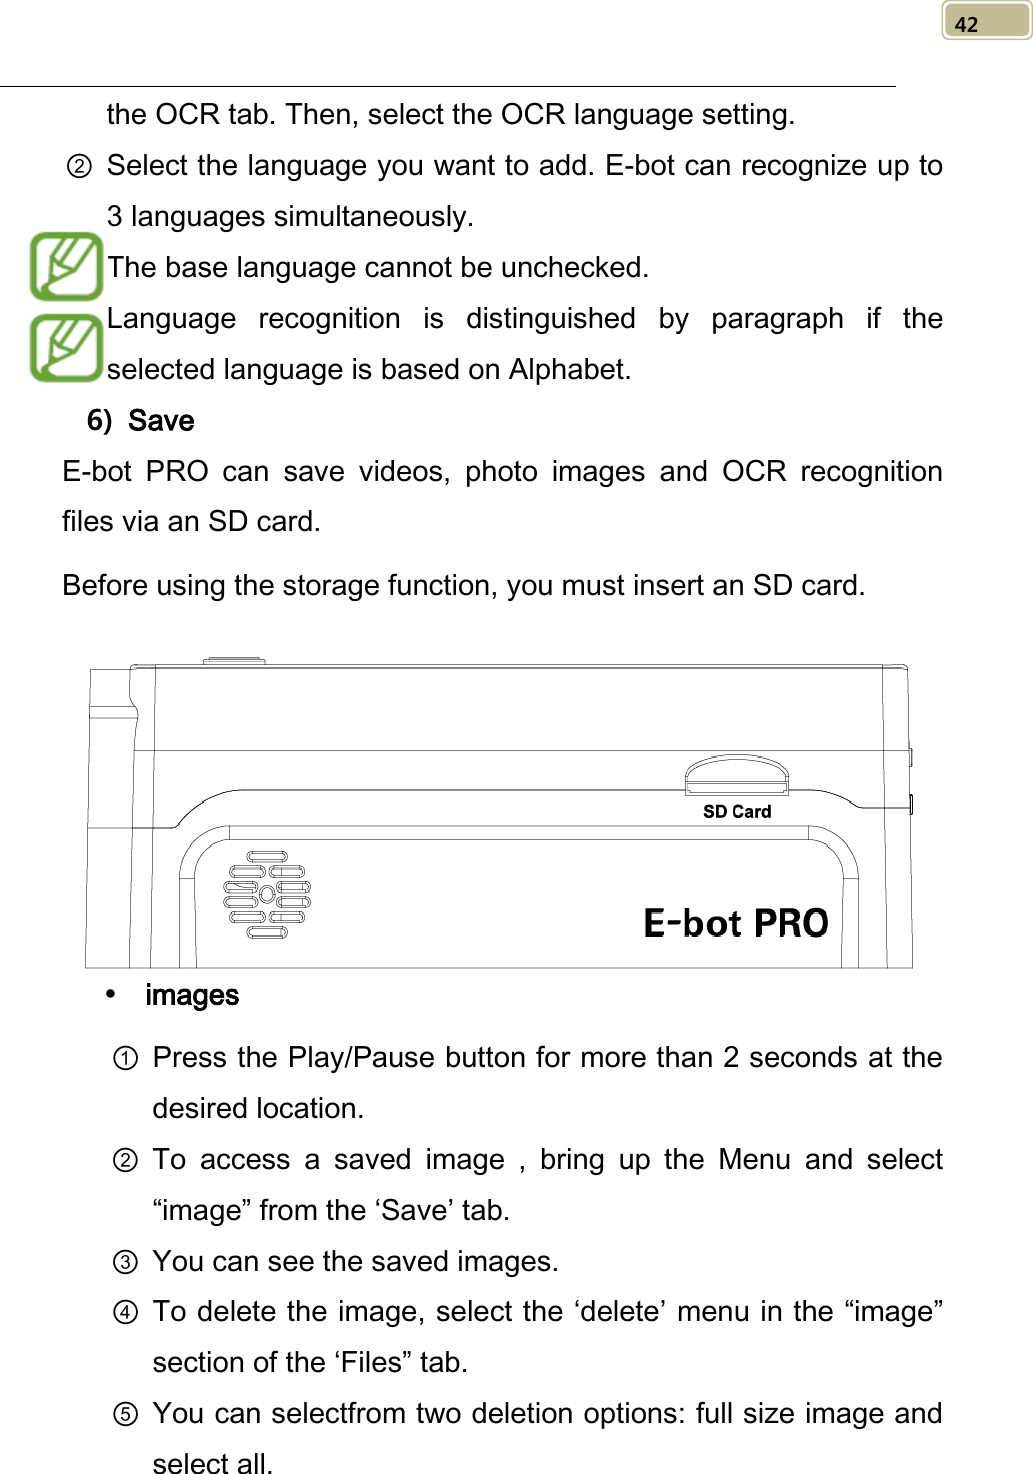
EB100PC User Manual
Users Manual
Navigation menu
Upload a User Manual
Namespaces
Wiki Guide
HTML
PDF
Info
Views
User Manual
Discussion / Help
Navigation
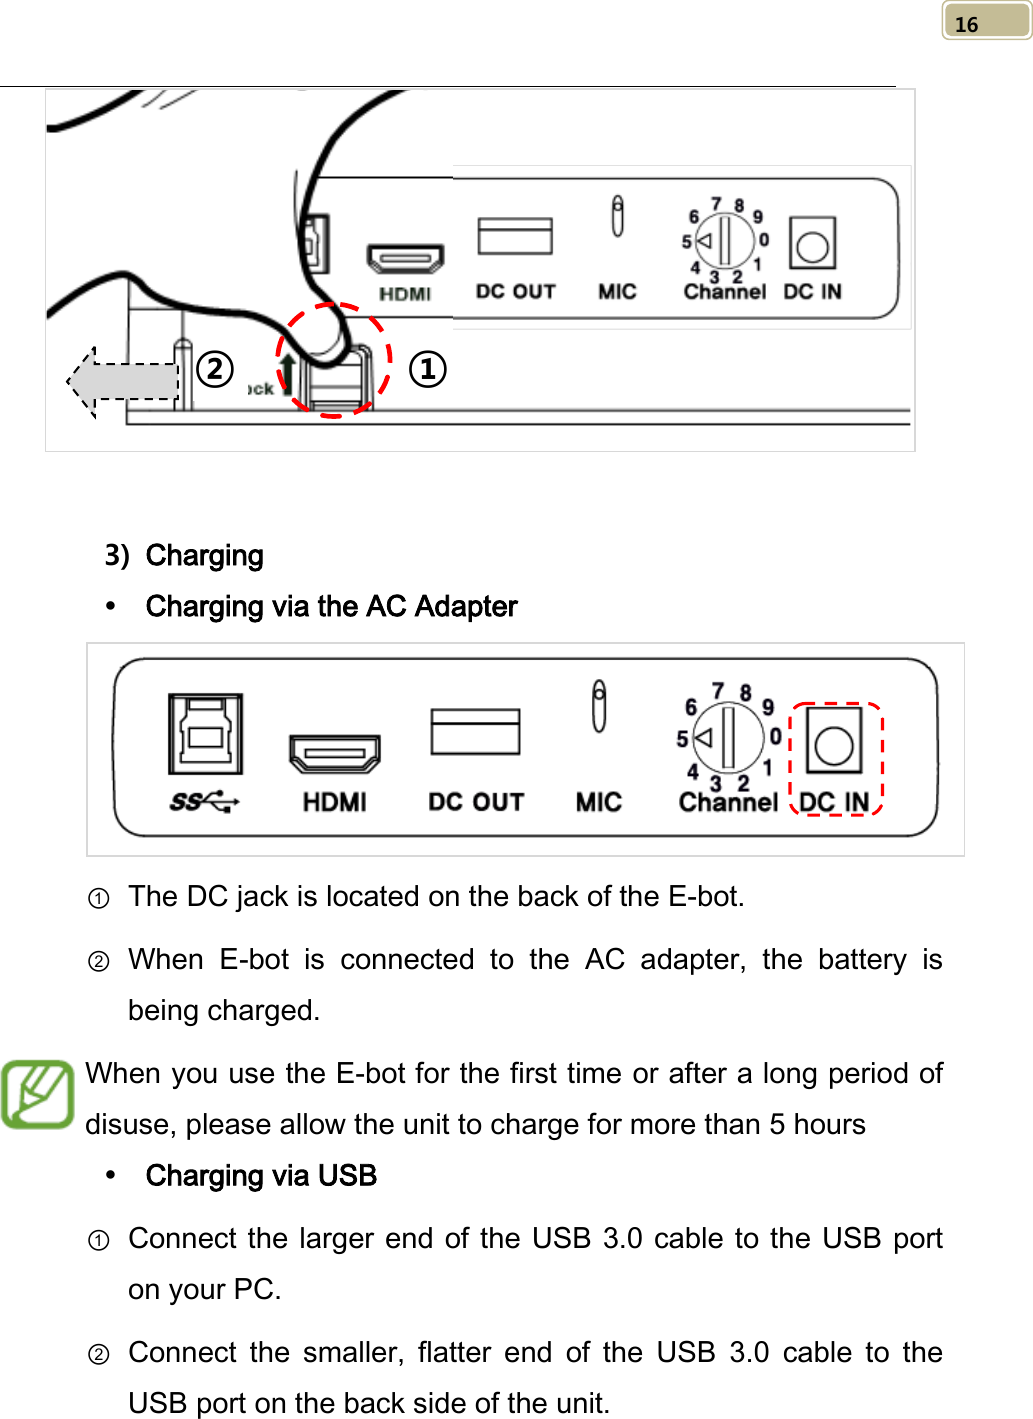
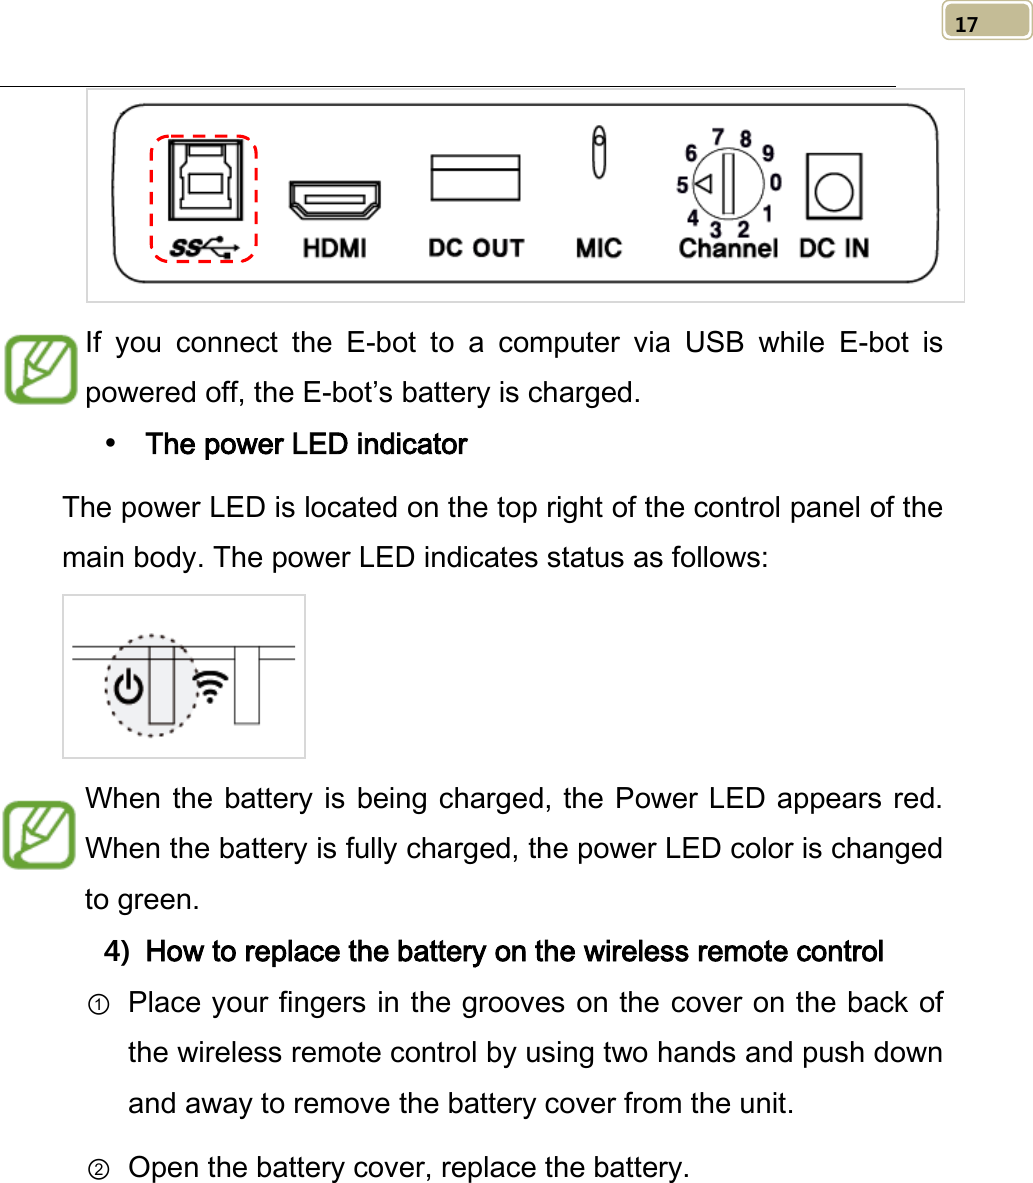
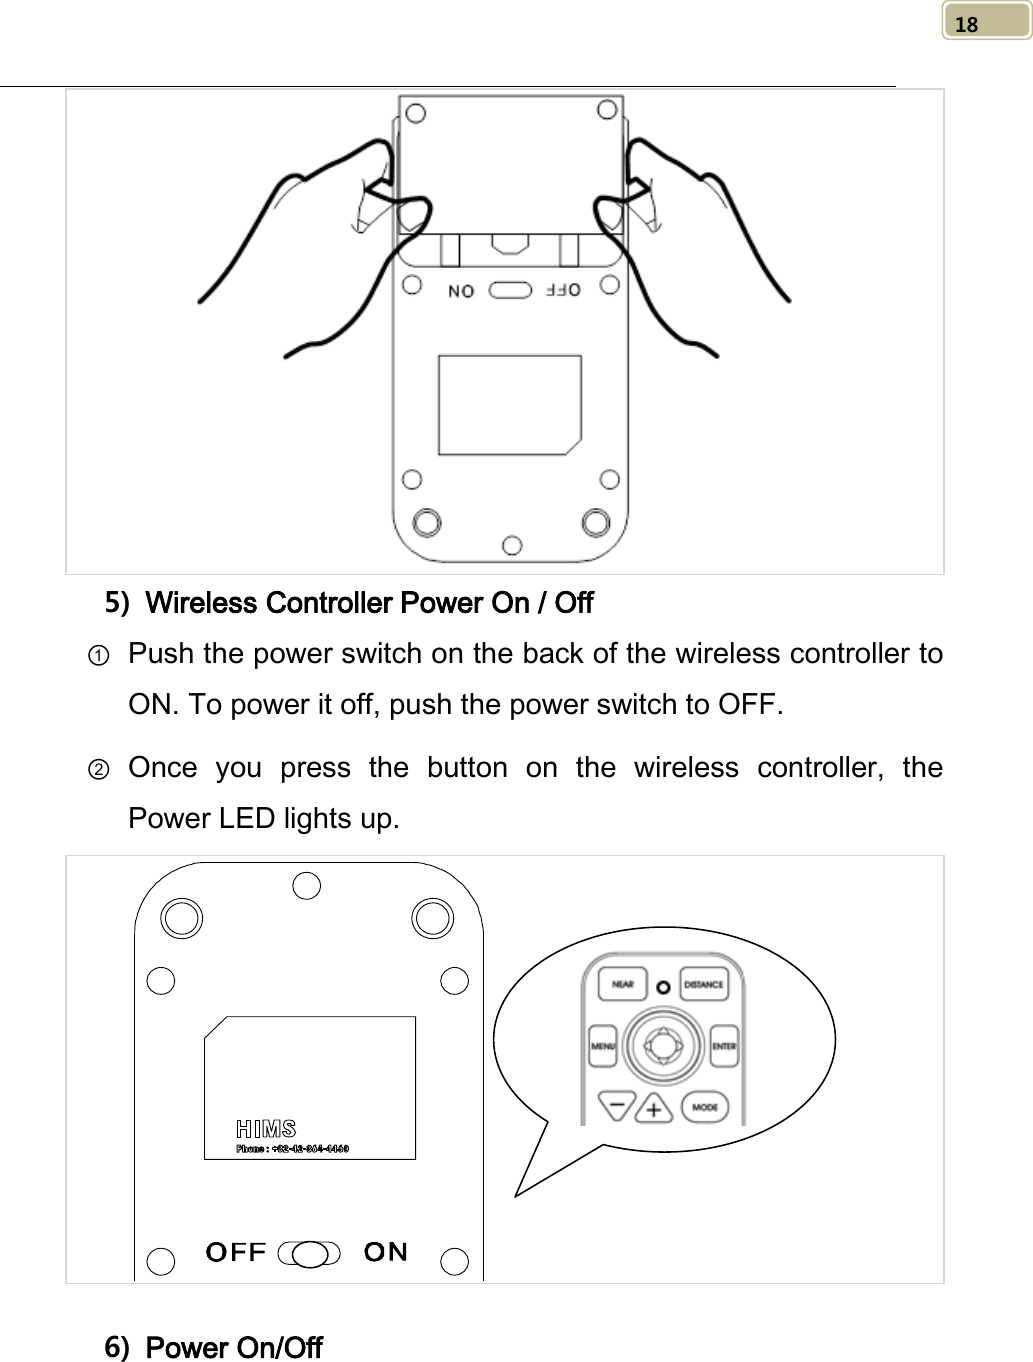
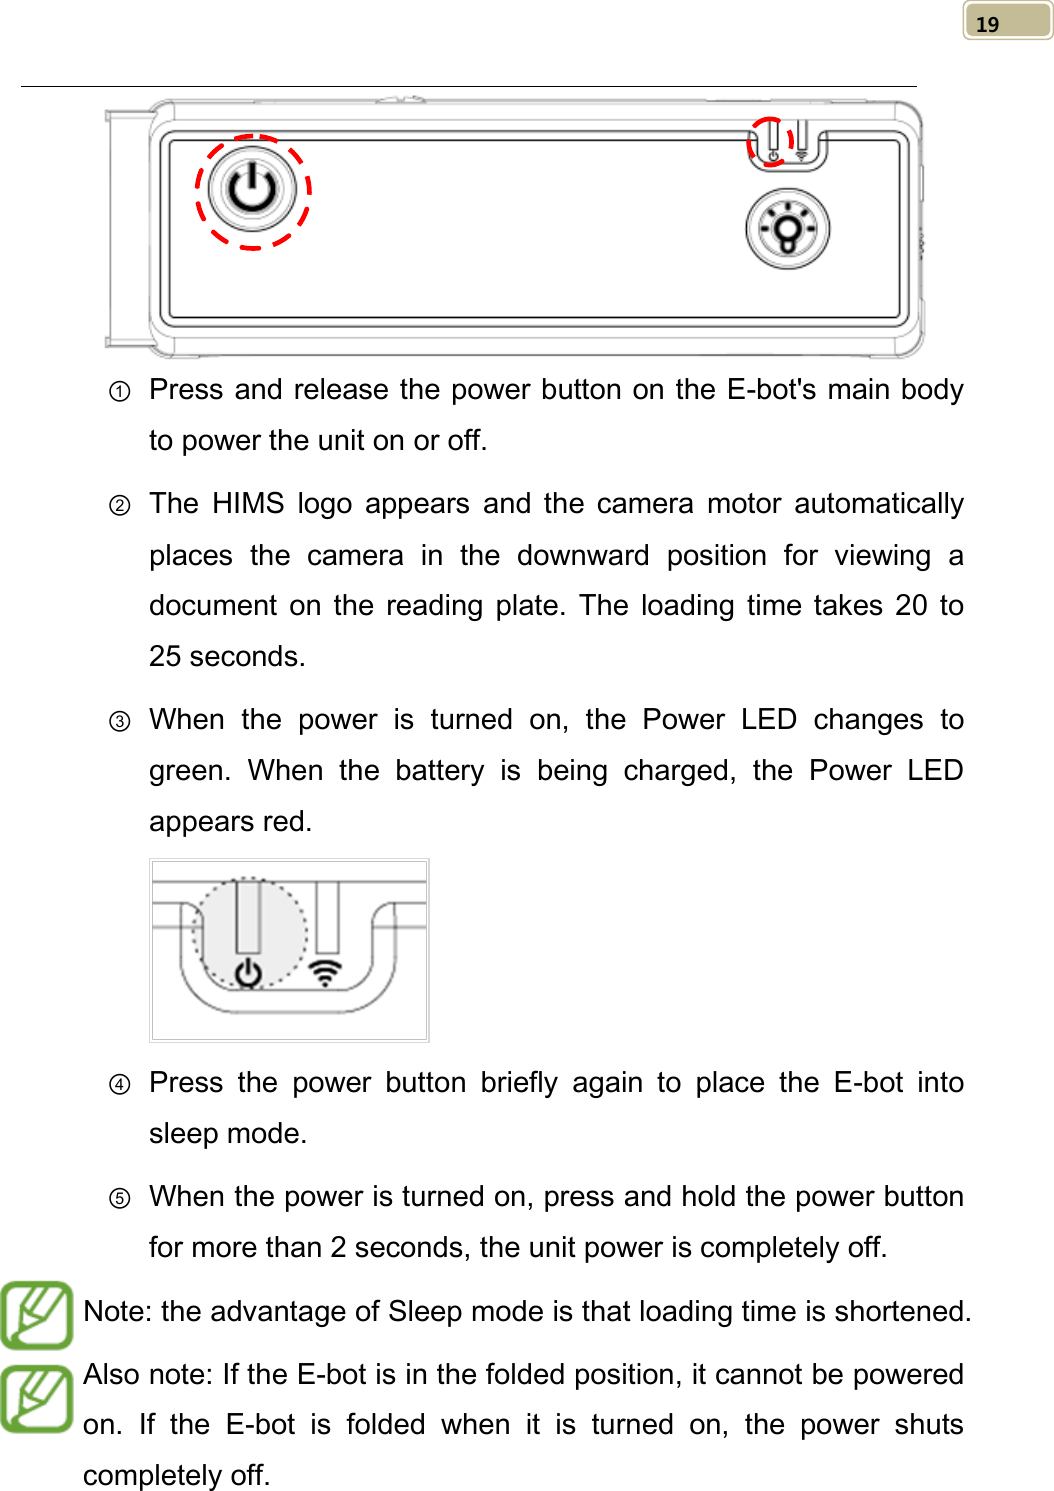
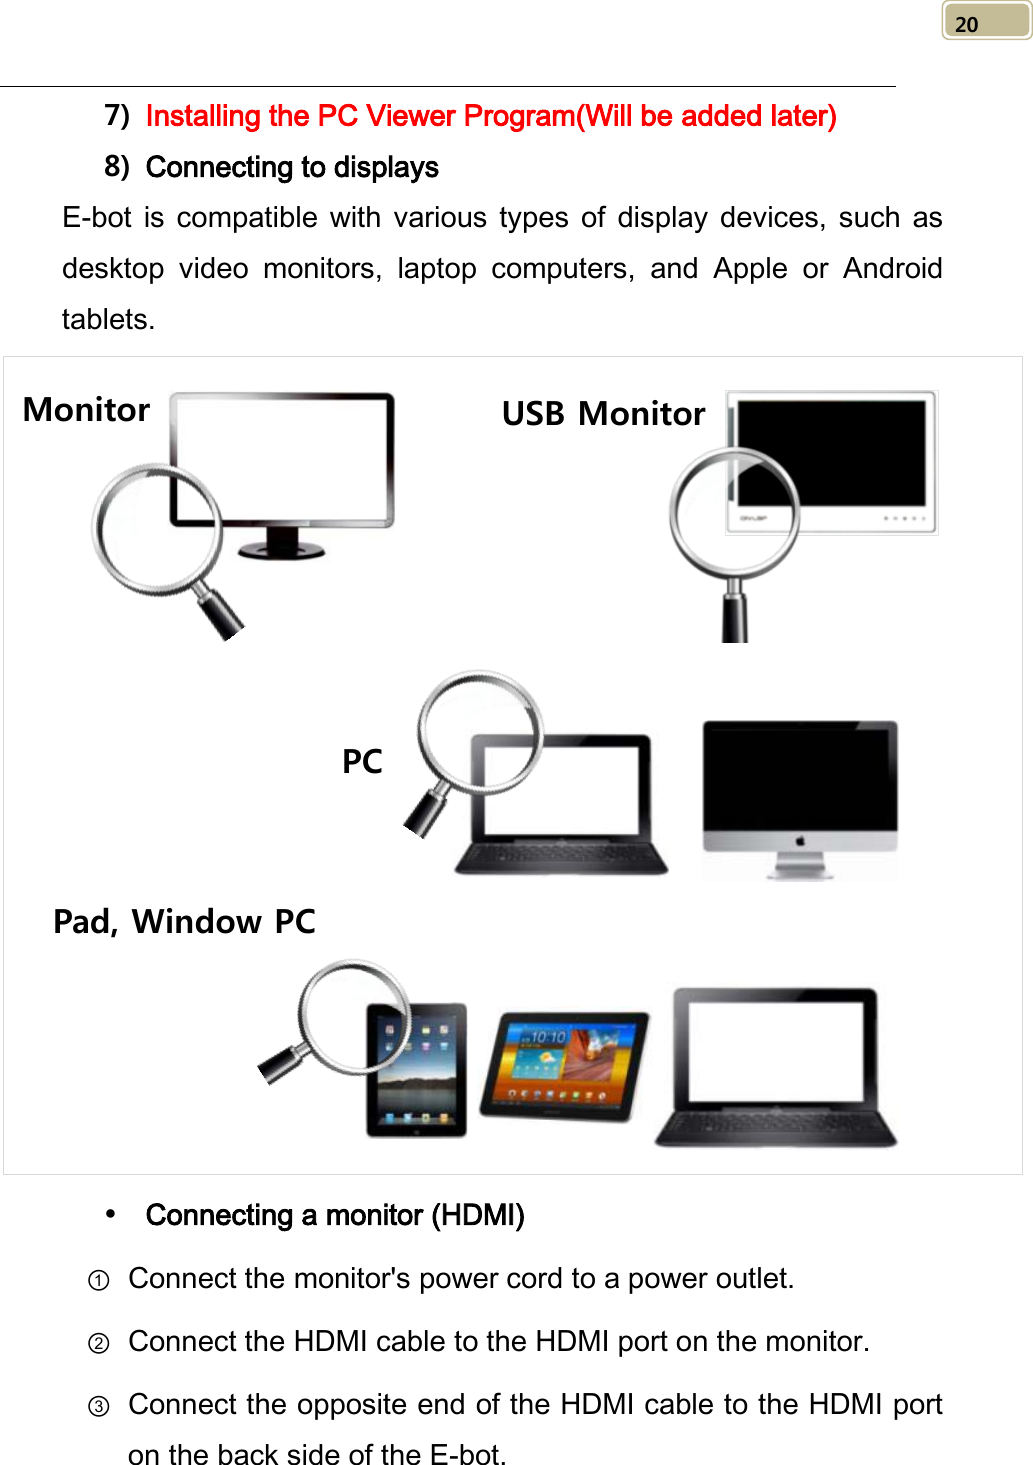

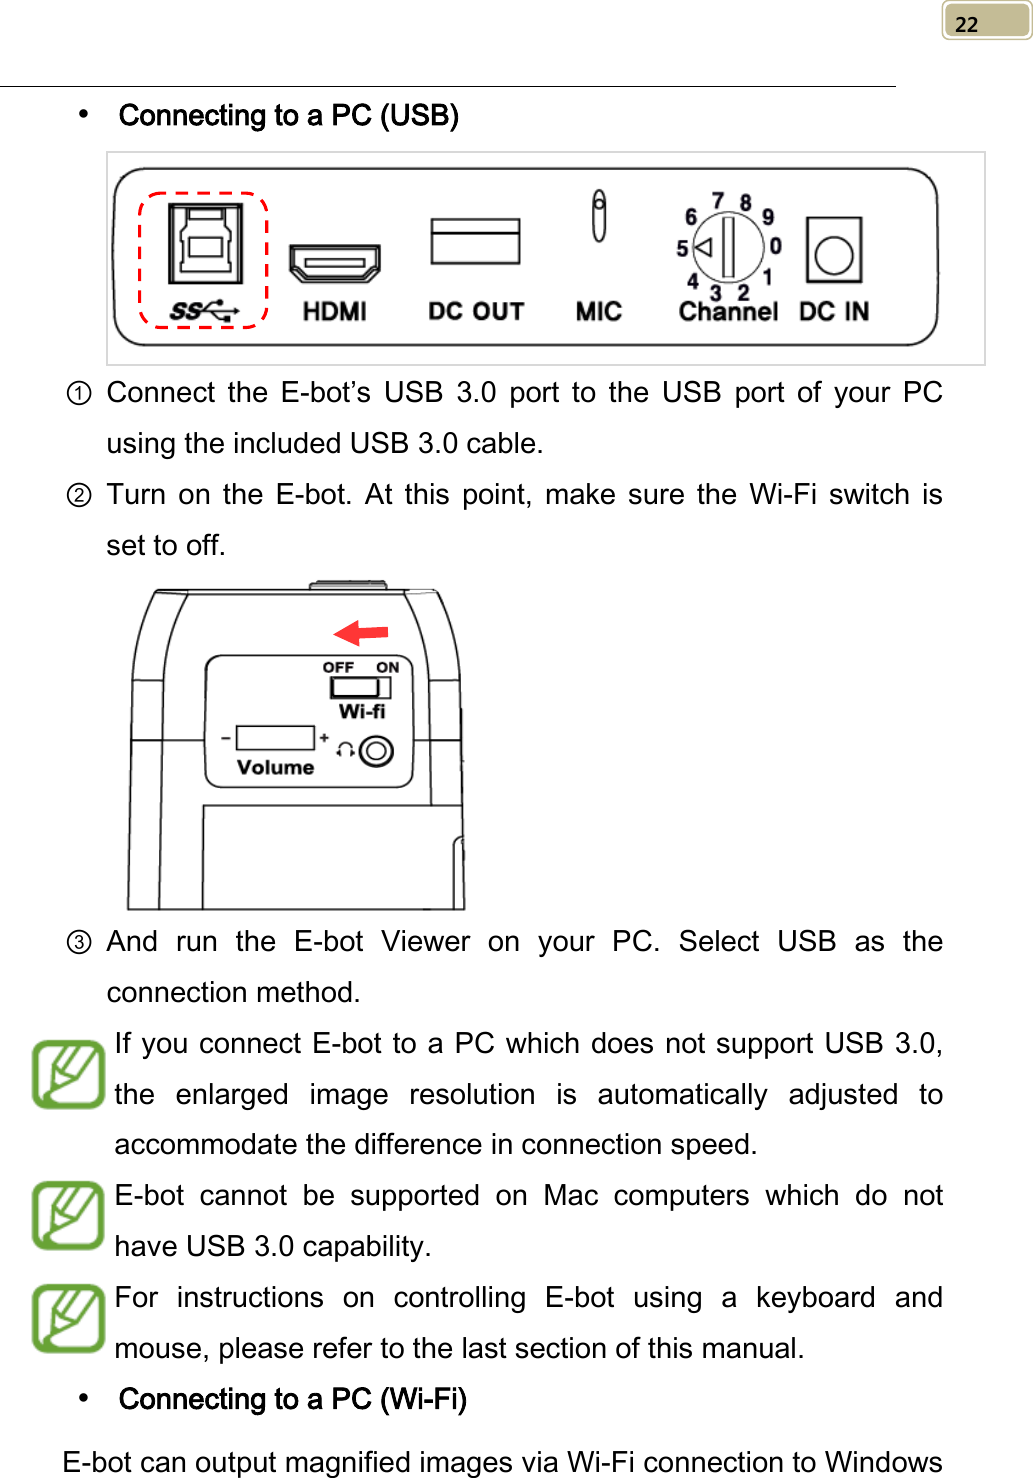
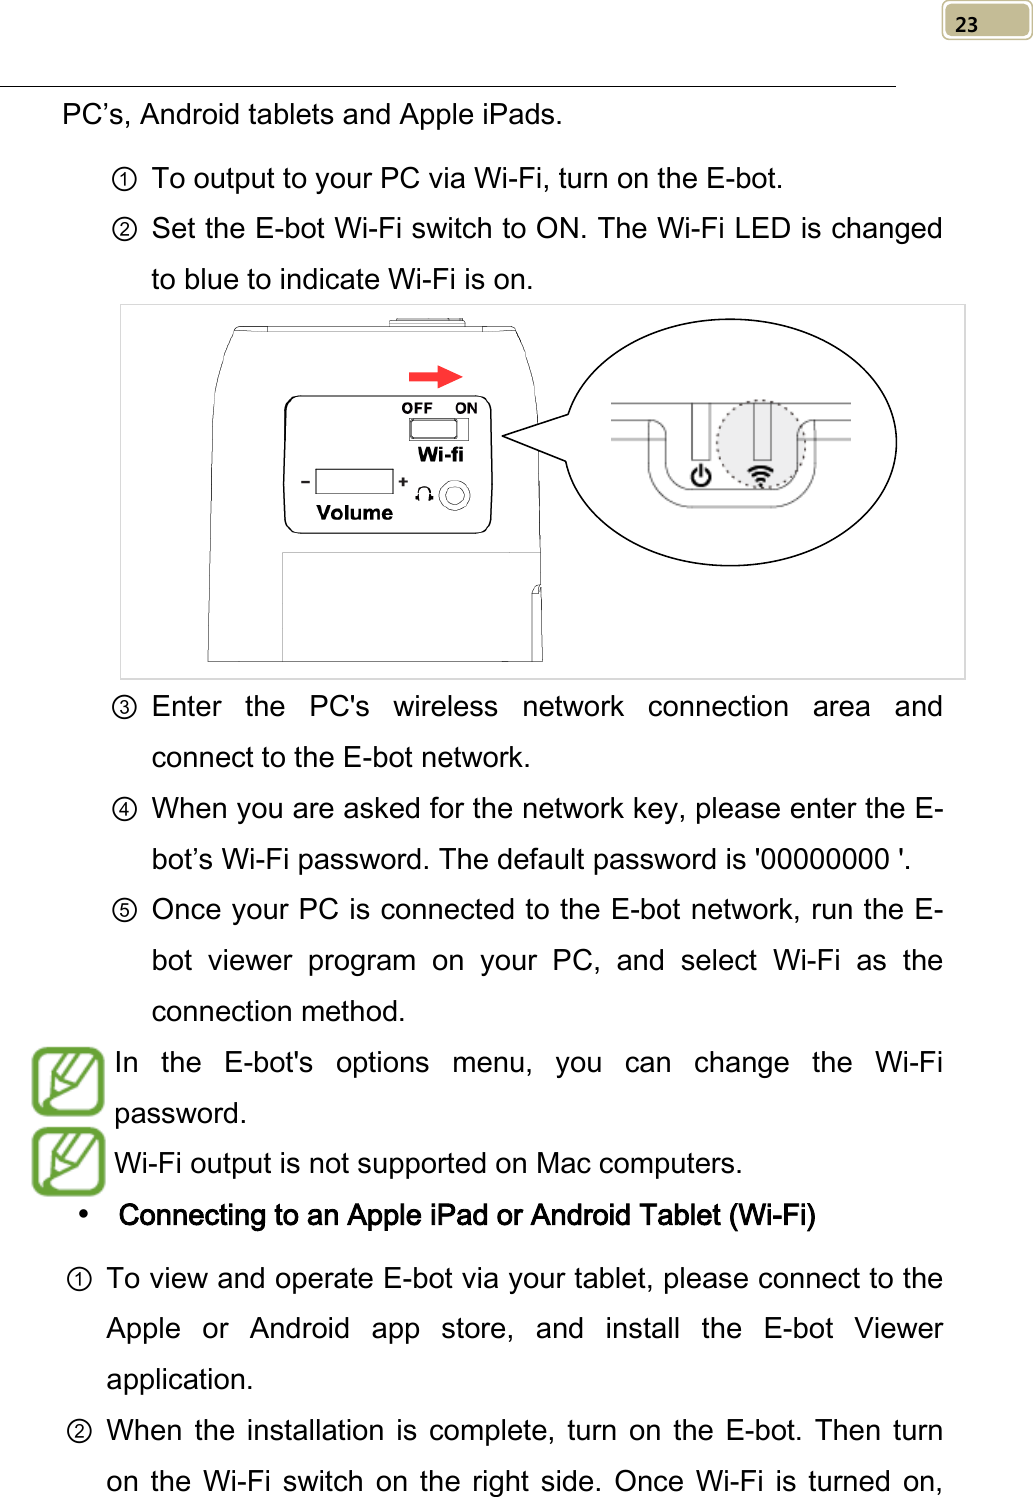
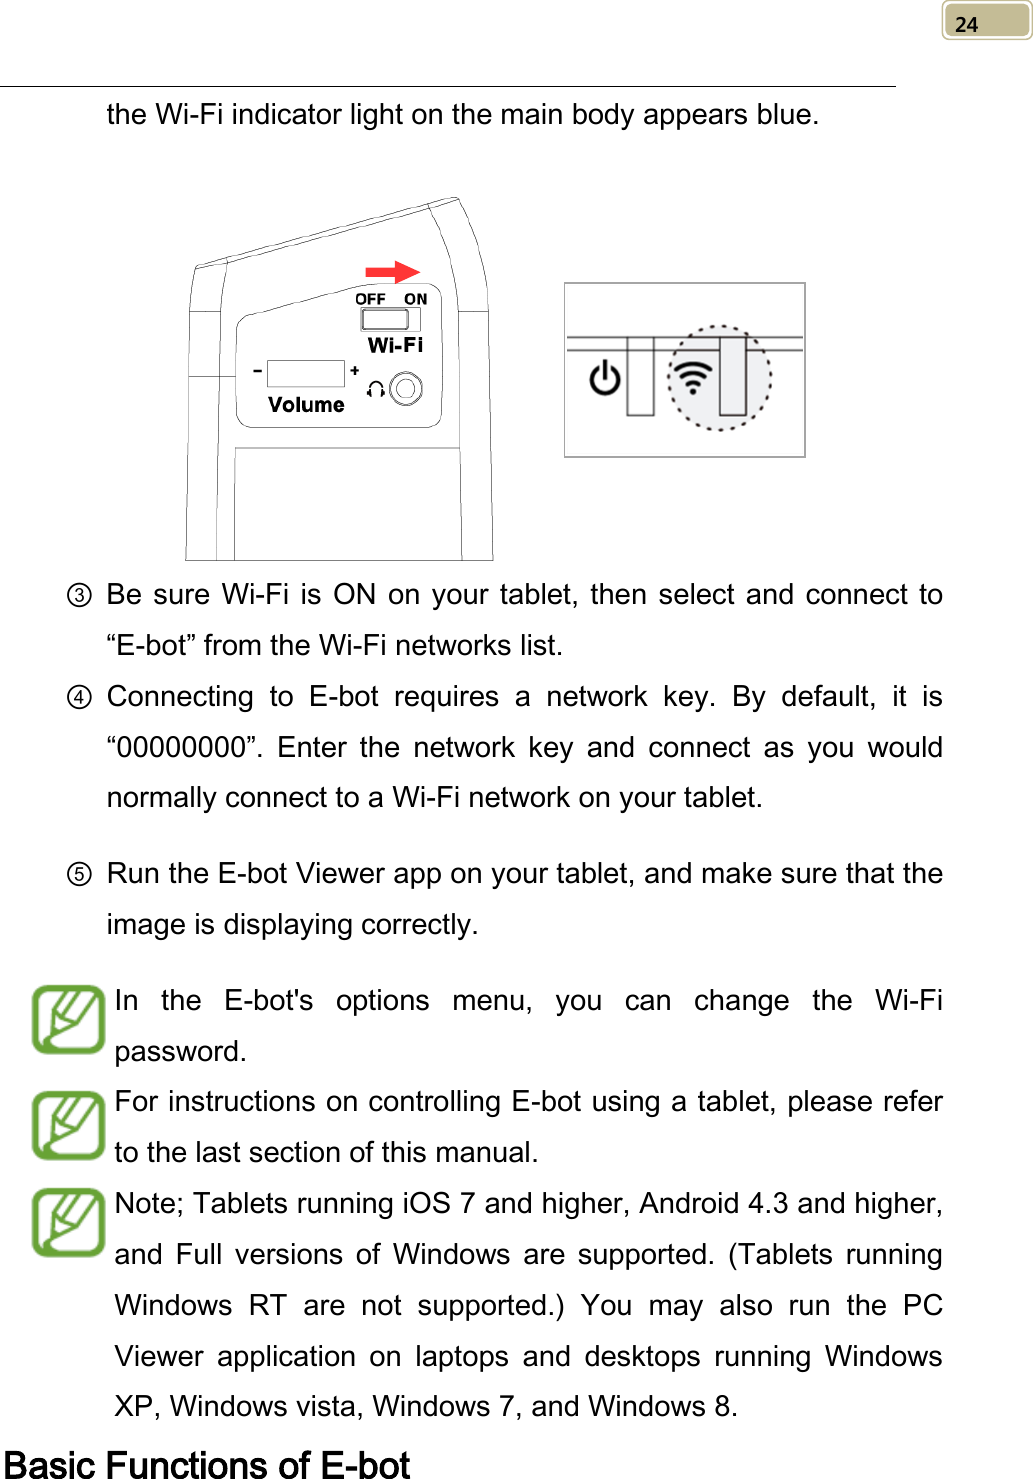

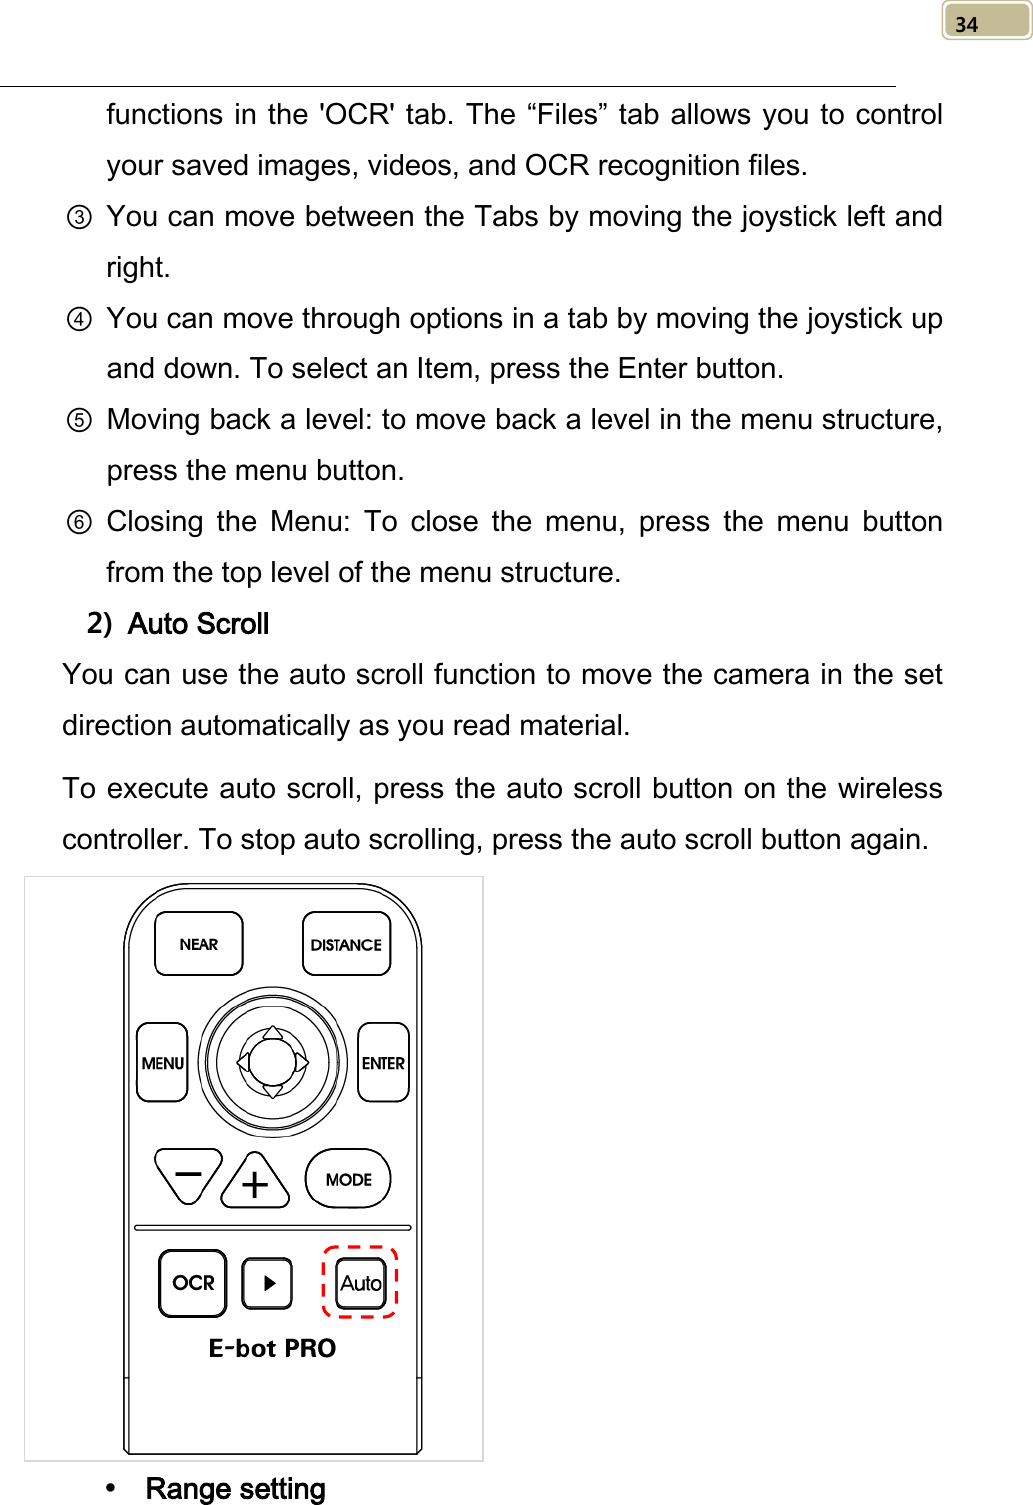
![36 the mode you want to set. ④ The text Text color is displayed on the screen. Select the color of the text using the left and right arrows. The text color and background color being displayed are exchanged when the [Reverse] is activated. ⑤ Select the Background color when you have finished selecting the text color. Use the same method as when setting the text color. If Grayscale is chosen when selecting the text color, the Color setting mode is exited without selecting a Background color. ⑥ After you have selected the background color, you are returned to the menu window. To disable color modes You can disable color modes that are not useful to you so that you may cycle through useful color modes more quickly. ① Bring up the Menu, go to the Options tab, then select “Set color mode”. ② Select one of the color modes numbered 1 to 7. ③ If you press the Up arrow key when “Text color” is displayed, a window appears asking whether to disable the current Color mode. Choose ‘Yes’ to disable the Color mode or ‘No’ to cancel.](https://usermanual.wiki/HIMS/EB100PC/User-Guide-2280359-Page-36.png)