HTC DM PDA Phone User Manual users manual 3
HTC Corporation PDA Phone users manual 3
UserManual.wiki
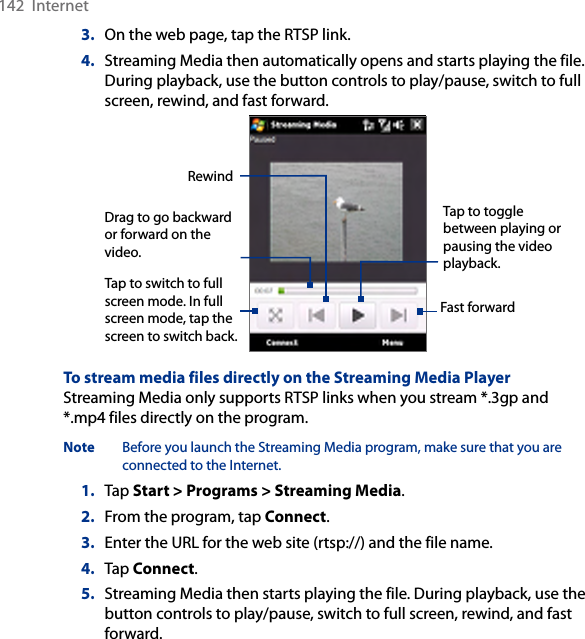
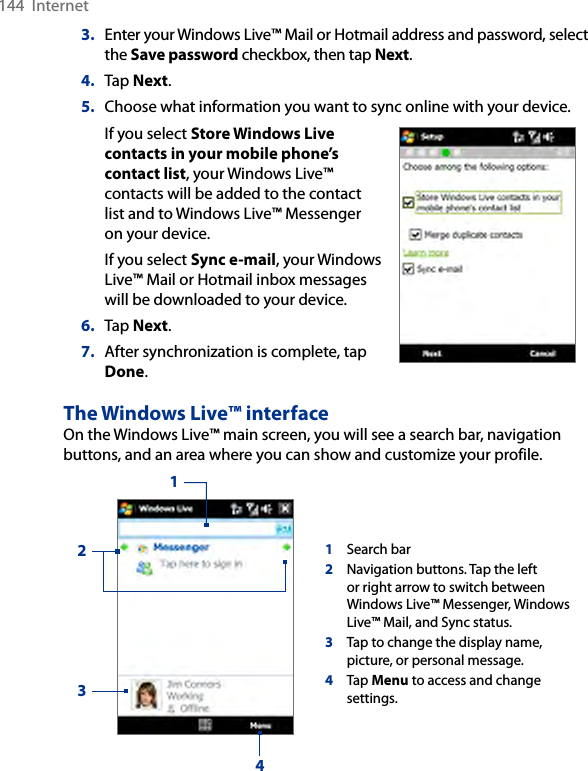
>
HTC
>
DM User Manual
>
users manual 3
Contents
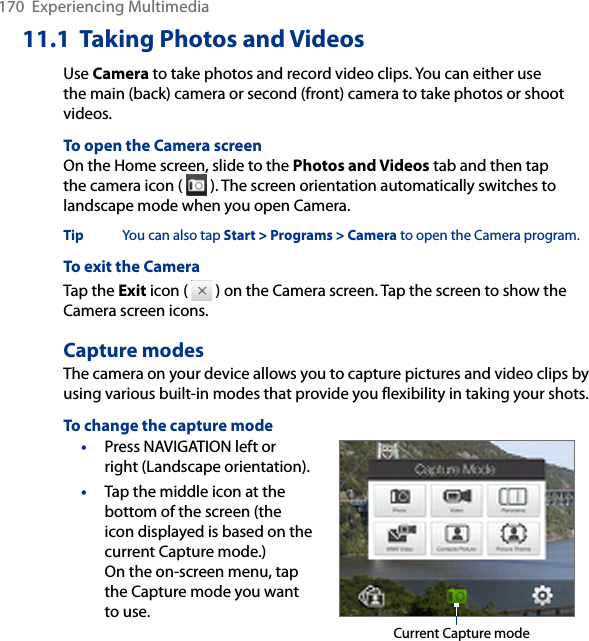
1.
users manual 1
2.
users manual 2
3.
users manual 3
4.
users manual 4
users manual 3
Navigation menu
Upload a User Manual
Namespaces
Wiki Guide
HTML
PDF
Info
Views
User Manual
Discussion / Help
Navigation
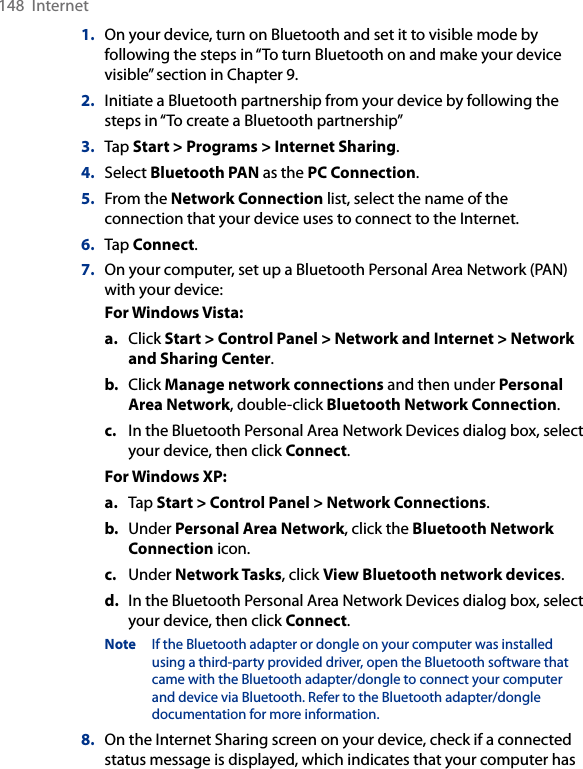


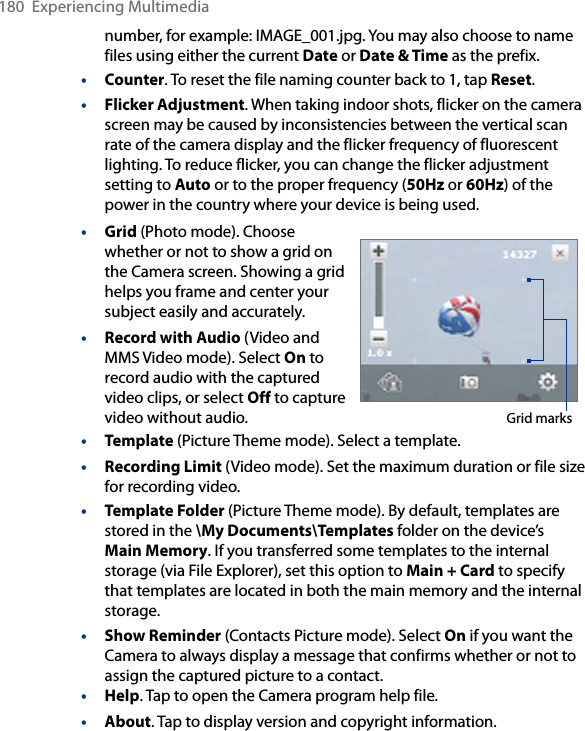
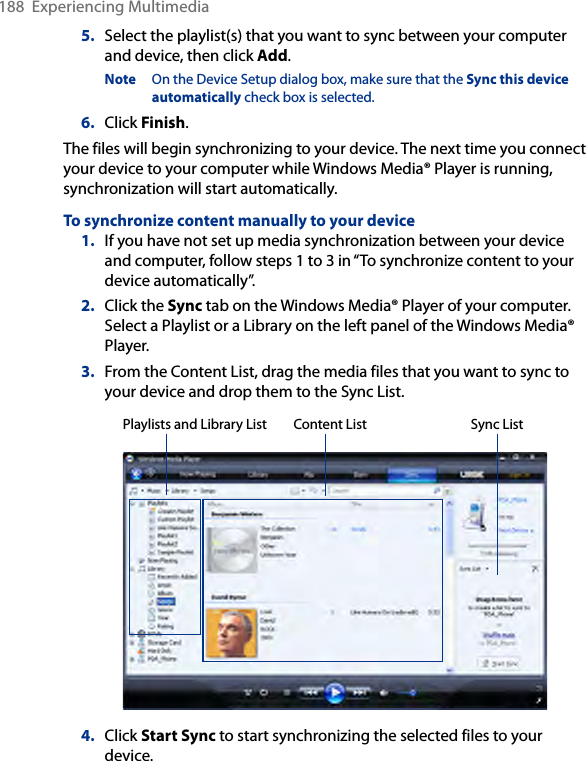
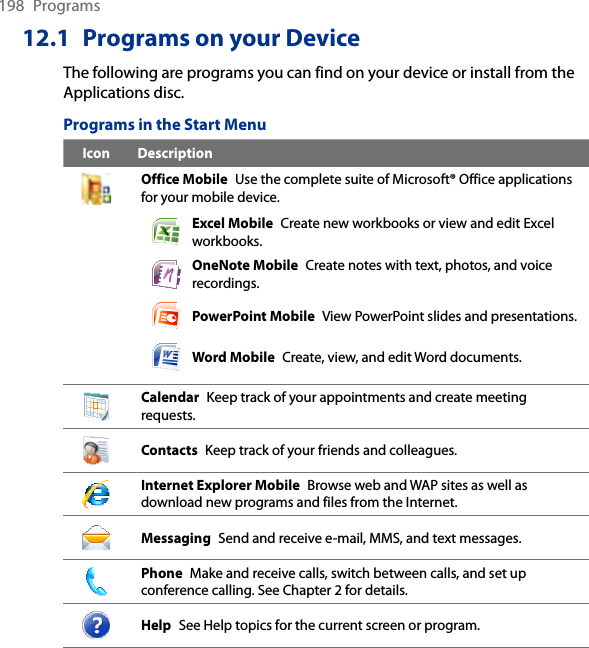
![160 Bluetooth3. On your device, select an item to beam. The item can be an appointment in your calendar, a task, a contact card, or a file.4. To beam a contact, tap Menu > Send Contact > Beam.To beam other types of information, tap Menu > Beam [type of item].5. Tap the device name to which you want to send the item.6. If you beamed a calendar, task, or contact item to your computer and it is not automatically added to Outlook, select File > Import and Export in Outlook to import it.To beam information to a Bluetooth-enabled device such as another Windows Mobile-powered device, follow steps 1 to 5 in the above procedure.Tips • The default folder on your computer where beamed items are stored may be C:\Documents and Settings\your_username\My Documents in Windows XP or C:\Users\your_username\My Documents in Windows Vista. • For your device to receive Bluetooth beams, tap Start > Settings > Connections tab > Beam and make sure the Receive all incoming beams check box is selected.9.5 Bluetooth Explorer and Bluetooth File SharingBluetooth Explorer searches for other Bluetooth devices that have file sharing enabled and lets you access their Bluetooth shared folder. You can copy files from and to their shared folder, and create subfolders in it. When you enable Bluetooth file sharing on your device, other Bluetooth-enabled devices will also be able to access your Bluetooth shared folder.To enable Bluetooth Explorer and Bluetooth file sharing on your device1. On the Home screen, slide to the Settings tab and then tap Menu > Bluetooth Devices > FTP tab.2. Select the Enable Bluetooth Explorer check box. This makes the \Bluetooth device folder visible in the File Explorer.](https://usermanual.wiki/HTC/DM.users-manual-3/User-Guide-964259-Page-28.png)
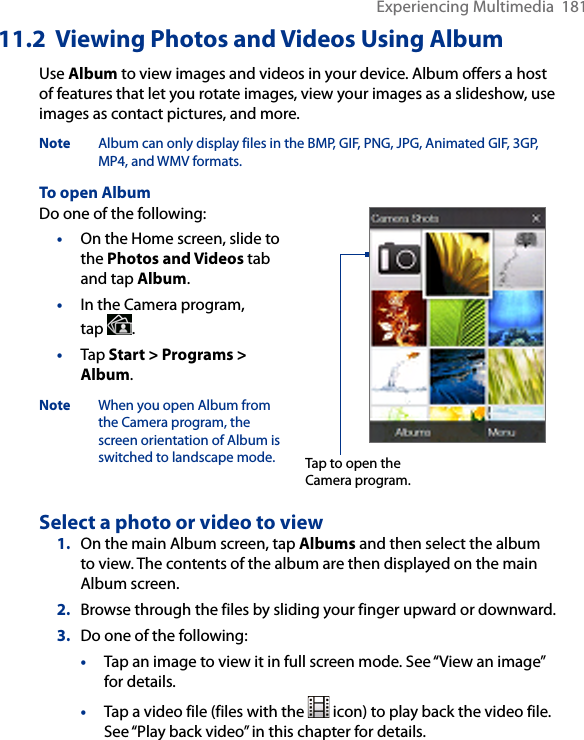
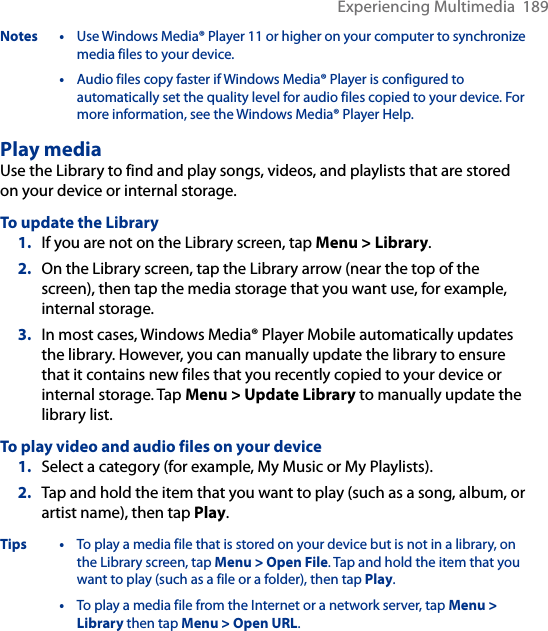
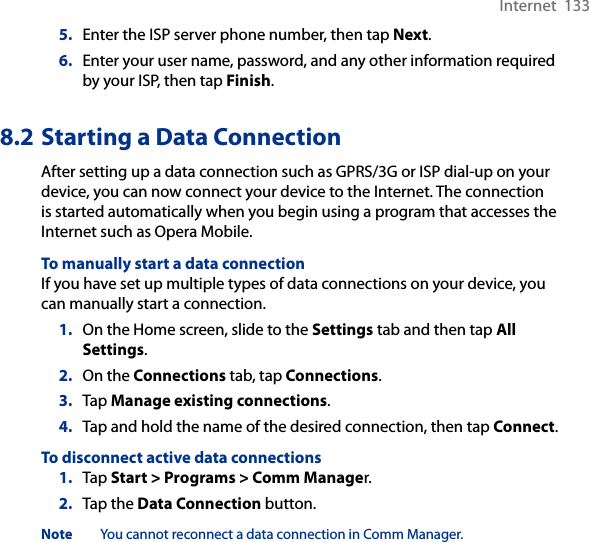
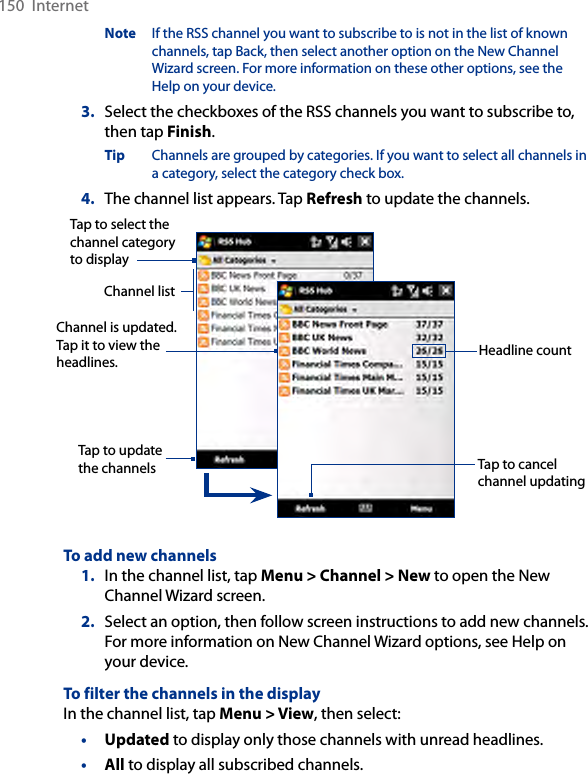
![Navigating on the Road 165Search for a place of interestYou can search and locate a place of interest using Google Maps. Google Maps also shows the contact information and gives directions on how to get to the place of interest from your current location.Note You can also search for keywords, addresses, and postal codes. 1. On the Google Maps screen, tap Search.2. Enter the place of interest you want to go to (for example, museums in London), then tap OK.3. On the Search Results tab, tap an item to view its contact information.Note If the place of interest you want is the first item, just tap the Address tab to view the contact information. 4. On the Address tab, you can:• Tap Go to web site to open the web site of the place of interest. Note This information only appears when the web site of the place of interest is available.• Tap the [phone number] to call the place of interest that you have selected.• Tap Directions to here or Directions from here to get directions on how to get to the place of interest from your current location or vice versa.](https://usermanual.wiki/HTC/DM.users-manual-3/User-Guide-964259-Page-33.png)