HTC IRIS100 Smart Phone User Manual Book Iris Generic English Manual indb
HTC Corporation Smart Phone Book Iris Generic English Manual indb
UserManual.wiki
>
HTC
>
IRIS100 User Manual
>
User manual 2
Contents
1.
User manual 1
2.
User manual 2
3.
User manual 3 rev
User manual 2
Navigation menu
Upload a User Manual
Namespaces
Wiki Guide
HTML
PDF
Info
Views
User Manual
Discussion / Help
Navigation


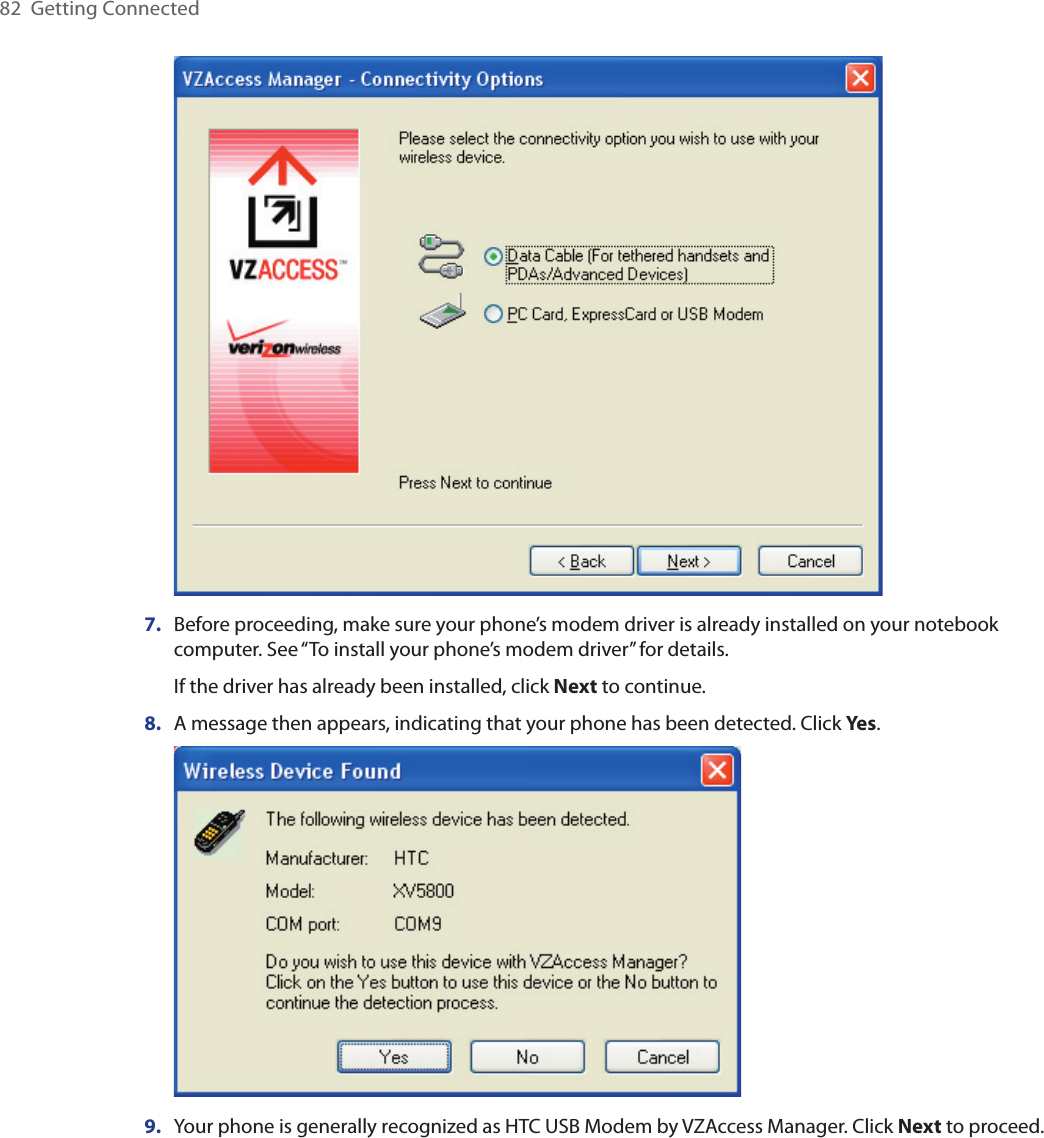
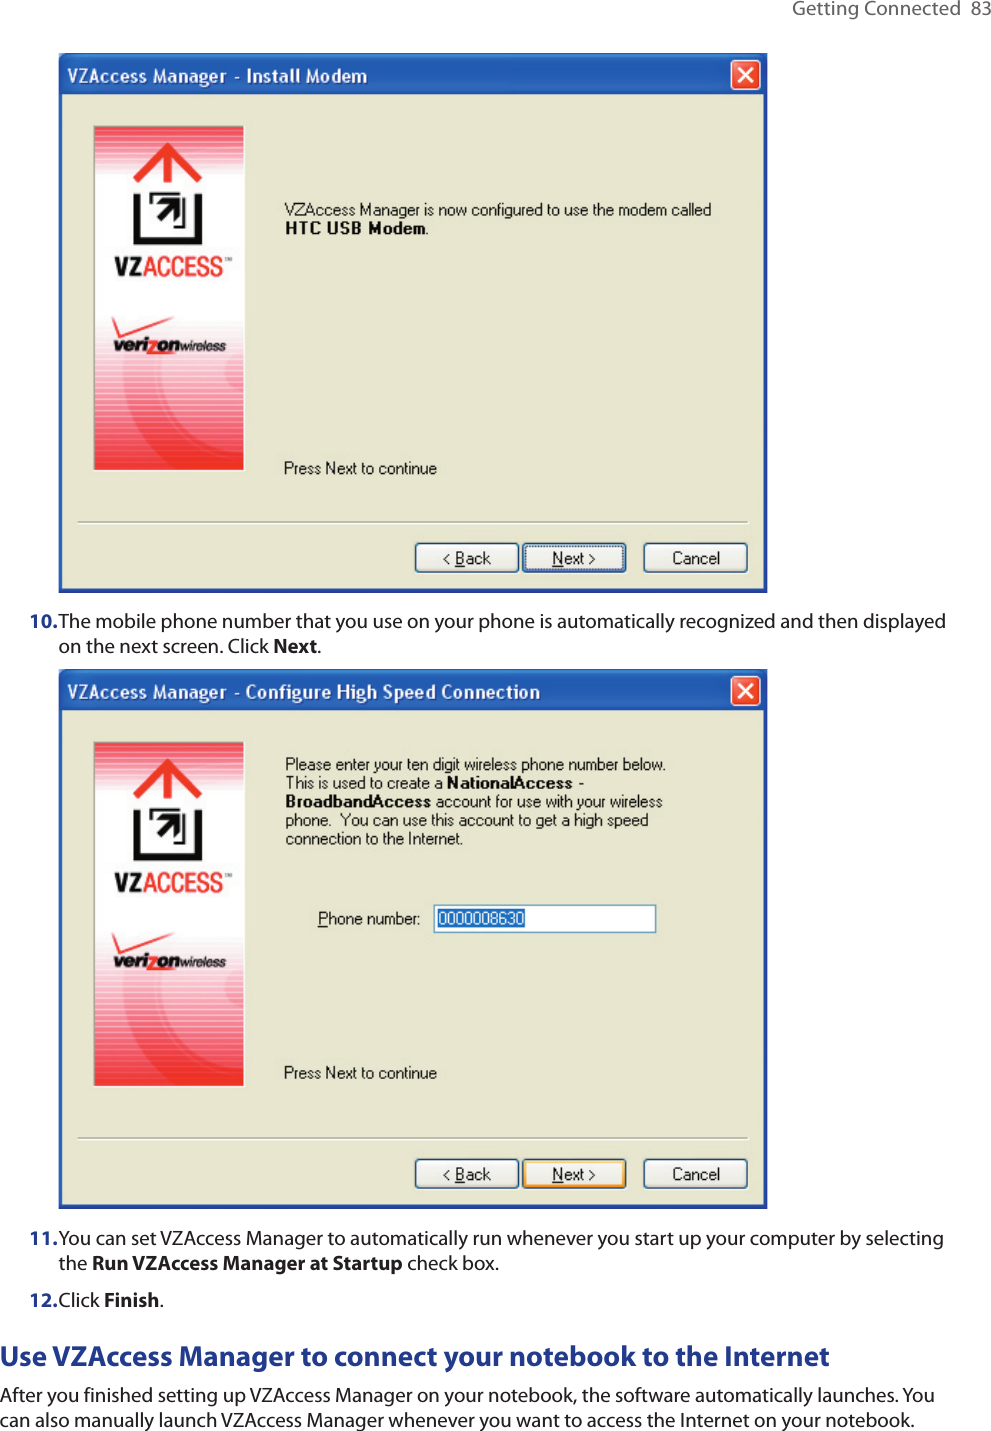
![78 Getting Connected4. Select the name of the headset, and click Next.5. In Passcode, enter the alphanumeric passcode for the Bluetooth headset, then click Next. The passcode is usually “0000”.A message will appear saying that your phone has connected to the headset, click OK.6. Enter the display name for the headset and click Next. 7. Select the check boxes for the Wireless Stereo (if available) and Hands Free services, and click Done.Note If the Bluetooth stereo headset becomes disconnected, turn the headset on and repeat steps 1 to 2 above. Select the stereo headset and click Menu > Set as Wireless Stereo.Beam information using BluetoothYou can beam information, such as contacts, calendar items, and tasks, as well as files from your phone to your computer or to another Bluetooth-enabled device.Notes• If your computer does not have built-in Bluetooth capabilities, you need to connect and use a Bluetooth adapter or dongle on your computer.• Before beaming items to your computer, open Bluetooth Configuration or Bluetooth Settings in the Control Panel and check if there’s an option for setting a location for saving beamed items.To beam information from your phone to a computer1. Set Bluetooth on your phone to visible mode. For information about this, see “To make your phone visible”.2. Next, set Bluetooth on your computer to visible mode, create a Bluetooth partnership, then enable your computer to receive Bluetooth beams. If your computer has Windows Vista or Windows XP SP2 and your computer’s Bluetooth adapter is supported by your Windows version, do the following steps:a. On your computer, open Bluetooth Devices from the Control Panel then click the Options tab.b. For Windows Vista, select Allow Bluetooth devices to find this computer. For Windows XP, select Turn discovery on and Allow Bluetooth devices to connect to this computer.c. Create a Bluetooth partnership between your phone and computer. For information about creating a partnership, see “Bluetooth partnerships”.d. In the Options tab of Bluetooth Devices, select Show the Bluetooth icon in the notification area.e. To enable your computer to receive Bluetooth beams, right-click the Bluetooth icon at the bottom-right of your computer screen and select Receive a File.3. Now you are ready to beam. On your phone, select an item to beam. The item can be an appointment in your calendar, a task, a contact card, or a file.4. Click Menu > Beam [type of item].5. Select the device name to which you want to beam to.6. Click Beam.](https://usermanual.wiki/HTC/IRIS100.User-manual-2/User-Guide-802523-Page-18.png)