HTC PB31200 Smartphone User Manual Manual Part 1
HTC Corporation Smartphone Manual Part 1
UserManual.wiki
>
HTC
>
PB31200 User Manual
>
Manual Part 1
Contents
1.
Manual Part 1
2.
Manual Part 2
3.
Manual
4.
Manual Statements
Manual Part 1
Navigation menu
Upload a User Manual
Namespaces
Wiki Guide
HTML
PDF
Info
Views
User Manual
Discussion / Help
Navigation

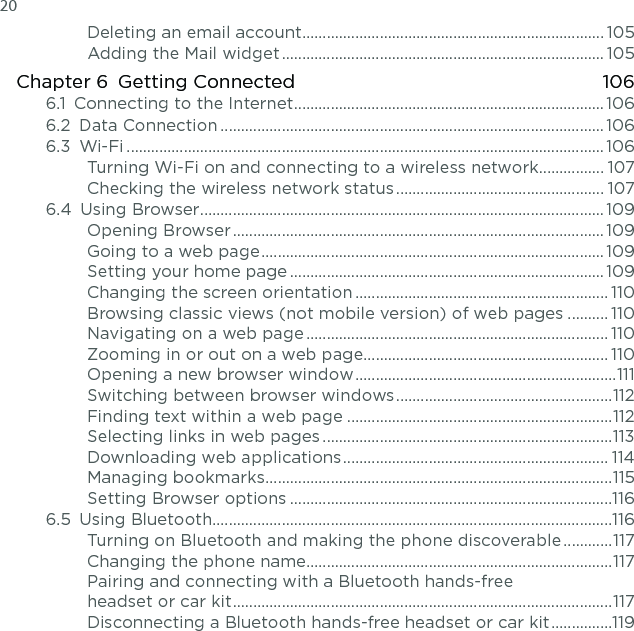

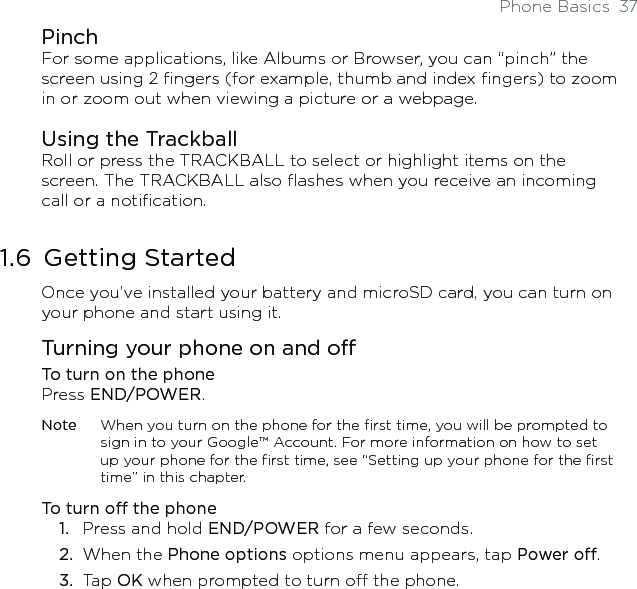
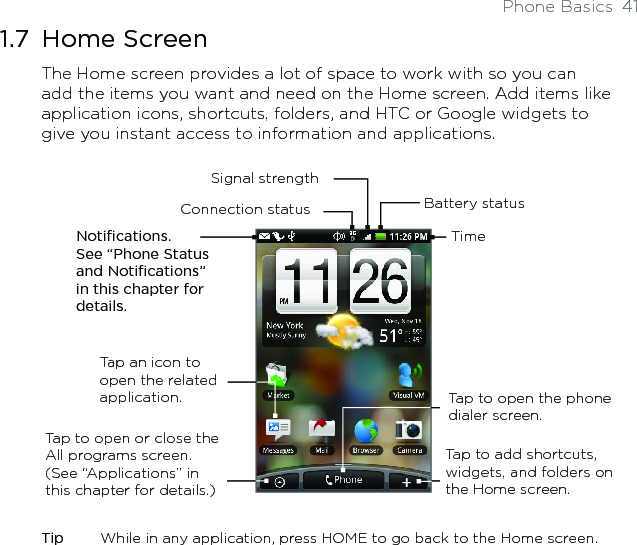
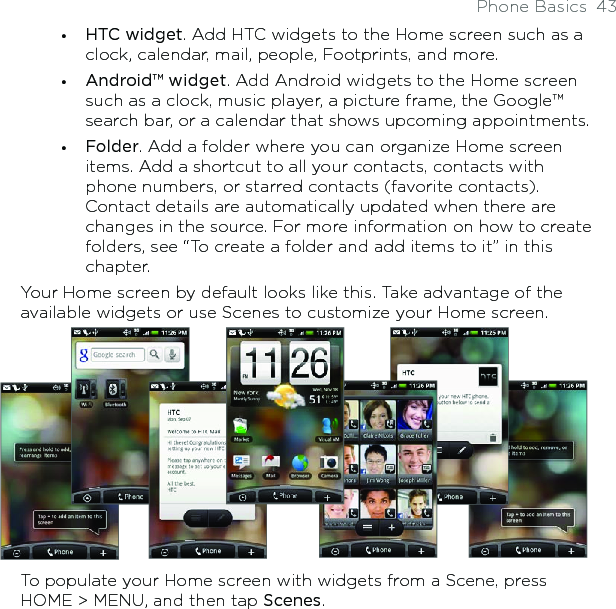

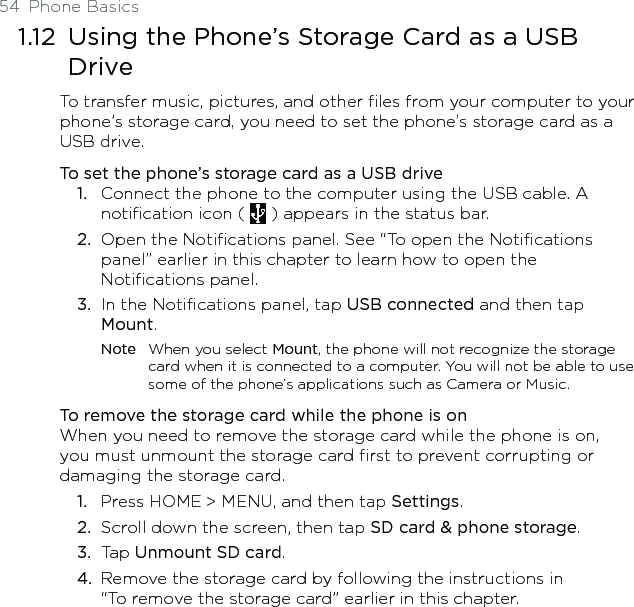
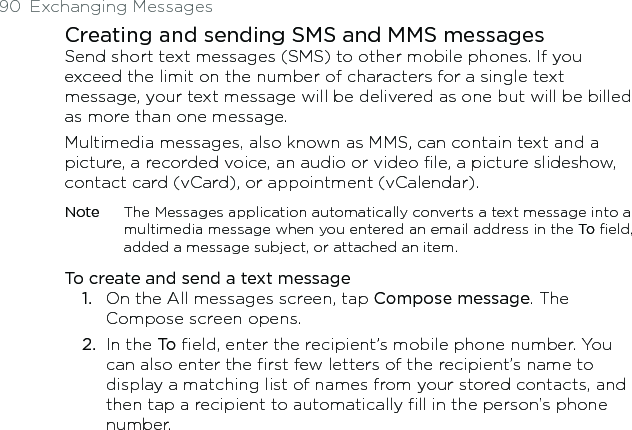
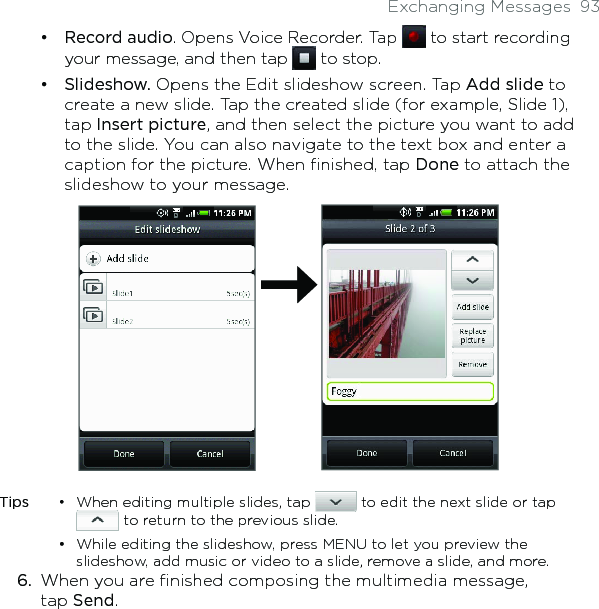
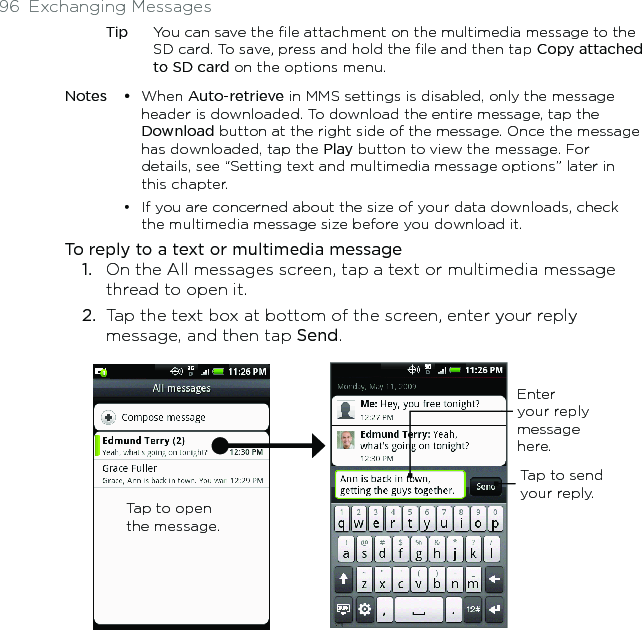
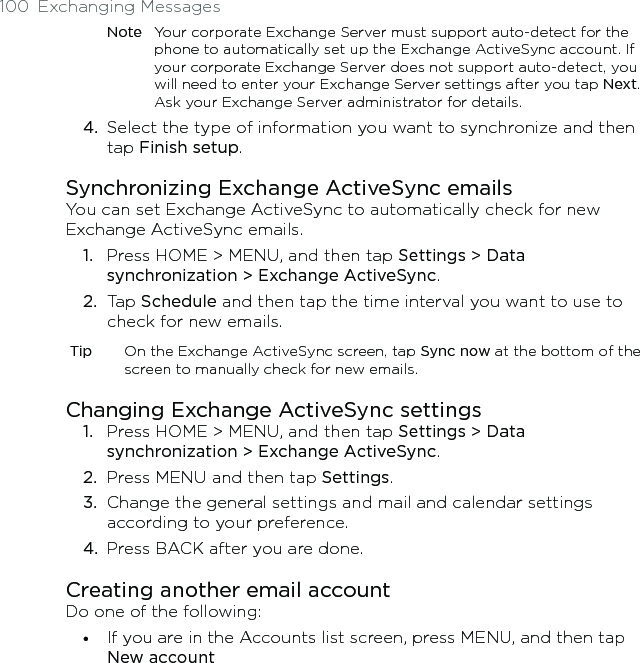
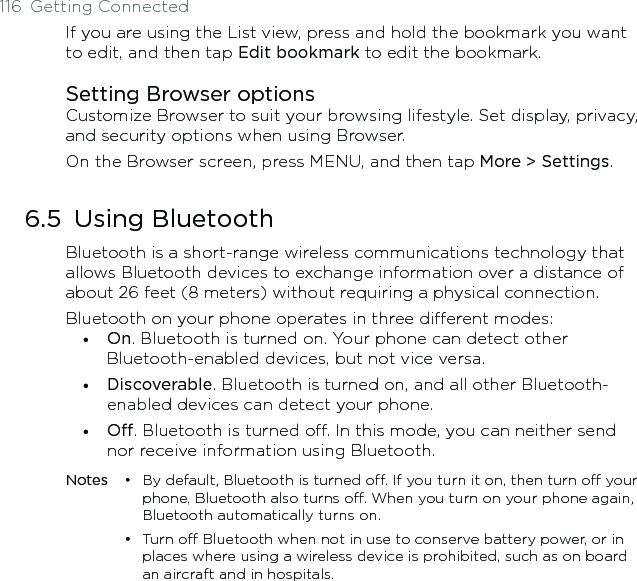
![Using Phone Features 57Calling using Voice Dialer1. Do one of the following:Press and hold the CALL button.Press HOME, and then tap > Voice Dialer. 2. When the Voice Dialer message box appears and you see “Listening” on the screen, say “Call [name of person]” in a clear voice into the phone.Note The person you want to call should be in your People list.3. A confirmation message will pop up asking if the person to call is correct. Tap OK if the person is correct or tap Cancel to try again.••Calling a phone number in a text messageWhile viewing a text message, you can place a call to a number that is in the body of the message. 1. Tap the message with the phone number.2. On the Select link screen, tap the number you want to call. 3. The phone dialer screen then opens, with the phone number automatically filled in and ready to be dialed. To place the call, tap Call.For more information about text messages, see Chapter 5.](https://usermanual.wiki/HTC/PB31200.Manual-Part-1/User-Guide-1239505-Page-57.png)


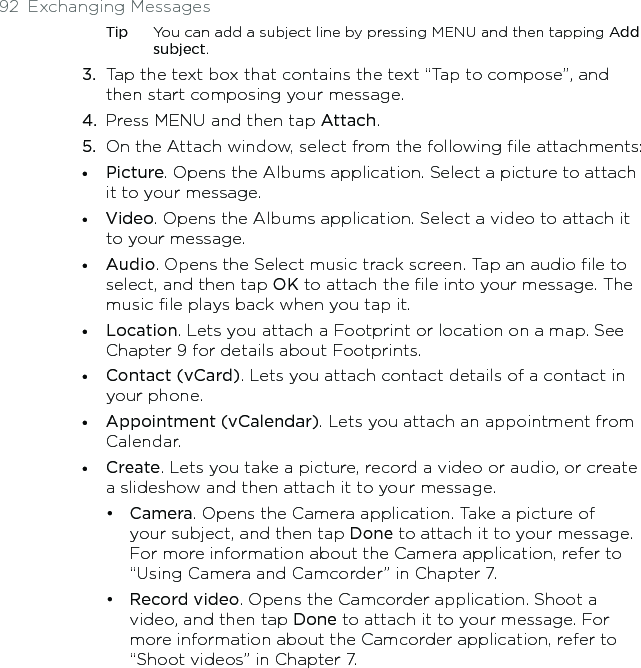
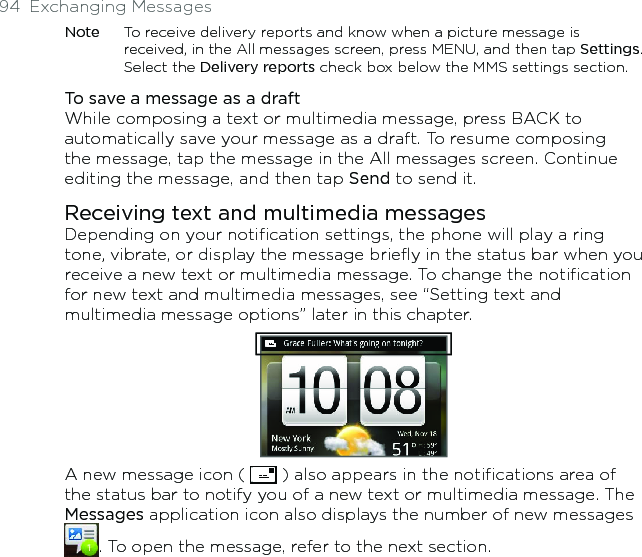
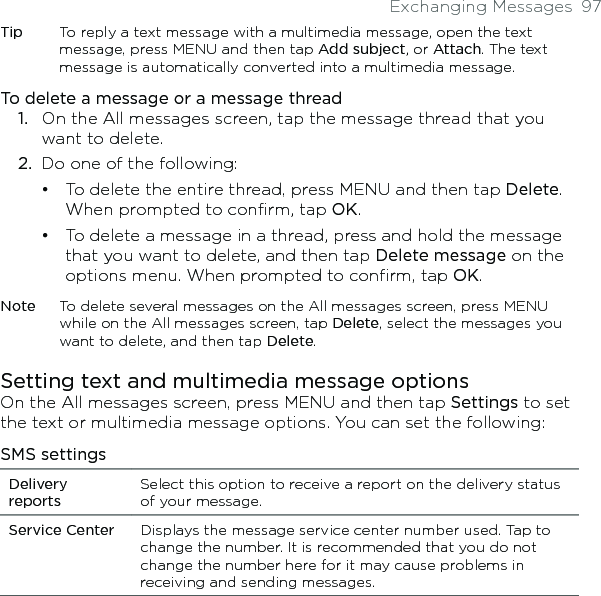
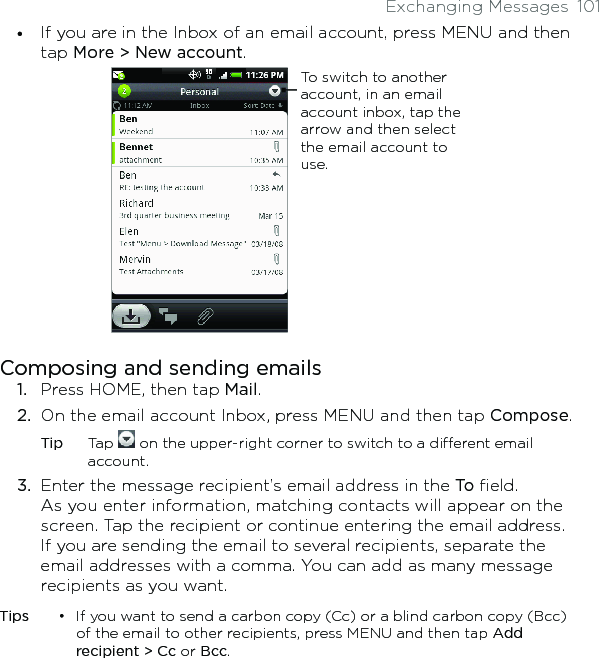
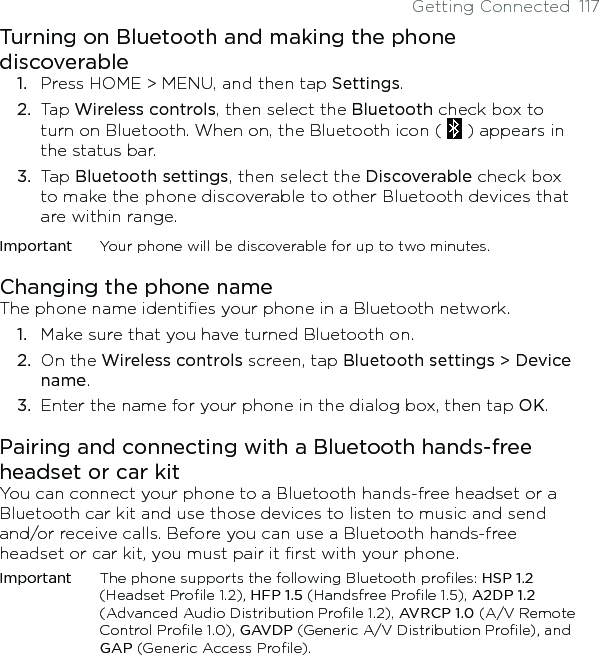
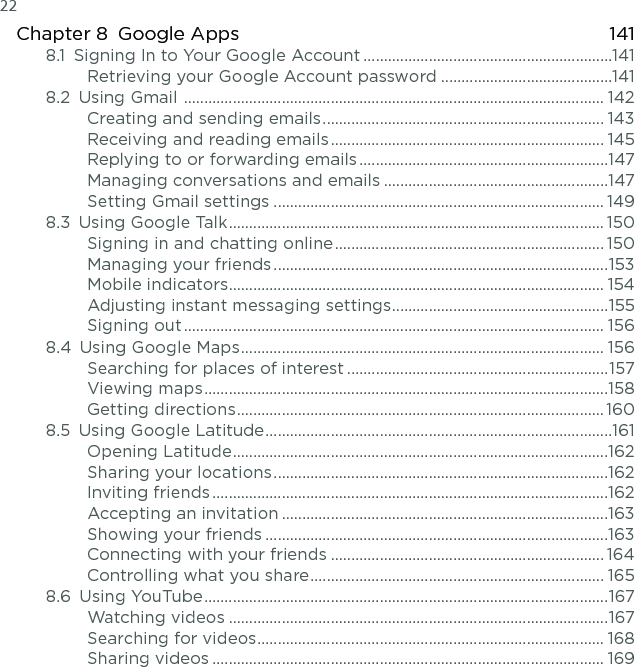
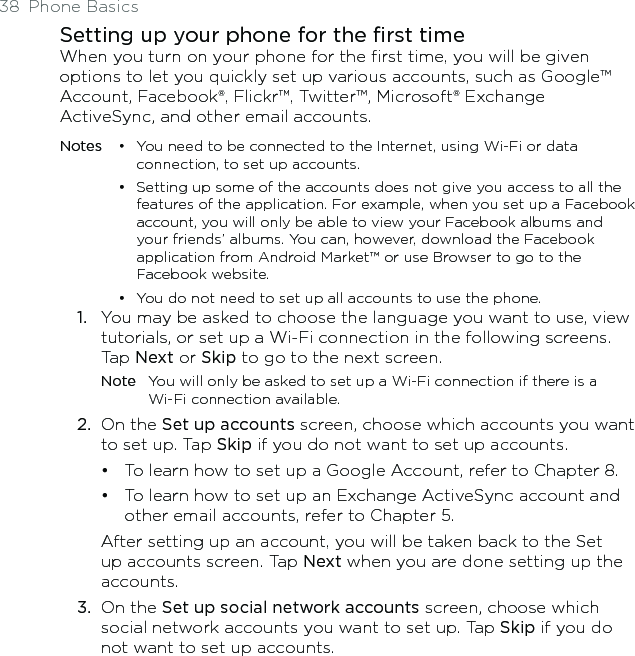
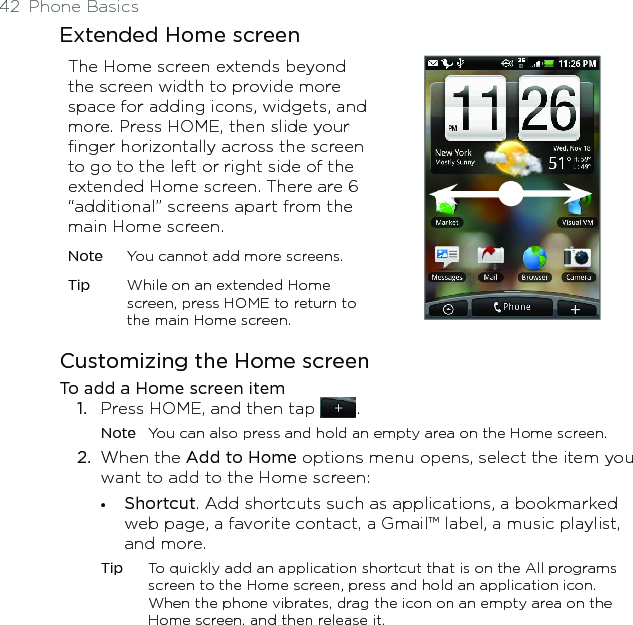
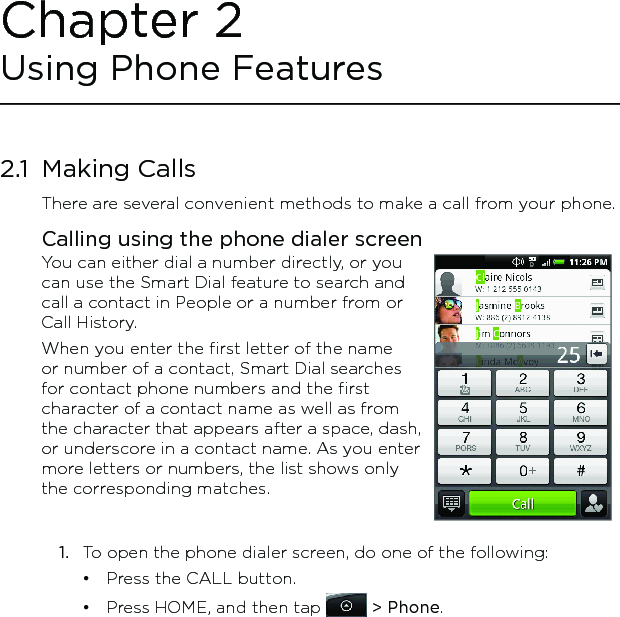
![78 Using PeopleTo log in to Facebook or Flickr1. On the All tab of the People screen, tap Me, press MENU, and then tap Edit.Note If you have not entered your contact details on My contact card, you can do so now. For information, see “Setting up My contact card” in this chapter.2. Scroll down and tap Facebook or Flickr.3. Enter your login details and then tap Log in.To log out of Facebook or Flickr1. On the All tab of the People screen, tap [Name] My contact card, press MENU, and then tap Edit.2. Tap ( ) to hide the onscreen keyboard, and then tap Facebook or Flickr.3. When prompted, tap OK, and then tap Save.To update your Facebook statusOn the All tab of the People screen, tap [Name] My contact card, and then tap Facebook. Enter your status, and then tap Share.To link to your contacts’ Facebook accounts1. On the People screen, slide to the Updates and events tab.2. If you did not link to Facebook on My contact card, tap Link to Facebook and enter your Facebook login information.3. Tap Link profiles. Note The Link profiles button may take a while to appear. 4. On the Select matching friends screen, select which contacts’ Facebook accounts you want to link to, and then tap Next.](https://usermanual.wiki/HTC/PB31200.Manual-Part-1/User-Guide-1239505-Page-78.png)