HTC PC36100 Smart Phone User Manual Sprint UG 9a HTC Evo 4G
HTC Corporation Smart Phone Sprint UG 9a HTC Evo 4G
UserManual.wiki
>
HTC
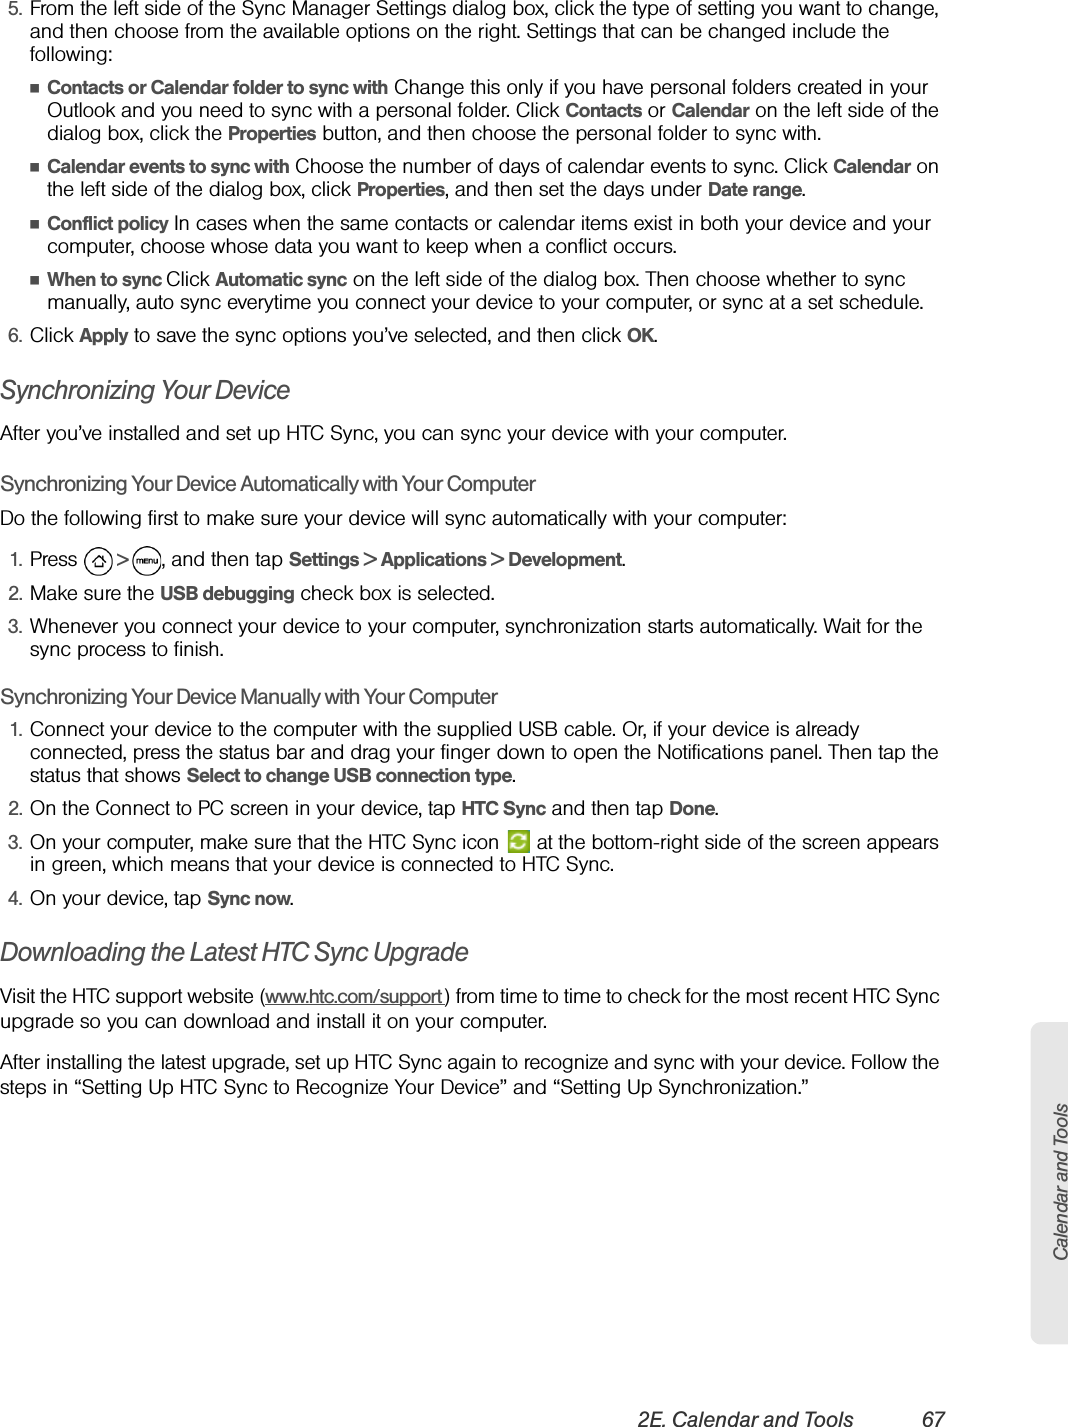
>
PC36100 User Manual
>
User Manual 1 of 2
Contents
1.
User Manual 1 of 2
2.
User Manual 2 of 2
User Manual 1 of 2
Navigation menu
Upload a User Manual
Namespaces
Wiki Guide
HTML
PDF
Info
Views
User Manual
Discussion / Help
Navigation


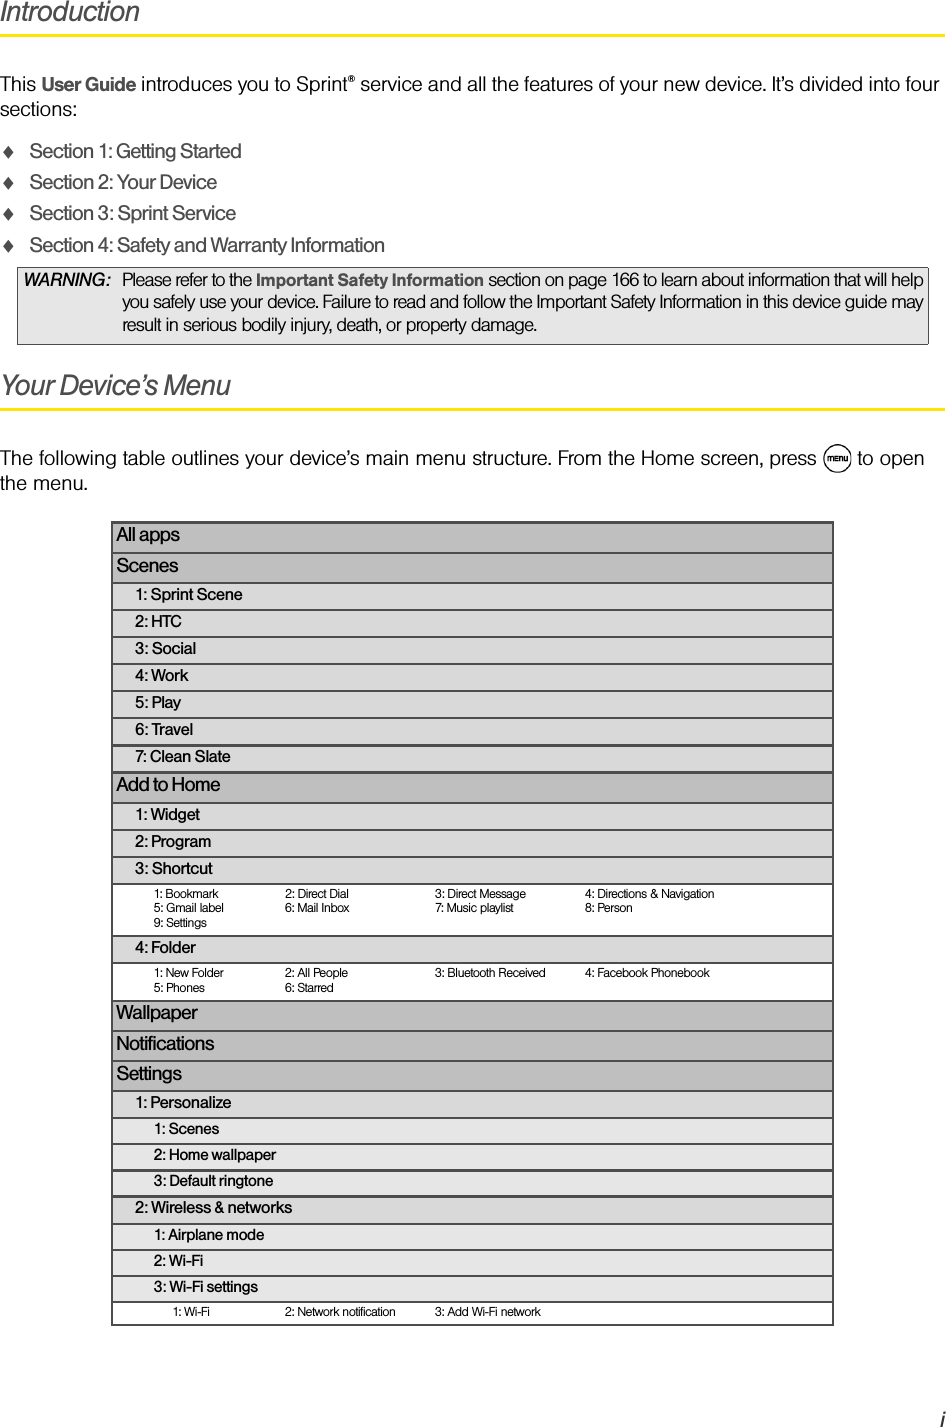


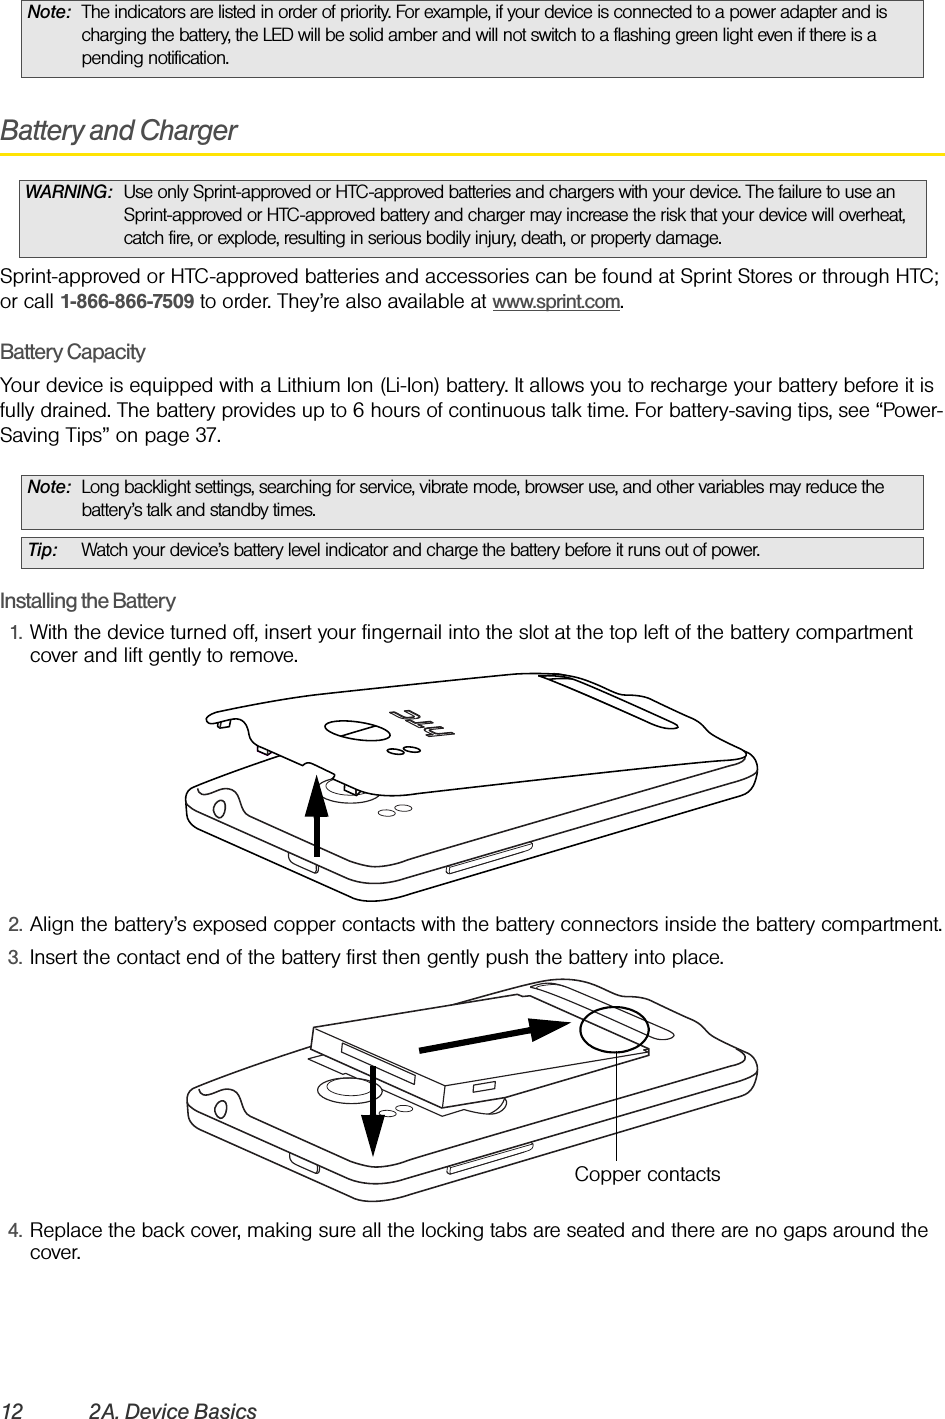

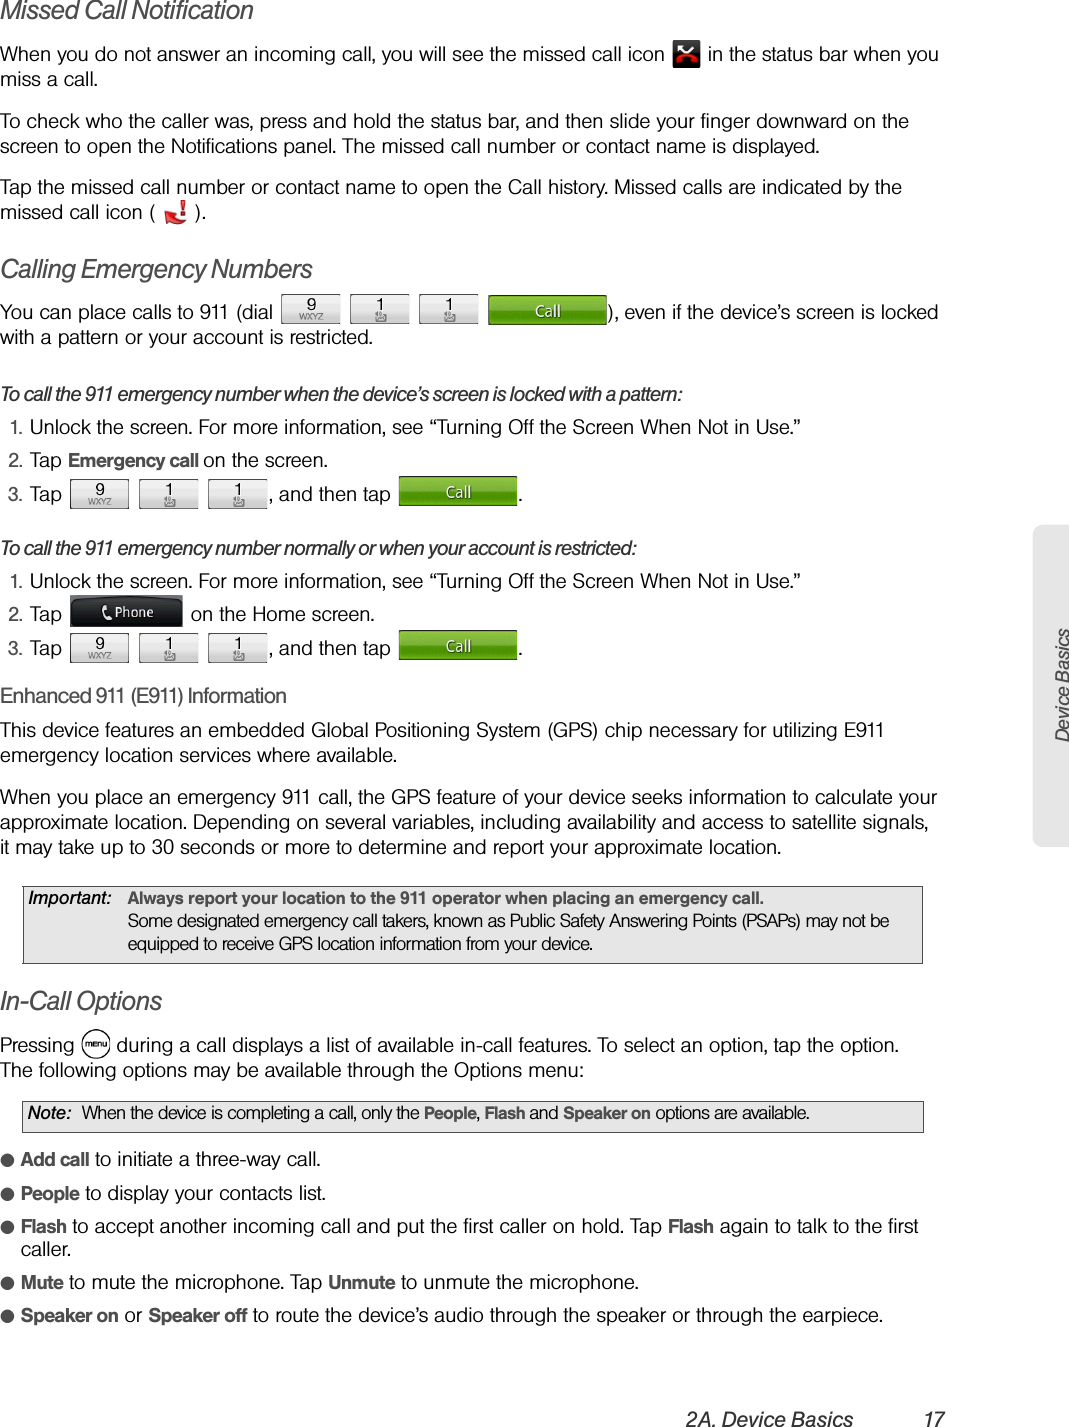
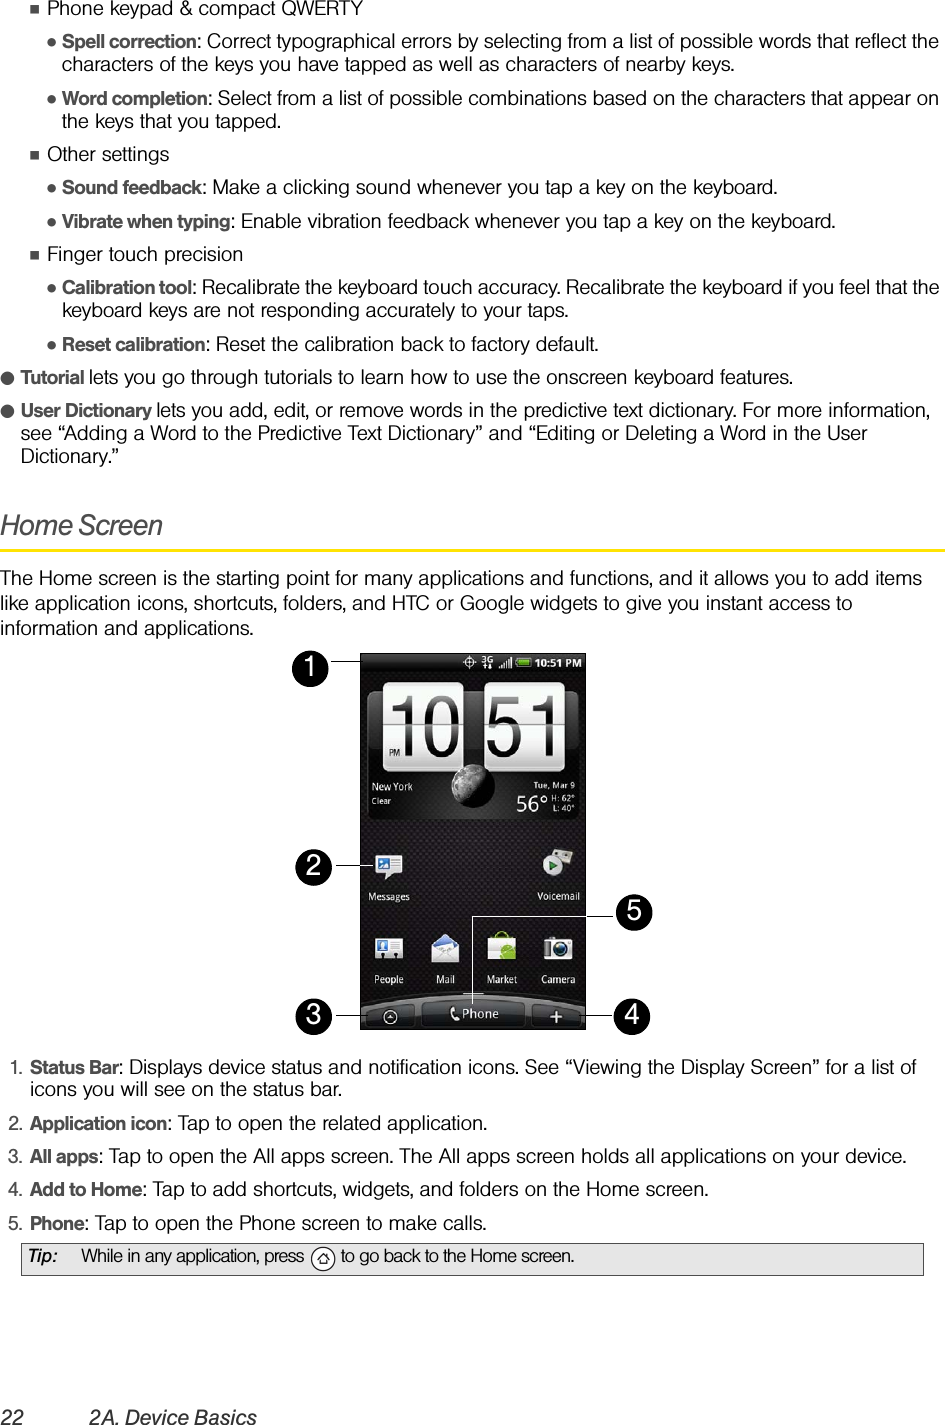
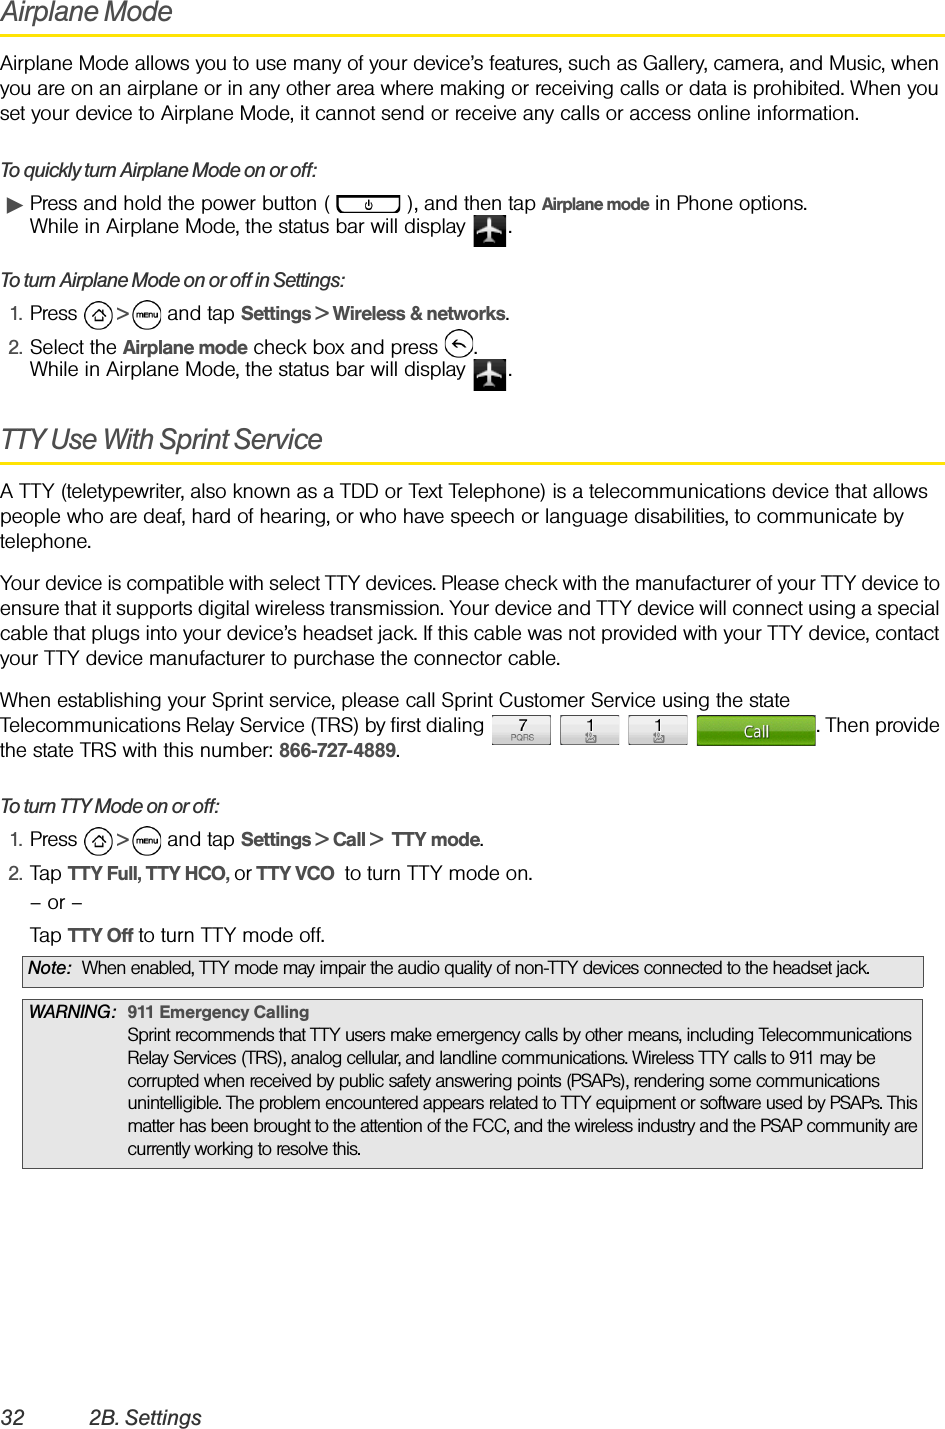
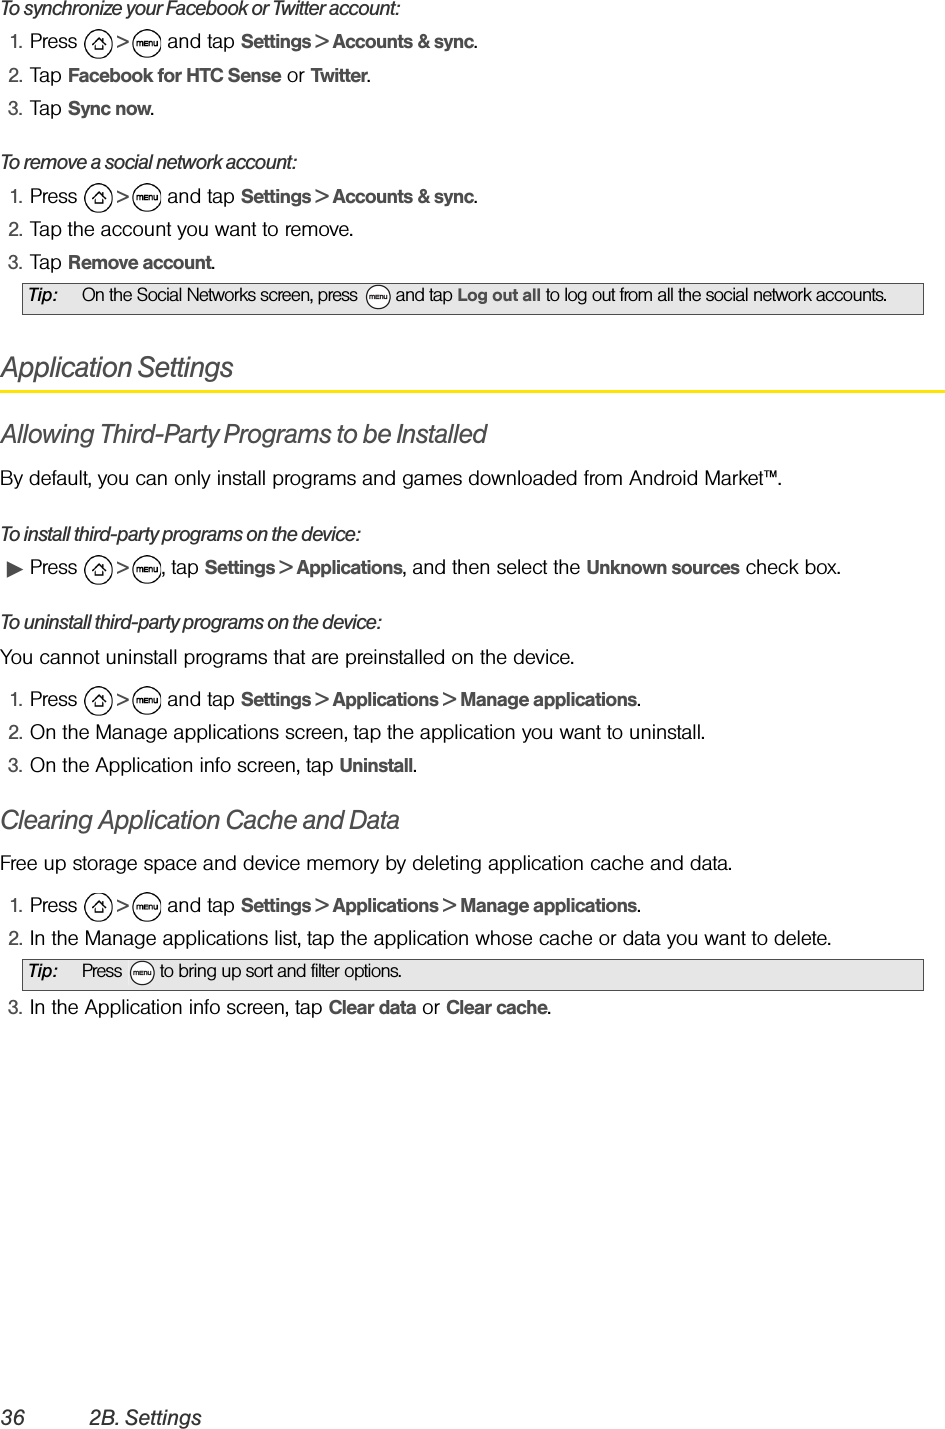
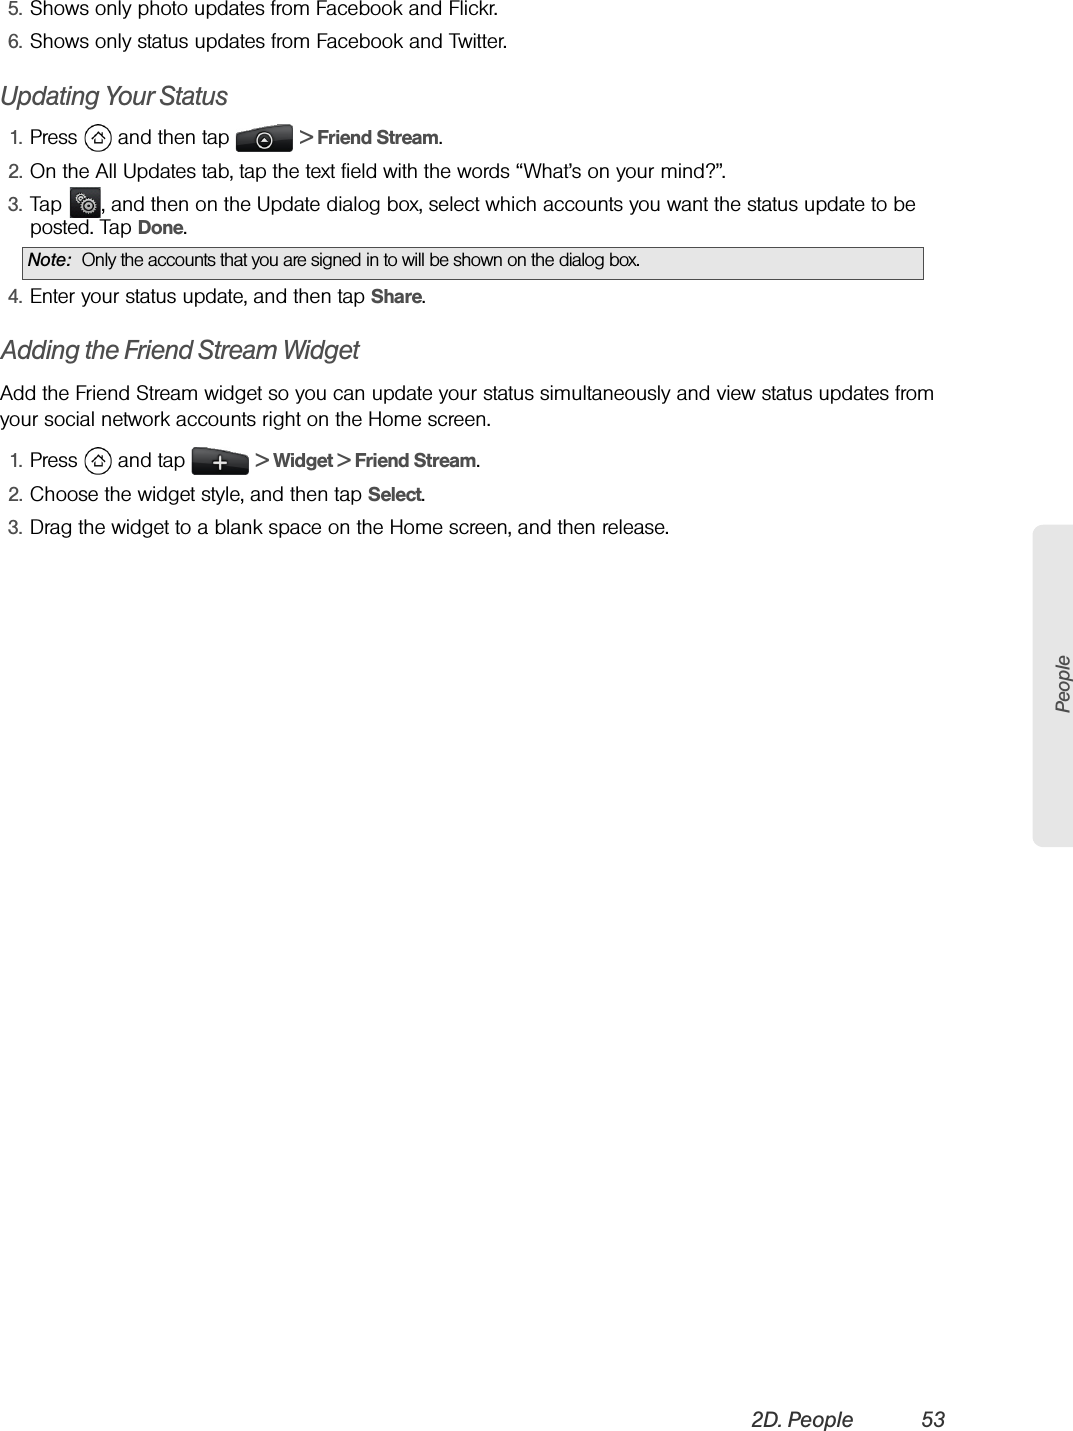
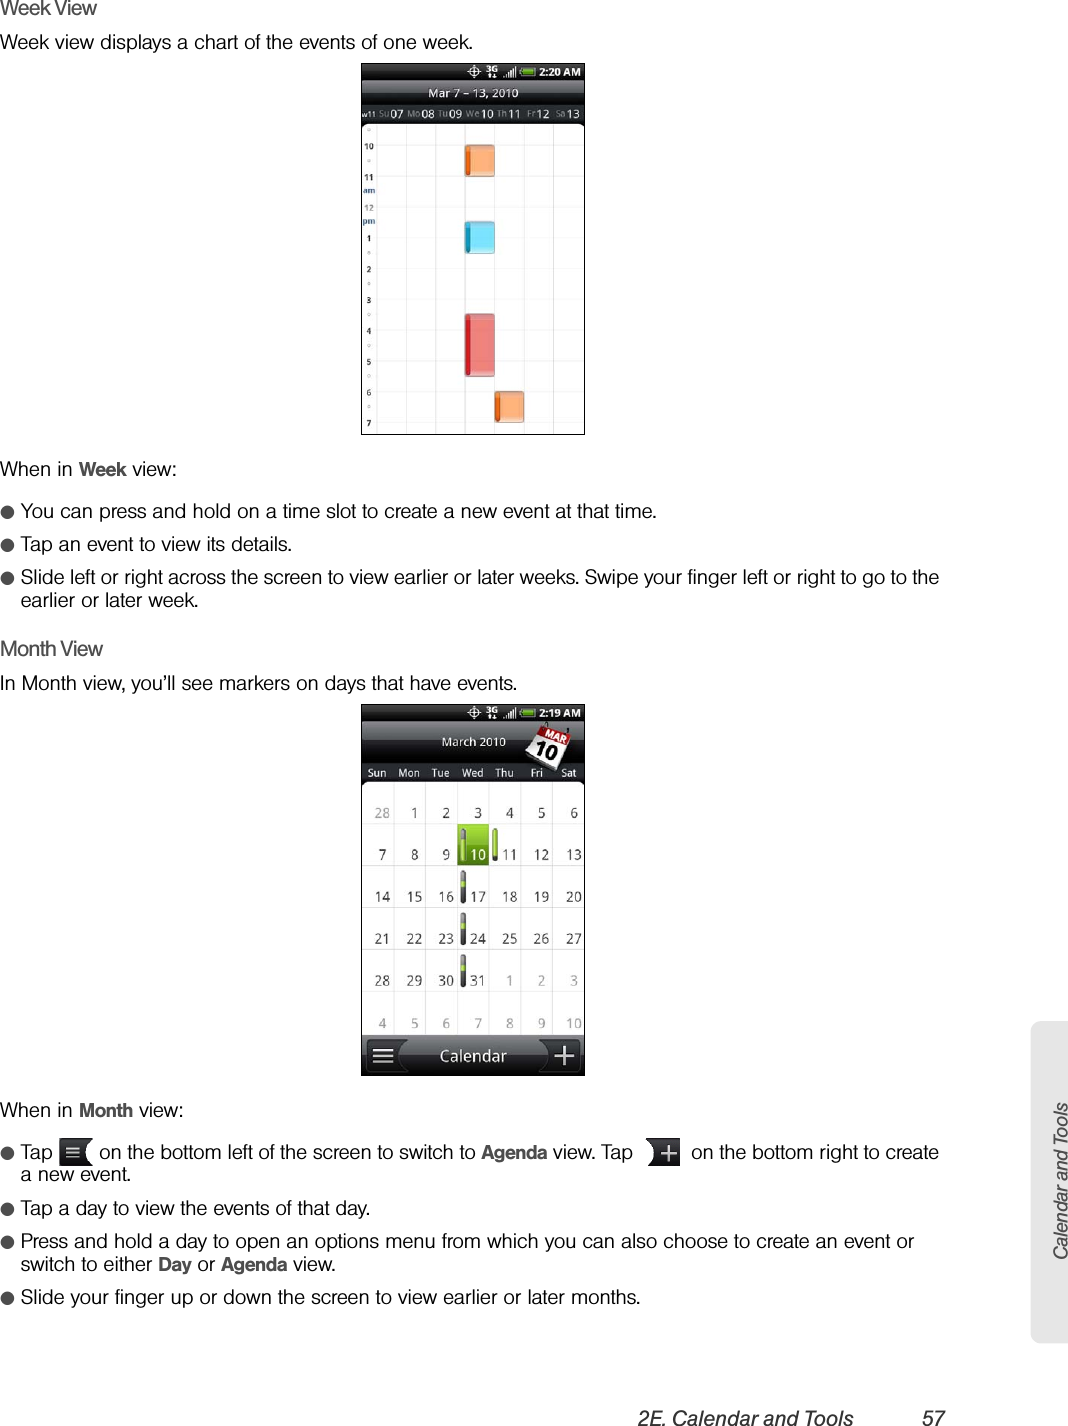
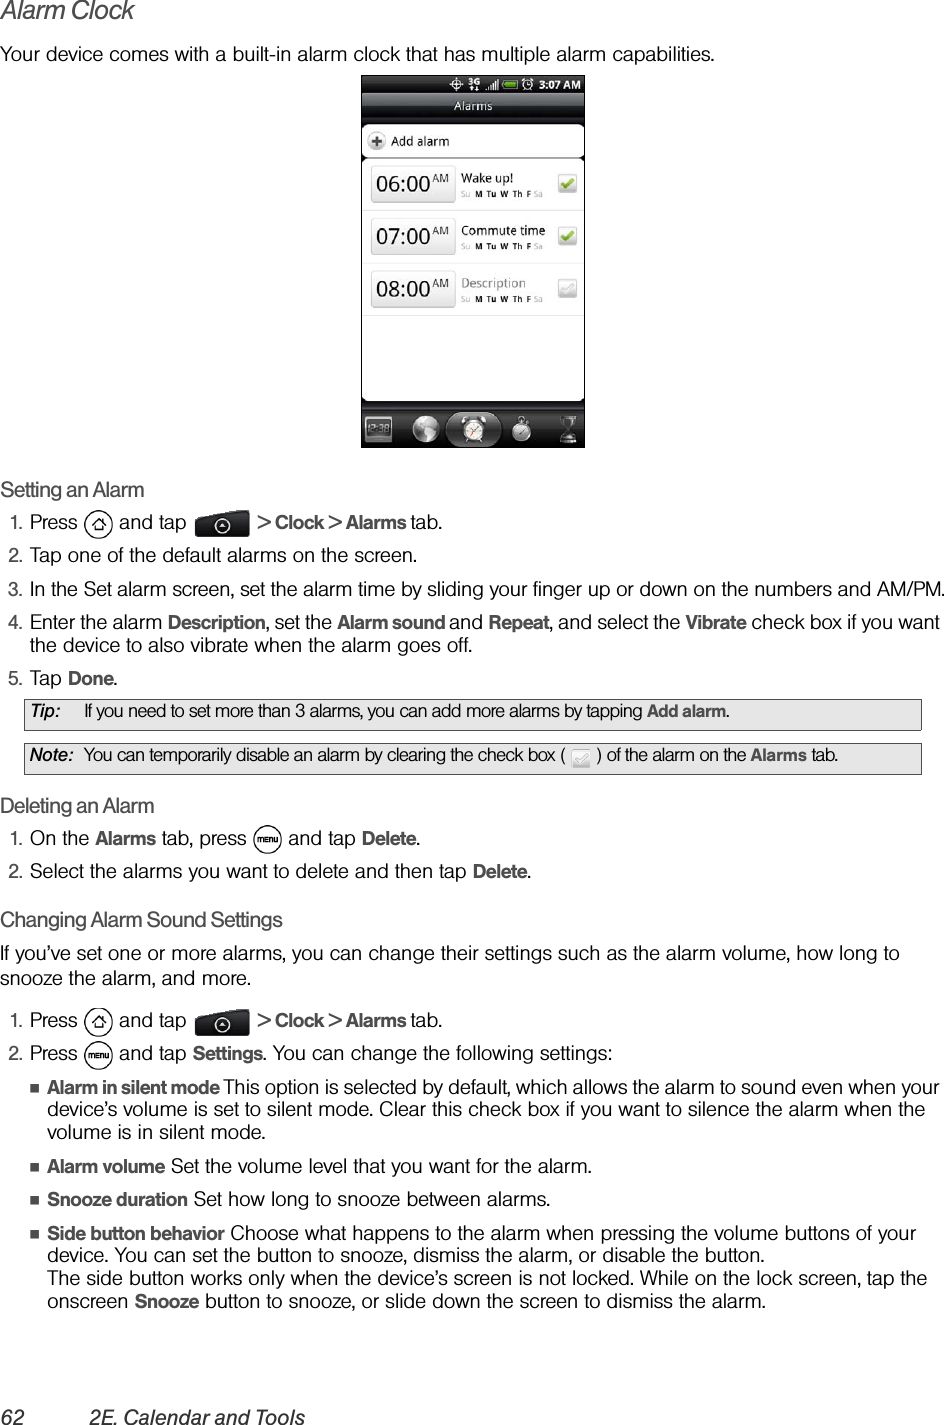
![18 2A. Device BasicsᮣTap Speaker On to route the device’s audio through the speaker. (You can adjust the speaker volume using the volume button on the side of the device.) ᮣTap Speaker Off to use the device’s earpiece.End-of-Call OptionsAfter you receive a call from or make a call to a phone number that is not in your People list, you can choose to save the number to People. On the Phone screen, tap at the right side of the number to add the new number to People. (See “Saving a Phone Number” on page 18.)Saving a Phone NumberStore contacts entries in your device. Your device automatically sorts People entries alphabetically. (For more information, see “People” on page 41.)To save a number from standby mode:1. Press and tap .2. Enter the phone number by tapping the keys on the keypad.3. Tap Save to People. (This button appears after tapping six digits.)4. Tap Create new contact or Save to existing contact.5. Use the keyboard to enter the new contact name and tap Save to save the new entry.– or –Tap an existing contact name and tap Save to save the new number.Finding a Phone NumberYou can search People for entries by name.1. Press , tap > People, and then press .2. Enter the first letter or letters of an entry. (The more letters you enter, the more specific the search.)3. Tap the contact to display his/her contact information.Dialing From the People List1. Press , tap > People.2. Tap the entry you want to call.3. Tap Call [Type of Number]. (For example, Call mobile.)WARNING: Because of higher volume levels, do not place the device near your ear during speakerphone use.Tip: After receiving a call from a phone number that is not in your People list, an options menu is briefly displayed to allow you to save the number to People. On the options menu, tap Yes, create new contact.](https://usermanual.wiki/HTC/PC36100.User-Manual-1-of-2/User-Guide-1276645-Page-28.png)
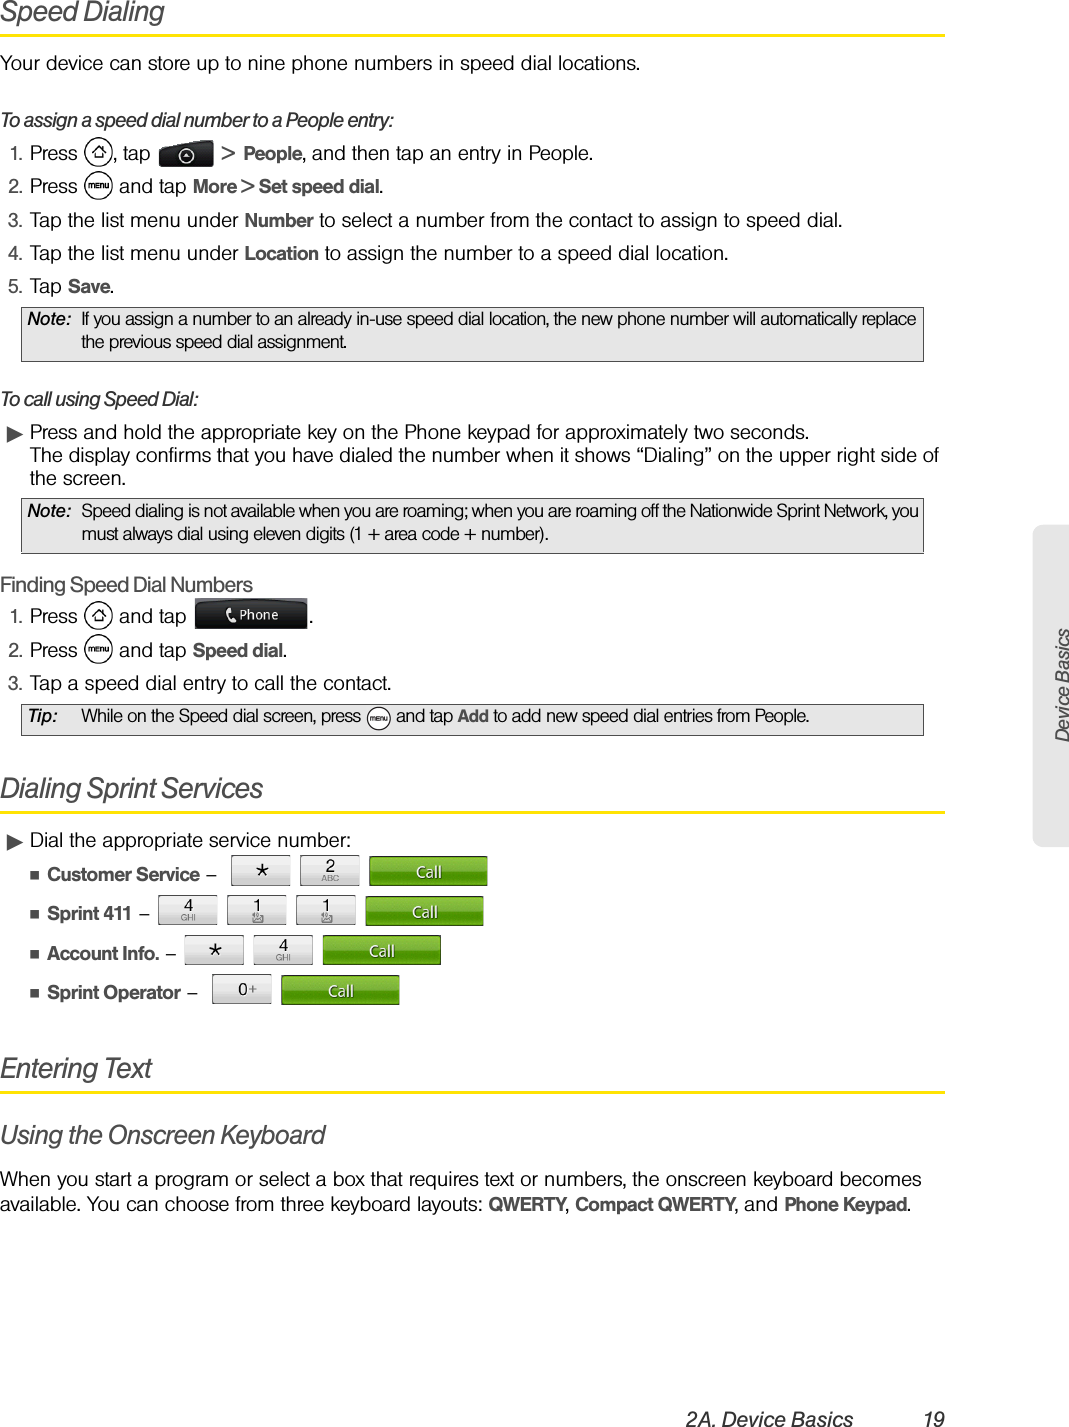
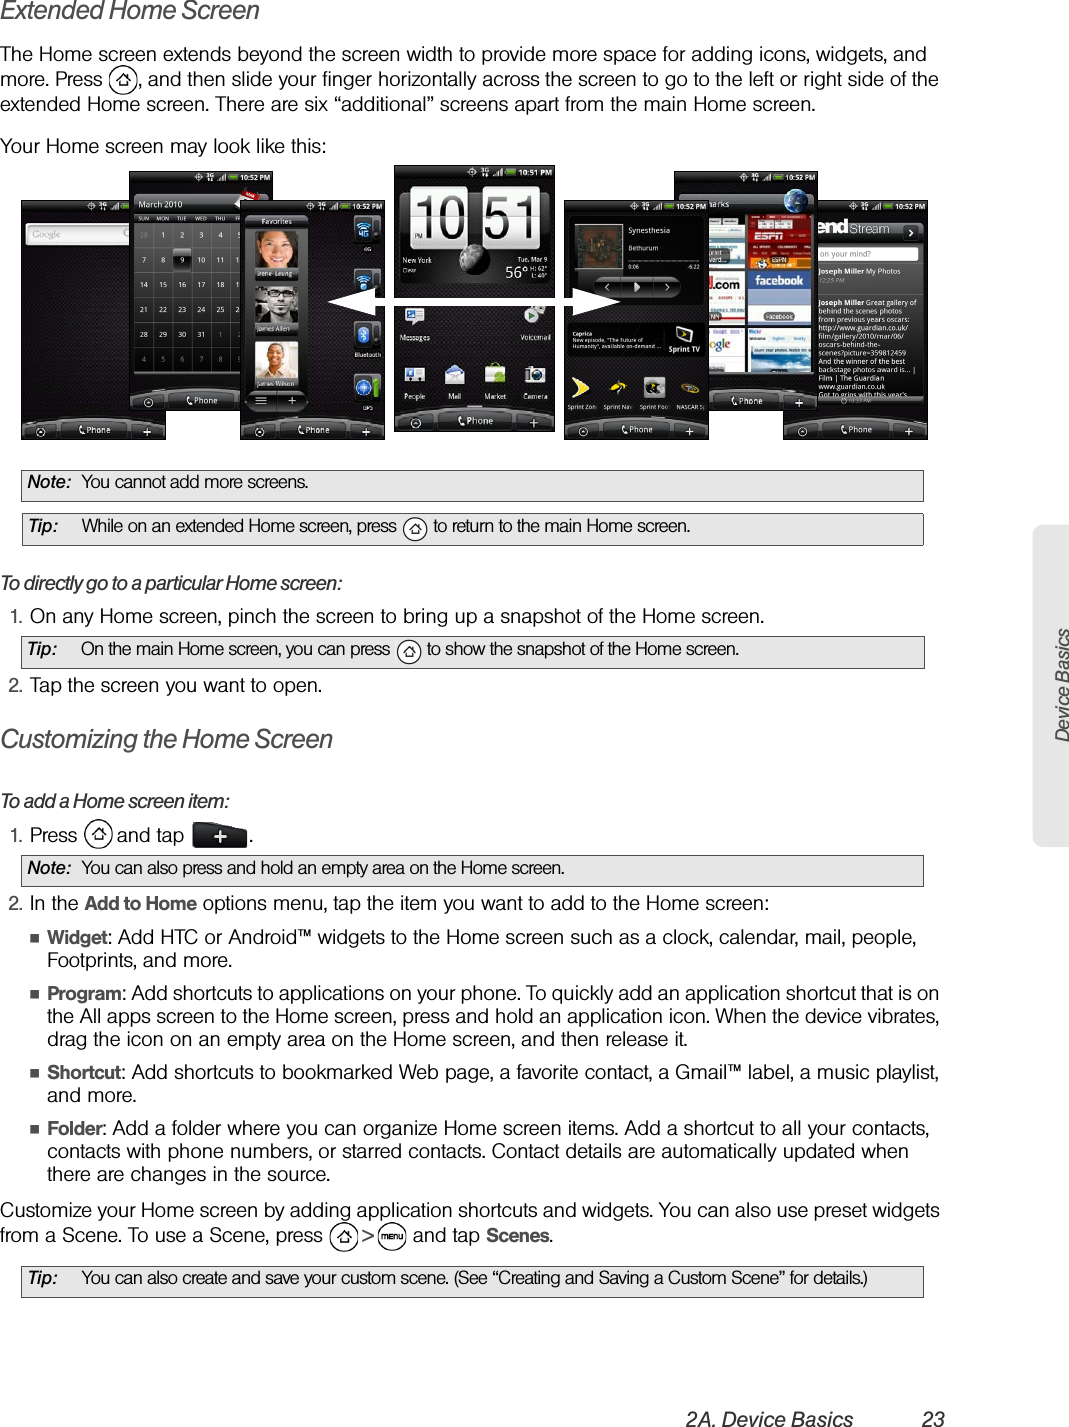


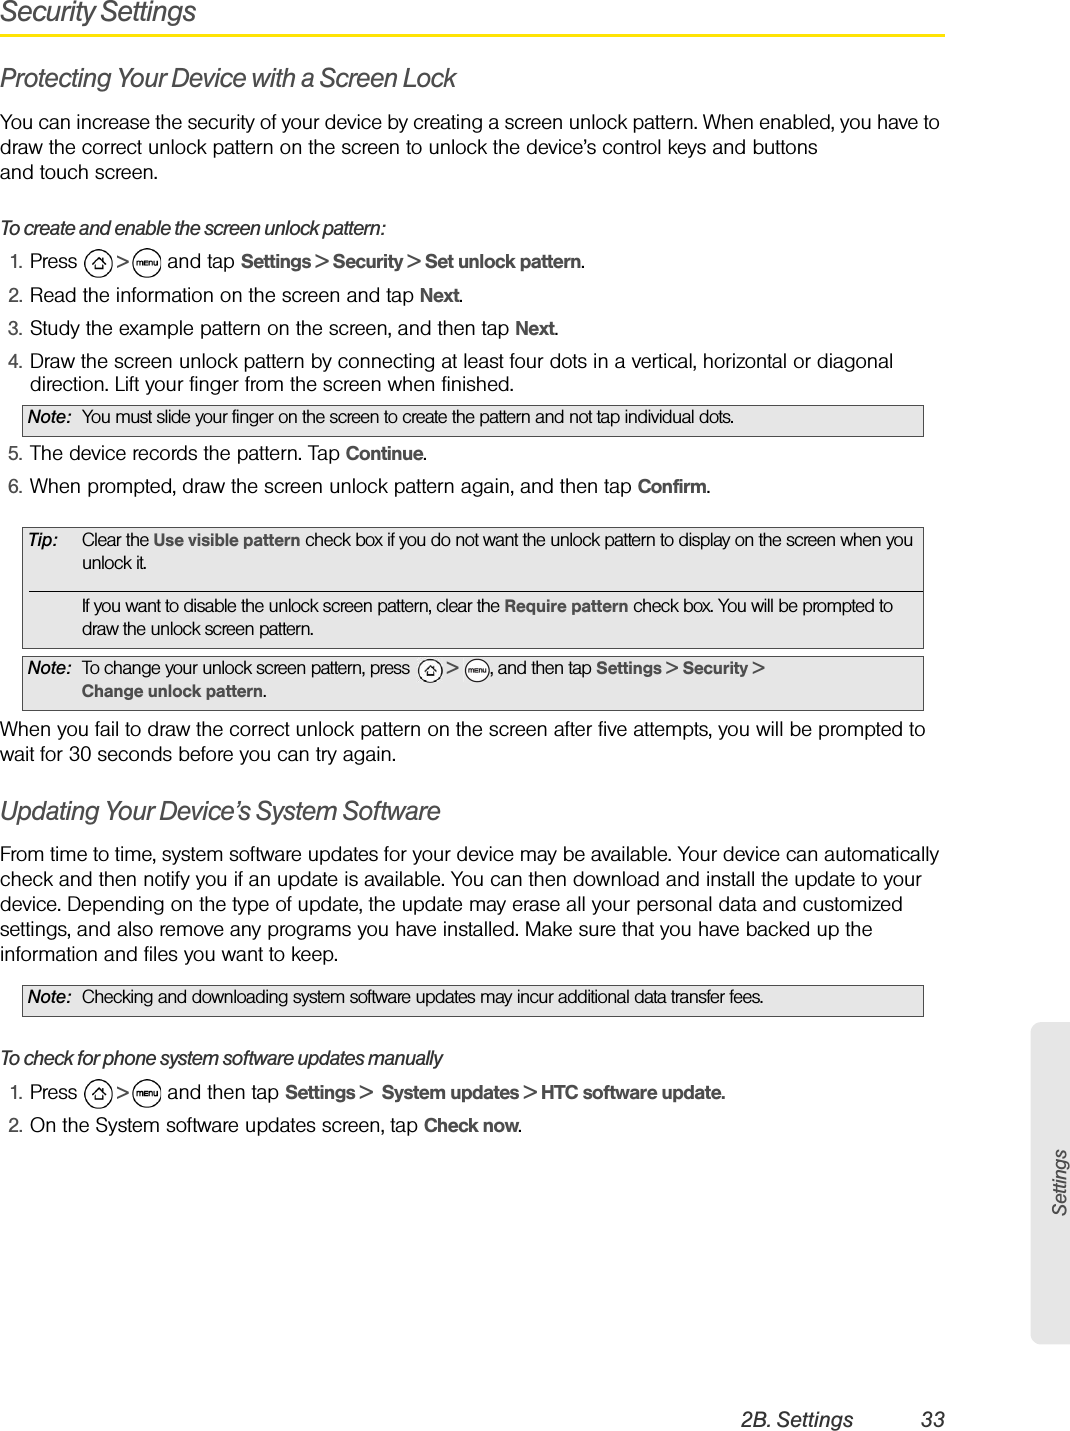
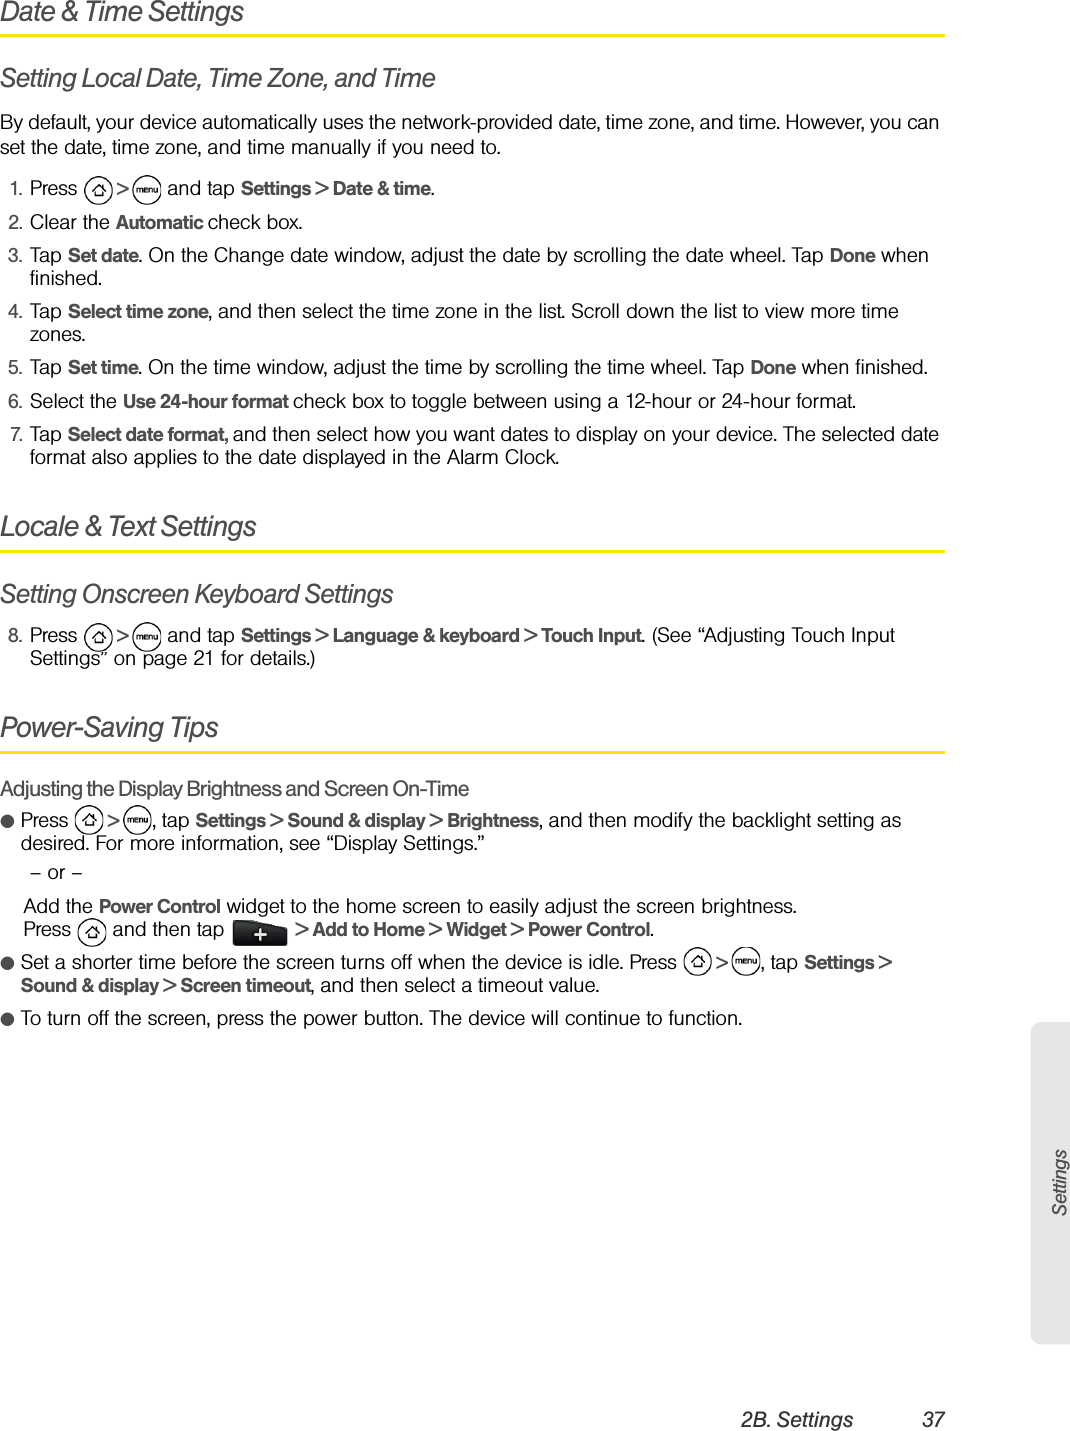
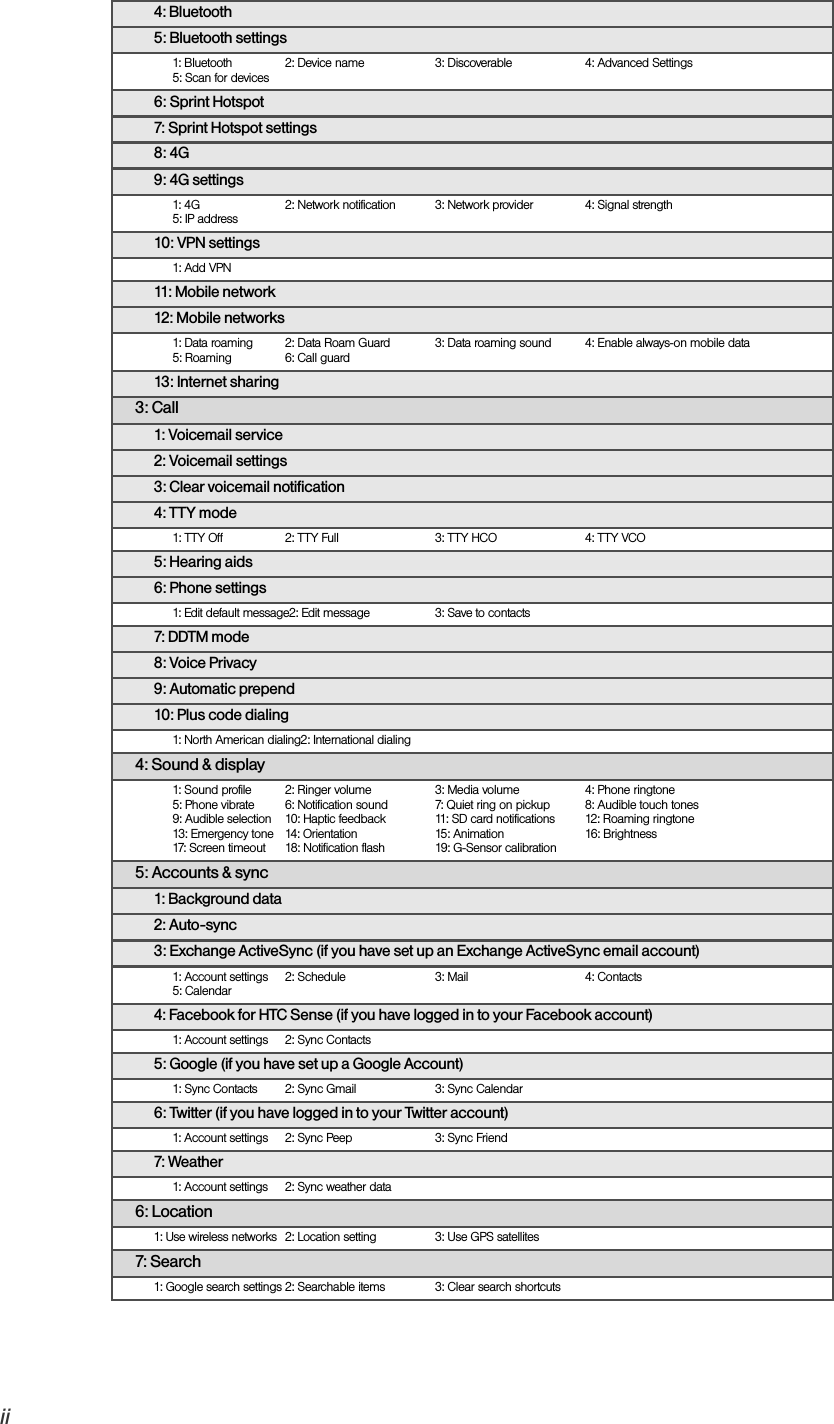
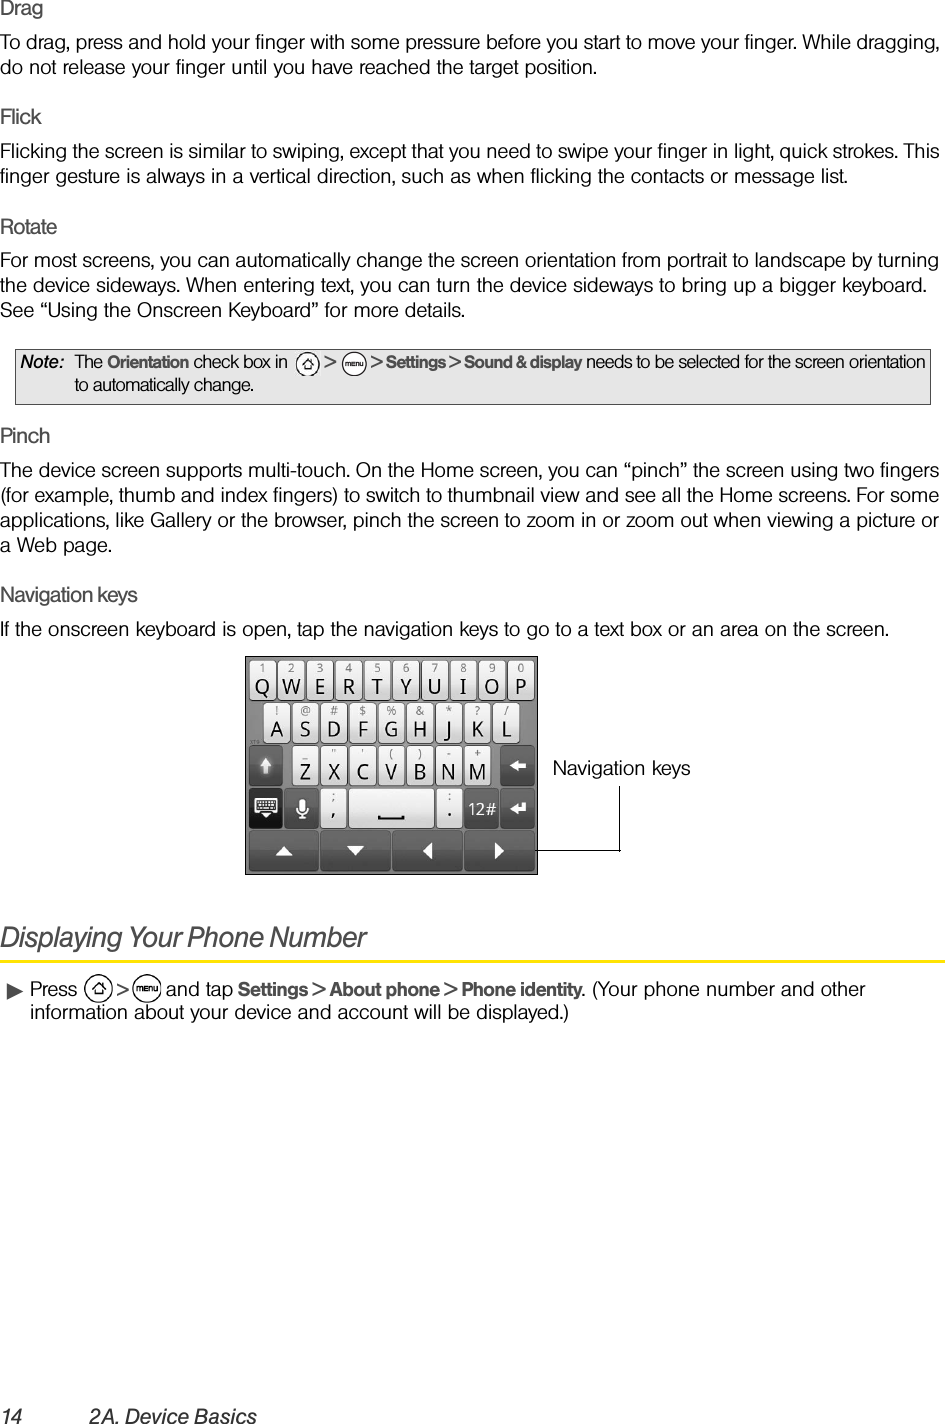
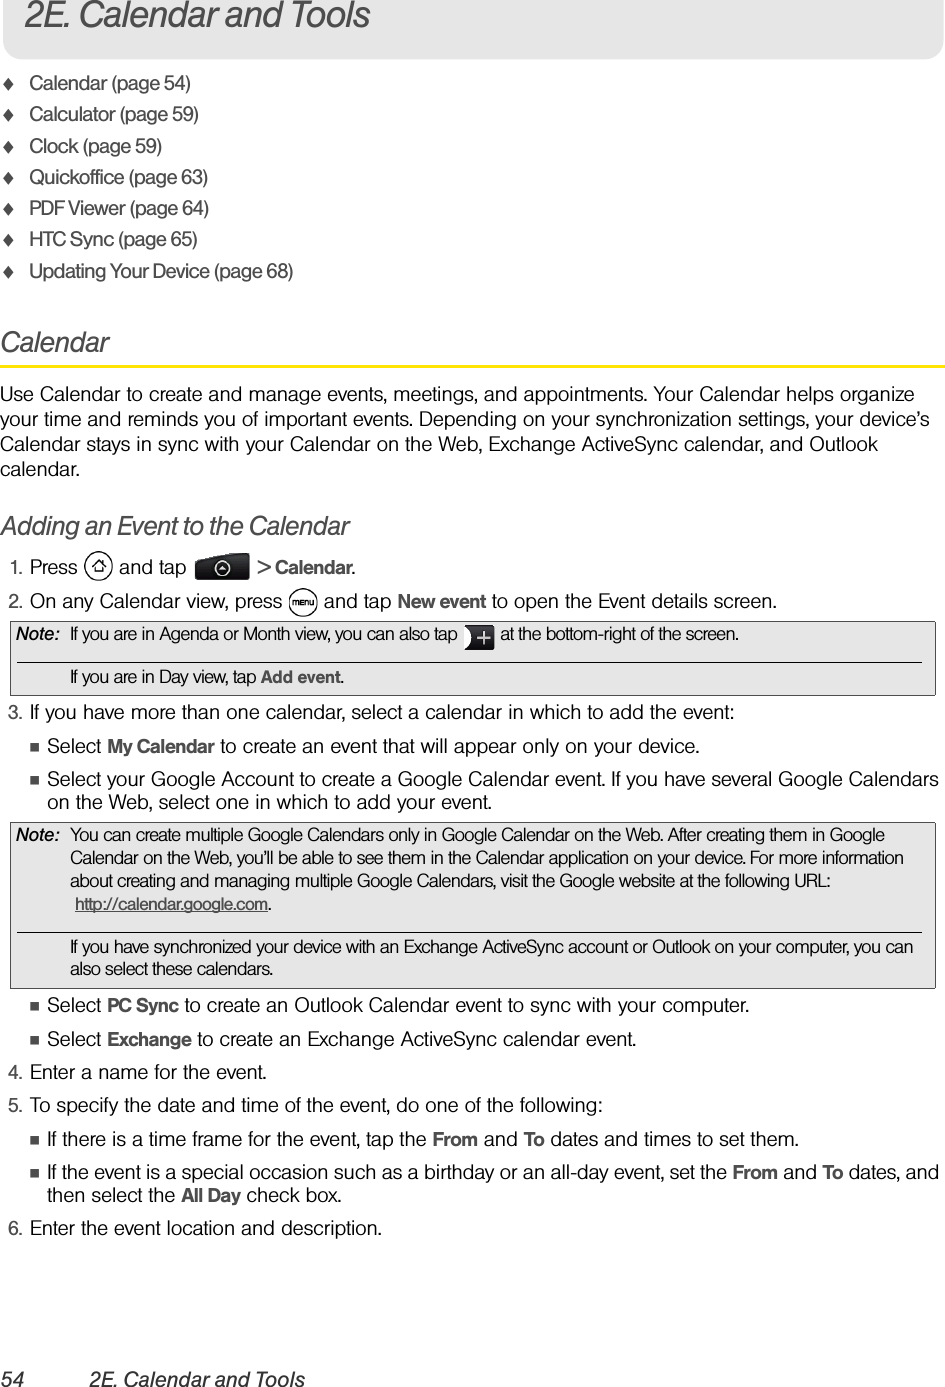
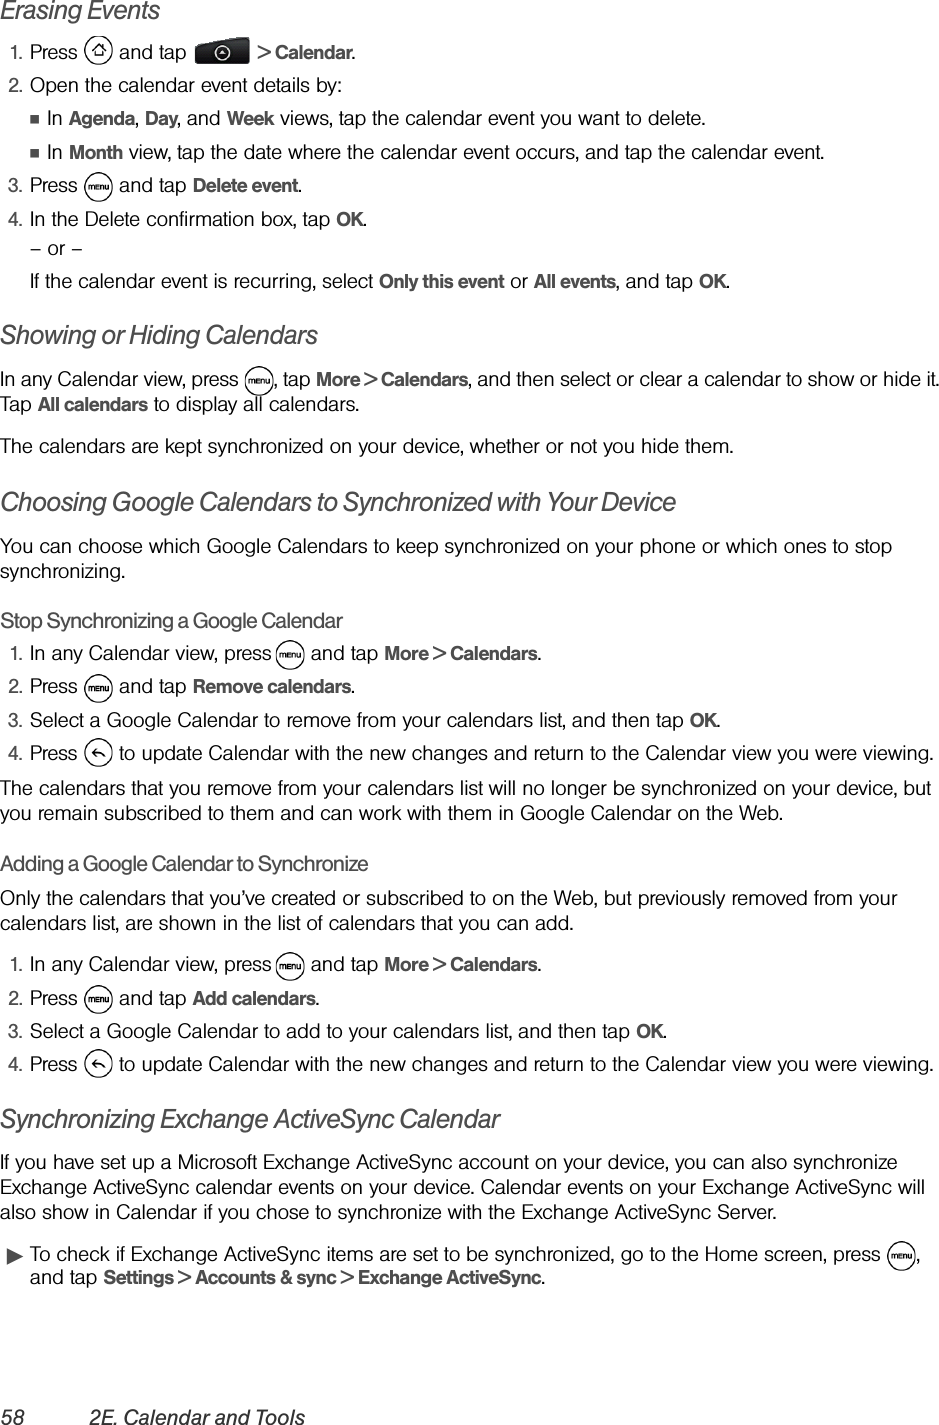
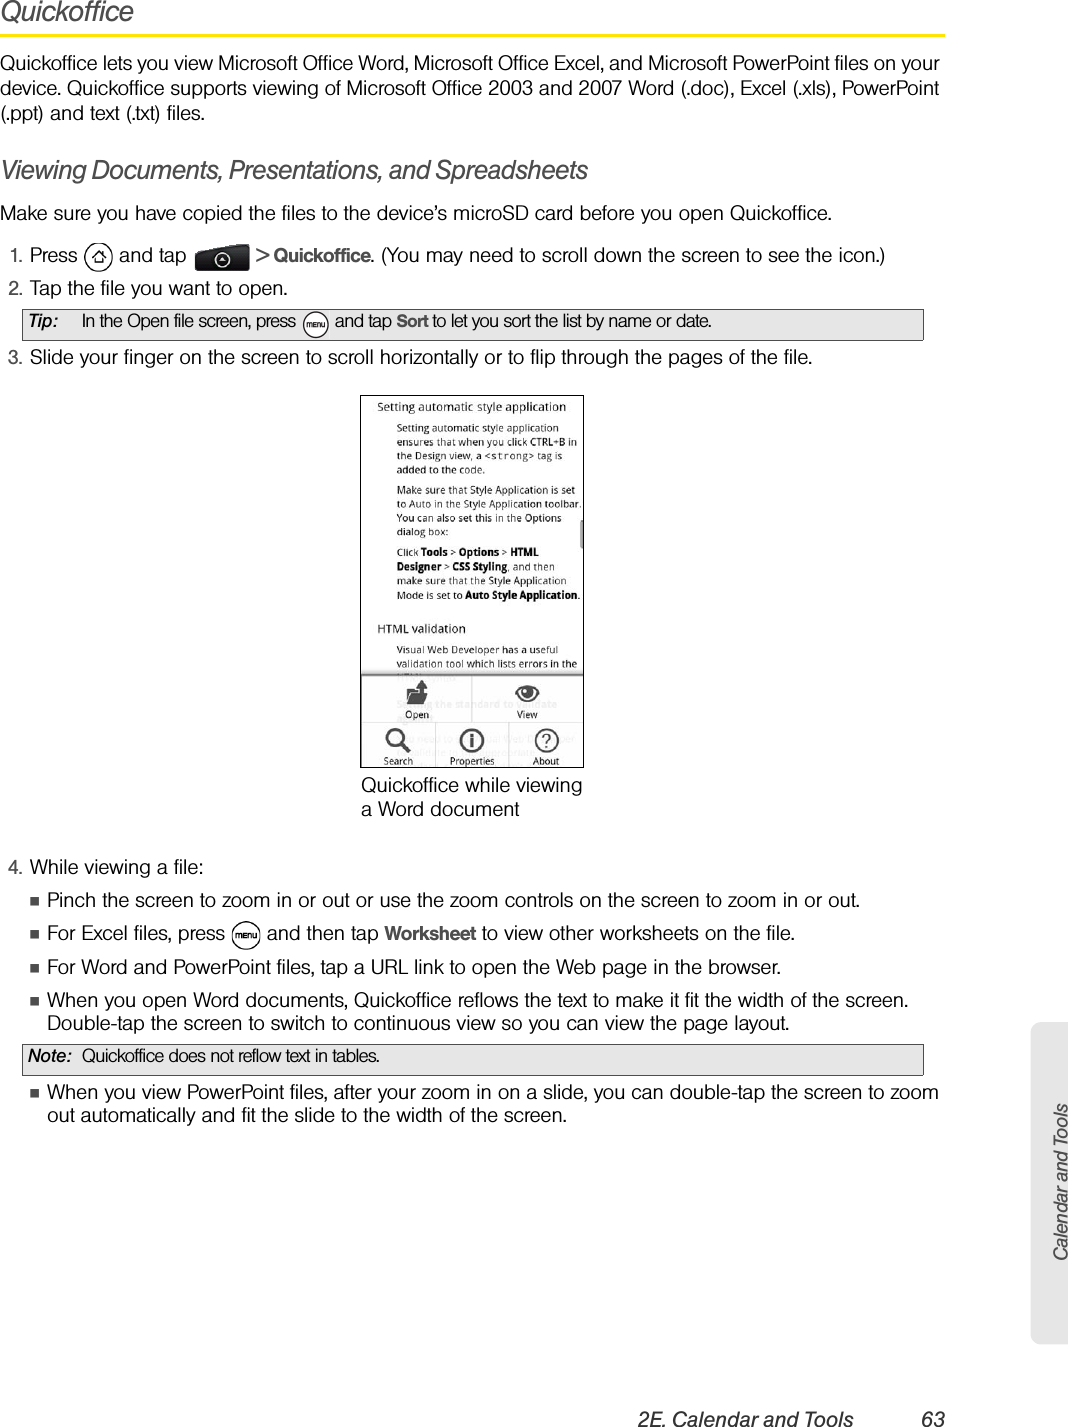
![People2D. People 513. Read Facebook status updates in Friend Stream. For more information, see “Using Friend Stream”.Updating Your Facebook Status1. Press and tap > People > All tab.2. Tap Me or [Your Name] > Facebook.3. Enter your status in the “What’s on your mind” text box and tap Share.Synchronizing Facebook for HTC SenseSee “Social Network Settings” on page 35.Changing Facebook for HTC Sense Update Settings1. Press > and tap Settings > Accounts & sync.2. Tap Facebook for HTC Sense.3. Tap Account settings > Update schedule, and then select the time interval.Facebook for AndroidThe Facebook® application on your phone lets you keep up and stay close with your friends in Facebook. It offers most of the features that you are familiar with when using Facebook on your computer.If you have more than one Facebook account, you can sign in to the Facebook application using your other Facebook account.Opening Facebook1. Press and then tap > Facebook.2. If this is your first time to use Facebook, follow the onscreen instructions to sign into your Facebook account. Your Facebook profile is then displayed on the screen.3. Press to go to the Facebook home screen and access other functions.With the Facebook application, you can:ⅢShare your thoughts and check other people’s status updates.ⅢView your friends list and write on someone’s wall.ⅢComment on and like a friend’s post.ⅢView someone’s personal information, including photo albums.ⅢCheck your Facebook notifications.ⅢTake a photo and upload it straight to your Facebook account.Adding the Facebook WidgetAdd the Facebook widget to the Home screen to let you quickly share your thoughts and view your friends’ status updates.1. Press and then tap > Widget > Facebook.2. Choose the widget style, and then tap Select.3. Drag the widget to a blank space on the Home screen, and then release.Note: While on the Facebook home screen, press , and then tap Settings to set refresh and notification options.On some Facebook screens, you can press and hold an item to open an options menu.](https://usermanual.wiki/HTC/PC36100.User-Manual-1-of-2/User-Guide-1276645-Page-61.png)
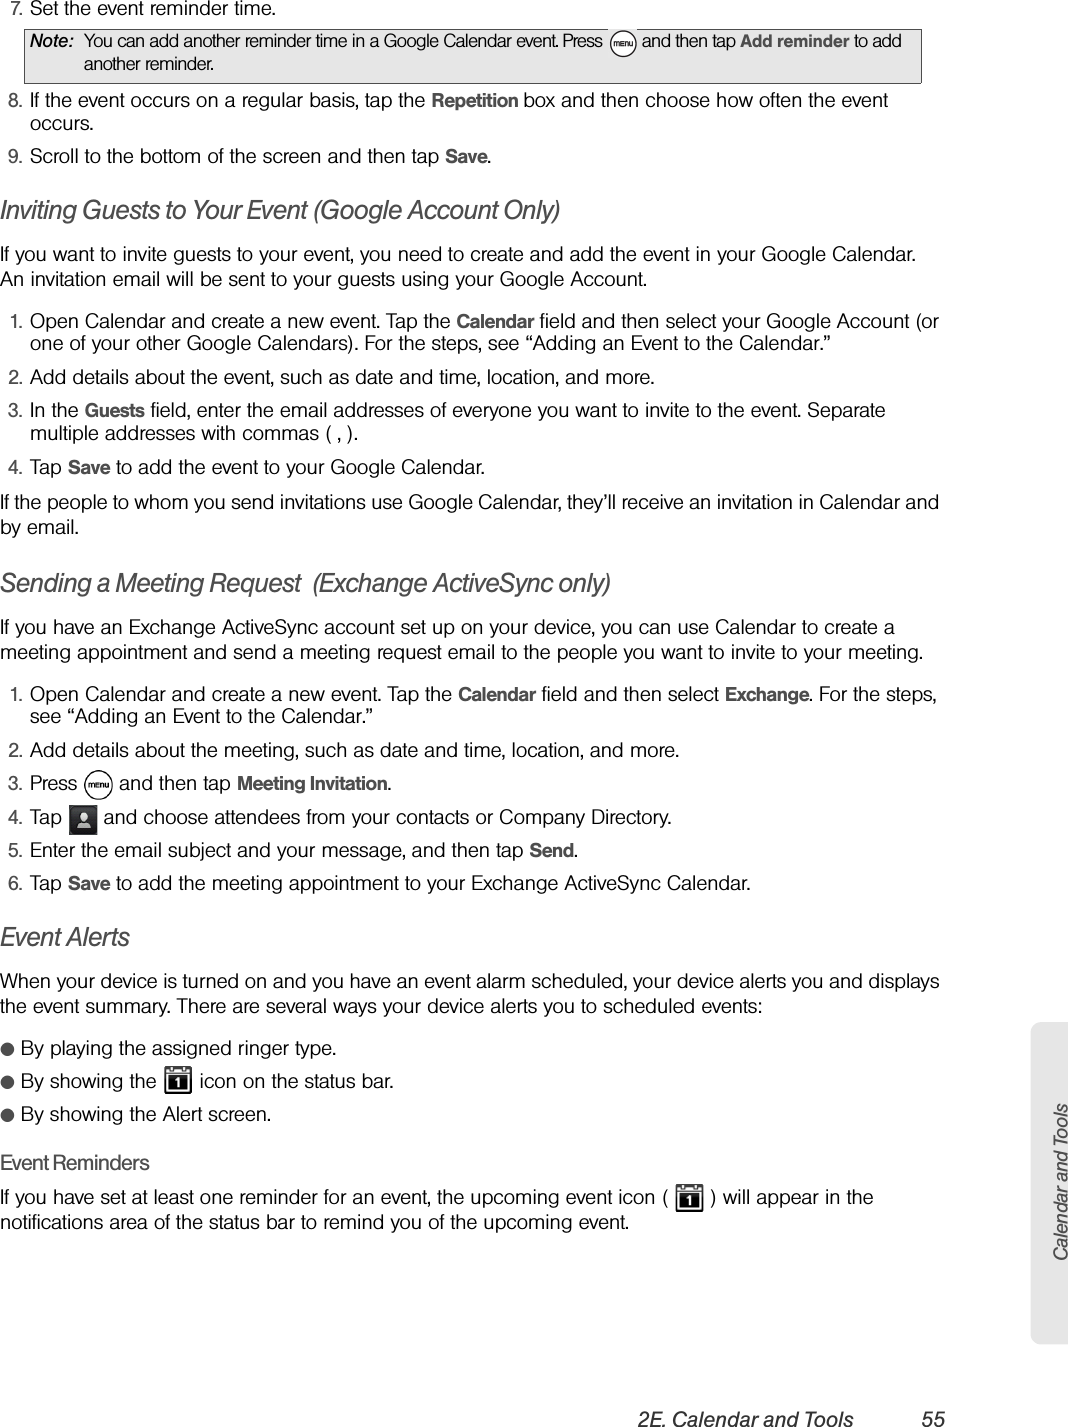
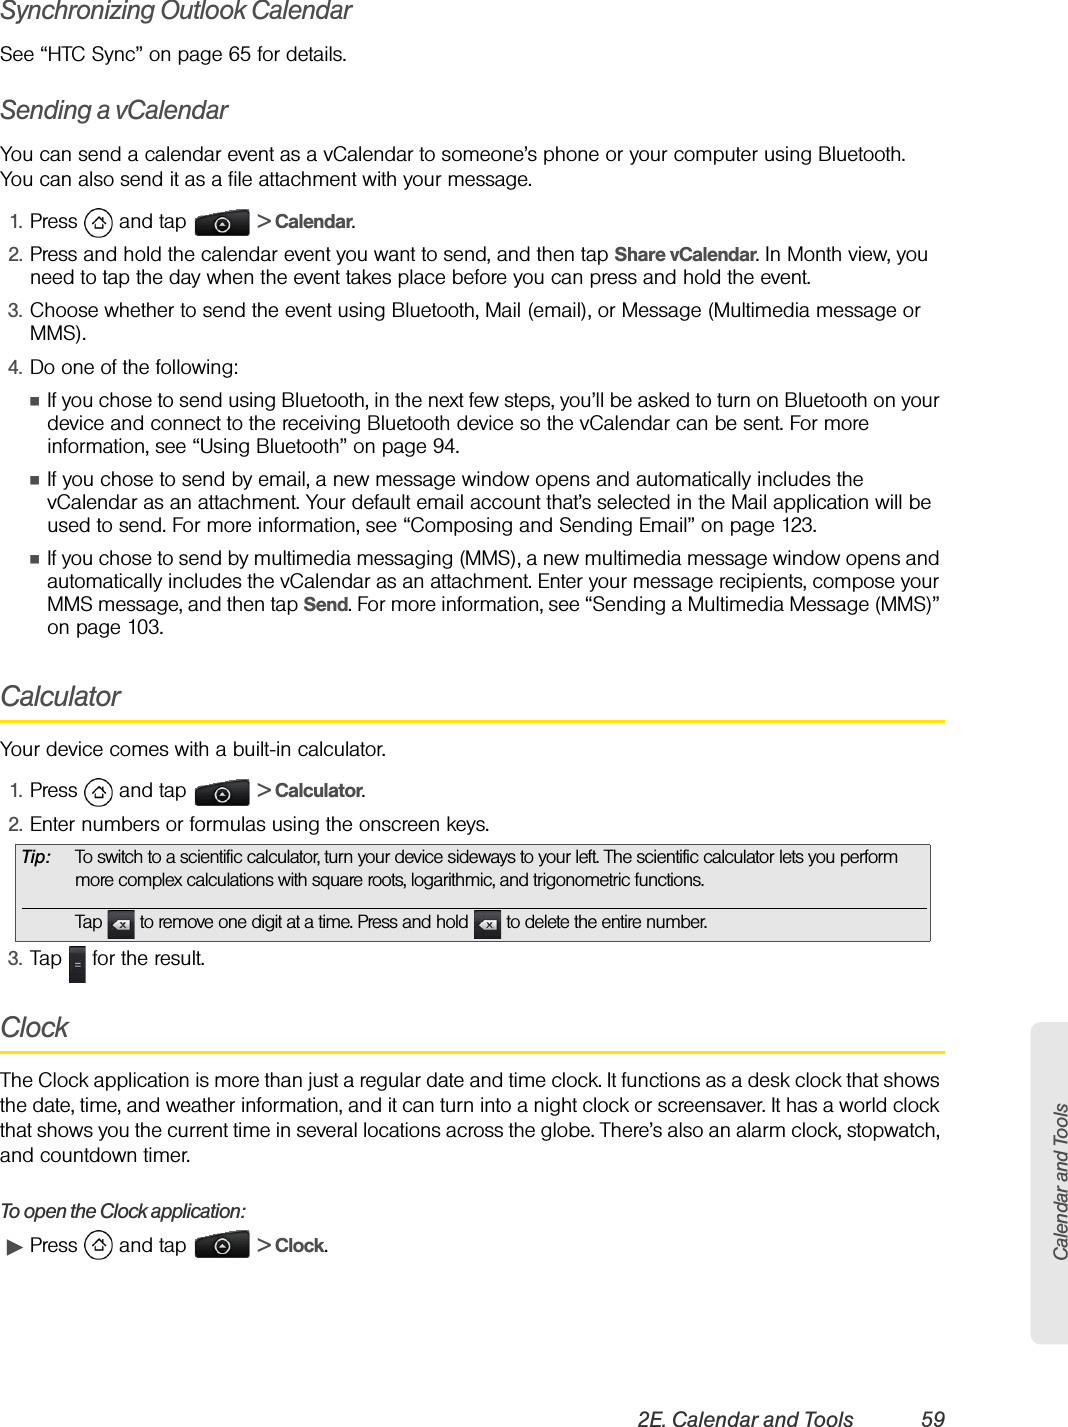


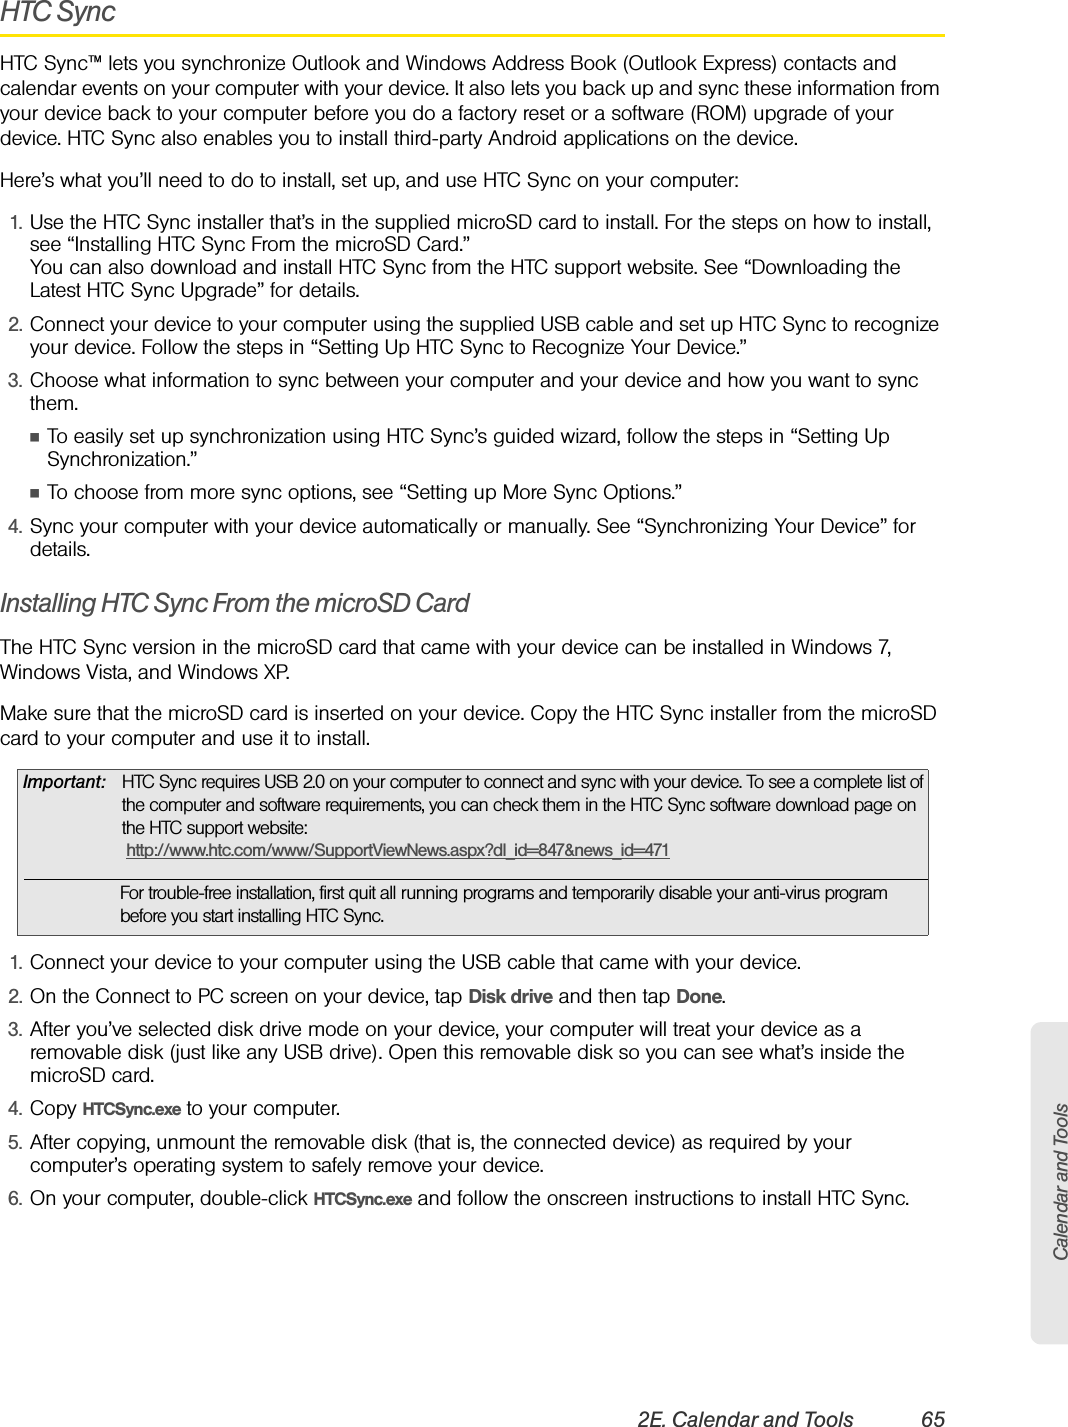
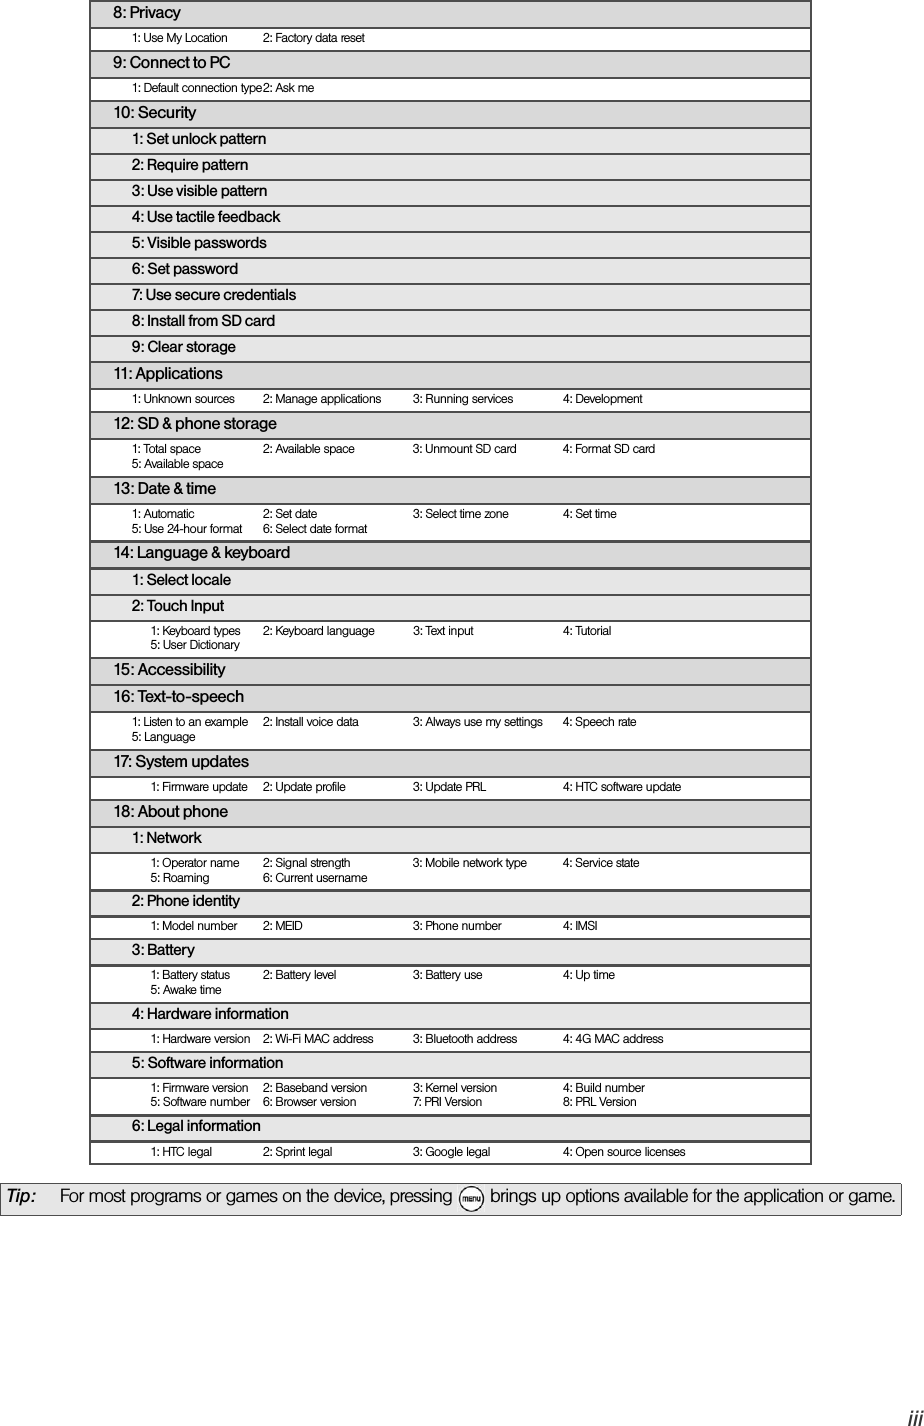
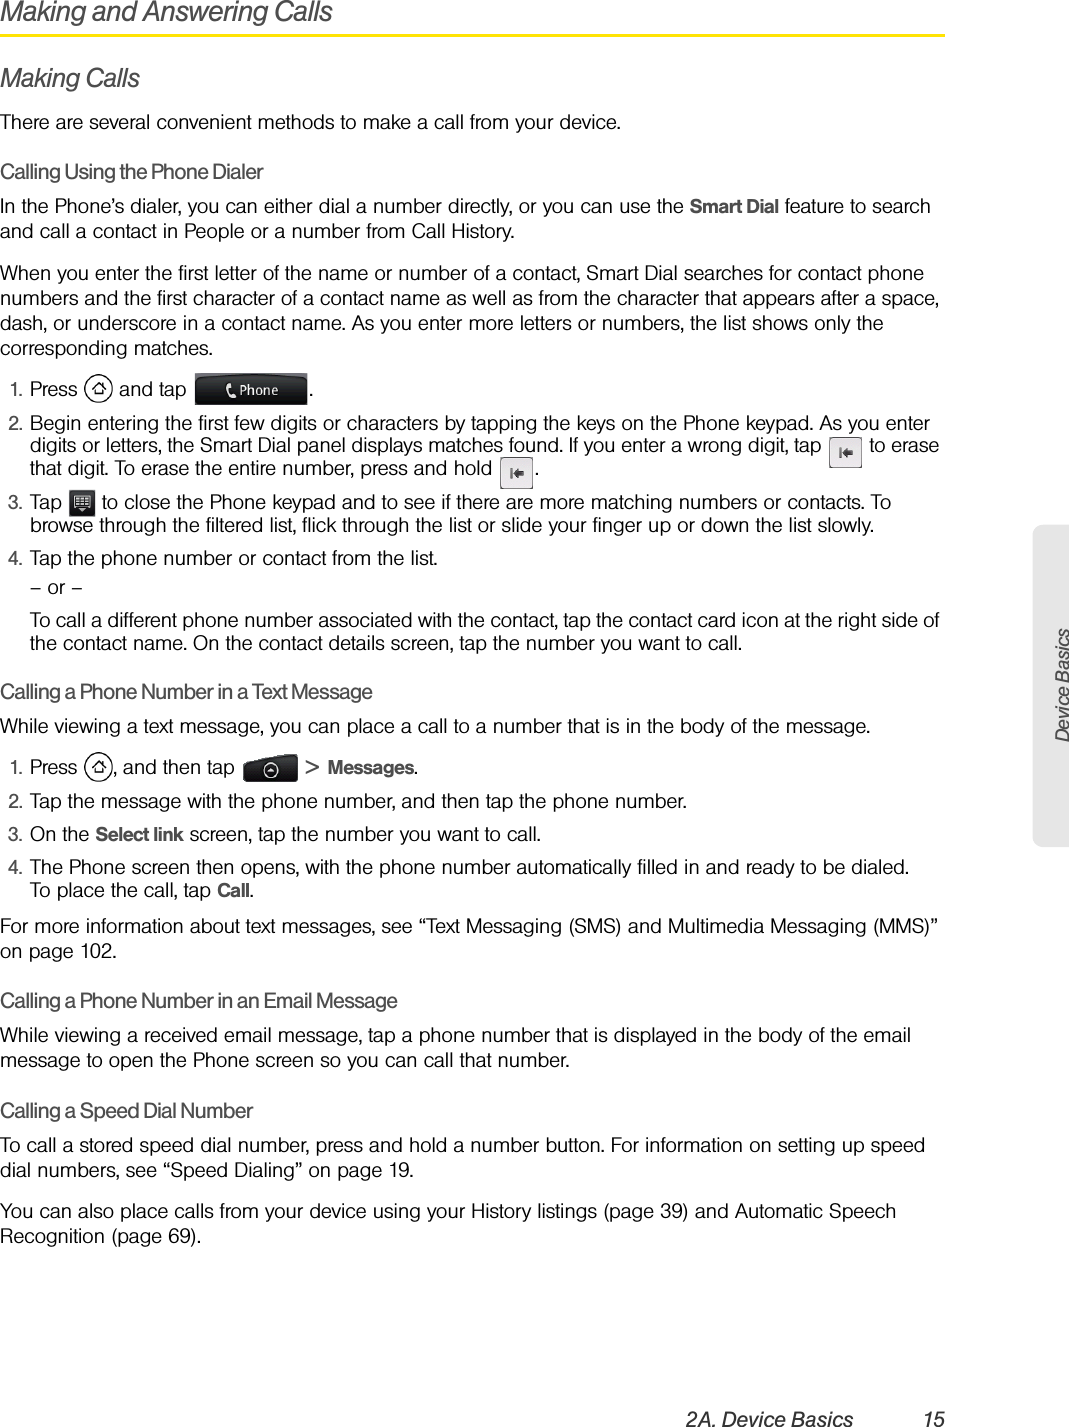
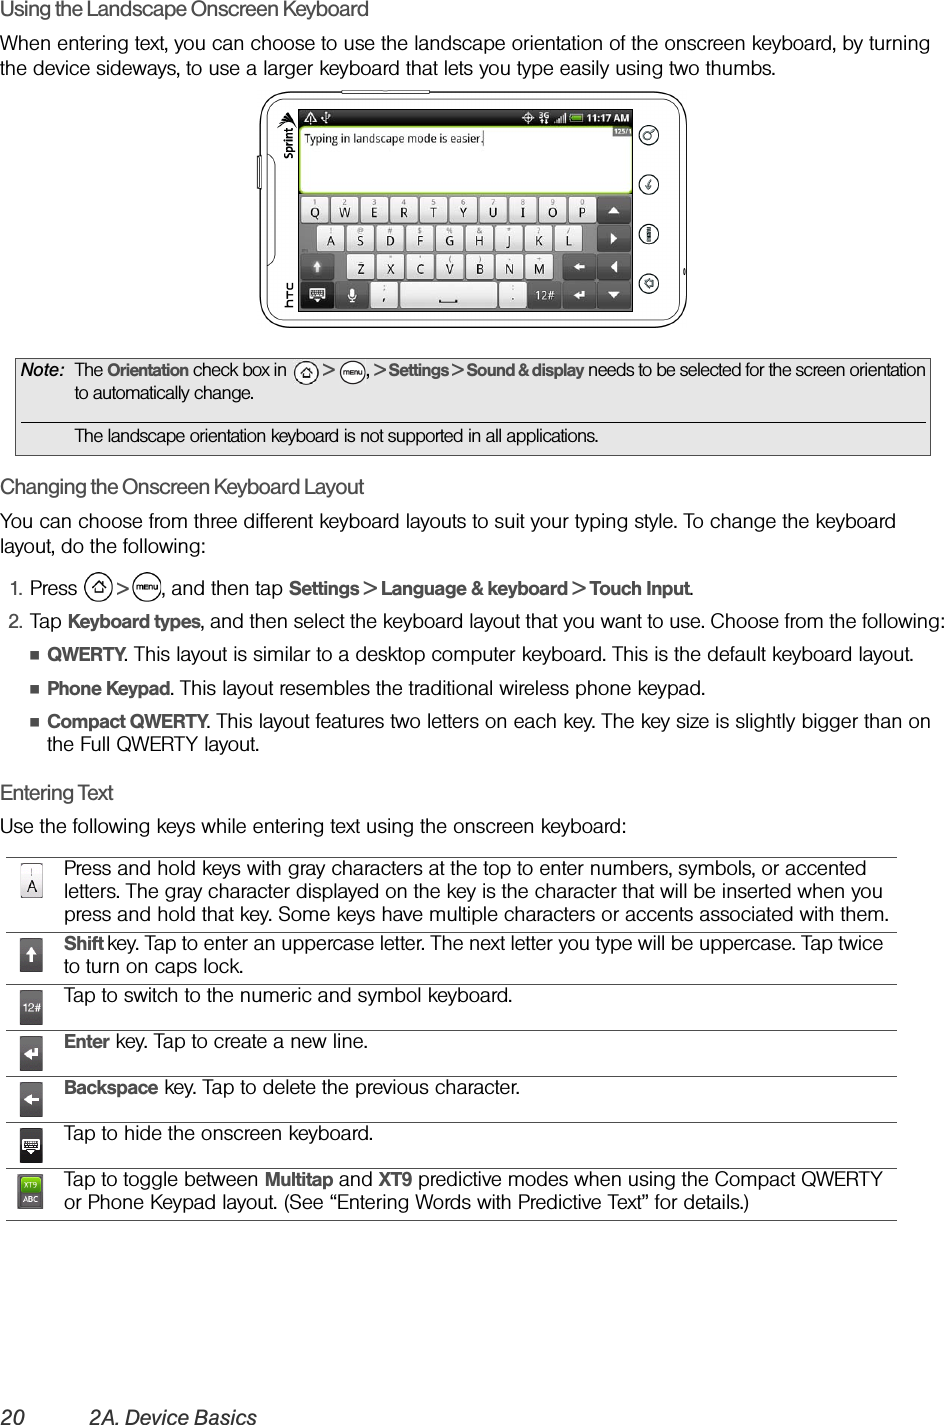
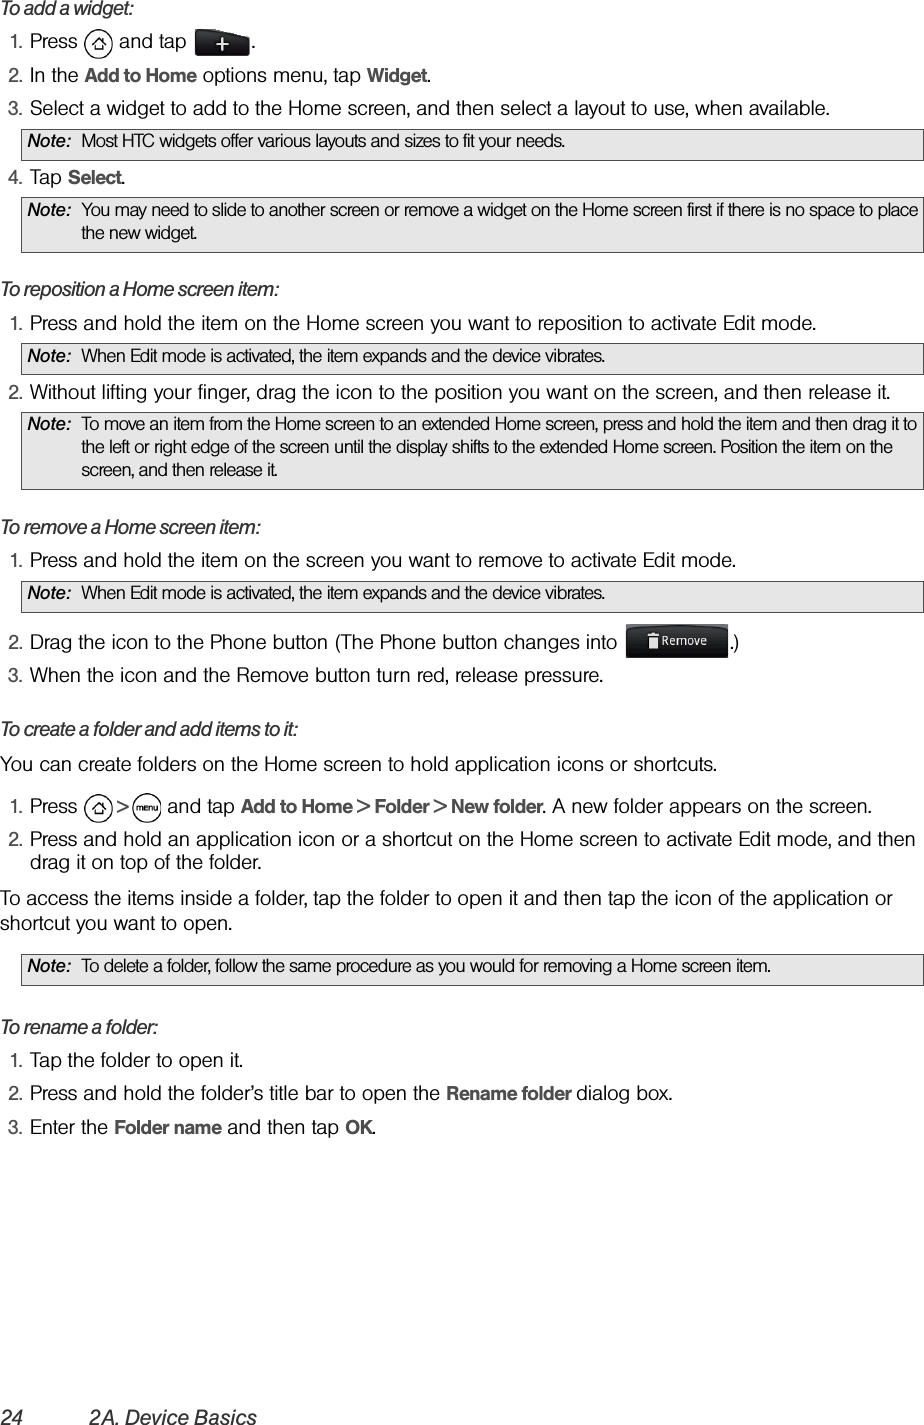
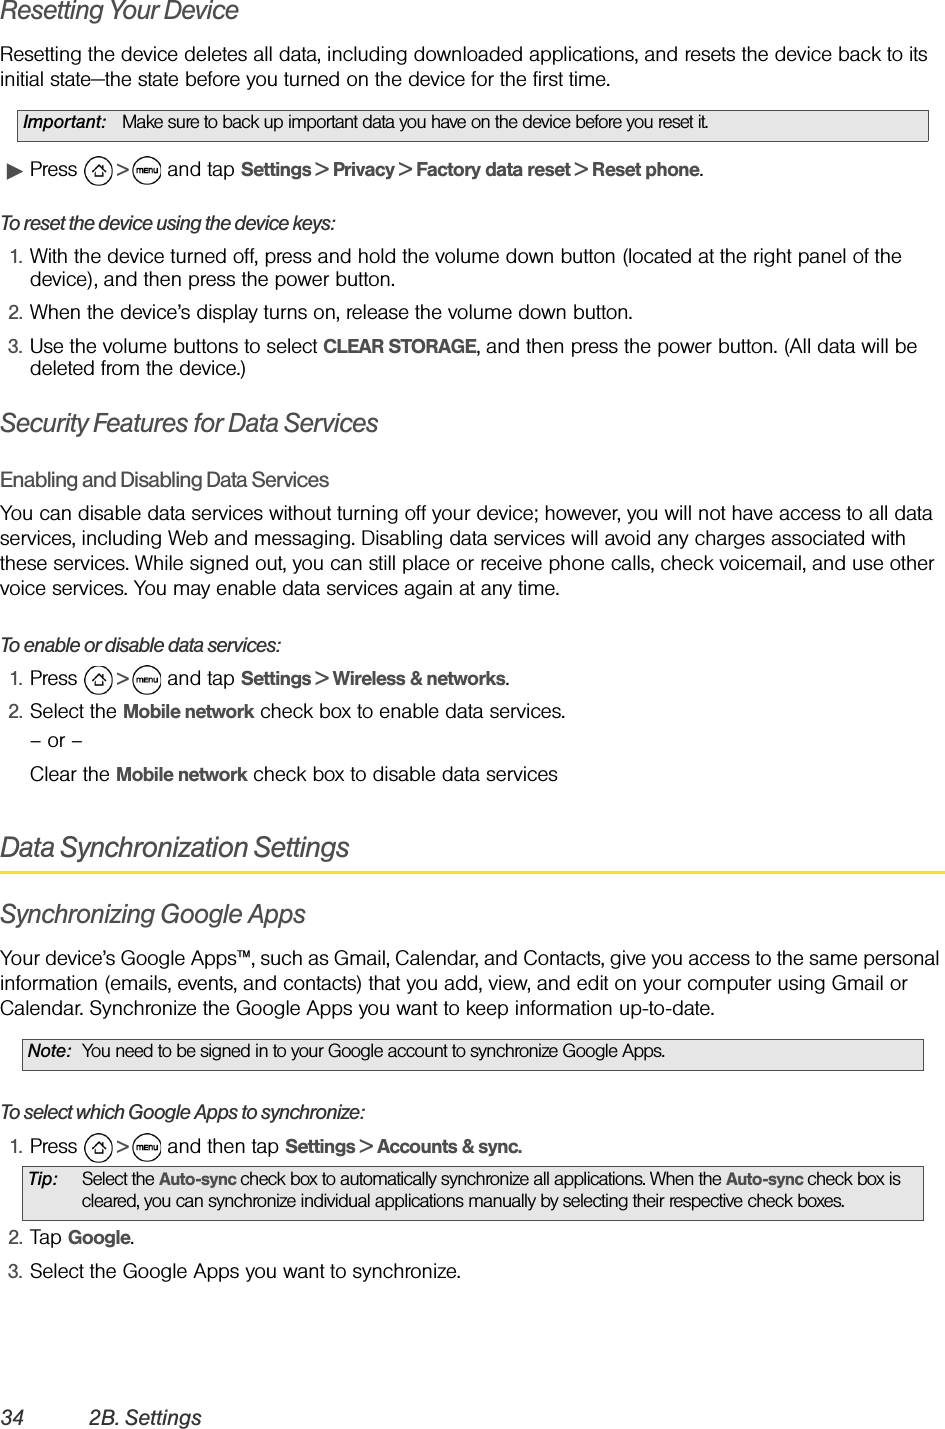
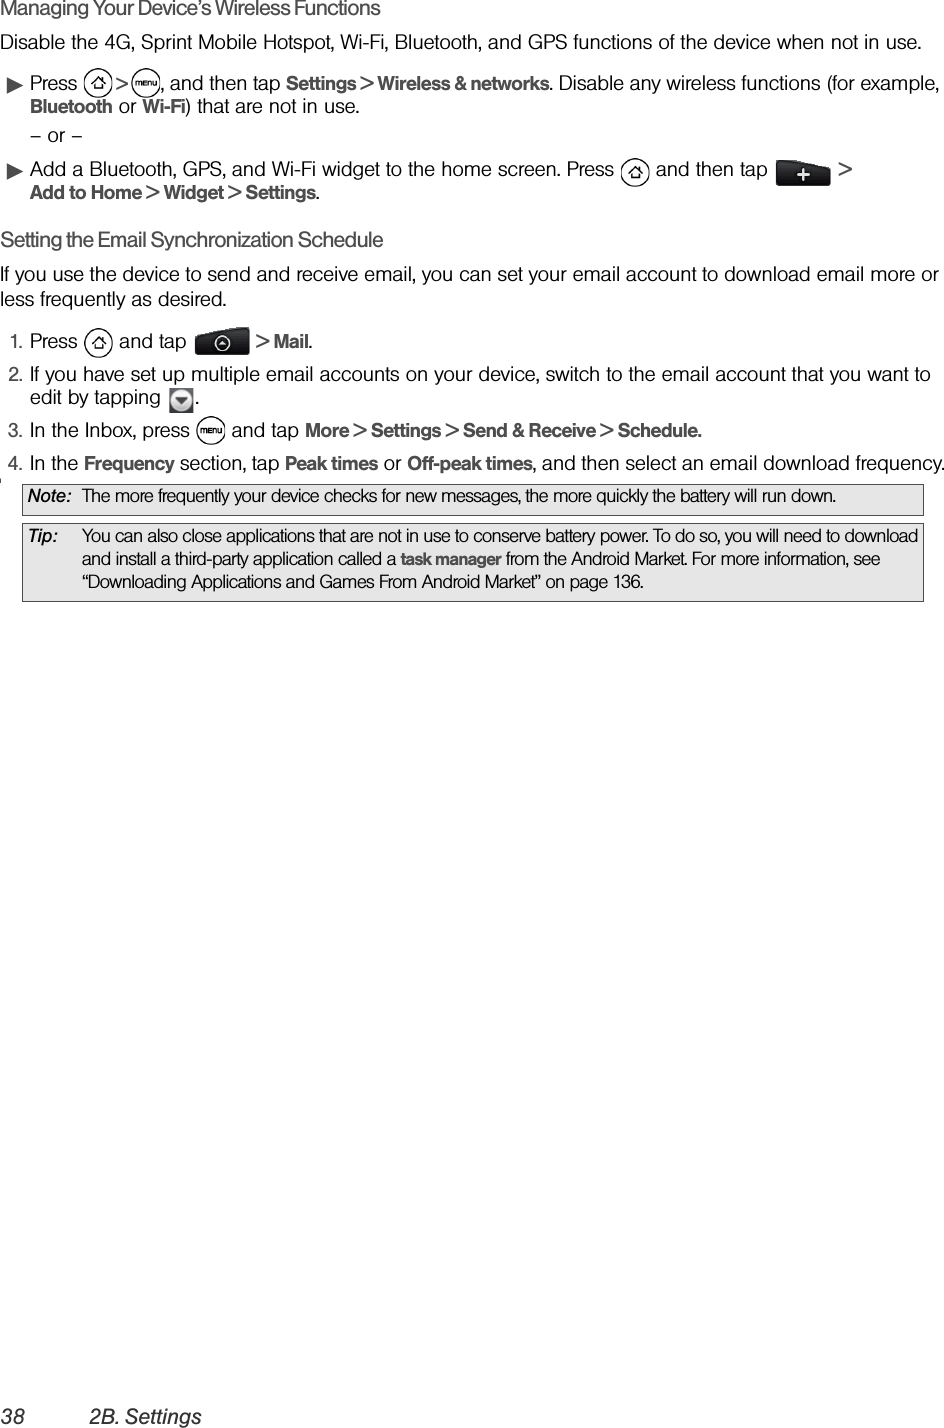
![Voice Services2F. Voice Services 69ࡗAutomatic Speech Recognition (ASR) (page 69)ࡗManaging Voice Memos (page 70)Automatic Speech Recognition (ASR)You can use your device’s built-in automatic speech recognition (ASR) software to dial a phone number in People or to launch device functions. All you have to do is to talk into the device, and ASR will recognize your voice and complete tasks by itself.Activating ASRᮣPress and tap > Voice Dialer. (You may need to scroll down the screen to see the icon.)The screen displays “Listening...” and the device prompts you to say the name of the command you want to use. To complete your task, simply follow the voice prompts.Available ASR commands include:ⅷCall <Name or Voicemail> to call an entry in your People list or voicemail. (See “Making a Voice Call With ASR.”)ⅷDial <Number> to dial a spoken phone number.ⅷRedial to dial the last outgoing call.ⅷOpen <Application Name> to open an application in your device. (See Opening Applications With ASR) Making a Voice Call With ASR1. Press and tap > Voice Dialer.2. Wait until you hear a tone and the word “Listening...” appears on the screen.3. Say “Call [contact name]” to call a person stored in your People list.– or –Say “Dial [contact number]” to dial a spoken phone number.4. Tap YES to confirm or CANCEL to cancel the command; or choose from a menu if ASR is not sure what you would like to do.Tip: Use ASR in a quiet environment so it can accurately recognize your commands.Note: Regardless of which command you use, you will be asked to confirm your choice, or choose from a menu if ASR is not sure what you would like to do.Note: When dialing a phone number, numbers can be three digits (for example, 911), seven digits (for example, 555-1234), or ten digits (for example, 222-555-1234).2F. Voice Services](https://usermanual.wiki/HTC/PC36100.User-Manual-1-of-2/User-Guide-1276645-Page-79.png)
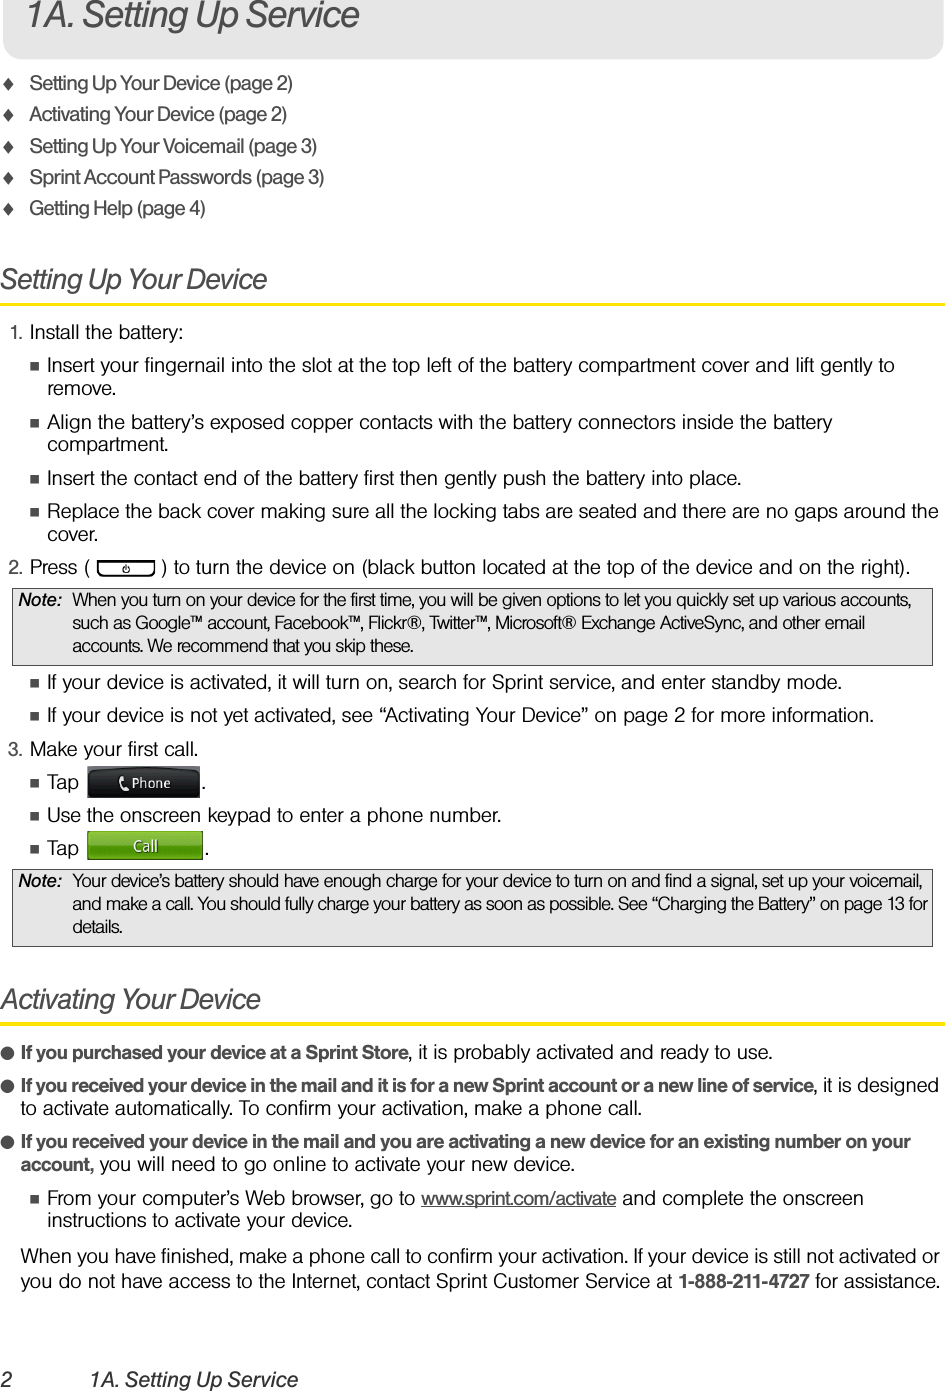
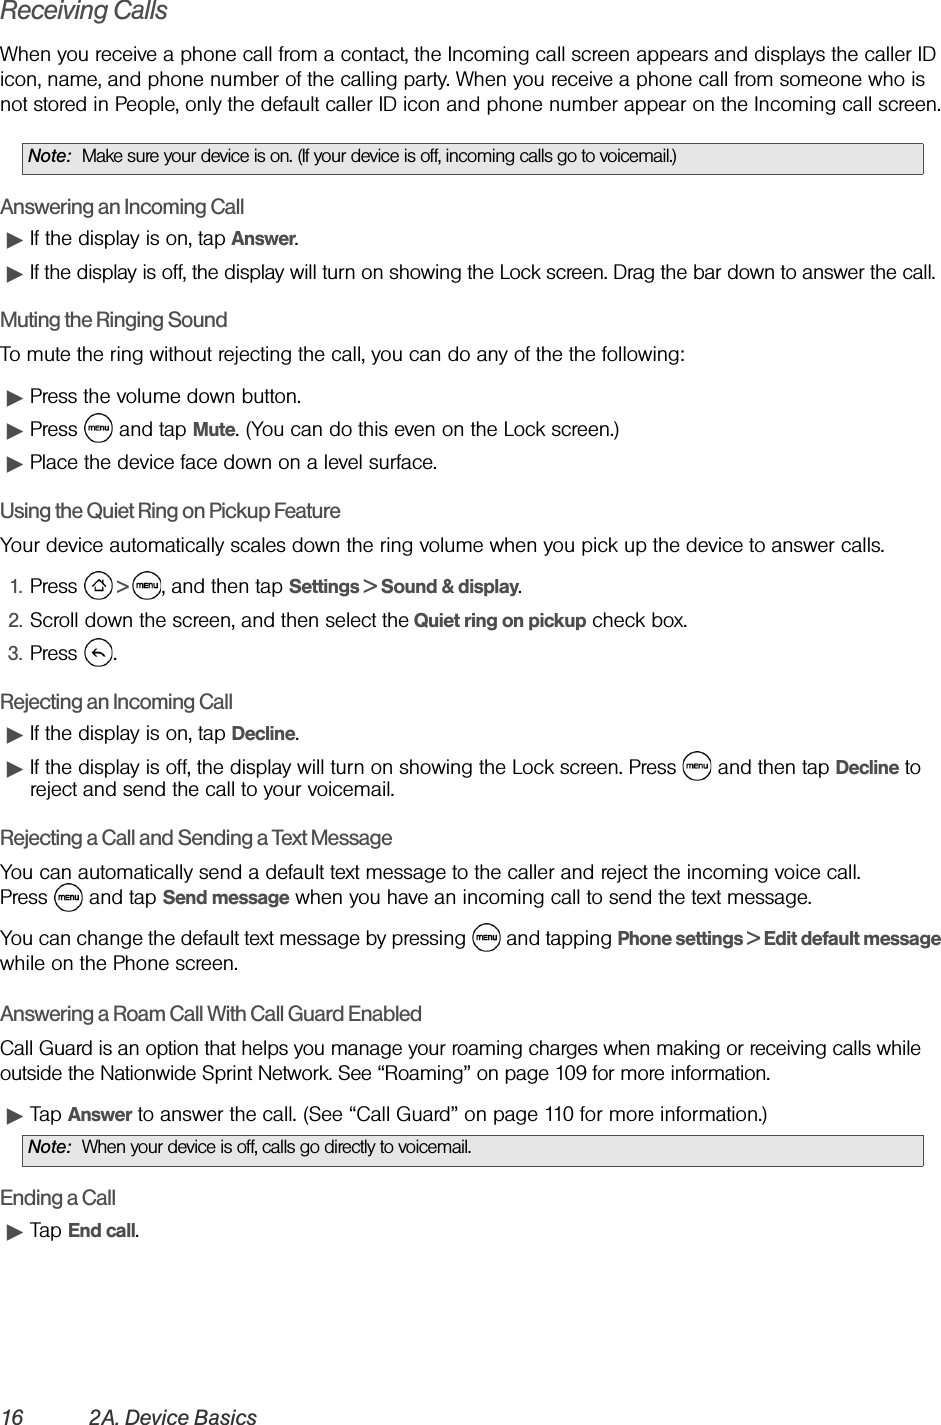
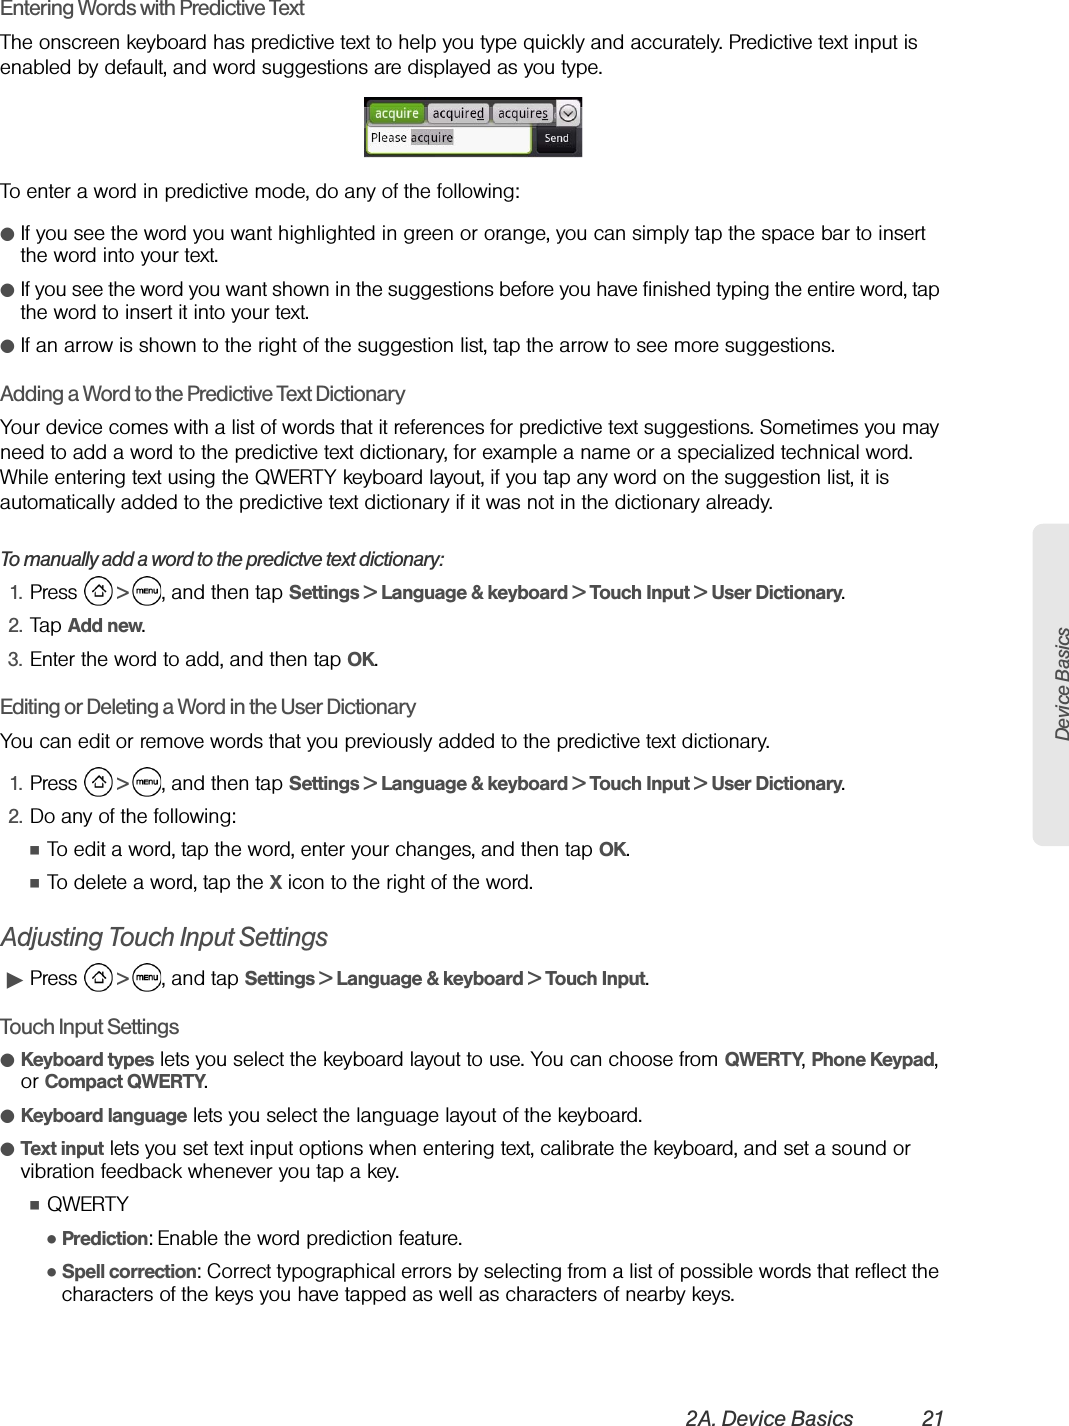
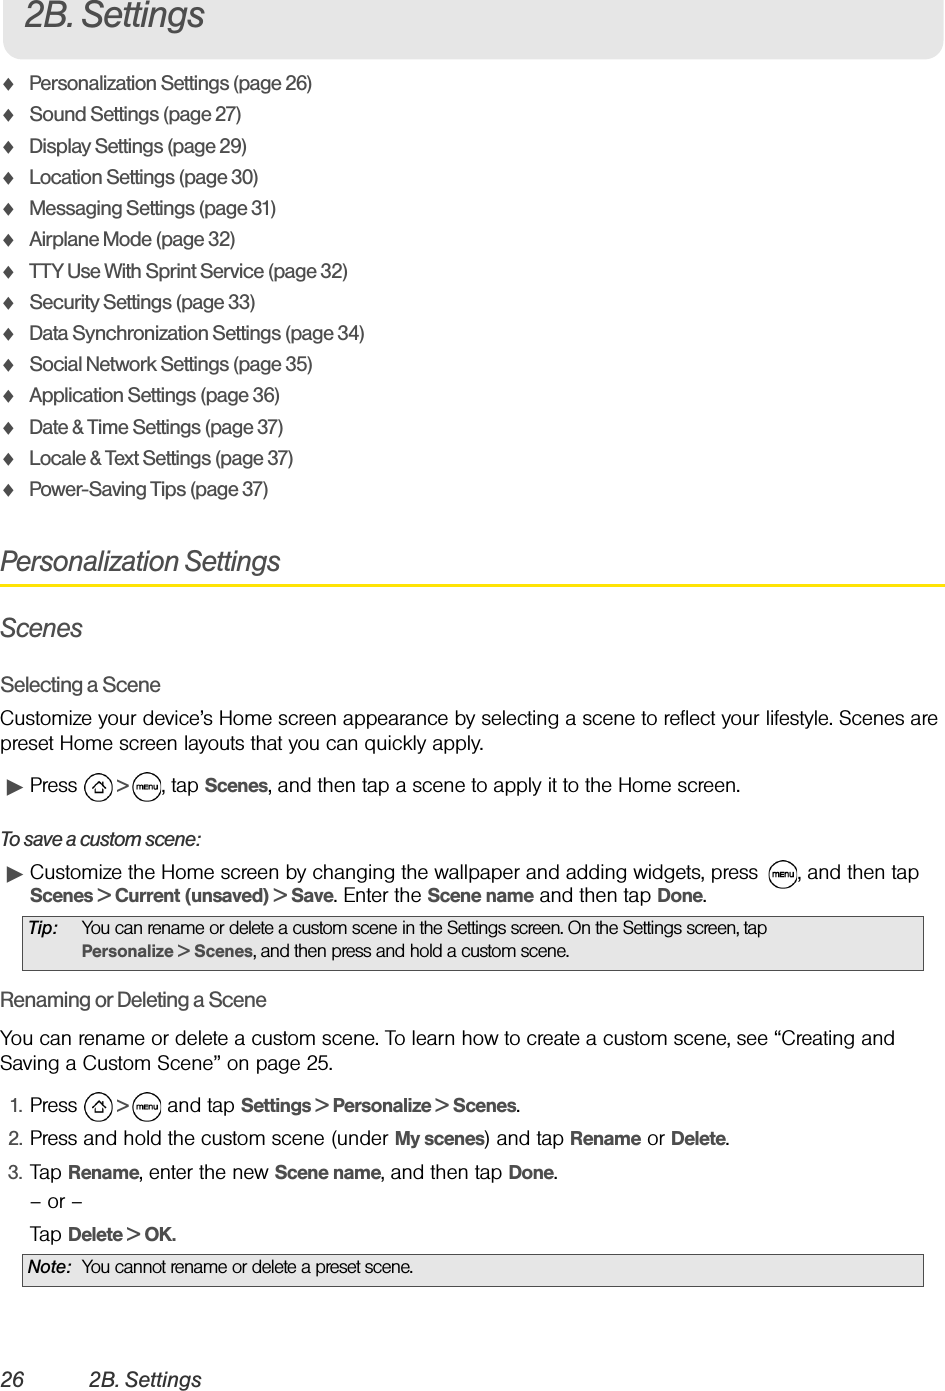
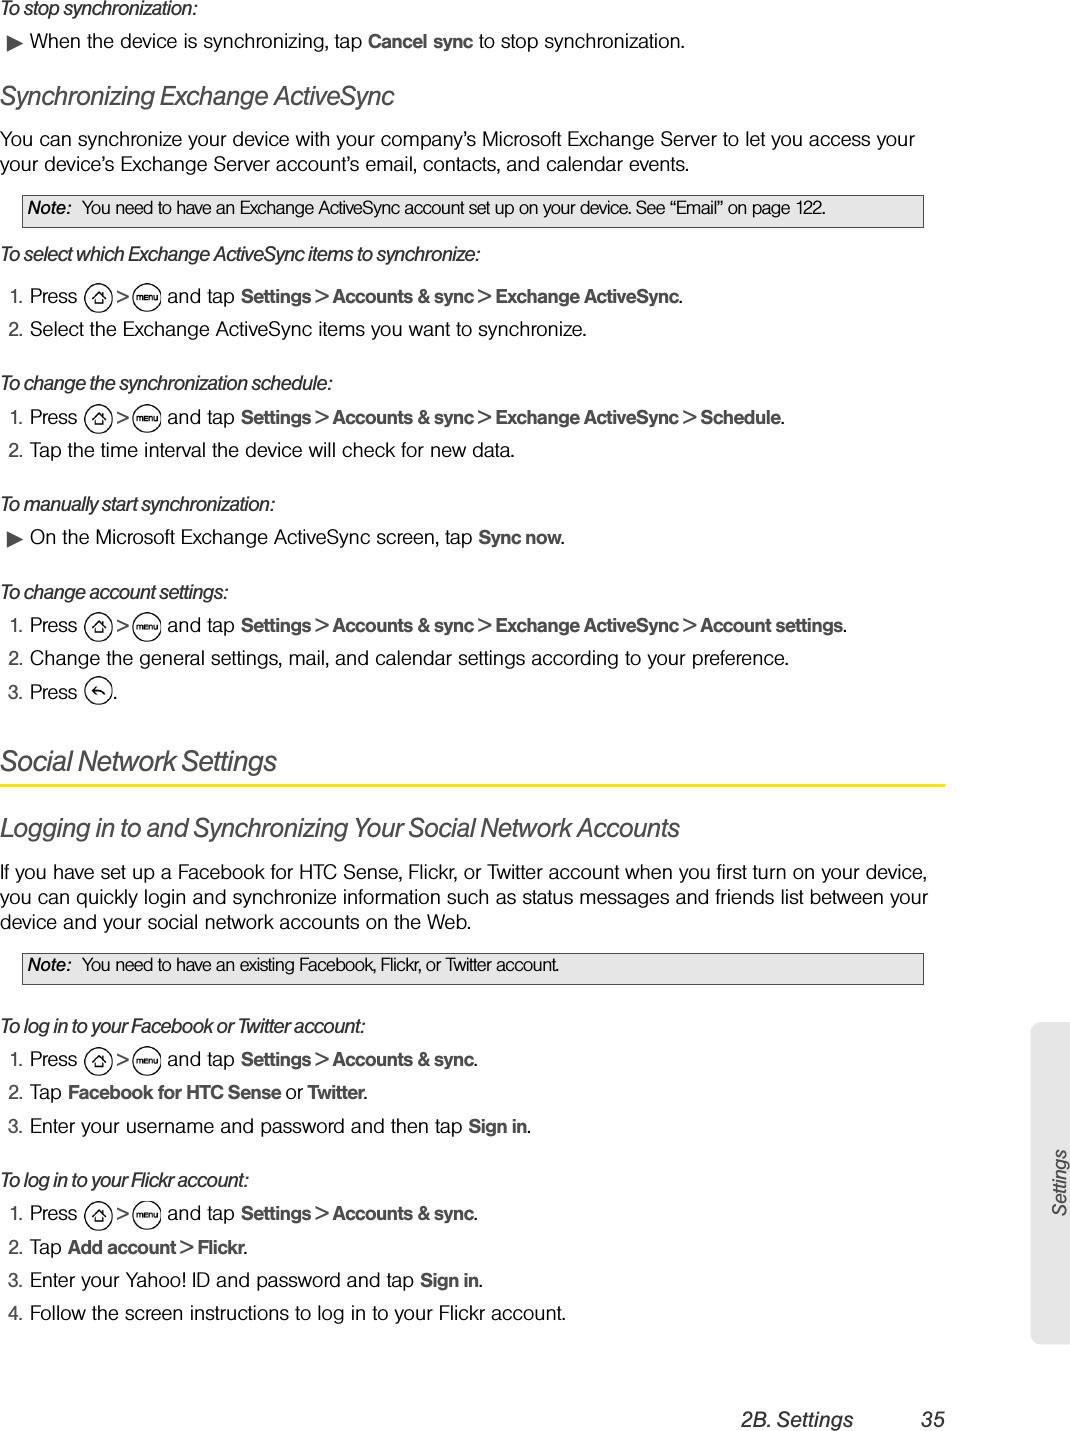
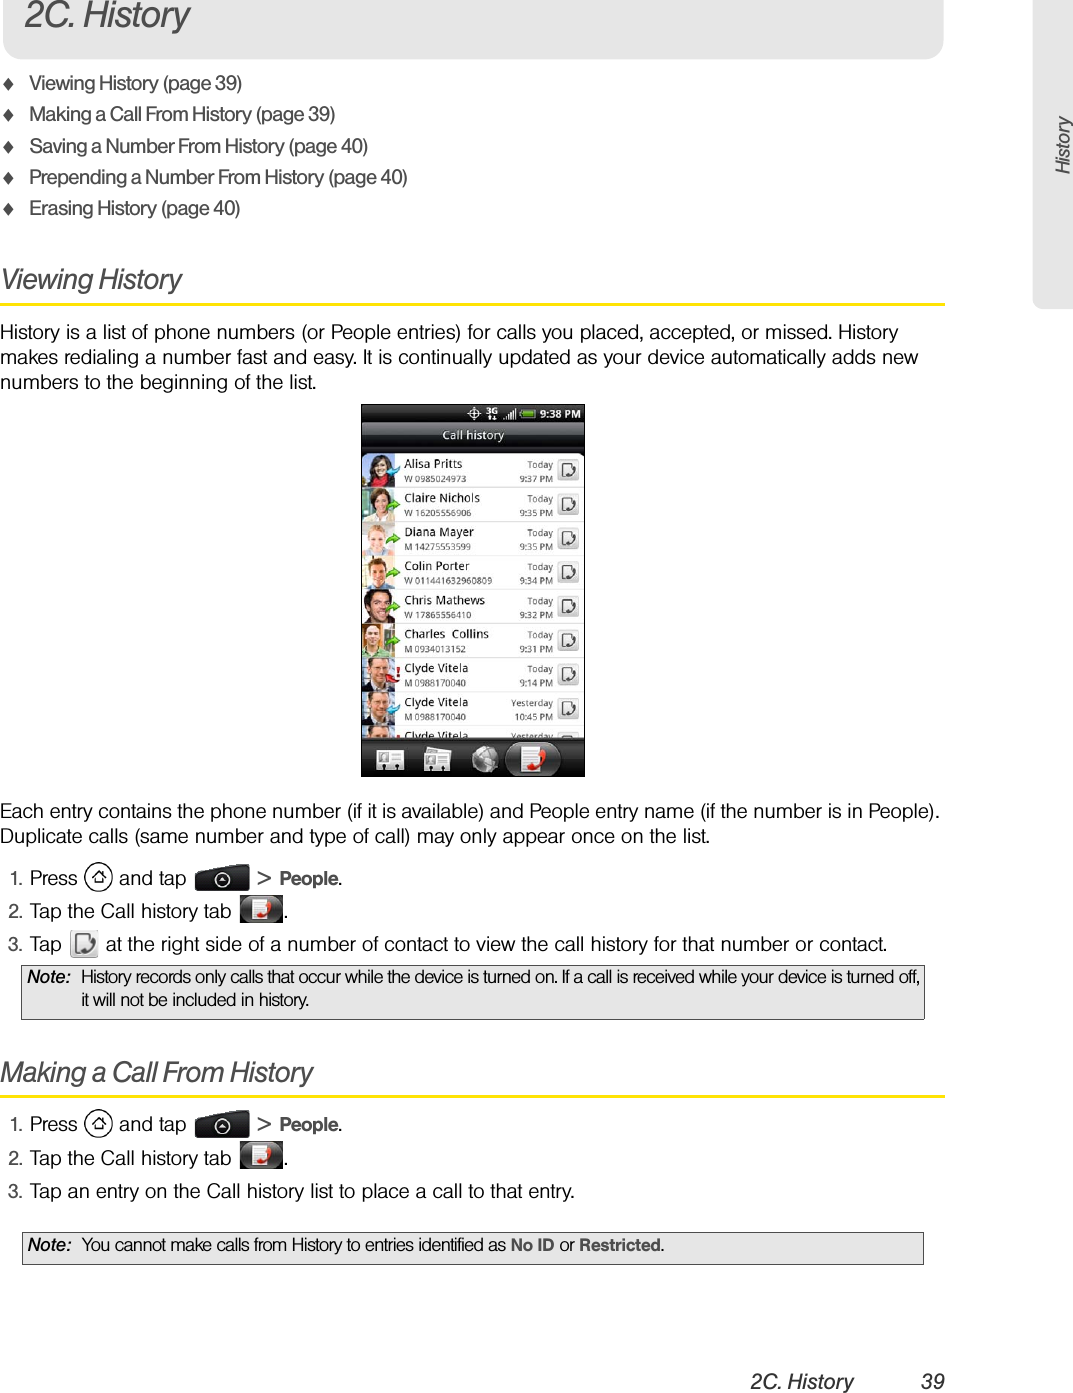
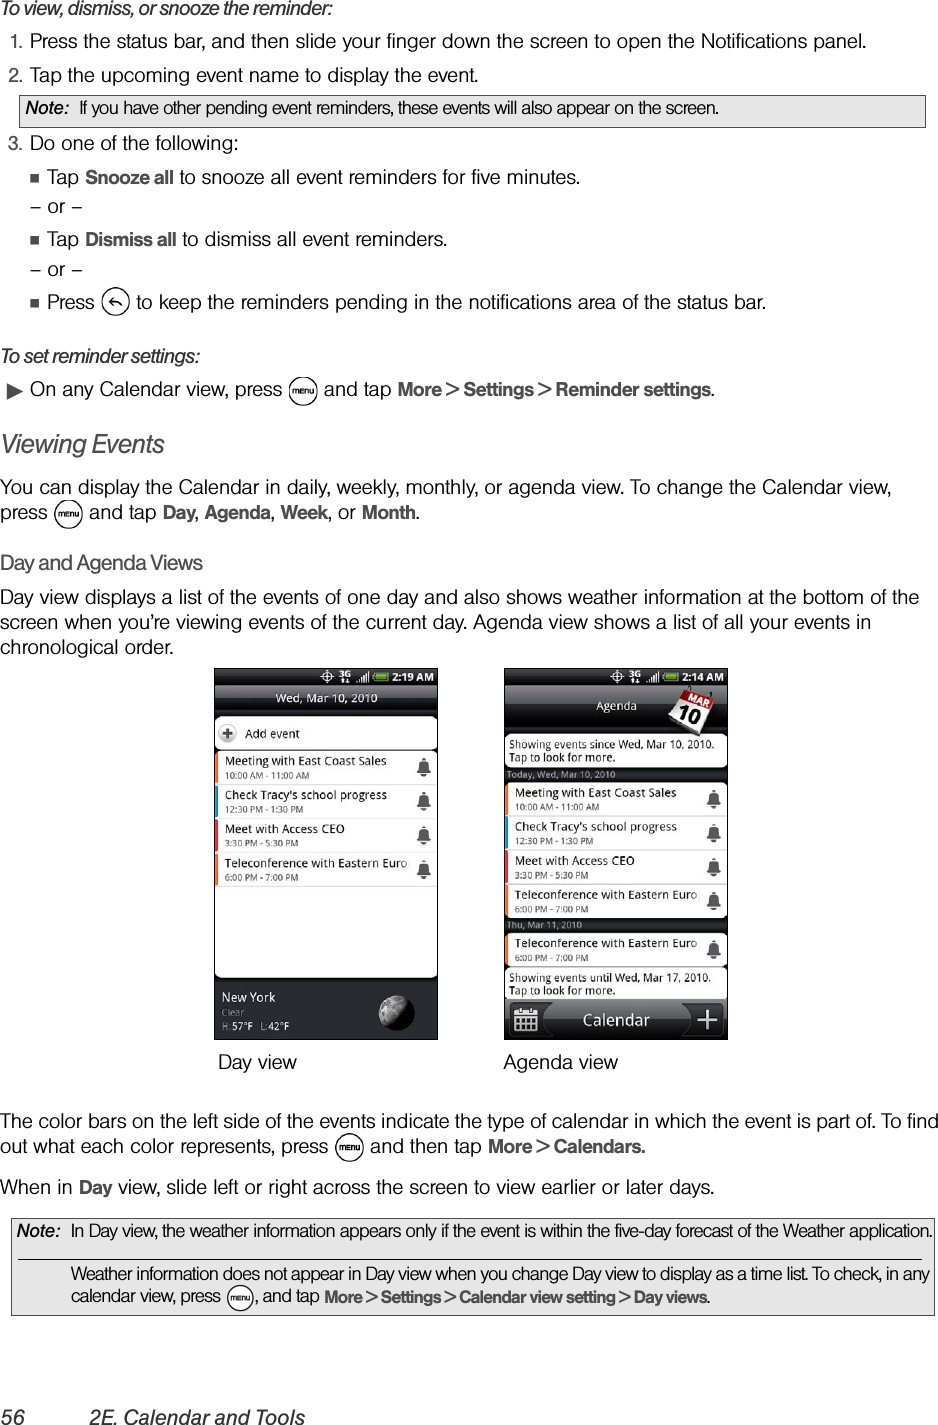
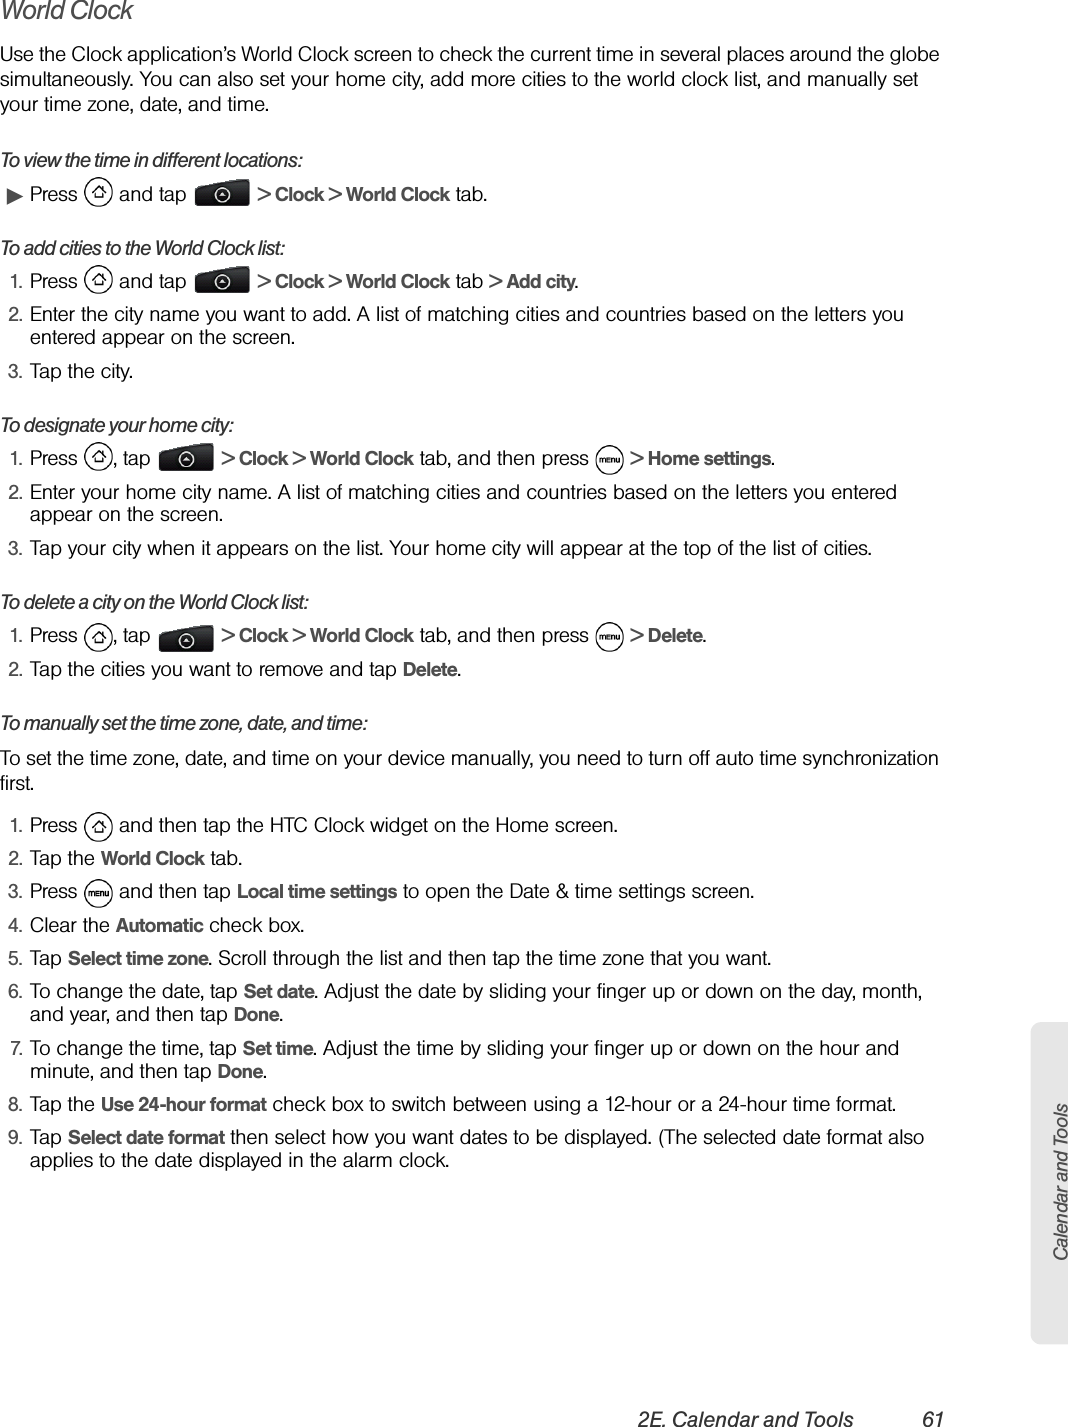
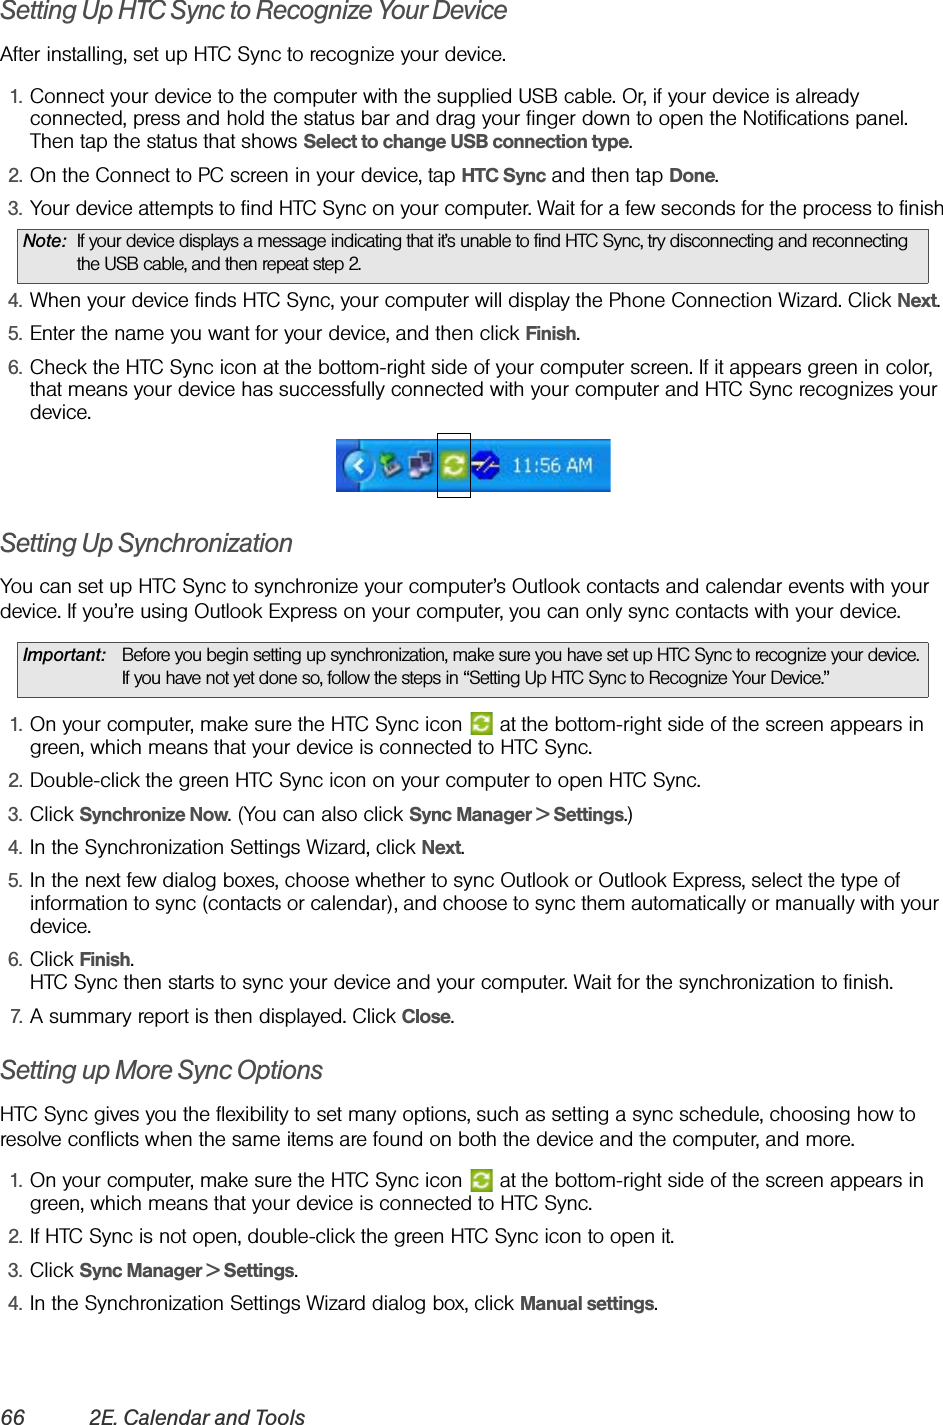
![70 2F. Voice ServicesOpening Applications With ASRYou can jump directly to many applications by saying “Open” followed by the application name.1. Press and tap > Voice Dialer.2. Wait until you hear a tone and the word “Listening...” appears on the screen.3. Say “Open [application name]” to open an application in your device. 4. Tap YES to confirm or CANCEL to cancel the command; or choose from a menu if ASR is not sure what you would like to do.Managing Voice MemosUse your device’s Voice Recorder to record brief memos to remind you of important events, phone numbers, grocery list items, or create a ring tone.Recording Voice Memos1. Press and tap > Voice Recorder. (You may need to scroll down the screen to see the icon.)2. Tap and speak into the device’s microphone.To end the recording of your memo:ᮣTap .Voice Memo OptionsTo play the voice memos you have recorded:ᮣAfter recording a voice memo, tap .– or –Tap and then tap the file you want to play.To share a voice memo:1. Press and tap > Voice Recorder.2. On the Voice Recorder screen, tap .3. On the All recordings screen, press and hold the voice memo you want to share, and then tap Share on the options menu.4. On the Share options menu, select how you want to share the voice memo.To learn how to send files using Bluetooth, see “Bluetooth” on page 94.To set a voice clip as a ring tone1. Press and tap > Voice Recorder.2. On the Voice Recorder screen, tap .3. On the All recordings screen, press and hold the voice memo you want to set as a ring tone, and then tap Set as ringtone on the options menu.](https://usermanual.wiki/HTC/PC36100.User-Manual-1-of-2/User-Guide-1276645-Page-80.png)