HTC PG76100 Smart phone User Manual 4 of 5
HTC Corporation Smart phone 4 of 5
UserManual.wiki
>
HTC
>
PG76100 User Manual
>
user manual 4 of 5
Contents
1.
user manual 1 of 5
2.
user manual 2 of 5
3.
user manual 3 of 5
4.
user manual 4 of 5
5.
user manual 5 of 5
user manual 4 of 5
Navigation menu
Upload a User Manual
Namespaces
Wiki Guide
HTML
PDF
Info
Views
User Manual
Discussion / Help
Navigation
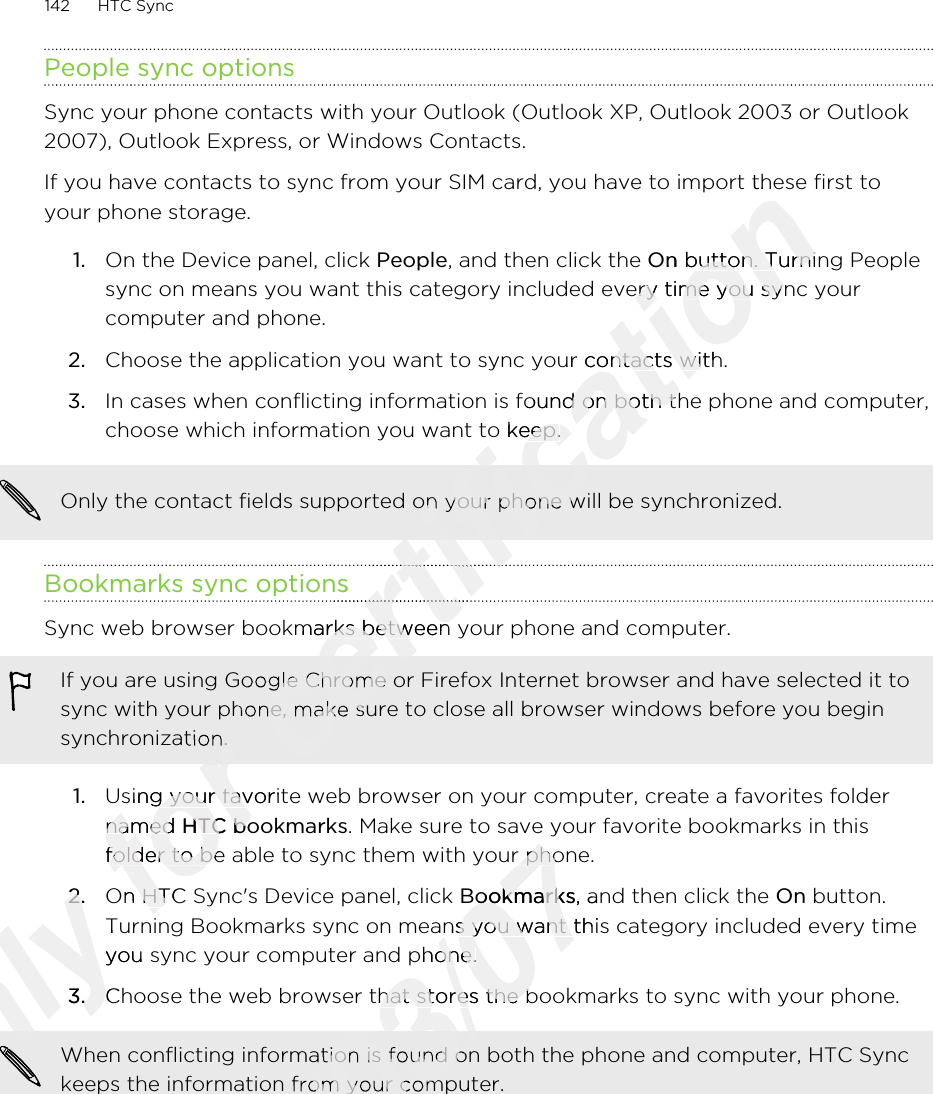

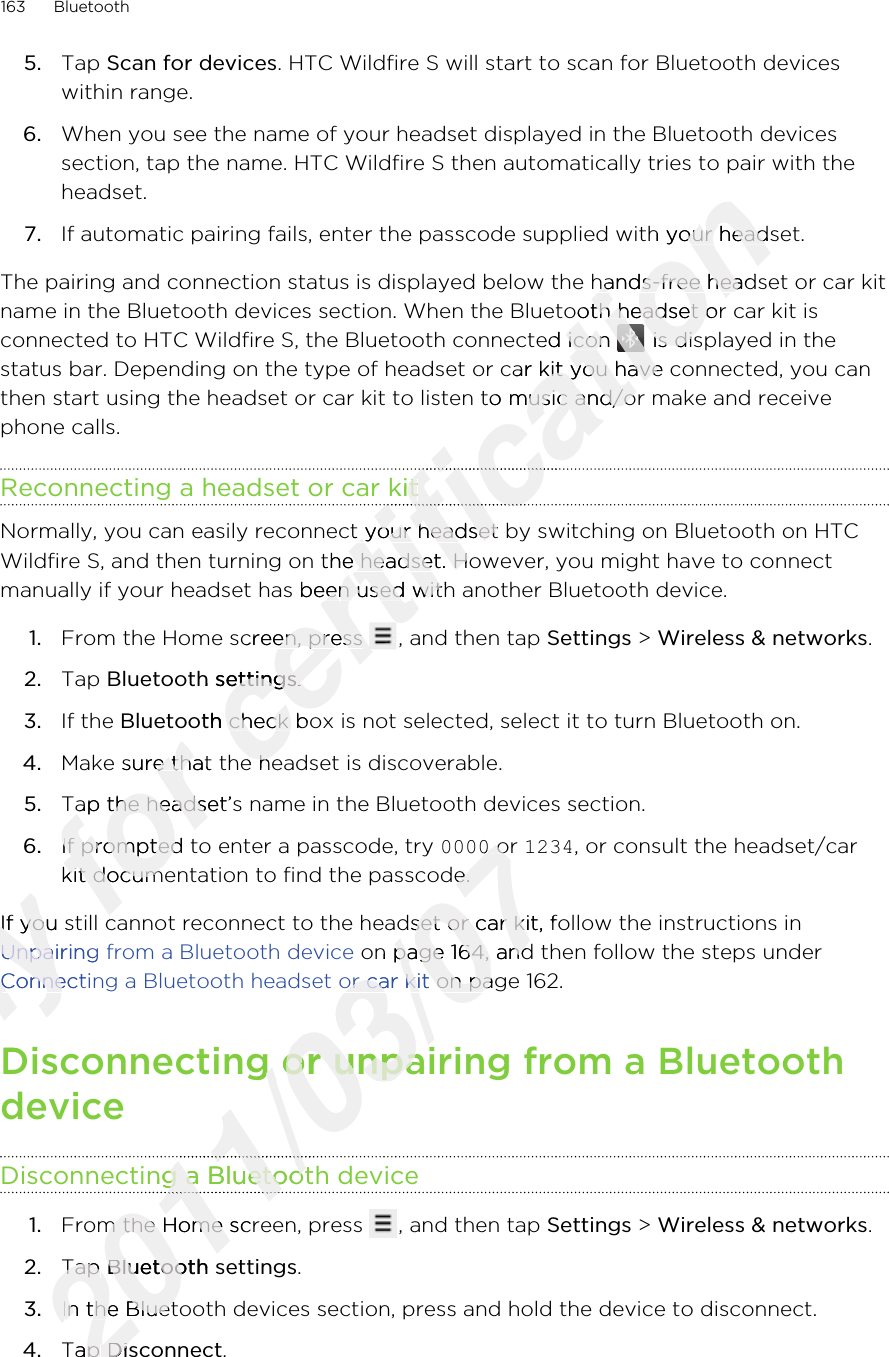
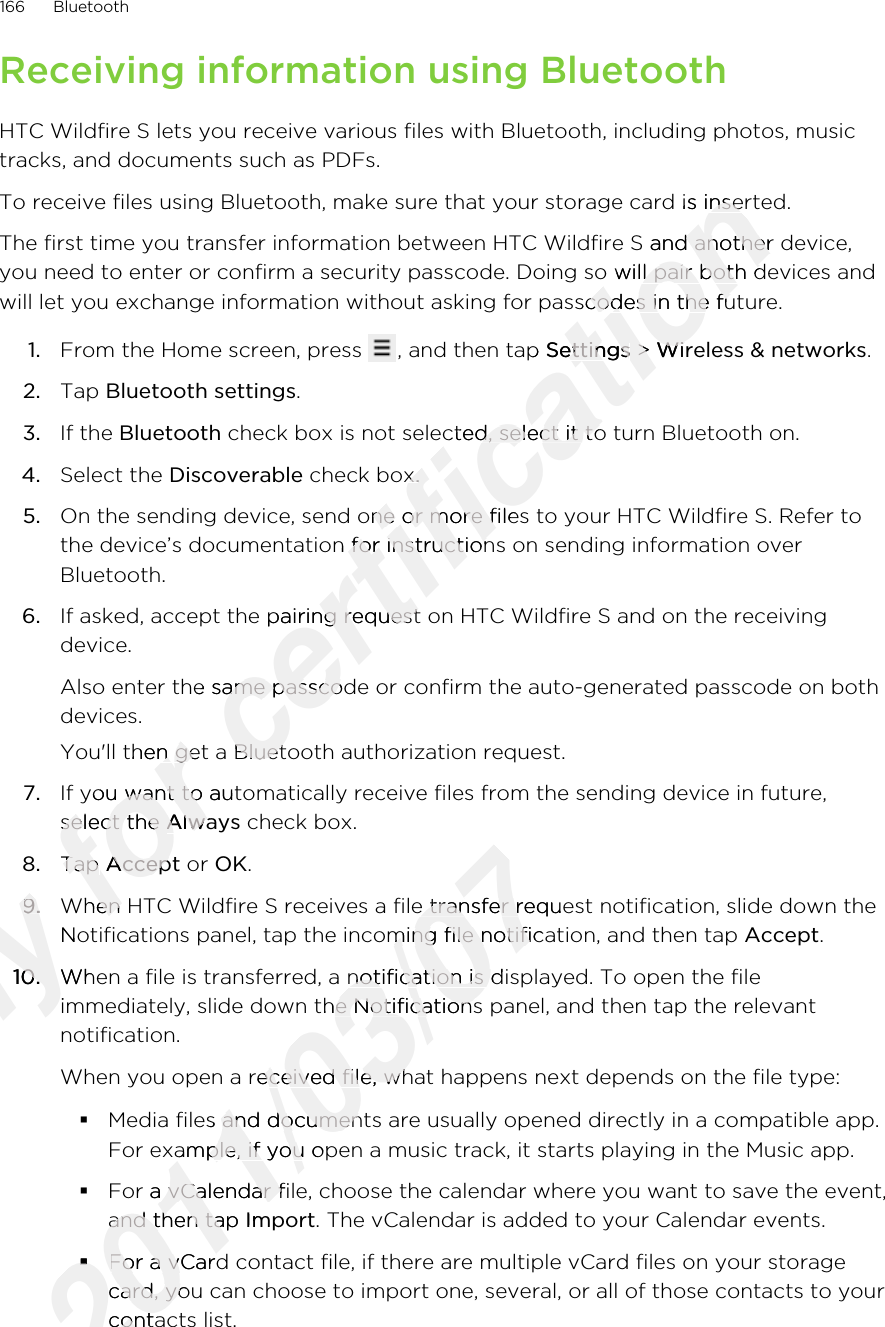
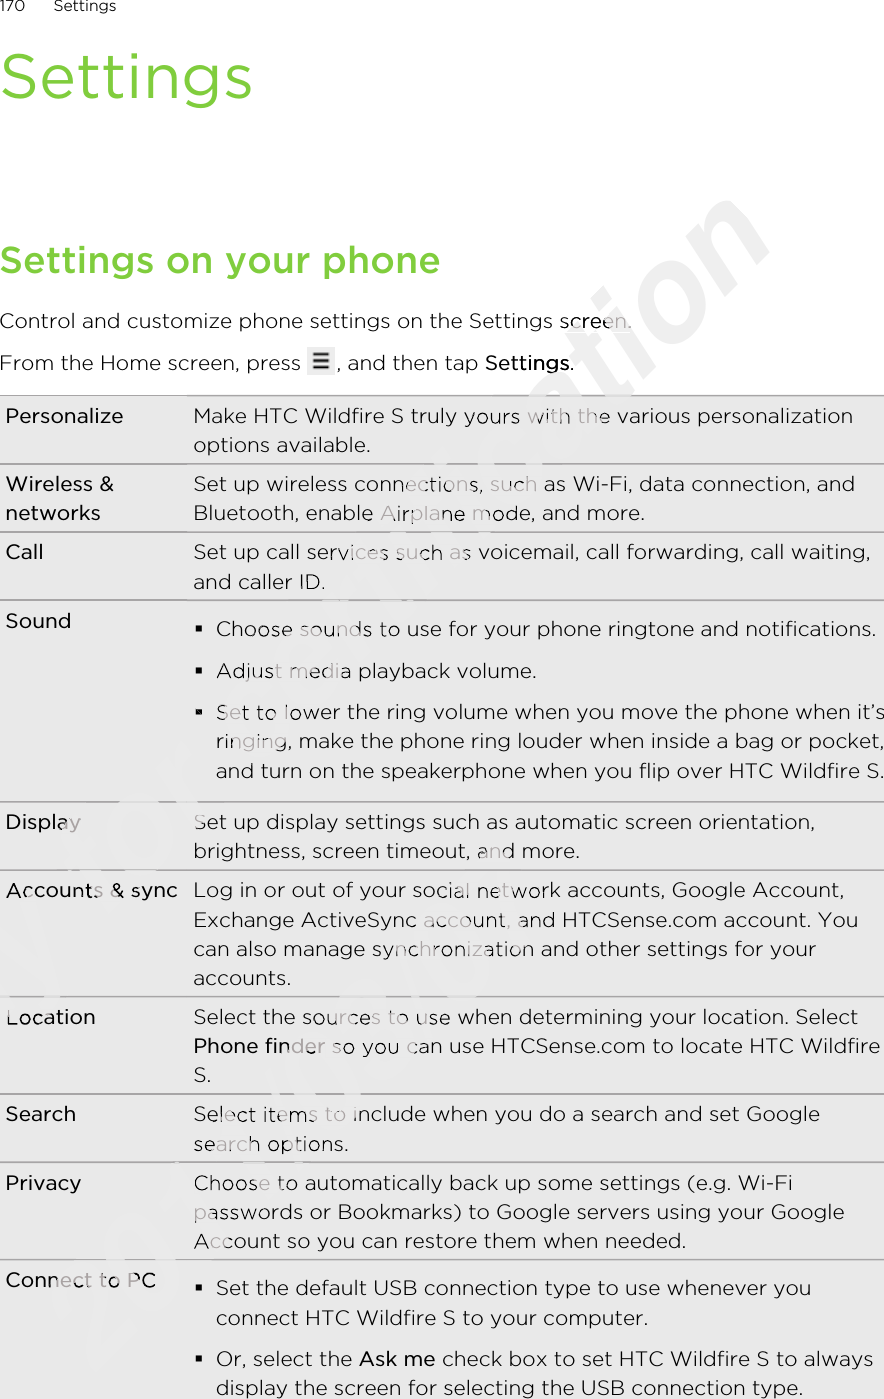
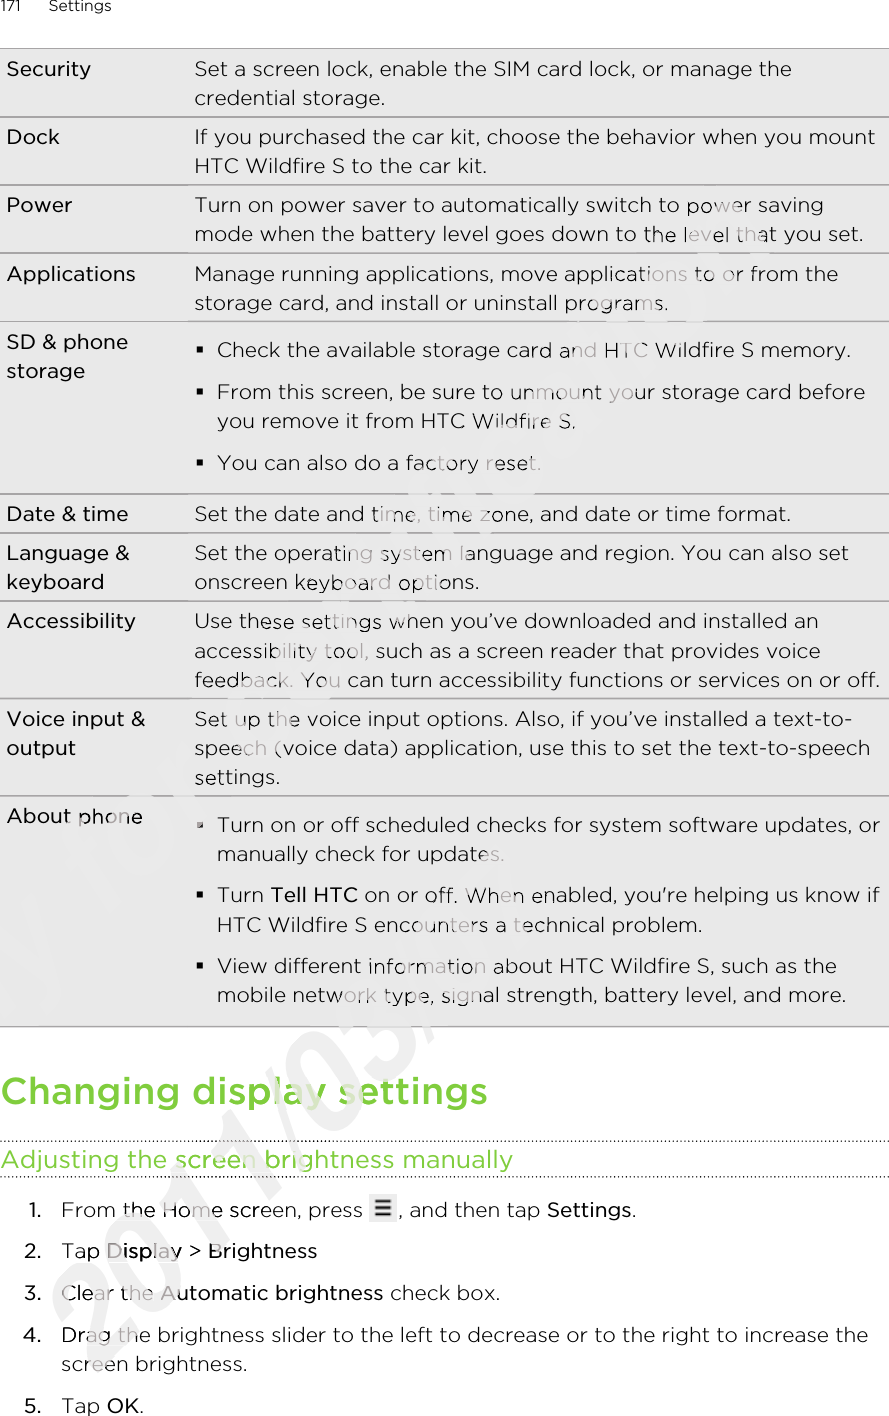
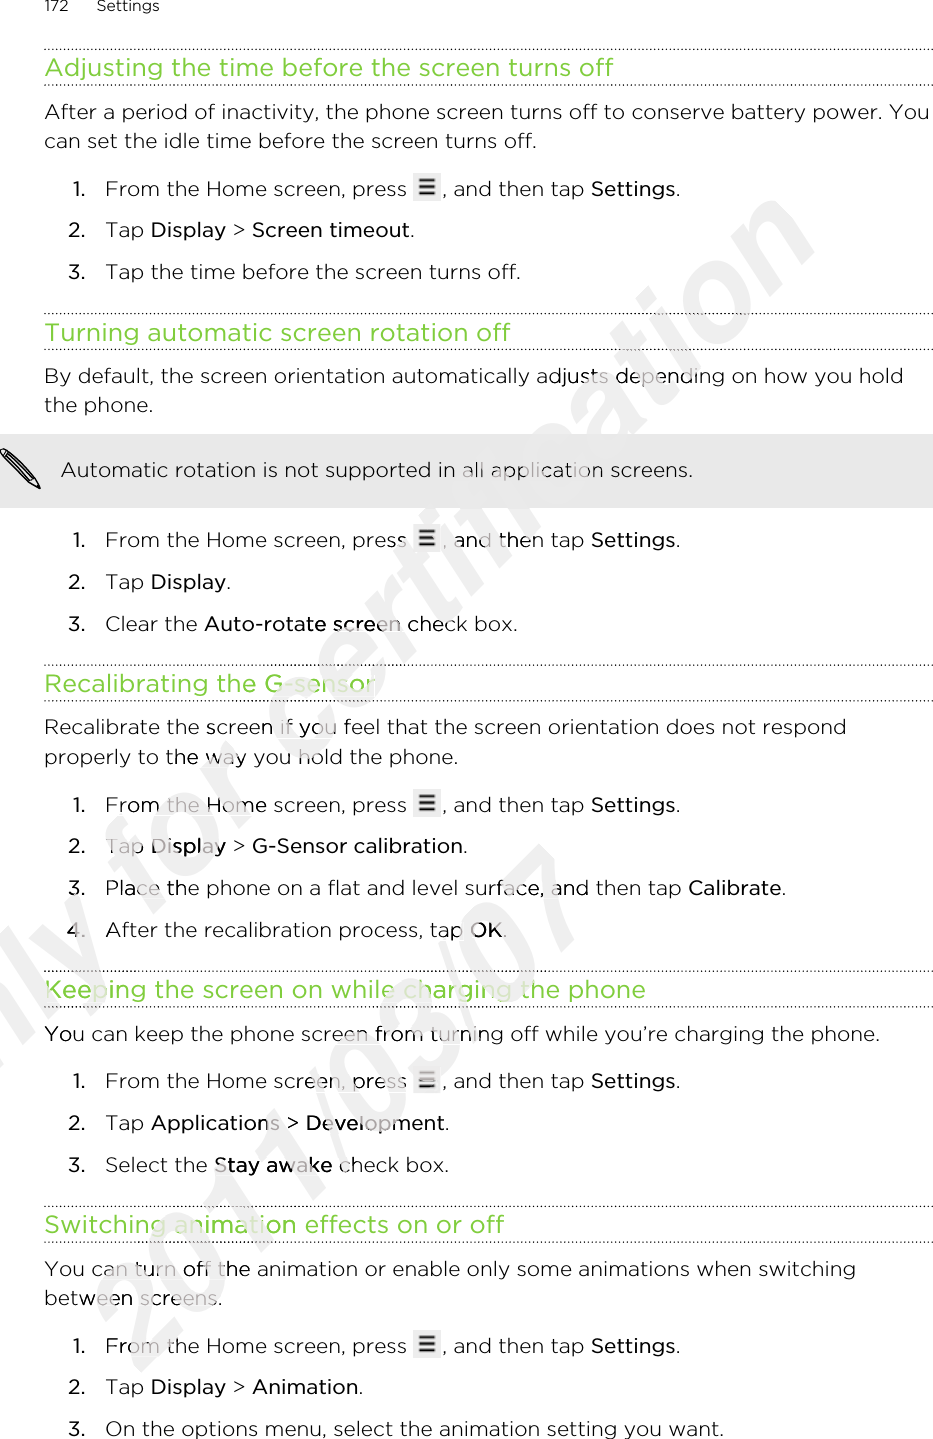
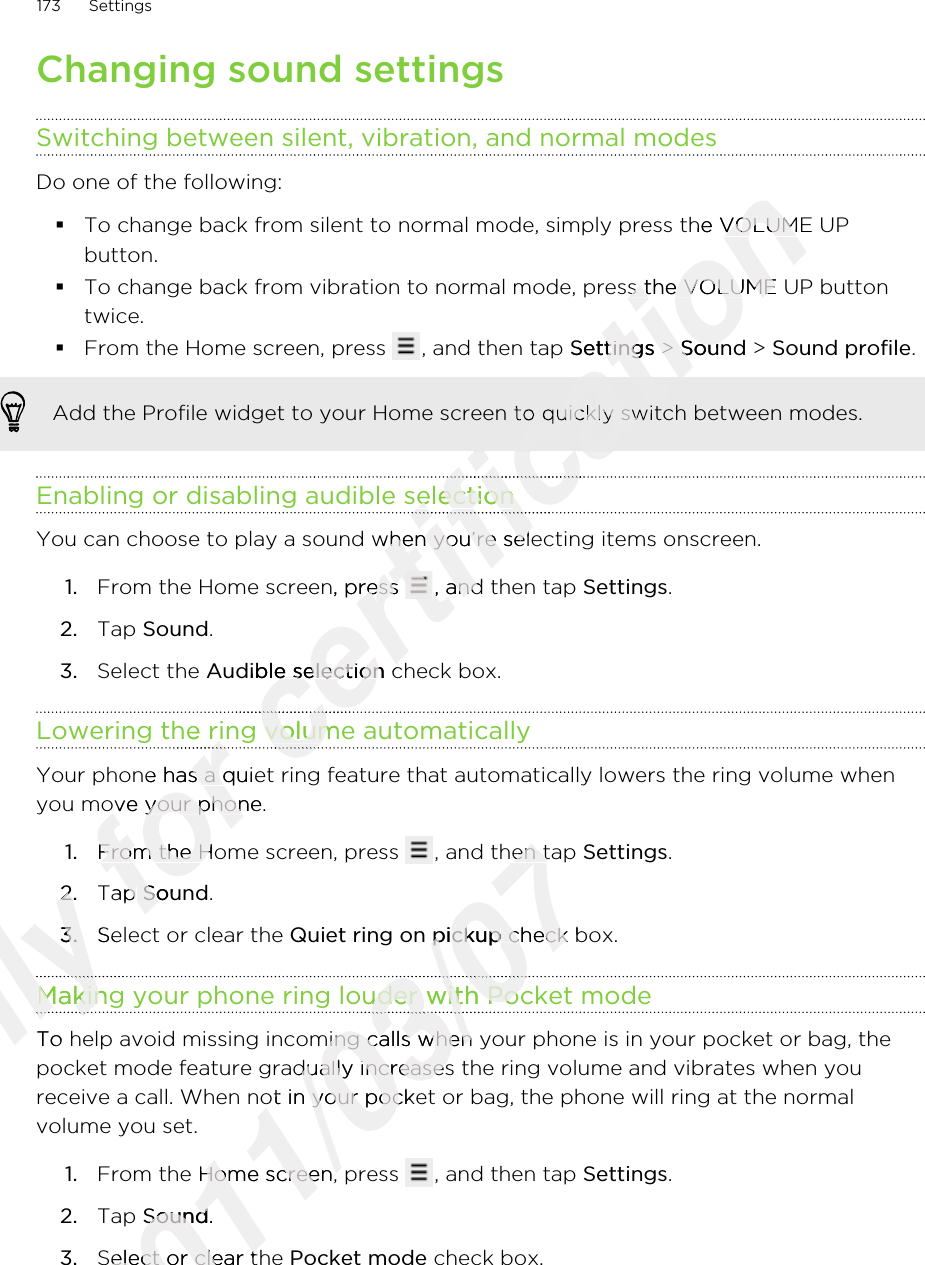
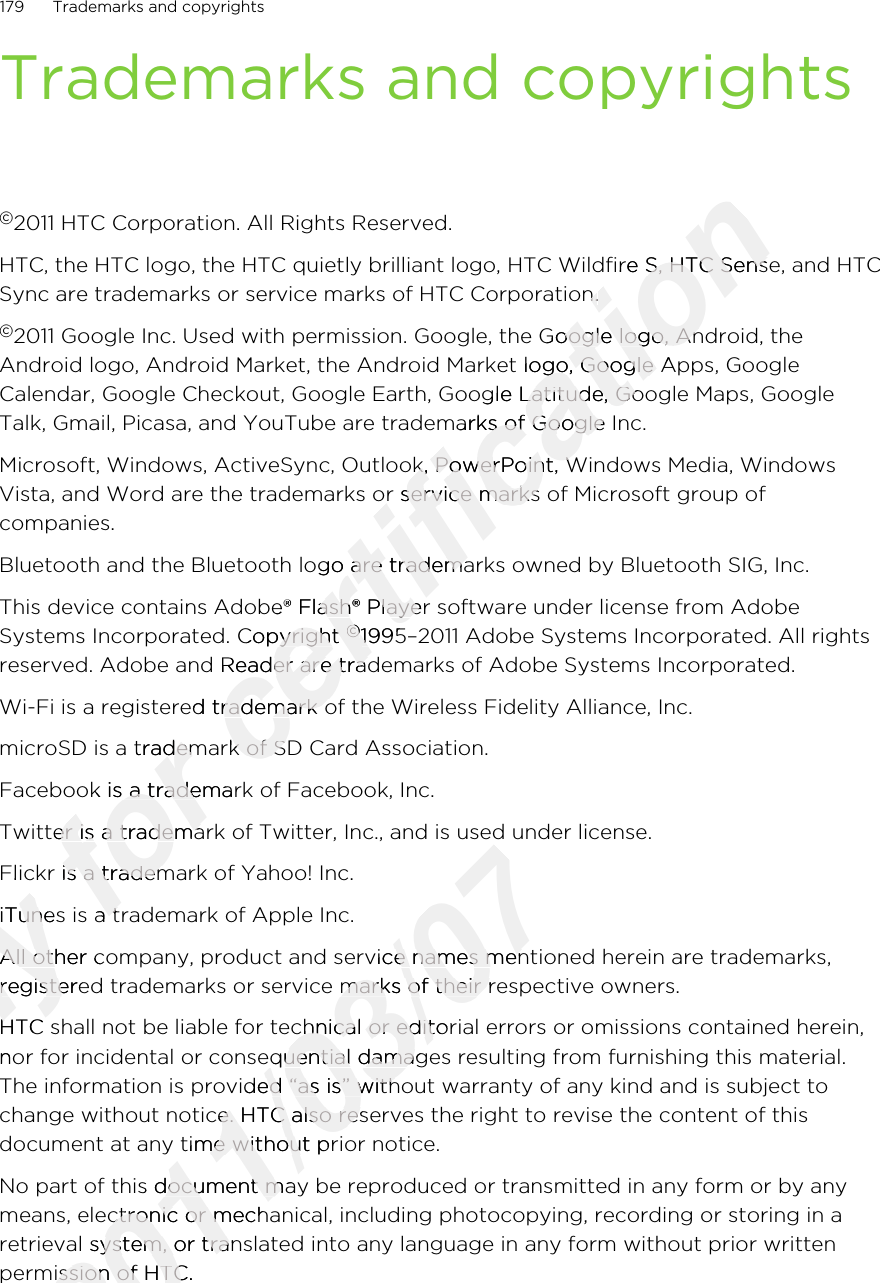
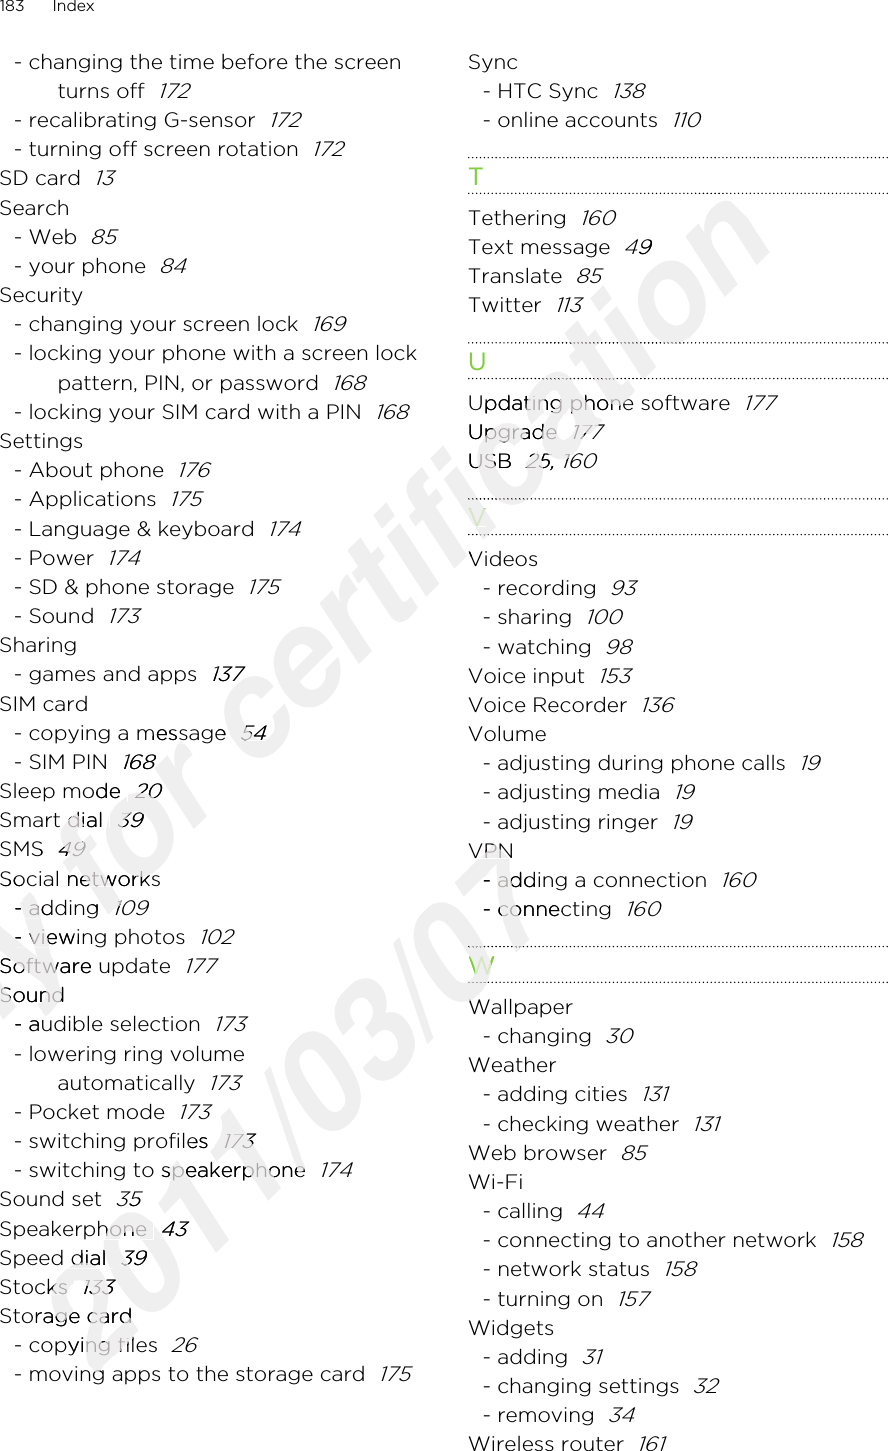
![Contact 1. On the All tab of the People app, press and hold acontact, and then tap Send contact as vCard.2. Tap the down arrow icon, and then select Bluetoothfrom the displayed list.3. Tap Send.Calendarappointment oreventIn Day view, Agenda view, or Week view, press and holdthe event, and then tap Share vCalendar > Bluetooth.Music track With the track displayed on the Music app’s Now playingscreen, press , and then tap Share > Bluetooth.Voice recording On the main Voice Recorder screen, tap , and then tapBluetooth.3. Turn on Bluetooth if you’re asked to do so.4. If you haven't paired with the receiving device before, tap Scan for devices.5. Tap the name of the receiving device.6. If prompted, accept the pairing request on HTC Wildfire S and on the receivingdevice. Also enter the same passcode or confirm the auto-generated passcode on bothdevices.7. On the receiving device, accept the file.Where sent information is savedWhen you send information from HTC Wildfire S using Bluetooth, the location whereit's saved depends on the type of information and the receiving device.If you send a calendar event or contact, it is normally added directly to thecorresponding application on the receiving device. For example, if you send acalendar event to a compatible phone, the event is shown in that phone’s calendarapplication.If you send another file type to a Windows computer, it is normally saved in theBluetooth Exchange folder within your personal document folders.§On Windows XP, the path may be: C:\Documents and Settings\[yourusername]\My Documents\Bluetooth Exchange§On Windows Vista, the path may be: C:\Users\[your username]\Documents§On Windows 7, the path may be: C:\Users\[your username]\My Documents\Bluetooth Exchange FolderIf you send a file to another device, the saved location may depend on the file type.For example, if you send an image file to another mobile phone, it may be saved in afolder named “Images”.165 BluetoothOnly When you send information from HTC Wildfire S using Bluetooth, the location whereOnly When you send information from HTC Wildfire S using Bluetooth, the location whereit's saved depends on the type of information and the receiving device.Only it's saved depends on the type of information and the receiving device.If you send a calendar event or contact, it is normally added directly to theOnly If you send a calendar event or contact, it is normally added directly to thecorresponding application on the receiving device. For example, if you send aOnly corresponding application on the receiving device. For example, if you send acalendar event to a compatible phone, the event is shown in that phone’s calendarOnly calendar event to a compatible phone, the event is shown in that phone’s calendarapplication.Only application.for Also enter the same passcode or confirm the auto-generated passcode on bothfor Also enter the same passcode or confirm the auto-generated passcode on bothdevices.for devices.On the receiving device, accept the file.for On the receiving device, accept the file.Where sent information is savedfor Where sent information is savedfor for for When you send information from HTC Wildfire S using Bluetooth, the location wherefor When you send information from HTC Wildfire S using Bluetooth, the location whereit's saved depends on the type of information and the receiving device.for it's saved depends on the type of information and the receiving device.certification certification In Day view, Agenda view, or Week view, press and holdcertification In Day view, Agenda view, or Week view, press and holdShare vCalendarcertification Share vCalendar > certification > Bluetoothcertification BluetoothWith the track displayed on the Music app’s Now playingcertification With the track displayed on the Music app’s Now playing, and then tap certification , and then tap Sharecertification ShareOn the main Voice Recorder screen, tap certification On the main Voice Recorder screen, tap certification certification certification certification Turn on Bluetooth if you’re asked to do so.certification Turn on Bluetooth if you’re asked to do so.If you haven't paired with the receiving device before, tap certification If you haven't paired with the receiving device before, tap Tap the name of the receiving device.certification Tap the name of the receiving device.If prompted, accept the pairing request on HTC Wildfire S and on the receivingcertification If prompted, accept the pairing request on HTC Wildfire S and on the receivingAlso enter the same passcode or confirm the auto-generated passcode on bothcertification Also enter the same passcode or confirm the auto-generated passcode on both2011/03/072011/03/072011/03/07When you send information from HTC Wildfire S using Bluetooth, the location where2011/03/07When you send information from HTC Wildfire S using Bluetooth, the location whereit's saved depends on the type of information and the receiving device.2011/03/07it's saved depends on the type of information and the receiving device.If you send a calendar event or contact, it is normally added directly to the2011/03/07If you send a calendar event or contact, it is normally added directly to thecorresponding application on the receiving device. For example, if you send a2011/03/07corresponding application on the receiving device. For example, if you send acalendar event to a compatible phone, the event is shown in that phone’s calendar2011/03/07calendar event to a compatible phone, the event is shown in that phone’s calendarIf you send another file type to a Windows computer, it is normally saved in the2011/03/07If you send another file type to a Windows computer, it is normally saved in theBluetooth Exchange folder within your personal document folders.2011/03/07Bluetooth Exchange folder within your personal document folders.On Windows XP, the path may be: 2011/03/07On Windows XP, the path may be: username]\My Documents\Bluetooth Exchange2011/03/07username]\My Documents\Bluetooth ExchangeOn Windows Vista, the path may be: 2011/03/07On Windows Vista, the path may be: On Windows 7, the path may be: 2011/03/07On Windows 7, the path may be: \Bluetooth Exchange Folder2011/03/07\Bluetooth Exchange FolderIf you send a file to another device, the saved location may depend on the file type.2011/03/07If you send a file to another device, the saved location may depend on the file type.For example, if you send an image file to another mobile phone, it may be saved in a2011/03/07For example, if you send an image file to another mobile phone, it may be saved in a](https://usermanual.wiki/HTC/PG76100.user-manual-4-of-5/User-Guide-1446502-Page-27.png)