HTC PG76100 Smart phone User Manual 3 of 5
HTC Corporation Smart phone 3 of 5
UserManual.wiki
>
HTC
>
PG76100 User Manual
>
user manual 3 of 5
Contents
1.
user manual 1 of 5
2.
user manual 2 of 5
3.
user manual 3 of 5
4.
user manual 4 of 5
5.
user manual 5 of 5
user manual 3 of 5
Navigation menu
Upload a User Manual
Namespaces
Wiki Guide
HTML
PDF
Info
Views
User Manual
Discussion / Help
Navigation
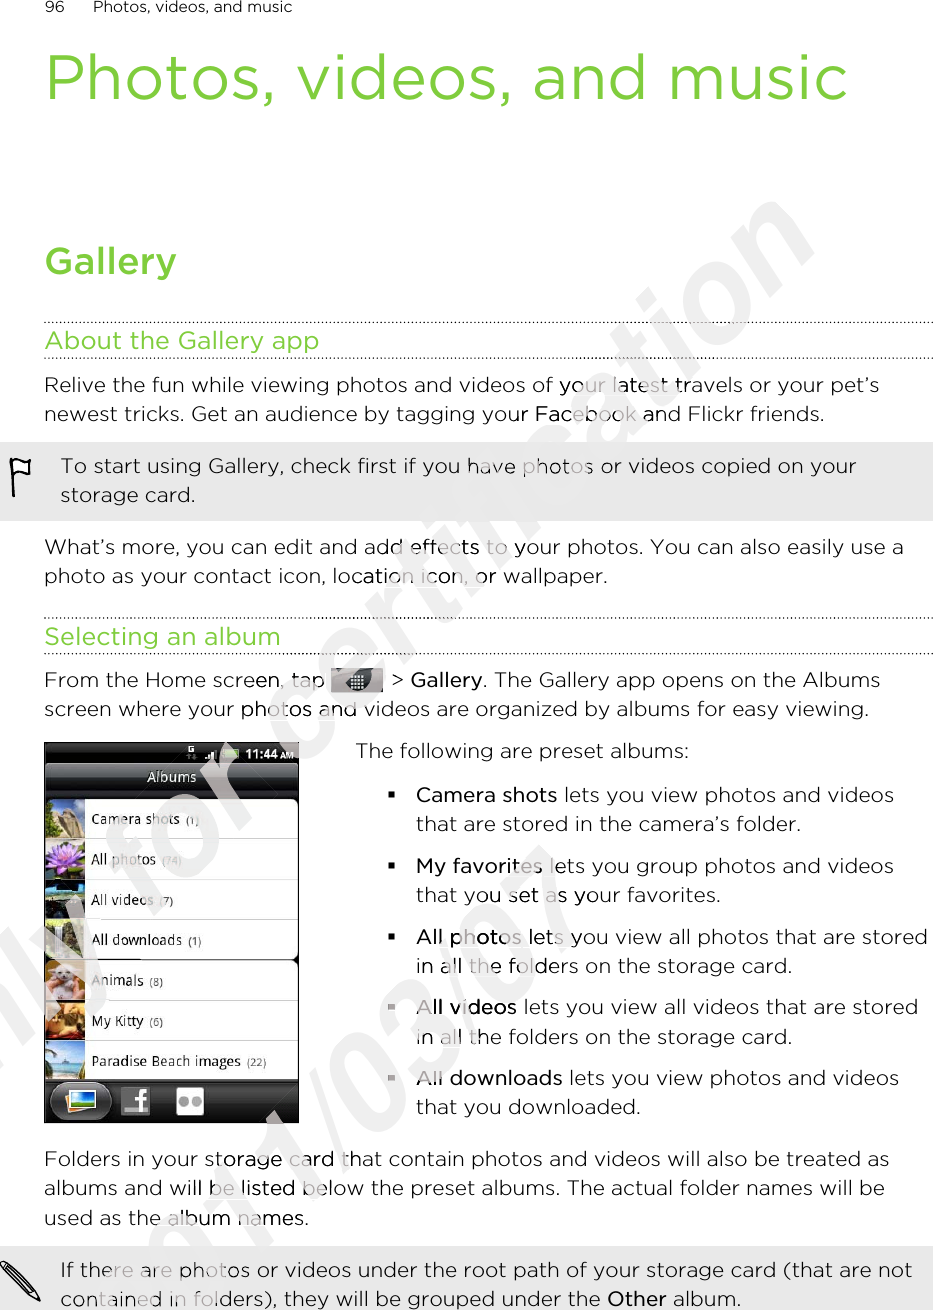
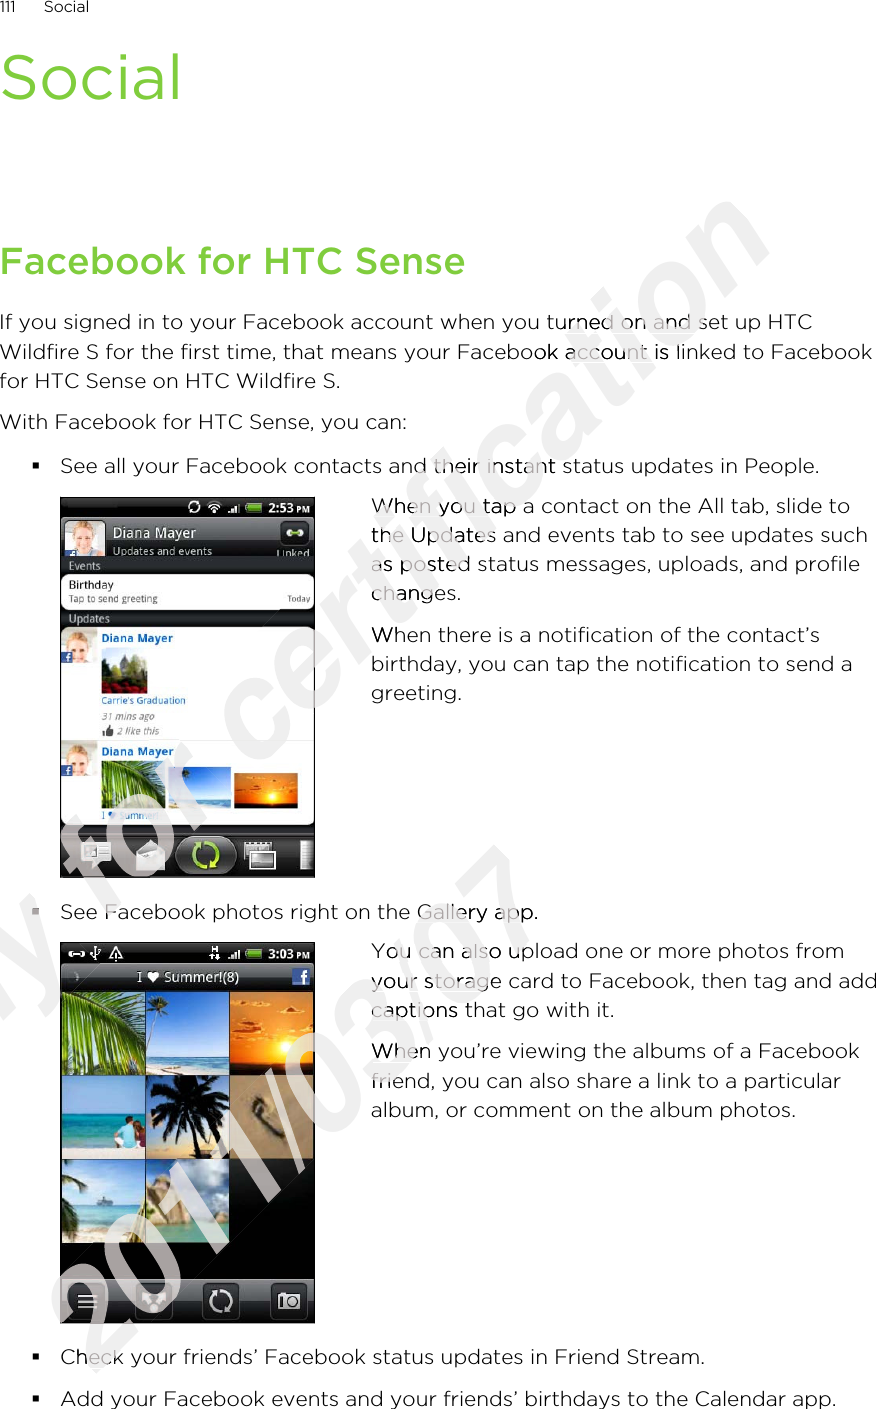
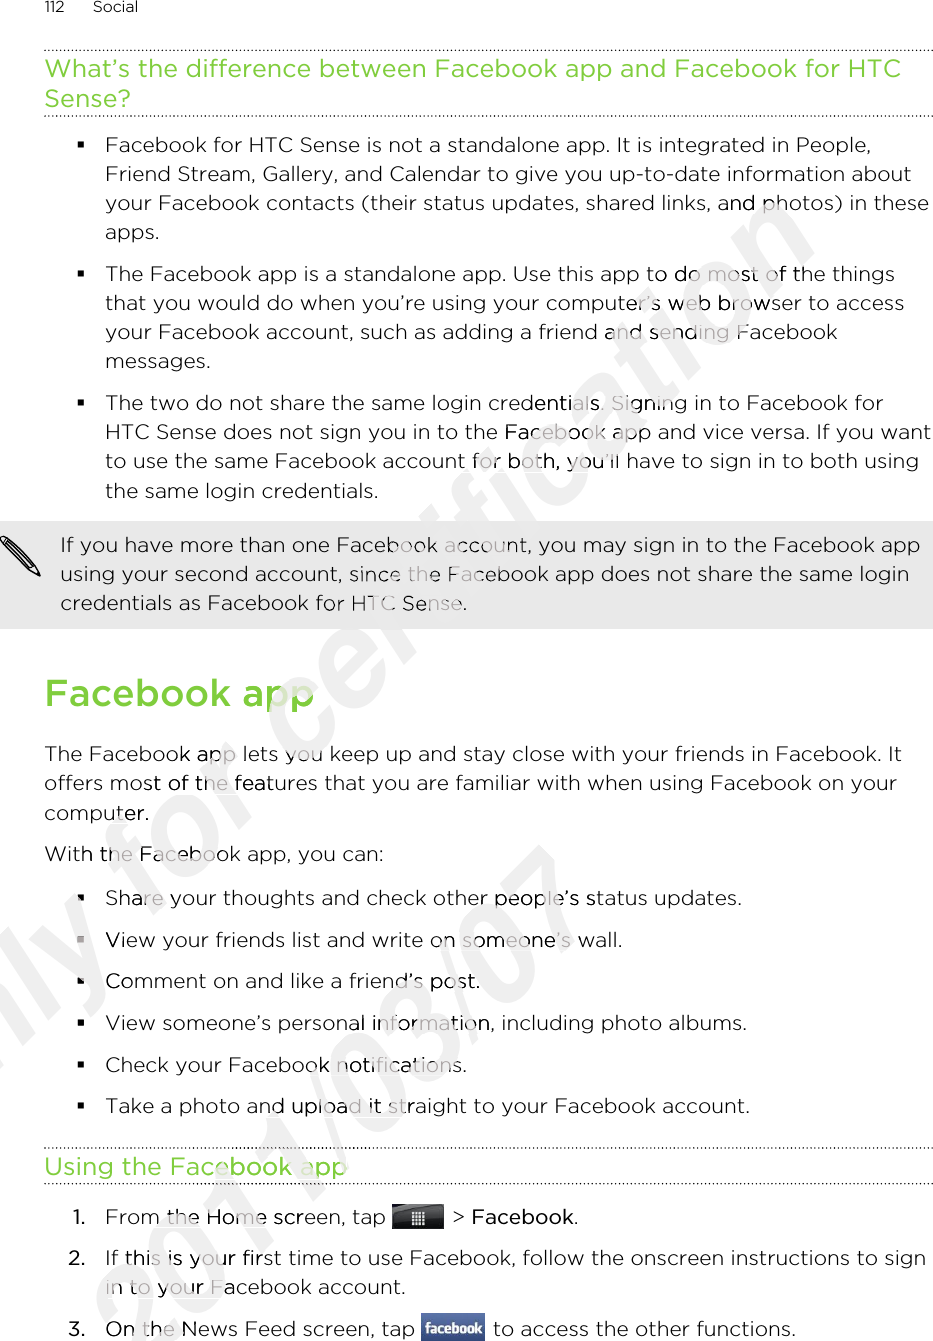

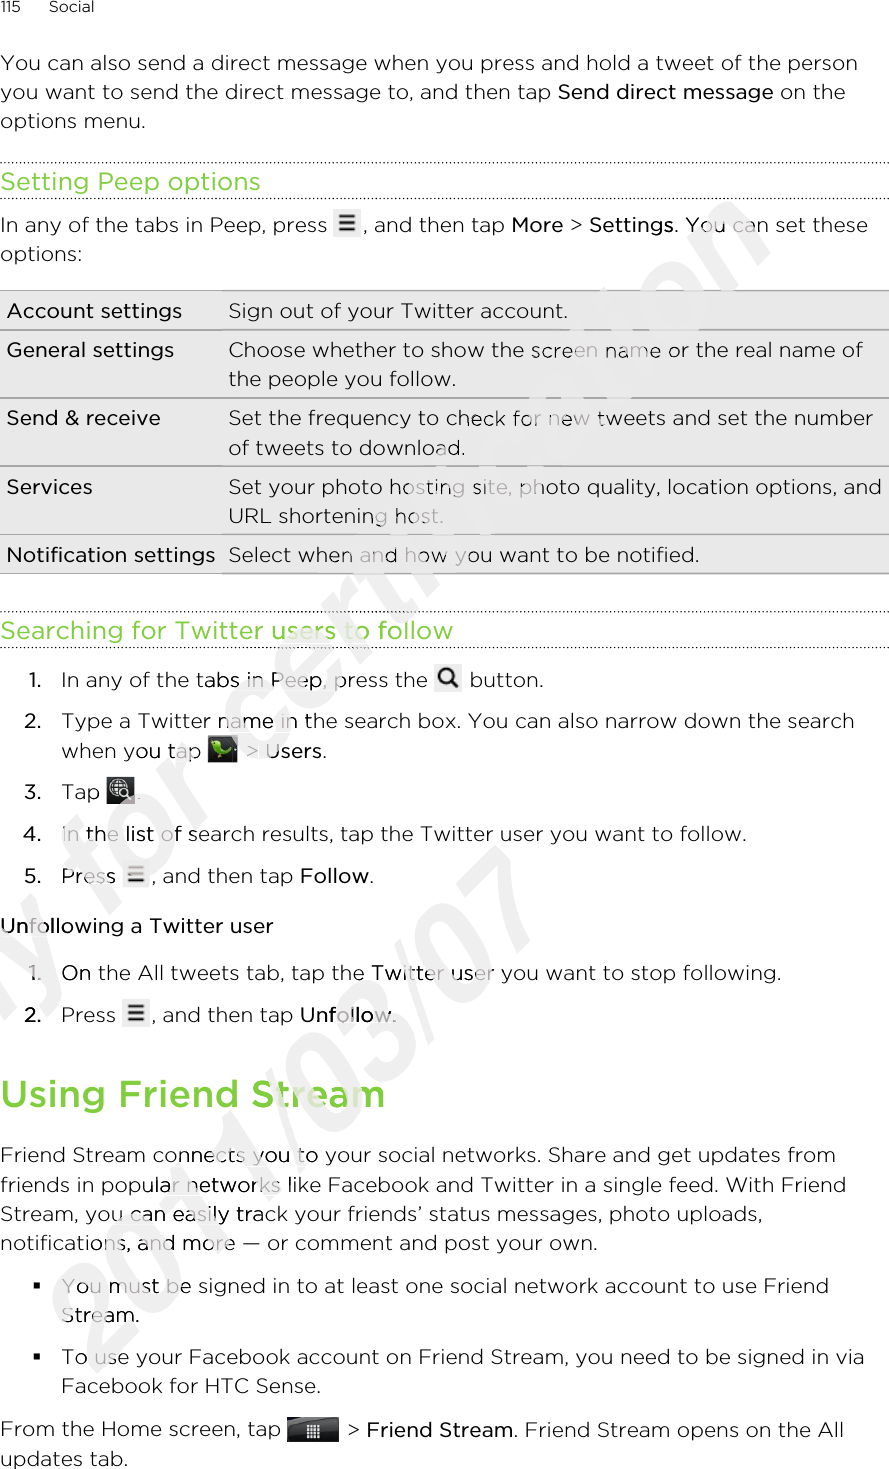
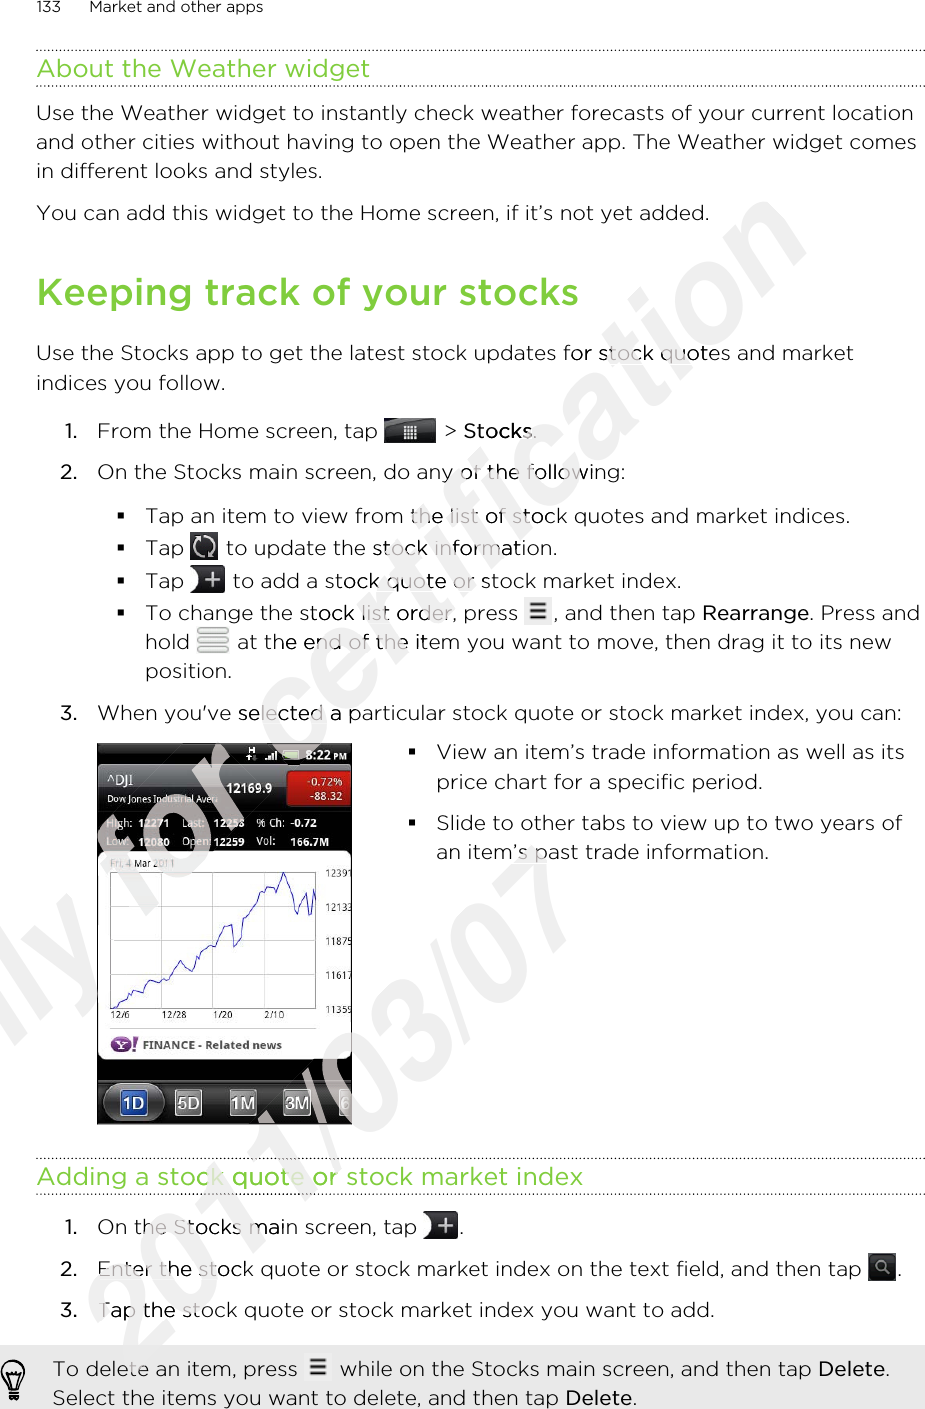
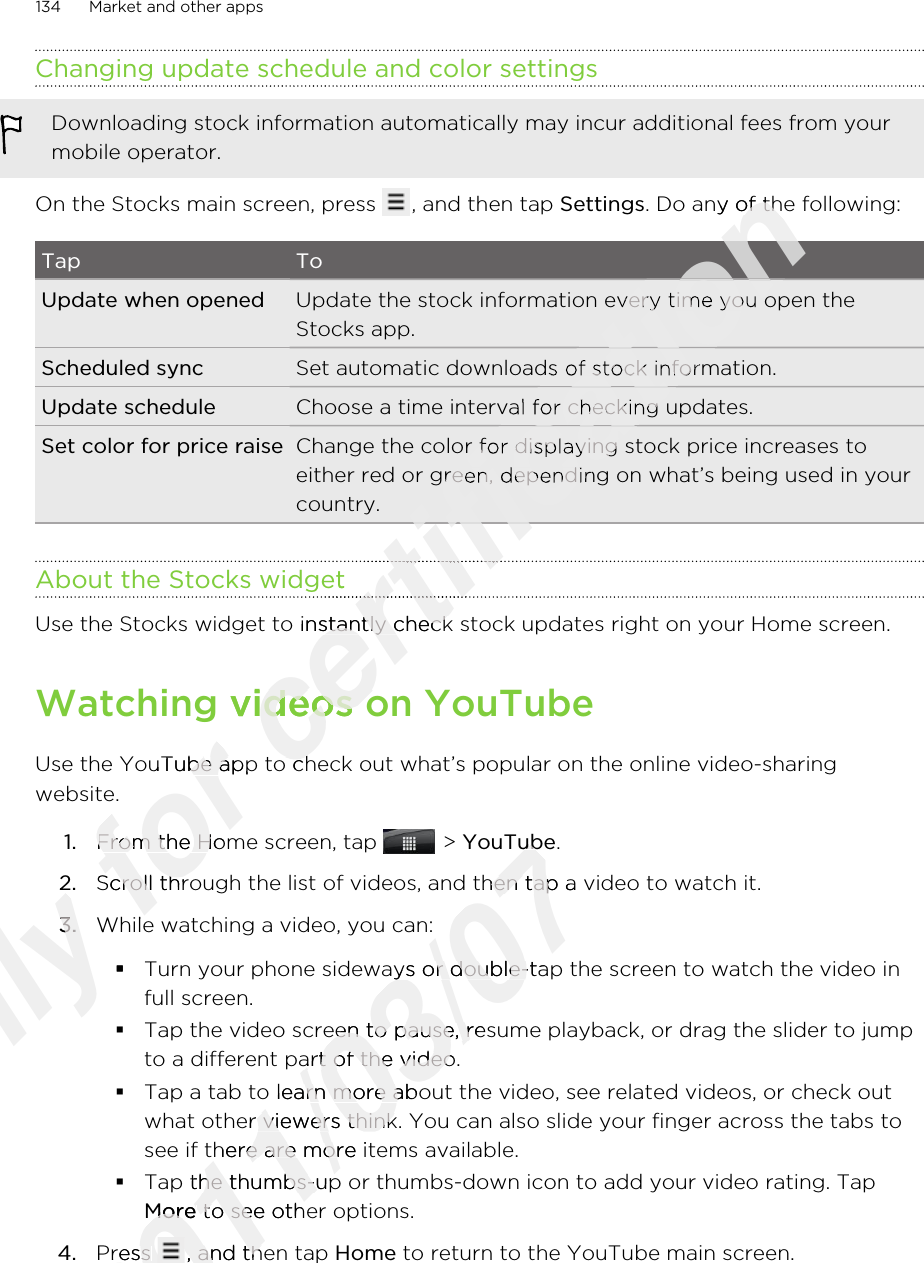
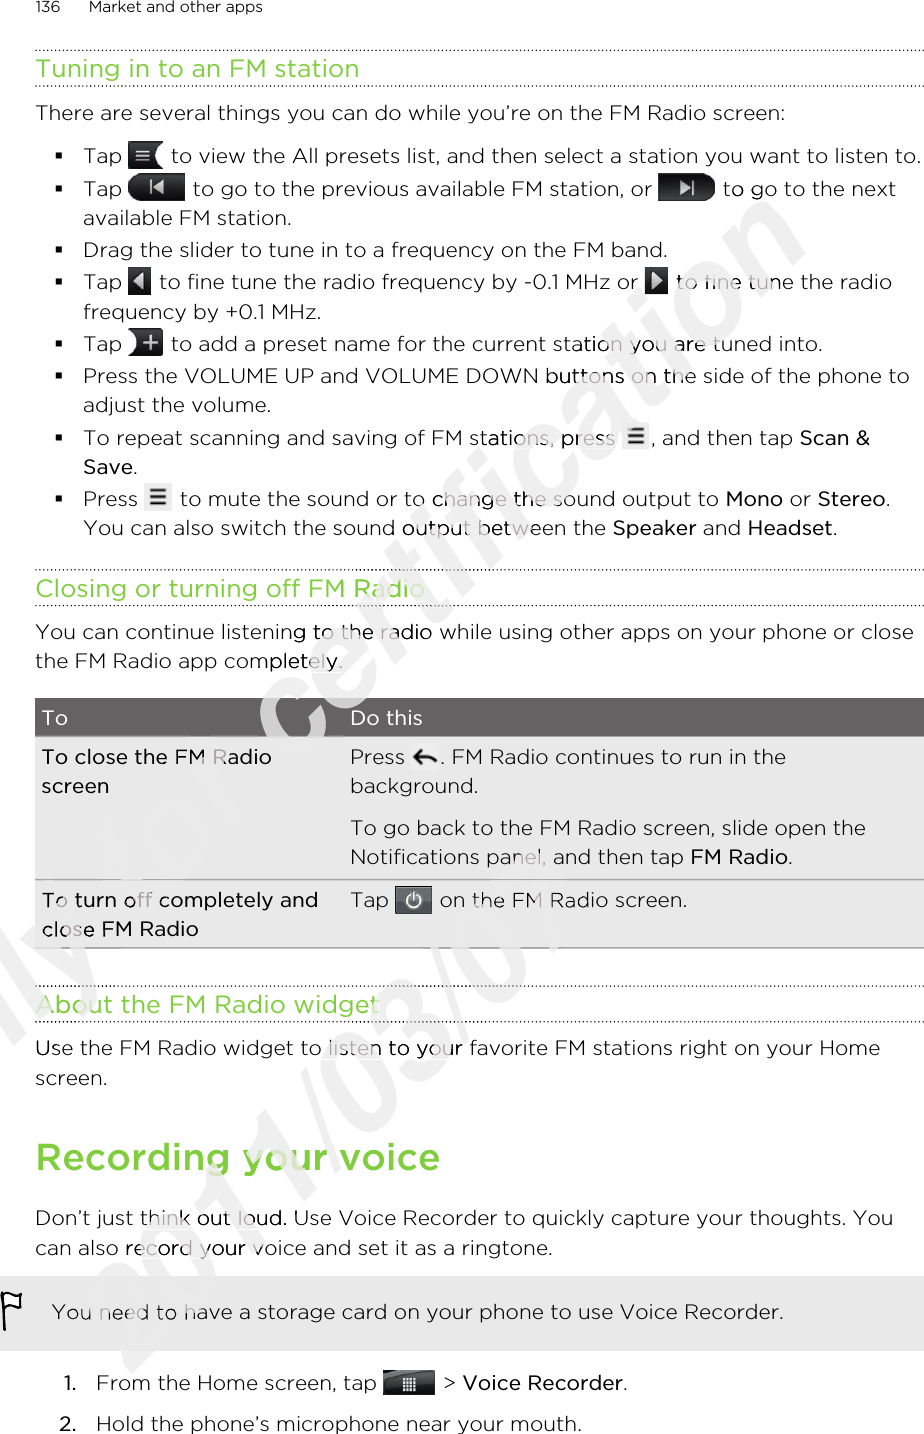
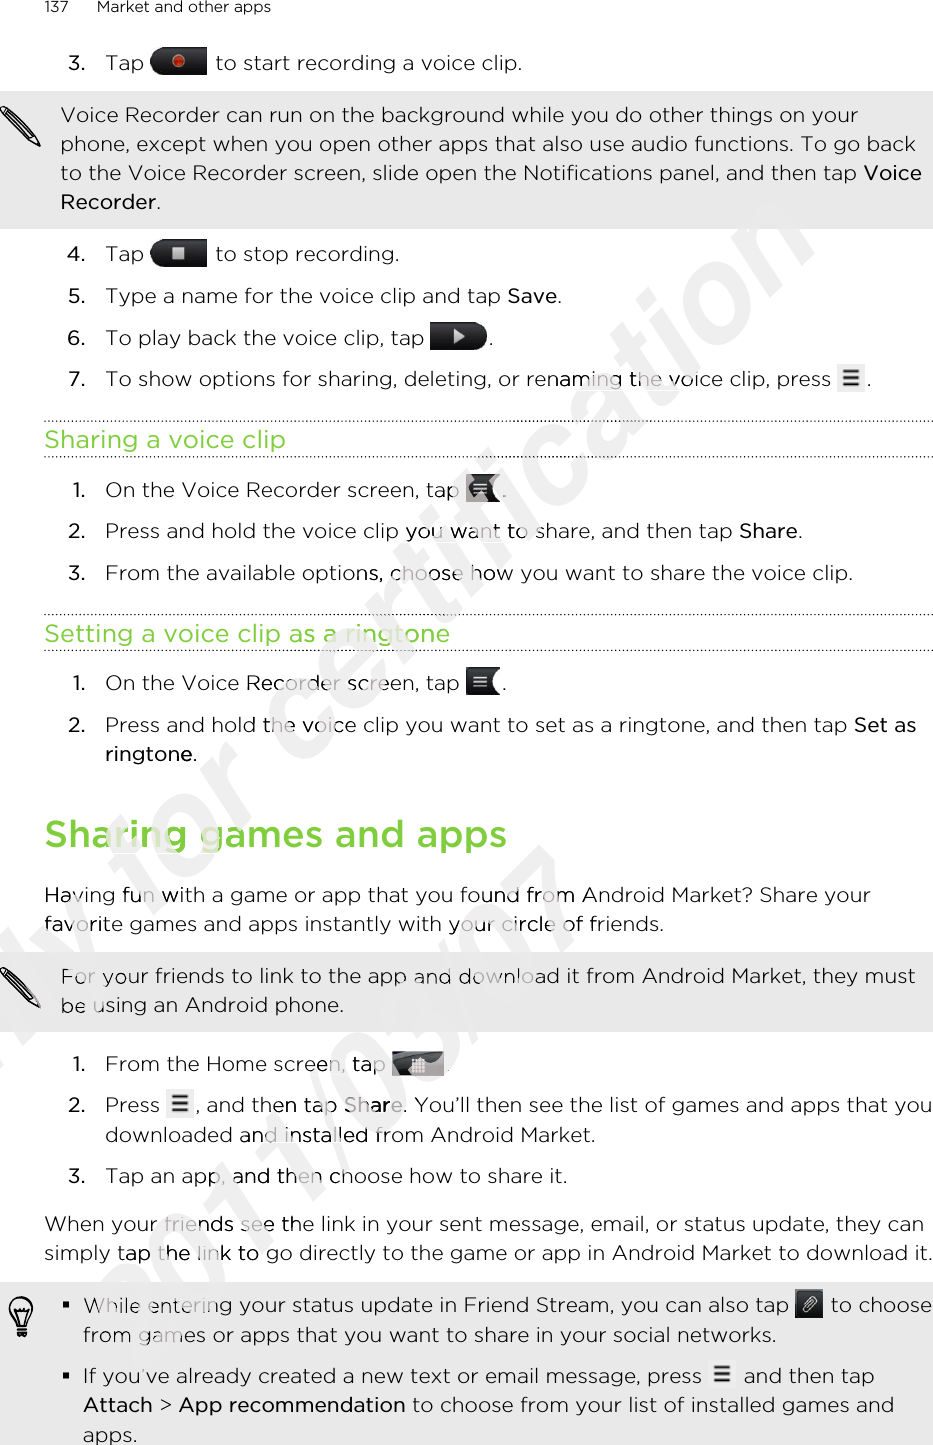
![Tap to compose and send a tweet.Tap a person’s name to check profiledetails and all of his or her tweets.If you have linked the contact inPeople, tap the photo or icon to opena menu where you can quickly choosehow to communicate with thecontact.Press and hold a tweet to open anoptions menu to reply, send a directmessage, retweet, and more.View all the tweets from people youfollow and tweets that you haveposted.View all tweets that mention yourusername using the “@[yourusername]” convention.View all private/direct messages thatyou have received or sent.View tweets that you have marked asfavorites.Sending a tweet1. On the All tweets tab, tap the text box that says What's happening.2. Type your tweet.3. Add a picture or location to your tweet.§Tap to post a picture from Gallery or Camera to your default photohosting site and add the link to the picture in your tweet.§Tap to insert your location into the tweet. You can choose to add a maplink, insert your location name, or insert your position coordinates.4. Tap Post.Sending a direct messageYou can only send a direct message to someone who is following you.1. In any of the tabs in Peep, press , and then tap New message.2. Tap the text box at the top of the screen, and then enter the name. As you entercharacters, the names of the Twitter users that match the characters you enterwill appear. Tap the name when you see it.3. Enter your message, and then tap Post.114 SocialOnly 2.Only 2.3.Only 3.Add a picture or location to your tweet.Only Add a picture or location to your tweet.§Only §for Sending a tweetfor Sending a tweetfor for 1.for 1.On the All tweets tab, tap the text box that says for On the All tweets tab, tap the text box that says Type your tweet.for Type your tweet.certification certification If you have linked the contact incertification If you have linked the contact inPeople, tap the photo or icon to opencertification People, tap the photo or icon to opena menu where you can quickly choosecertification a menu where you can quickly choosehow to communicate with thecertification how to communicate with thecontact.certification contact.Press and hold a tweet to open ancertification Press and hold a tweet to open anoptions menu to reply, send a directcertification options menu to reply, send a directmessage, retweet, and more.certification message, retweet, and more.View all the tweets from people youcertification View all the tweets from people youfollow and tweets that you havecertification follow and tweets that you haveposted.certification posted.certification certification certification certification certification certification certification certification certification certification 2011/03/07On the All tweets tab, tap the text box that says 2011/03/07On the All tweets tab, tap the text box that says Add a picture or location to your tweet.2011/03/07Add a picture or location to your tweet. to post a picture from Gallery or Camera to your default photo2011/03/07 to post a picture from Gallery or Camera to your default photohosting site and add the link to the picture in your tweet.2011/03/07hosting site and add the link to the picture in your tweet. to insert your location into the tweet. You can choose to add a map2011/03/07 to insert your location into the tweet. You can choose to add a maplink, insert your location name, or insert your position coordinates.2011/03/07link, insert your location name, or insert your position coordinates.Sending a direct message2011/03/07Sending a direct message2011/03/072011/03/072011/03/07You can only send a direct message to someone who is following you.2011/03/07You can only send a direct message to someone who is following you.In any of the tabs in Peep, press 2011/03/07In any of the tabs in Peep, press 2.2011/03/072.Tap the text box at the top of the screen, and then enter the name. As you enter2011/03/07Tap the text box at the top of the screen, and then enter the name. As you enter2011/03/07characters, the names of the Twitter users that match the characters you enter2011/03/07characters, the names of the Twitter users that match the characters you enterwill appear. Tap the name when you see it.2011/03/07will appear. Tap the name when you see it.](https://usermanual.wiki/HTC/PG76100.user-manual-3-of-5/User-Guide-1446501-Page-22.png)