HTC PL POLA100 User Manual 2 Revised 0725
HTC Corporation POLA100 2 Revised 0725
UserManual.wiki
>
HTC
>
PL User Manual
>
User Manual 2 Revised 0725
Contents
1.
User Manual 1
2.
User Manual 2
3.
User Manual 2 Revised 0725
4.
User Manual 1 Revised 0725
5.
User Manual Revised 0814 body worn operations
User Manual 2 Revised 0725
Navigation menu
Upload a User Manual
Namespaces
Wiki Guide
HTML
PDF
Info
Views
User Manual
Discussion / Help
Navigation

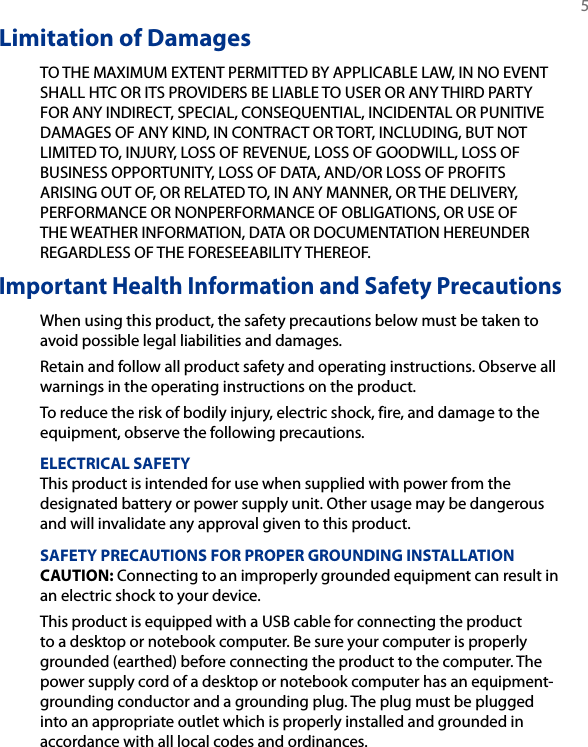
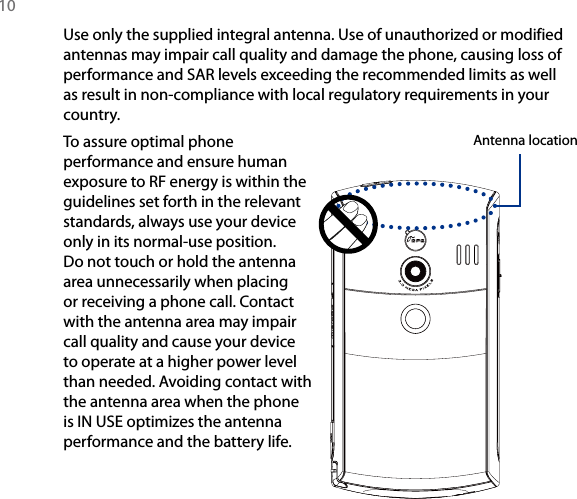

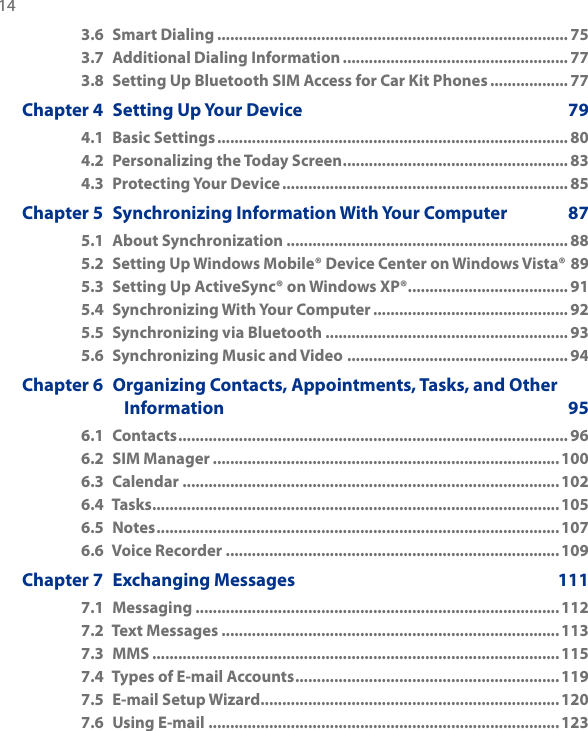
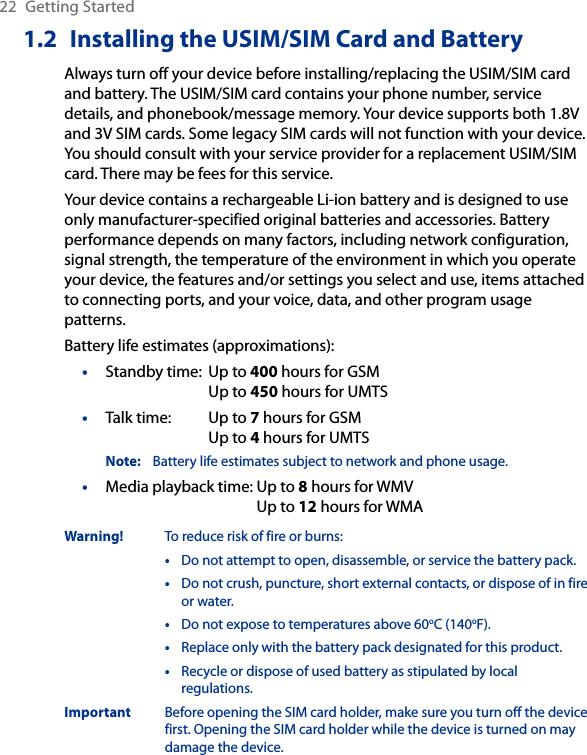
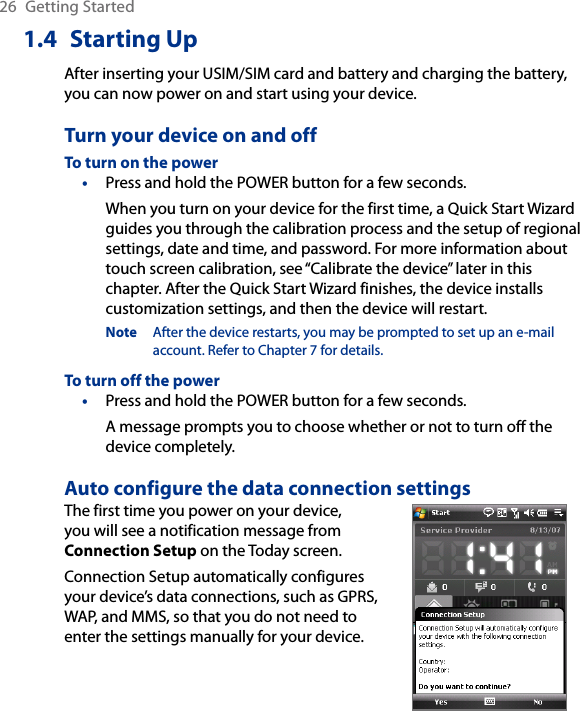
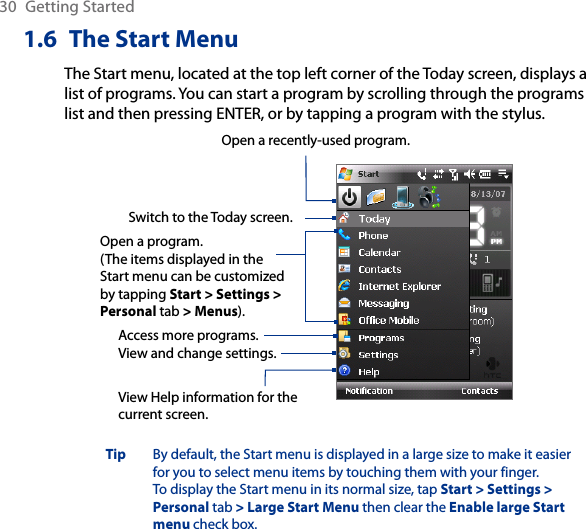
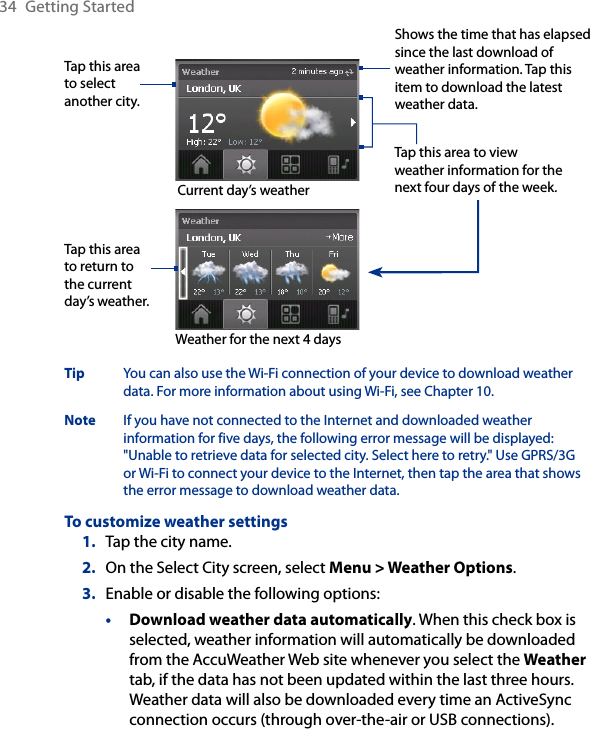

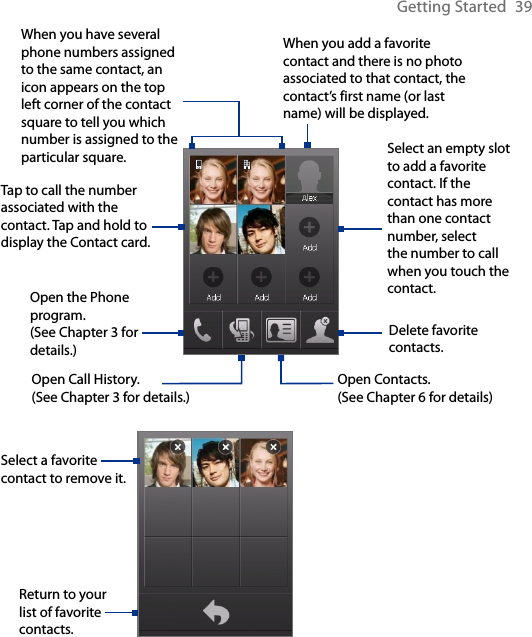
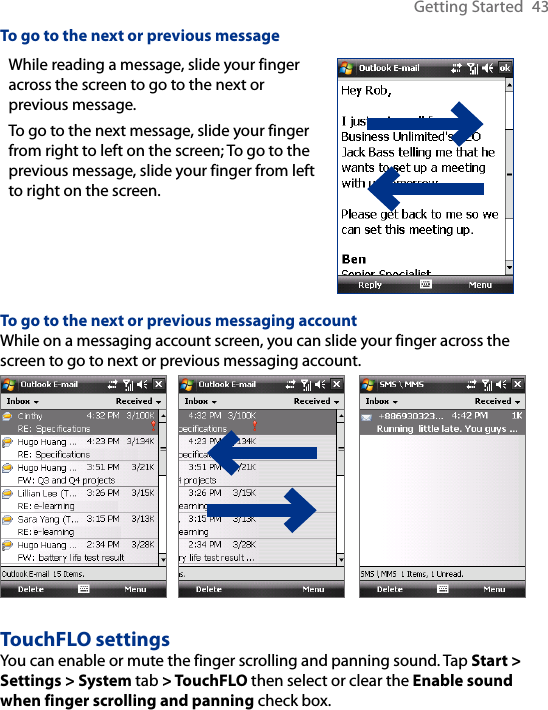
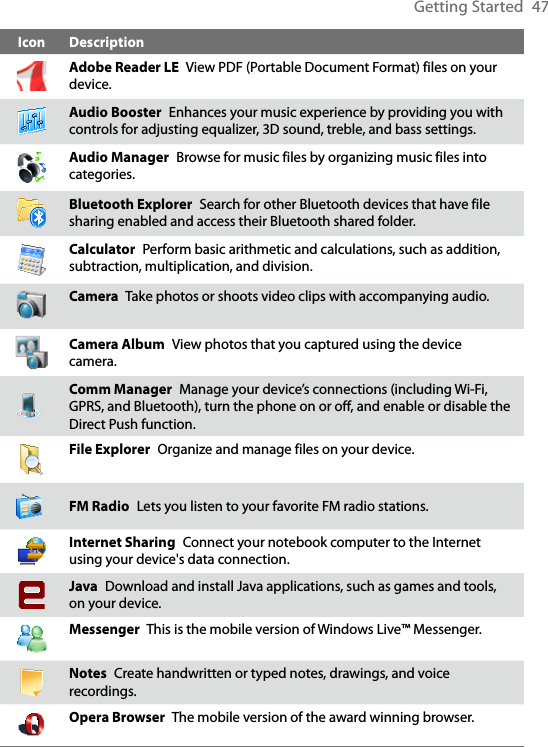
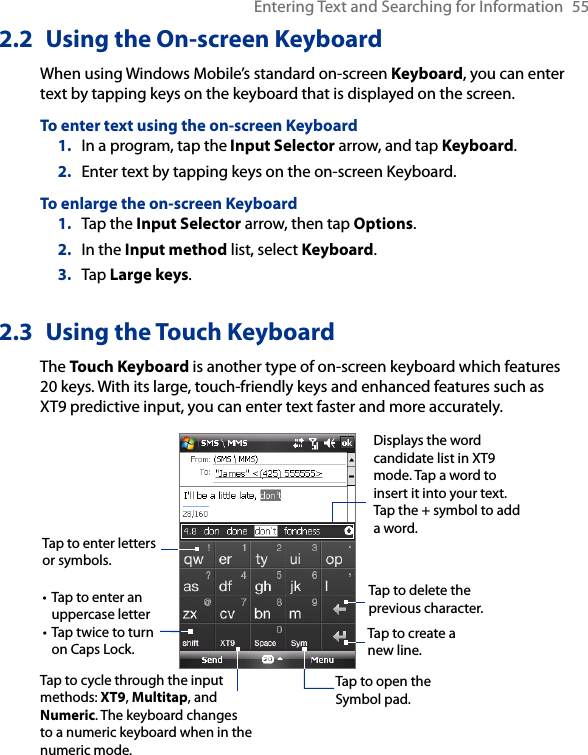
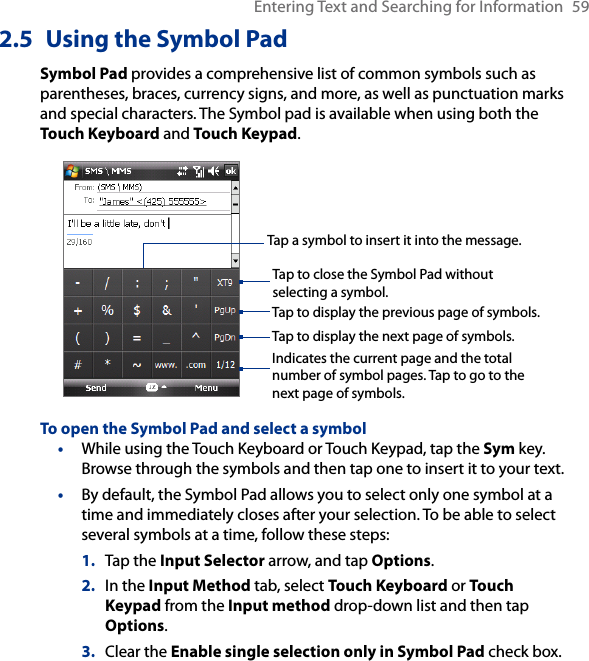
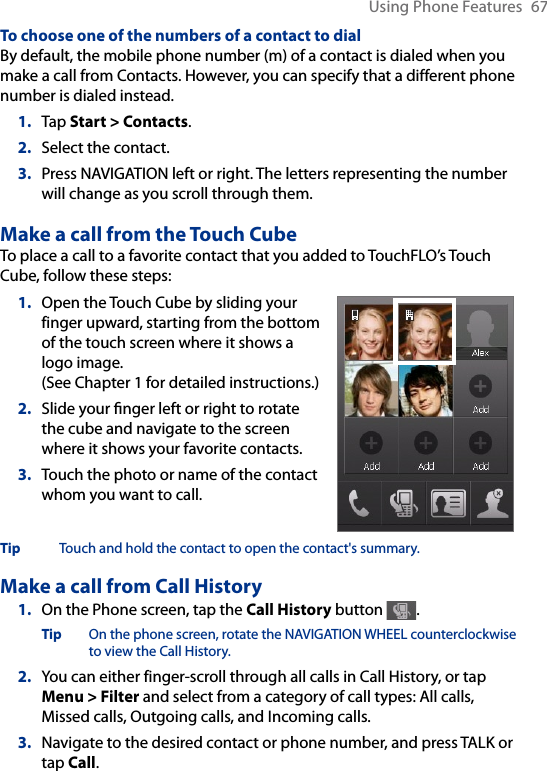
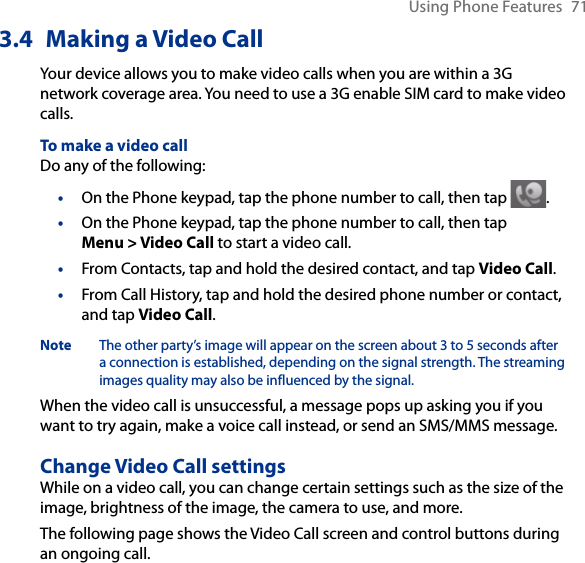
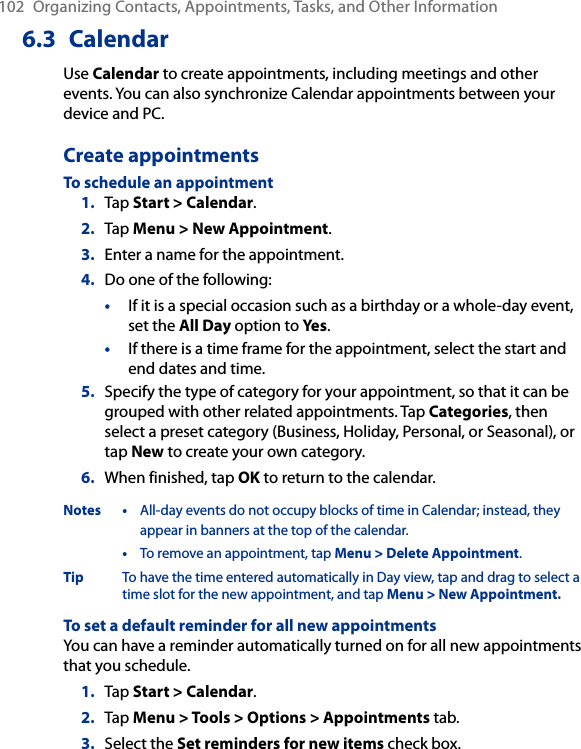
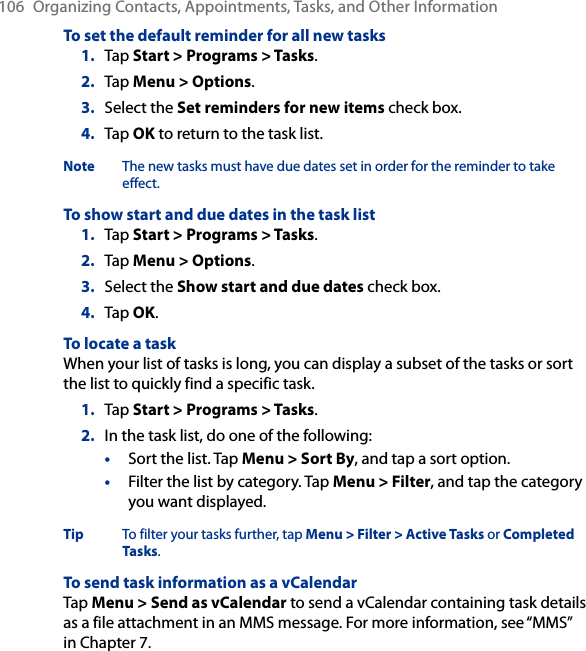
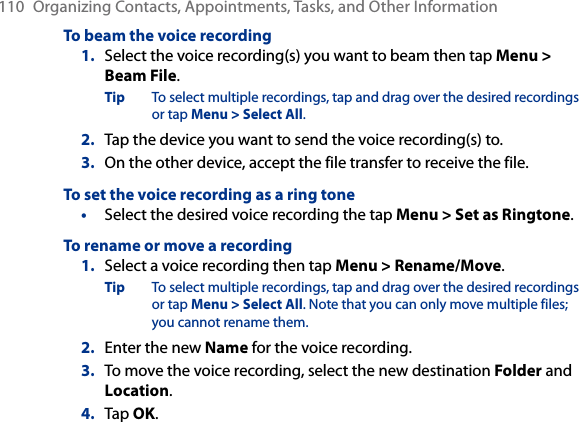
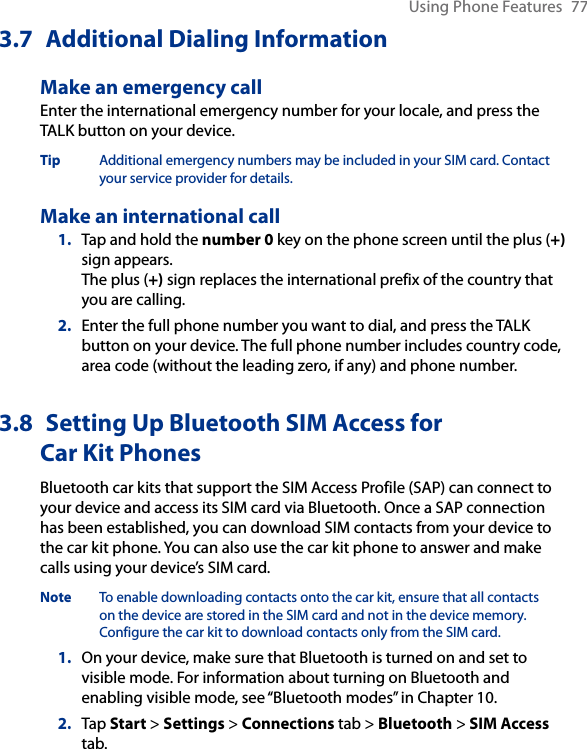
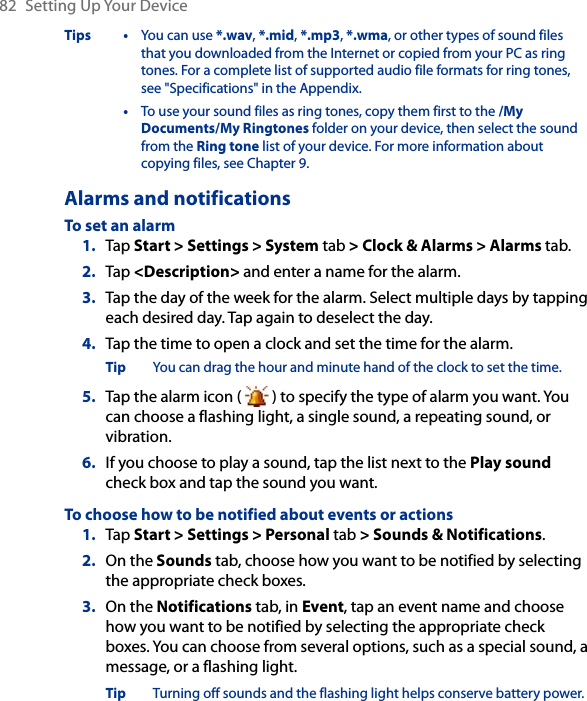
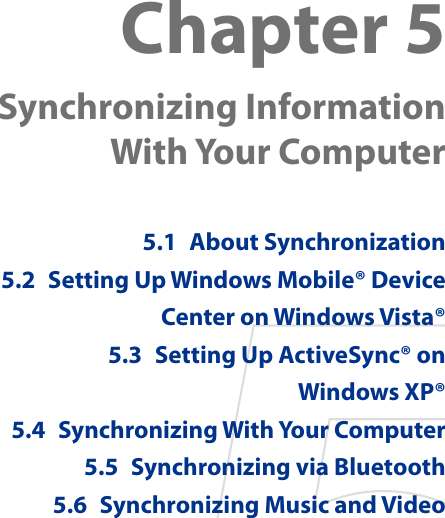
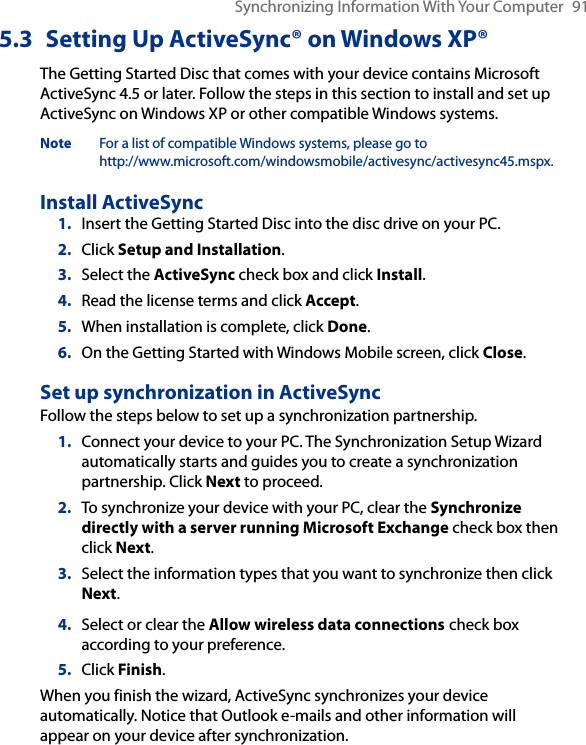
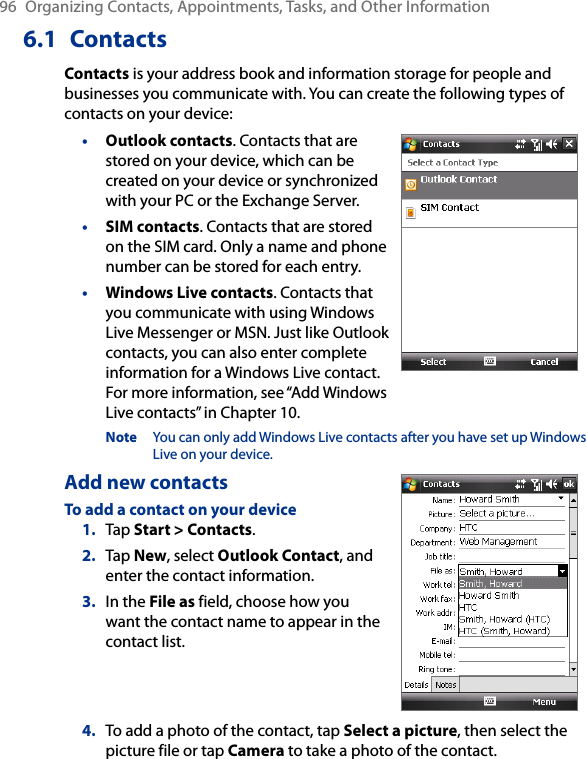
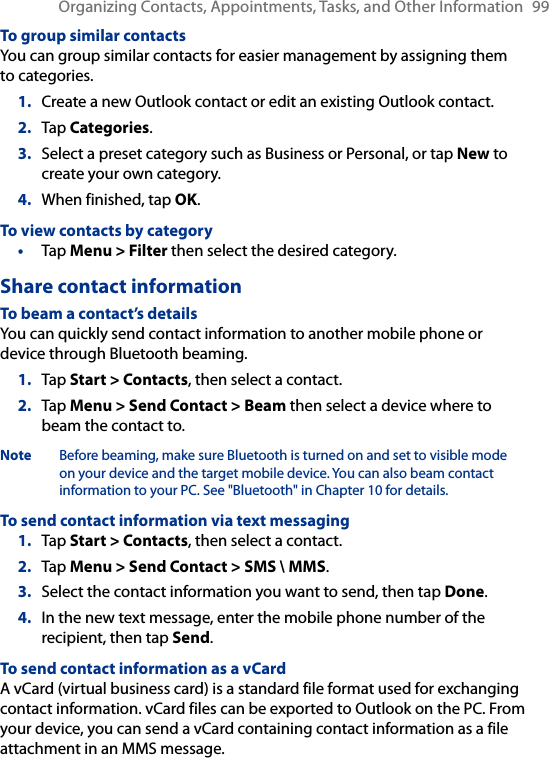
![Using Phone Features 753.5 Receiving a Video CallTo answer or reject an incoming video call• To answer the video call, tap Answer, or press TALK on your device.• To reject the video call, tap Ignore, or press END on your device.To end a video call Once an incoming or outgoing video call is in progress, press END on the device to hang up.3.6 Smart DialingSmart Dialing makes it easy for you to dial a phone number.When you start entering a phone number or contact name, Smart Dialing will automatically search and sort the contact entries on the SIM card, in Contacts, and the phone numbers in Call History (including incoming, outgoing, and missed calls). You can then select the desired number or contact from the filtered list to dial.Smart Dialing panelTo find a contact name or numberYou can just enter the first letter of the name or number of a contact. Smart Dialing will search for contact phone numbers and the first character of a contact name as well as from the character that appears after a space, dash, or underscore in a contact name. For example, if you tap number “2” on the phone keypad, which is associated with [a, b, and c] on the Phone keypad, contact names such as the following will be considered matches: “Ben Miller”, “George Adams”, “John-Carter”, “Carter, Ellen”, “Dixon, Allan”, “Thomas_Clark”, “JaneCampbell”.](https://usermanual.wiki/HTC/PL.User-Manual-2-Revised-0725/User-Guide-976080-Page-75.png)
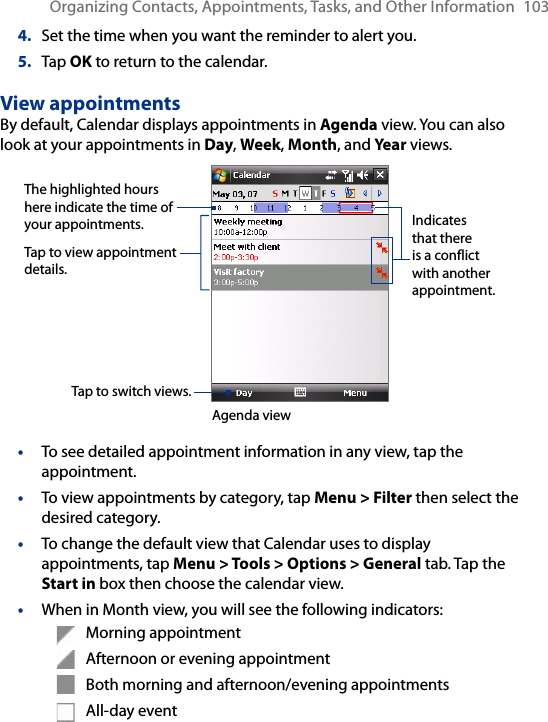
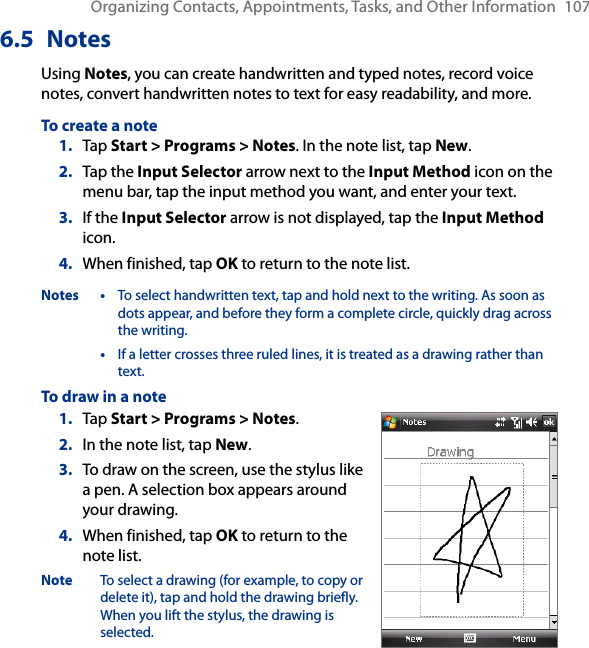
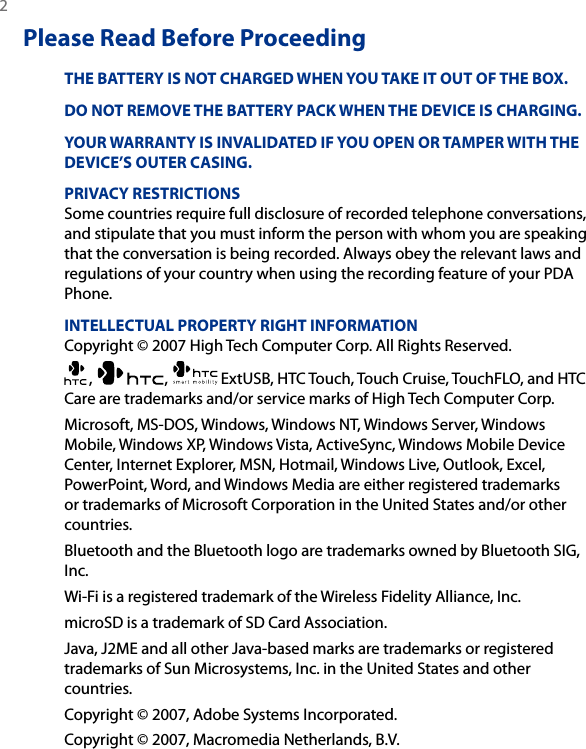
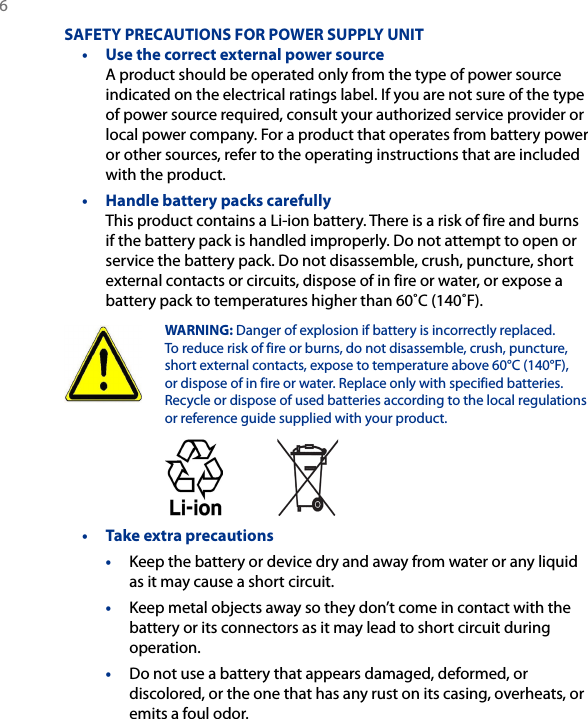
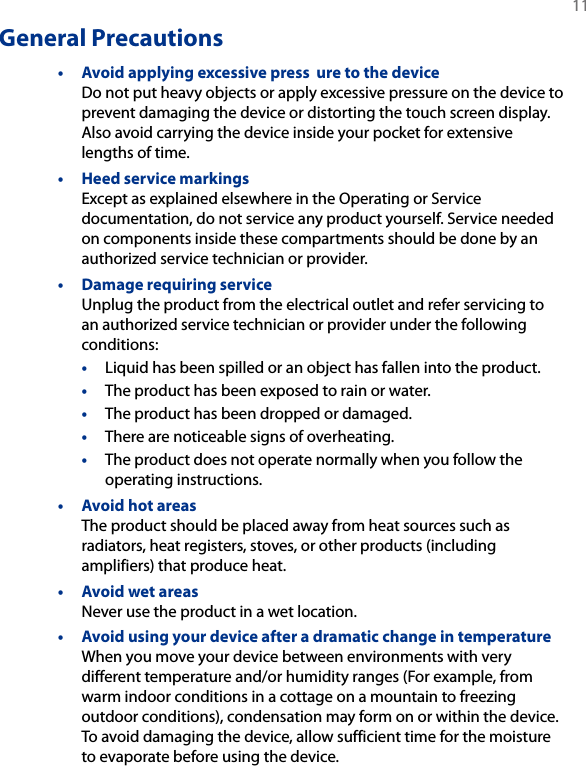
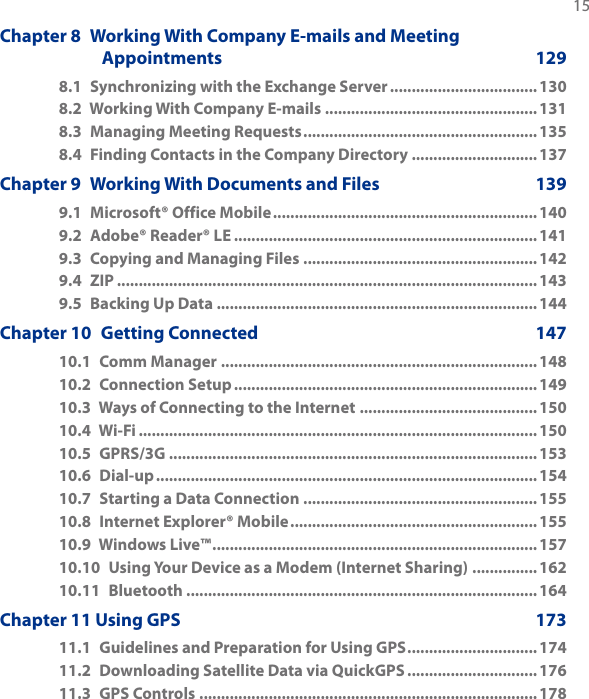
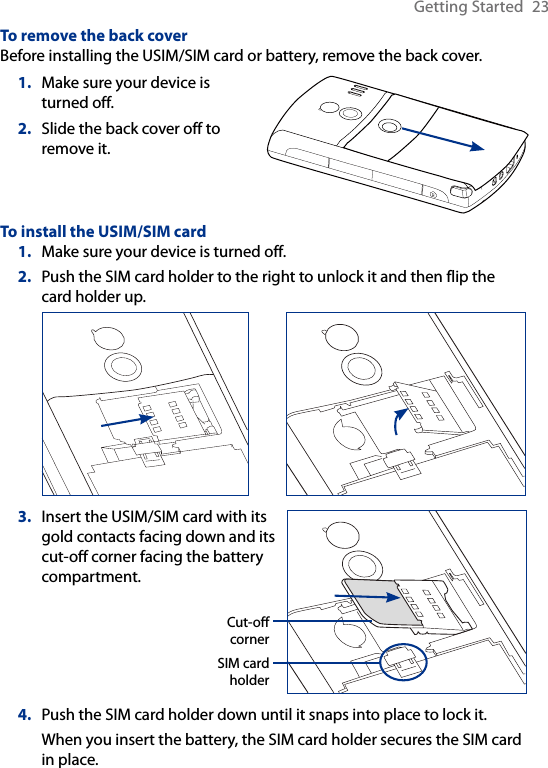
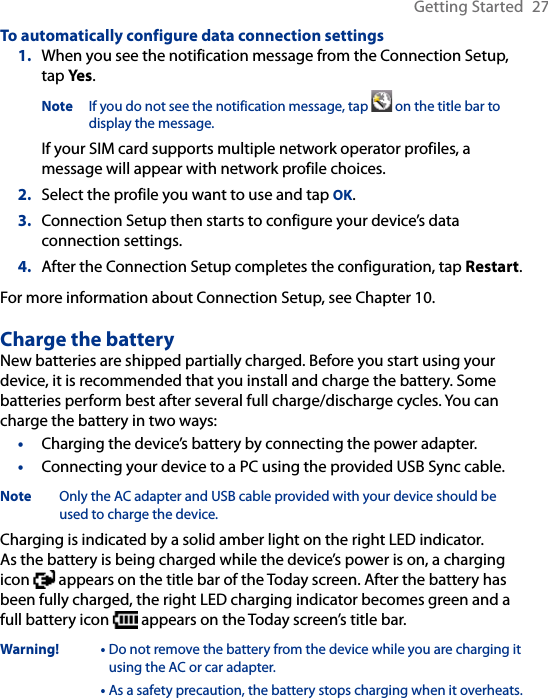
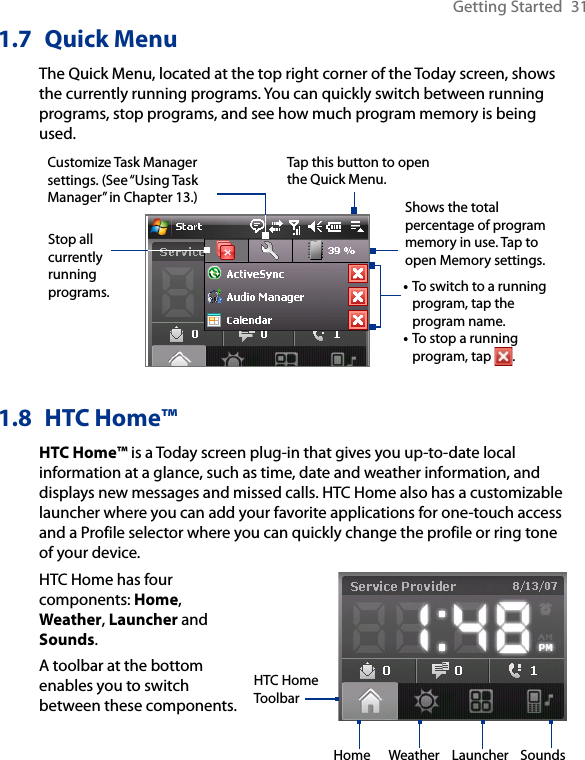
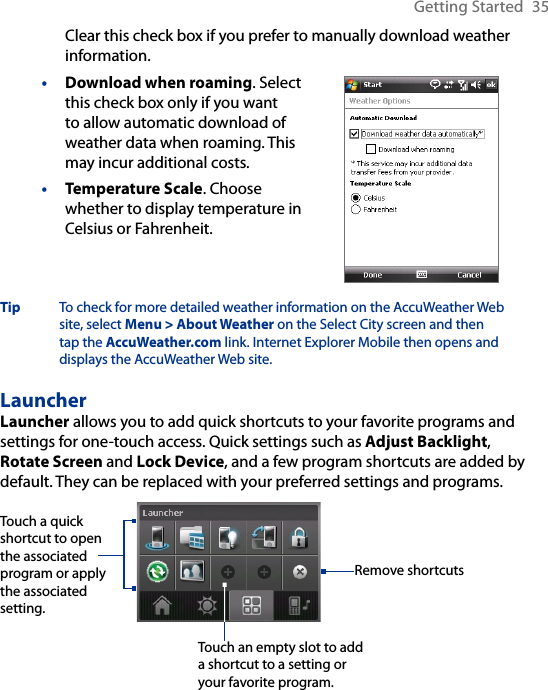
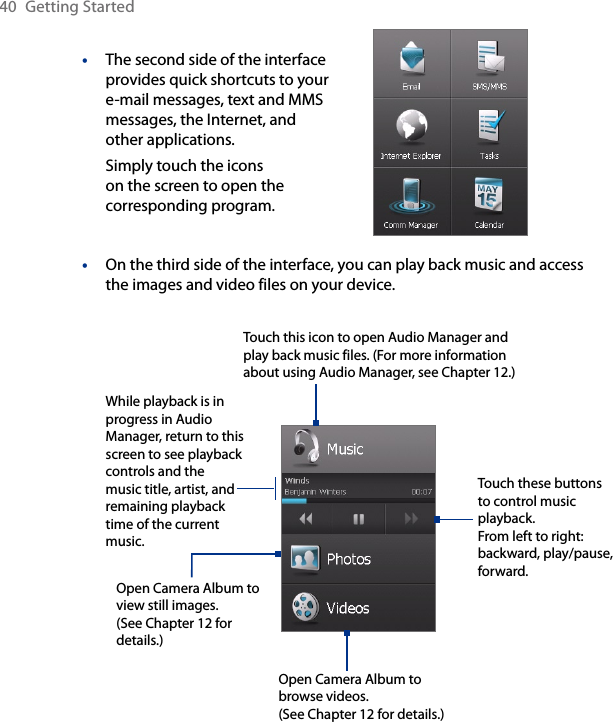
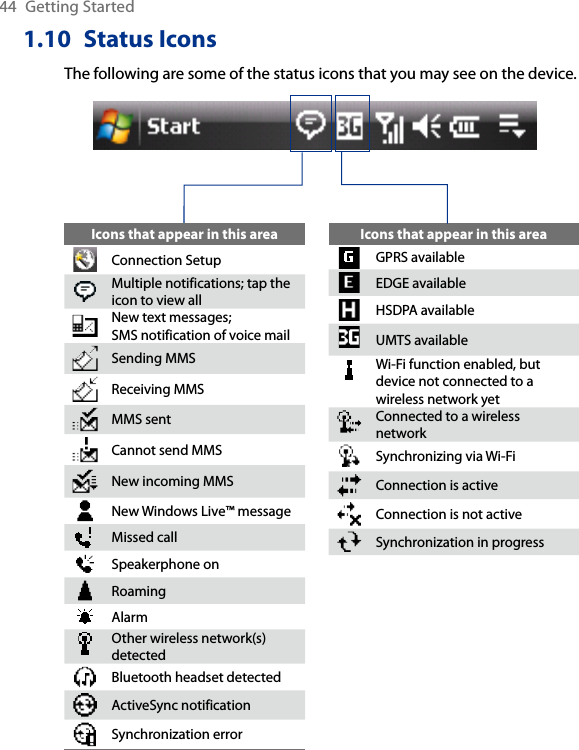
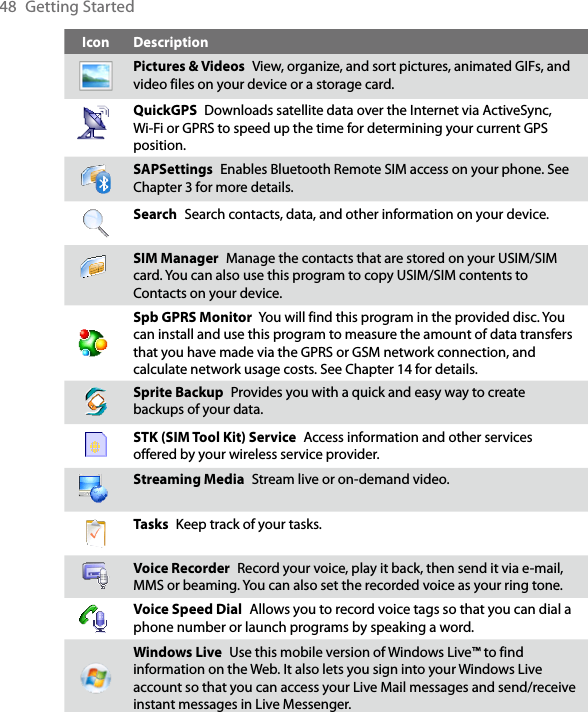
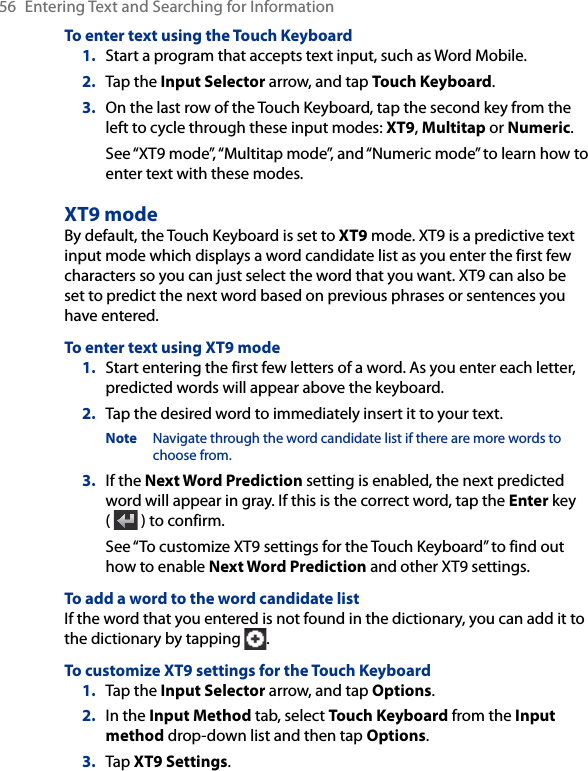
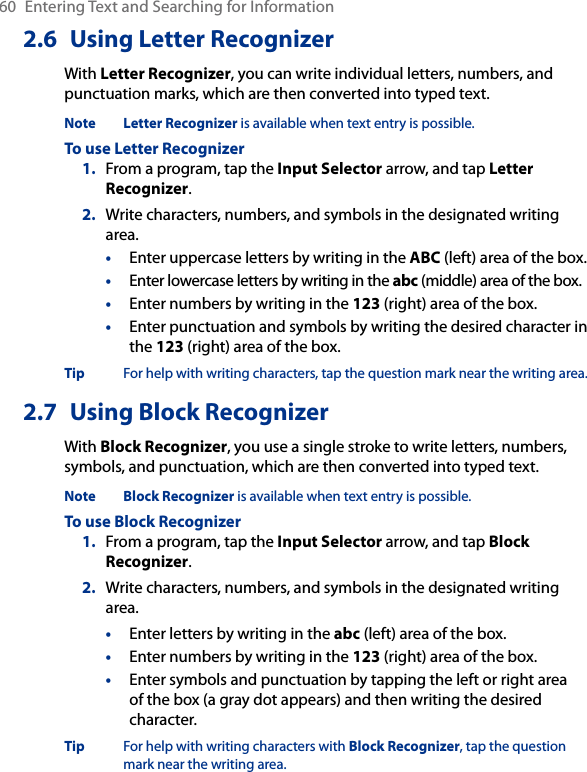
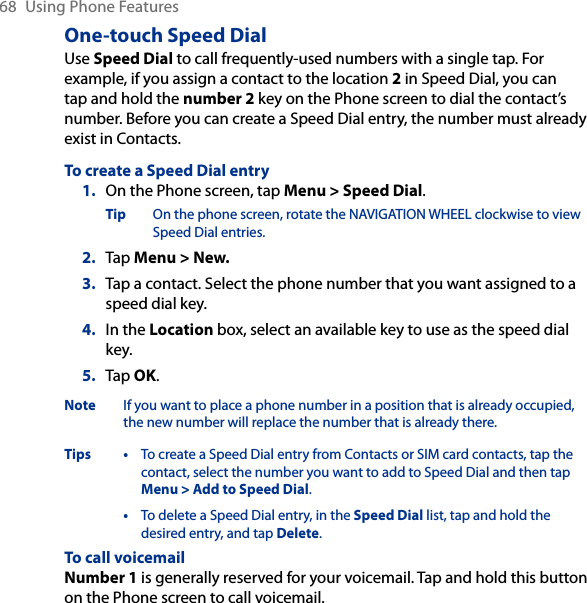
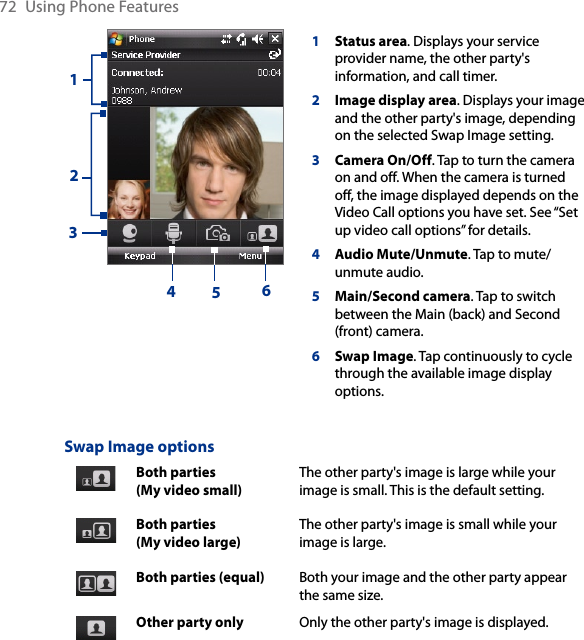
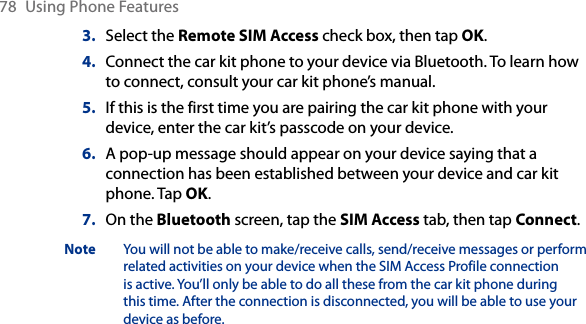
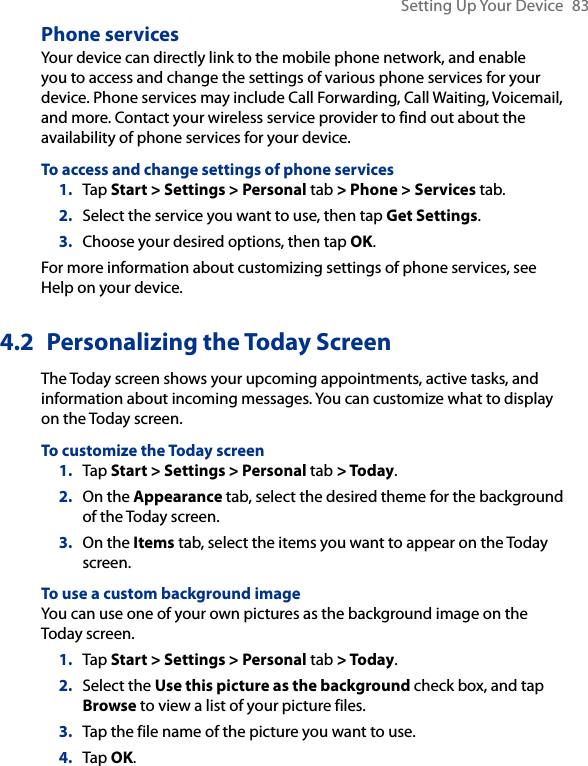
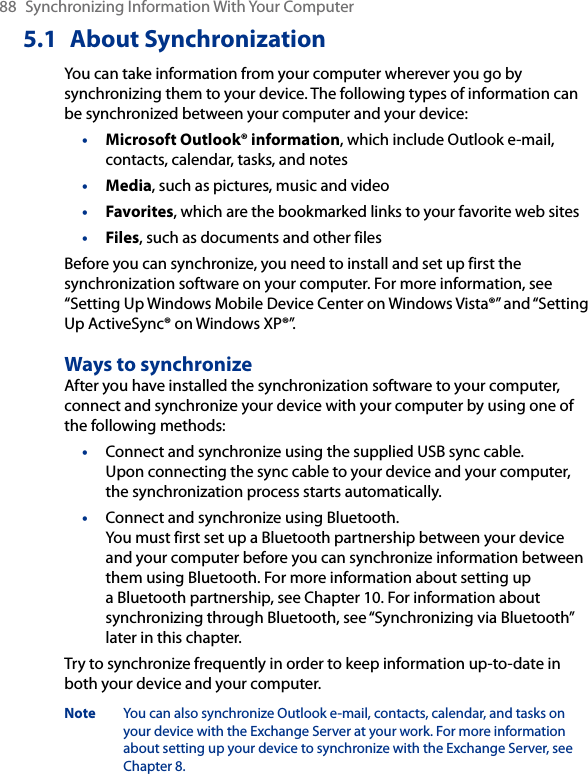
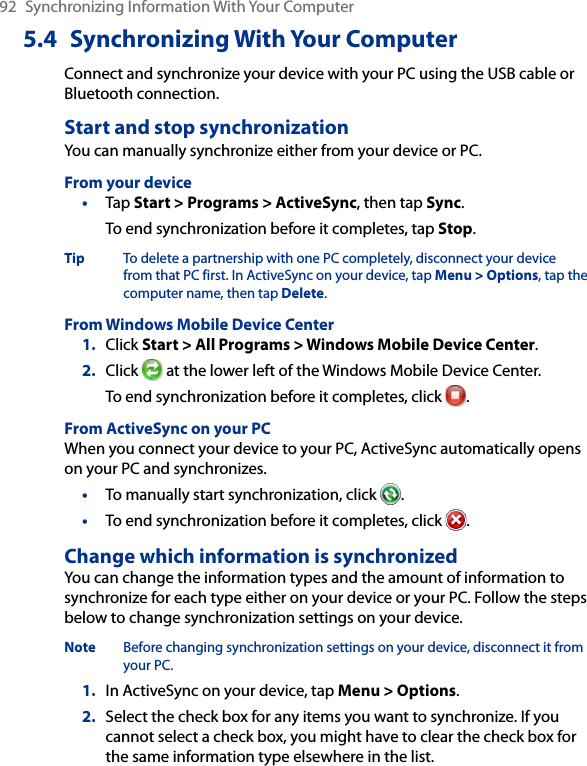
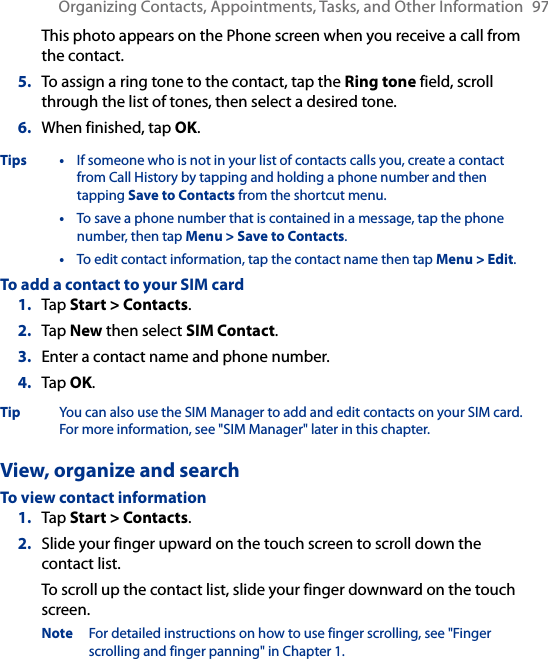
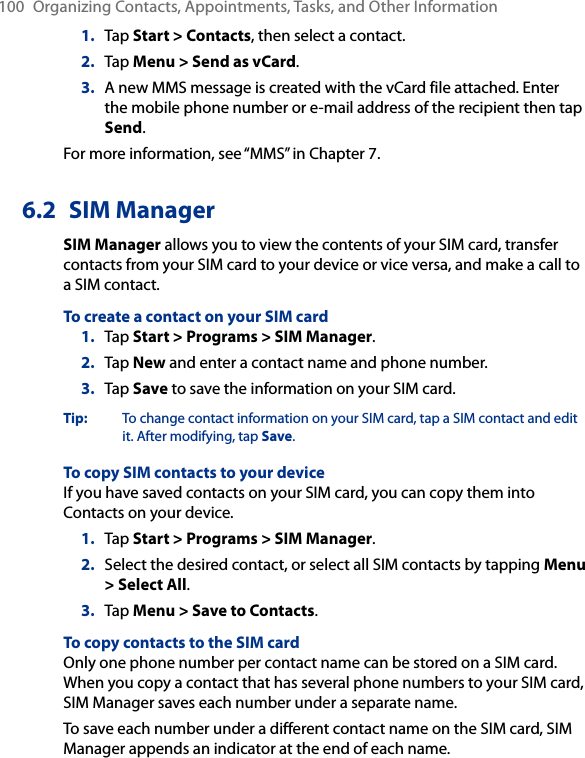
![76 Using Phone FeaturesIf the matching list is long and you want to narrow down the search further, enter another letter. Using the same example above, if you continue to tap “3” which is associated with [d, e, f], the matching list will be narrowed down to the following names: “Ben Miller”, “George Adams”, “Carter, Ellen”, “Dixon, Allan”.Make a call or send a text message using Smart Dialing1. Press the TALK button on your device to open the Phone screen.2. Begin entering the first few numbers or characters.When you start entering a number or letter, the Smart Dialing panel will display matches found.3. In the Smart Dialing panel, browse the list by sliding your finger or the stylus up or down or by using NAVIGATION up or down.4. You can do one of the following:• When the desired contact is selected, press the TALK button tothe TALK button toTALK button to place a call.• To send a text message to the selected contact, tap and hold the contact, and then tap Send Text Message.• To call a different phone number associated with the selected contact, tap and hold the contact, and then tap the phone number you want to call.](https://usermanual.wiki/HTC/PL.User-Manual-2-Revised-0725/User-Guide-976080-Page-76.png)

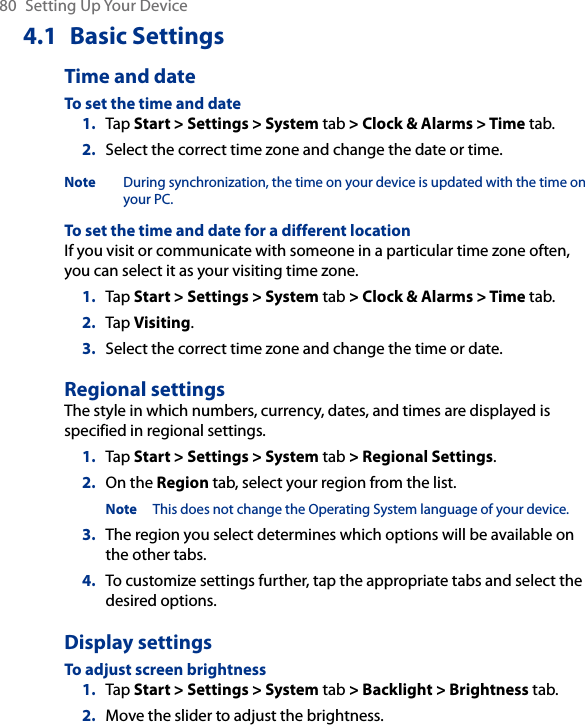
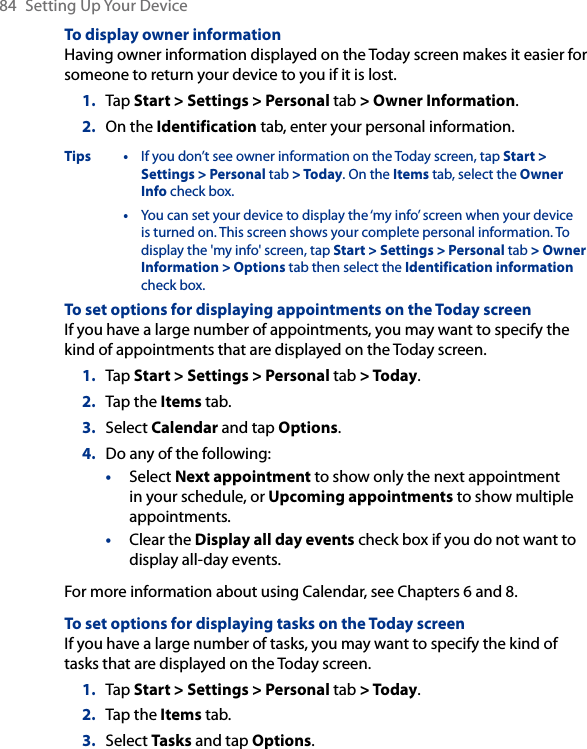

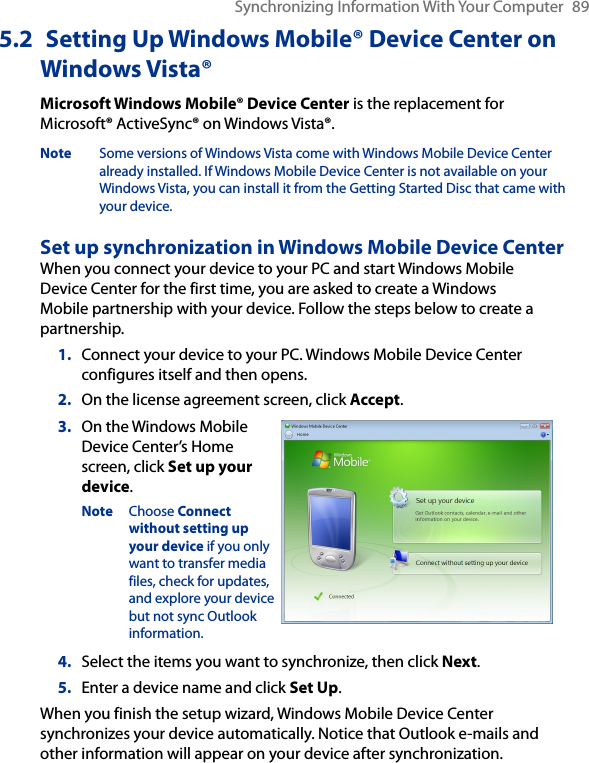
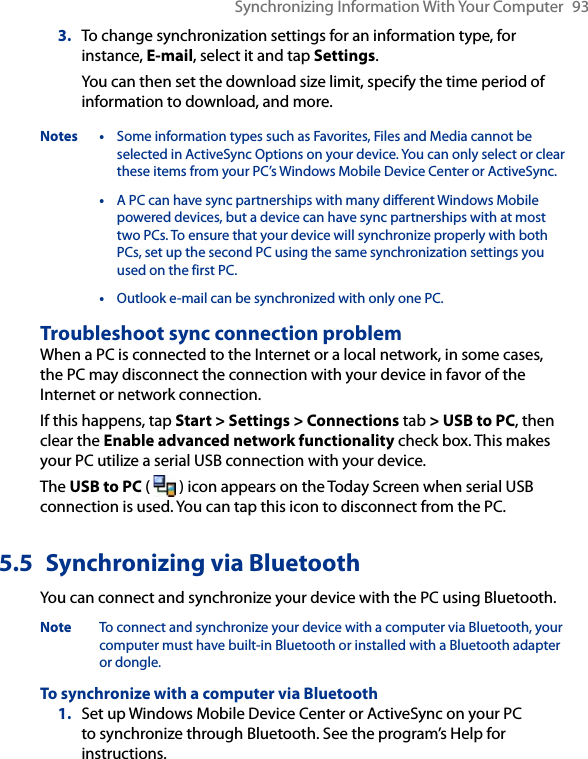
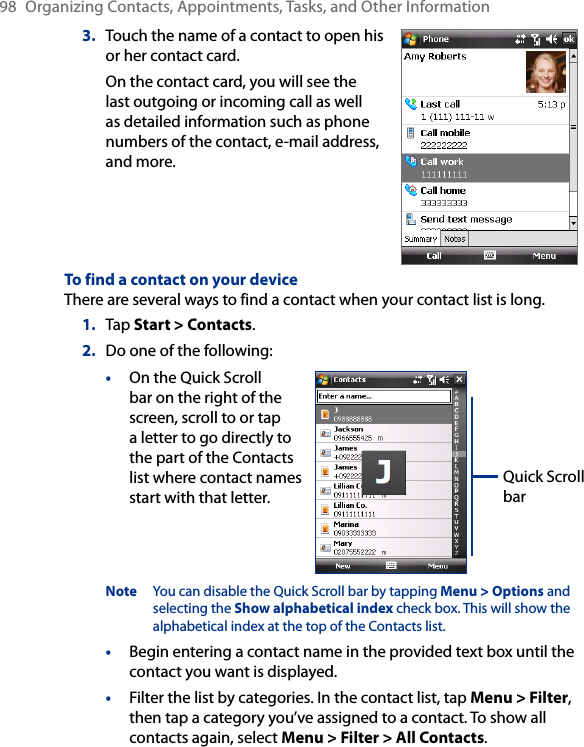
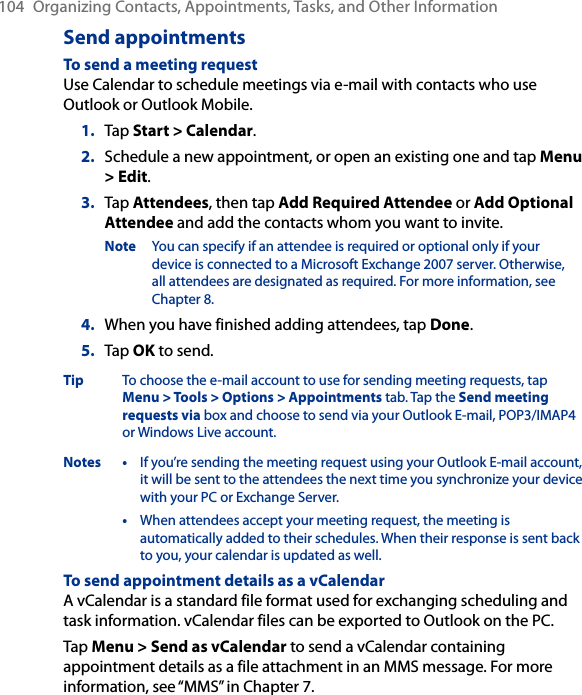
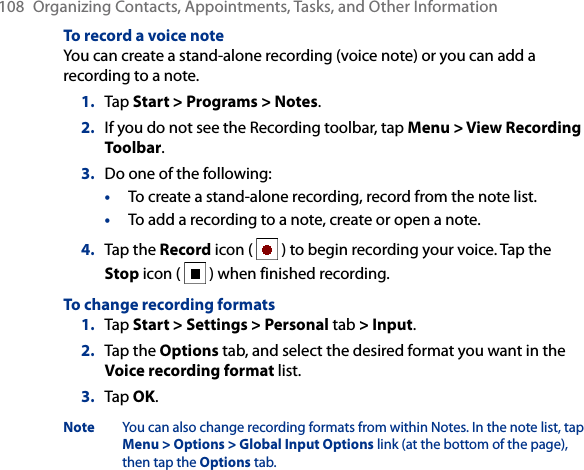
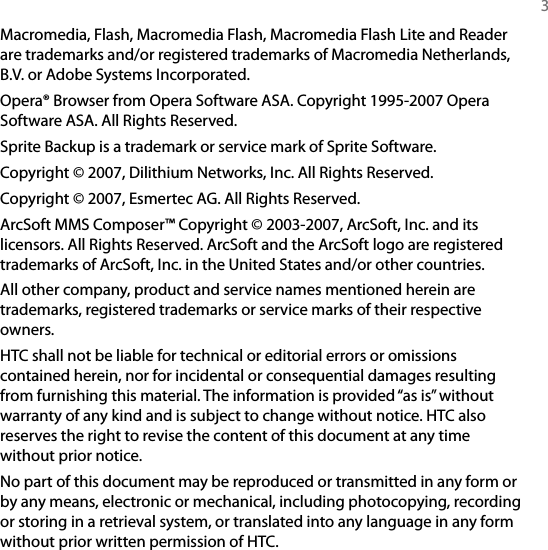
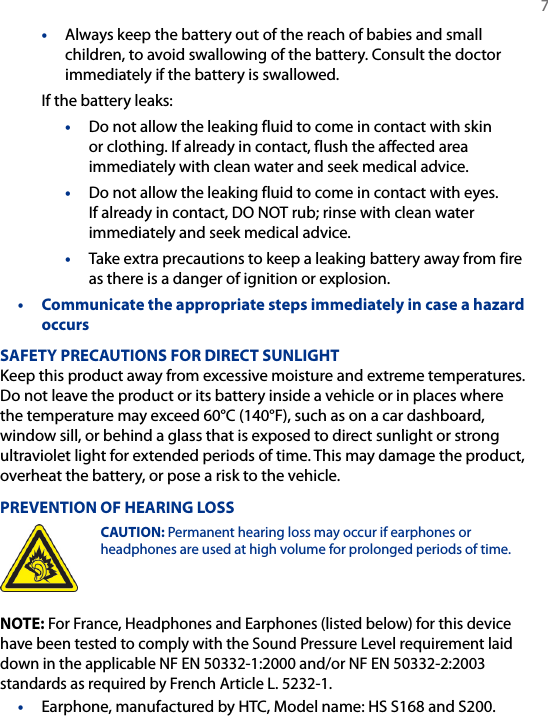
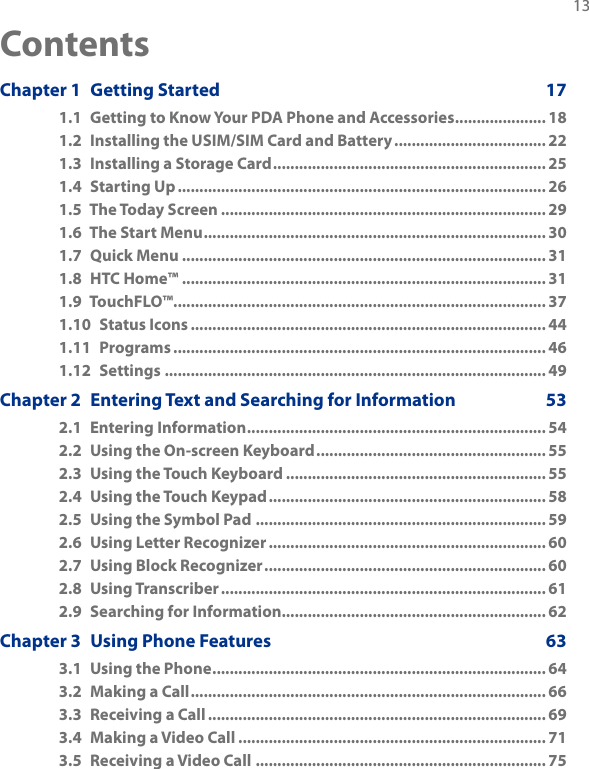
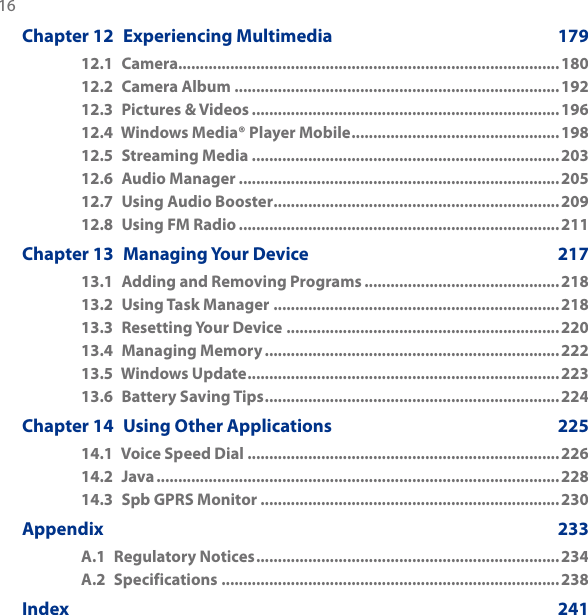
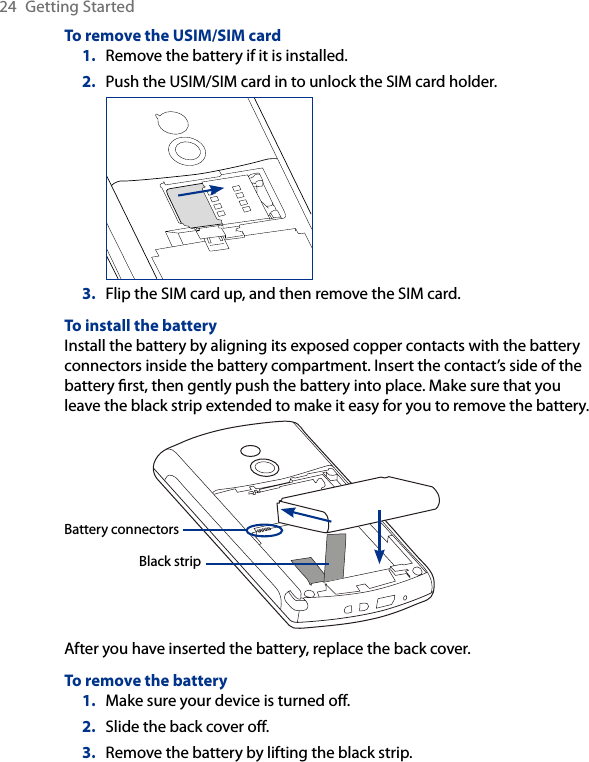
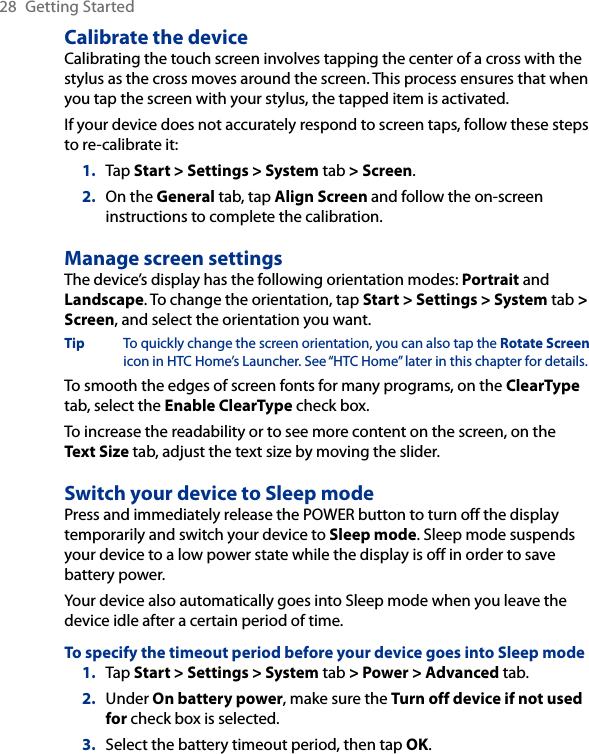
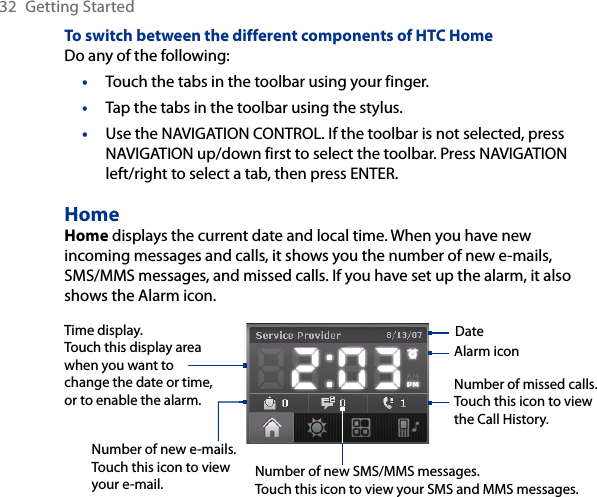
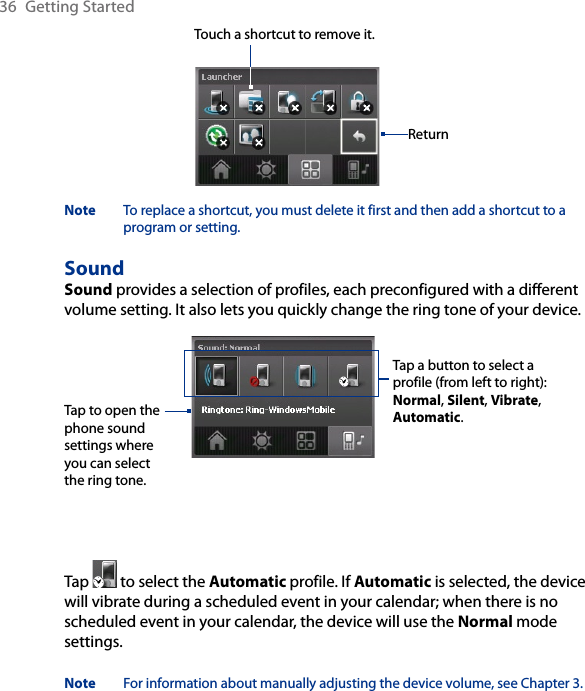
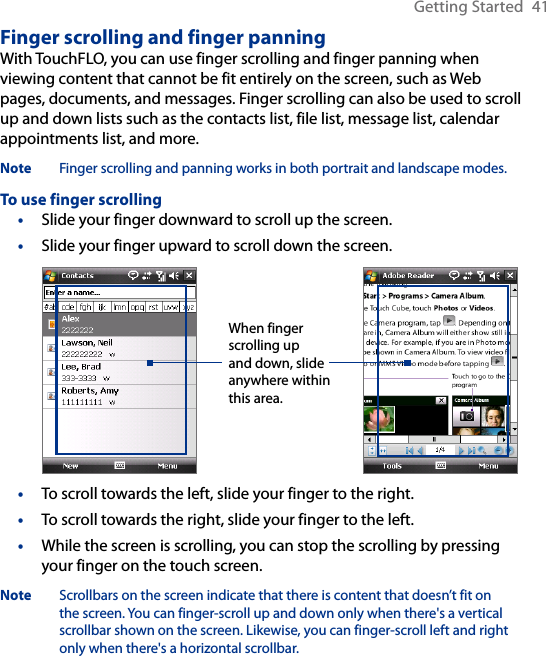
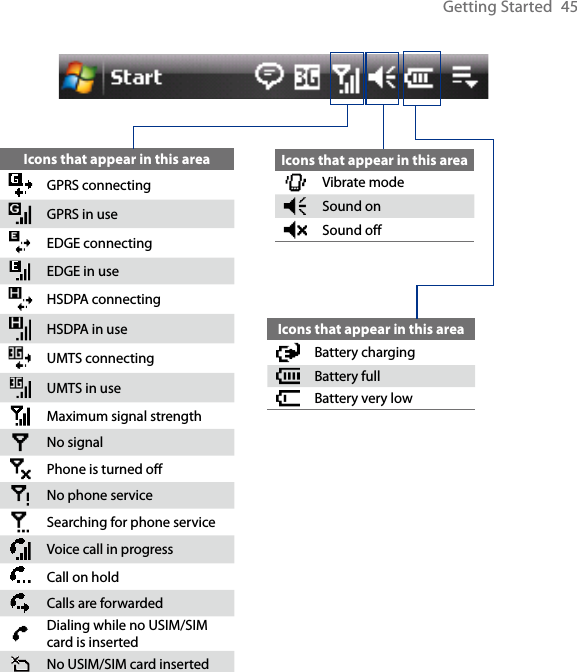
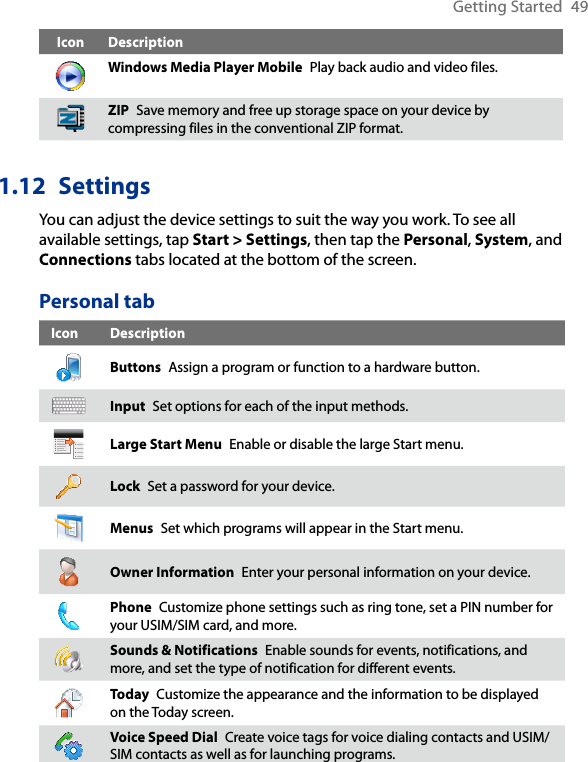
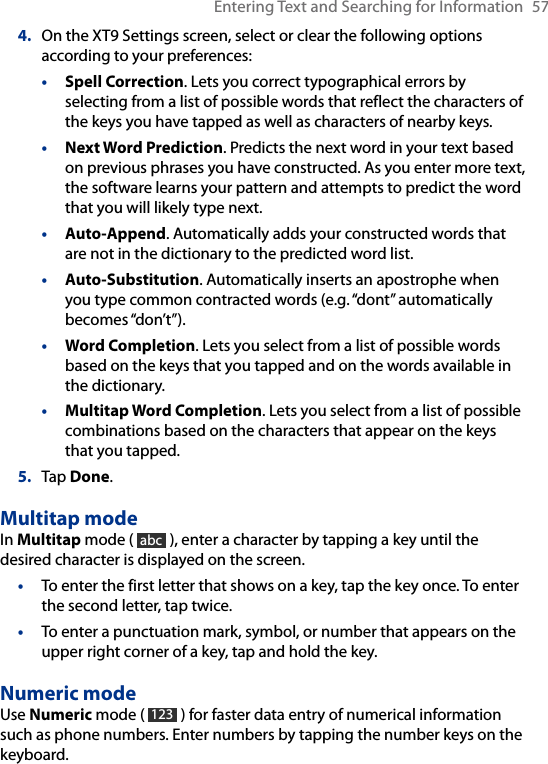
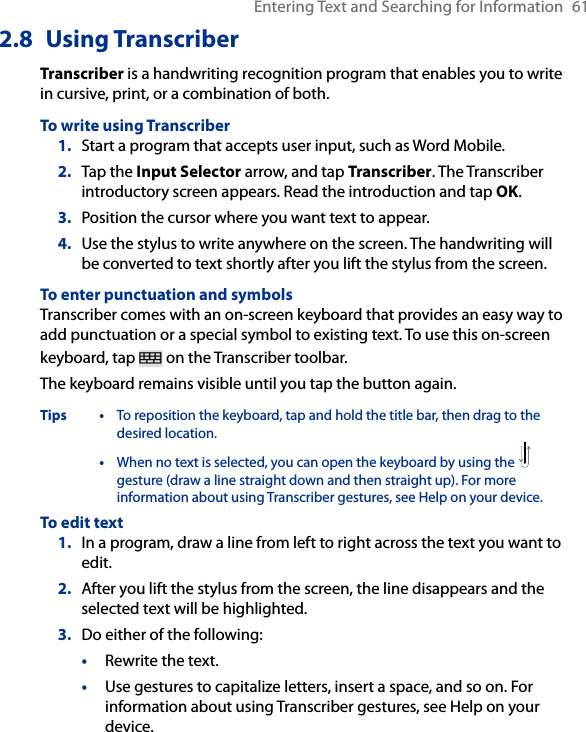
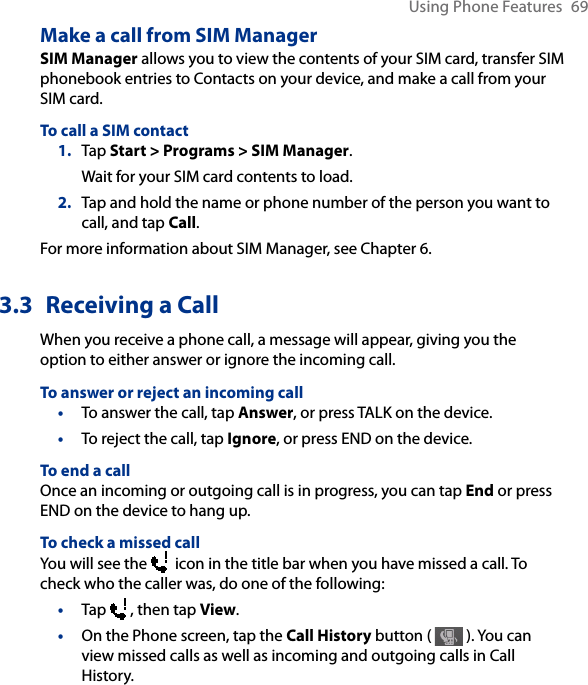
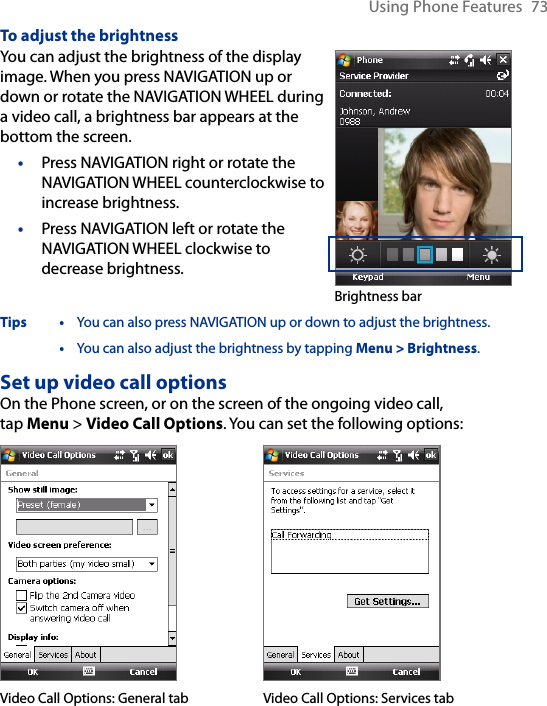
![Organizing Contacts, Appointments, Tasks, and Other Information 101By default, /M, /W and /H are appended to indicate mobile, work and home phone numbers respectively. You can edit this indicator first before you start copying contacts to your SIM card. Indicators of the other types of phone numbers are left empty for you to define them.1. Tap Start > Programs > SIM Manager, then tap Menu > Tools > Options.2. Select the check boxes of the types of phone numbers that you want to be added to the SIM card.3. Under the Mark column, you can change the indicator that will be appended to the SIM contact names for each phone number type. To do so, select a phone type, tap Edit, enter your desired indicator, then tap Save.4. After modifying, tap OK.5. Tap Menu > Contacts to SIM.6. Select the check boxes of the contact’s phone numbers that you want to copy to your SIM card, then tap Save.To store your SIM card’s phone number1. On the SIM Manager screen, tap Menu > Tools > List of Own Numbers.2. Tap [Voice Line 1].3. Change the name, if desired, then enter your mobile phone number.4. Tap Save.When your phone number is stored on the SIM card, it will appear on the SIM Manager screen.](https://usermanual.wiki/HTC/PL.User-Manual-2-Revised-0725/User-Guide-976080-Page-101.png)