HTC VOGU100 Pocket PC phone User Manual BOOK Vogue Telus English Manual indb
HTC Corporation Pocket PC phone BOOK Vogue Telus English Manual indb
HTC >
Contents
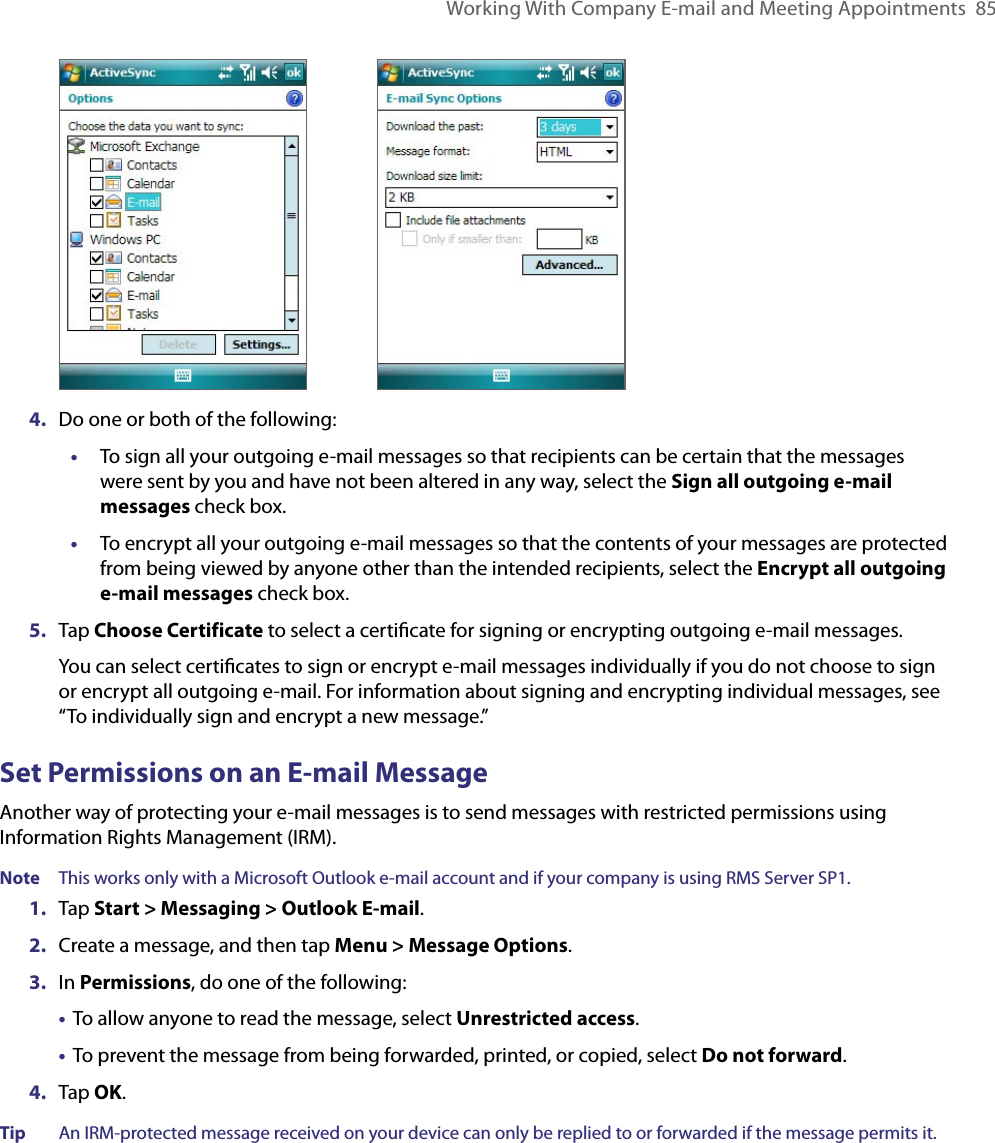
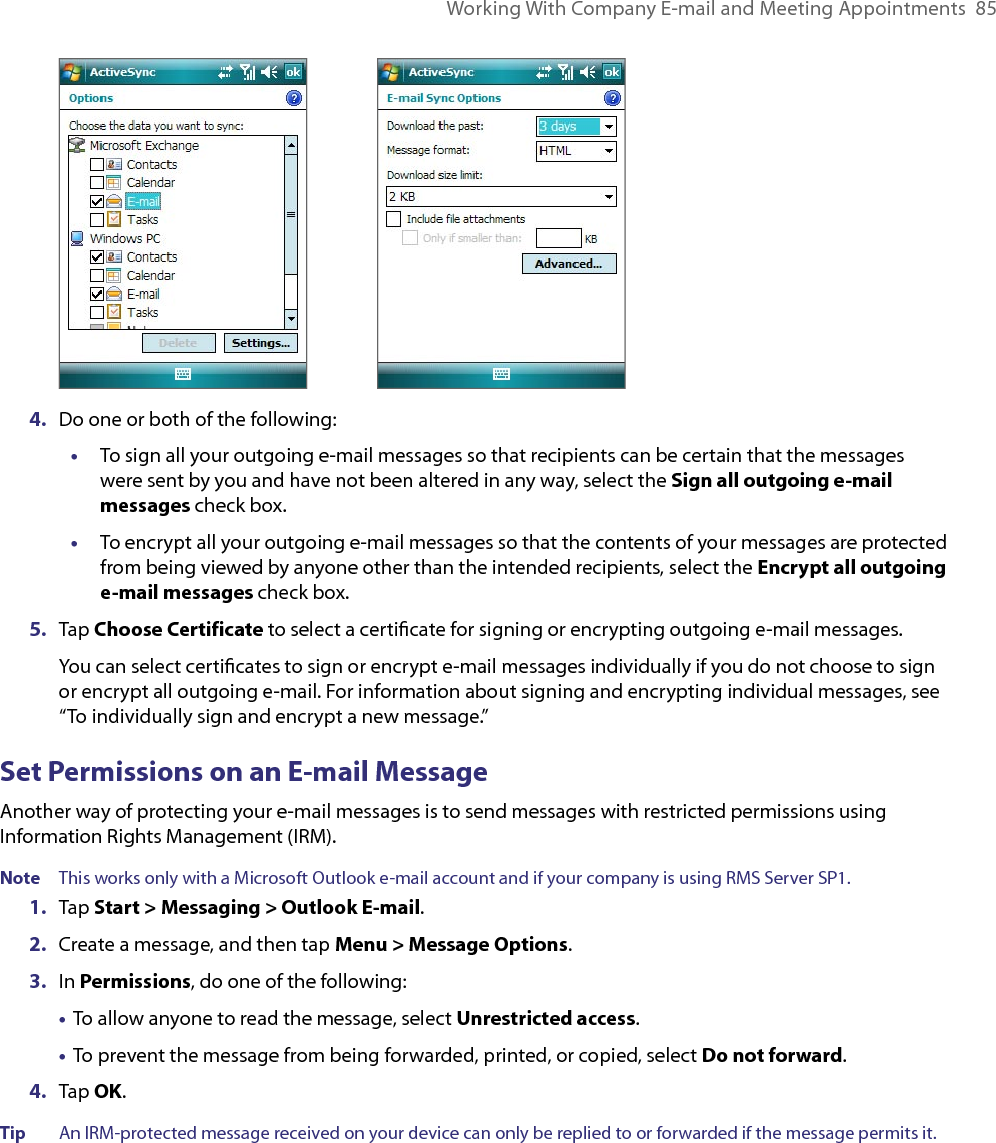
- 1. Manual Part 1
- 2. Manual Part 2
- 3. Revised user manual part 1
- 4. Revised user manual part 2
Revised user manual part 2


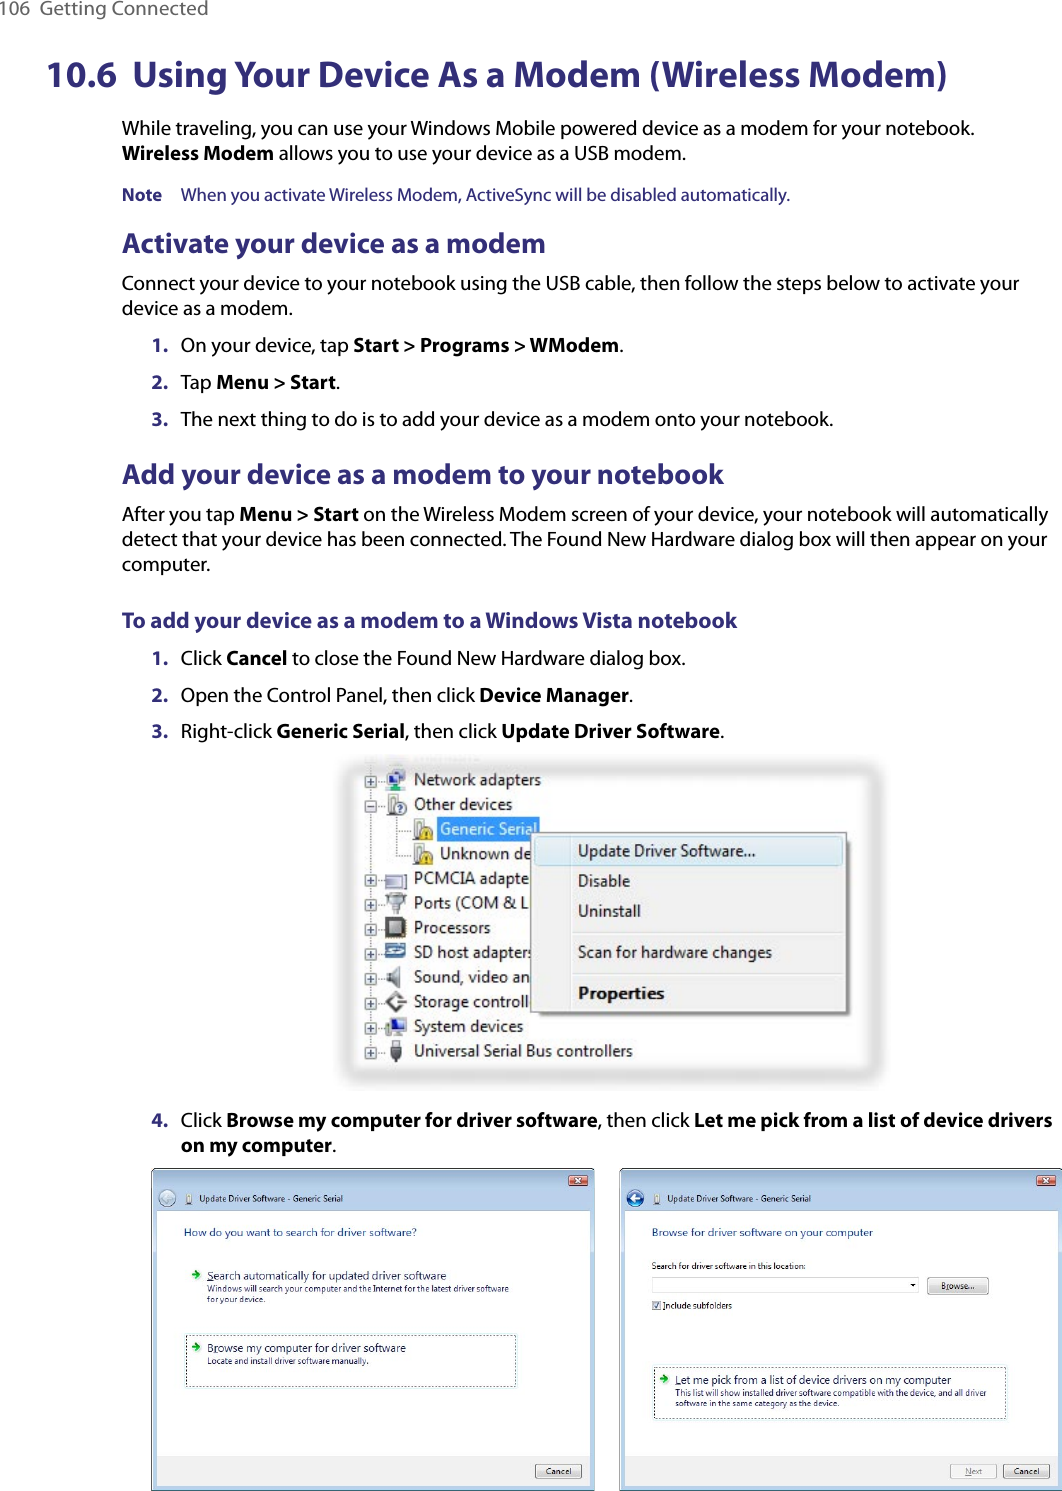
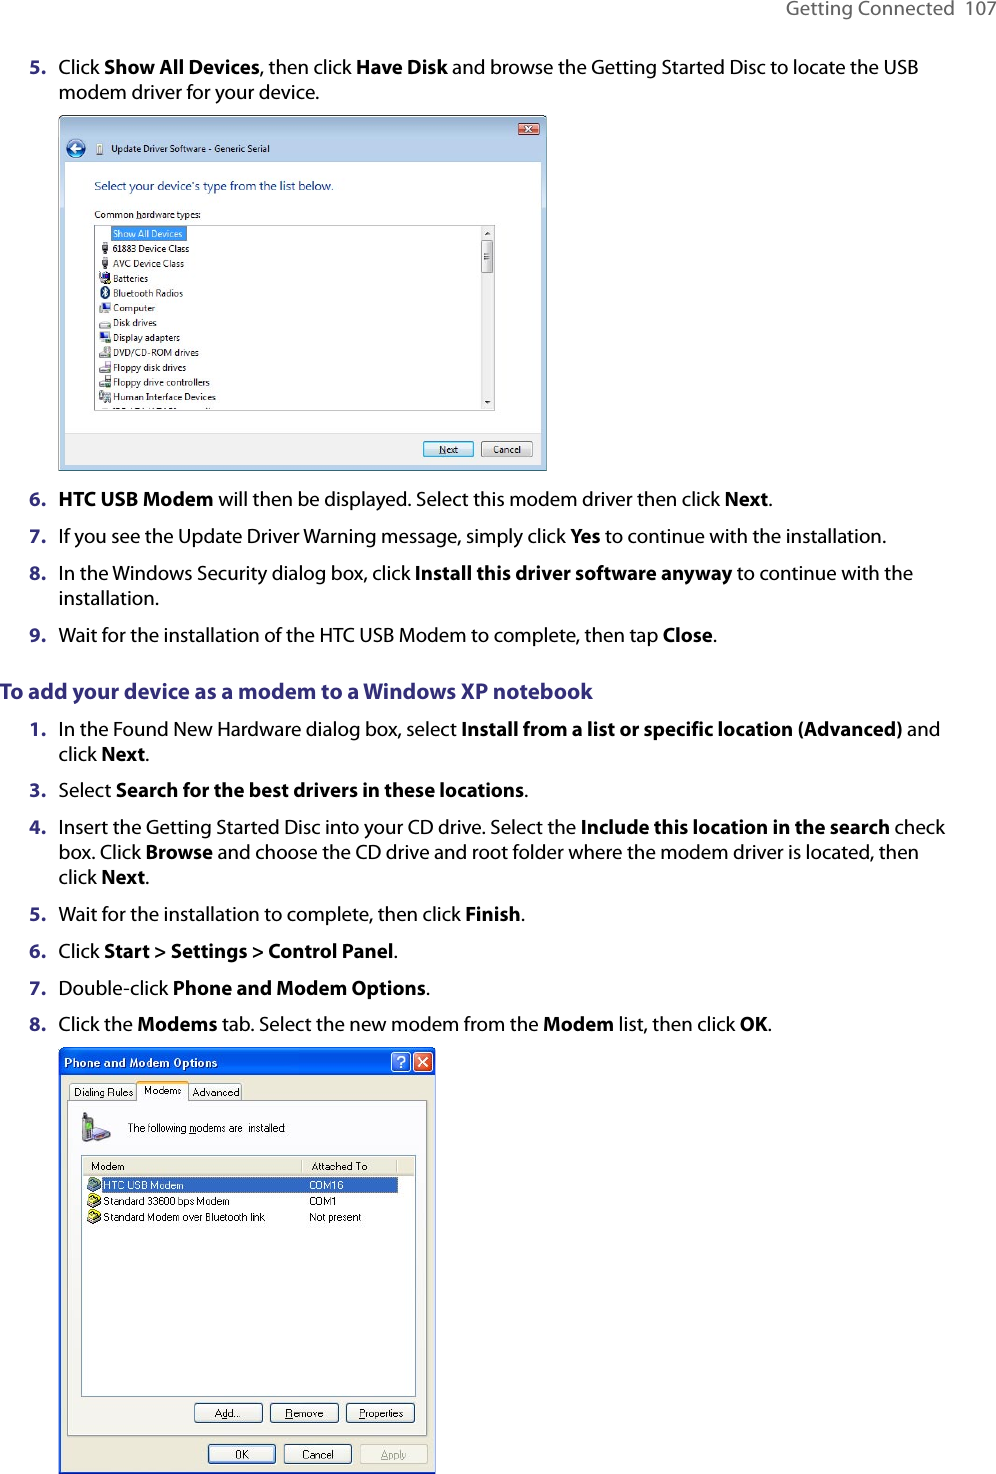
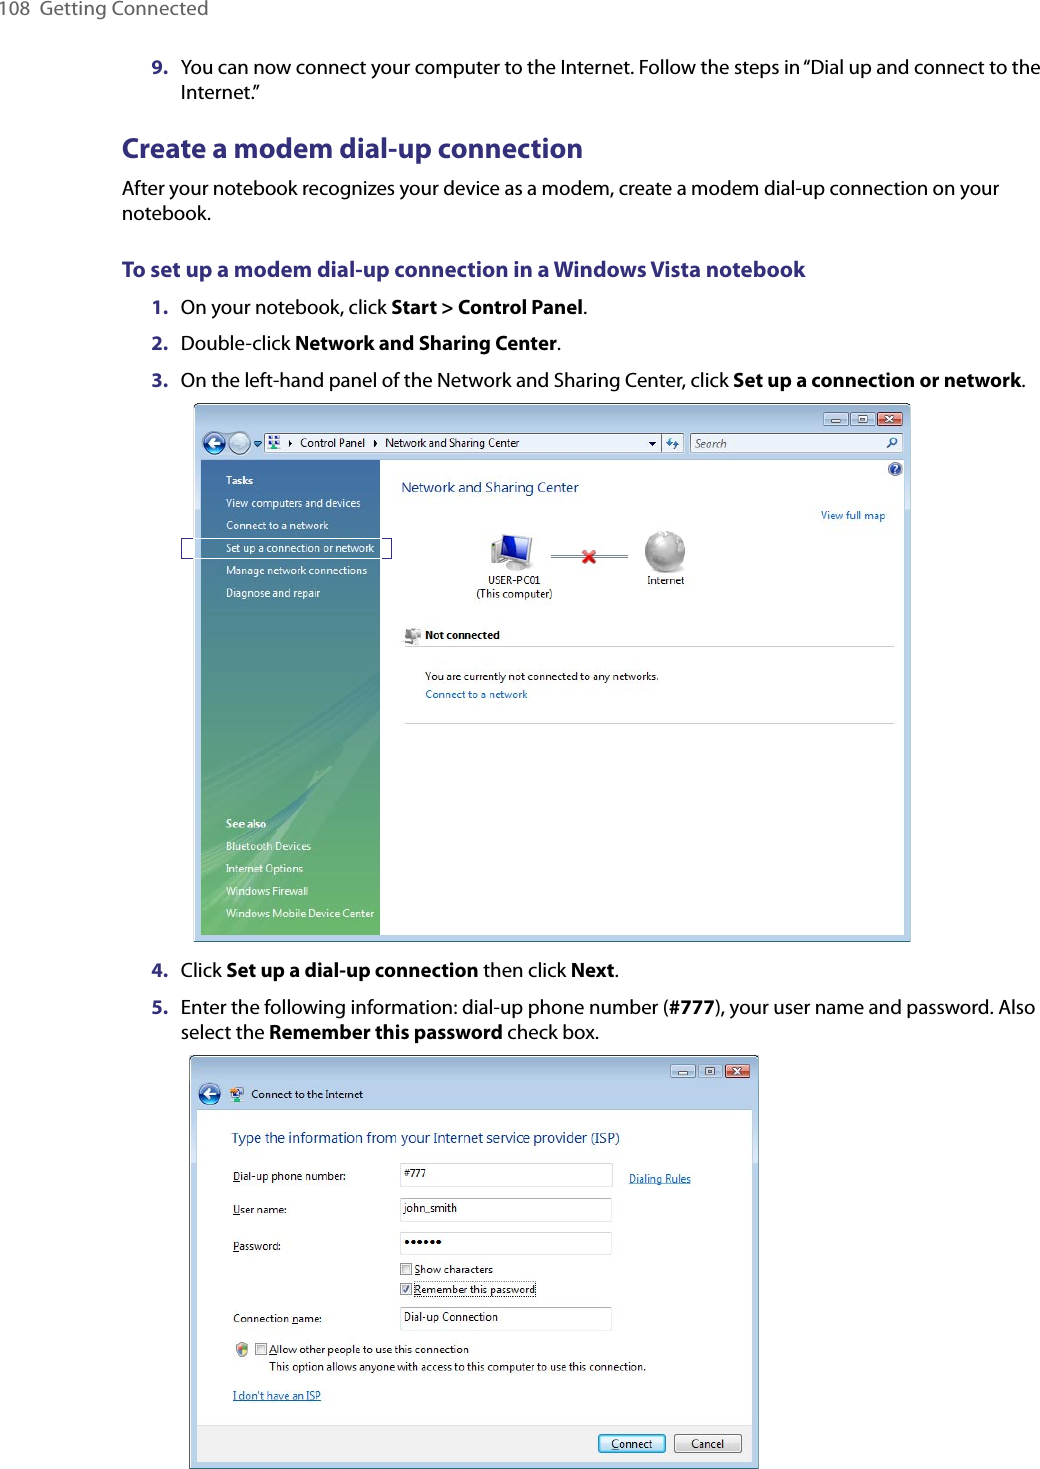
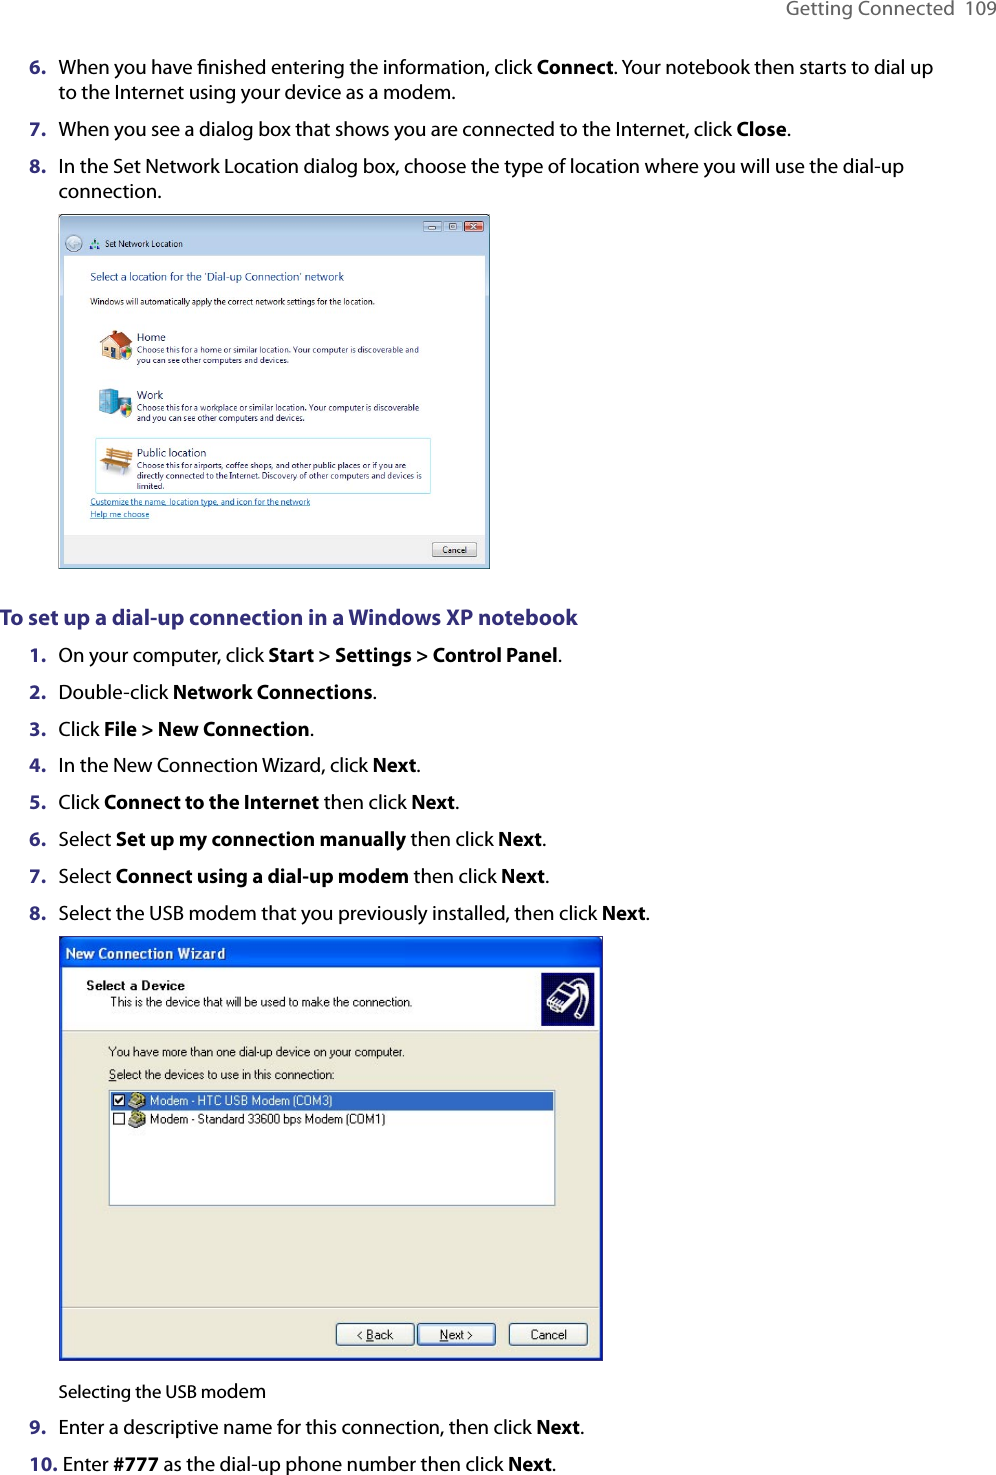
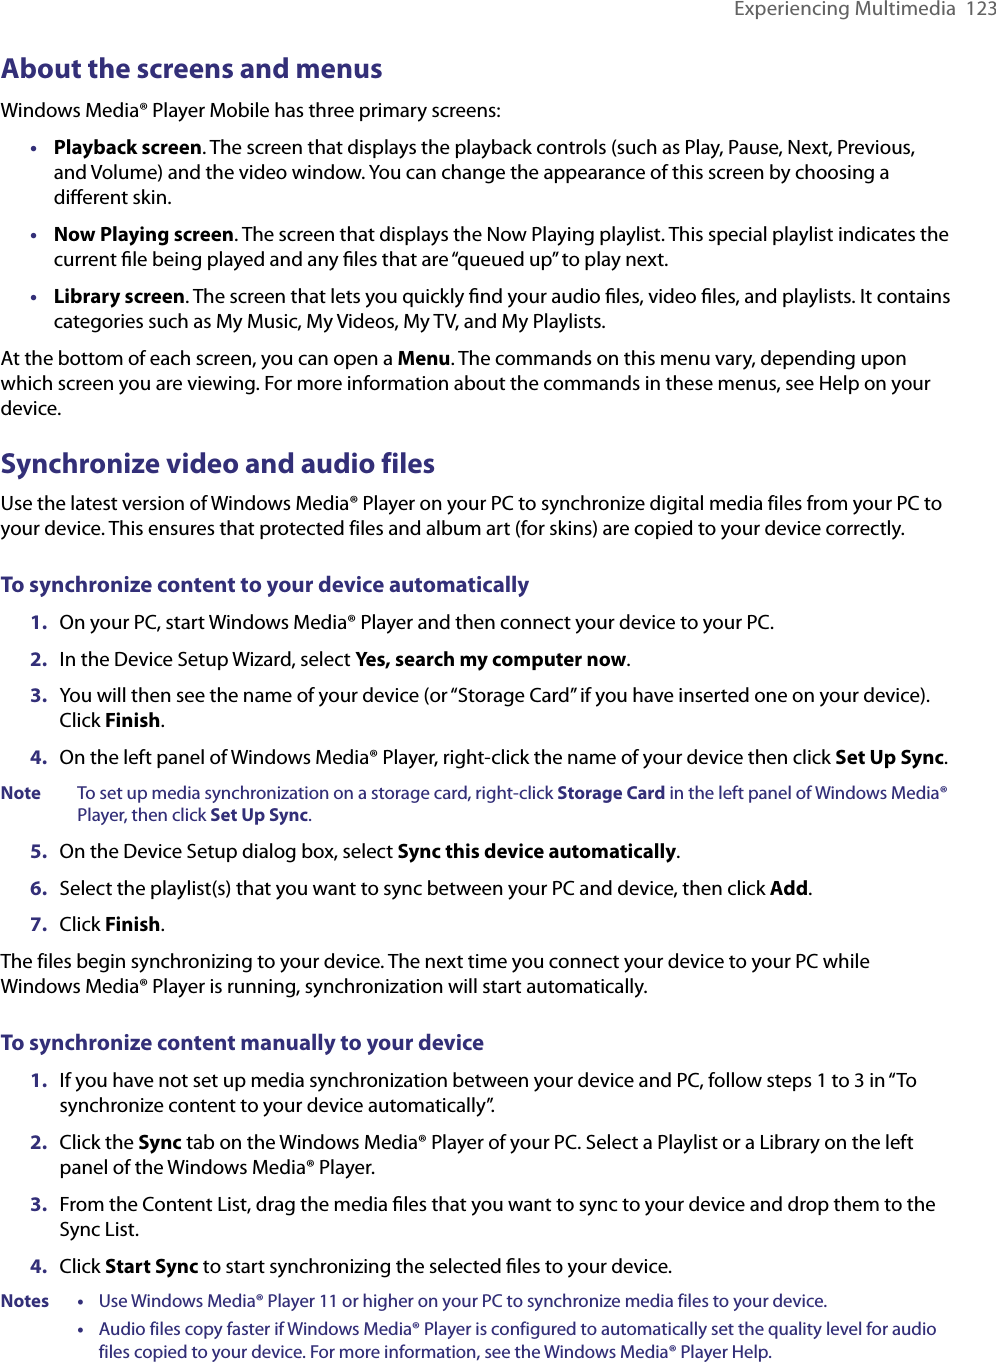
![104 Getting Connected3. Tap Bluetooth > Devices tab > Add new device. Your device searches for other Bluetooth-enabled devices and displays them.4. Tap the name of the Bluetooth headset, then tap Next.5. Enter the passcode of the Bluetooth headset, then tap Next.6. Make sure the Hands Free check box is selected. If you have a Bluetooth stereo headset, also make sure Wireless Stereo is selected.7. Tap Finish.While the Bluetooth stereo headset is connected, the Headset icon ( ) will appear on the title bar.Note If the Bluetooth stereo headset becomes disconnected, turn the headset on and repeat steps 1 to 3 above. Tap and hold the name of the Bluetooth stereo headset and tap Set as Wireless Stereo.Beam information using BluetoothYou can beam information, such as contacts, calendar items, and tasks, as well as files from your device to your computer or to another Bluetooth-enabled device.Note If your computer does not have built-in Bluetooth capability, you need to connect and use a Bluetooth adapter or dongle on your computer.To beam information from your device to a computer1. Turn on Bluetooth on your device, and make your device visible. For information about this, see “To turn Bluetooth on and make your device visible”.2. Next, set Bluetooth on your computer to visible mode, create a Bluetooth partnership, then enable your computer to receive Bluetooth beams.If your computer has Windows Vista or Windows XP SP2 and your computer’s Bluetooth adapter is supported by your Windows version, do the following steps:a. On your computer, open Bluetooth Devices from the Control Panel then click the Options tab.b. For Windows Vista, select Allow Bluetooth devices to find this computer. For Windows XP, select Turn discovery on and Allow Bluetooth devices to connect to this computer.c. Create a Bluetooth partnership between your device and computer. For information about creating a partnership, see “Bluetooth partnerships”.d. In the Options tab of Bluetooth Devices, select Show the Bluetooth icon in the notification area.e. To enable your computer to receive Bluetooth beams, right-click the Bluetooth icon at the bottom-right of your computer screen and select Receive a File.3. Now you are ready to beam. On your device, select an item to beam. The item can be an appointment in your calendar, a task, a contact card, or a file.4. To beam a contact, tap Menu > Send Contact > Beam.To beam other types of information, tap Menu > Beam [type of item].5. Tap the device name to which you want to send the beam.6. If you beamed a calendar, task, or contact item to your computer and it is not automatically added to Outlook, select File > Import and Export in Outlook to import it.](https://usermanual.wiki/HTC/VOGU100.Revised-user-manual-part-2/User-Guide-819390-Page-34.png)