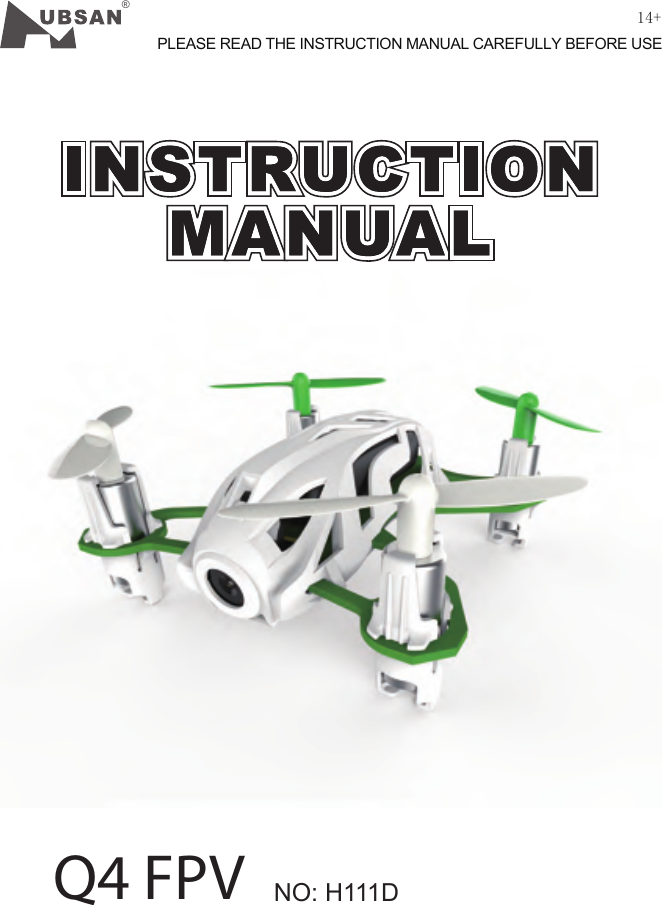
HUBSAN INTELLIGENT 111DRX Hubsan Nano FPV Q4 User Manual H111D
SHENZHEN HUBSAN INTELLIGENT COMPANY LIMITED Hubsan Nano FPV Q4 H111D
UserManual.wiki
>
HUBSAN INTELLIGENT
>
111DRX User Manual
User Manual
Navigation menu
Upload a User Manual
Namespaces
Wiki Guide
HTML
PDF
Info
Views
User Manual
Discussion / Help
Navigation

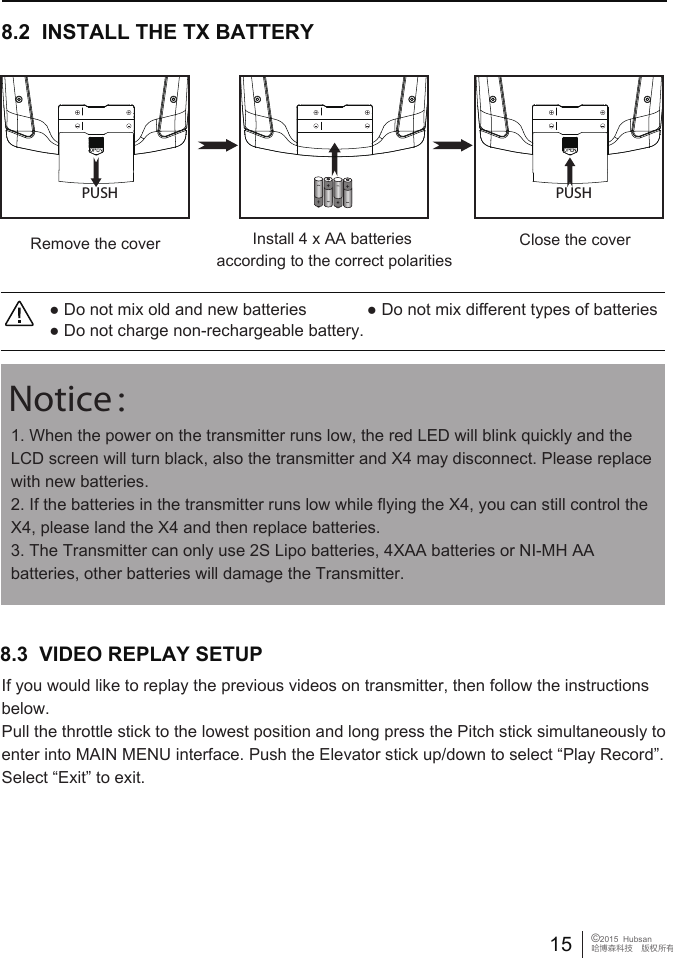
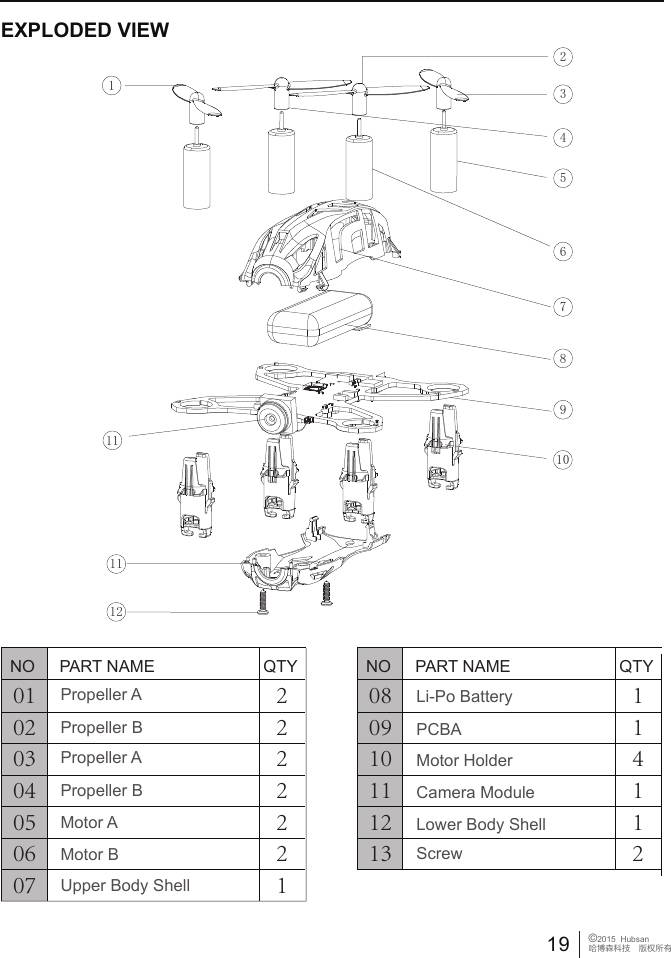
![[1] Propellers [2] Charging Plug [3] Motor [4] Camera2 QUADCOPTERIndicator Status:Front LED: is blue; Back LED: is redPower on: 1) Before binding, 2 front LED indicators blink alternately 2) After binding, 4 LED indicators remain lightedHeadless Flight: 2 front LED blink slowly, 2 back LED remain lightedVideo: 2 front LED remain lighted, 2 back LED blink alternatelyLow Power: 2 front LED remain lighted, 2 back LED blink quickly3. MOTOR LED INDICATOR[1][3][4][2]4 QUAD COPTER BATTERY4.1 INTRODUCTIONThe quad copter battery is a rechargeable Li-Po battery with 180mAh capacity and 3.7V voltage. The battery should only be charged with the HUBSAN charger to avoid overcharge.Please make sure the battery is fully charged before first time use.06 ©2015 Hubsan哈博森科技 版权所有](https://usermanual.wiki/HUBSAN-INTELLIGENT/111DRX/User-Guide-3013211-Page-6.png)