HYUNDAI MOBIS AC1A0C6AN DIGITAL CAR AUDIO SYSTEM User Manual TQ8 AC1A0C6AN r1
HYUNDAI MOBIS CO., LTD. DIGITAL CAR AUDIO SYSTEM TQ8 AC1A0C6AN r1
UserManual.wiki
>
HYUNDAI MOBIS
>
AC1A0C6AN User Manual
User manual
Navigation menu
Upload a User Manual
Namespaces
Wiki Guide
HTML
PDF
Info
Views
User Manual
Discussion / Help
Navigation


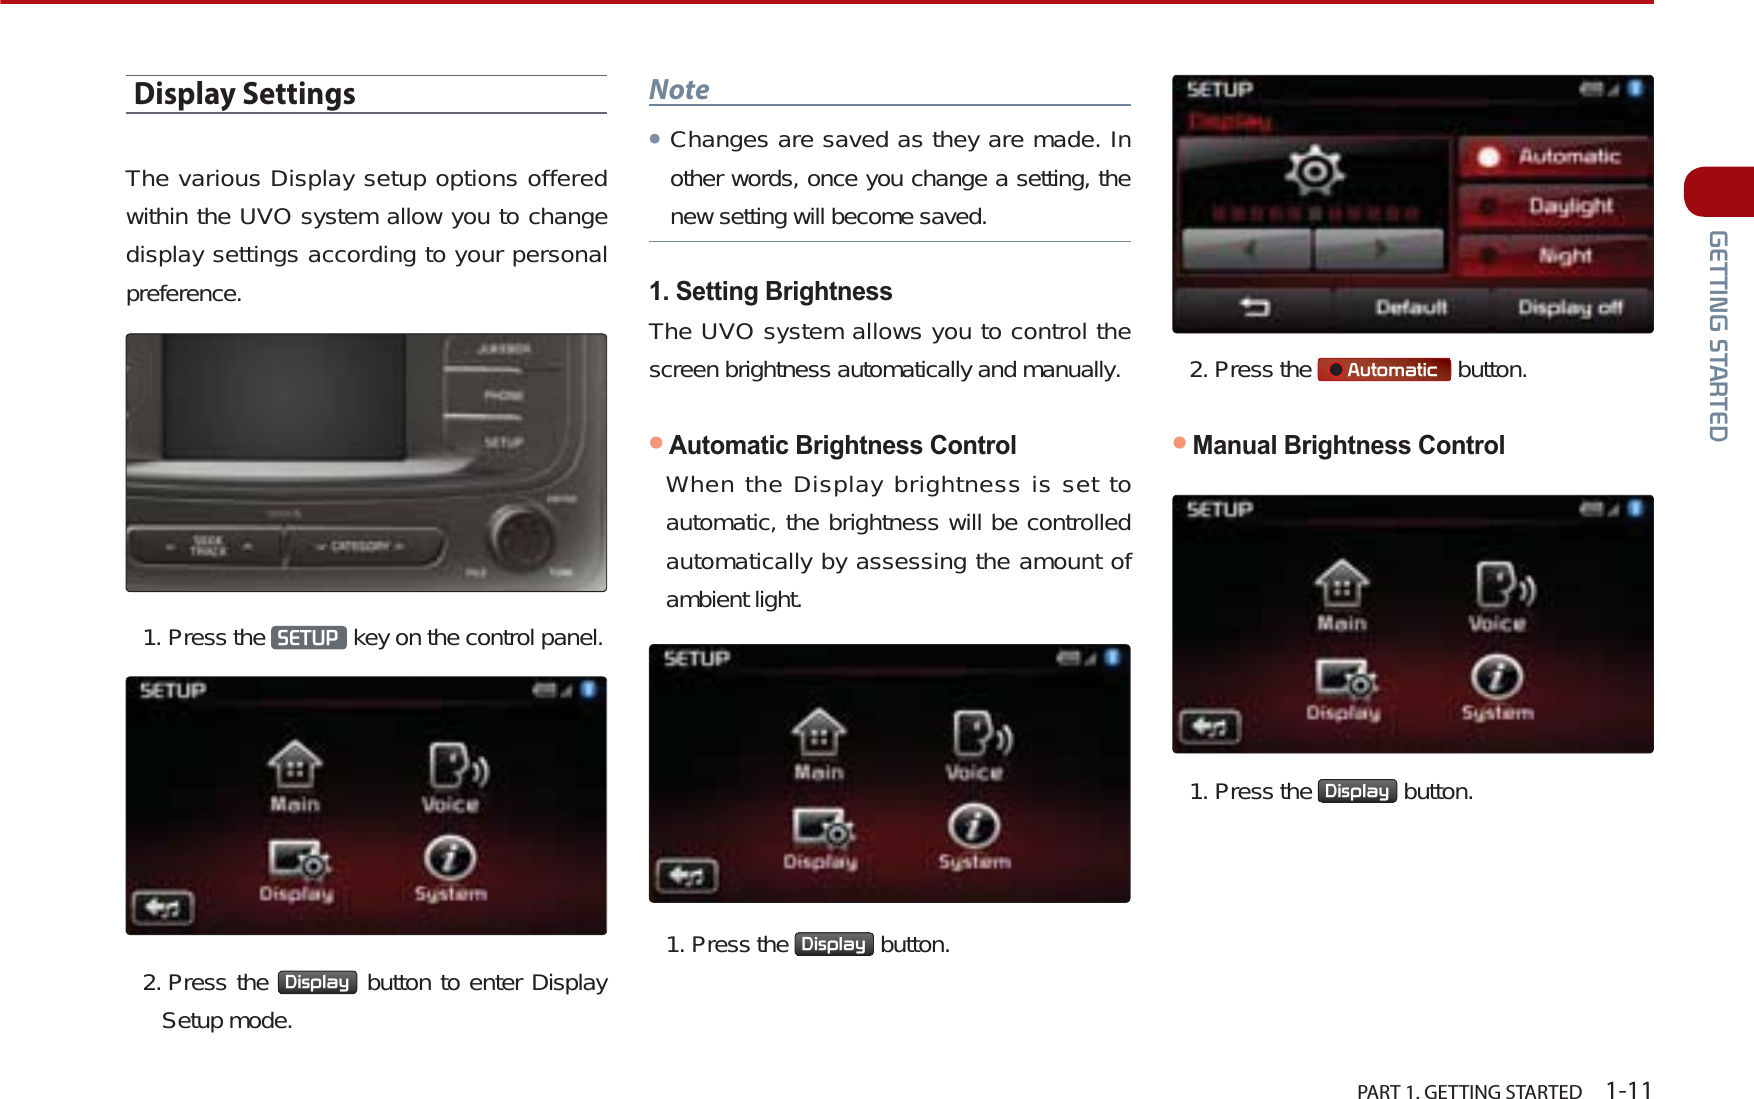
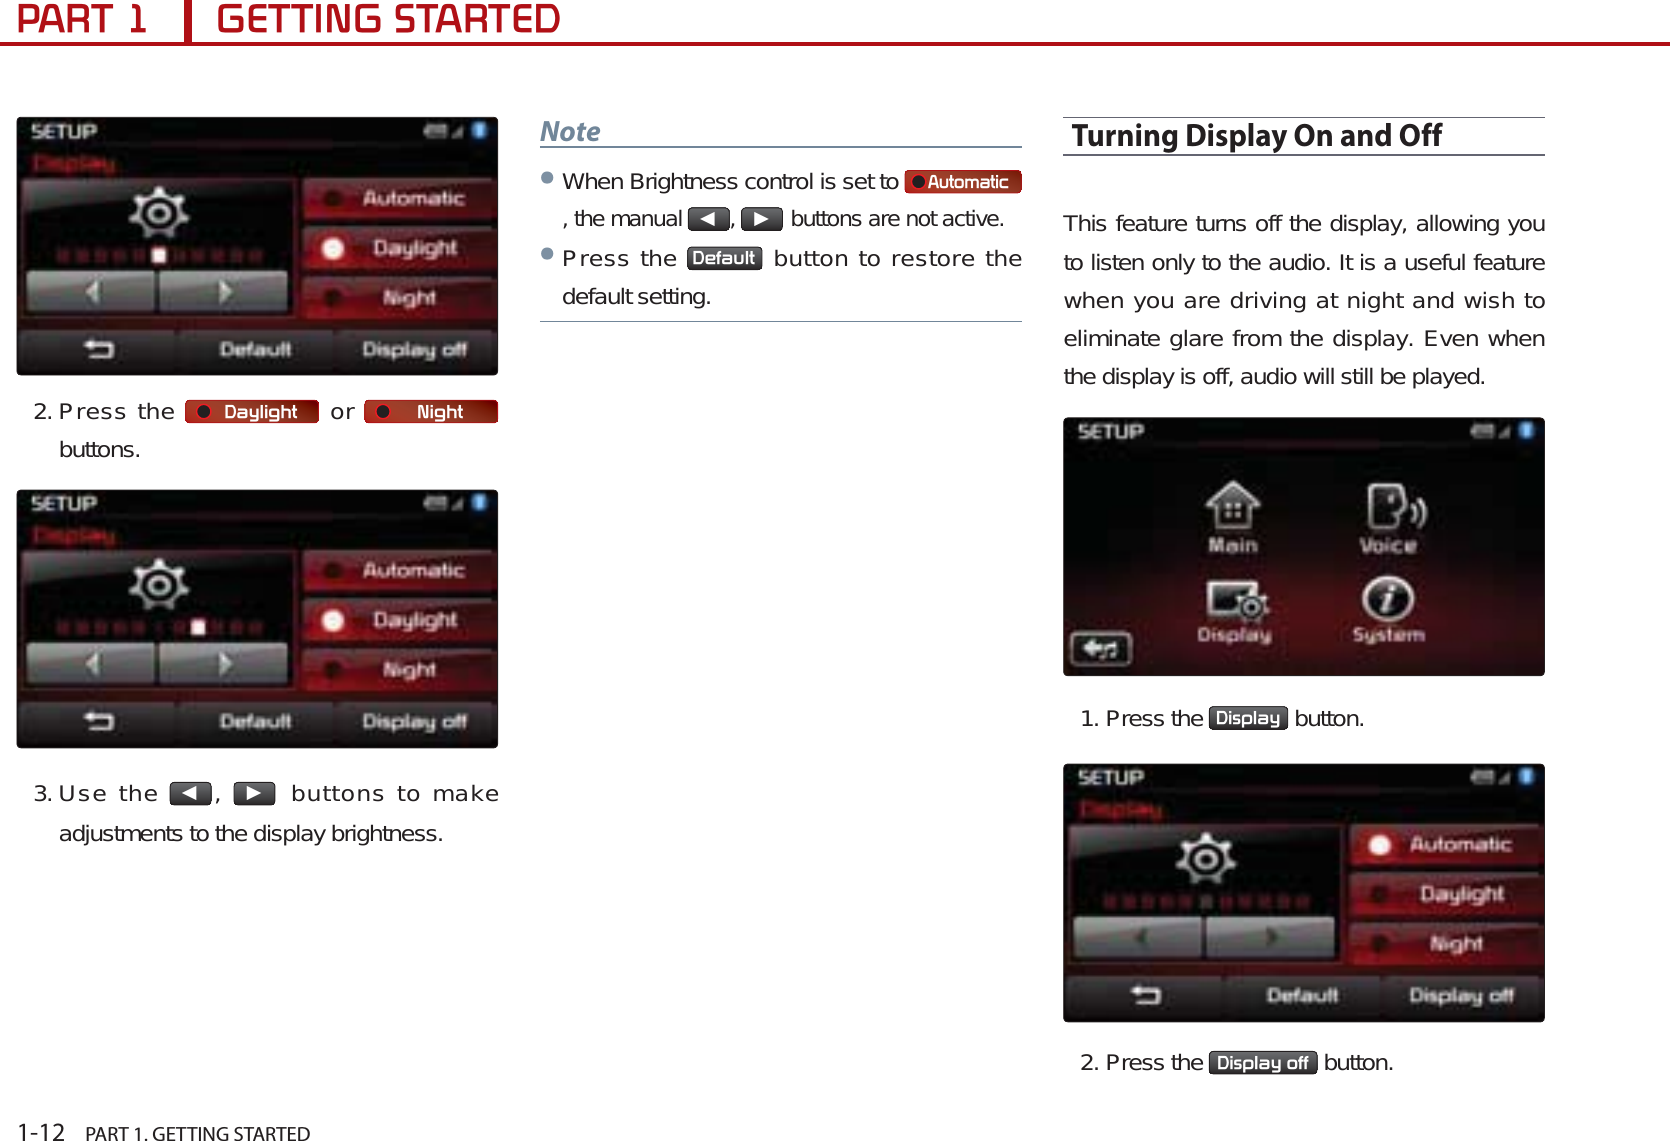
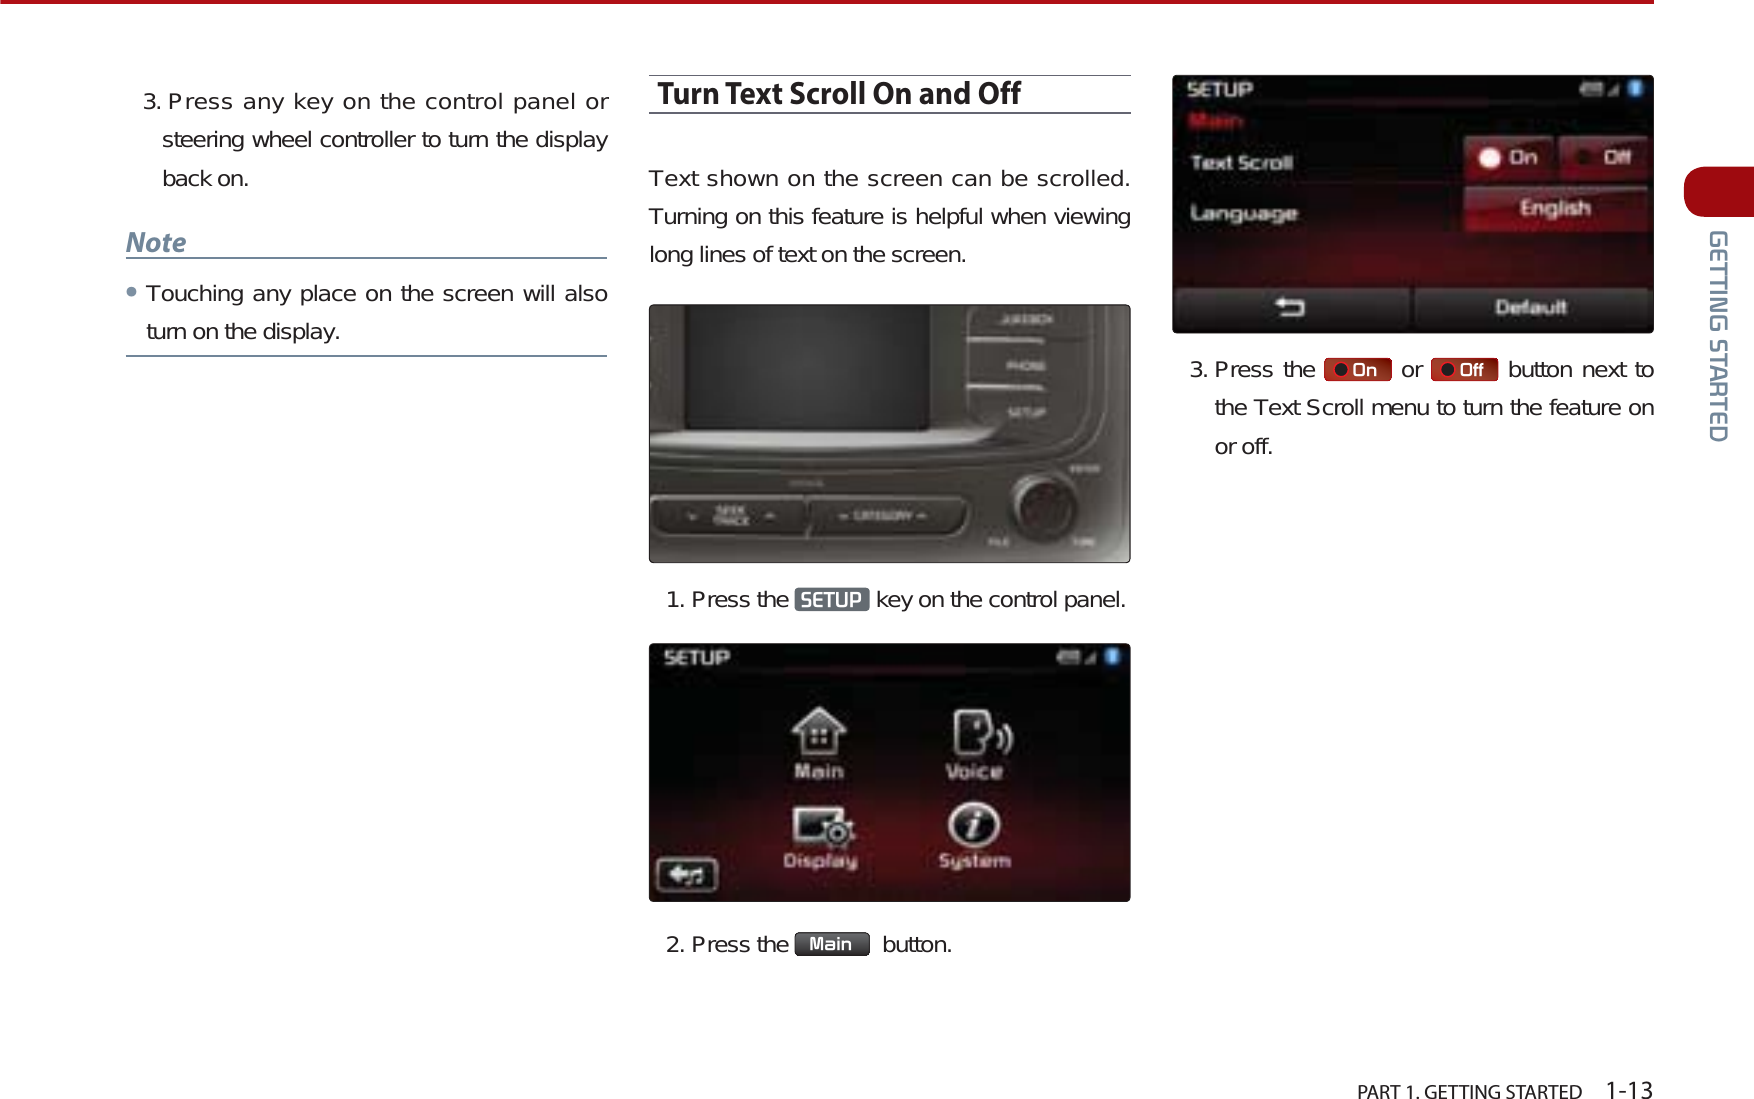

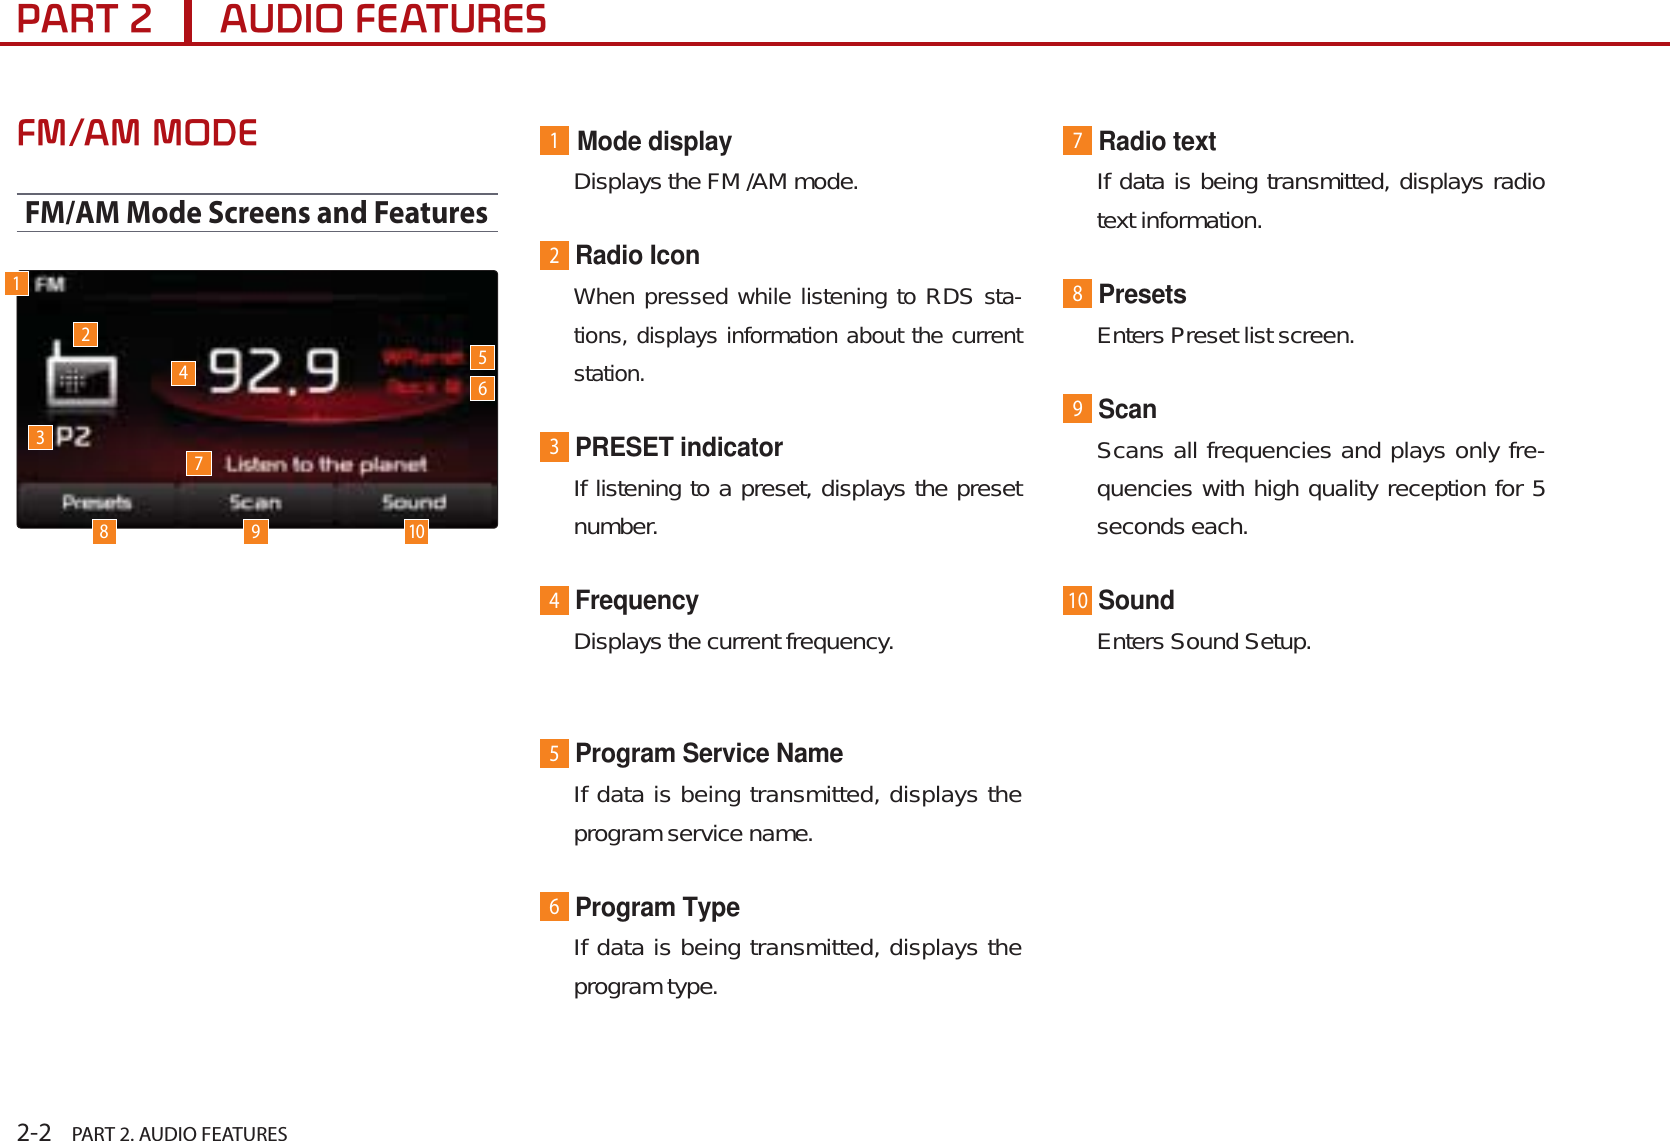
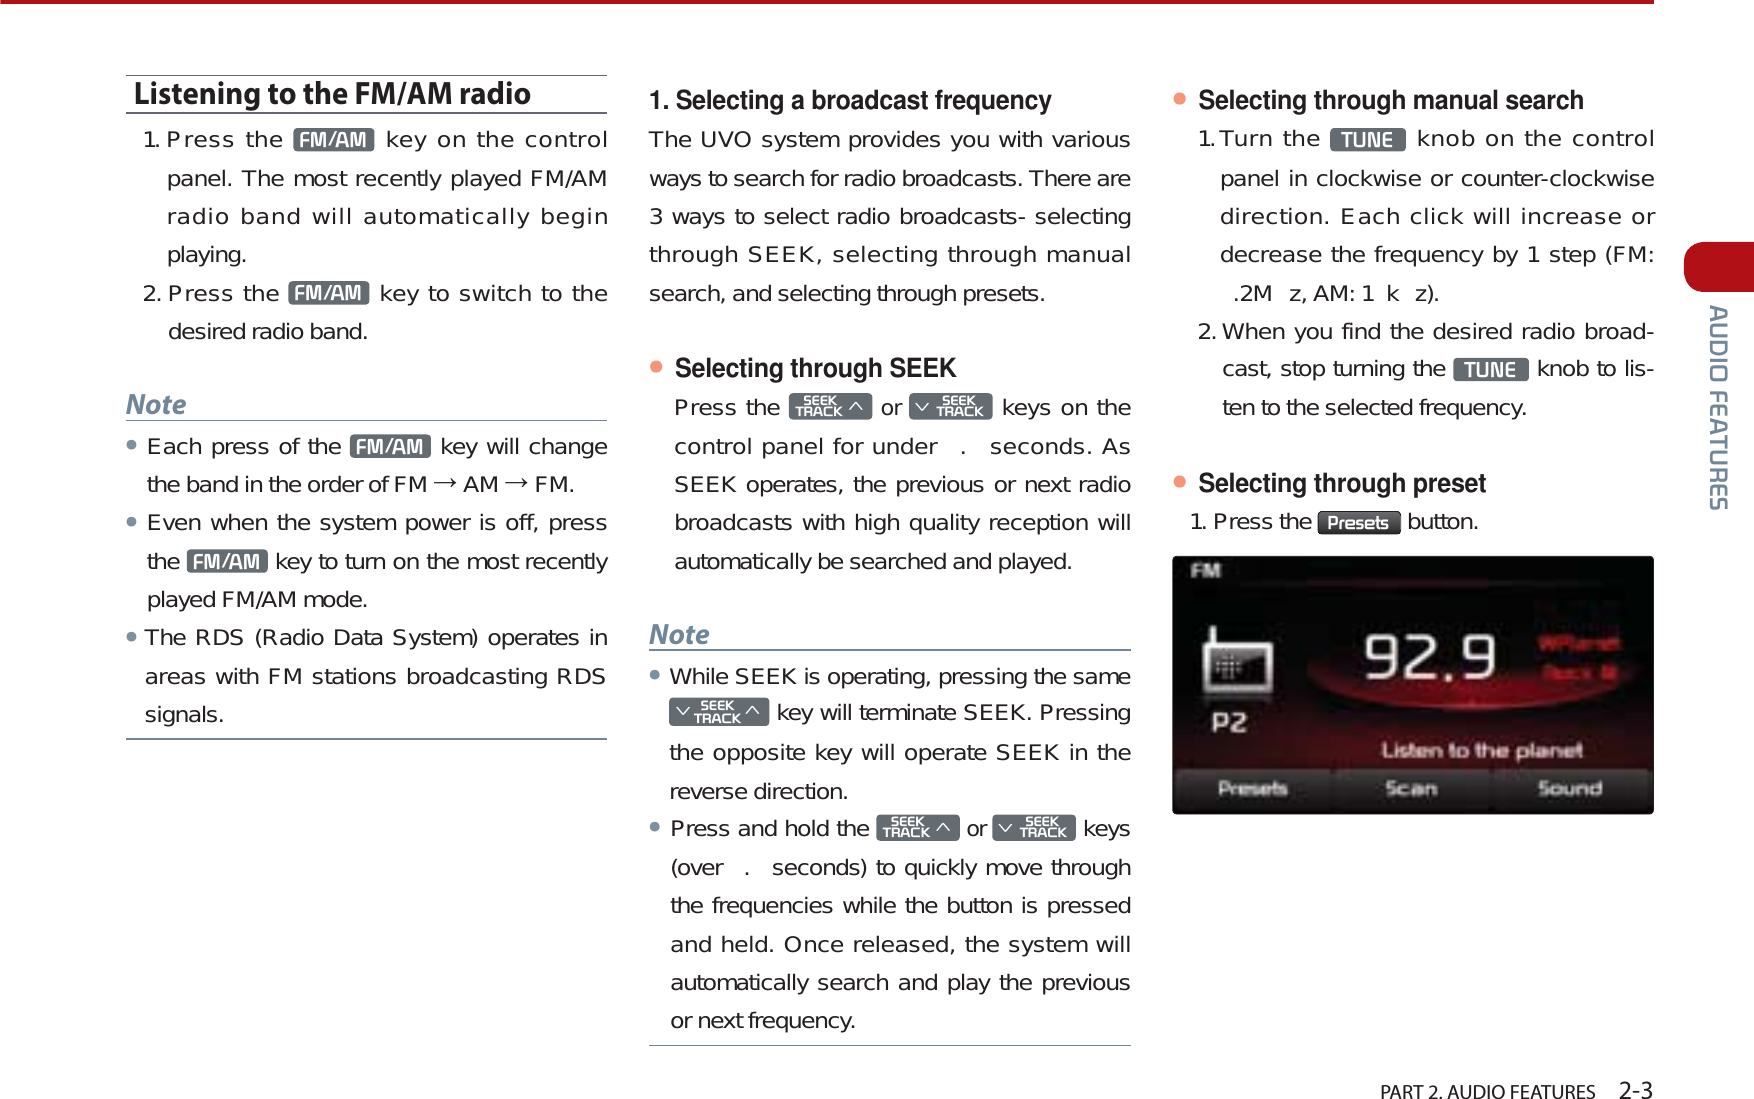
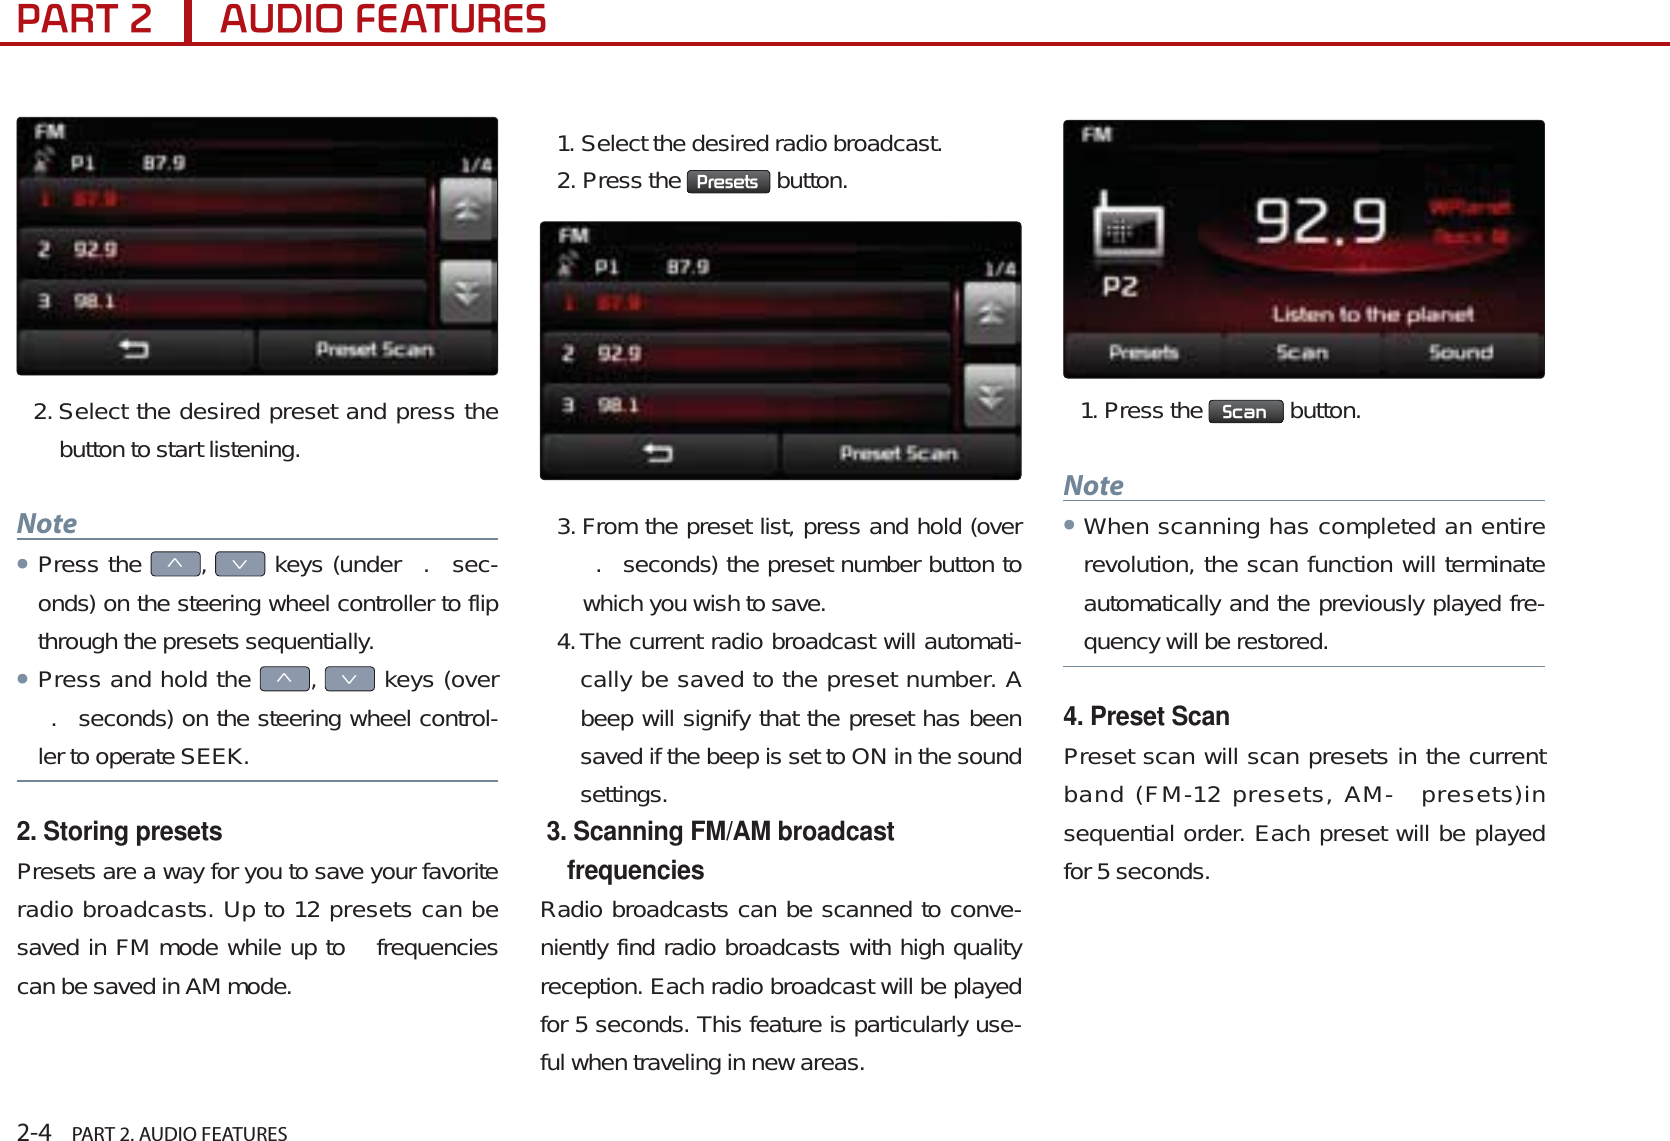
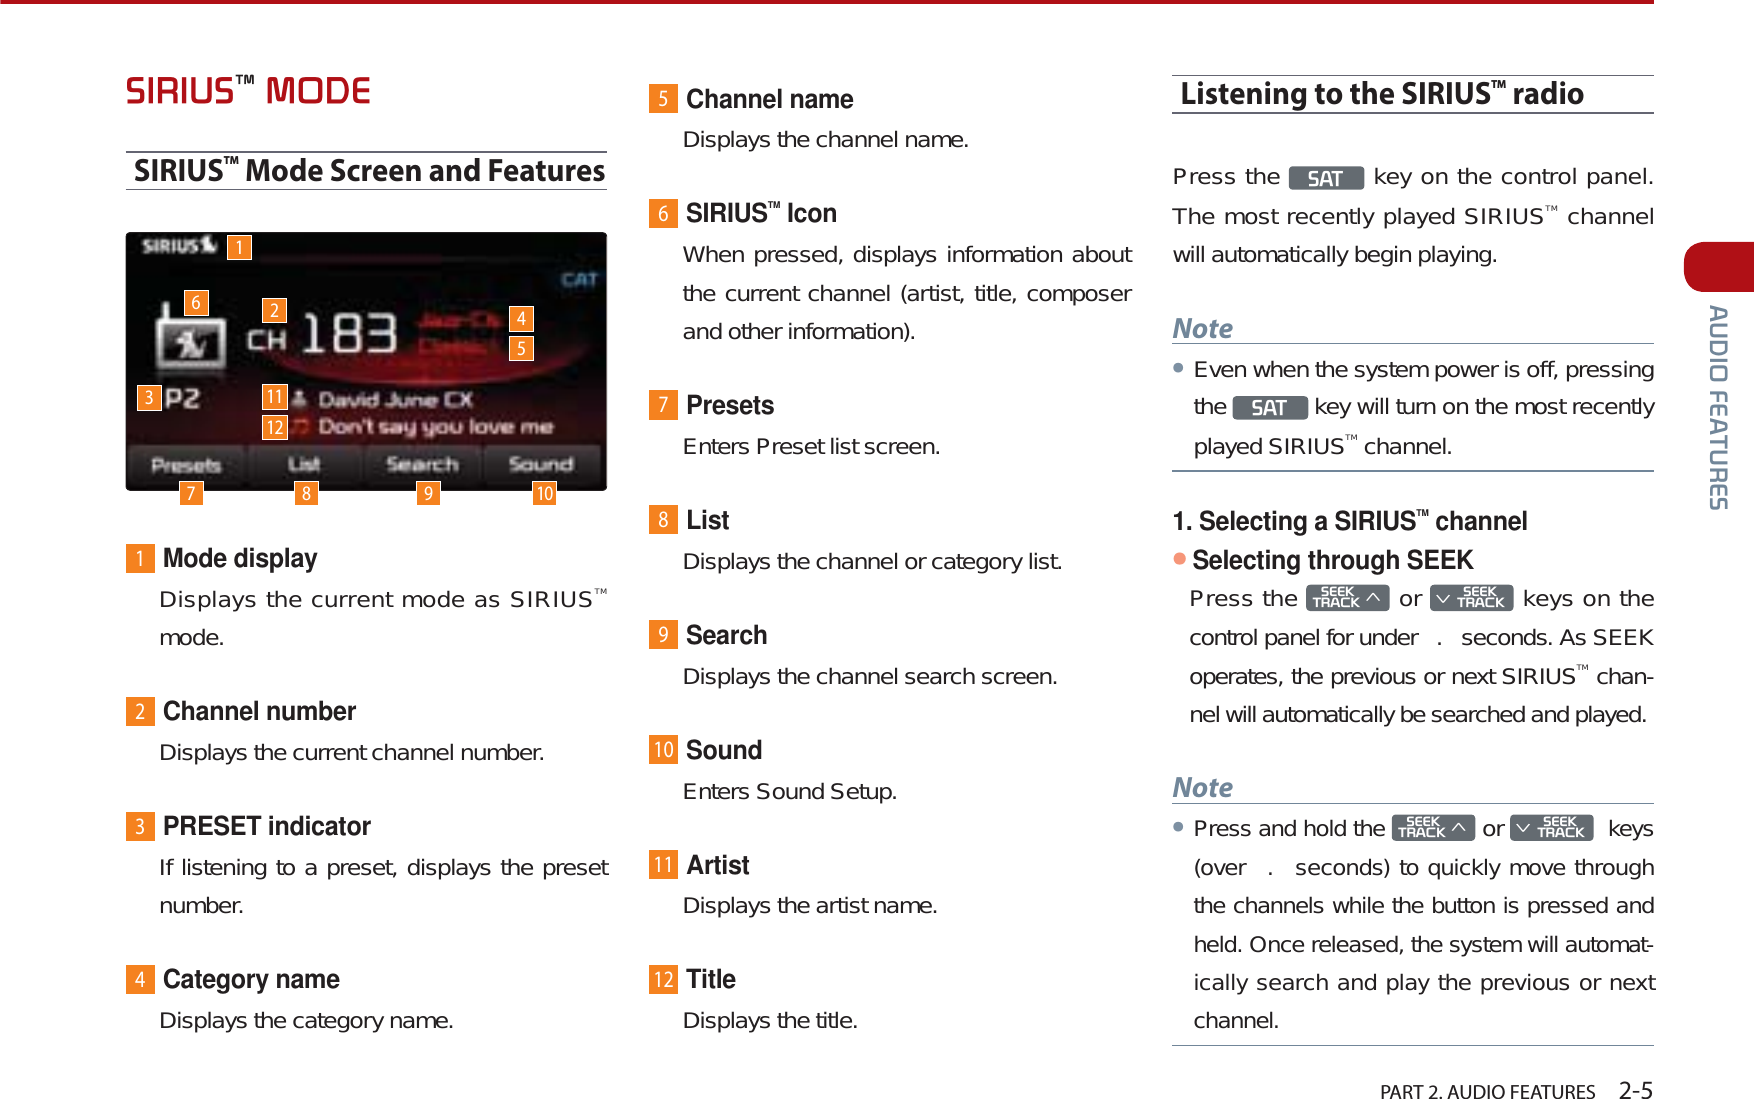

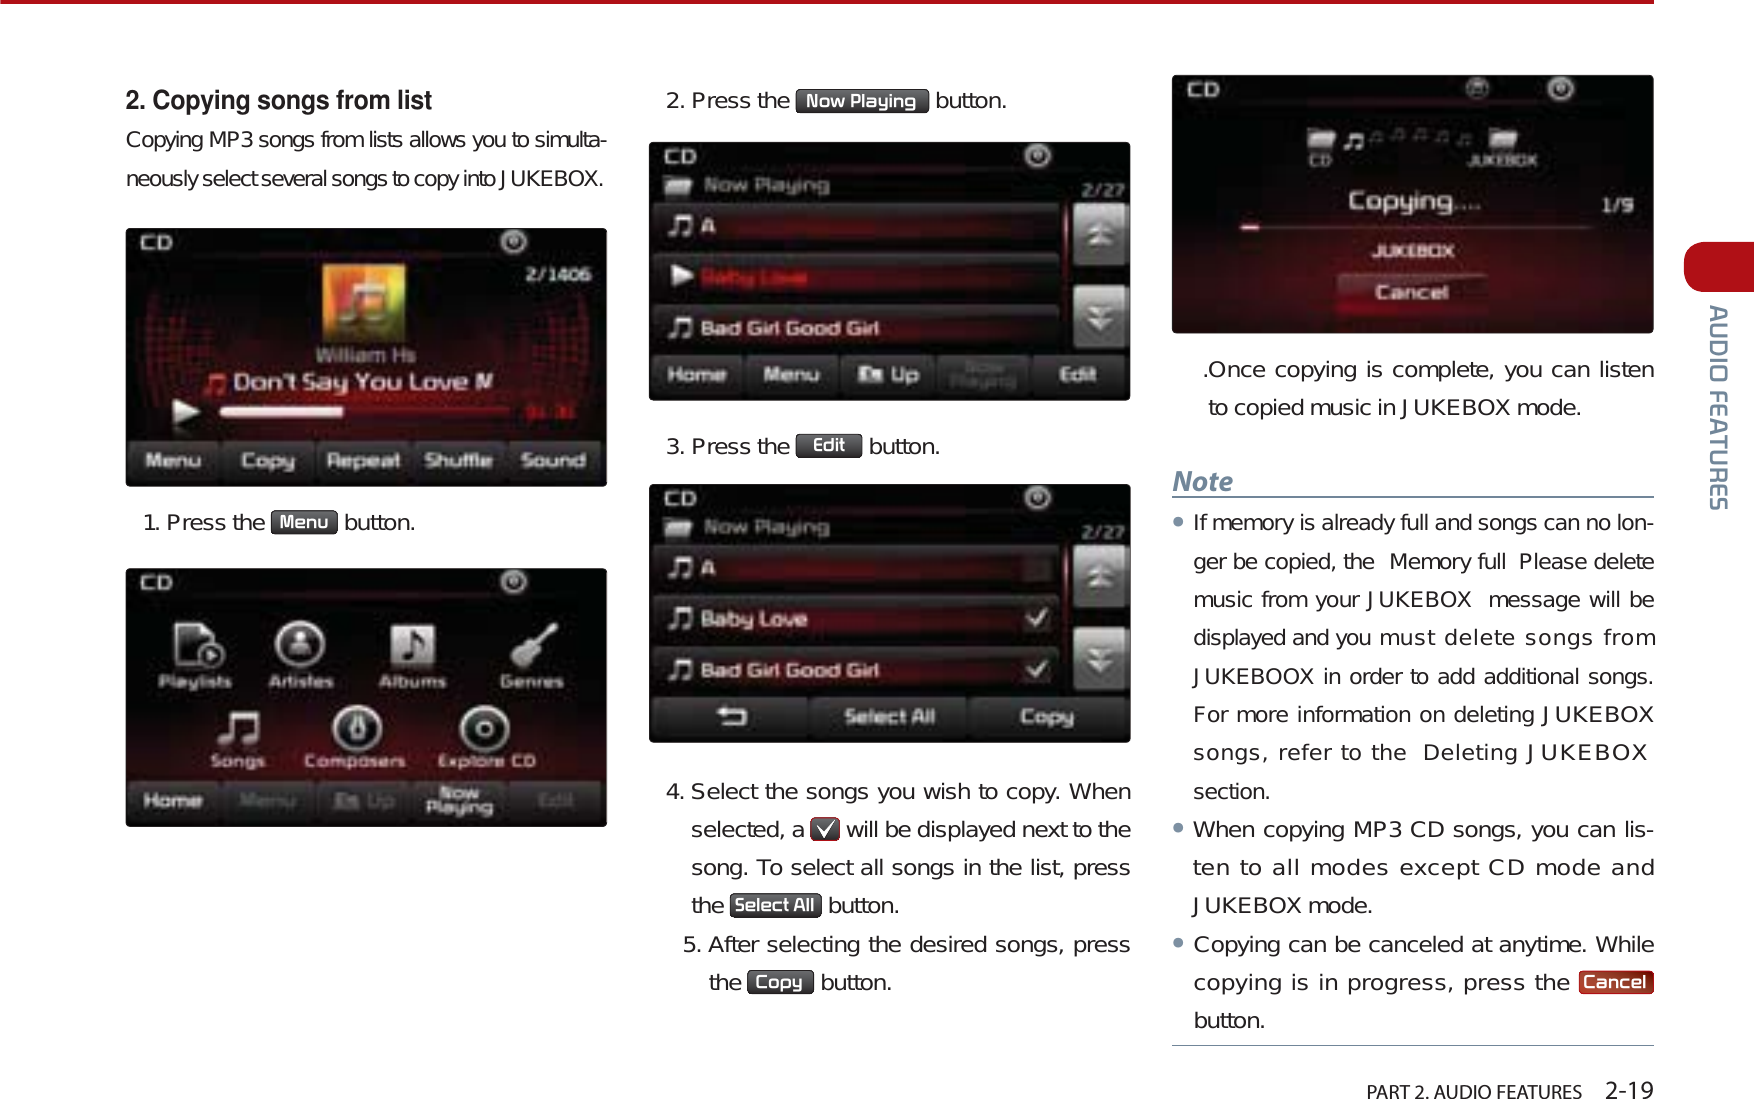

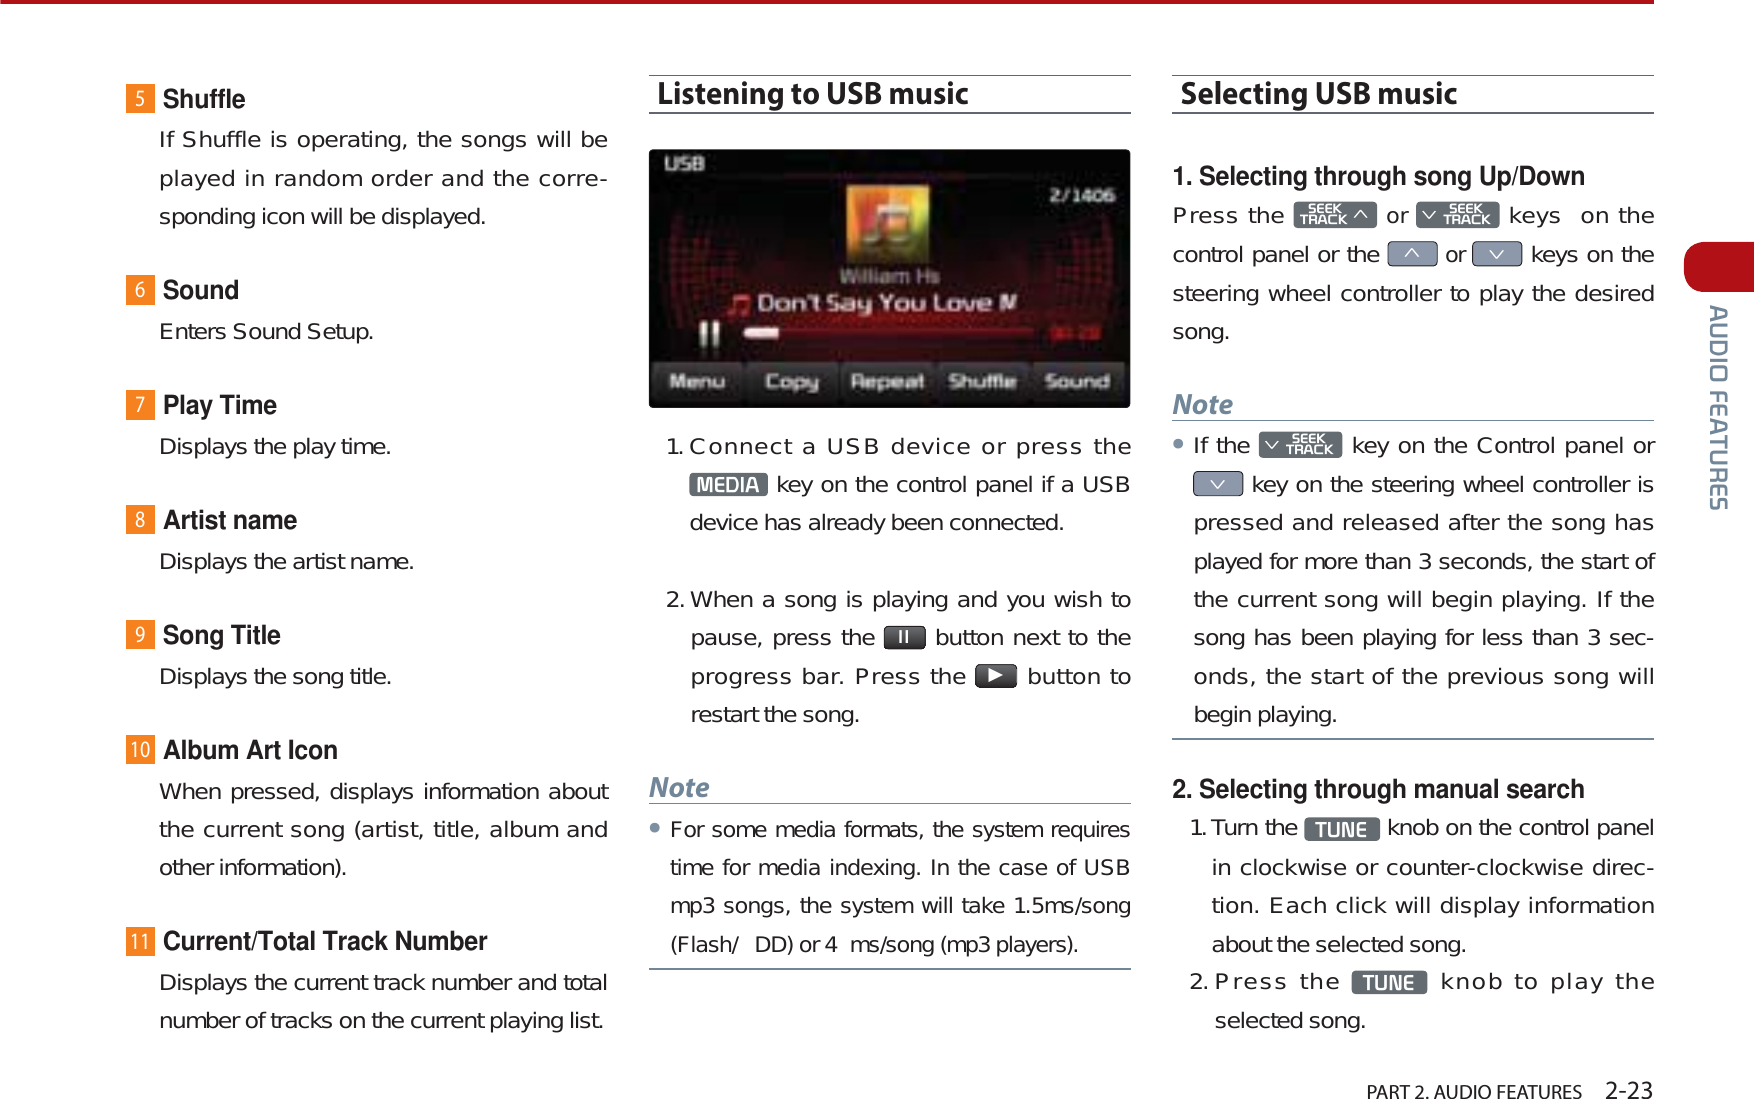

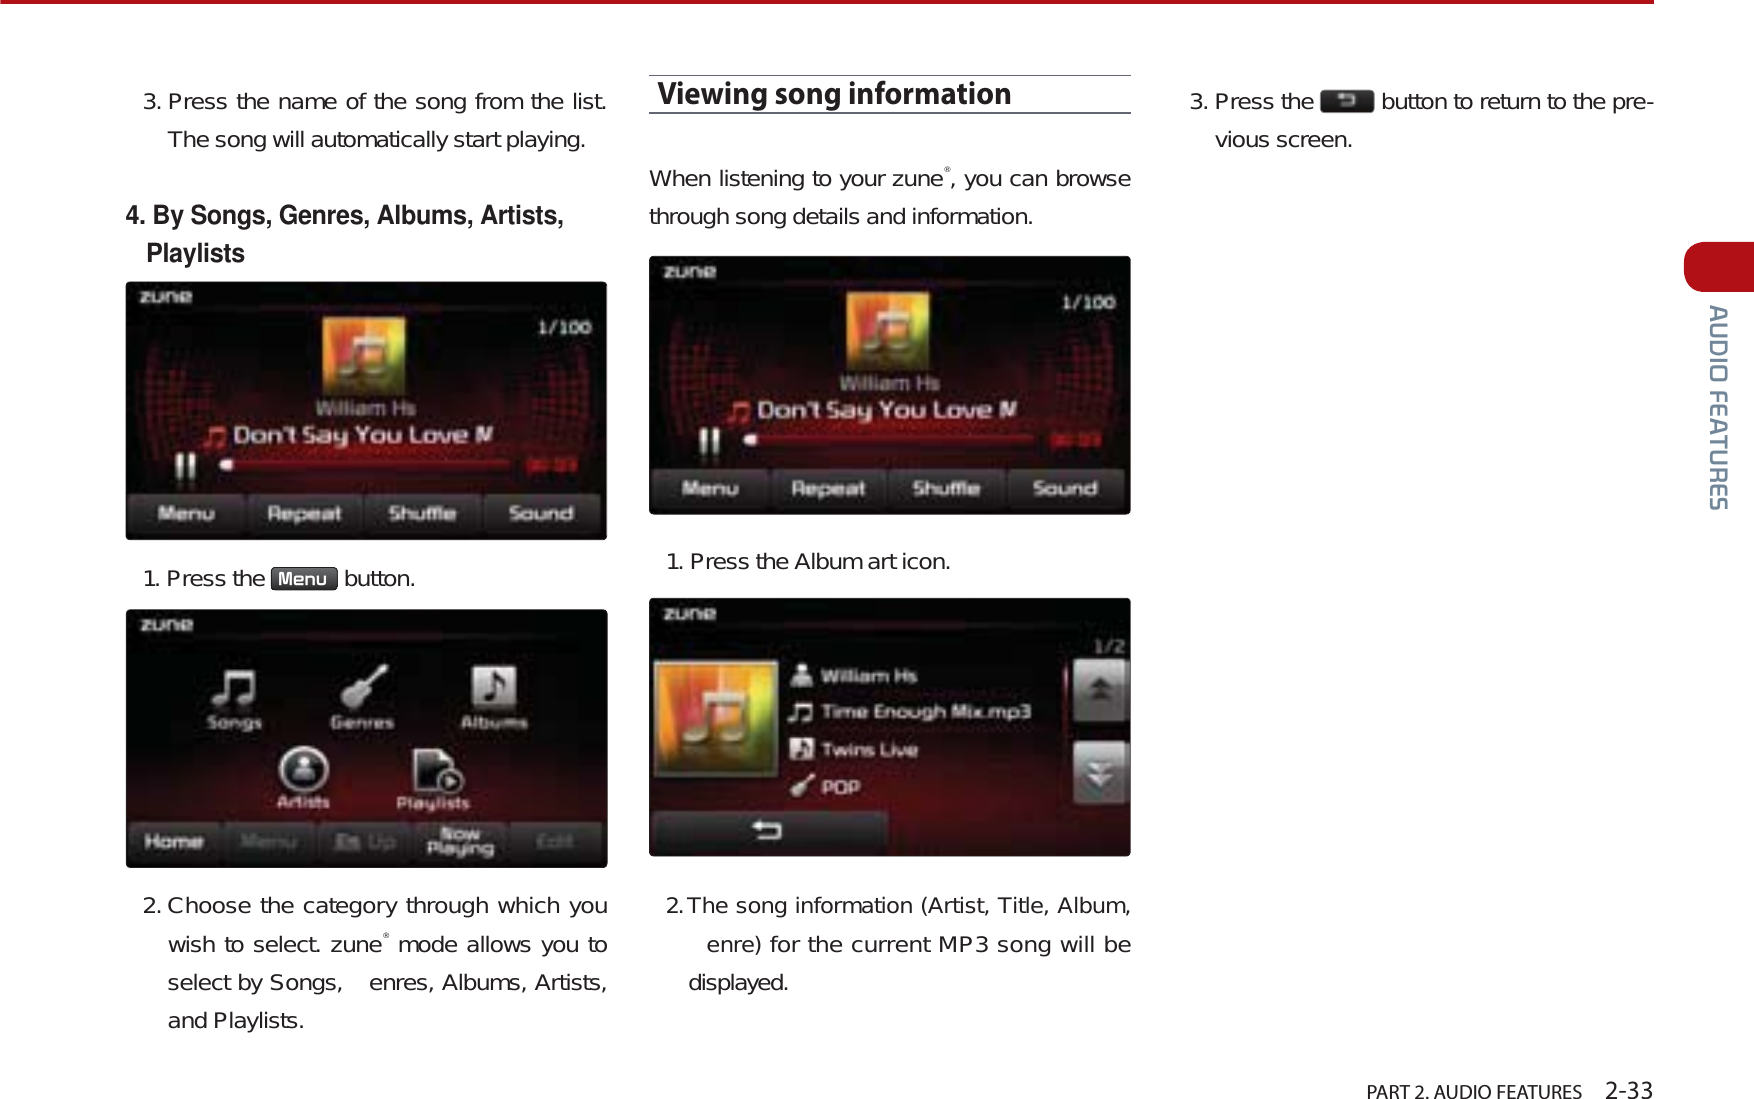
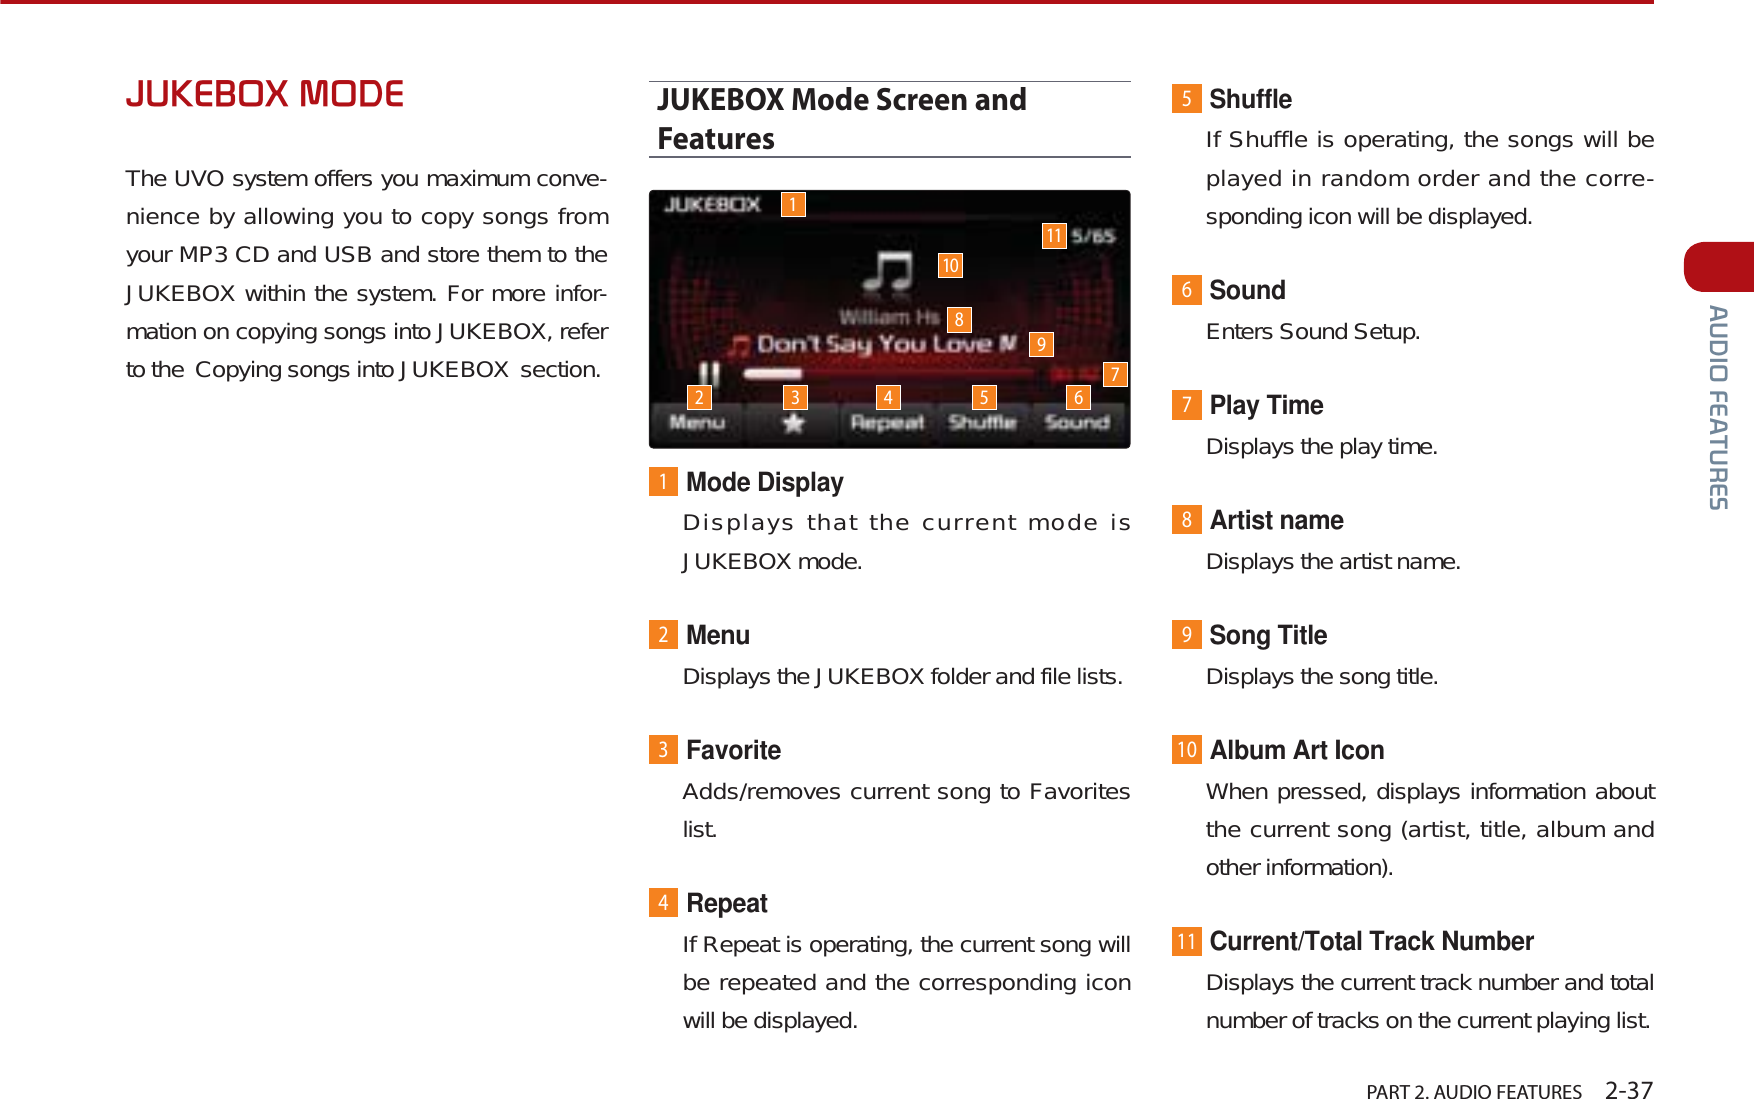
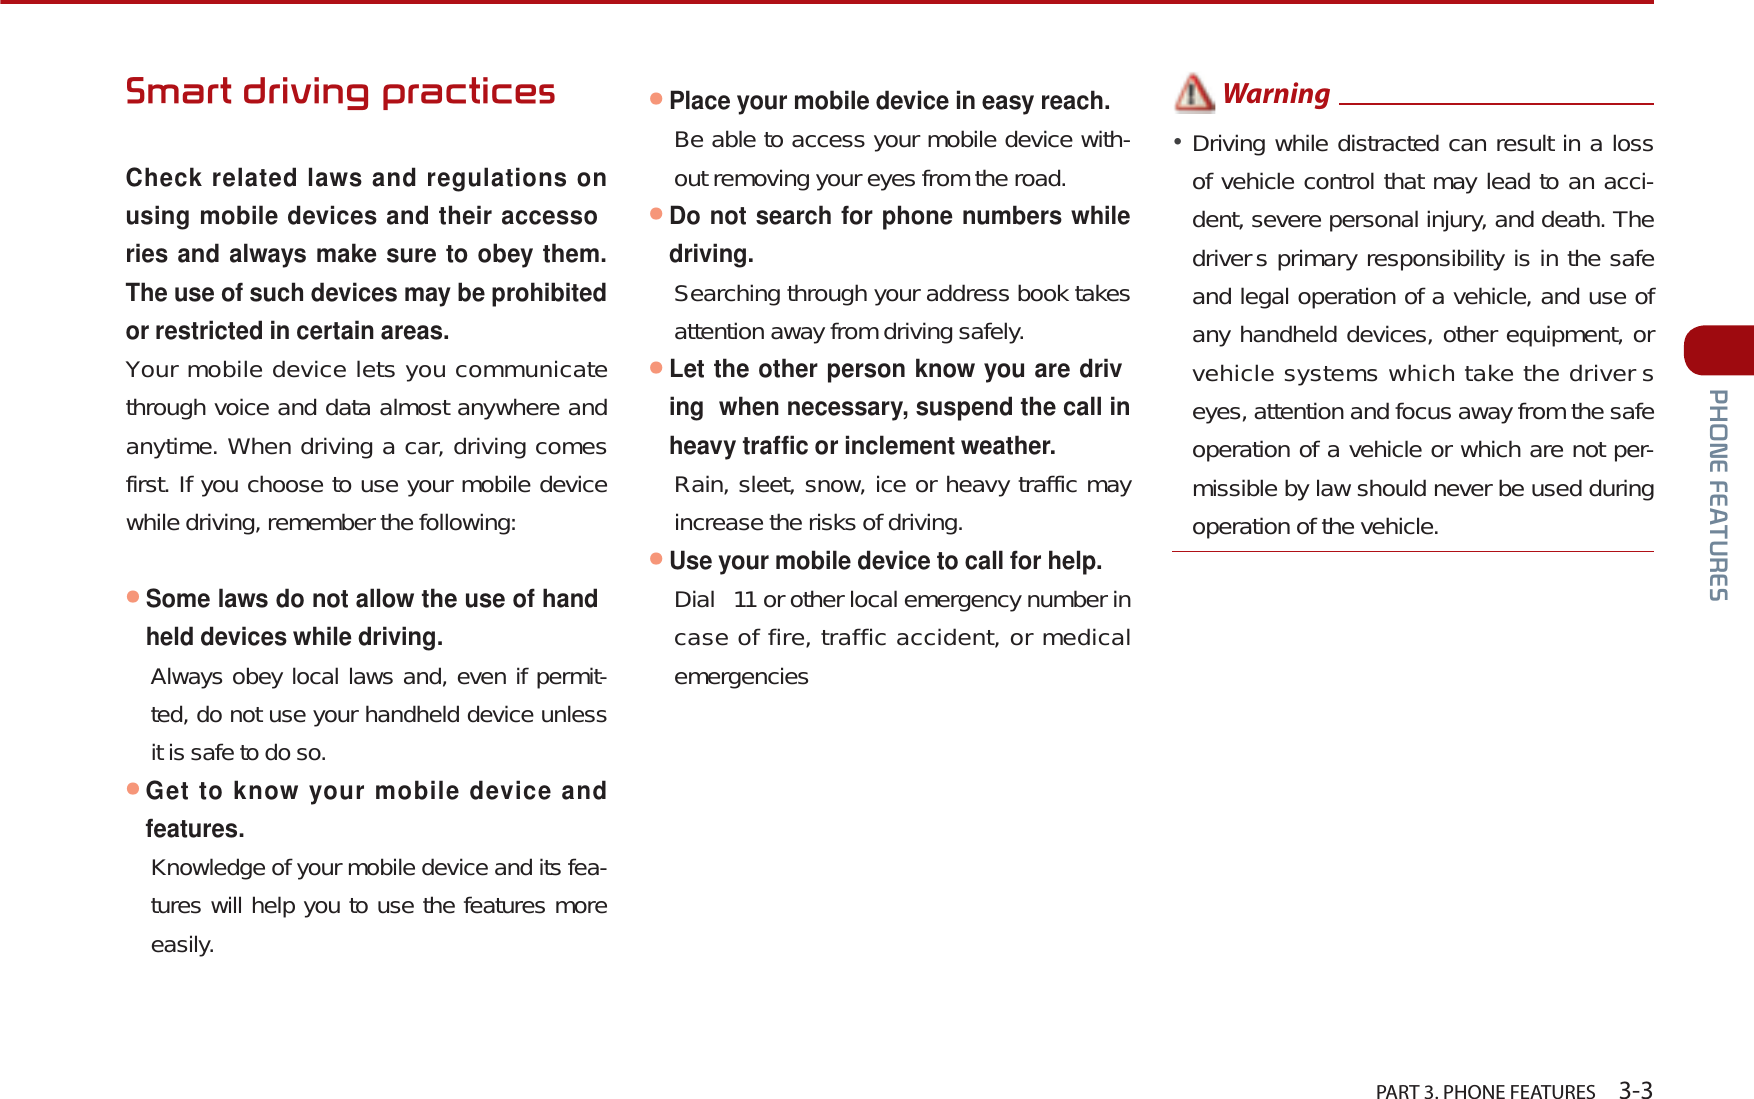
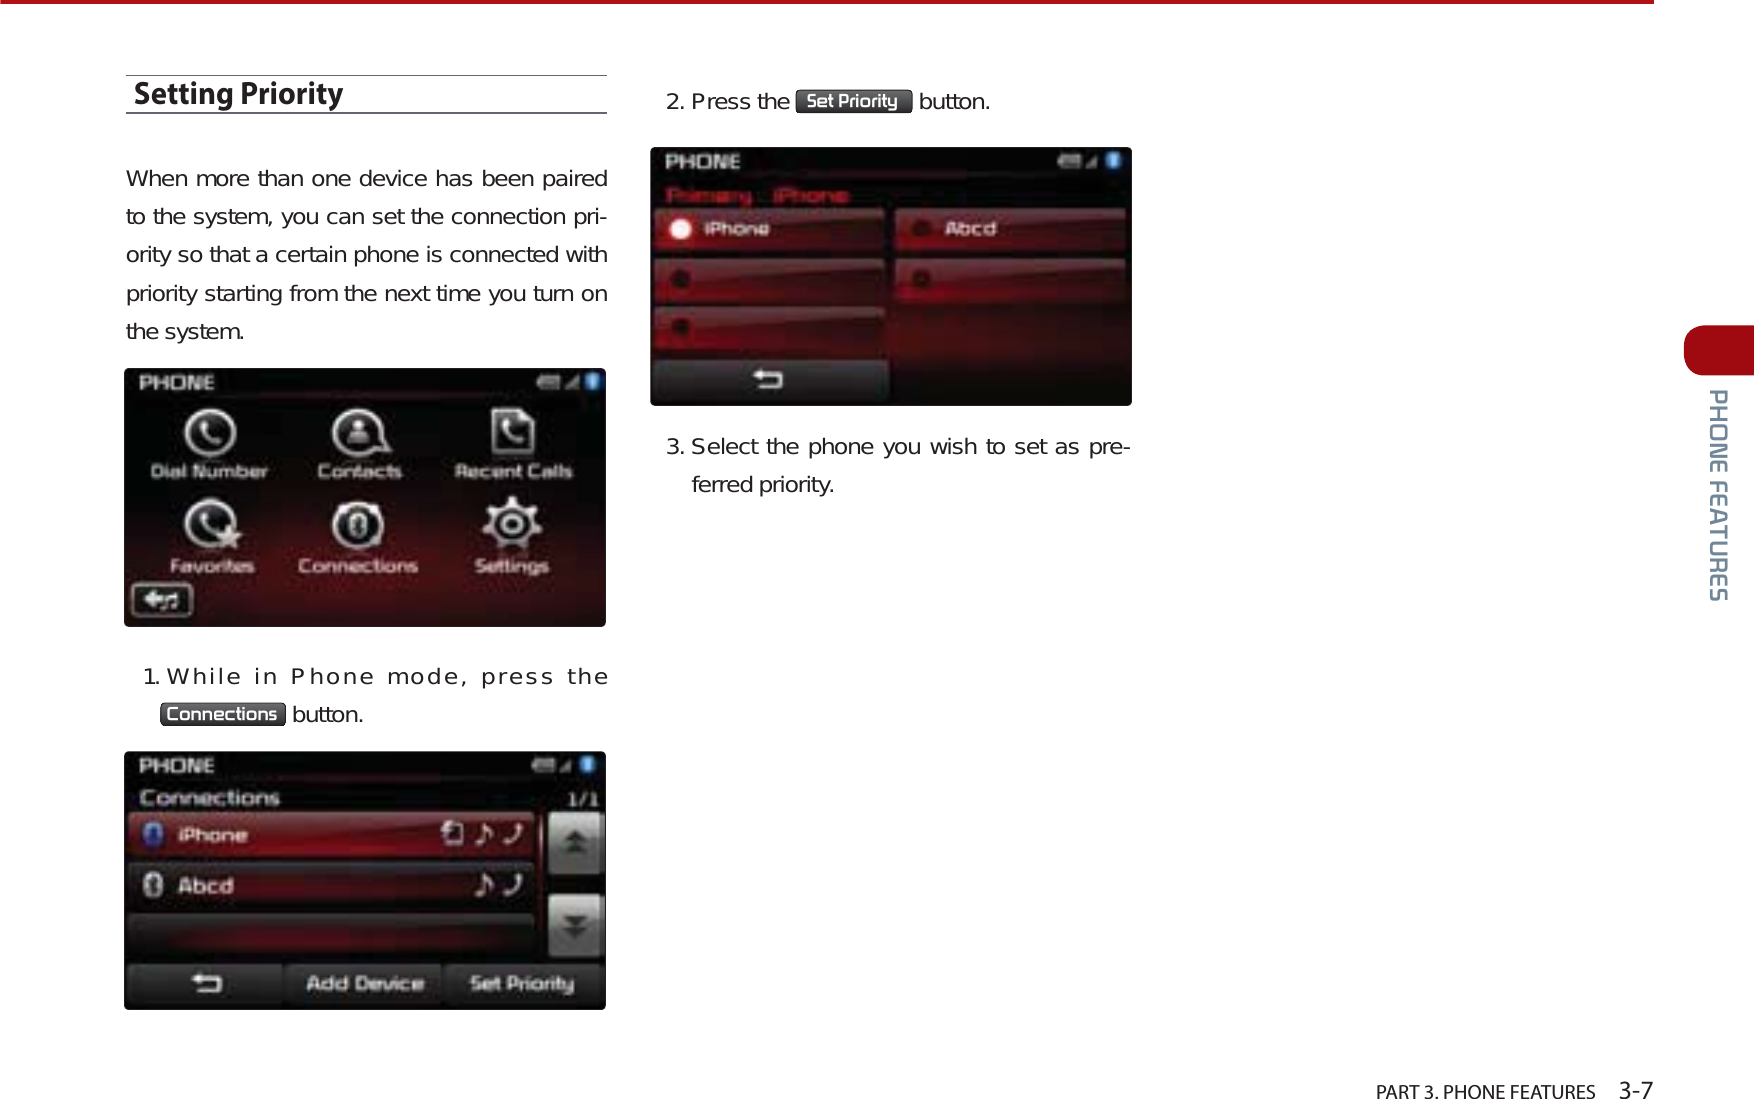
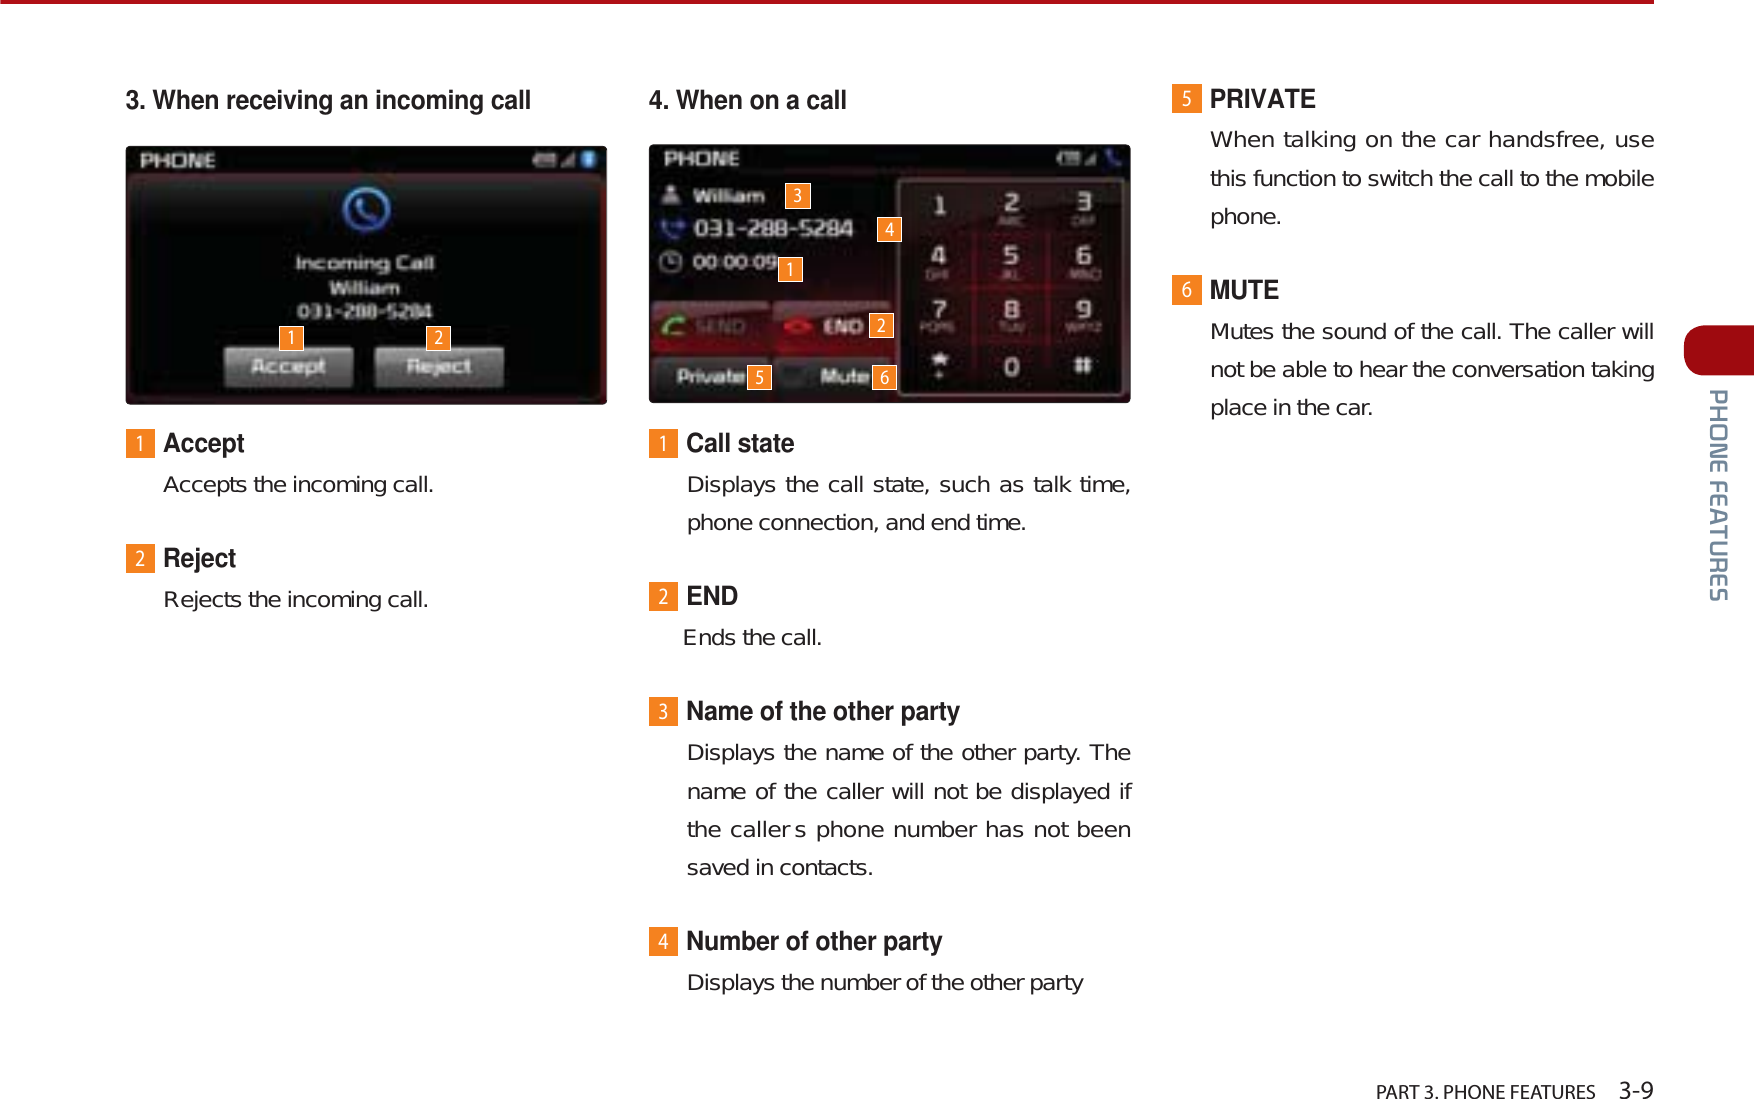
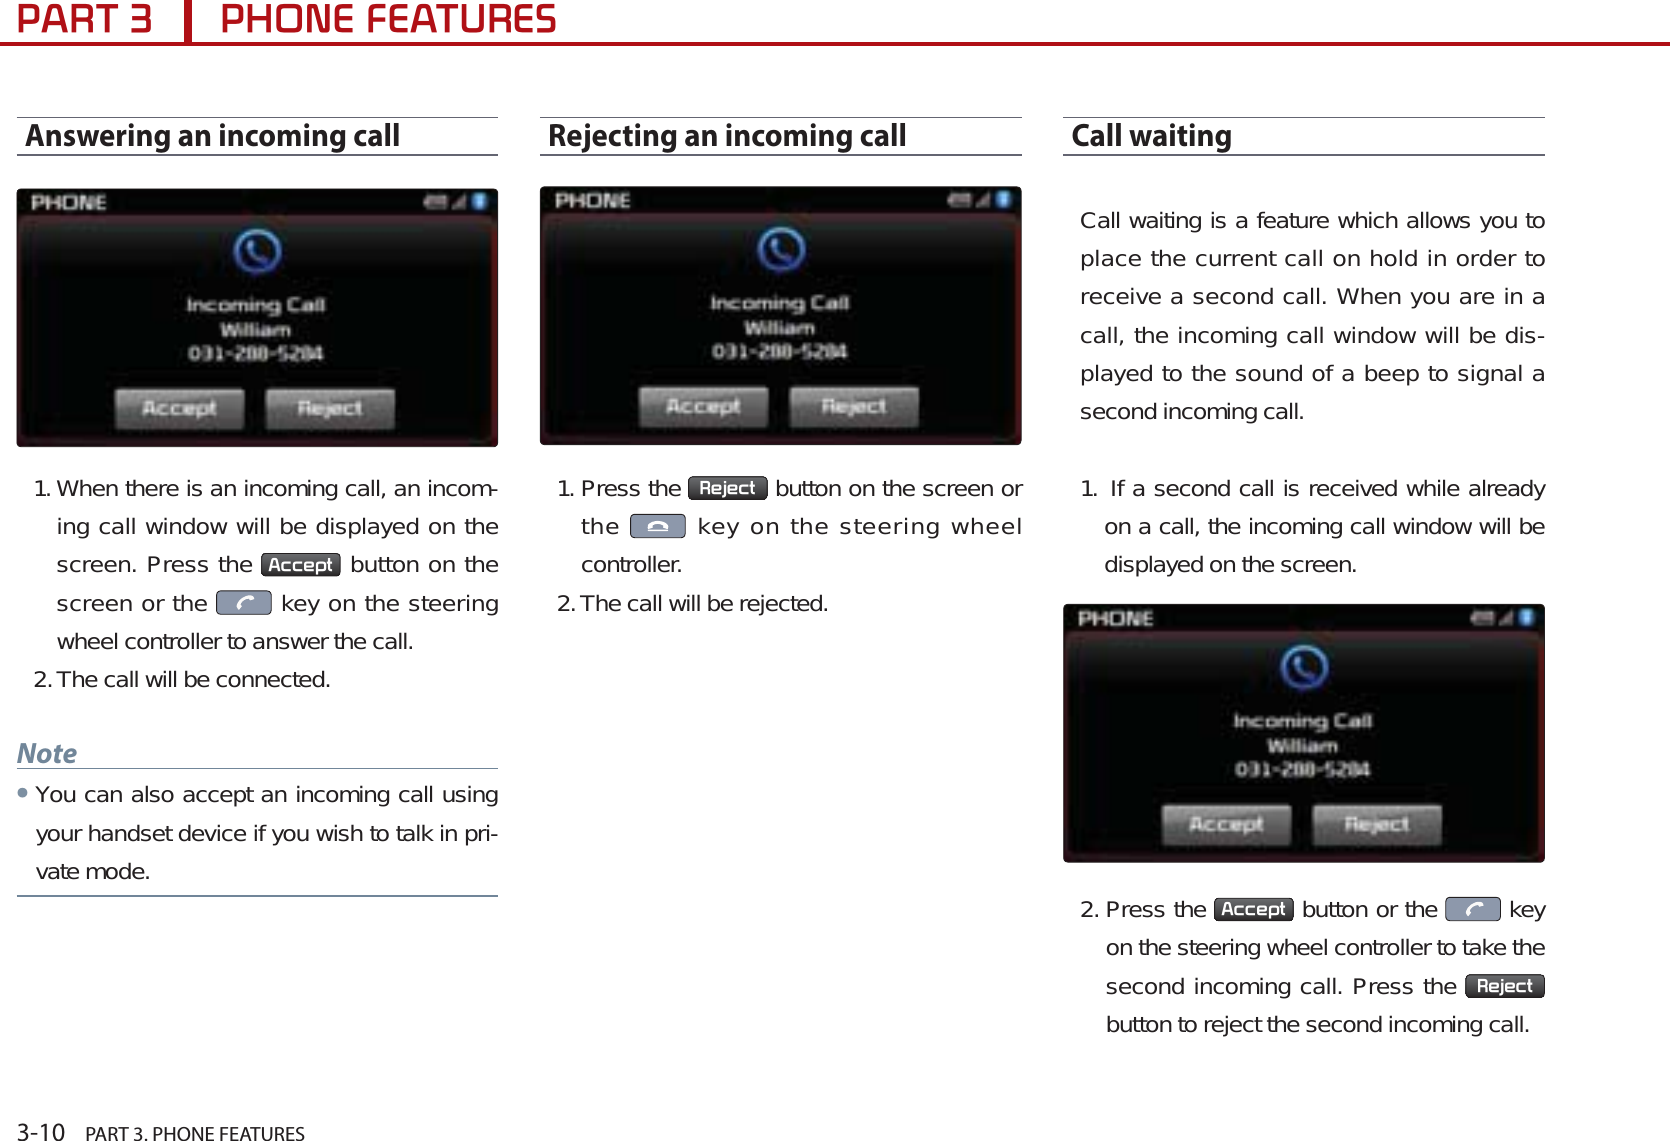
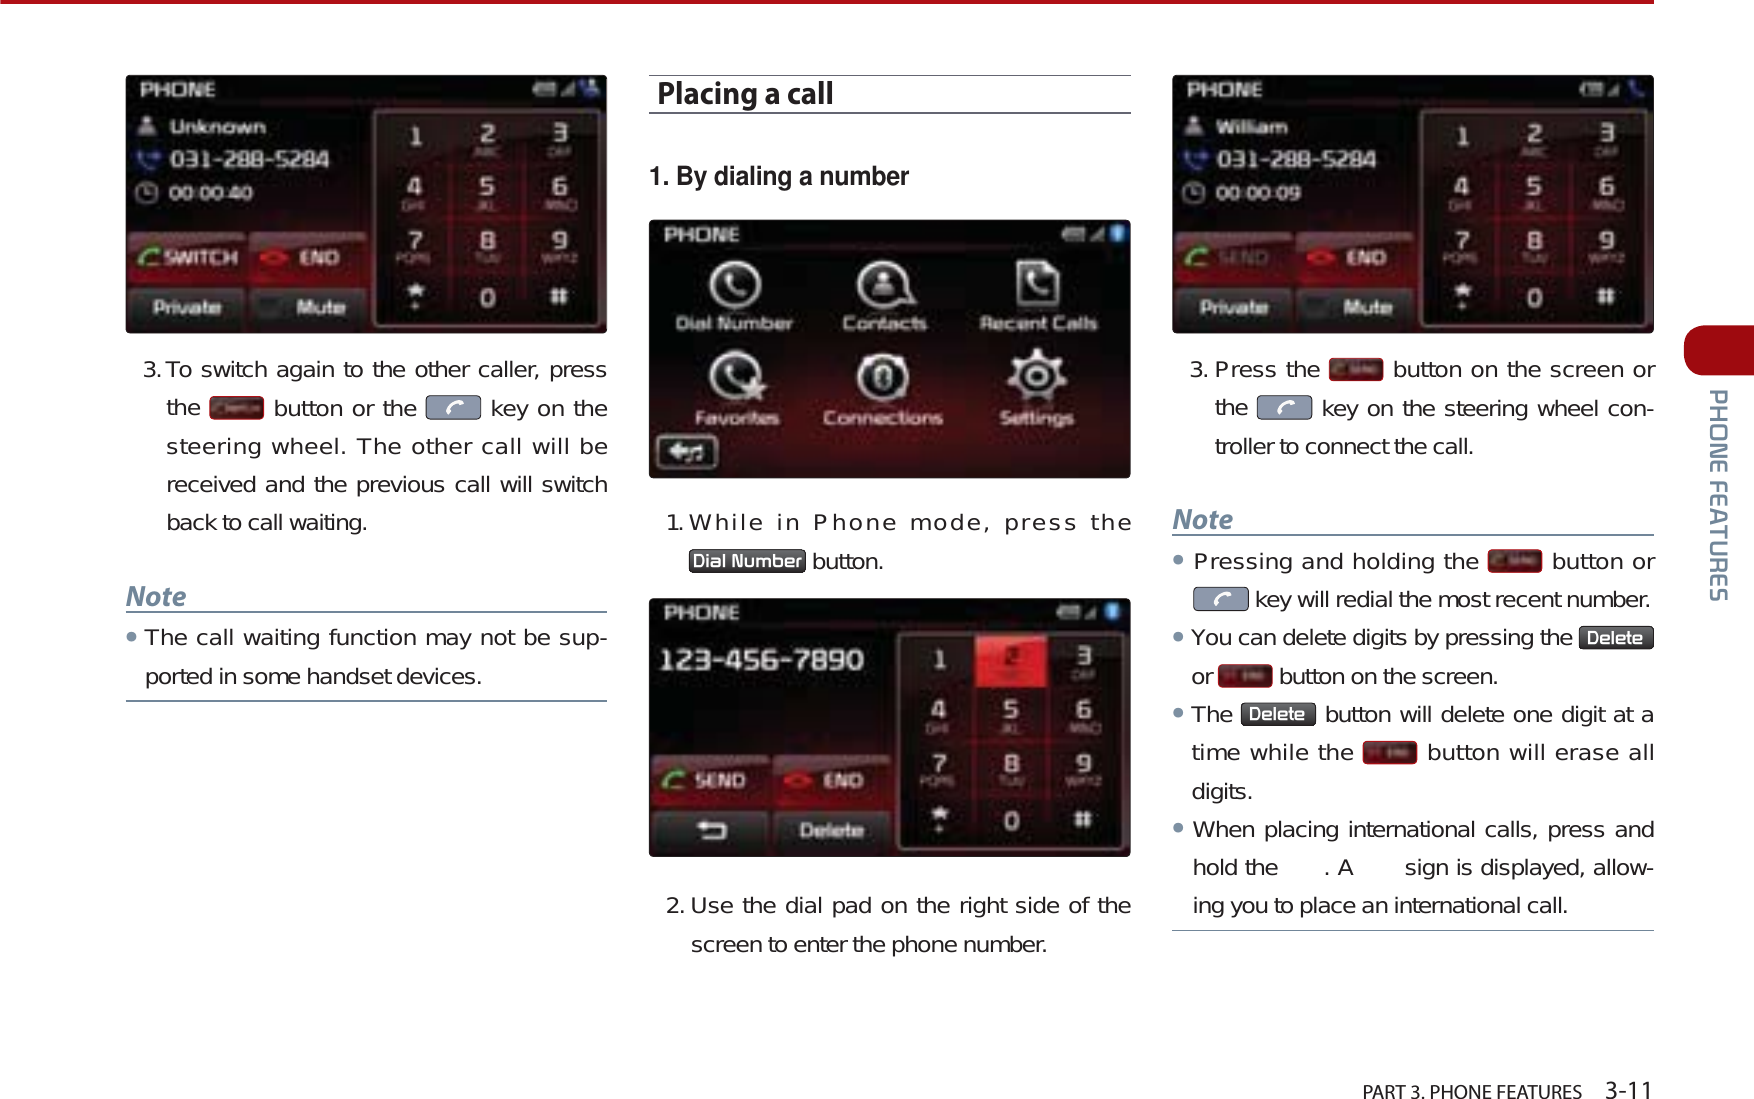
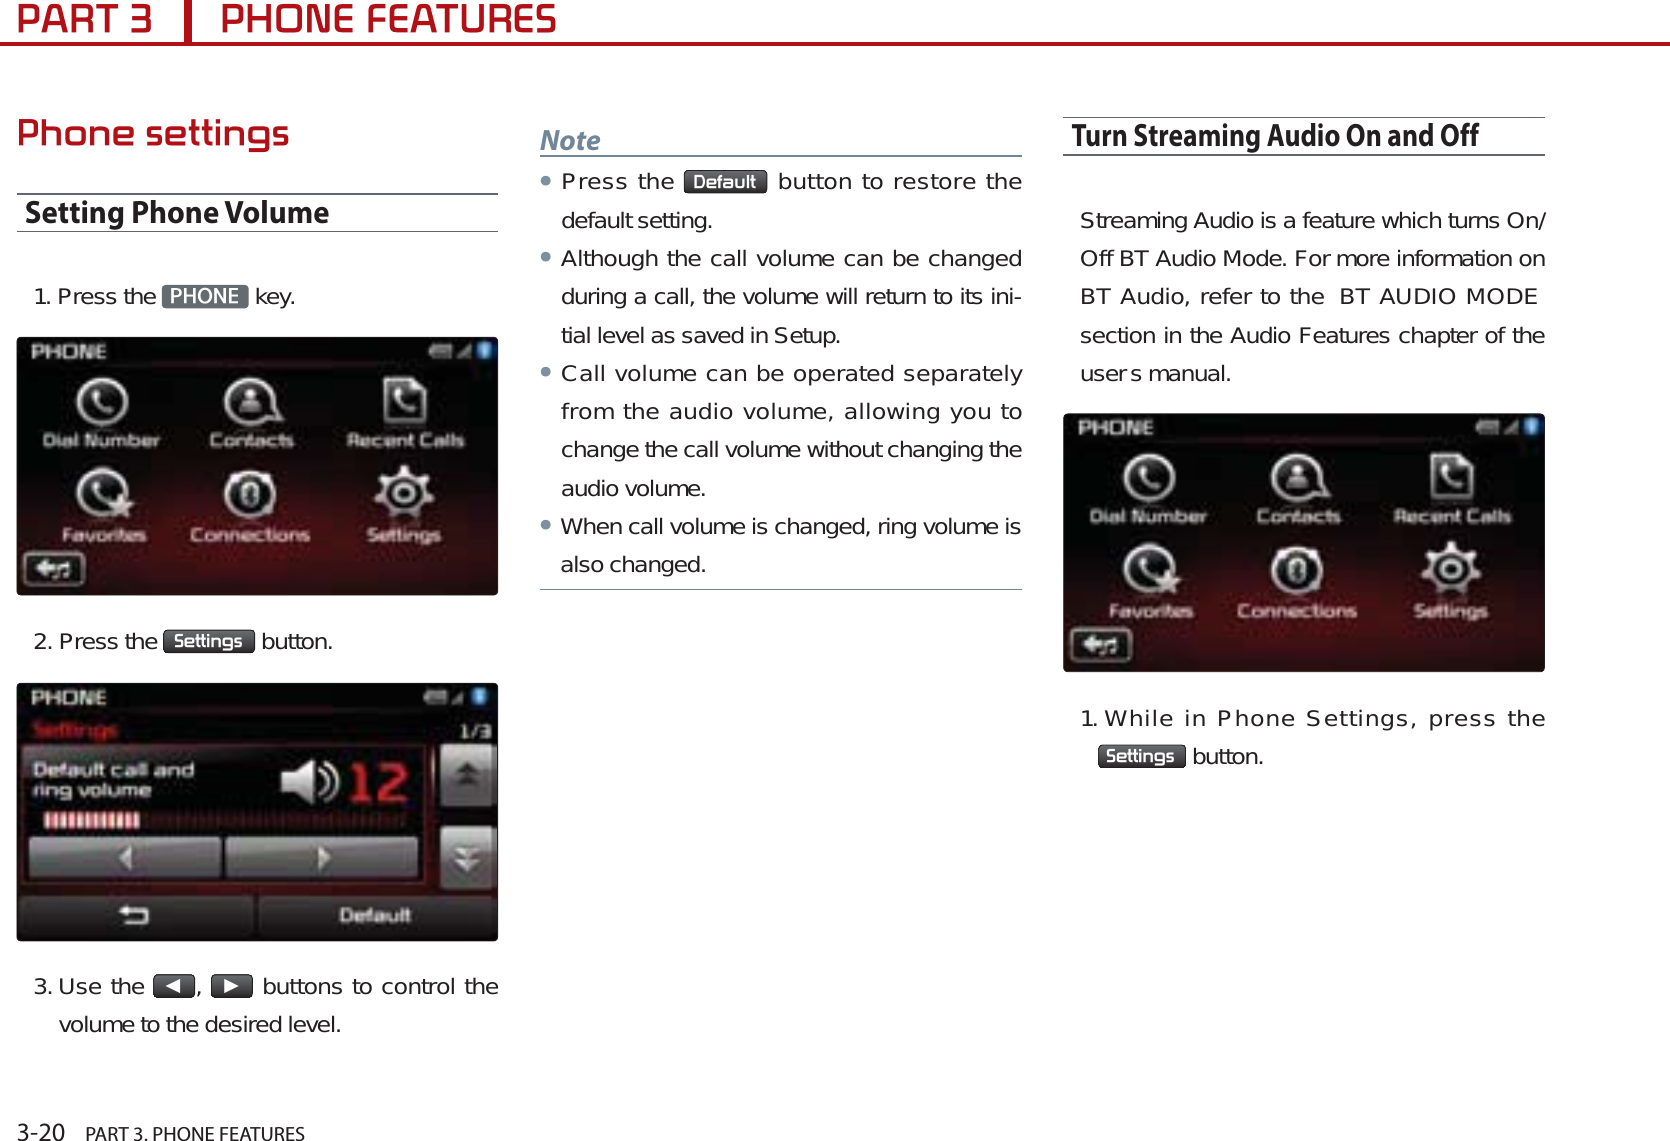
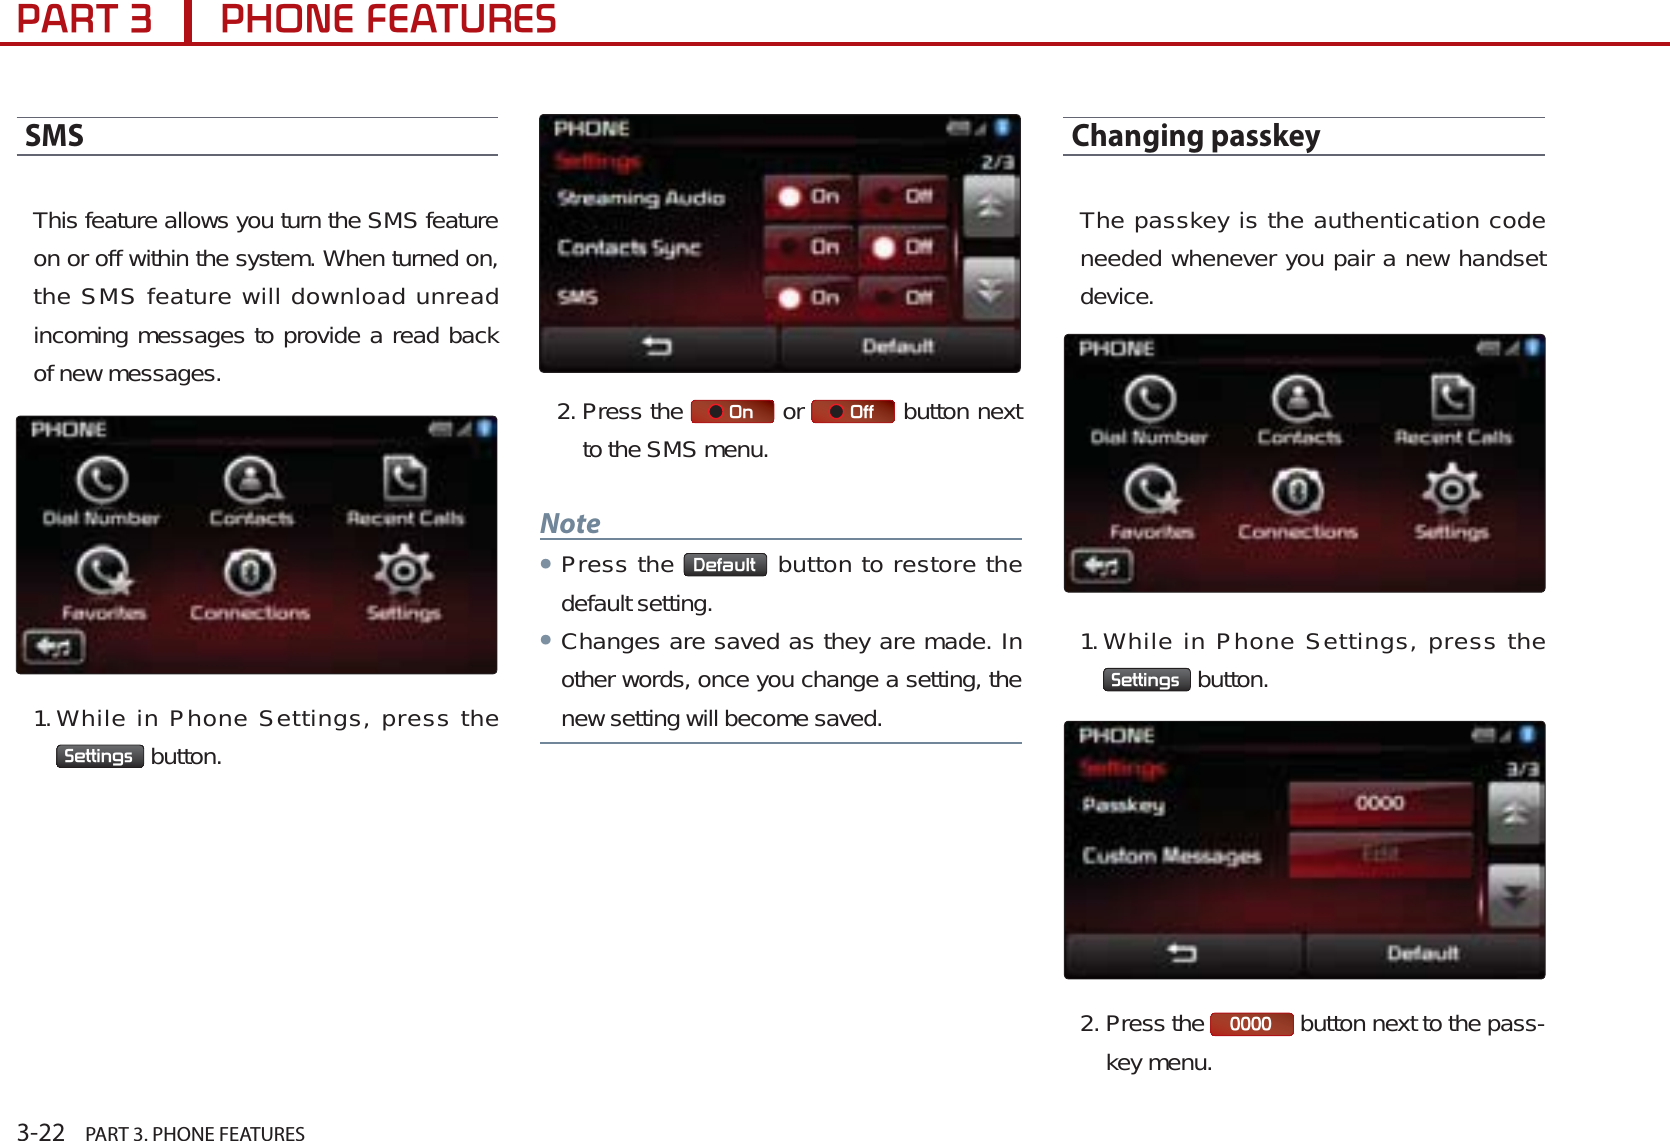
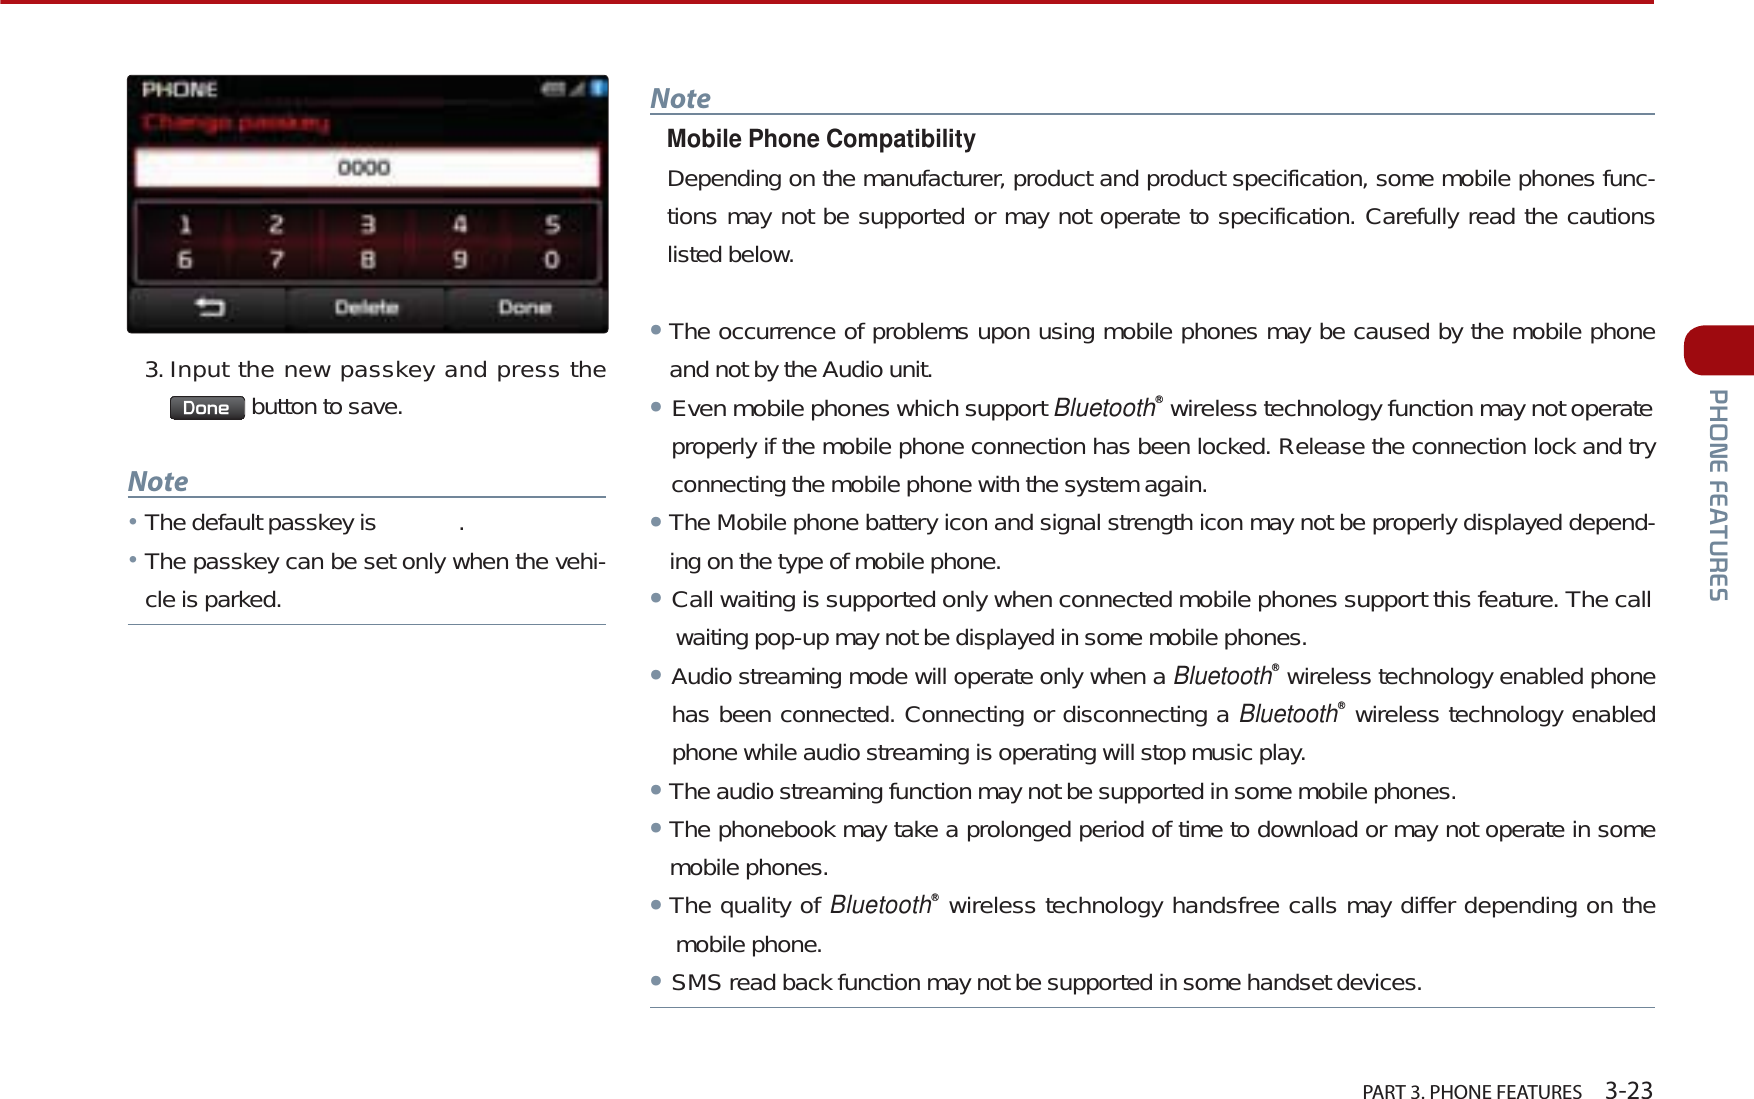
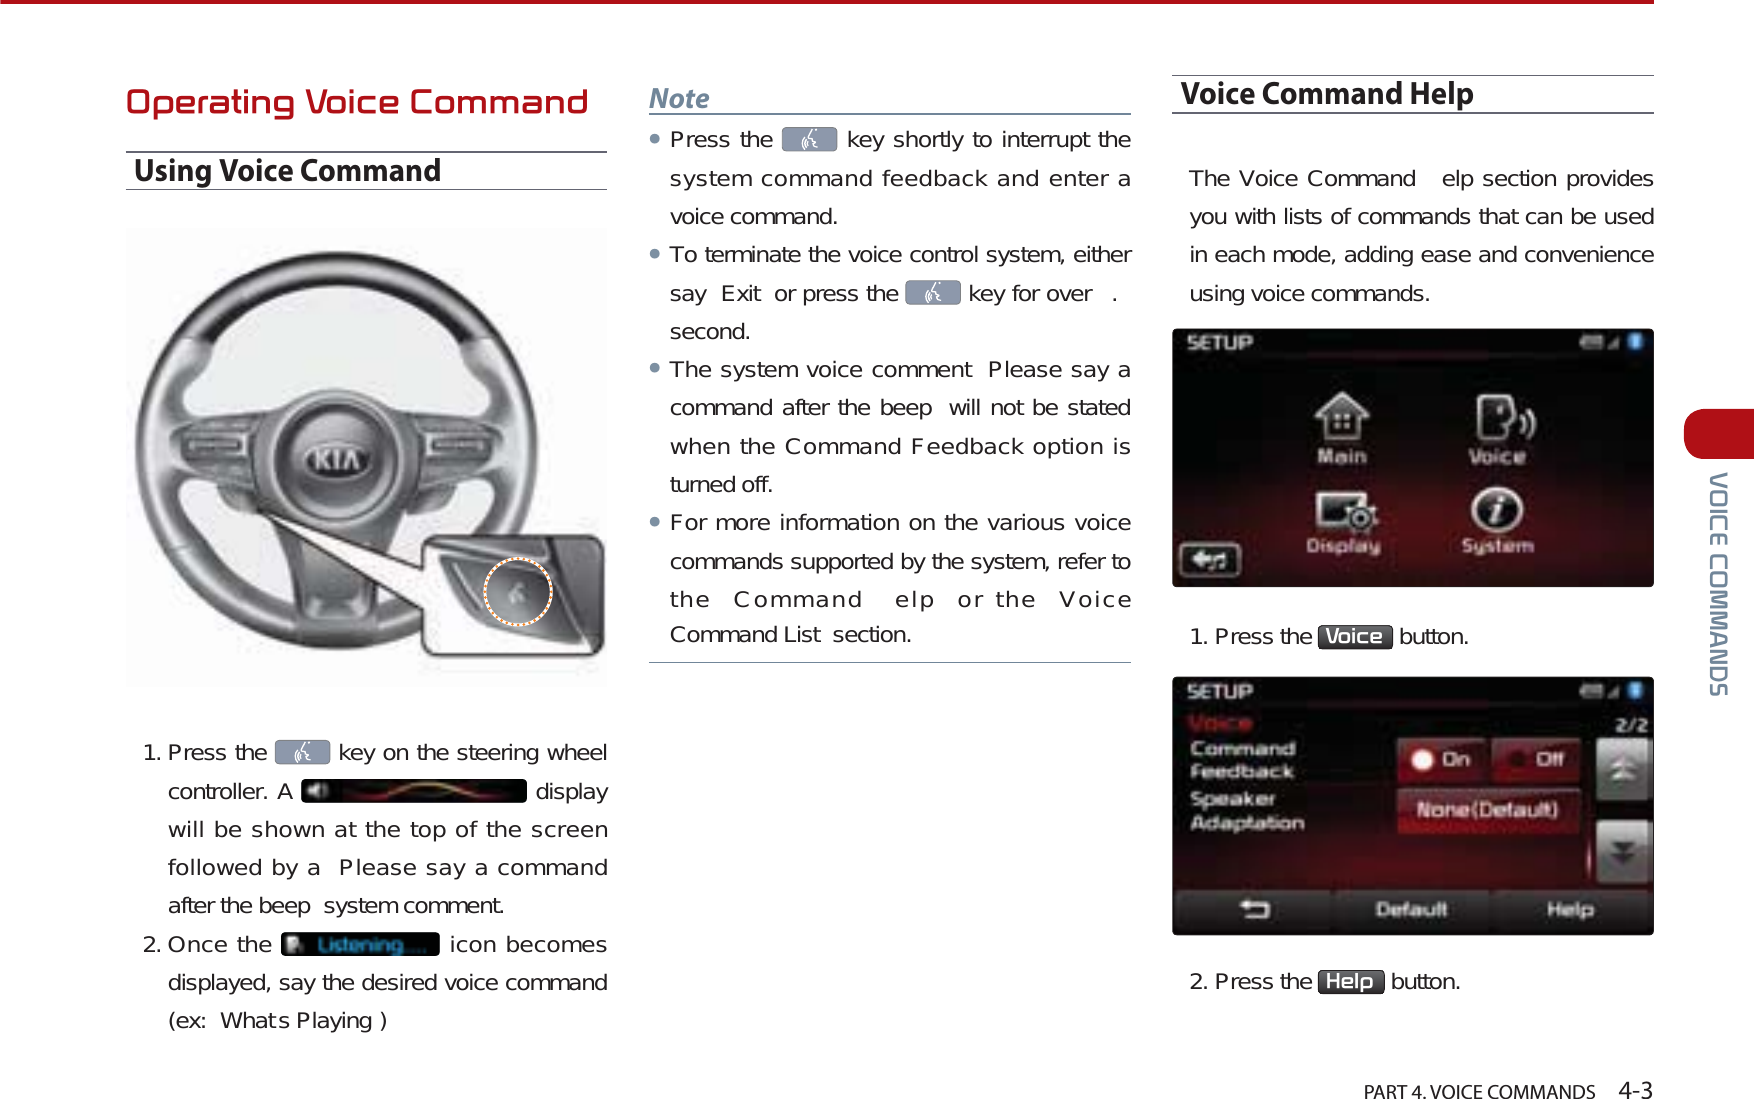
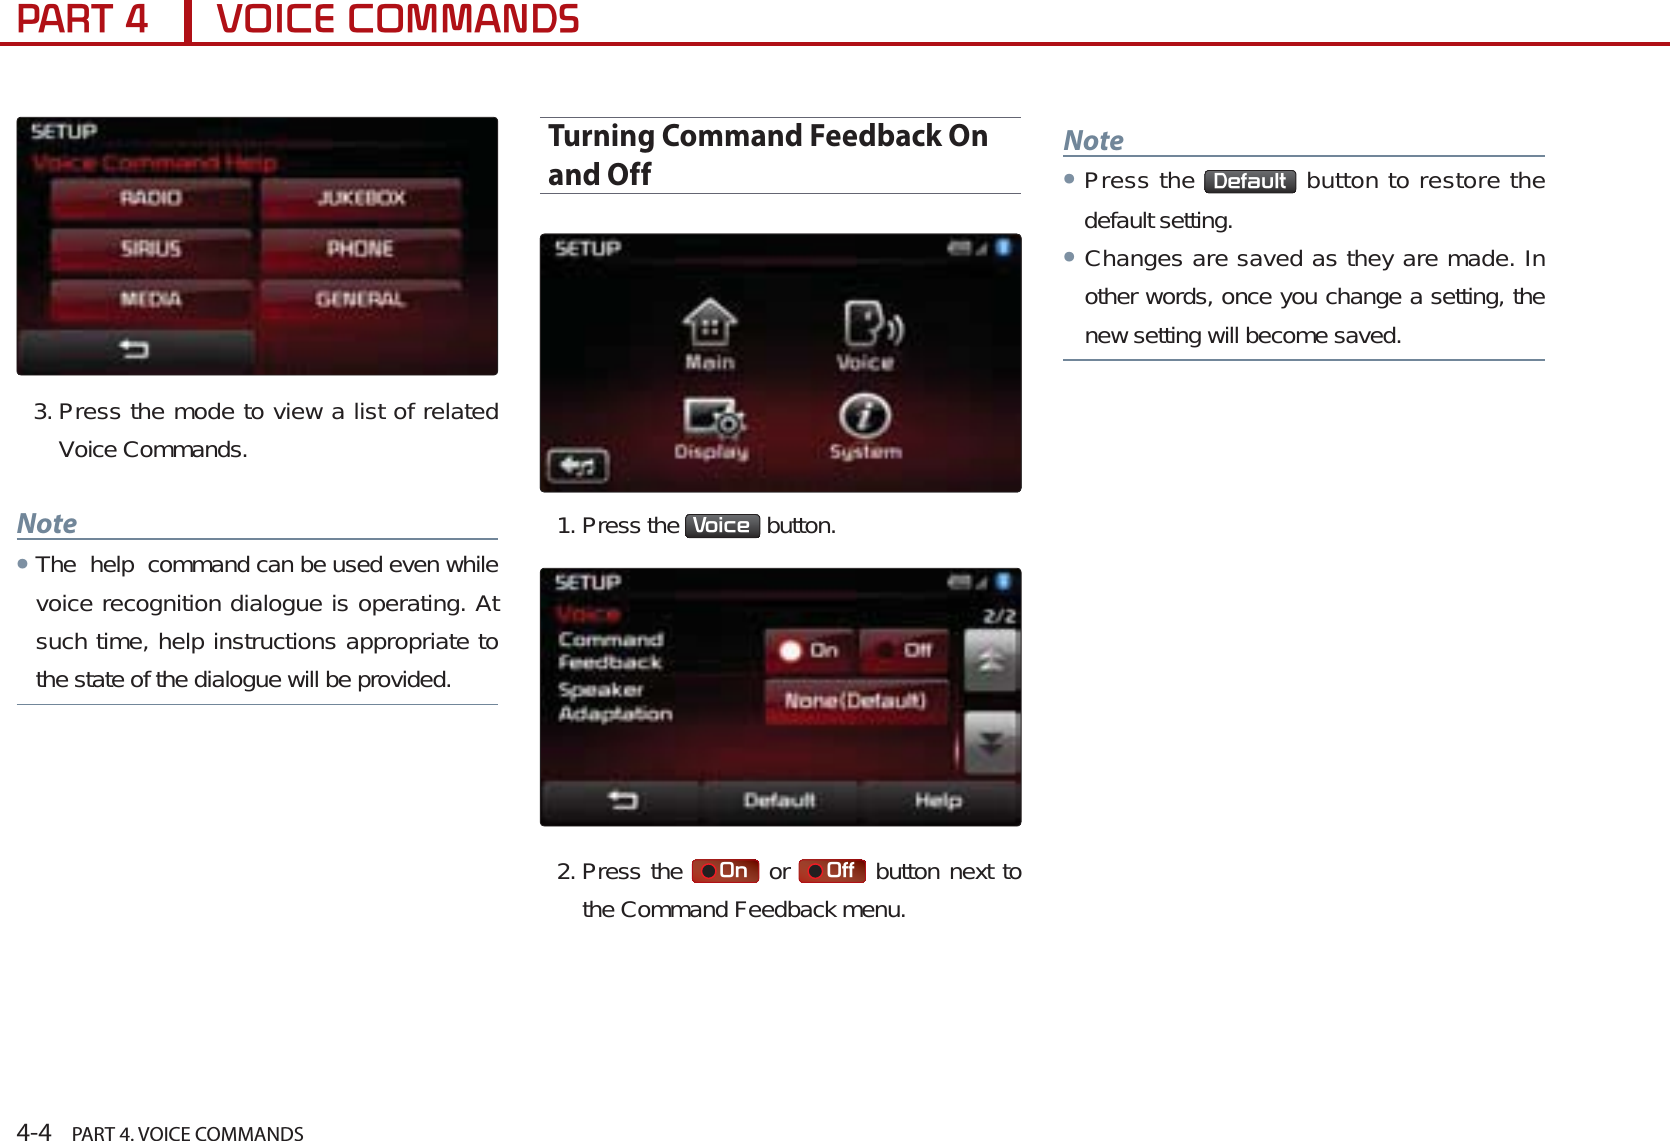
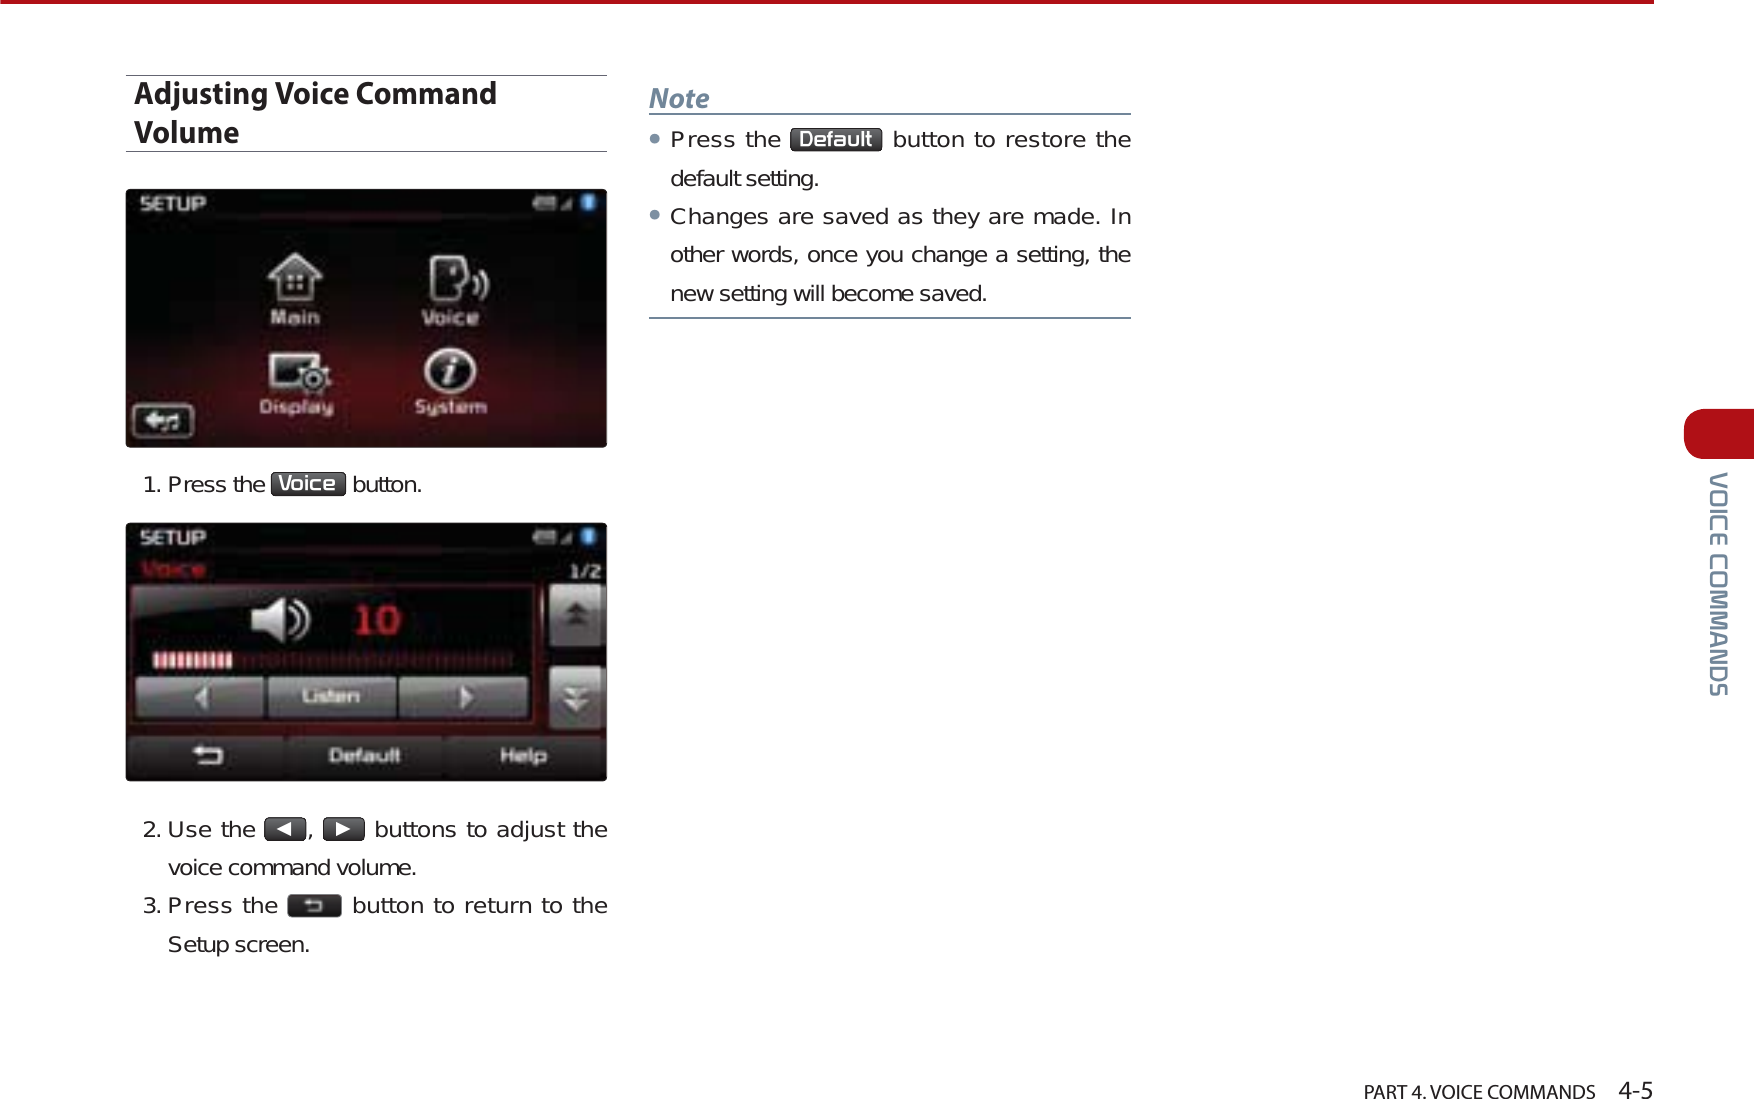
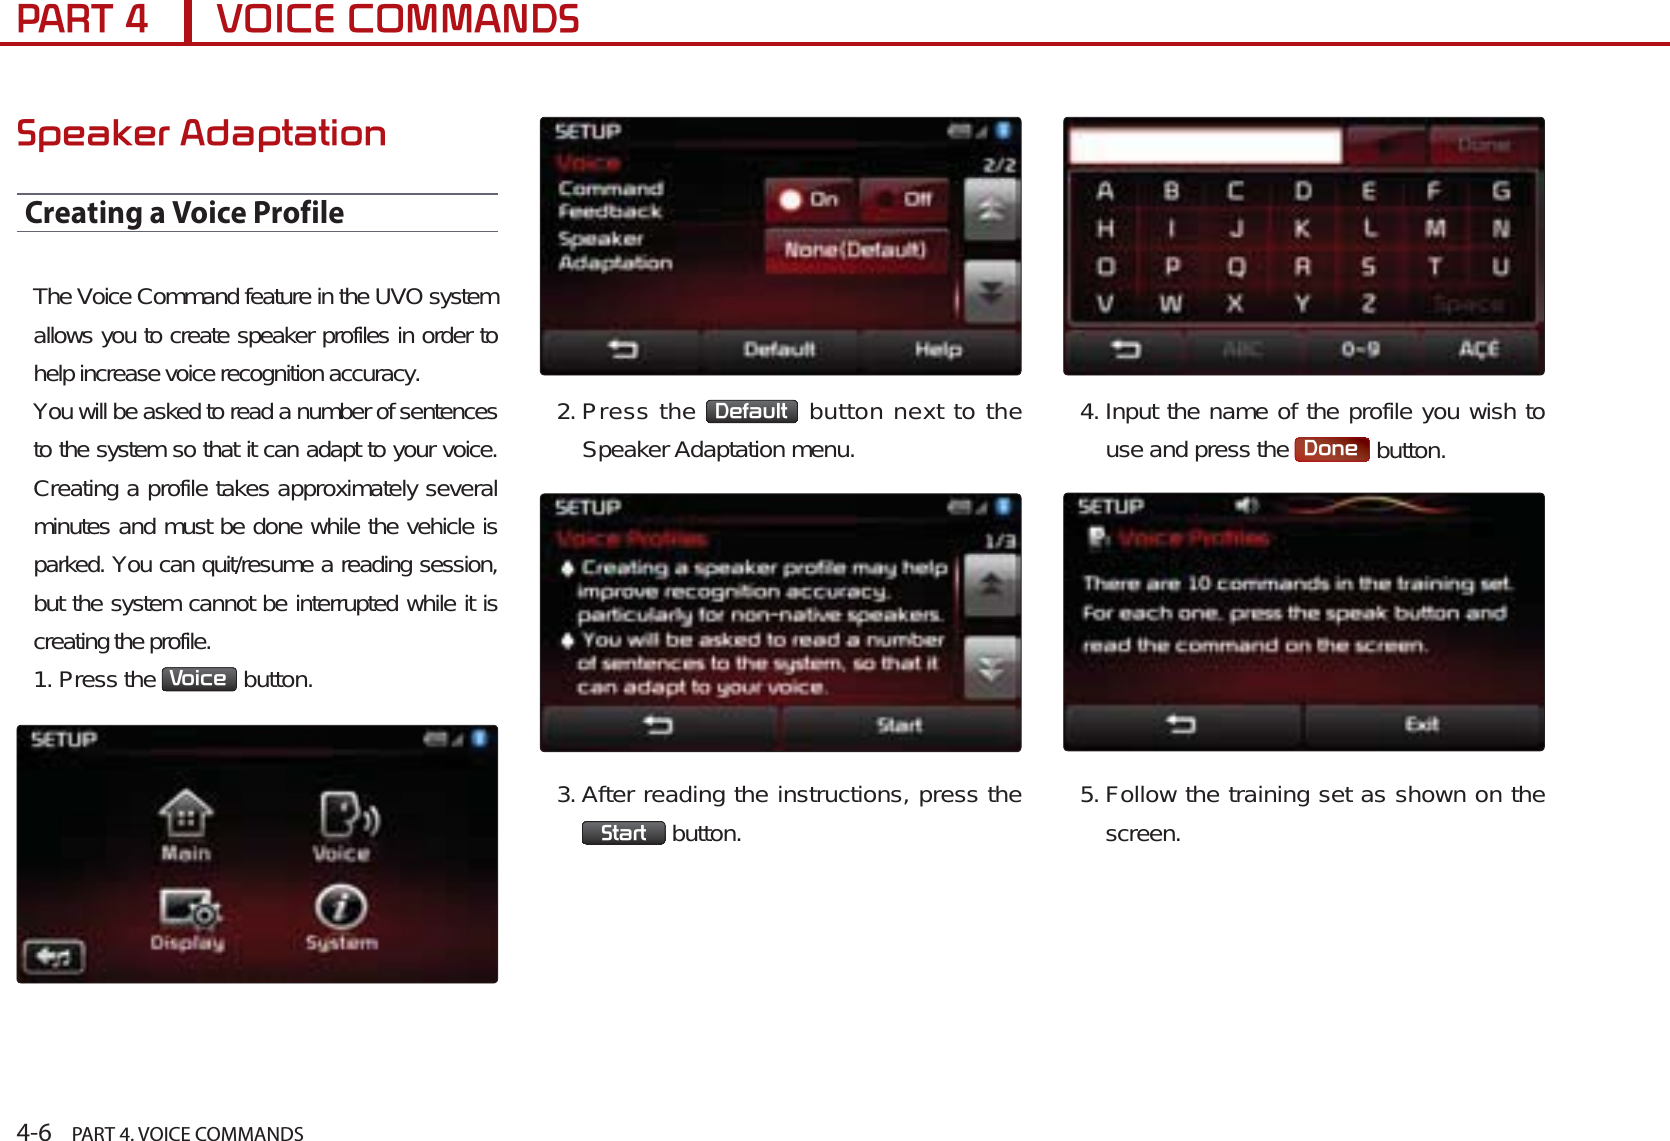
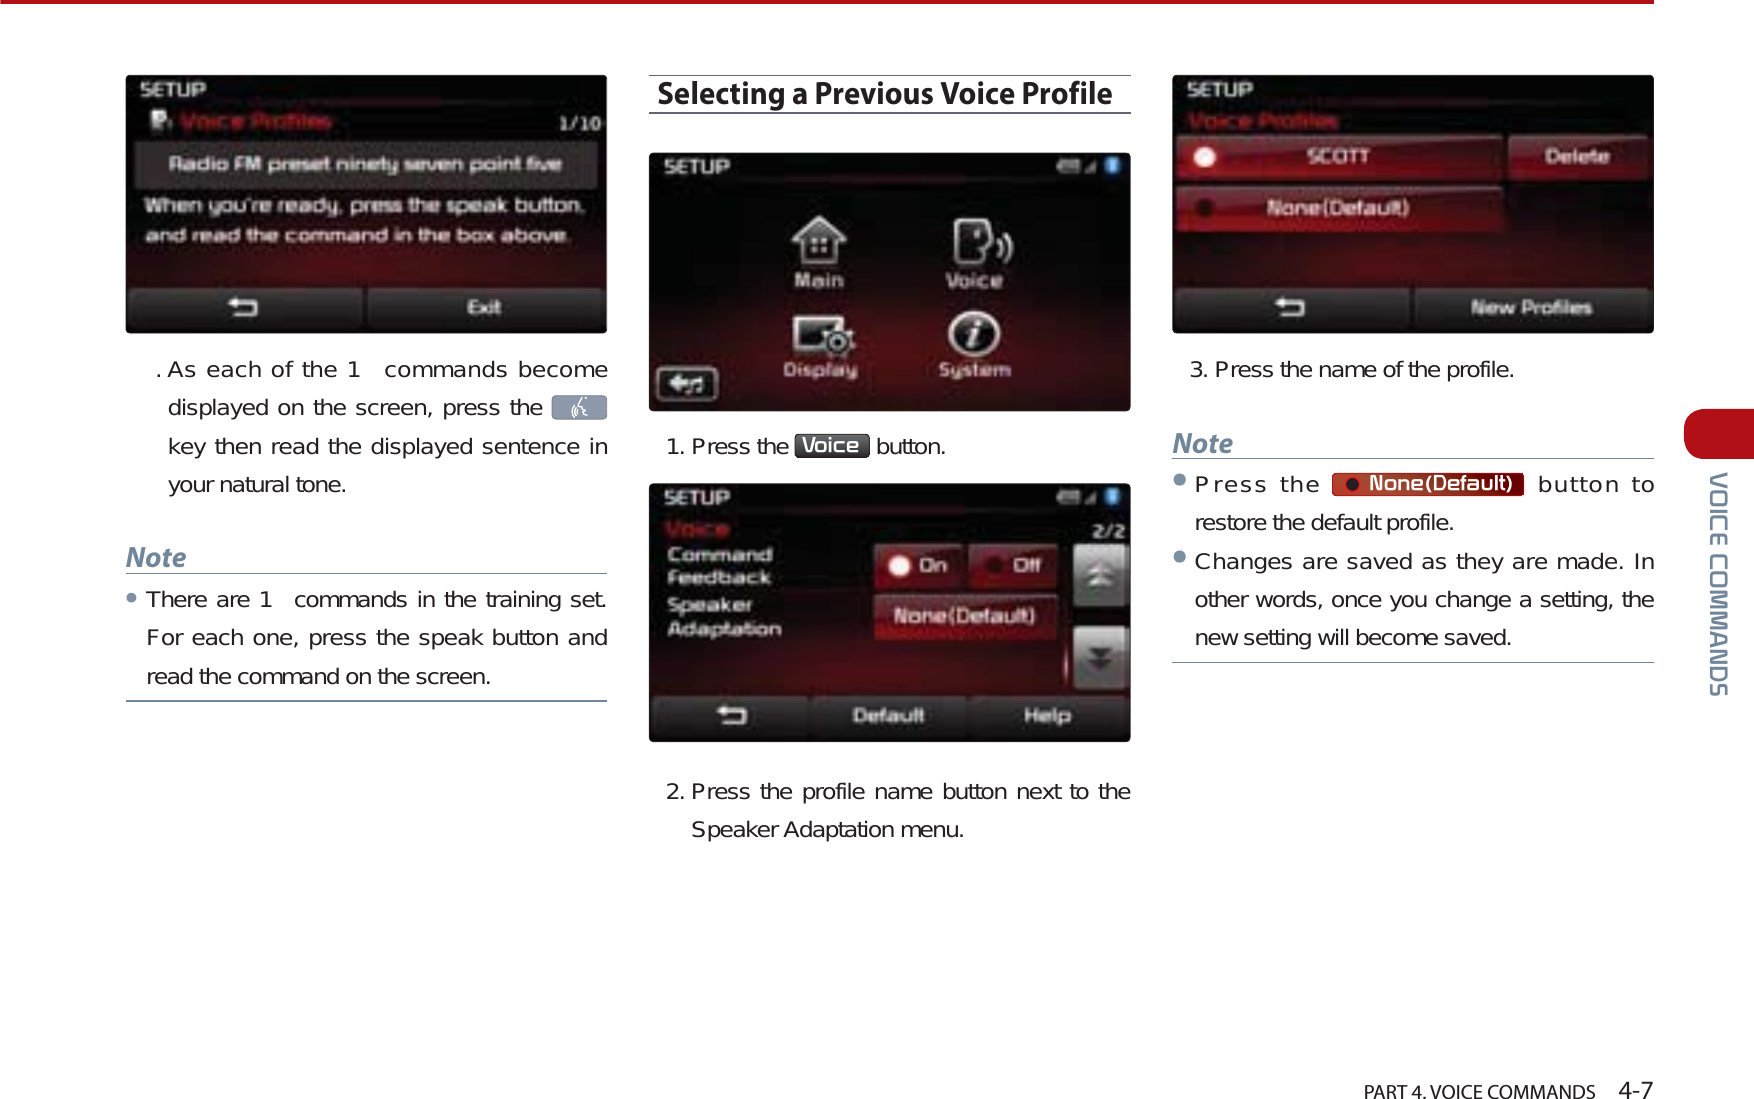
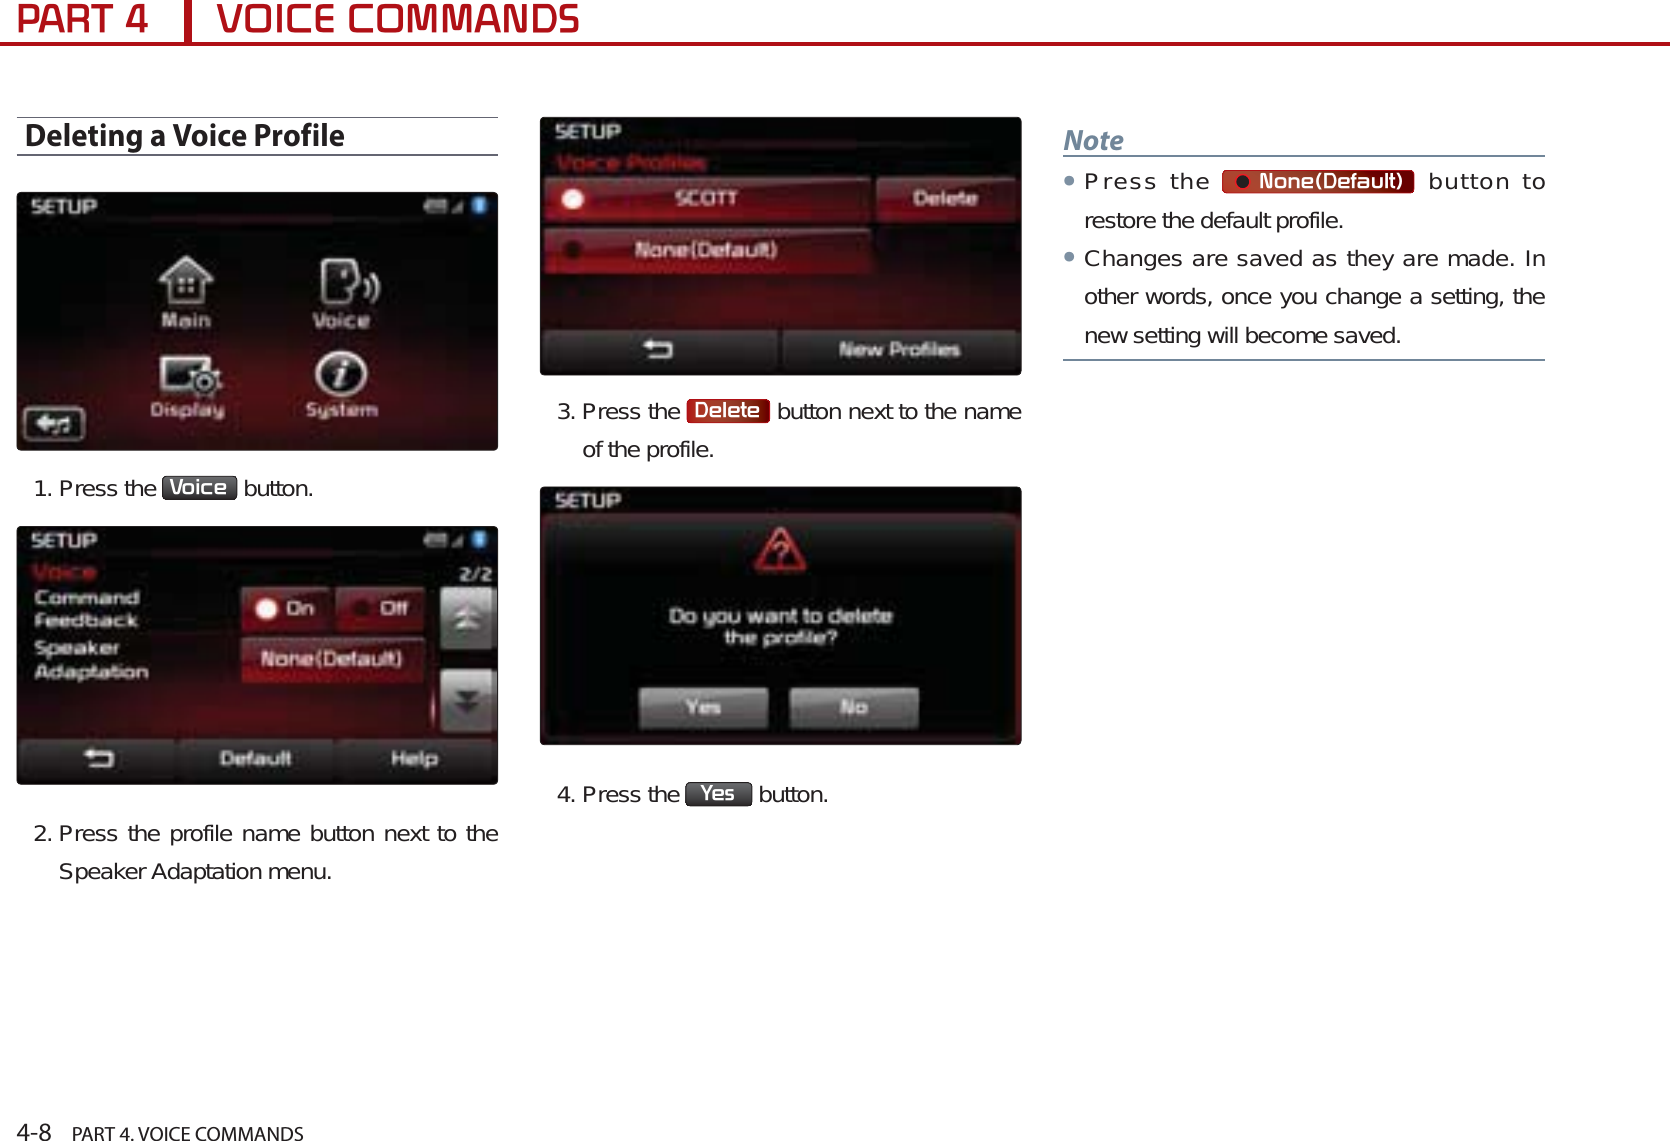
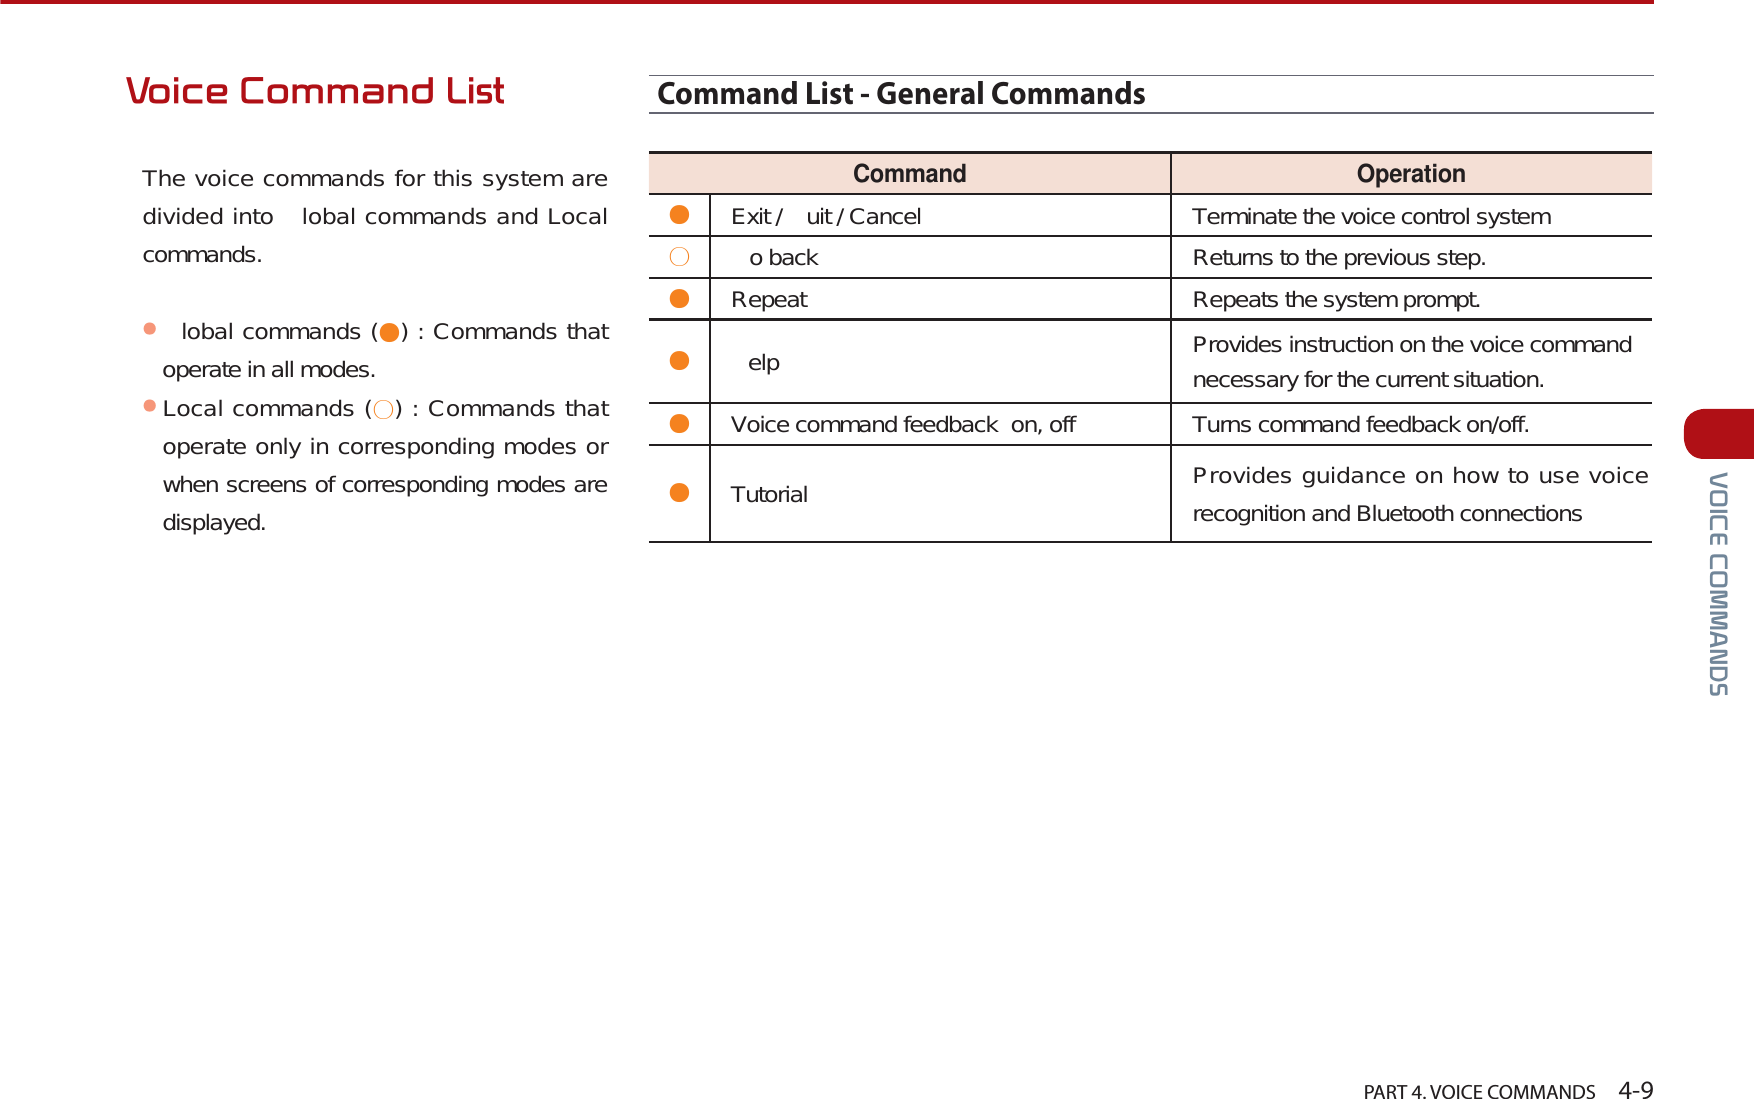
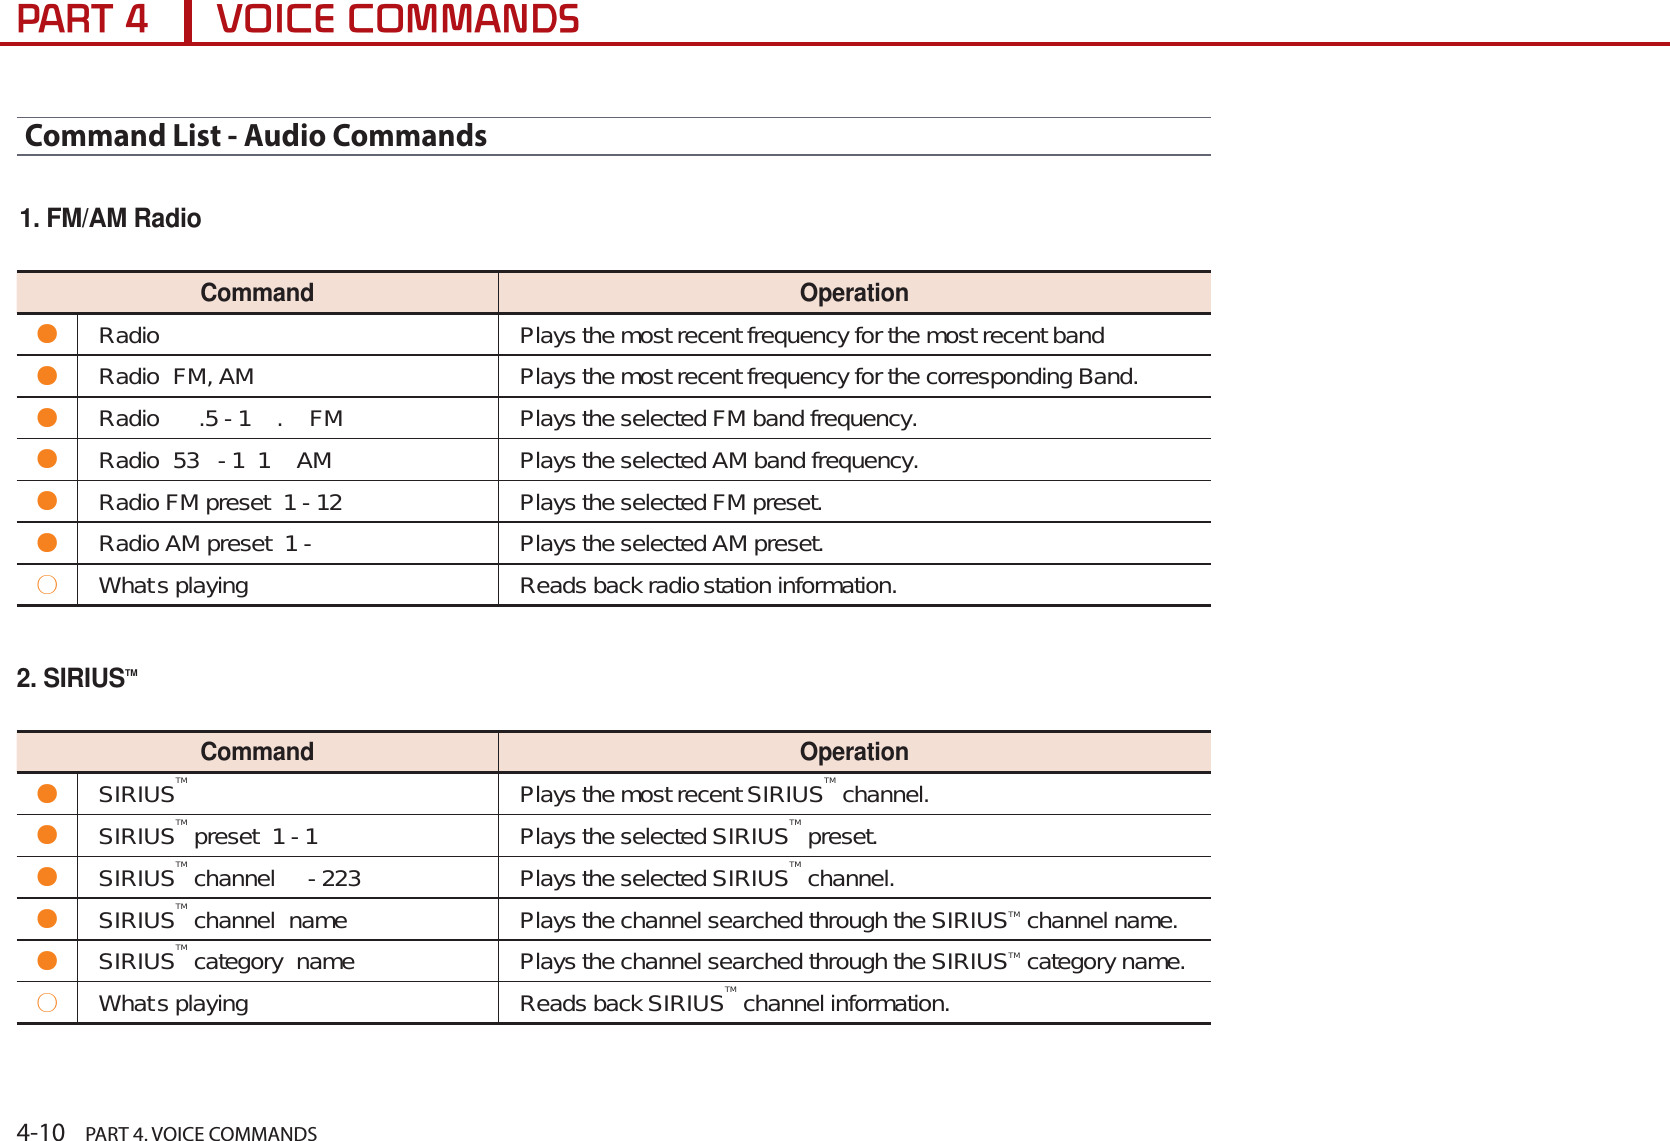
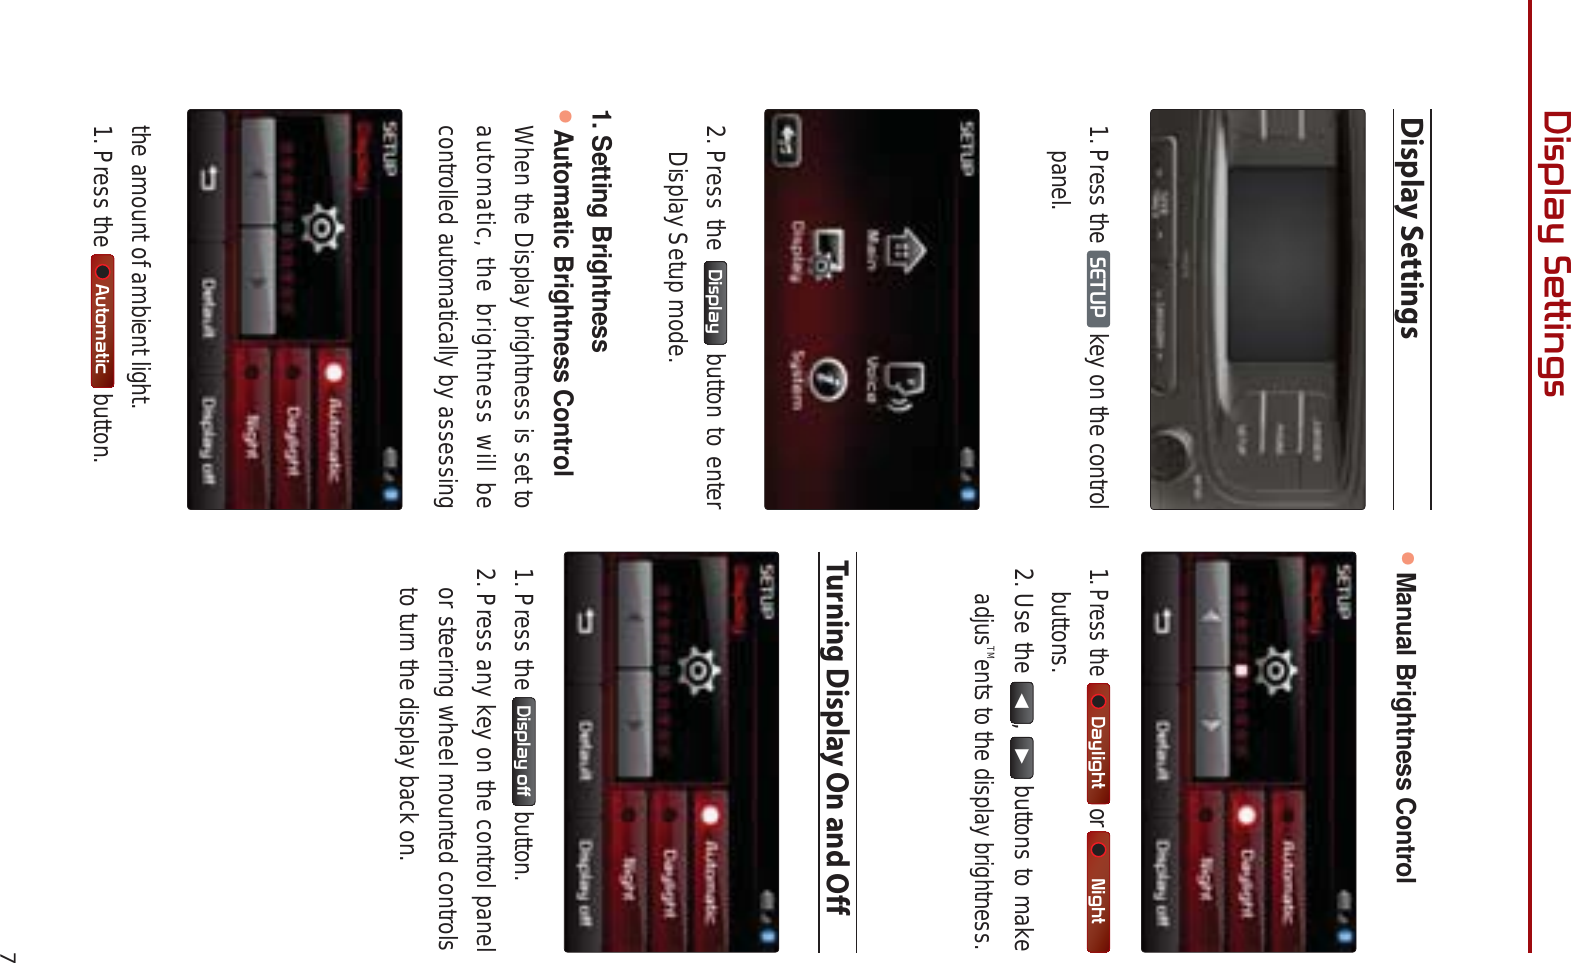
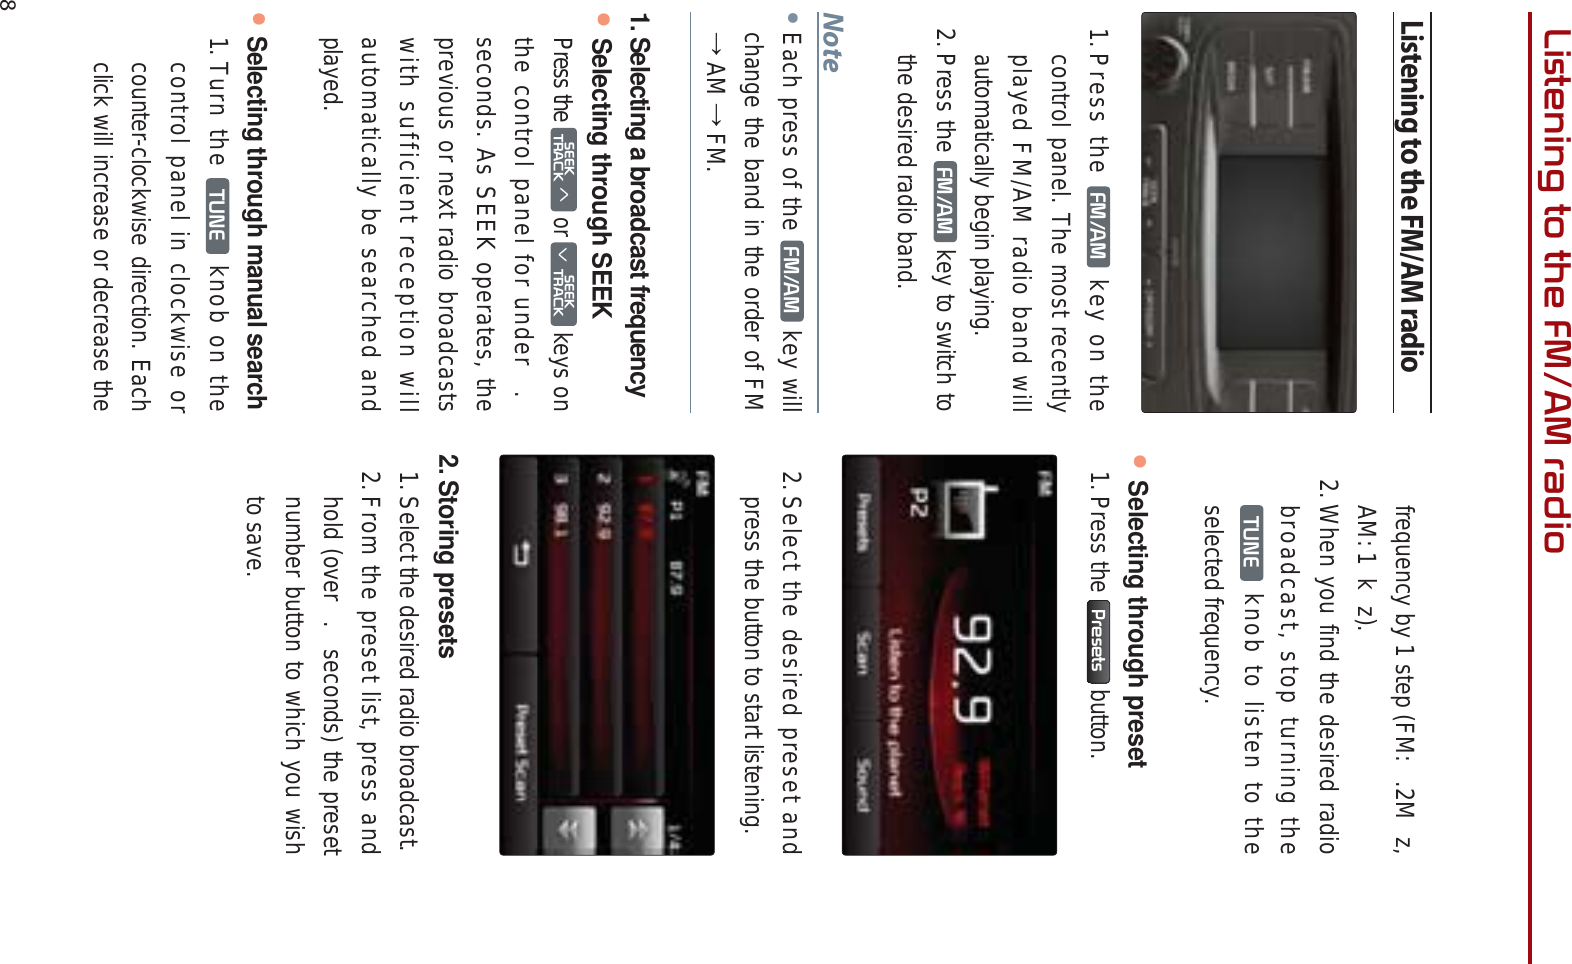
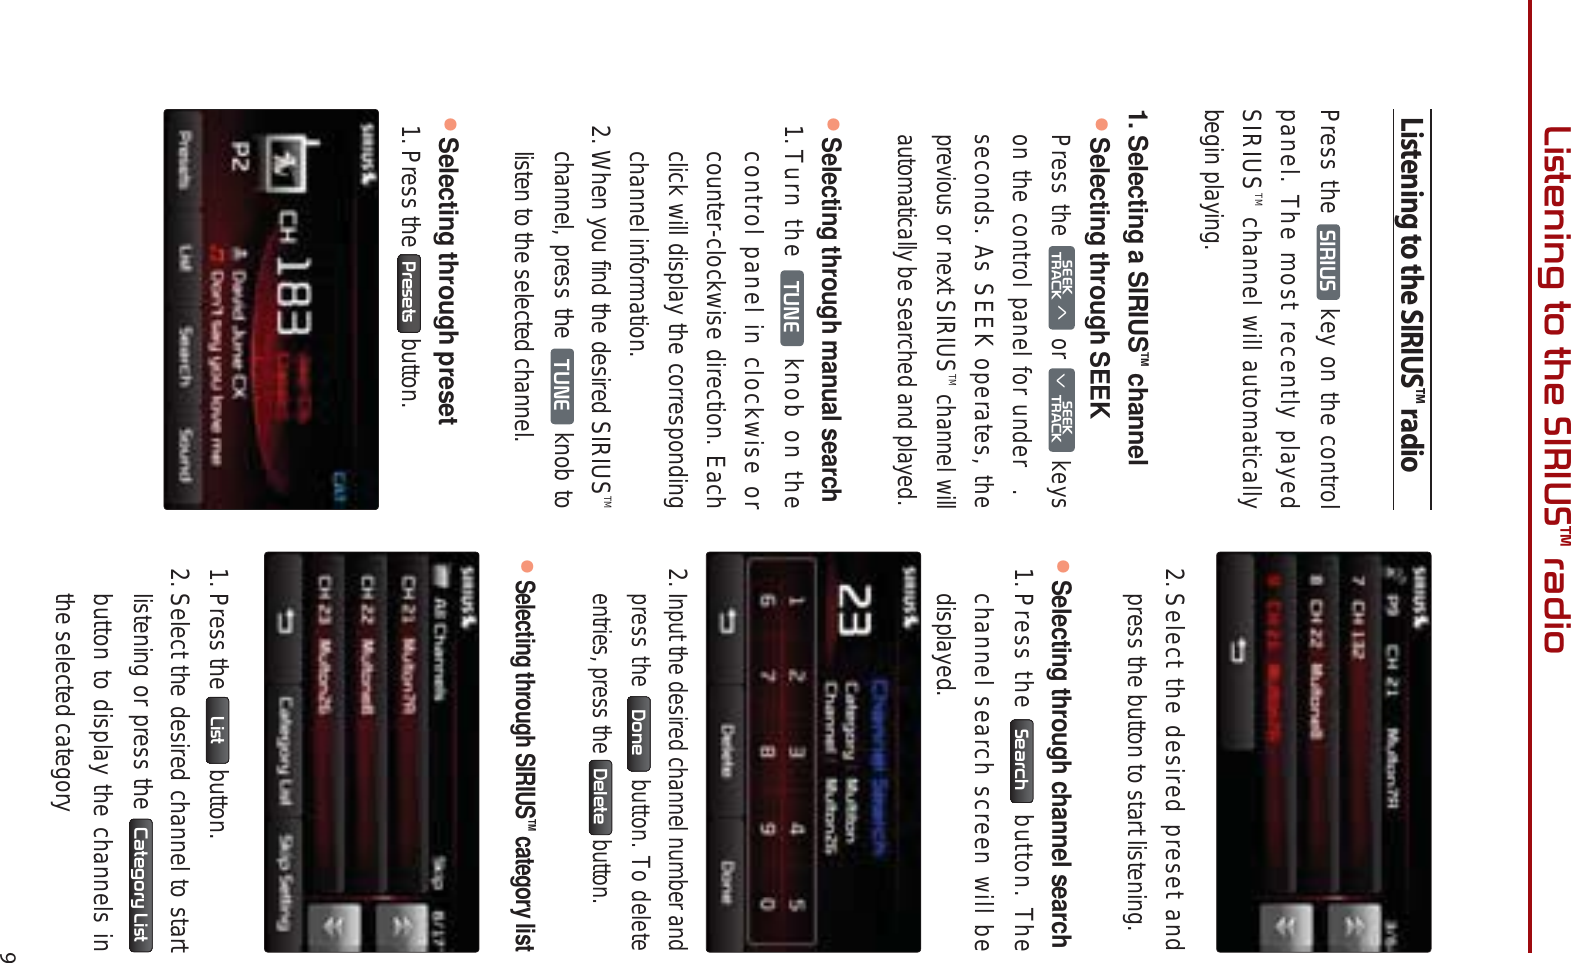
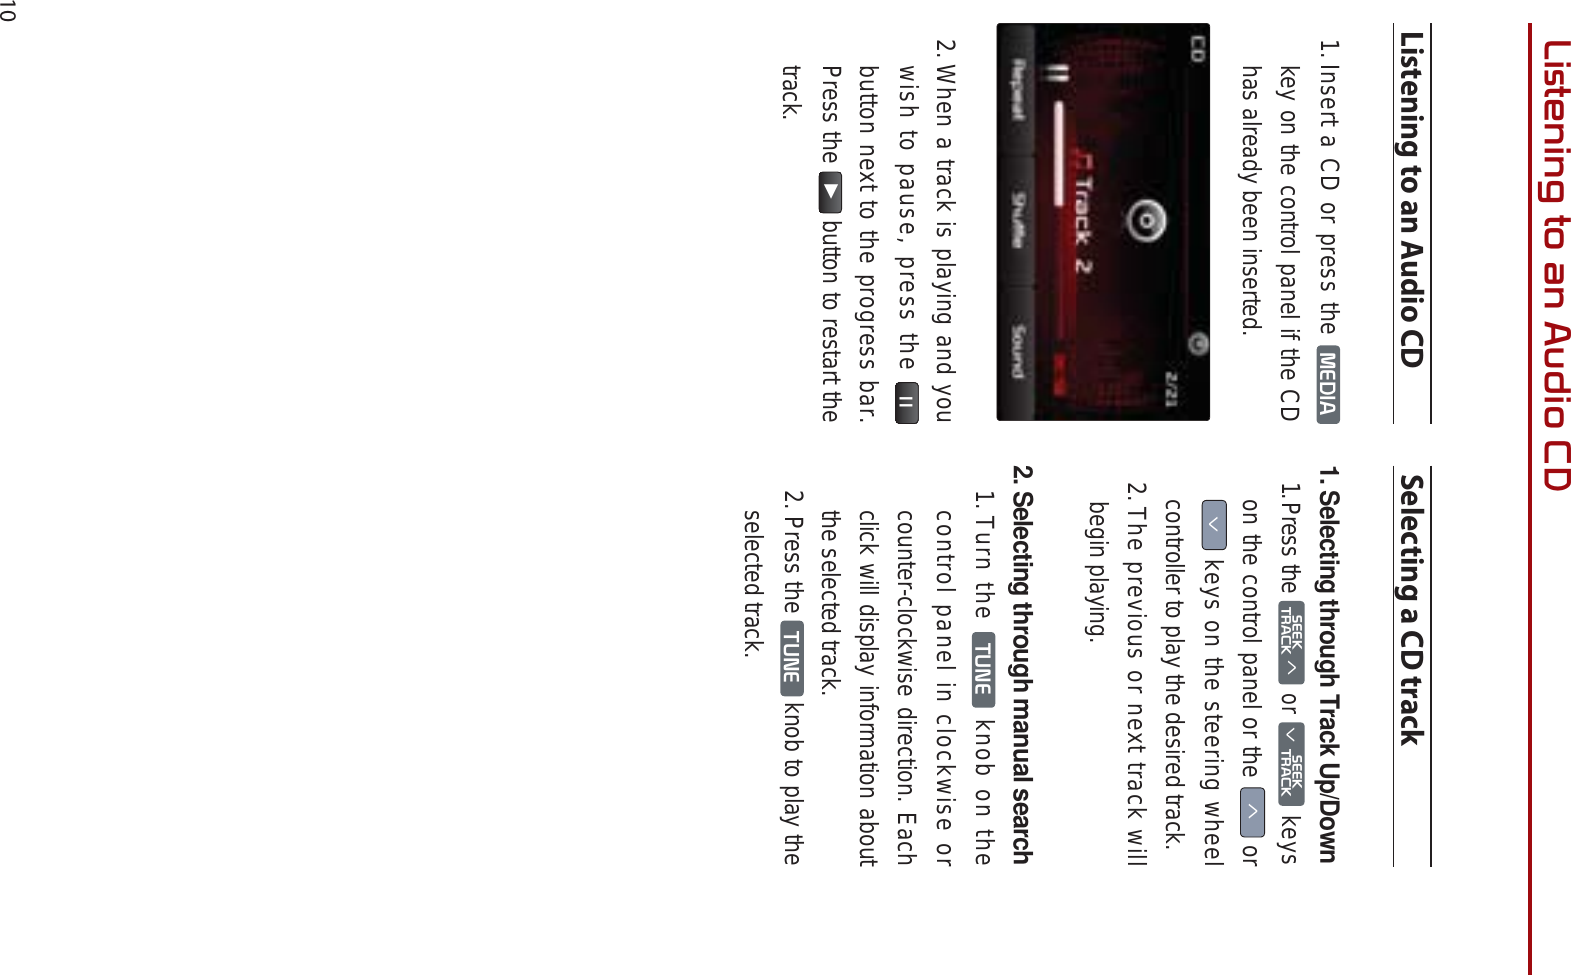
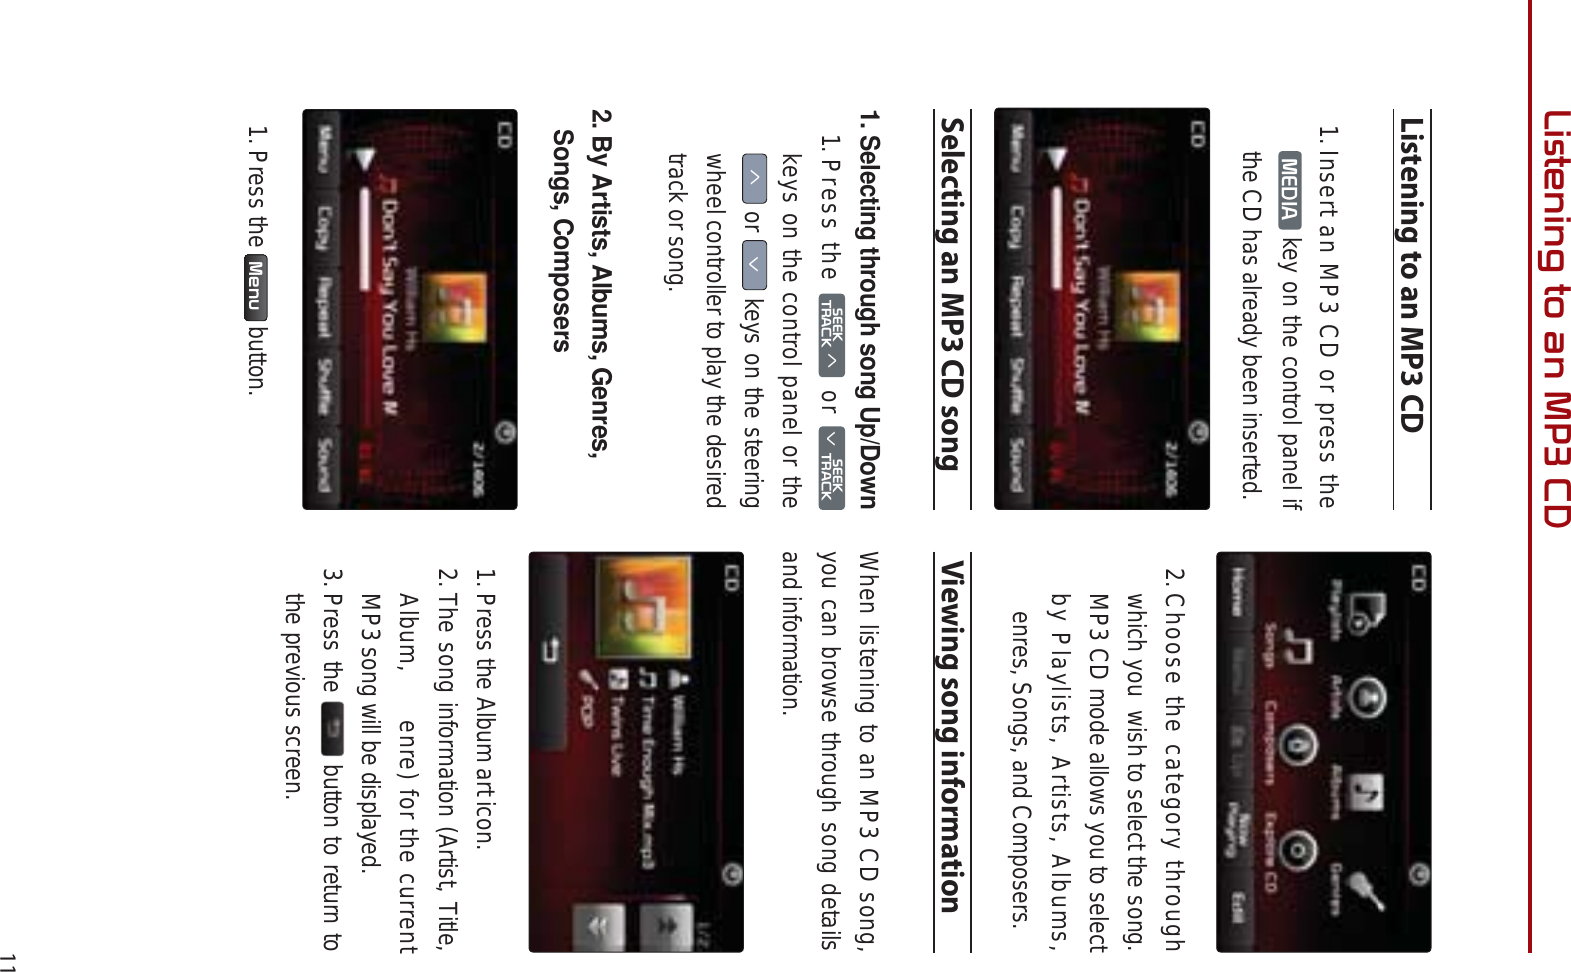
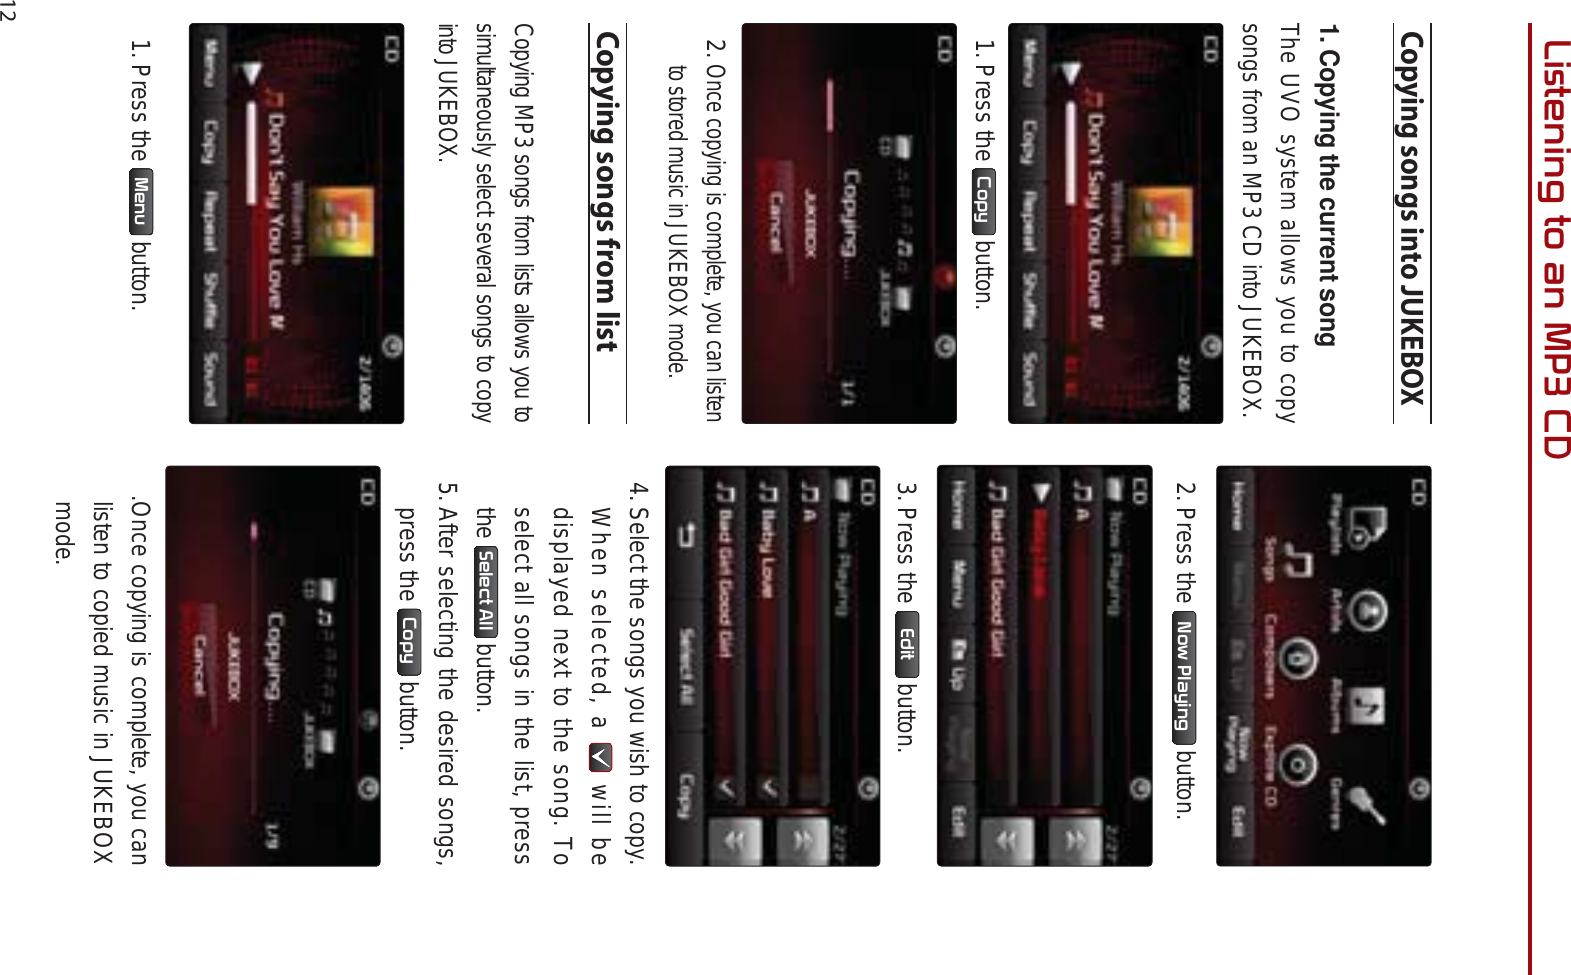
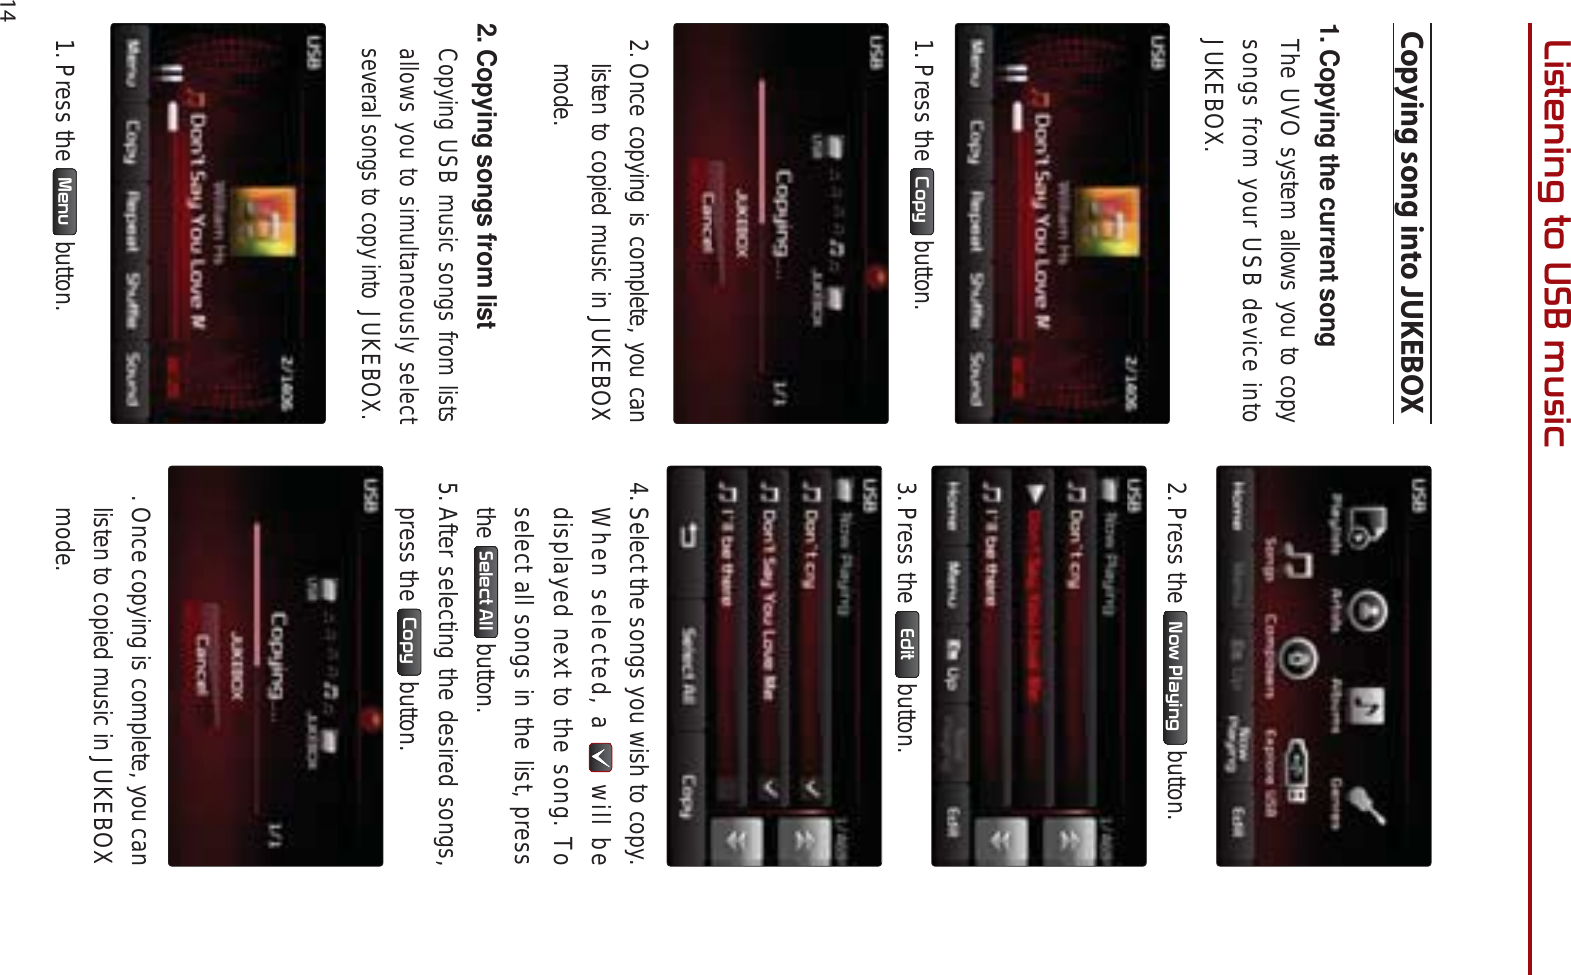
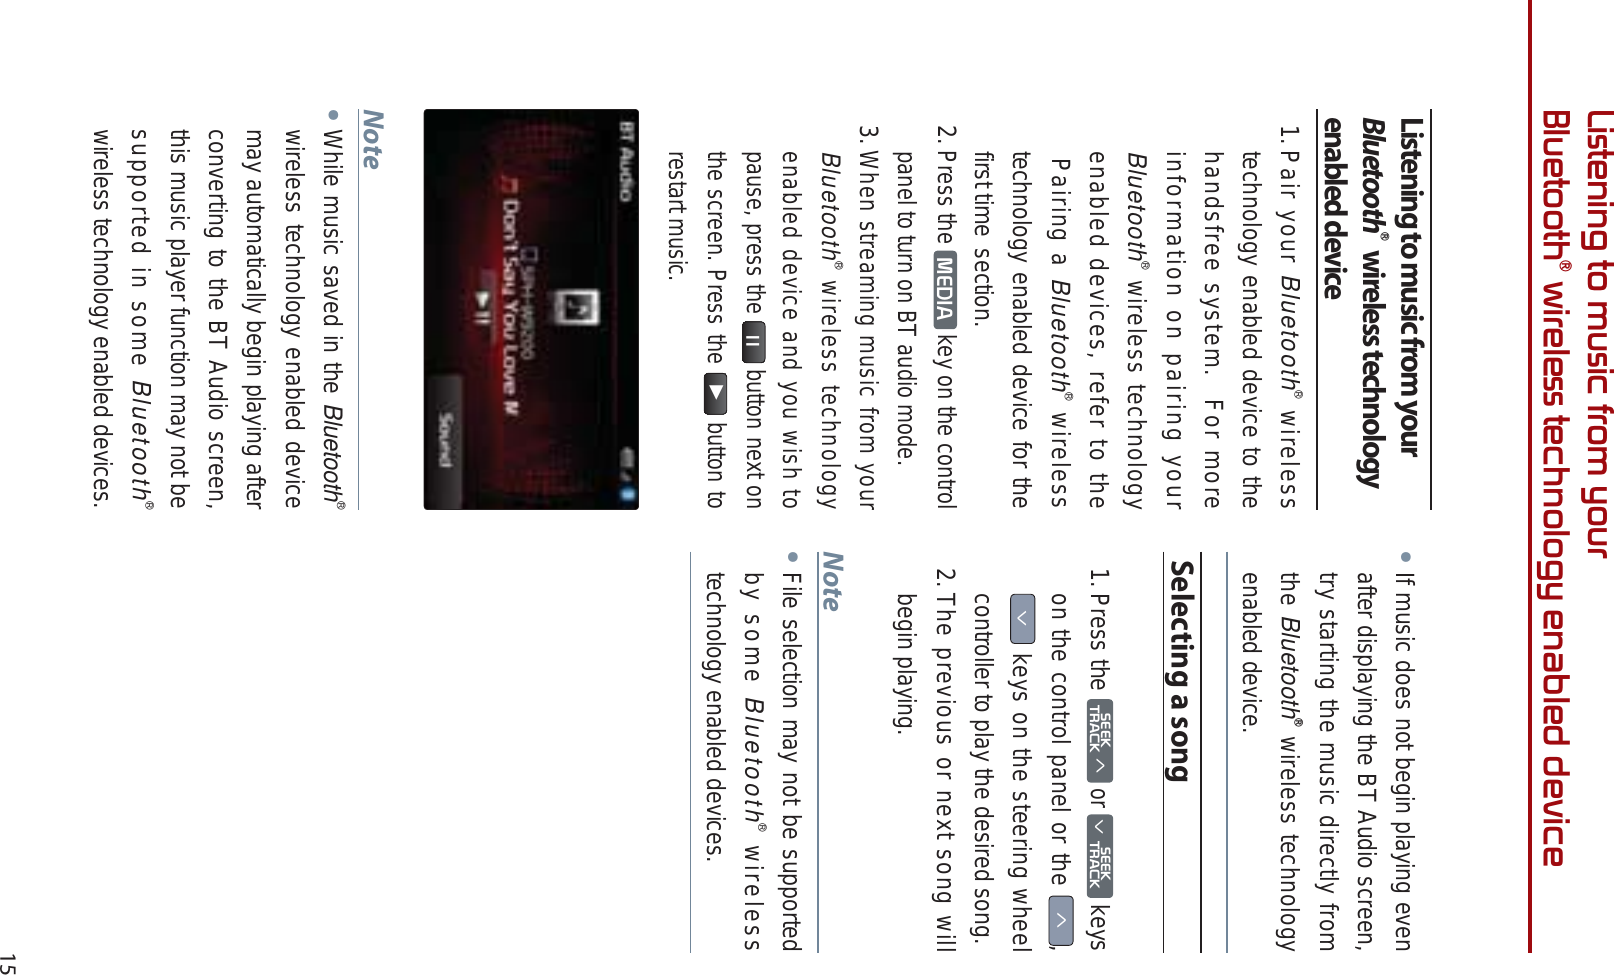
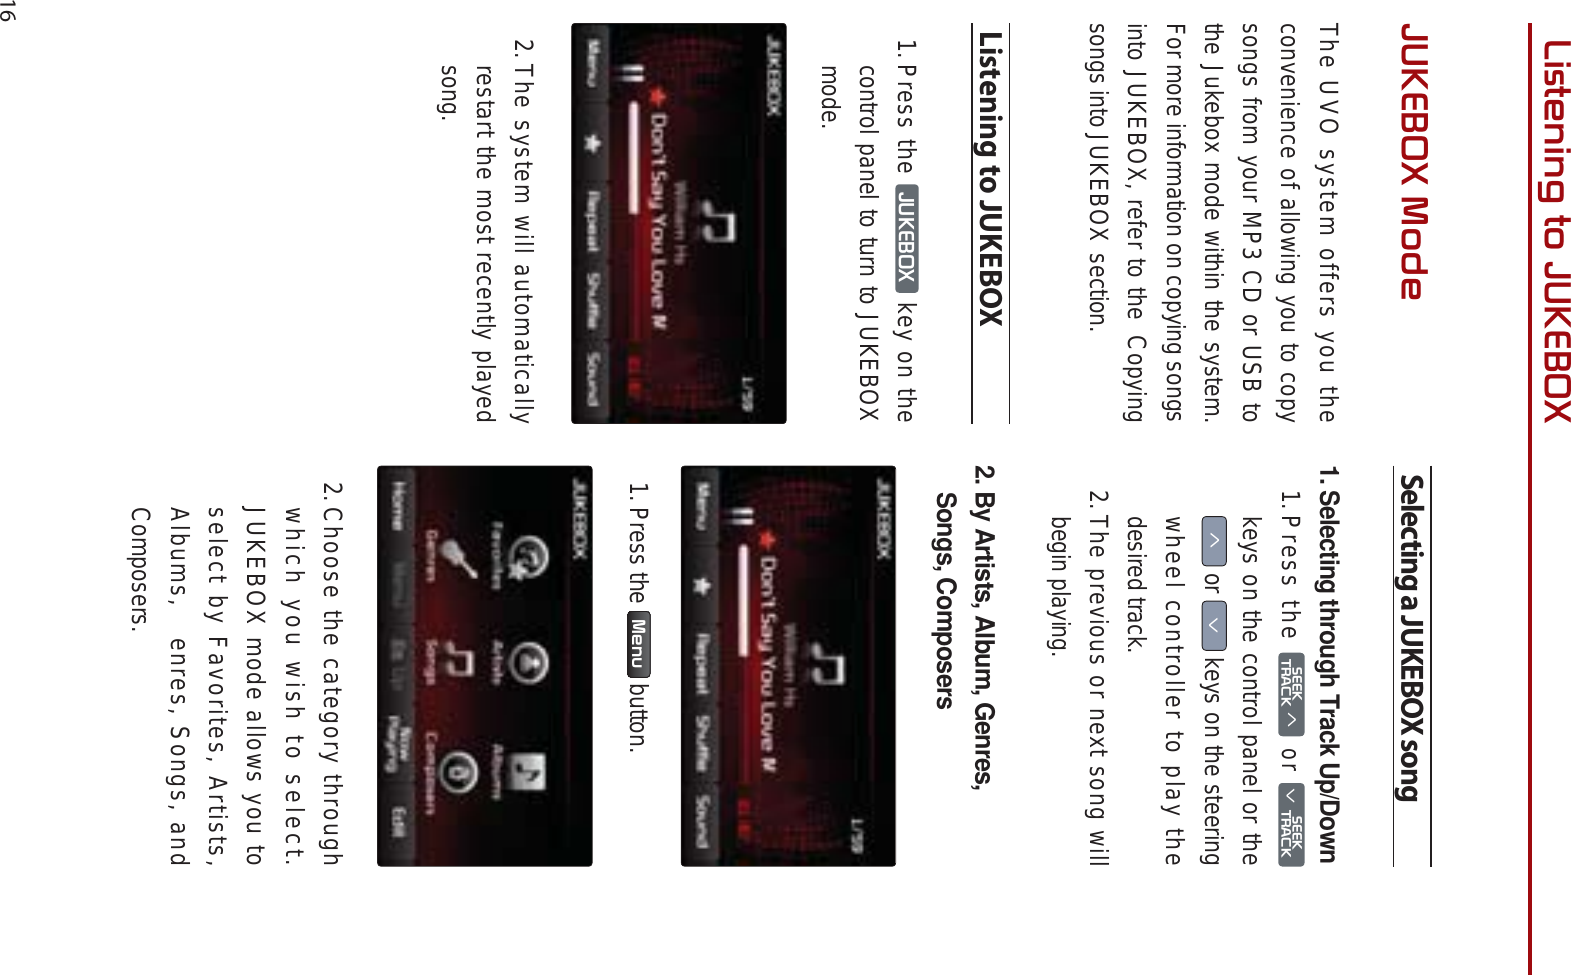
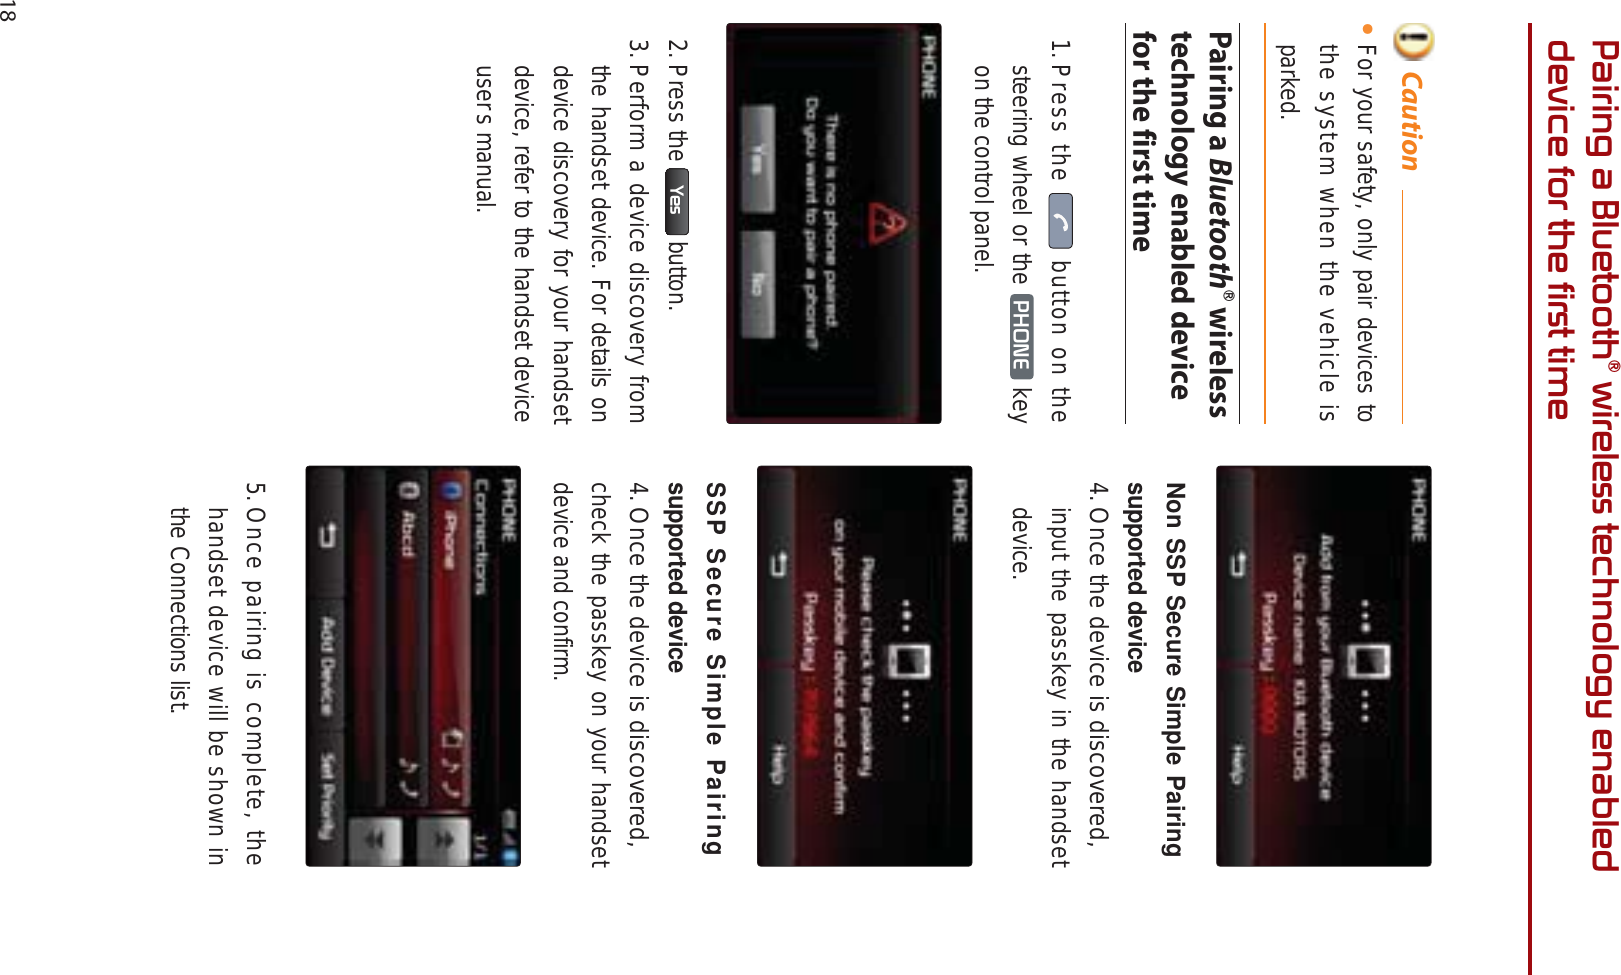
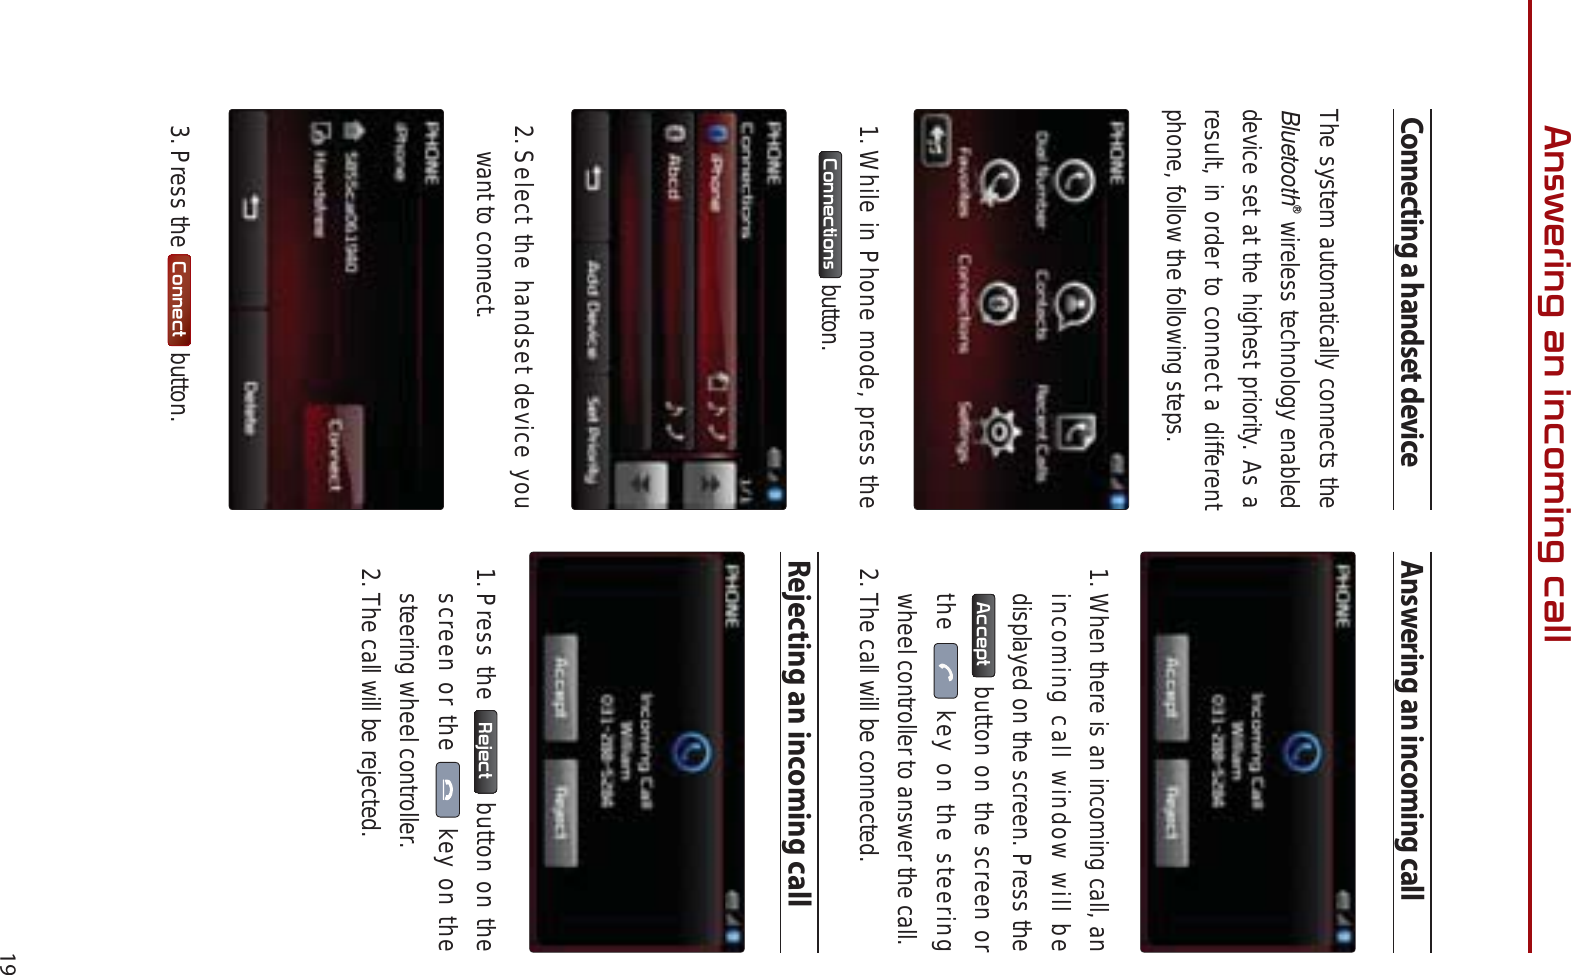
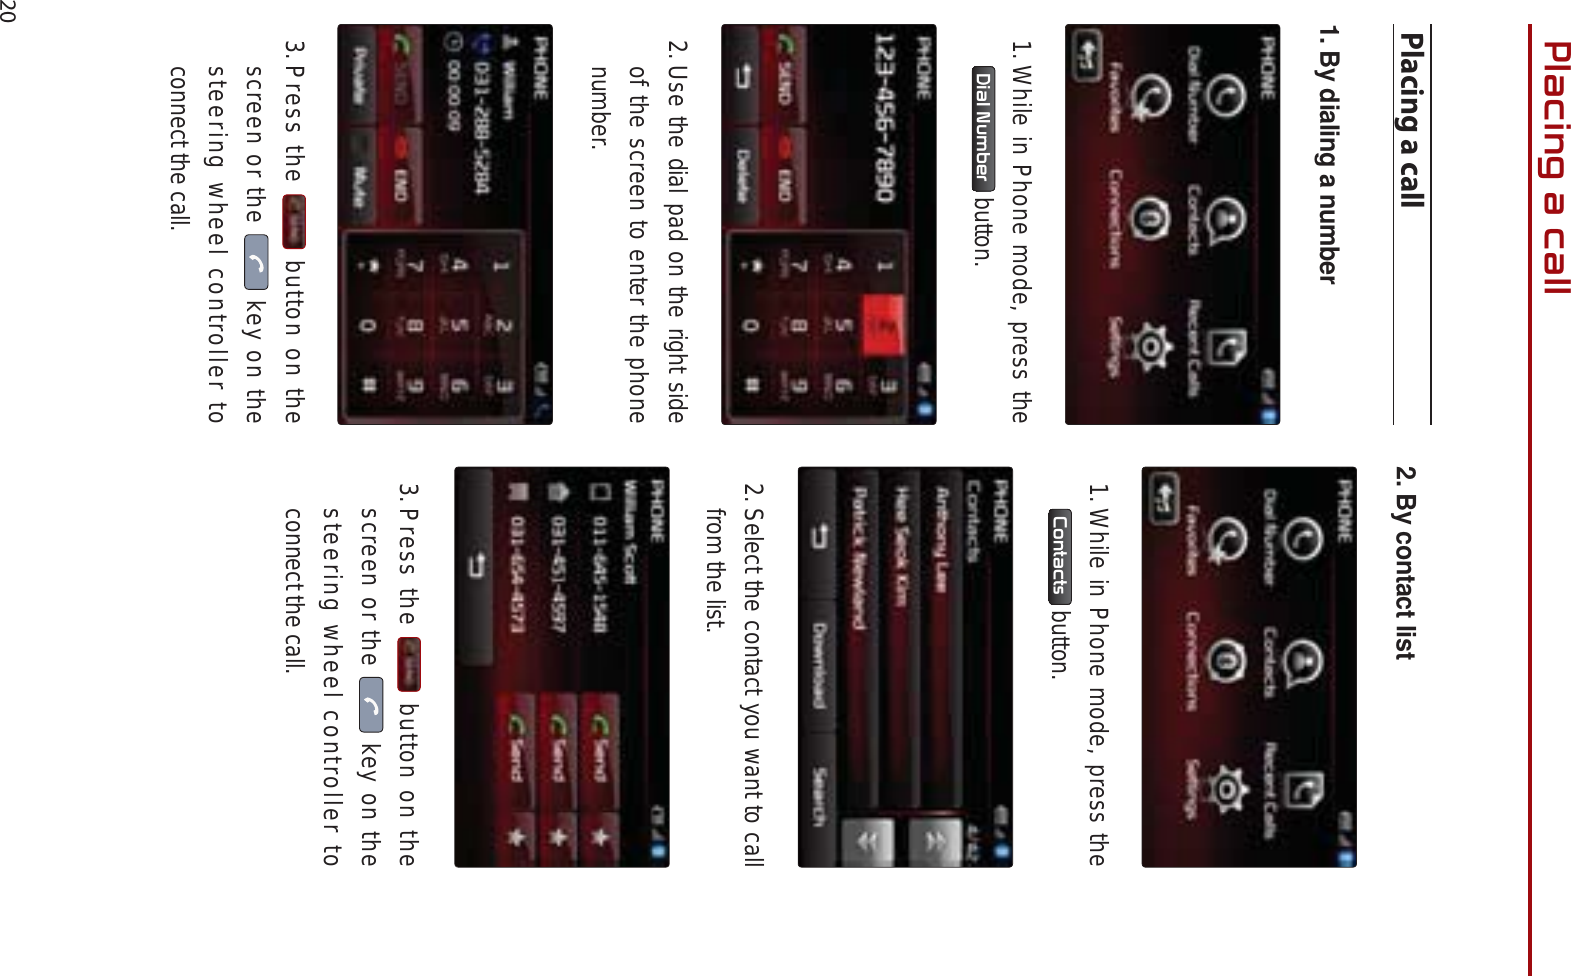
![PART 2. AUDIO FEATURES 2-31$8',2)($785(6]XQHp02'(About zune®1. Trademarkzune® is a registered trademark of Microsoft Corporation in the United States and or other countries.2. Connecting your zune® DeviceConnect your zune® device as shown in the picture. zune® Mode Screen and Features1Mode DisplayDisplays that the current mode is zune®mode.2MenuDisplays the categories and song lists for the zune®.3RepeatIf Repeat is operating, the current song will be repeated and the corresponding icon will be displayed.4ShuffleIf Shuffle is operating, the songs will be played in random order and the corre-sponding icon will be displayed.5SoundEnters Sound Setup.6Play TimeDisplays the play time.7Artist nameDisplays the artist name.8Song TitleDisplays the song title.9Album Art IconWhen pressed, displays information about the current song (artist, title, album and other information).10Current/Total Track NumberDisplays the current track number and total number of tracks on the current playing list. 12 3 4 5679108](https://usermanual.wiki/HYUNDAI-MOBIS/AC1A0C6AN/User-Guide-2247328-Page-55.png)