HYUNDAI MOBIS AC230C6AN DIGITAL CAR AUDIO SYSTEM User Manual
HYUNDAI MOBIS CO., LTD. DIGITAL CAR AUDIO SYSTEM
UserManual.wiki
>
HYUNDAI MOBIS
>
AC230C6AN User Manual
User manual
Navigation menu
Upload a User Manual
Namespaces
Wiki Guide
HTML
PDF
Info
Views
User Manual
Discussion / Help
Navigation
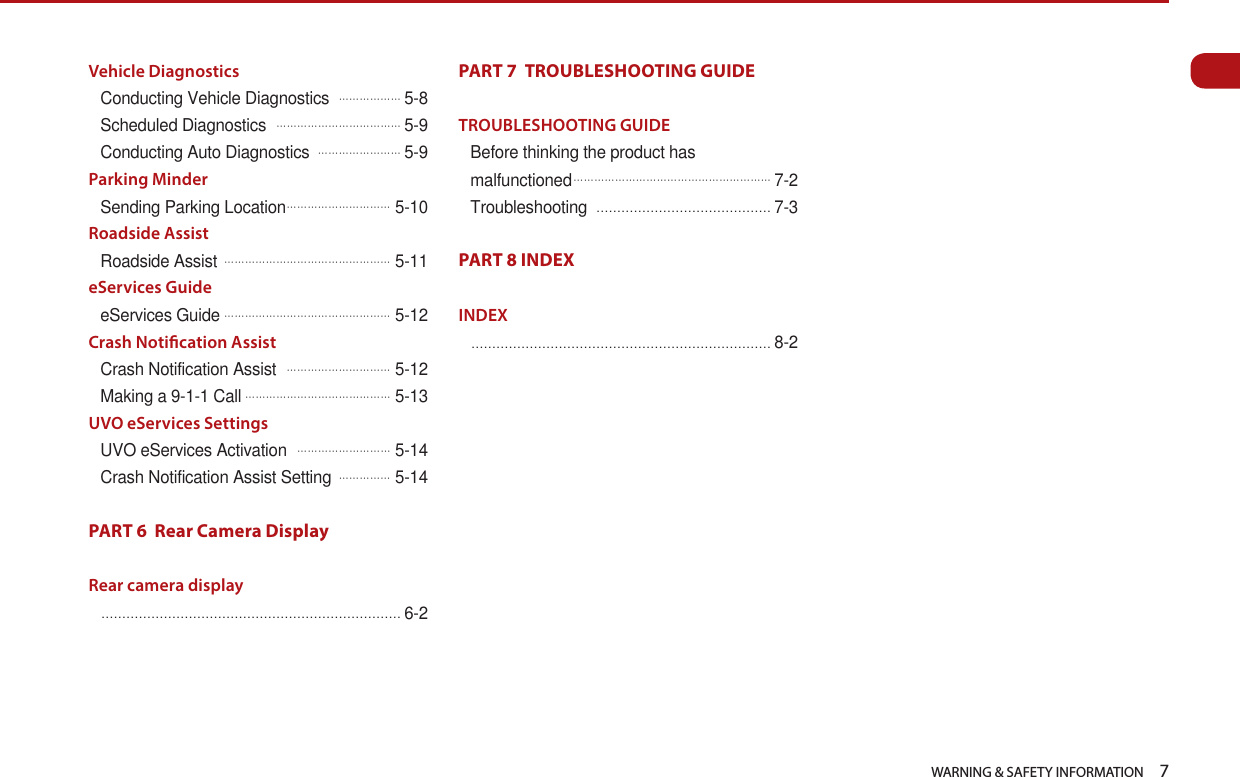


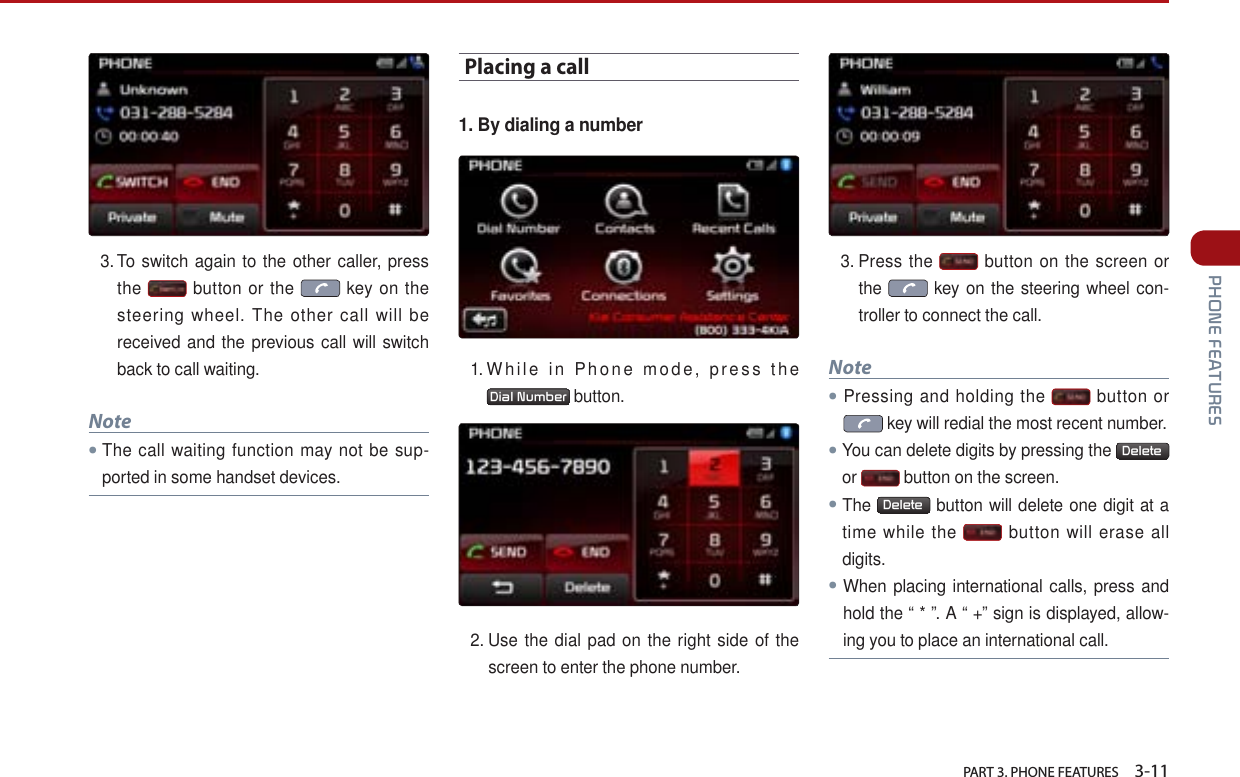


![7-2 PART 7. Troubleshooting guidePART 7 Troubleshooting guideTroubleshooting guideBefore thinking the product has malfunctioned1. Errors which occur during the operation or installation of the device may be mistaken as a malfunction of the actual device.2. If you are having problems with the device, try the suggestions listed below.3. If the problems persist, contact your point of purchase or the nearest service center.Problem FunctionThere are small red, blue, or green dots onthe screenBecause the LCD is manufactured with technology requiring high point density, a pixeldeficiency or lighting may occur within 0.01% of total pixels.The sound or image is not working●Has the Switch for the vehicle been turned to [ACC] or [ON]?●Has the SYSTEM been turned OFF?The sound is not working●Has the volume been set to a low level?●Has the volume been set on mute?When the power is turned on, thecorners of the screen are dark●The display looking somewhat darker after prolonged periods of use is normal with LCD panels.●If the screen is very dark, contact your point of purchase or the nearest service center.Sound is working from only one speaker●Is the position of FAL/BAL sound controls or volume adjusted to only one side?Sound does not work in AUX mode Is the audio connector jacks fully inserted into the AUX terminal?](https://usermanual.wiki/HYUNDAI-MOBIS/AC230C6AN/User-Guide-2249506-Page-128.png)