Hanbit Electronics STORIUM USB Drive User Manual Manual En3 0
Hanbit Electronics Co., LTD. USB Drive Manual En3 0
UserManual.wiki
>
Hanbit Electronics
>
STORIUM User Manual
users manual
Navigation menu
Upload a User Manual
Namespaces
Wiki Guide
HTML
PDF
Info
Views
User Manual
Discussion / Help
Navigation
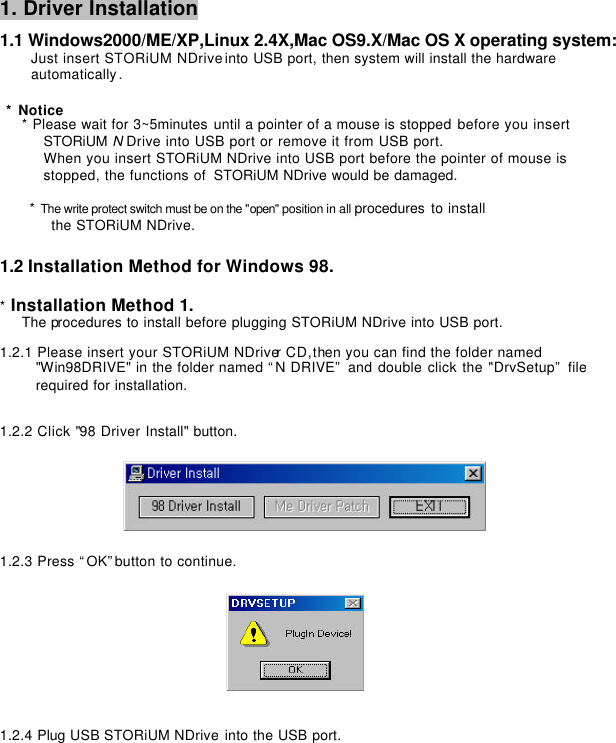
![USB STORiUM DRIVE HANBiT Electronics Co., LTD. [www.hbe.co.kr] Portable Flash Memory Disk Drive USER’S MANUAL](https://usermanual.wiki/Hanbit-Electronics/STORIUM/User-Guide-283192-Page-1.png)
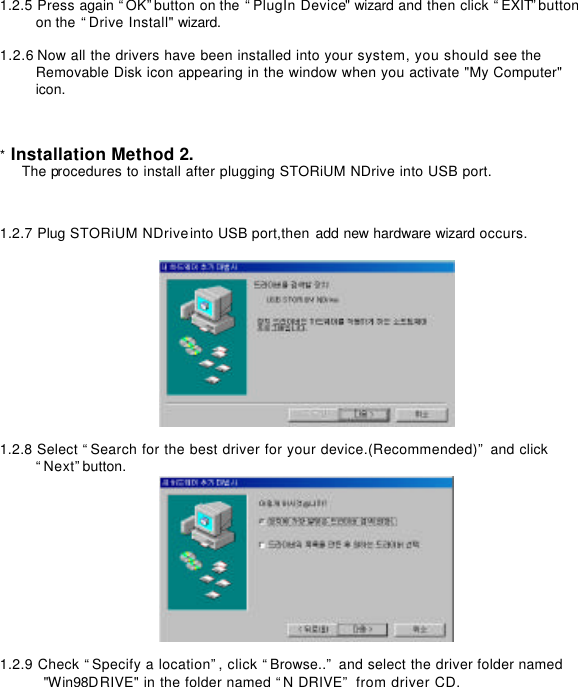
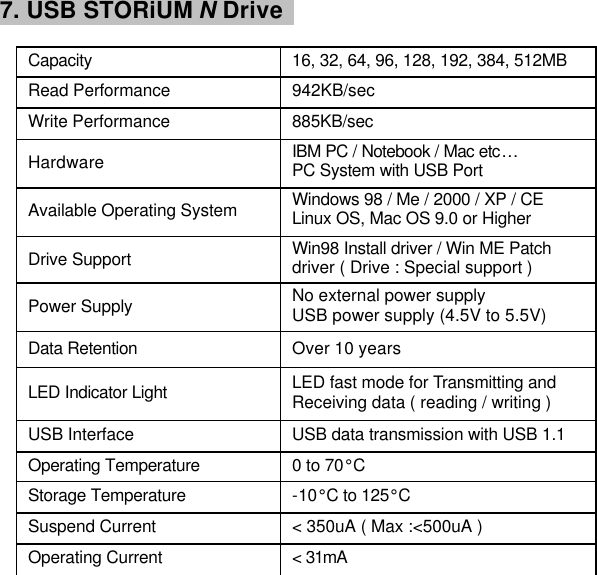
![[ INDEX ] 1. Installation for Windows98 ……...…………………………..3 2. Format …………………..………………………………………5 3. Password …………………………….……………………….. 6 4. Change password …………………………………………….8 5. USB STORiUM N Drive Specification …………………….. 9 6. Warranty Card …………………………………………………10 ■ Contents Please check whether the package contains following items ! 1. USB STORiUM N DRIVE x 1EA 2. Installation CD-ROM x 1EA 3. Neck Strap x 1EA 4. User’s Manual & Warranty Card x 1EA .](https://usermanual.wiki/Hanbit-Electronics/STORIUM/User-Guide-283192-Page-2.png)