Harman Consumer RD0200SZ RF Remote Control User Manual
Harman Consumer, Inc. RF Remote Control
User Manual
User Guide
English
Deutsch
Français
Español
Italiano
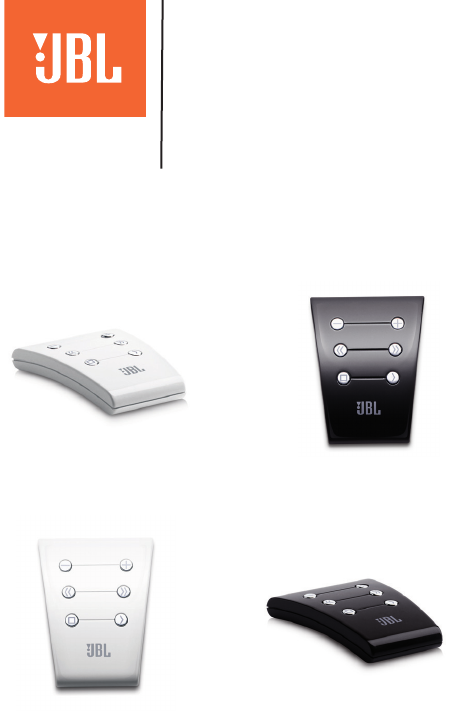
jbl six button remote
RF Remote control

• Read these instructions.
• Keep these instructions.
• Heed all warnings.
• Follow all instructions.
• Do Not use this apparatus near water.
• Clean only with dry cloth.
• Do Not block any ventilation openings. Install in accordance with the manufacturer’s instructions.
• Do Not install near any heat sources such as radiators, heat registers, stoves, or other apparatus (including ampliers) that produce
heat.
• Do Not defeat the safety purpose of the polarized or grounding type plug. A polarizing plug has two blades with one wider than the
other. A grounding type plug has two blades and a third grounding prong. The wide blade or third prong, are provided for safety. If
the provided plug does not t into your outlet, consult an electrician for replacement of the obsolete outlet.
• Protect the power cord from being walked on or pinched particularly at the plugs, convenience receptacles, and at the point where
they exit from the apparatus.
• Only use attachments/accessories specied by the manufacturer.
• Unplug this apparatus during lightning storms or when unused for long periods of time.
• Refer all servicing to qualied service personnel. Servicing is required when the apparatus has been damaged in any way, such
as power-supply cord or plug is damaged, liquid has been spilled or objects have fallen into the apparatus, the apparatus has been
exposed to rain or moisture, does not operate normally, or has been dropped.
• TO PREVENT THE RISK OF ELECTRIC SHOCK, DO NOT REMOVE THE COVER (OR BACK). THERE ARE NO USER SER-
VICEABLE PARTS INSIDE THIS UNIT, PLEASE REFER SERVICING TO QUALIFIED HARMAN JBL CORPORATION SERVICE
PERSONNEL.
• Never remove grille covers in order to service the speaker system. The speaker system does not contain any user serviceable
parts. Refer all servicing to the JBL Technical Support Group.
Important Safety Instructions
Please read the following operation precautions before use:
Important Note For All Electronic Products: Before inserting or unplugging audio cables from the source device’s headphones or line-level output jacks. it is
good practice to turn off the device. This will prolong the life of your unit, help protect your device from static electricity. and avoid potential damage.
WARNING: To prevent re or electrical shock hazard, DO NOT expose this product to rain or moisture.
WARNING: The apparatus shall not be exposed to dripping or splashing and that no objects lled with liquid, such as vases, drinking glasses and so forth, shall
be placed on the apparatus.
WARNING: The apparratus may be static sensitive in some circumstances and may have to be reset after suffering an electrostatic discharge
English
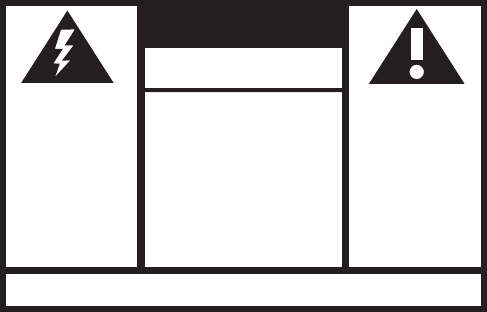
CAUTION
THE LIGHTNING
FLASH AND
ARROWHEAD
WITHIN THE
TRIANGLE IS A
WARNING SIGN
ALERTING YOU
OF DANGEROUS
VOLTAGE INSIDE
THE PRODUCT
CAUTION: TO REDUCE THE
RISK OF ELECTRIC SHOCK,
DO NOT REMOVE COVER.
NO USER SERVICEABLE
PARTS INSIDE. REFER
SERVICING TO QUALIFIED
SERVICE PERSONNEL.
THE EXCLAMA-
TION POINT
WITHIN THE
TRIANGLE IS A
WARNING SIGN
ALERTING YOU
OF IMPORTANT
INSTRUCTIONS
ACCOMPANYING
THE PRODUCT.
SEE MARKING ON BOTTOM OF PRODUCT
RISK OF ELECTRIC
SHOCK DO NOT OPEN
REGULATORY
FCC Statement and Warning
This device complies with part 15 of the FCC rules. Operation is subject to the following two conditions;
1) This device may not cause interference
2) This device must accept interference, including interference that may cause undesired operation of the device
IC Statement and Warning:
Operation is subject to the following two conditions;
1) This device may not cause interference
2) This device must accept interference, including interference that may cause undesired operation of the device
MODIFICATIONS NOT EXPRESSLY APPROVED BY THE MANUFACTURER COULD VOID THE USER AUTHORITY TO OPERATE
THE EQUIPMENT UNDER FCC RULES.
Music Browsing
Before proceeding, make sure the iPod® is securely docked to your JBL product.
Music Control Mode is indicated by BLUE light. iPod® Navigation Mode is indicated by AMBER light.
Music Control Mode
Turn iPod® On: Press any button on the remote control to wake the iPod®.
Turn iPod® Off: Press and hold the Play/Pause button for 2 seconds.
Play a Track: Press the Play/Pause button. Note: If the iPod® is at the Main Menu, pressing Play/Pause will
cause the iPod® to start playing al of its music.
Pause a Track: Press the Play/Pause button while a song is playing.
Skip to Next Track: Press the Forward button.
Skip to Previous Track: Press the Reverse button.
Fast Advance Track: Press and hold the Forward button.
Fast Reverse Track: Press and hold the Reverse button.
Increase Volume: Press the Volume Up button.
Decrease Volume: Press the Volume Down button.
Mute: Press the Volume Up and Volume Down buttons at the same time.
Change to iPod® Mode: Press the Mode button.
iPod® Mode
Turn iPod® On: Press any button on the remote control to wake the iPod®.
Turn iPod® Off: Press and hold the Play/Pause button for 2 seconds.
Scroll iPod® Cursor Up: Press the Reverse button.
Scroll iPod® Cursor Down: Press the Forward button.
Go to Previous Menu: Press the Volume Down button.
Select Menu/Track/Feature: Press the Volume Up button.
Change to Navigation Mode: Press the Mode button.

SYMPTOM POSSIBLE PROBLEM SOLUTION NOTE
Command Transmission
iPod does not respond
to remote commands.
The remote battery power
may be low.
Redock the iPod. If problem
persists, reset the iPod.
Replace battery.
Remote only operates at close
range.
The remote range is up to
20 feet.
The remote battery power
may be low.
Move the source unit closer to
the remote.
Replace the battery.
Technical Specications
Transmission: Radio Frequency
Frequency: 2.4 GHz
Operating Range: Up to 20 ft.
Battery: CR2032 3V
Dimensions: 2-7/8” x 2-1/4” x 5/8”
Weight (Including Battery): 1.2 oz.
Battery Replacement
The JBL remote’s battery should last a year under normal usage. To replace the battery, release the battery
cover on the back of the remote and replace the old battery with a CR2032 type battery or equivalent.
Troubleshooting