Herutu Electronics TWF600R Pokayoke Receiver User Manual
Herutu Electronics Corporation Pokayoke Receiver
UserManual.wiki
>
Herutu Electronics
>
TWF600R User Manual
User Manual
Navigation menu
Upload a User Manual
Namespaces
Wiki Guide
HTML
PDF
Info
Views
User Manual
Discussion / Help
Navigation
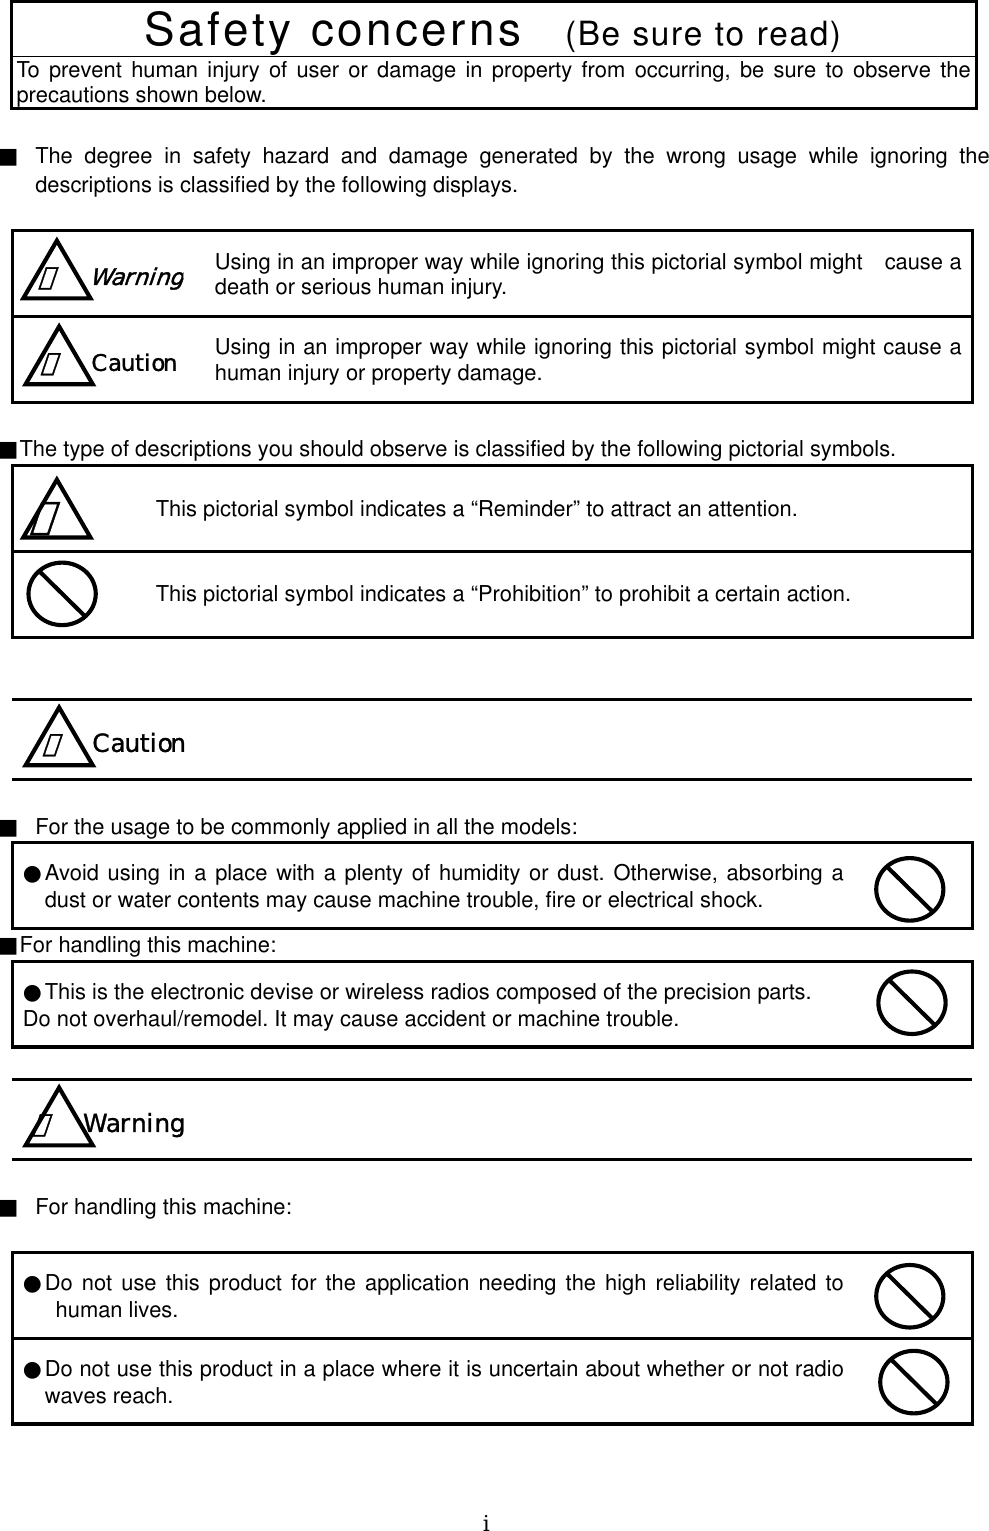
![V20060621 POKAYOKE Receiver [ TWF-600R ] Operation Manual V 1.03 HERUTU ELECTRONIC CO., LTD. 62-1 Toyooka, Hamamatsu, Shizuoka, 433-8103 Japan TEL. 81-53- 438-3555 FAX. 81-53- 438-3411](https://usermanual.wiki/Herutu-Electronics/TWF600R/User-Guide-672732-Page-1.png)