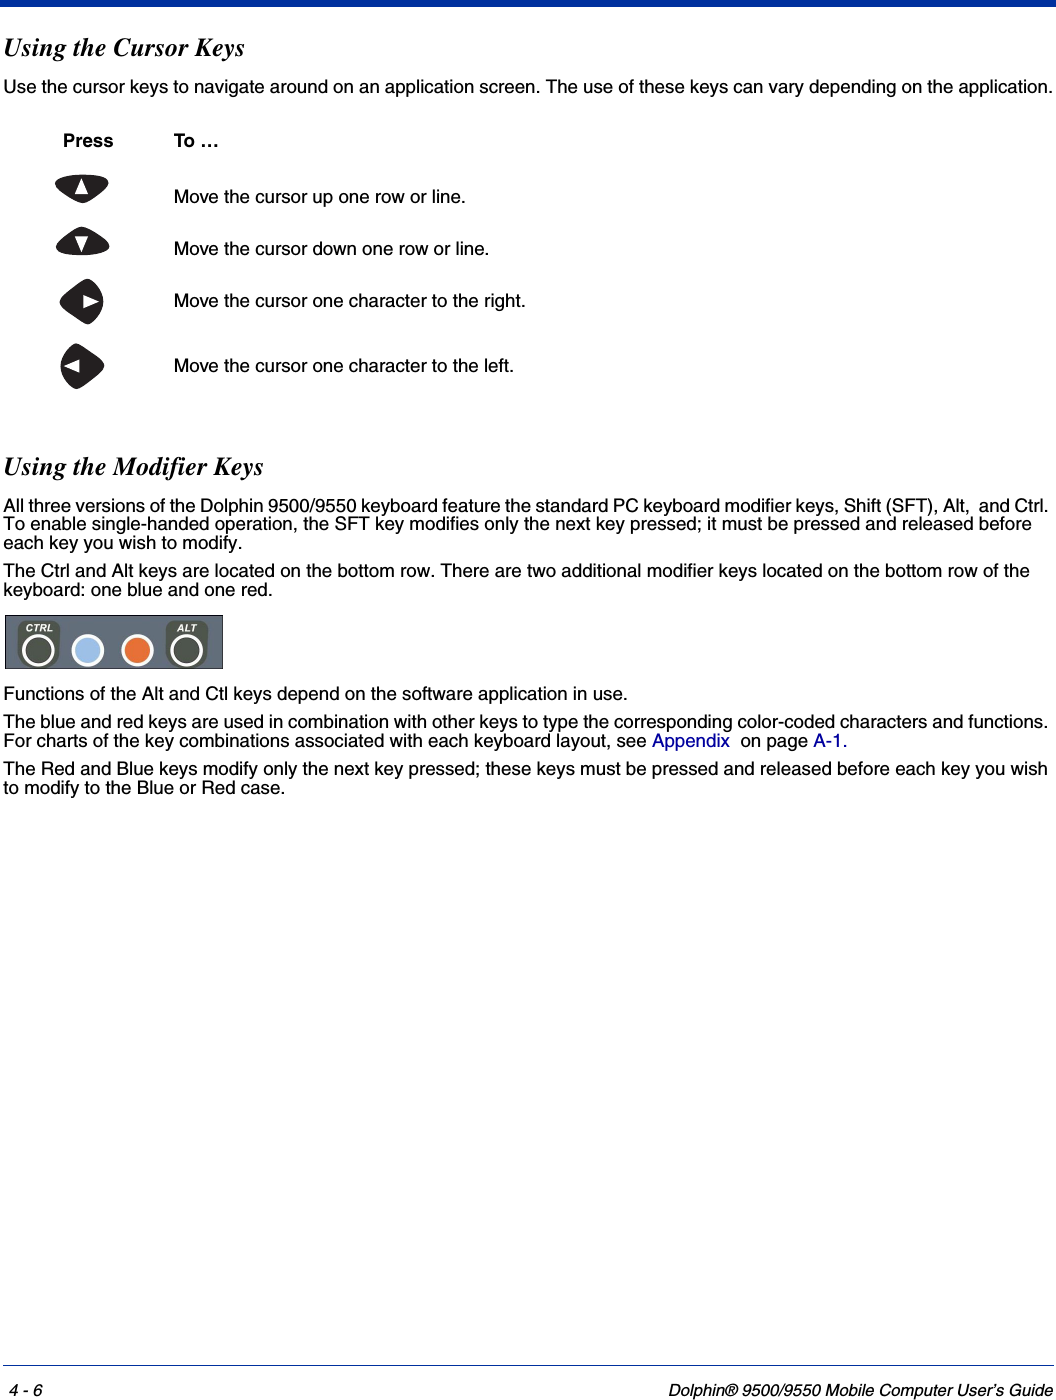
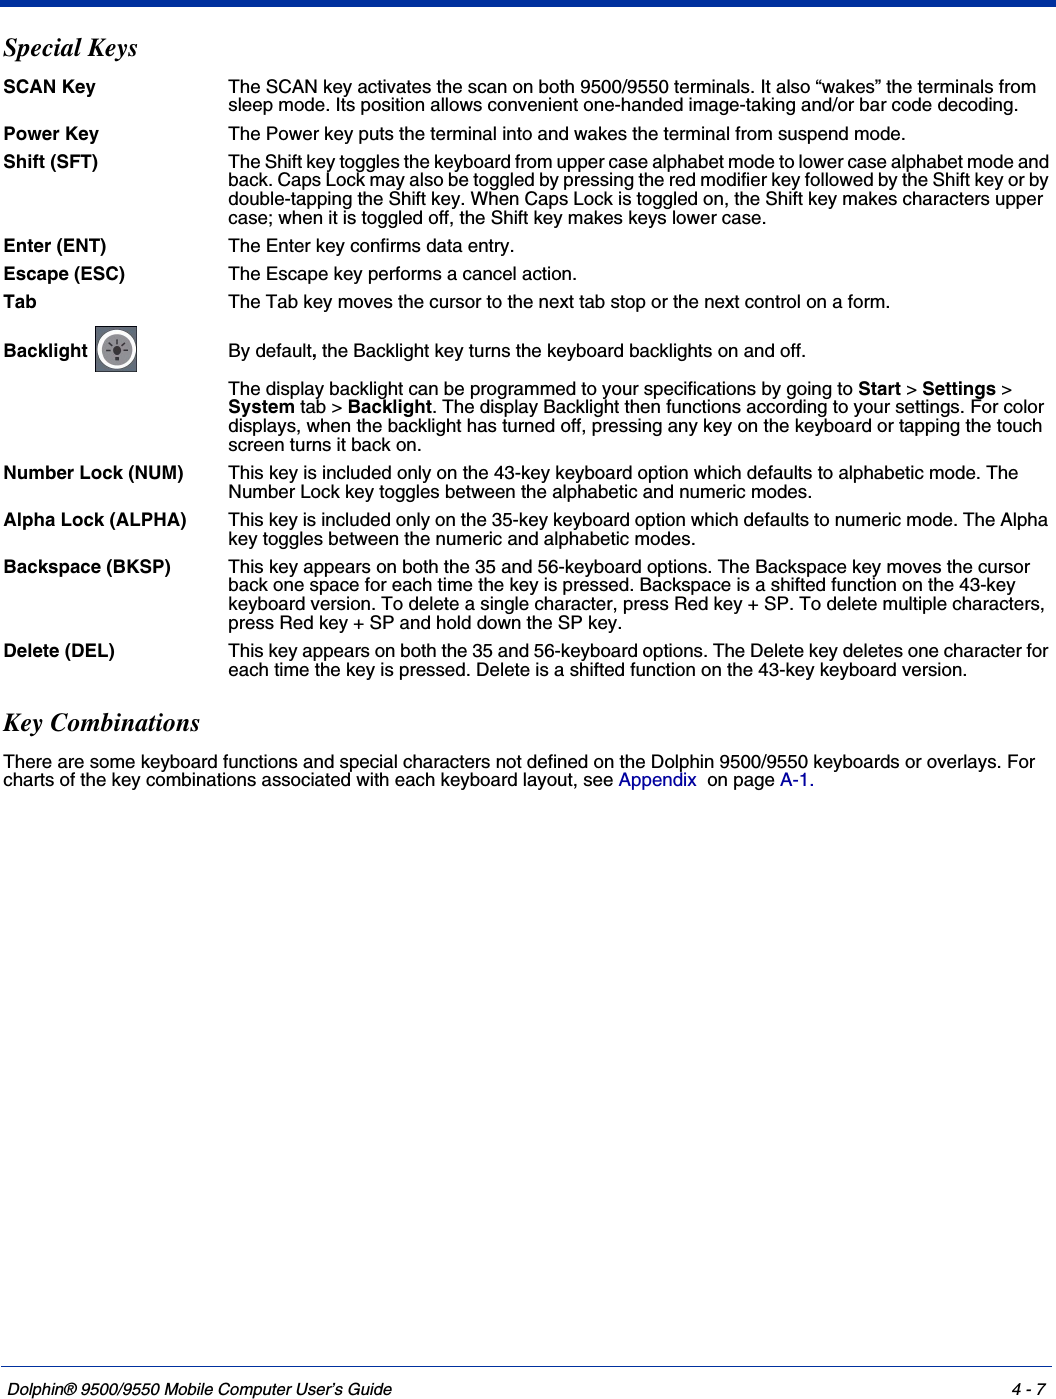
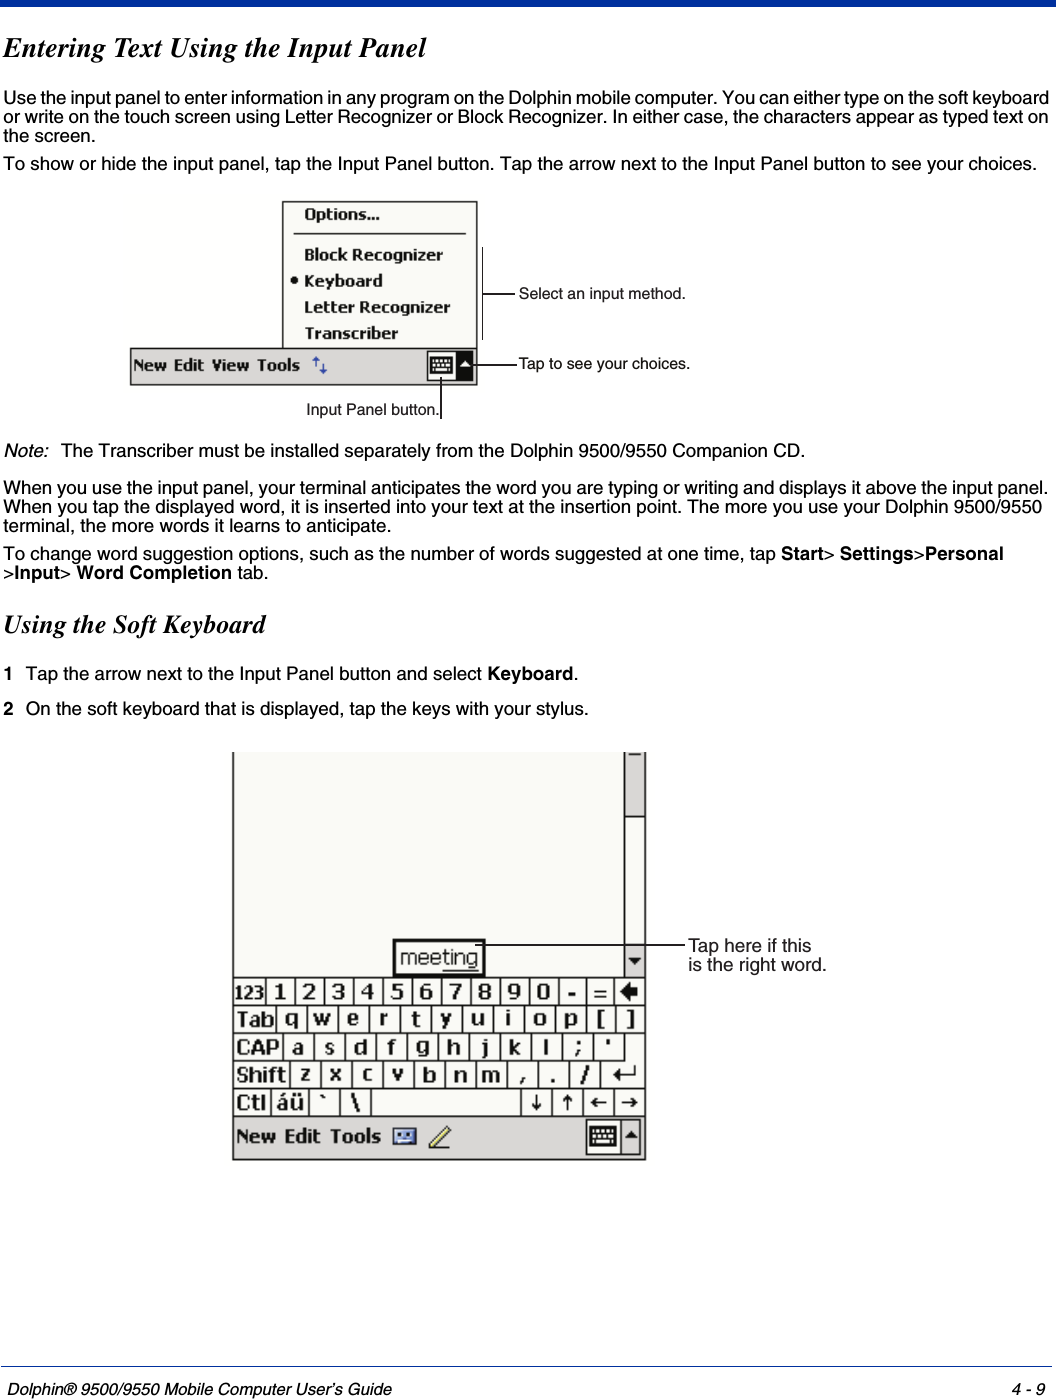
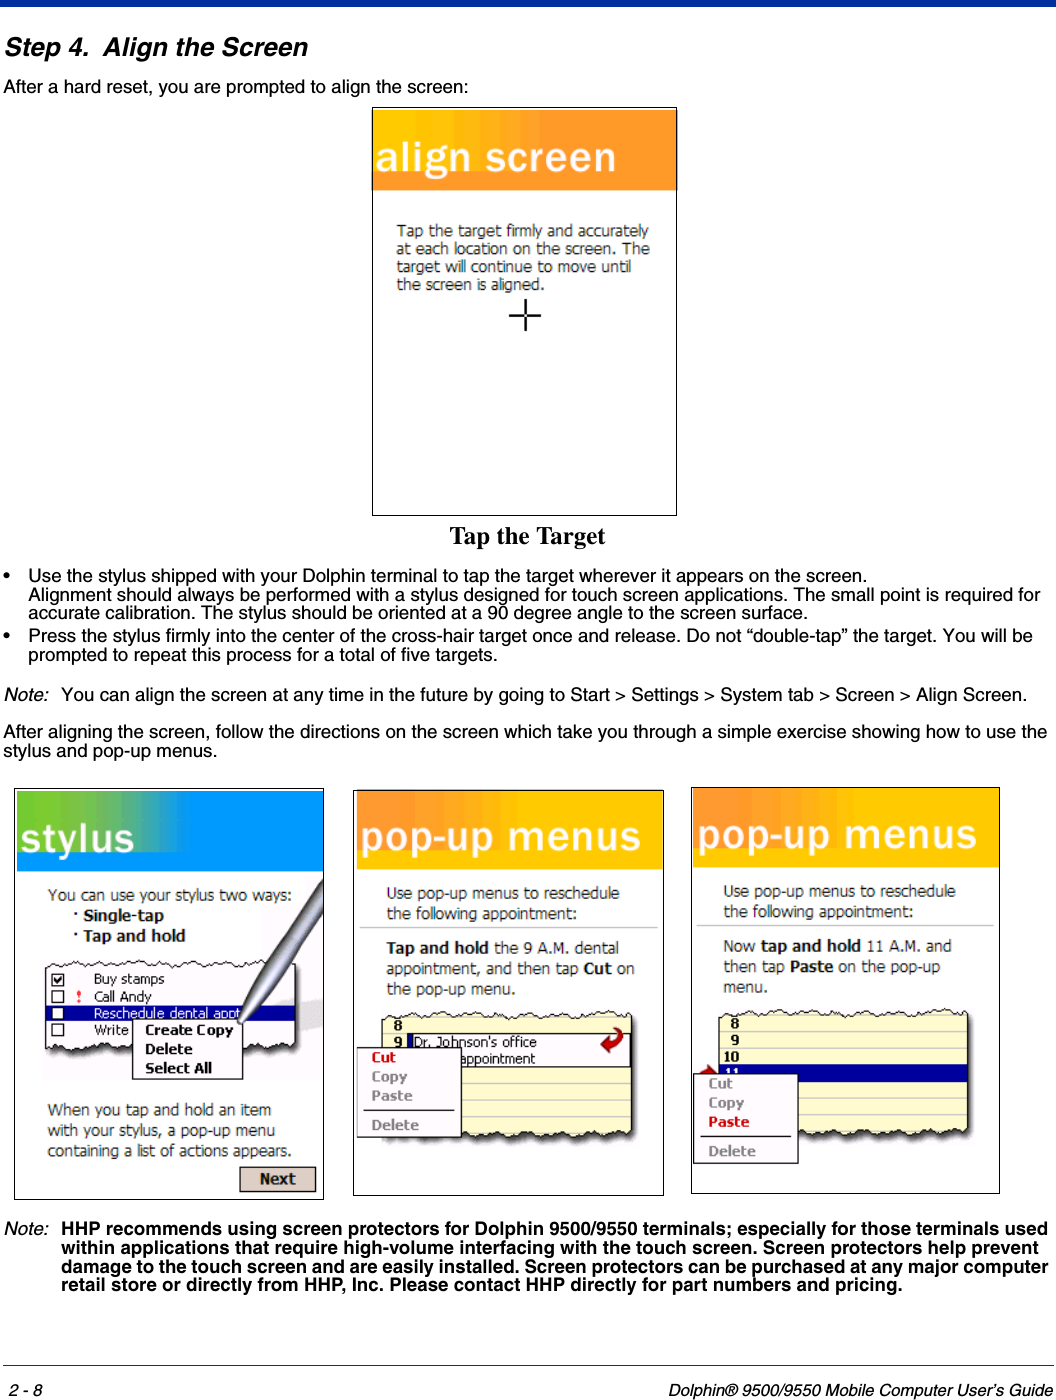
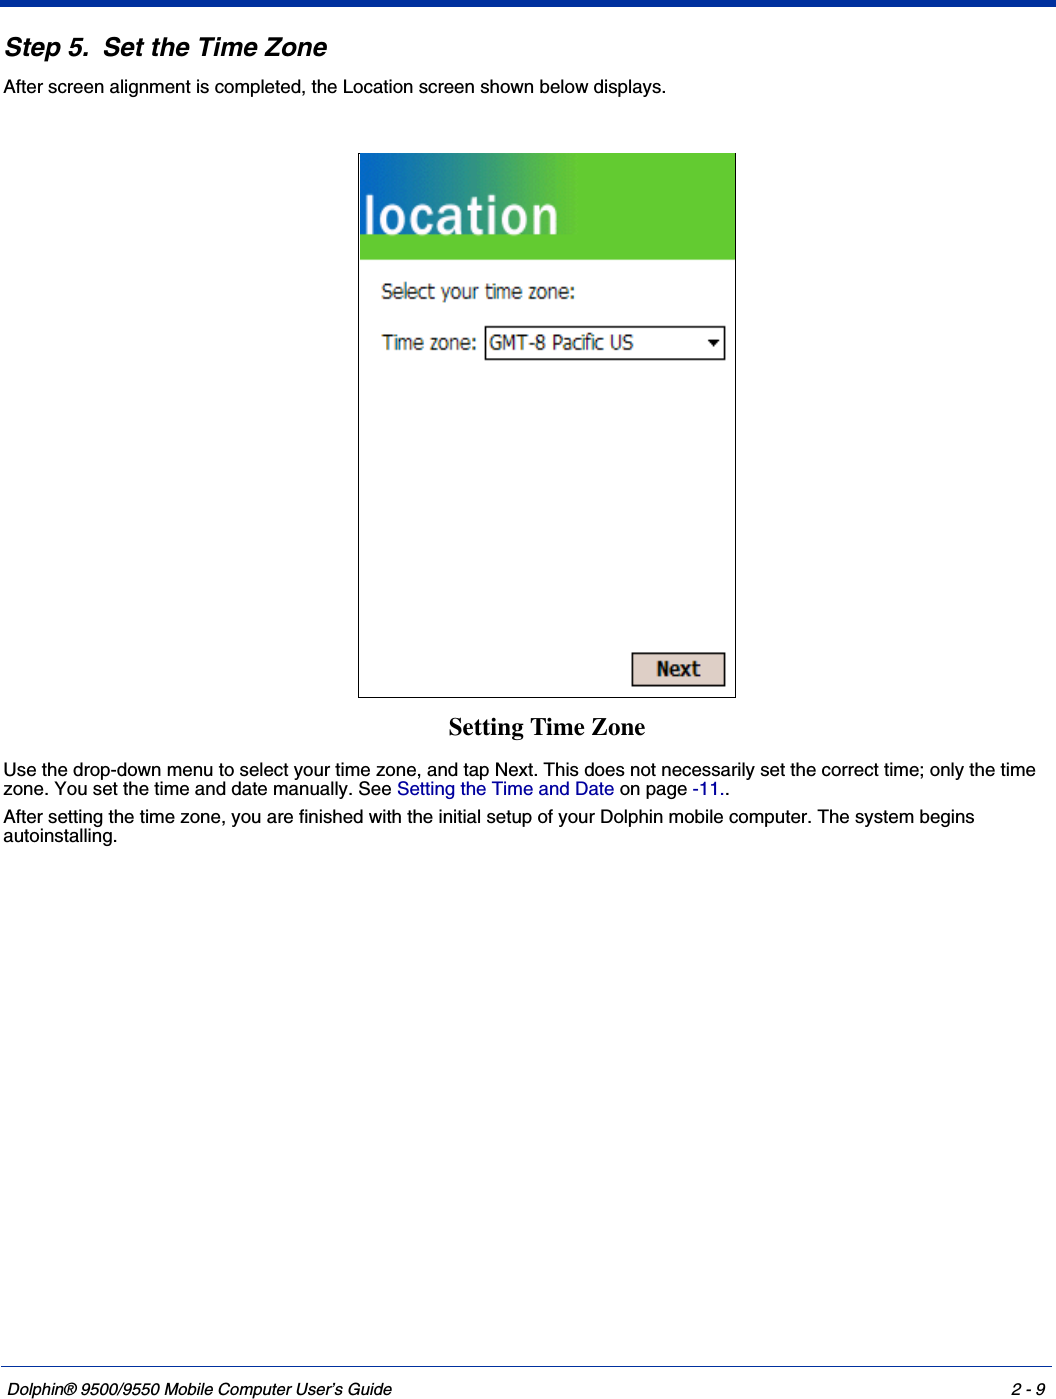
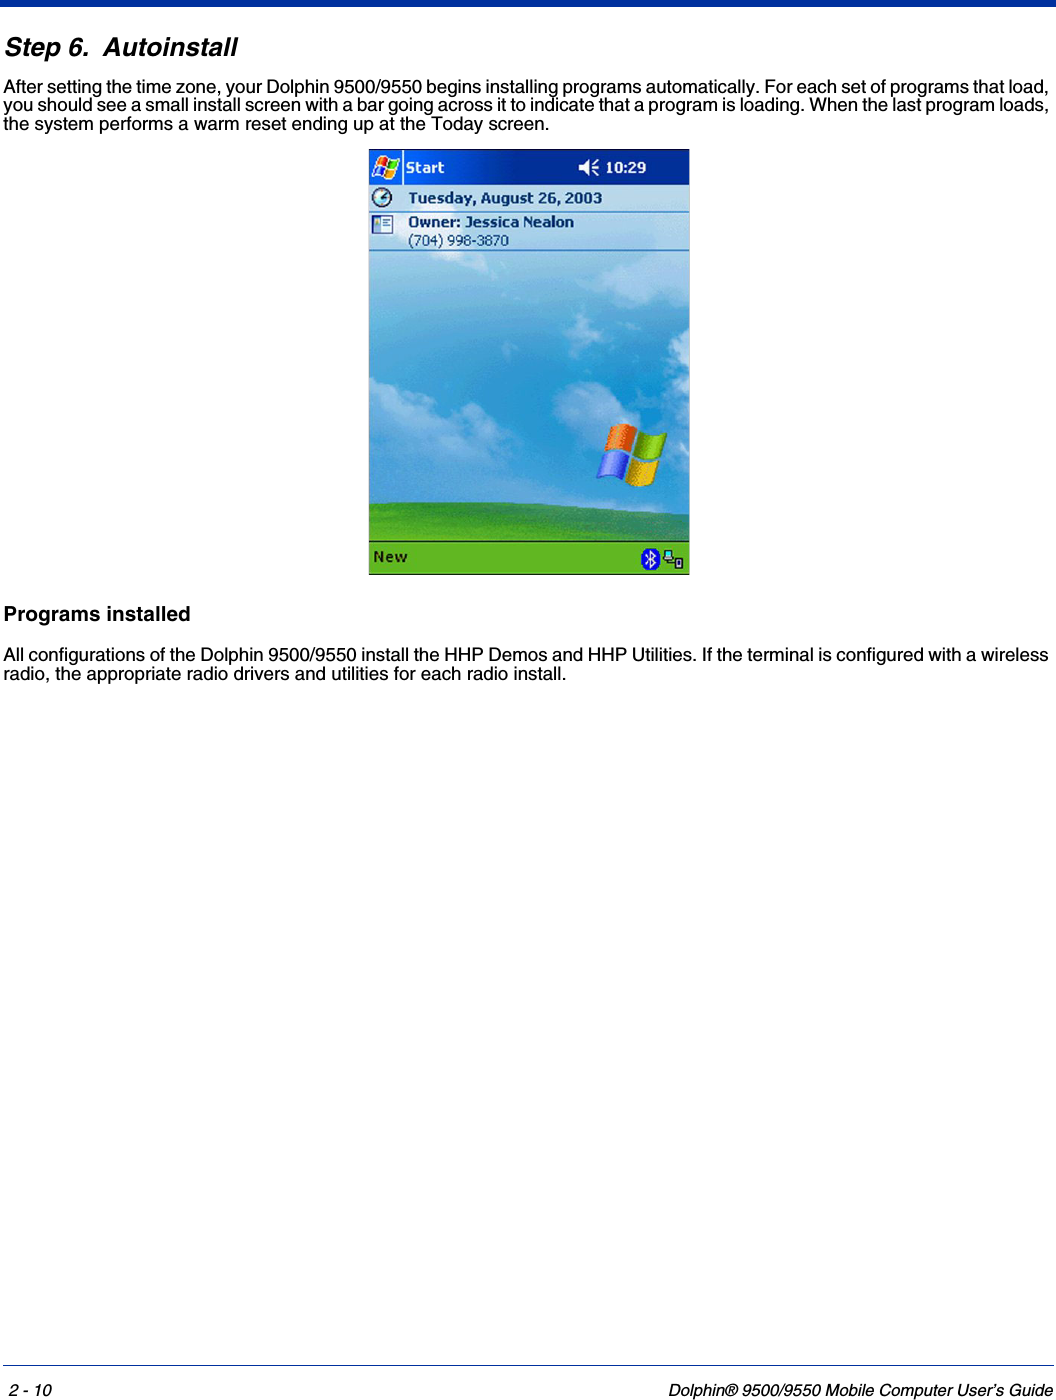
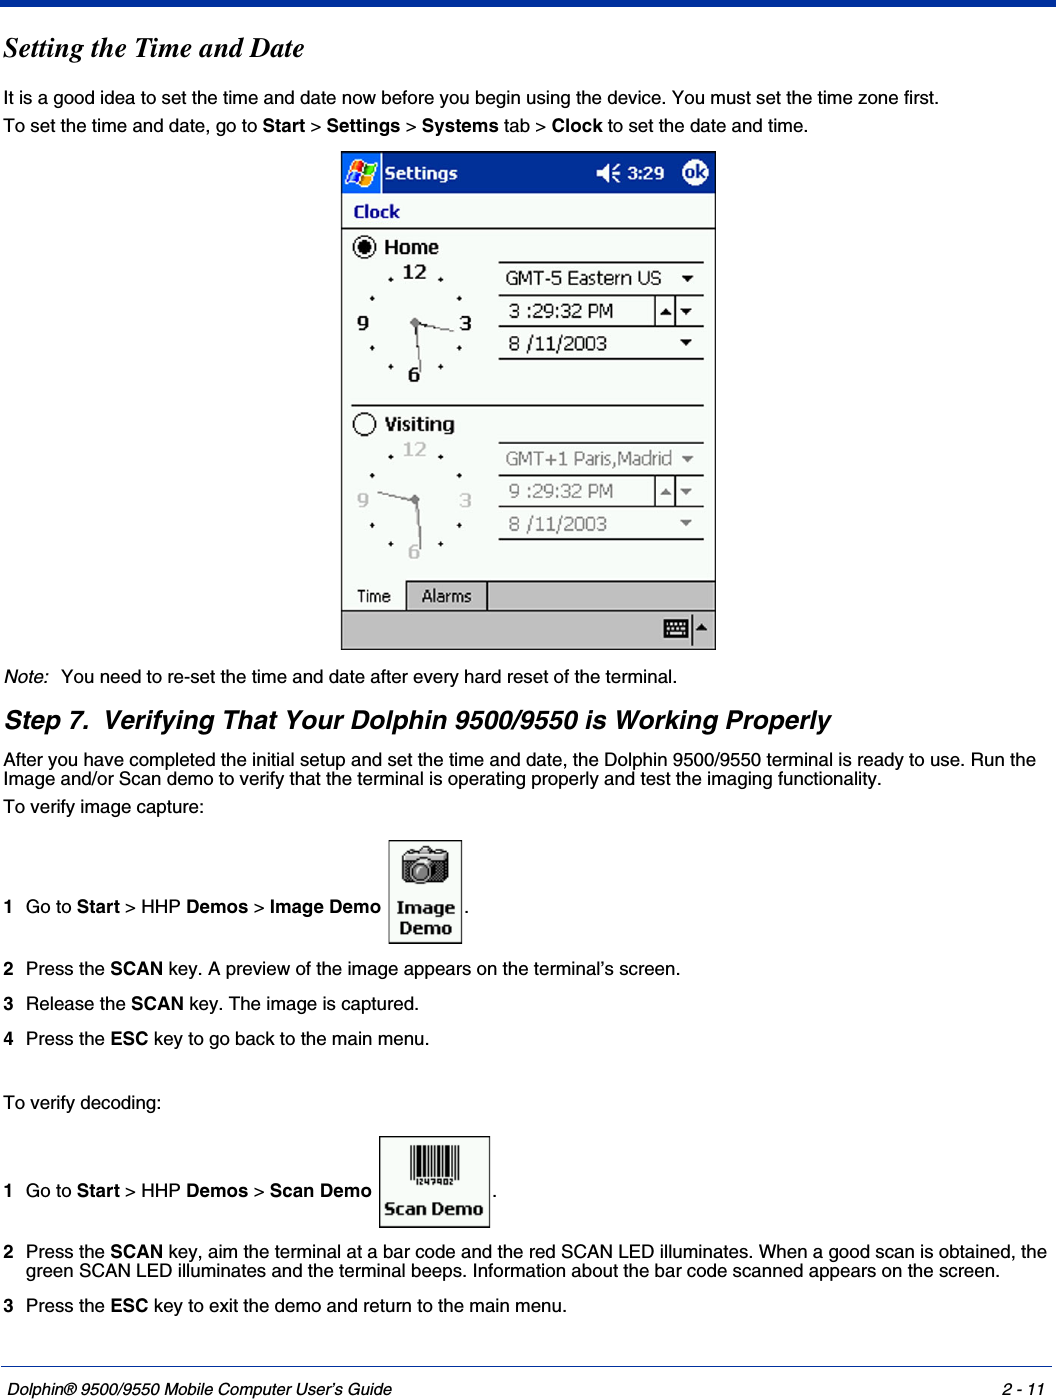
Honeywell 950006 Hand Held Computer with a 802.11b and Bluetooth User Manual usermanual part2
Honeywell International Inc Hand Held Computer with a 802.11b and Bluetooth usermanual part2
Contents
- 1. usermanual part1
- 2. usermanual part2
- 3. usermanual part3
- 4. usermanual part4
- 5. usermanual part6
usermanual part2


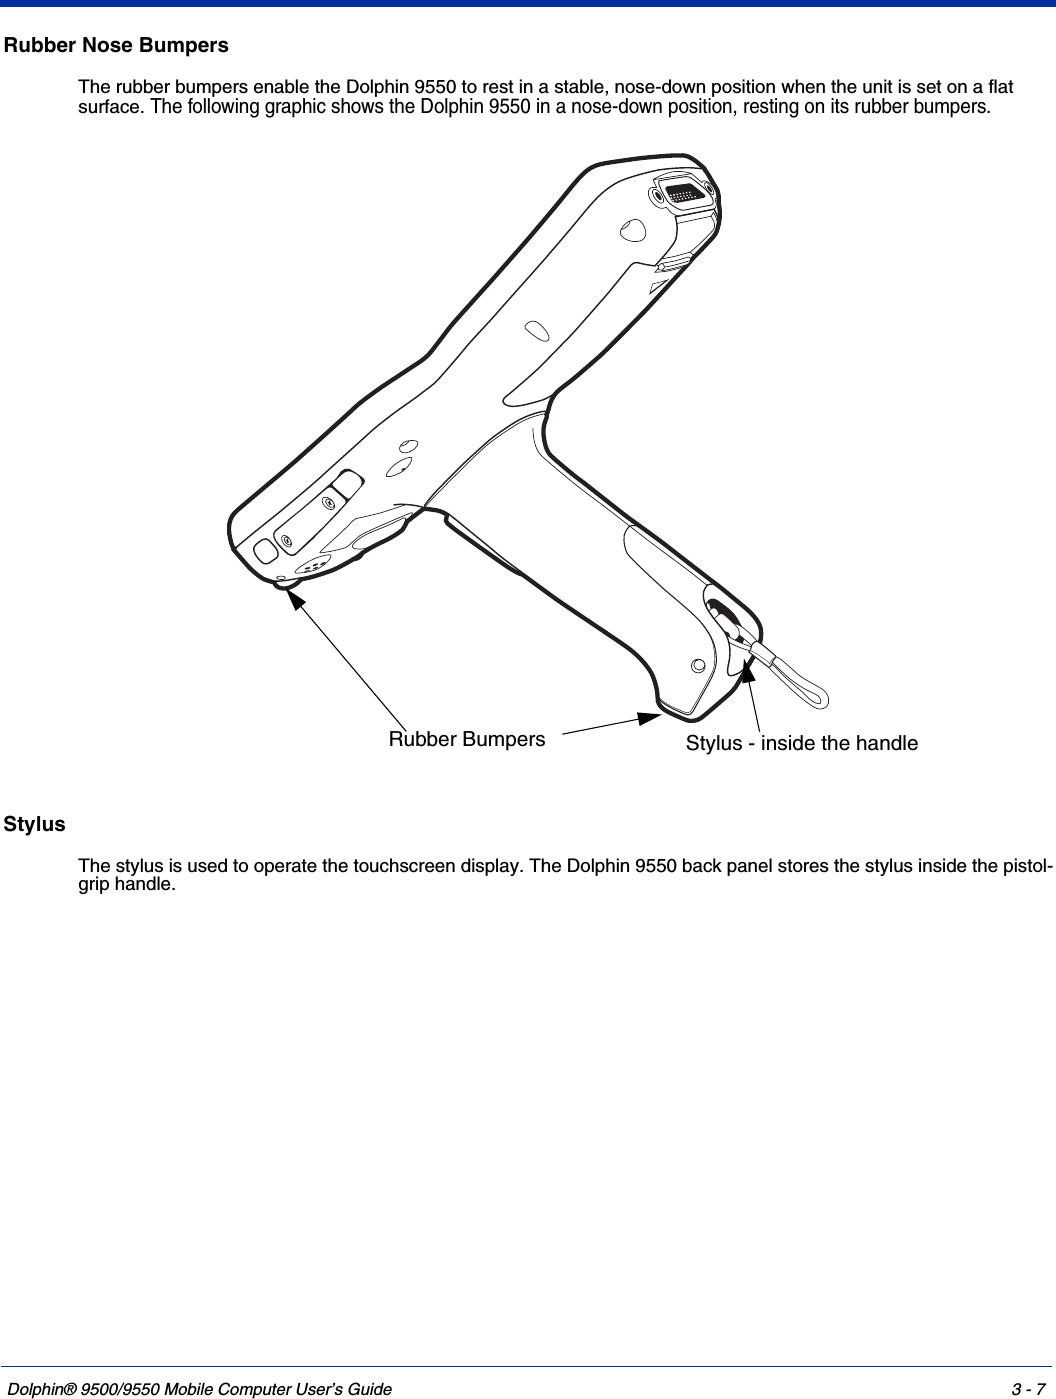
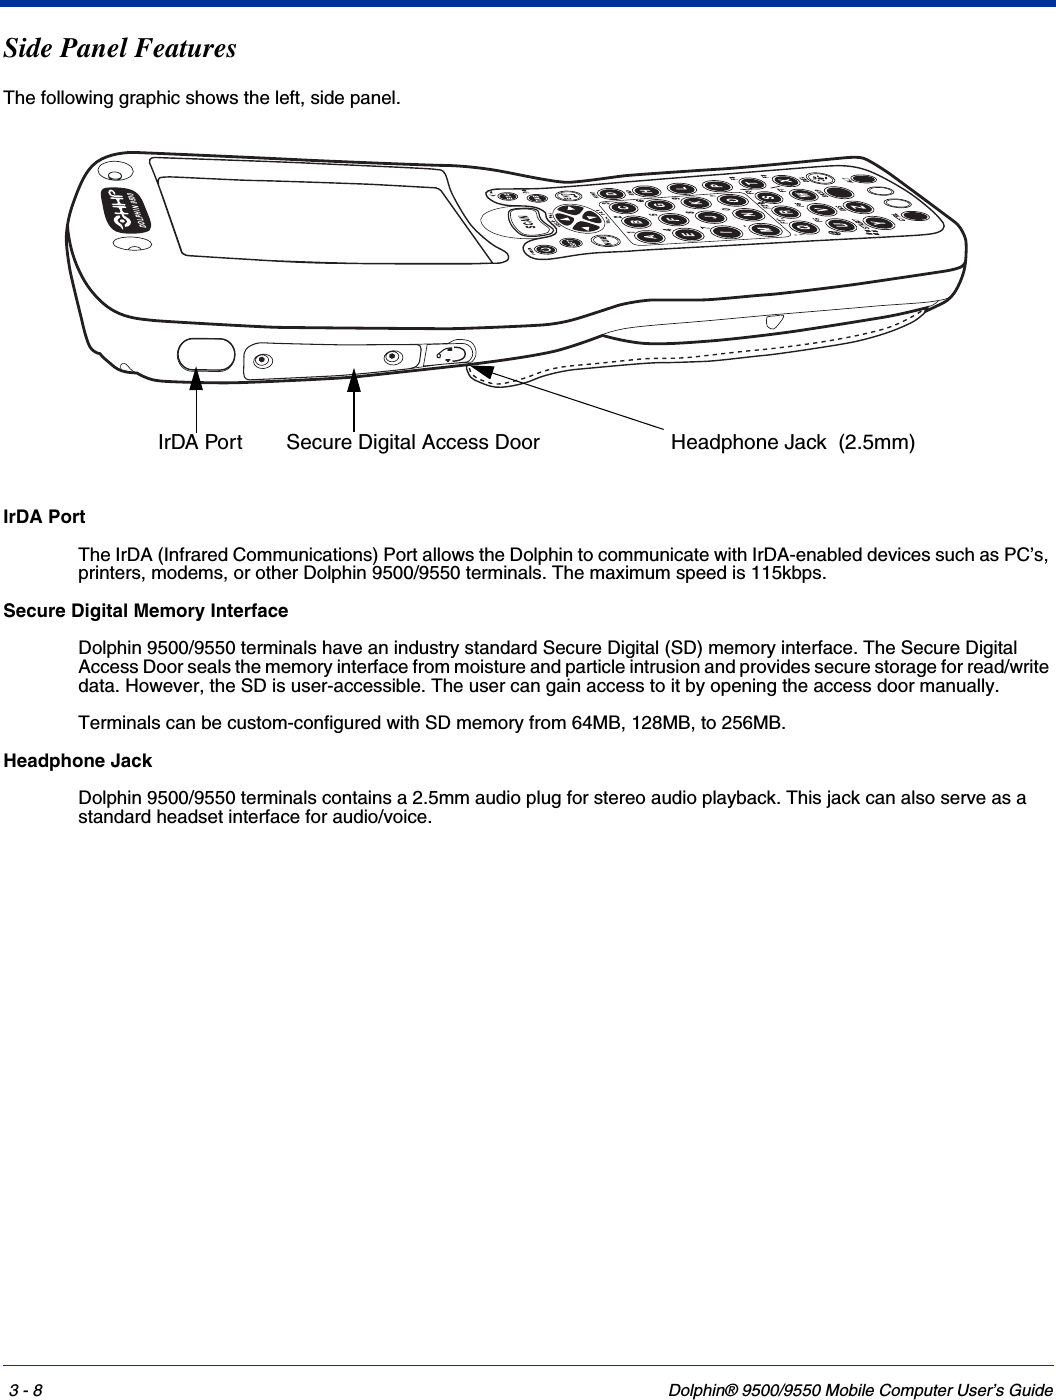
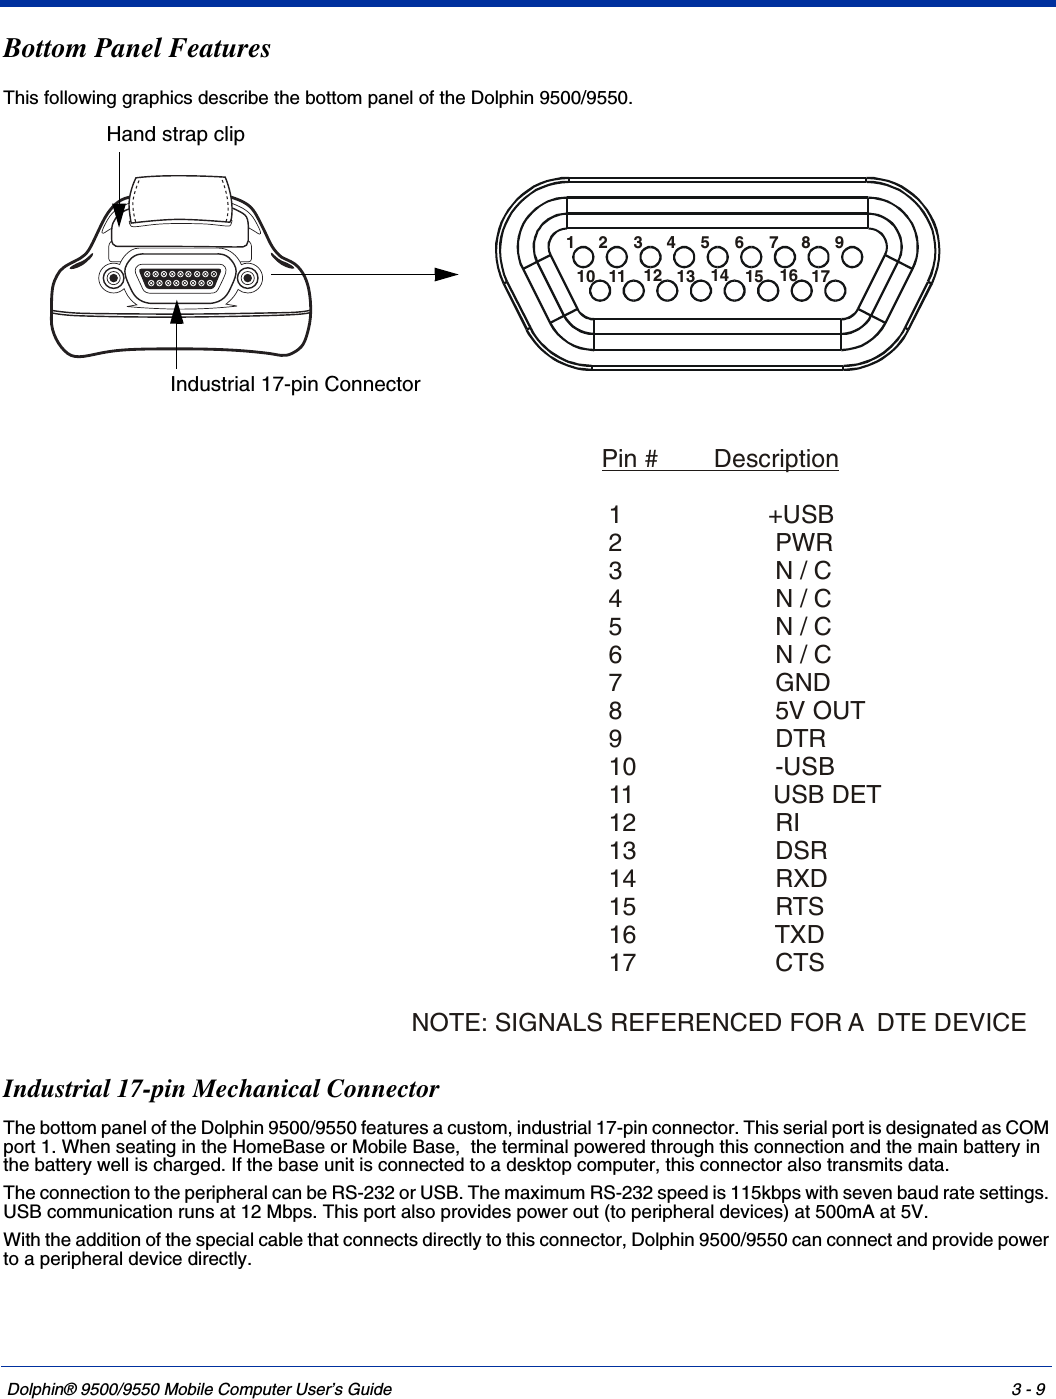
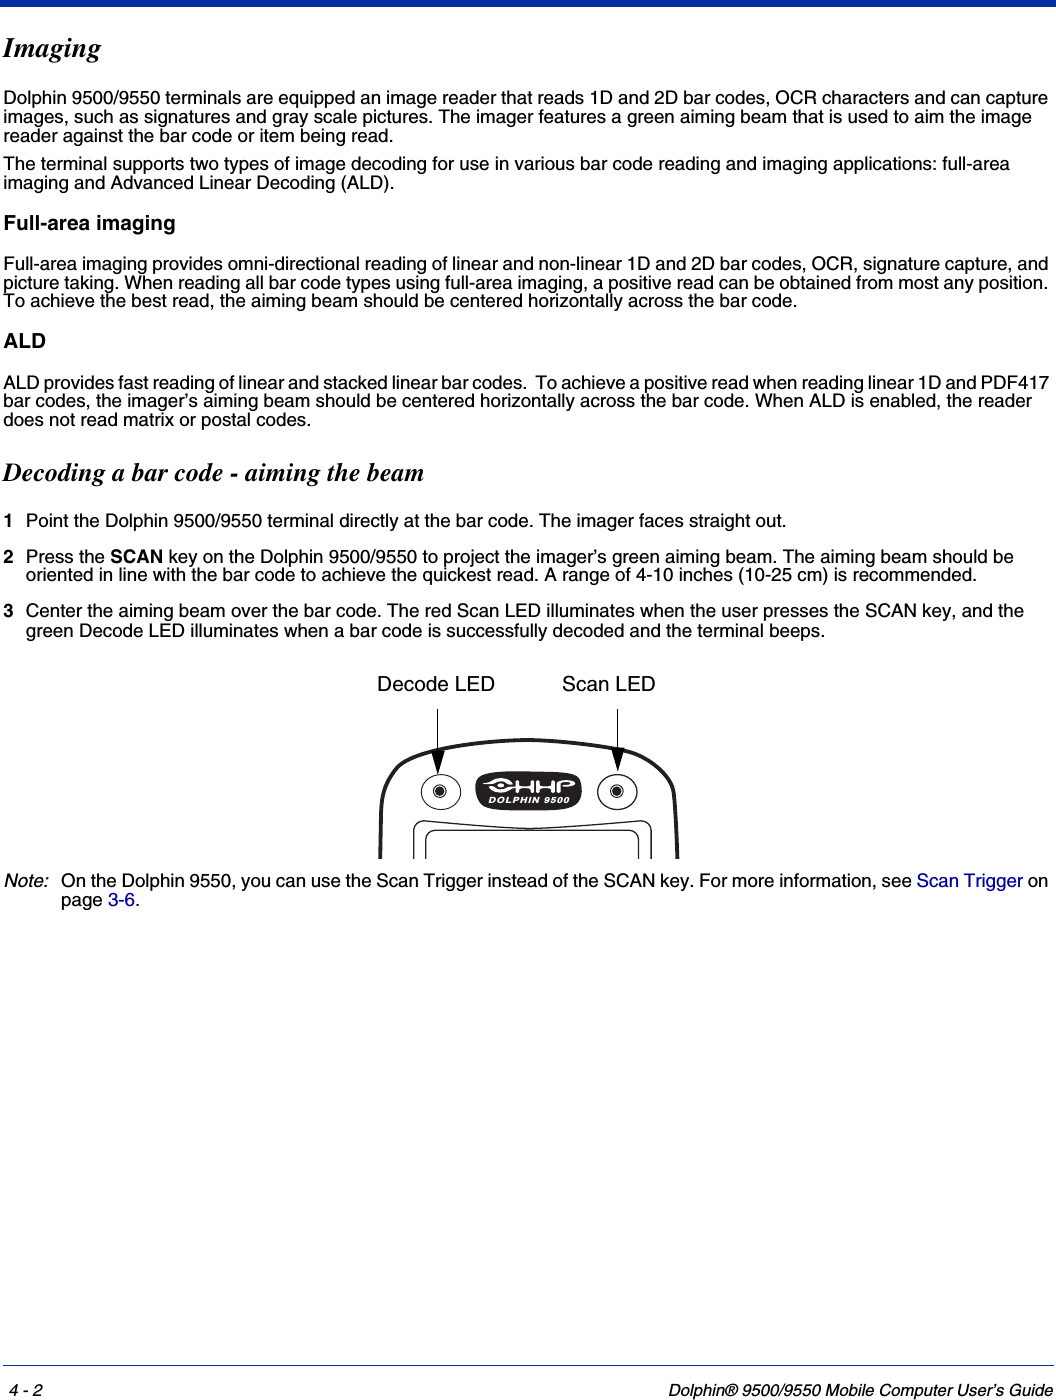
![Dolphin® 9500/9550 Mobile Computer User’s Guide 3 - 11Managing Battery PowerData and files saved on the Dolphin 9500/9550 terminal may be stored in RAM, so it is important to maintain a continuous power supply to the terminal. When the main battery pack becomes low, the Low Battery Charge icon will appear in the notification tray at the top of the screen. The Critical icon will appear when the battery is critically low. There is also a Low Battery icon that will appear when the backup battery is low.Letting the backup battery become fully discharged will cause the terminal to lose all data in RAM. Therefore, you should keep a charged battery pack in the Dolphin at all times to conserve the internal backup battery. When you remove a battery pack, insert another charged pack in the Dolphin. The internal battery will prematurely discharge if there is not at least a partially charged battery in the terminal. The battery status indicator displays in the notification tray when the battery is low or critically low. If there is no indicator, the battery is adequately charged.If the main battery is low and the terminal is in suspend mode, pressing the SCAN or Power button will not wake up the Dolphin 9500/9550 terminal; you must replace the discharged battery with a fully charged battery.Setting Critical and Low Battery PointsThe Dolphin 9500/9550 may be programmed to display warnings when the battery reaches critical and low battery points. There are two entries defined in the registry. The specific settings are:[HKEY_LOCAL_MACHINE\System\CurrentControlSet\Control\Power]“CriticalBatt”=dword:a“LowBatt”=dword:19“CriticalBatt”=dword:a This sets the Critical Battery point to 10 percent (a hex = 10 decimal). The critical battery is the point at which the customer is warned that the battery charge is very low. This warning will be posted every 3 minutes until the situation is corrected.“LowBatt”=dword:19This sets the Low battery point to 25 percent (19 hex = 25 decimal). The low battery setting is the point at which the user is alerted that the battery is low. The user is notified only once for a low battery.These are the default values. Developers can set these parameters from 0 (no warning at all) to 99 (would nearly always warn). The warnings do not appear when the terminal is on external power.Checking Battery PowerThe Battery Status screen displays information about current battery status and allows you to set options that can conserve battery power.To open the Battery Status screen:1Select Start>Settings>System>Power. 2Select your preferences.3Tap OK to save the changes and exit. Charging the Battery PackYou can charge the Dolphin’s main battery pack with one of the following methods:• Place the battery pack in the Dolphin 9500/9550 terminal and then place the terminal in the terminal well of the HomeBase or Mobile Base.• Connect a charging/communication cable to the 17-pin connector and plug the cable into a power outlet.• Place the battery pack in the Dolphin QuadCharger.• Place the battery back in the Auxiliary Battery Well of the HomeBase. Storing BatteriesTo maintain optimal performance from batteries, follow these guidelines below when storing them:• Avoid storing batteries outside the specified range of -4 to 104° F (-20 to 40°C) or in extremely high humidity.• For prolonged storage, do not keep batteries stored in a charger that is connected to a power source.](https://usermanual.wiki/Honeywell/950006.usermanual-part2/User-Guide-358772-Page-26.png)