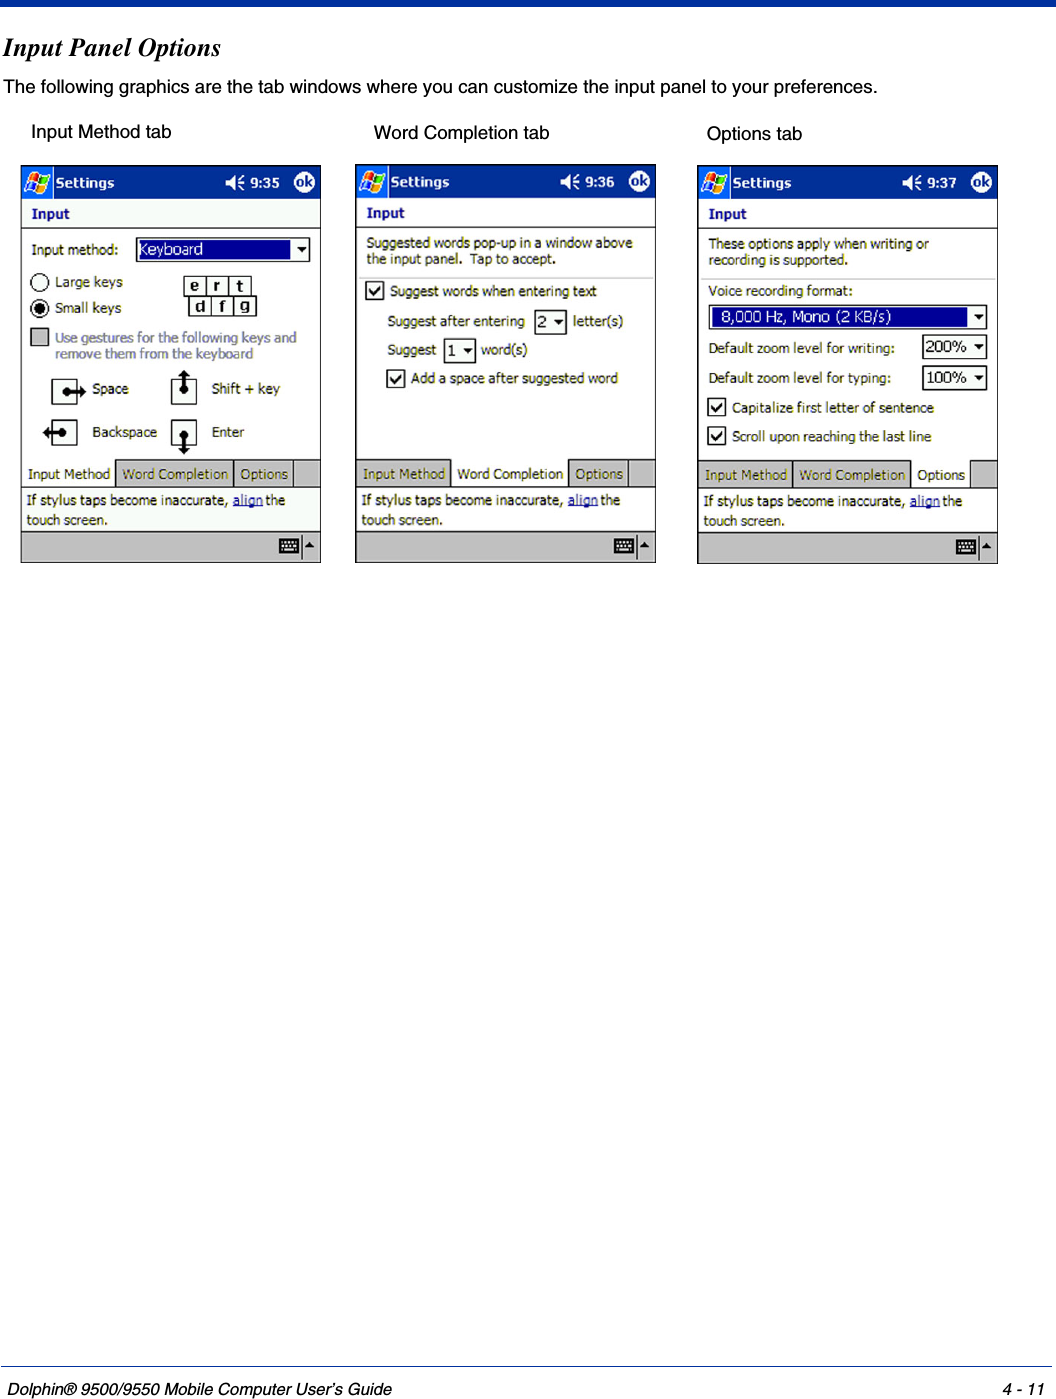
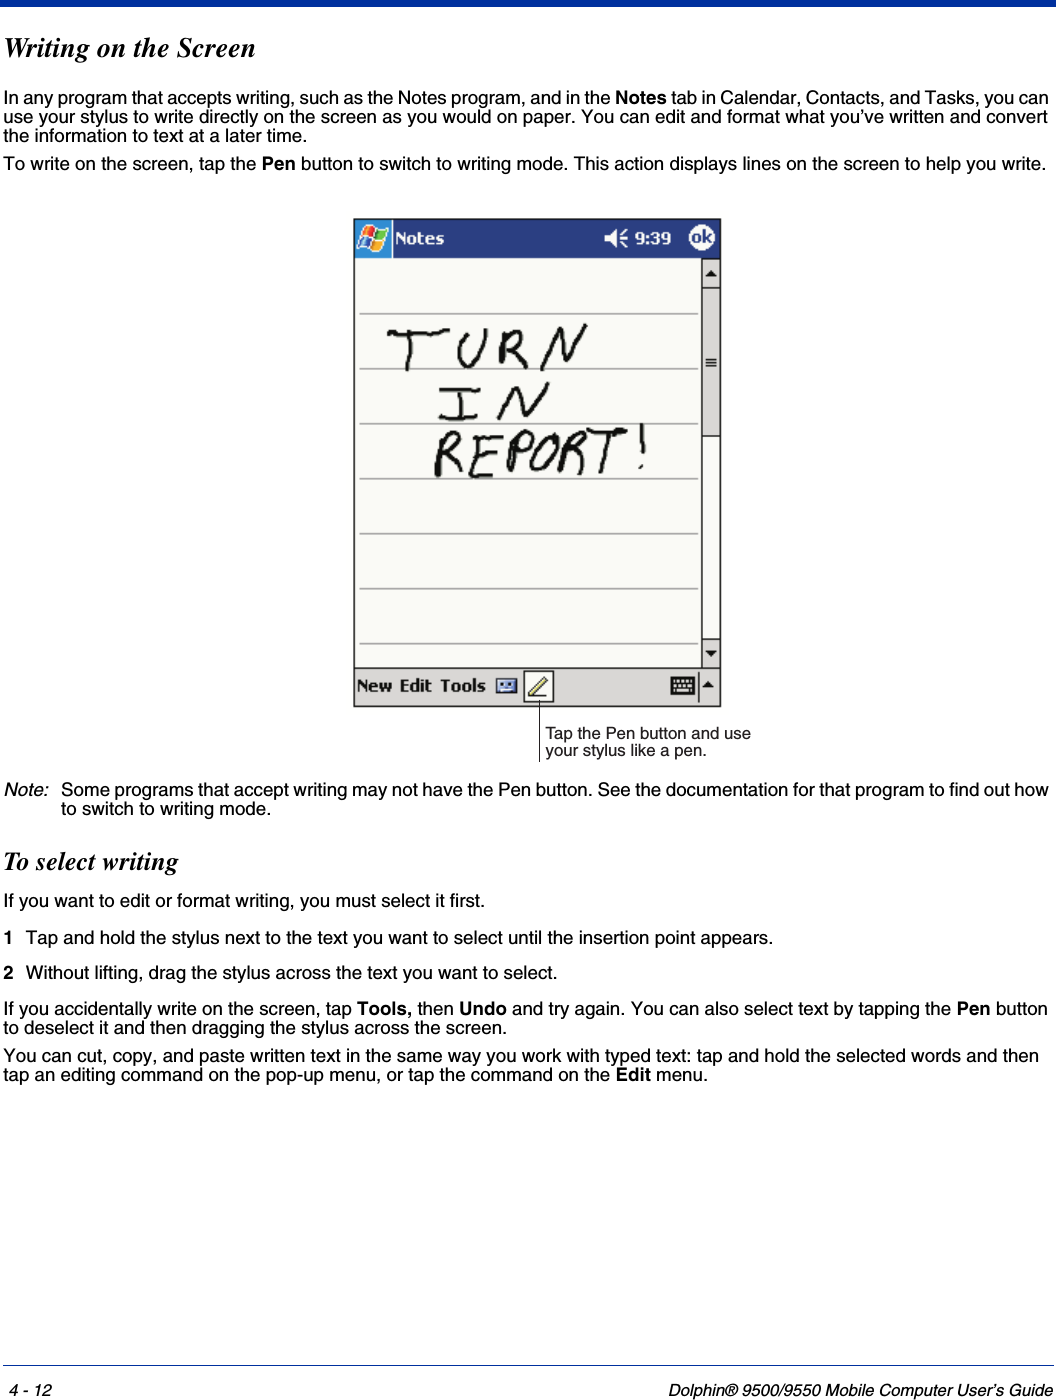
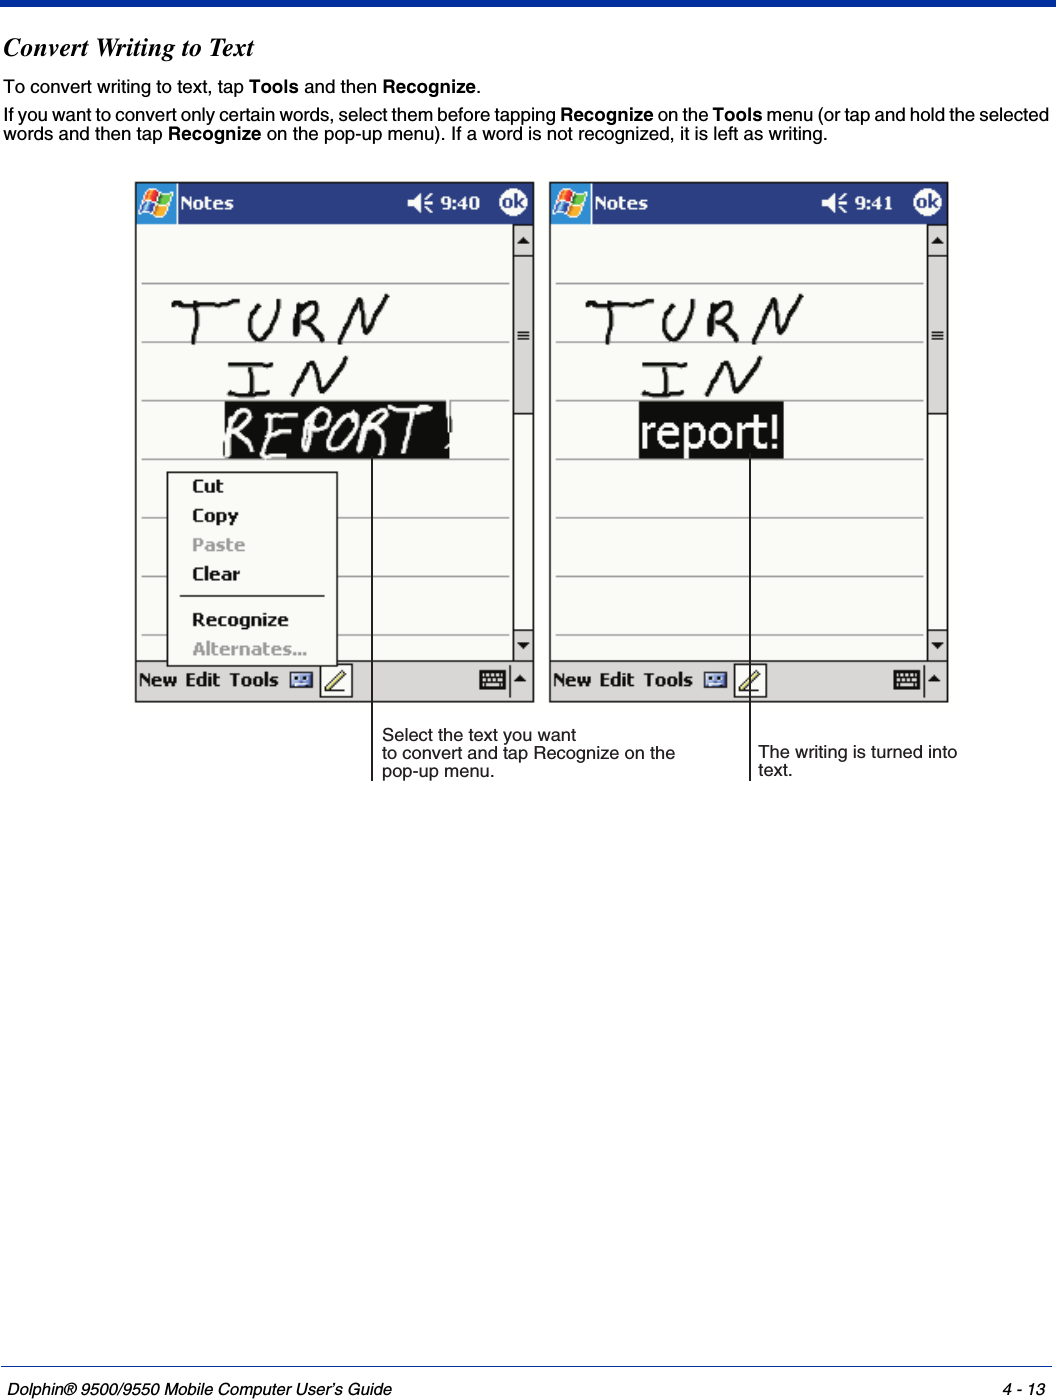
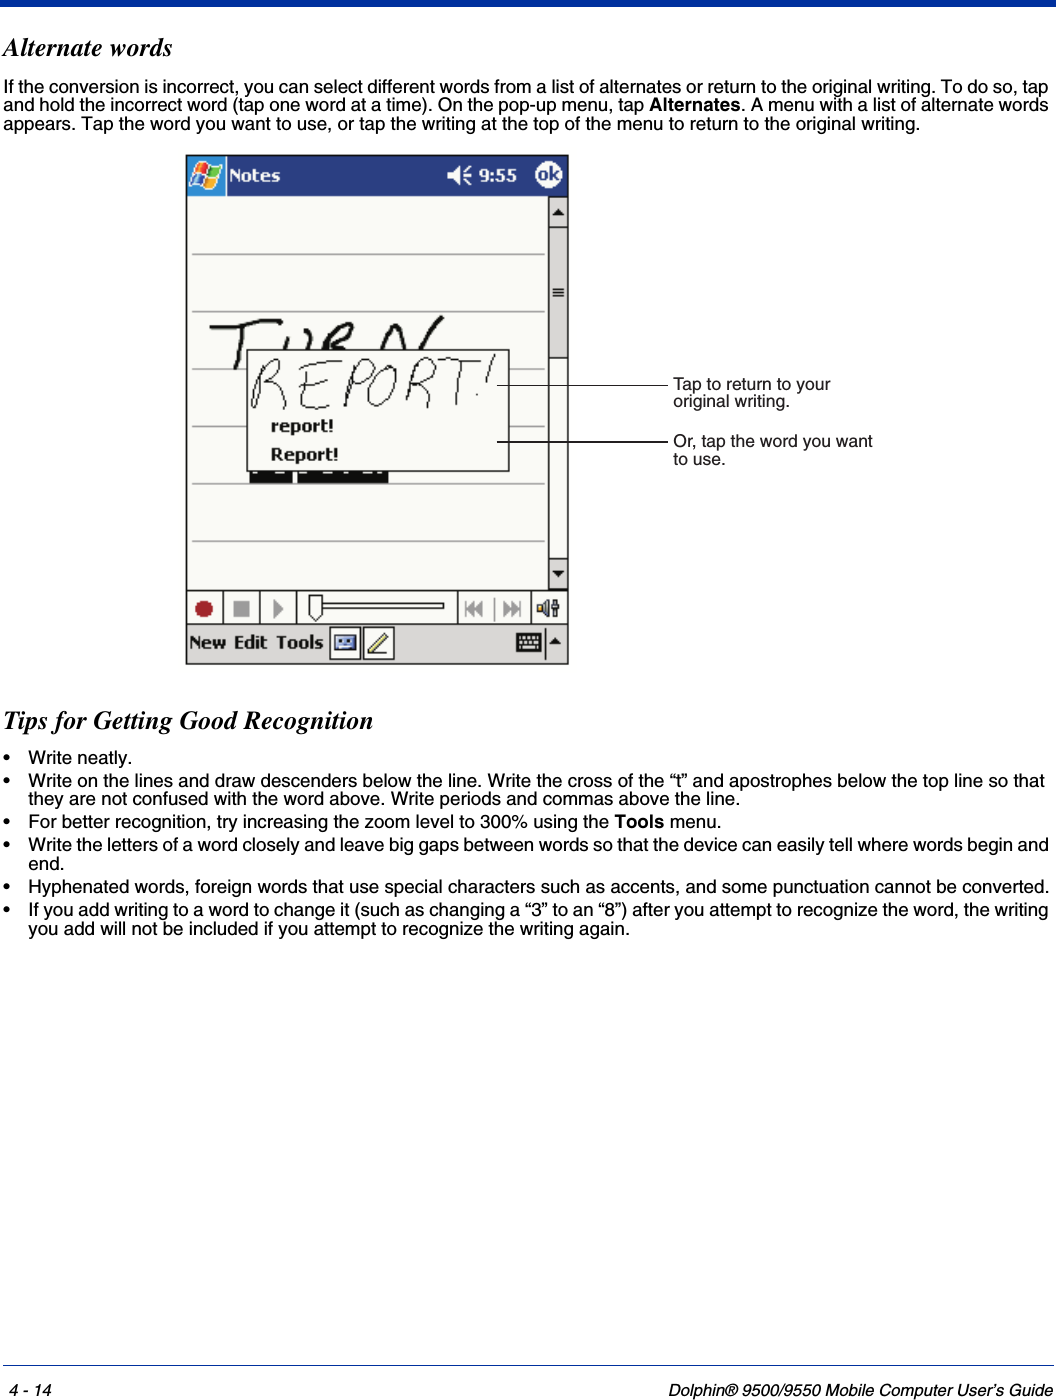
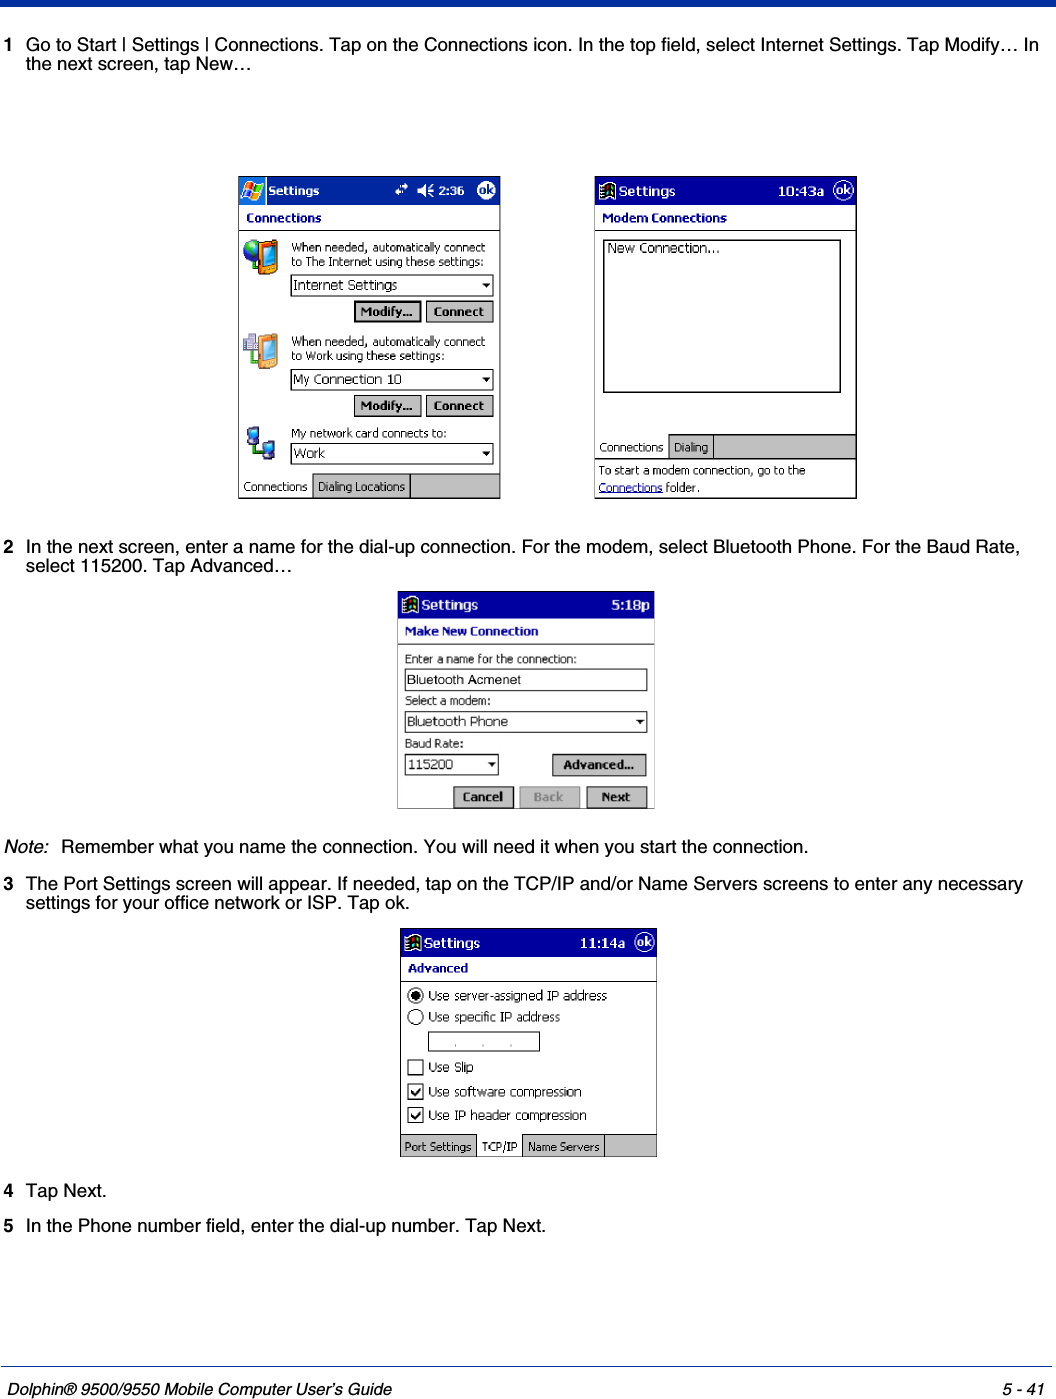
Honeywell 950006 Hand Held Computer with a 802.11b and Bluetooth User Manual usermanual part3
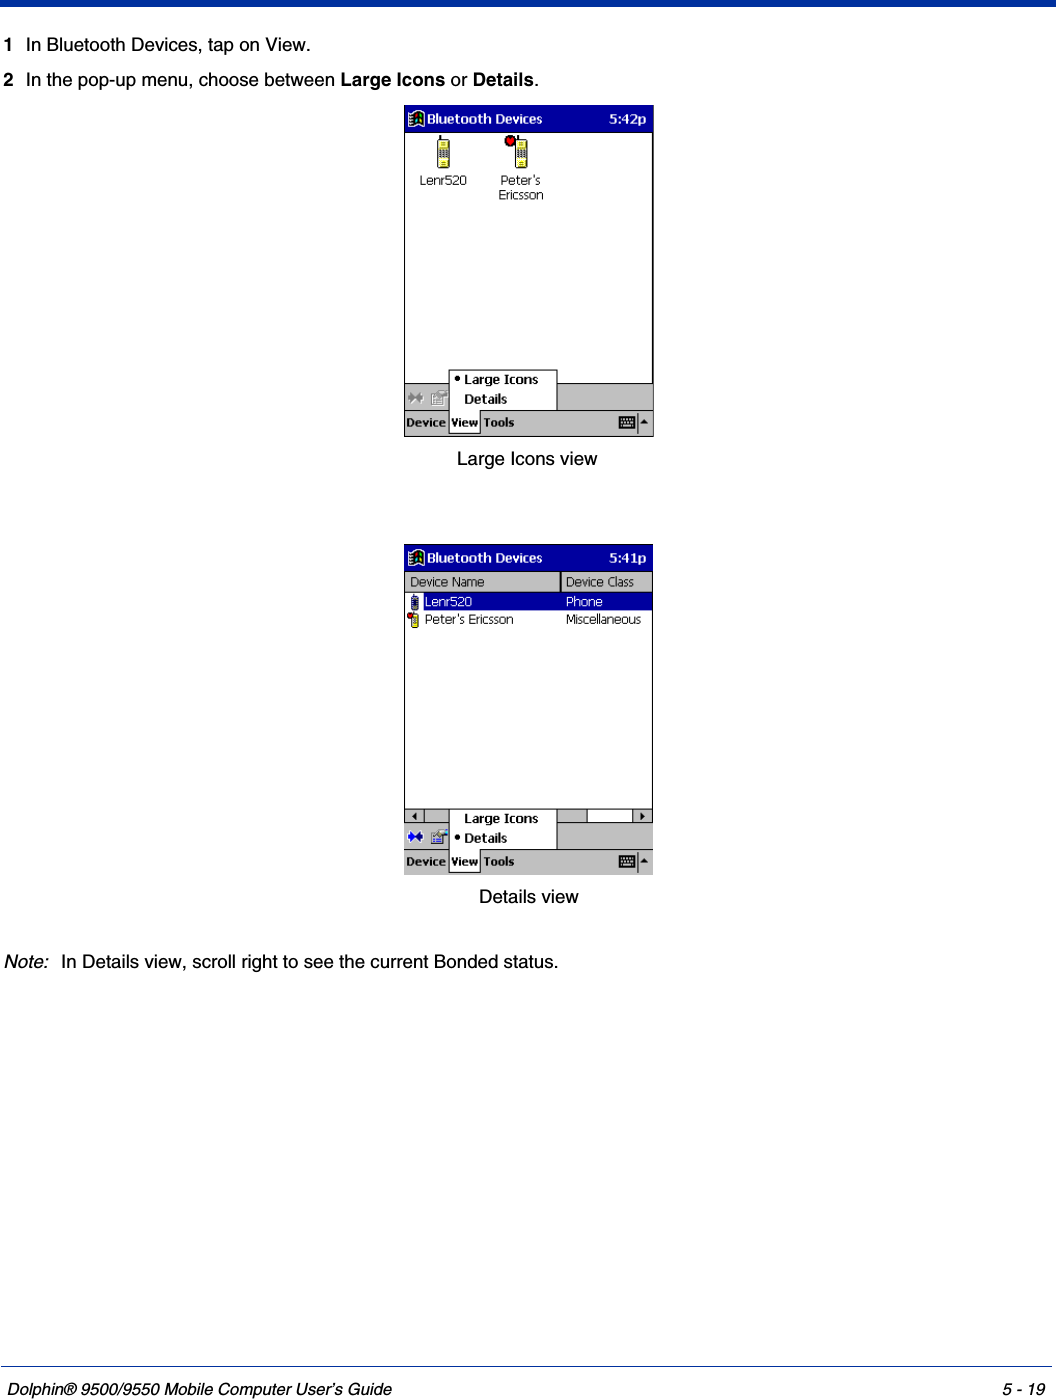
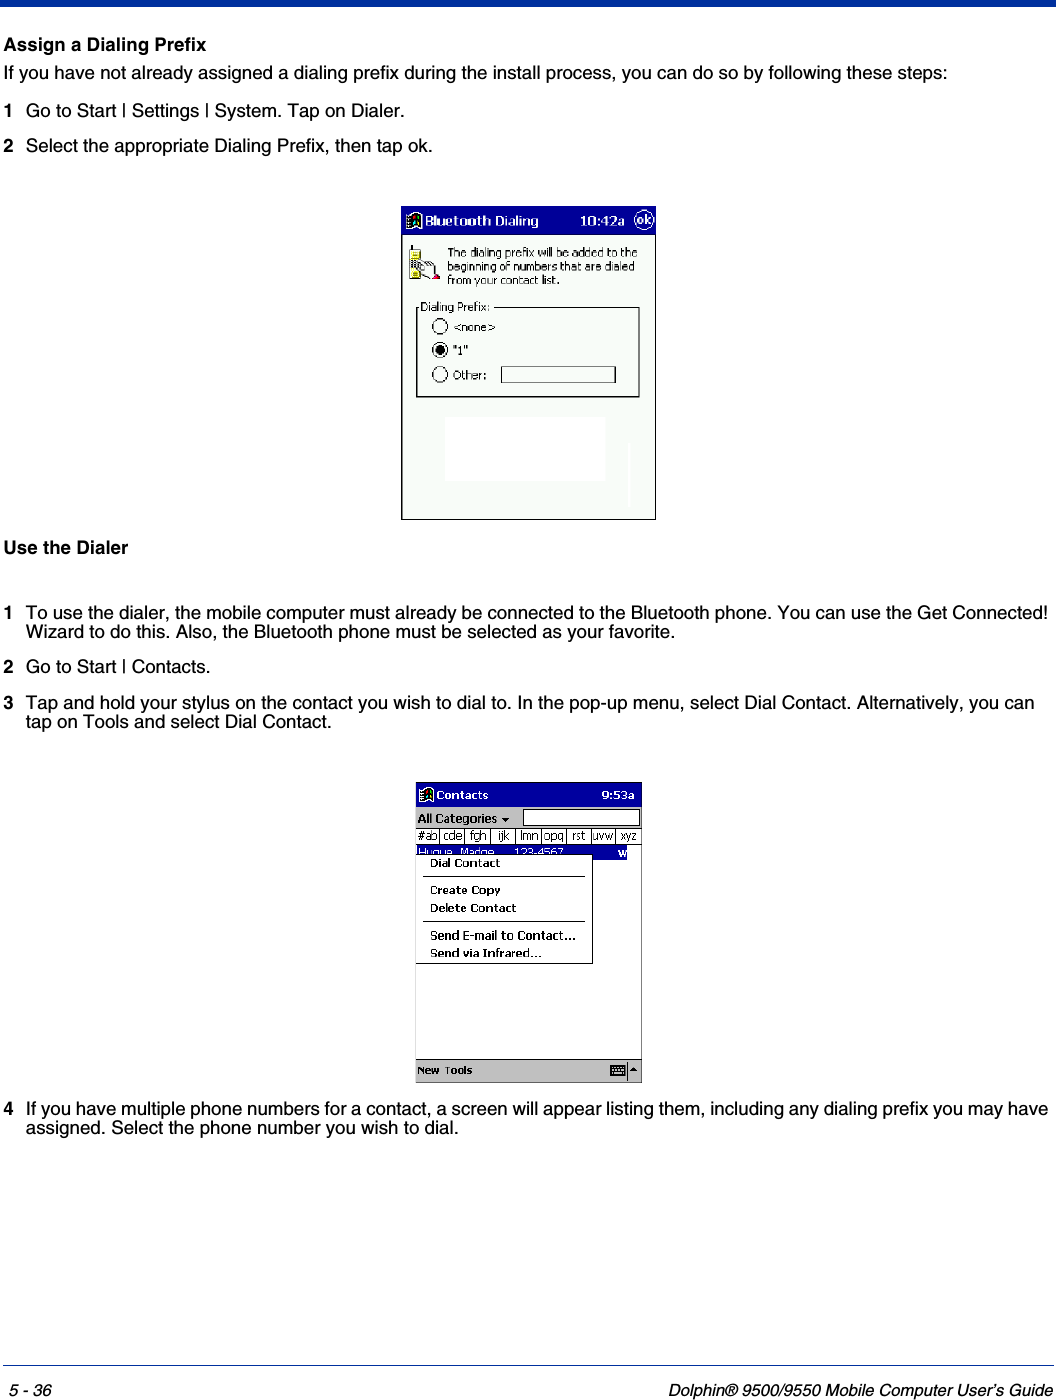
Honeywell International Inc Hand Held Computer with a 802.11b and Bluetooth usermanual part3
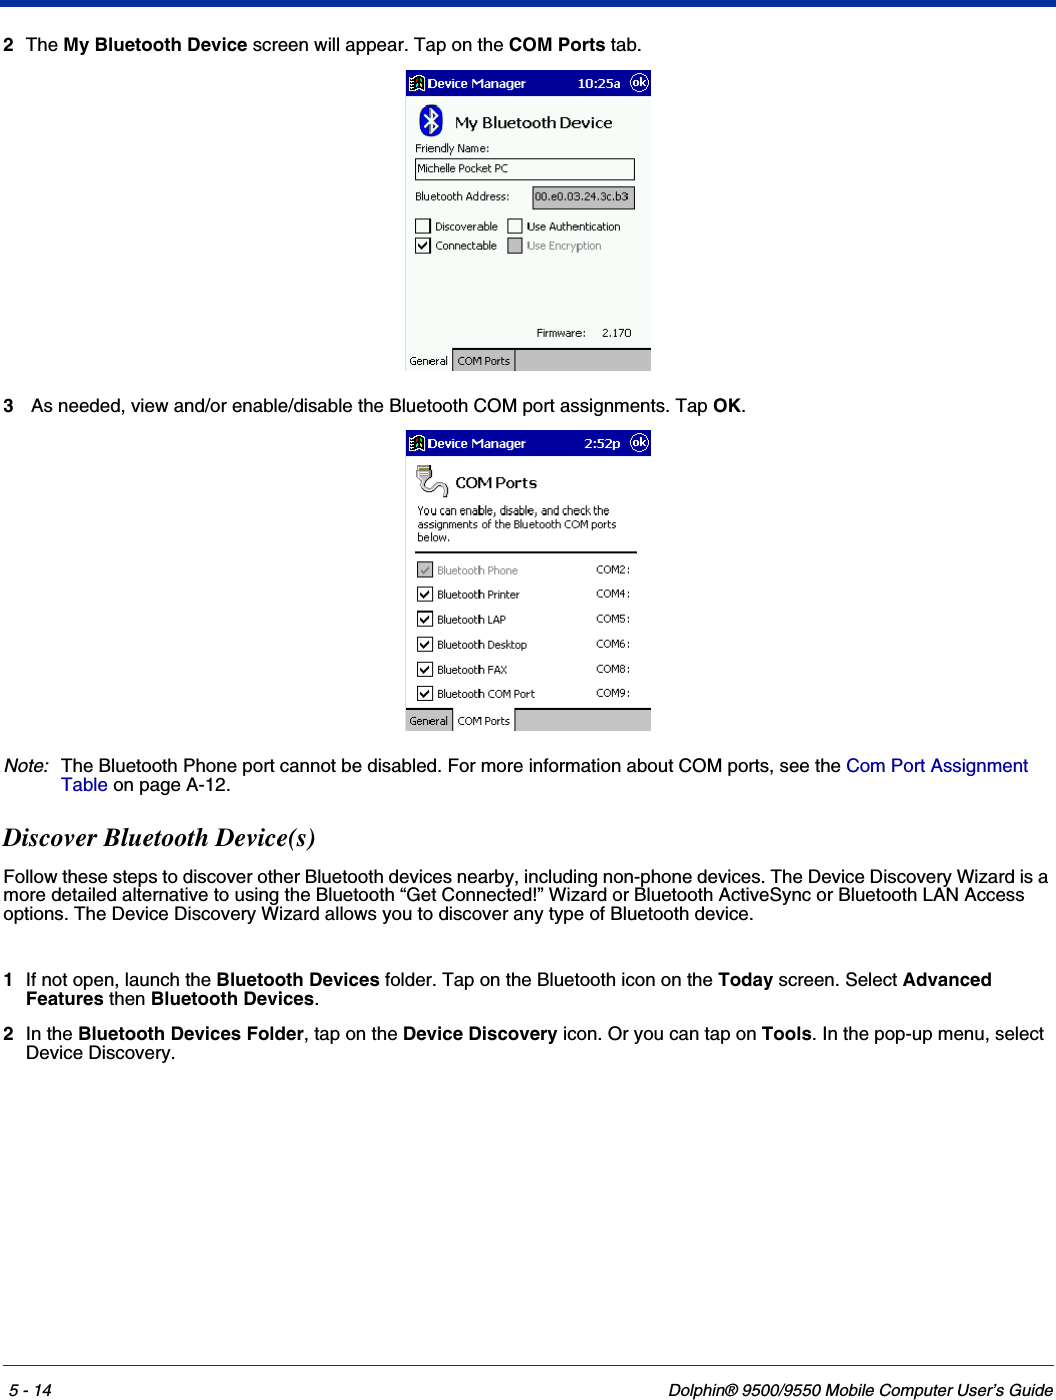
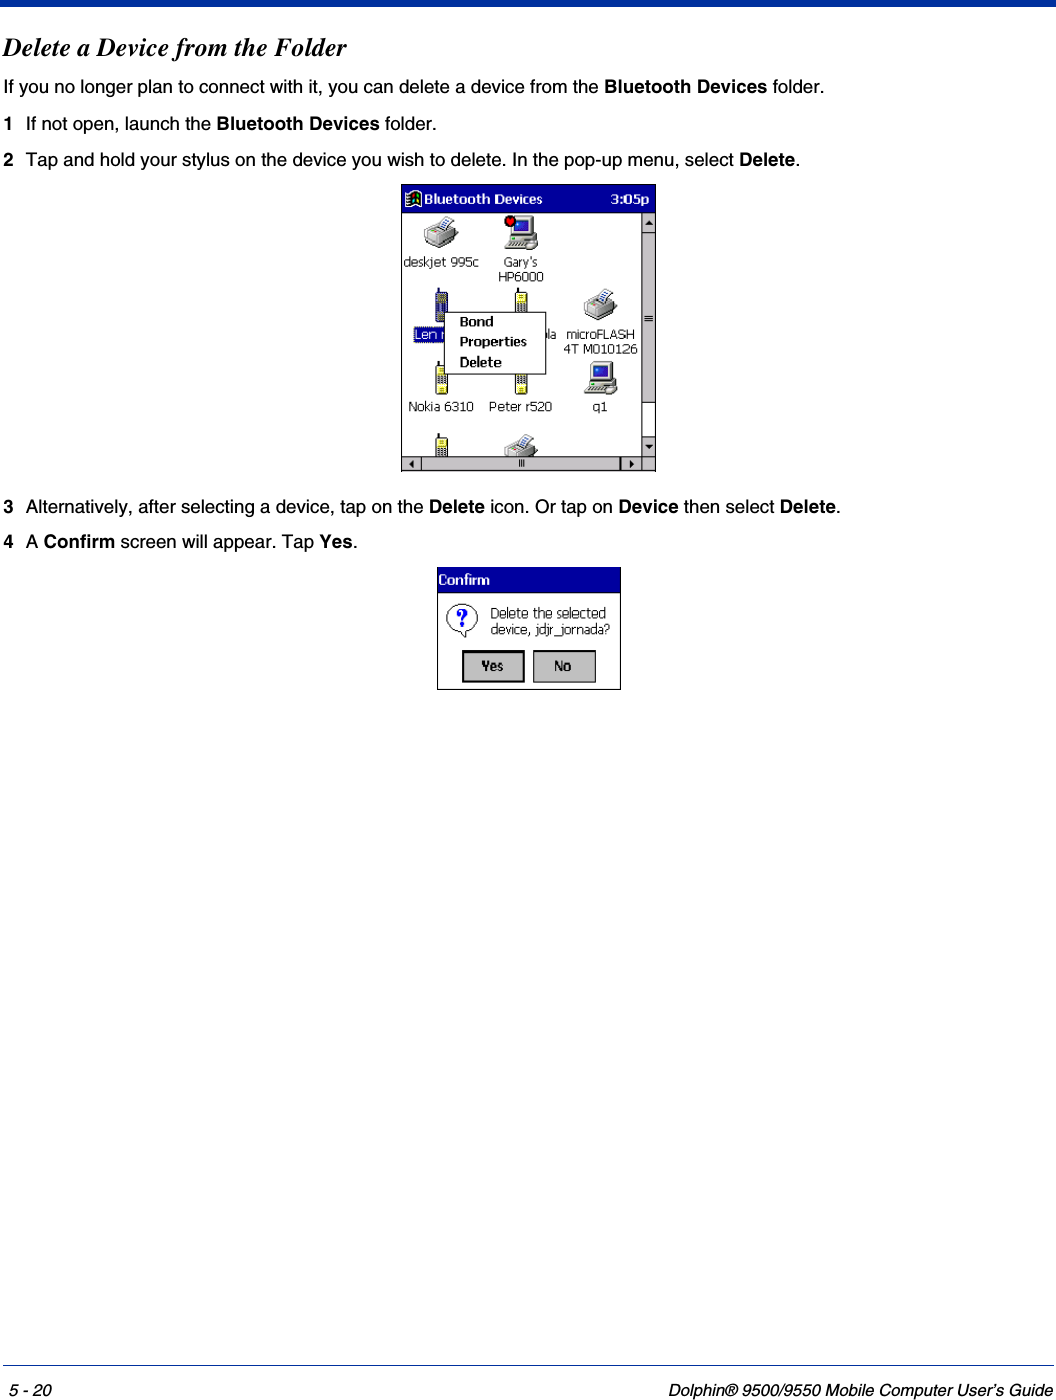
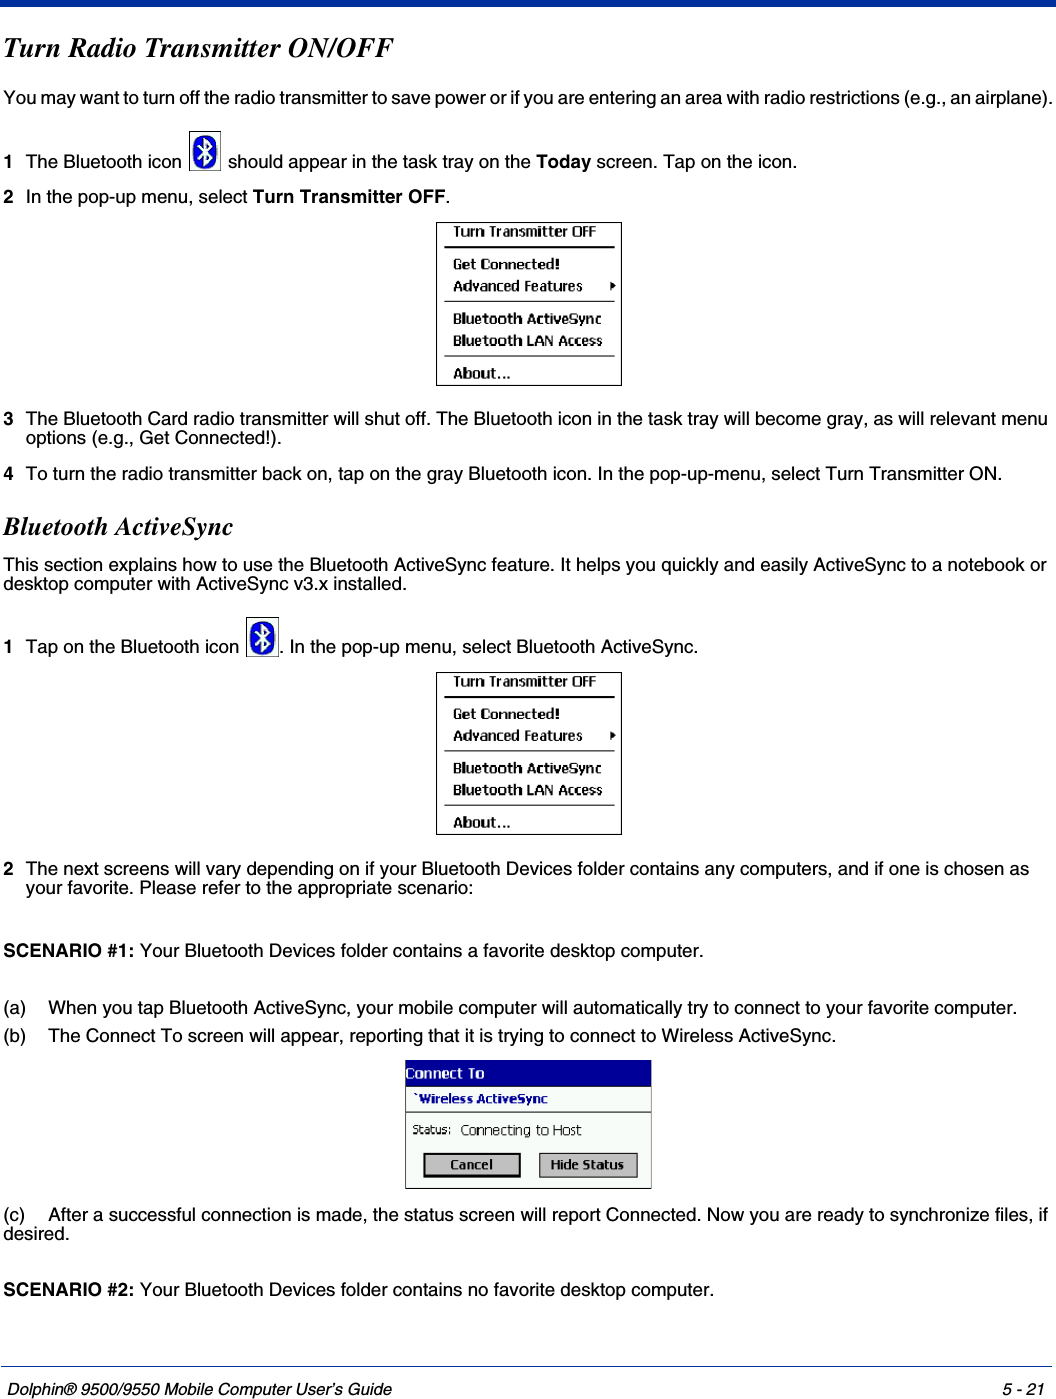
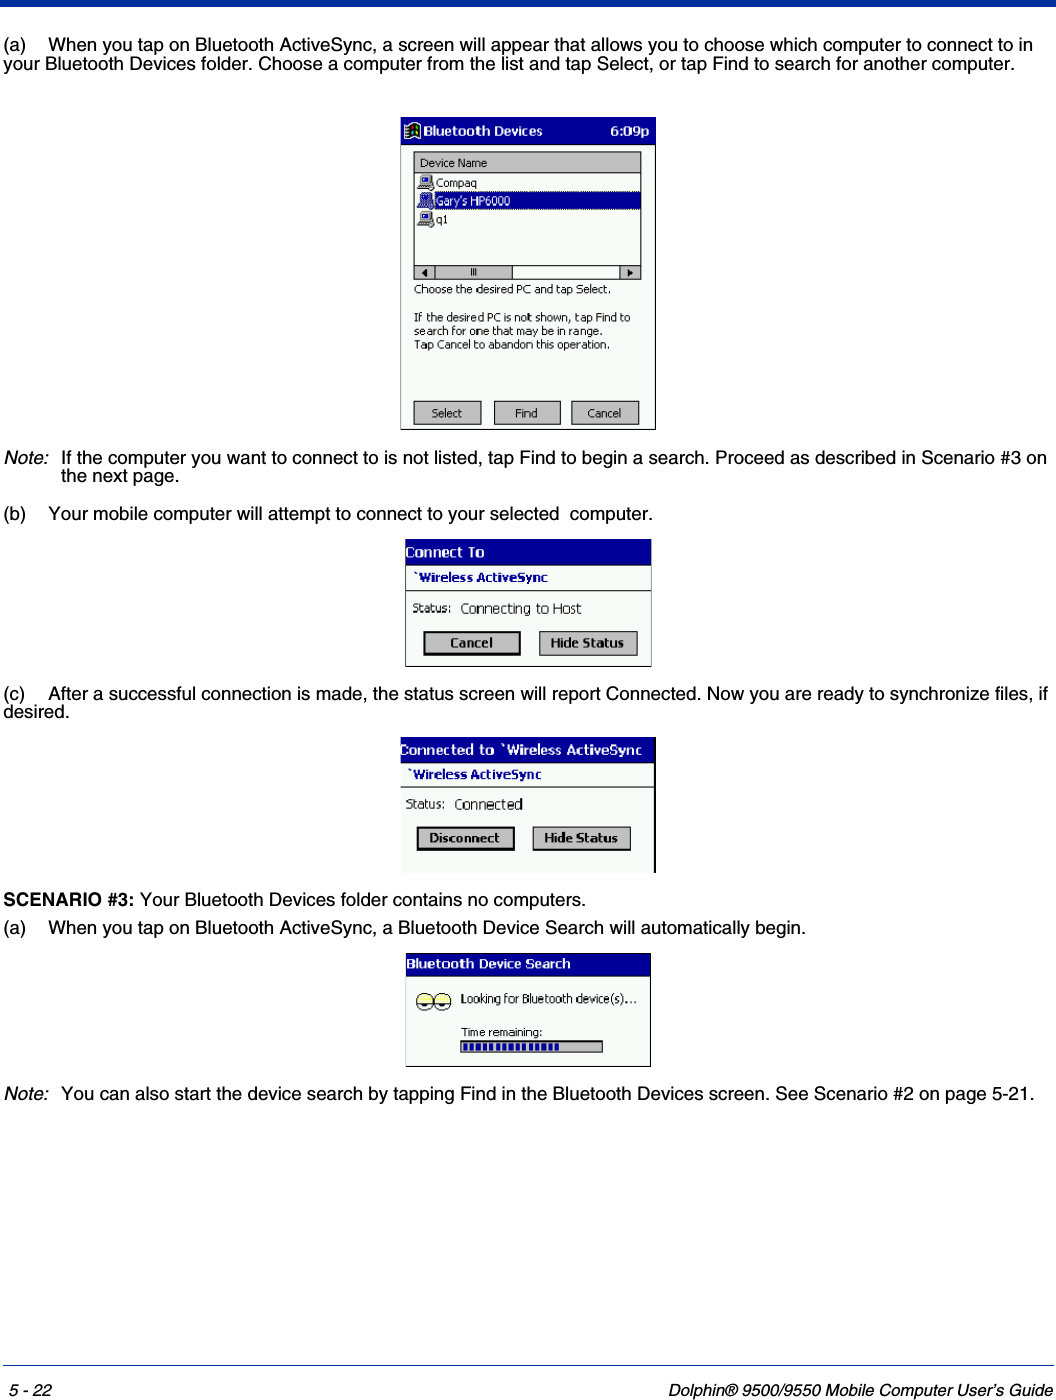
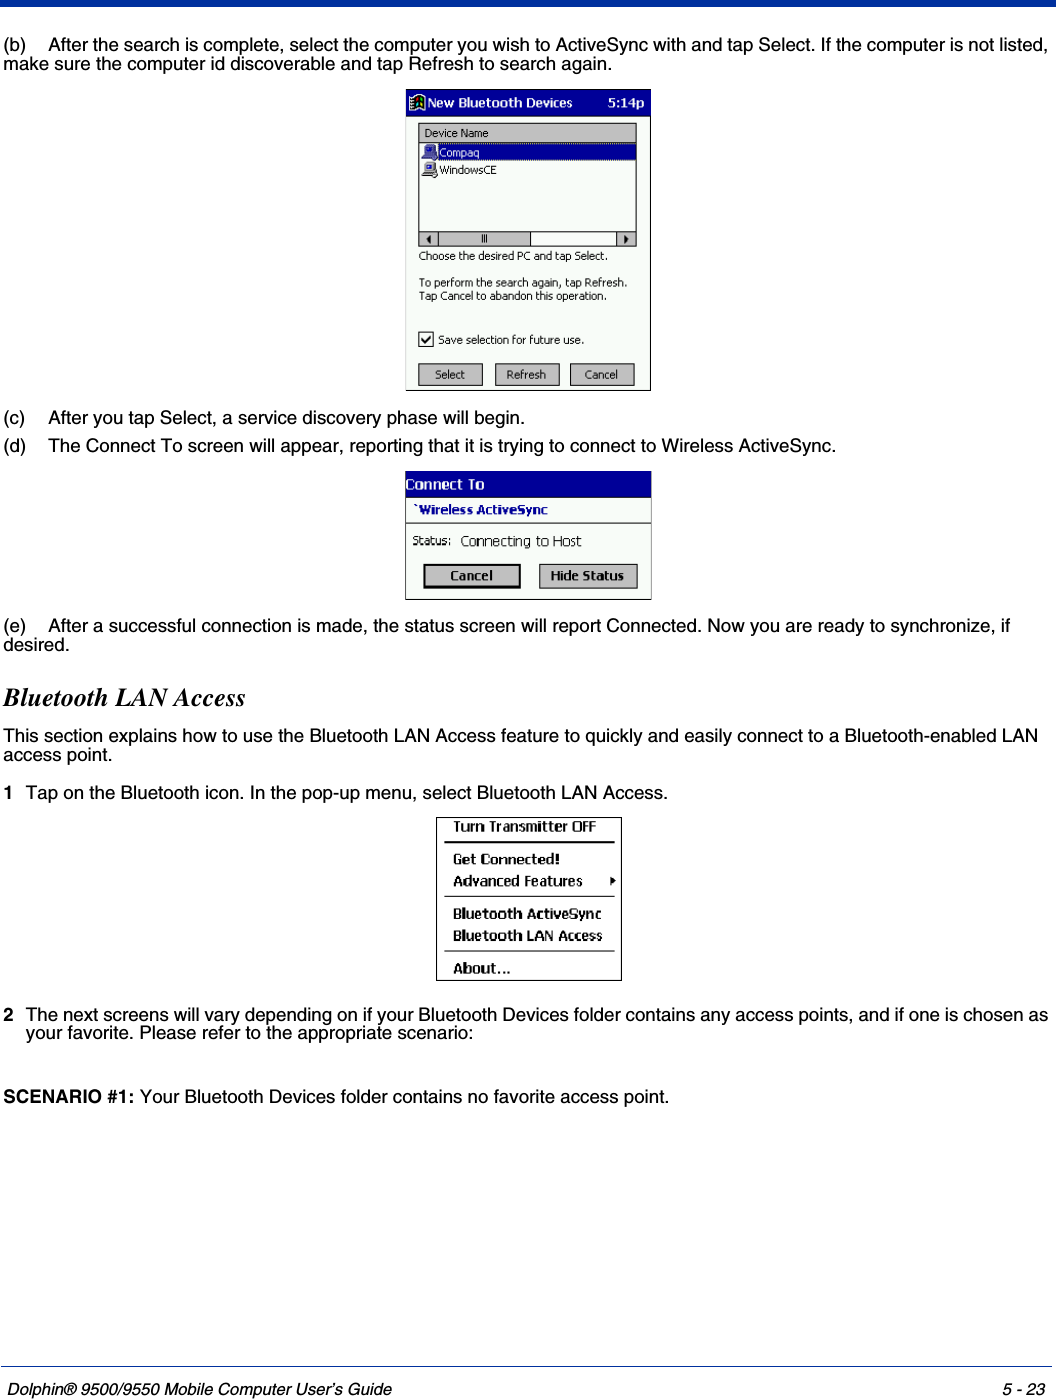
Contents
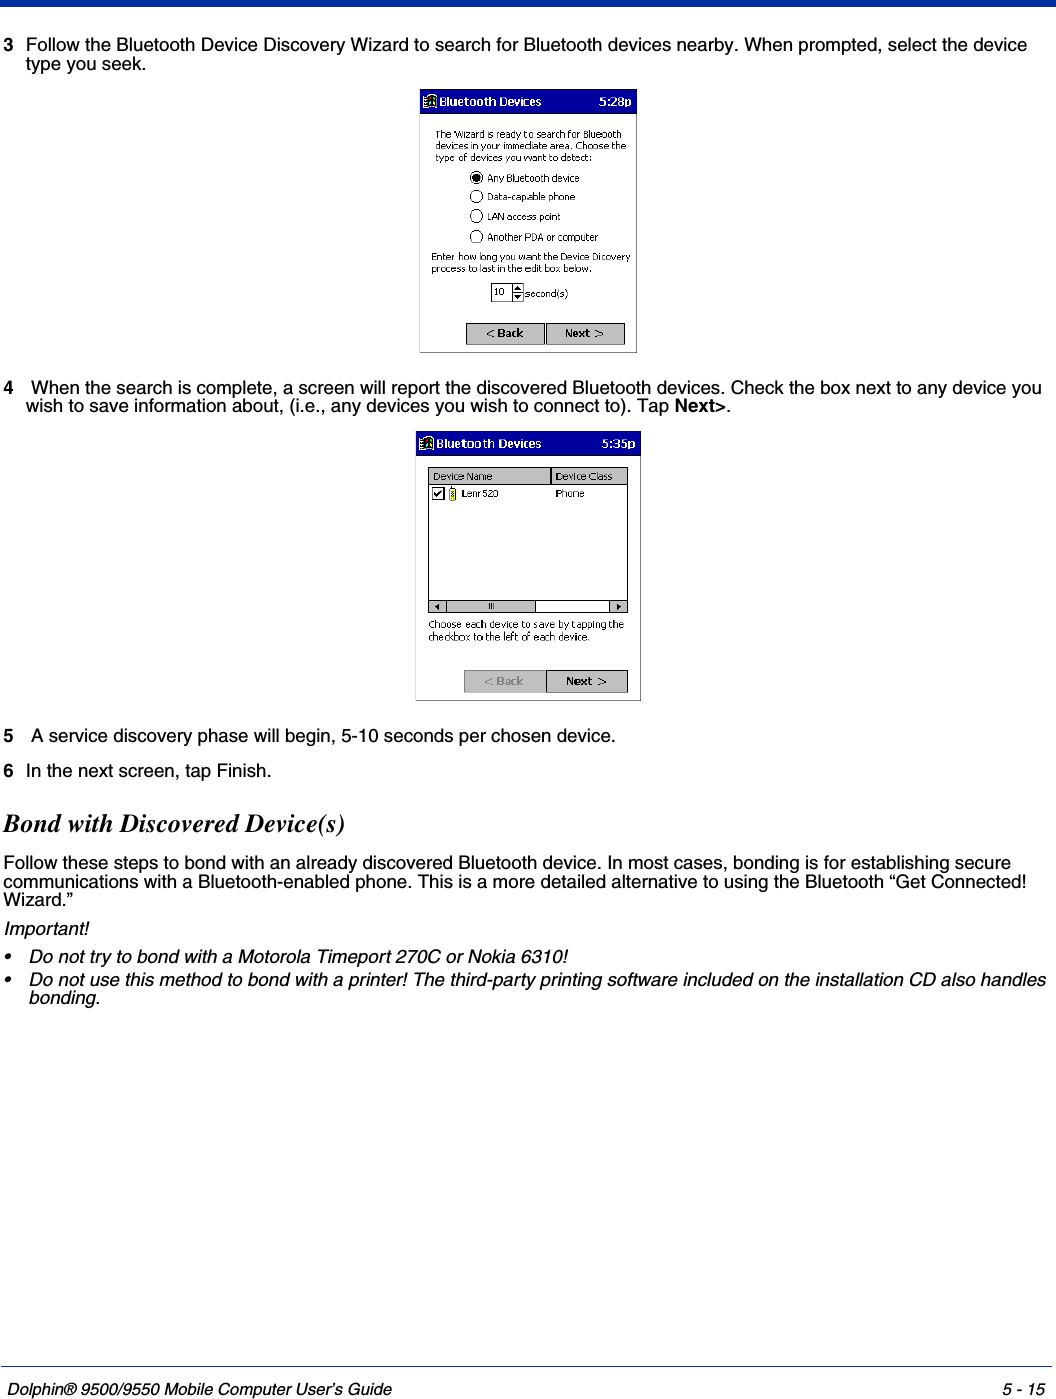
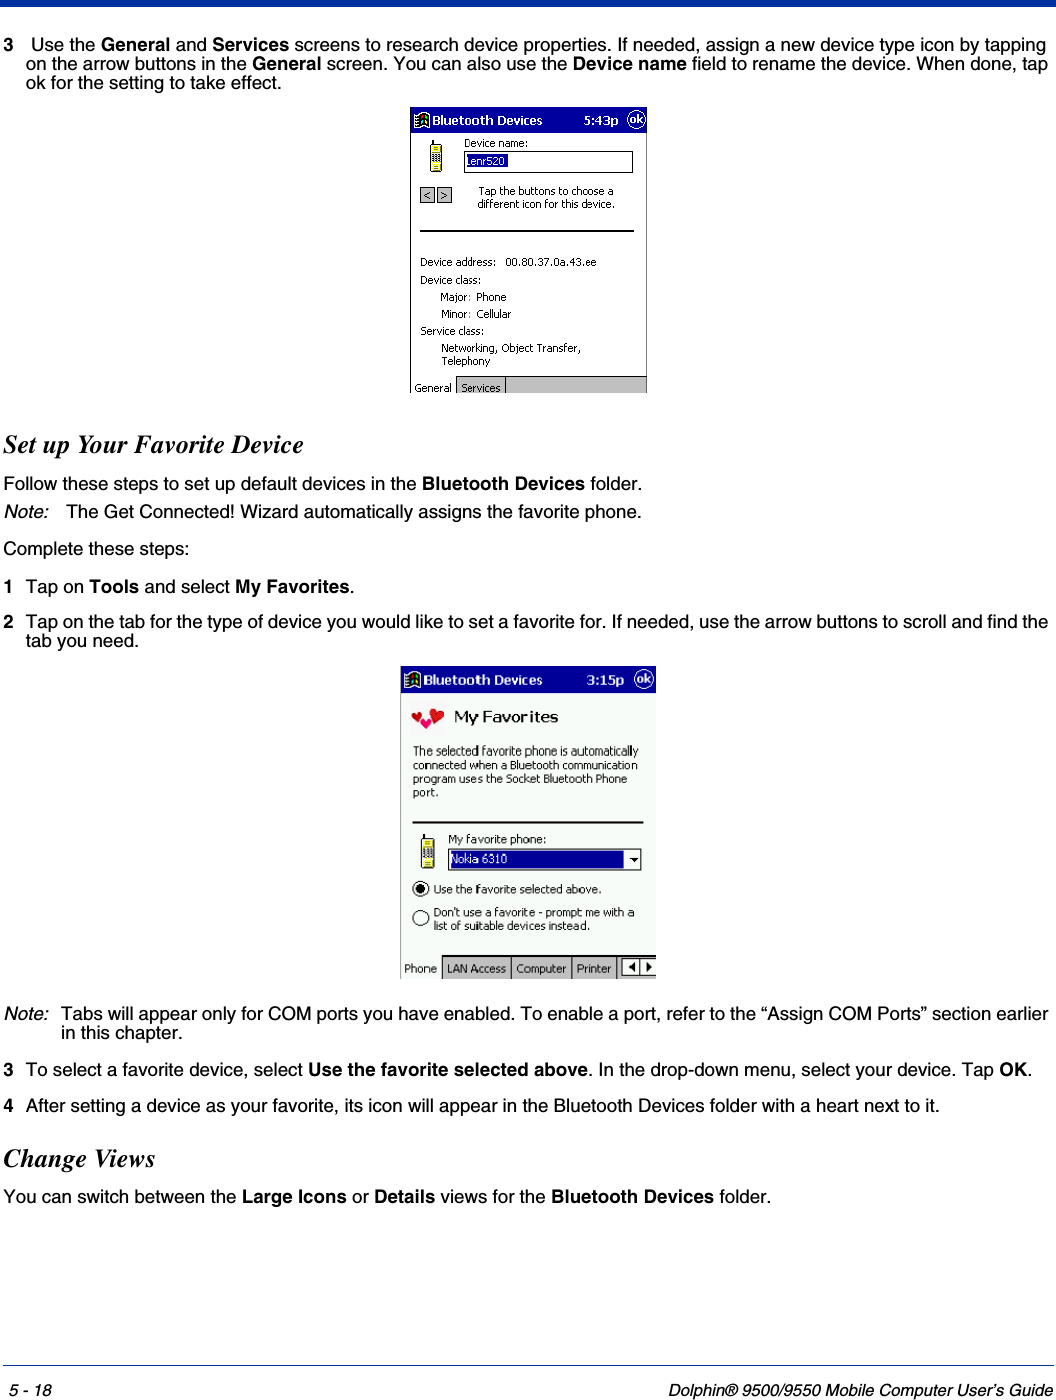
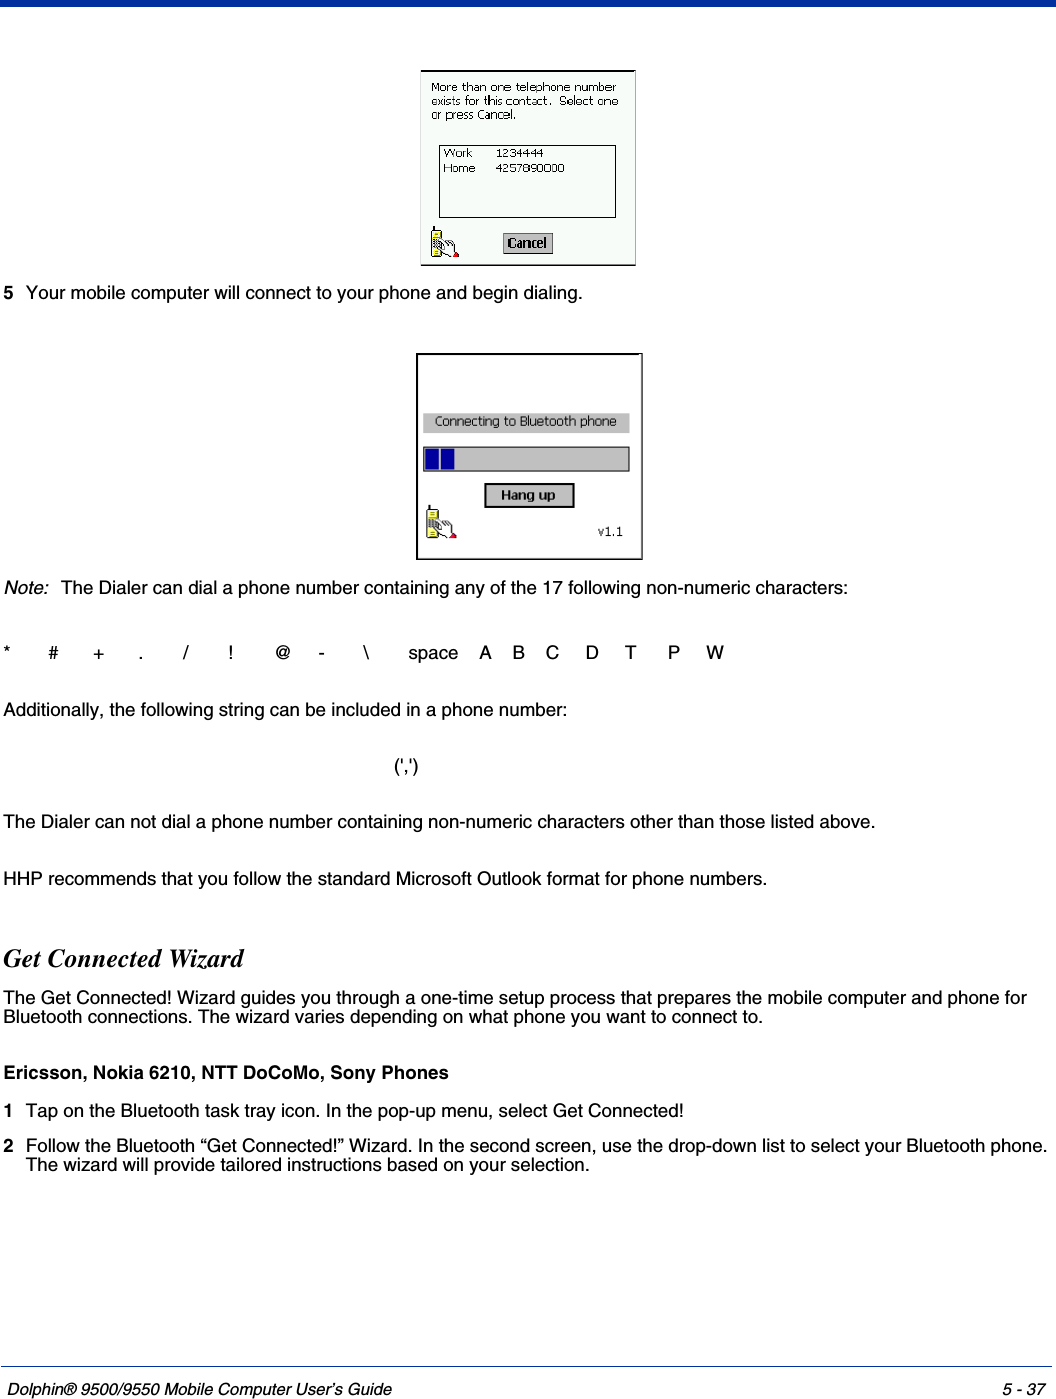
- 1. usermanual part1
- 2. usermanual part2
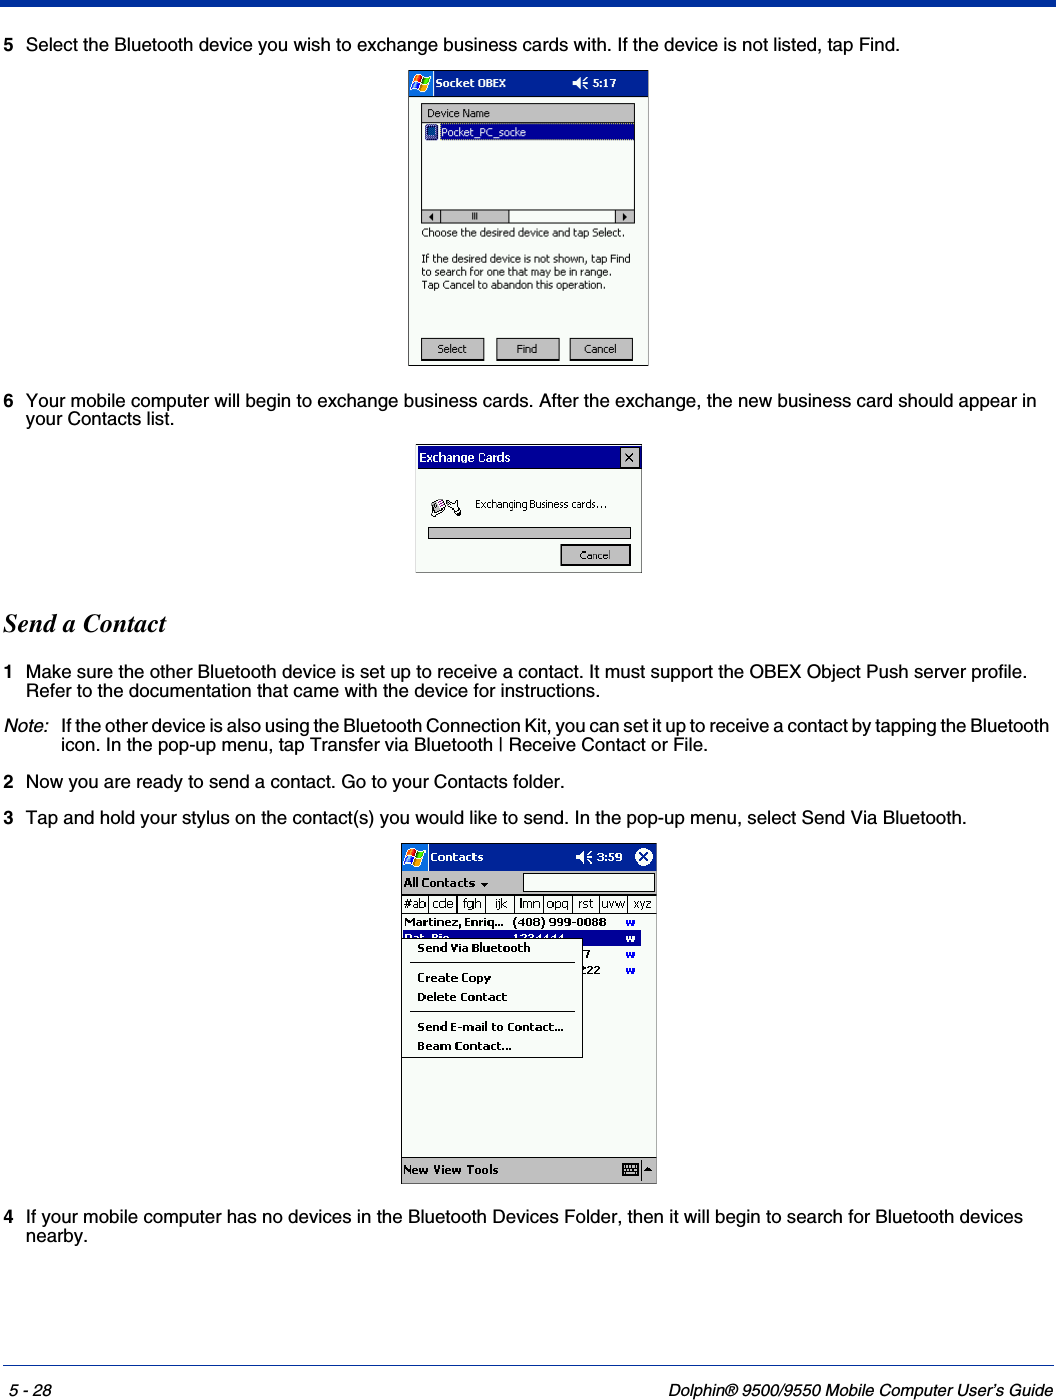
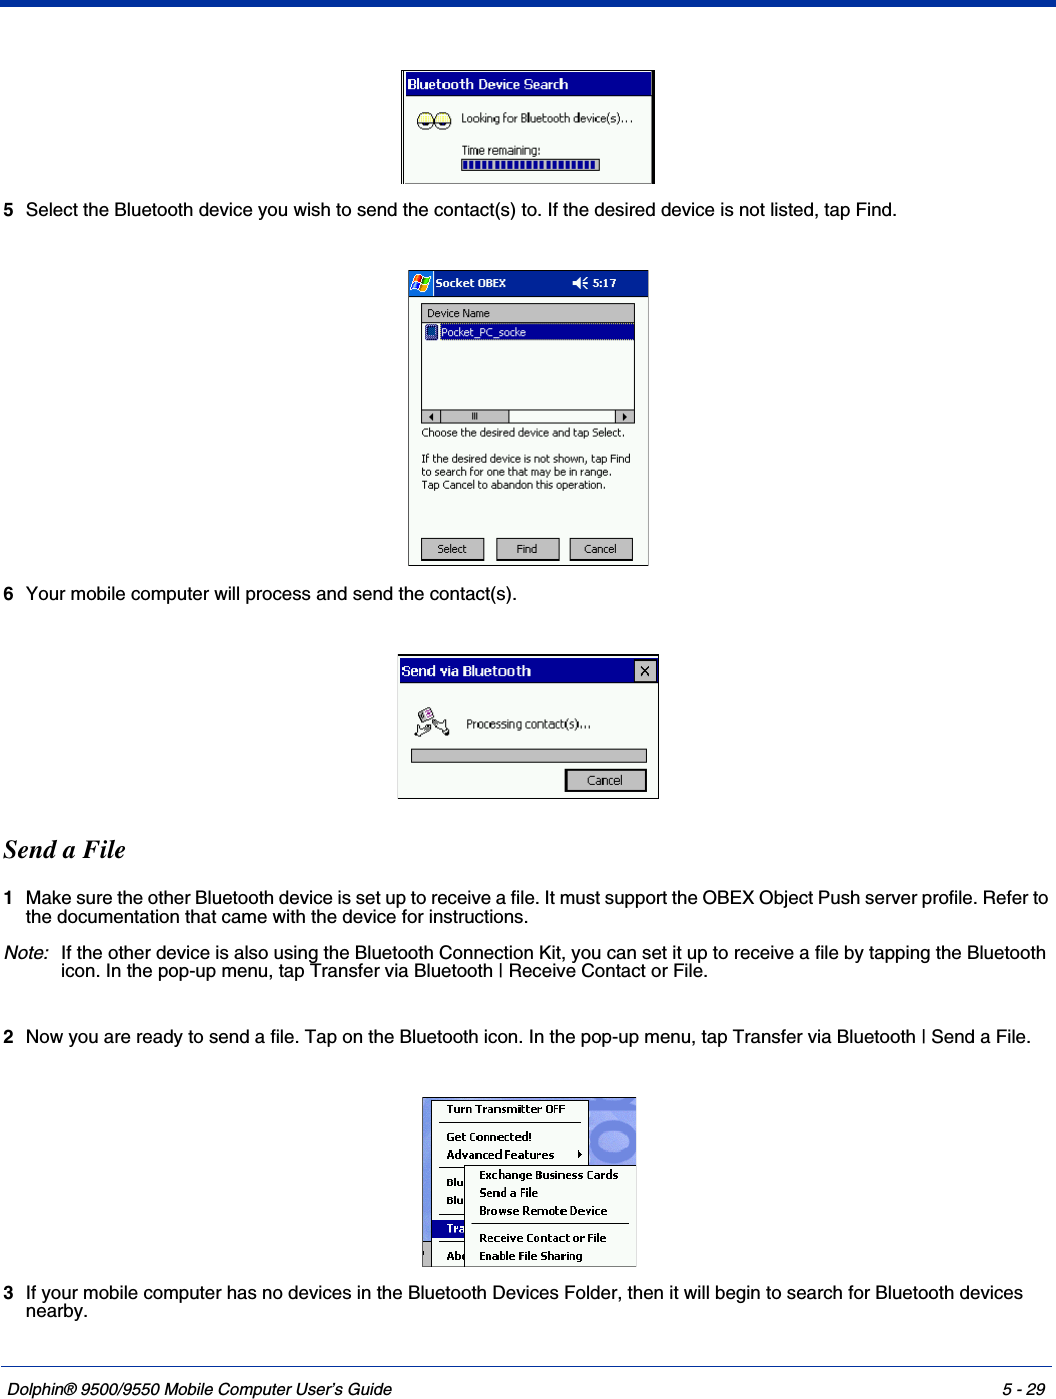
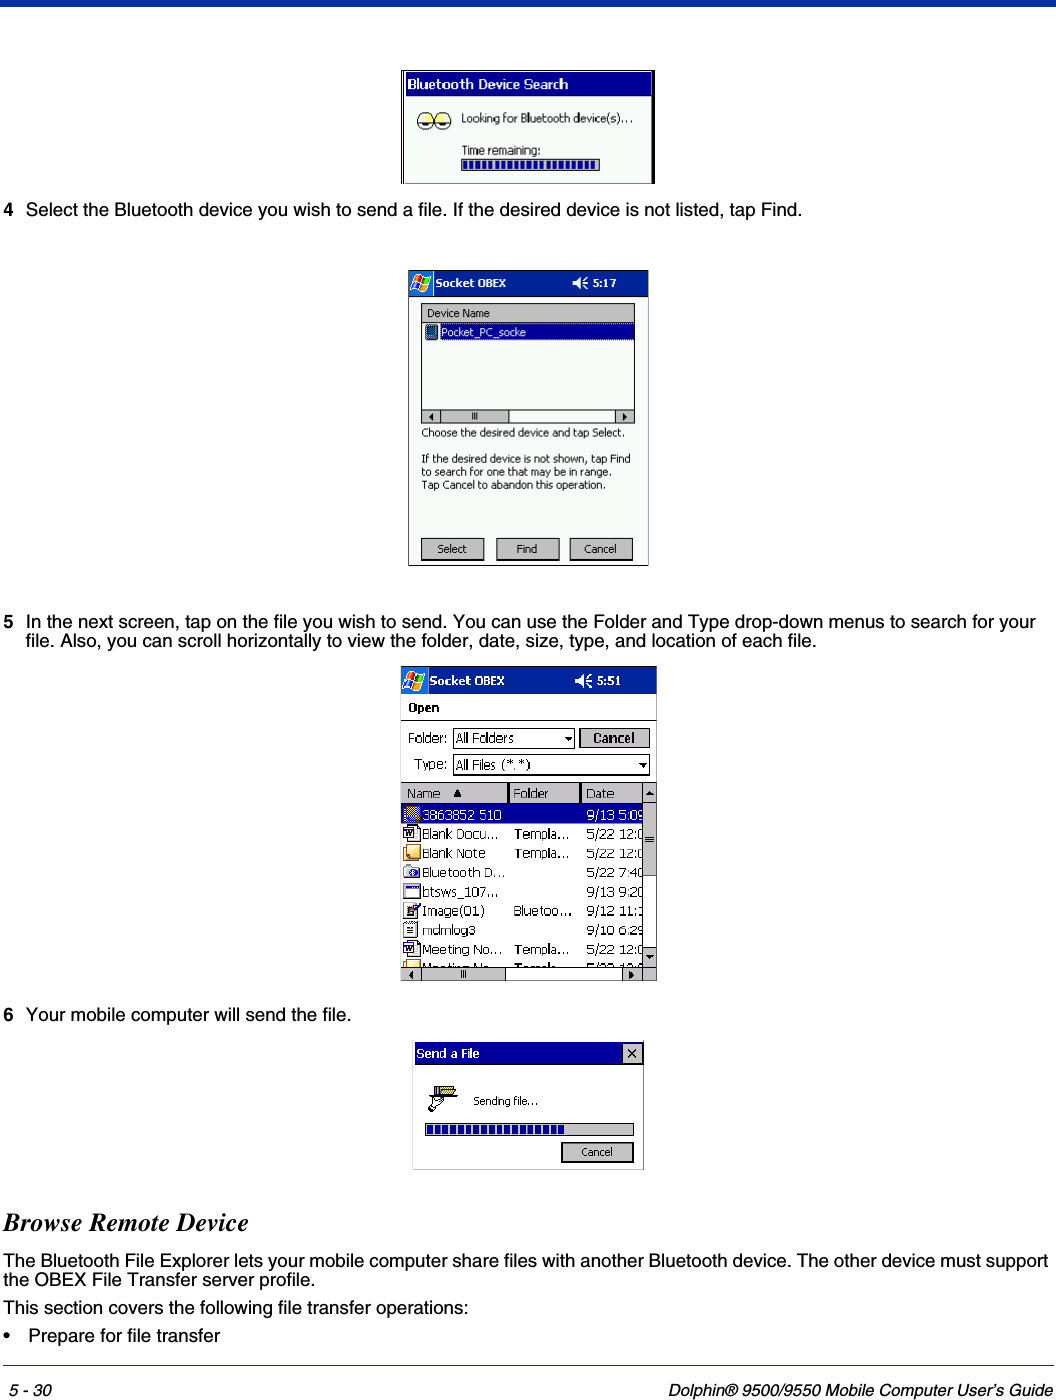
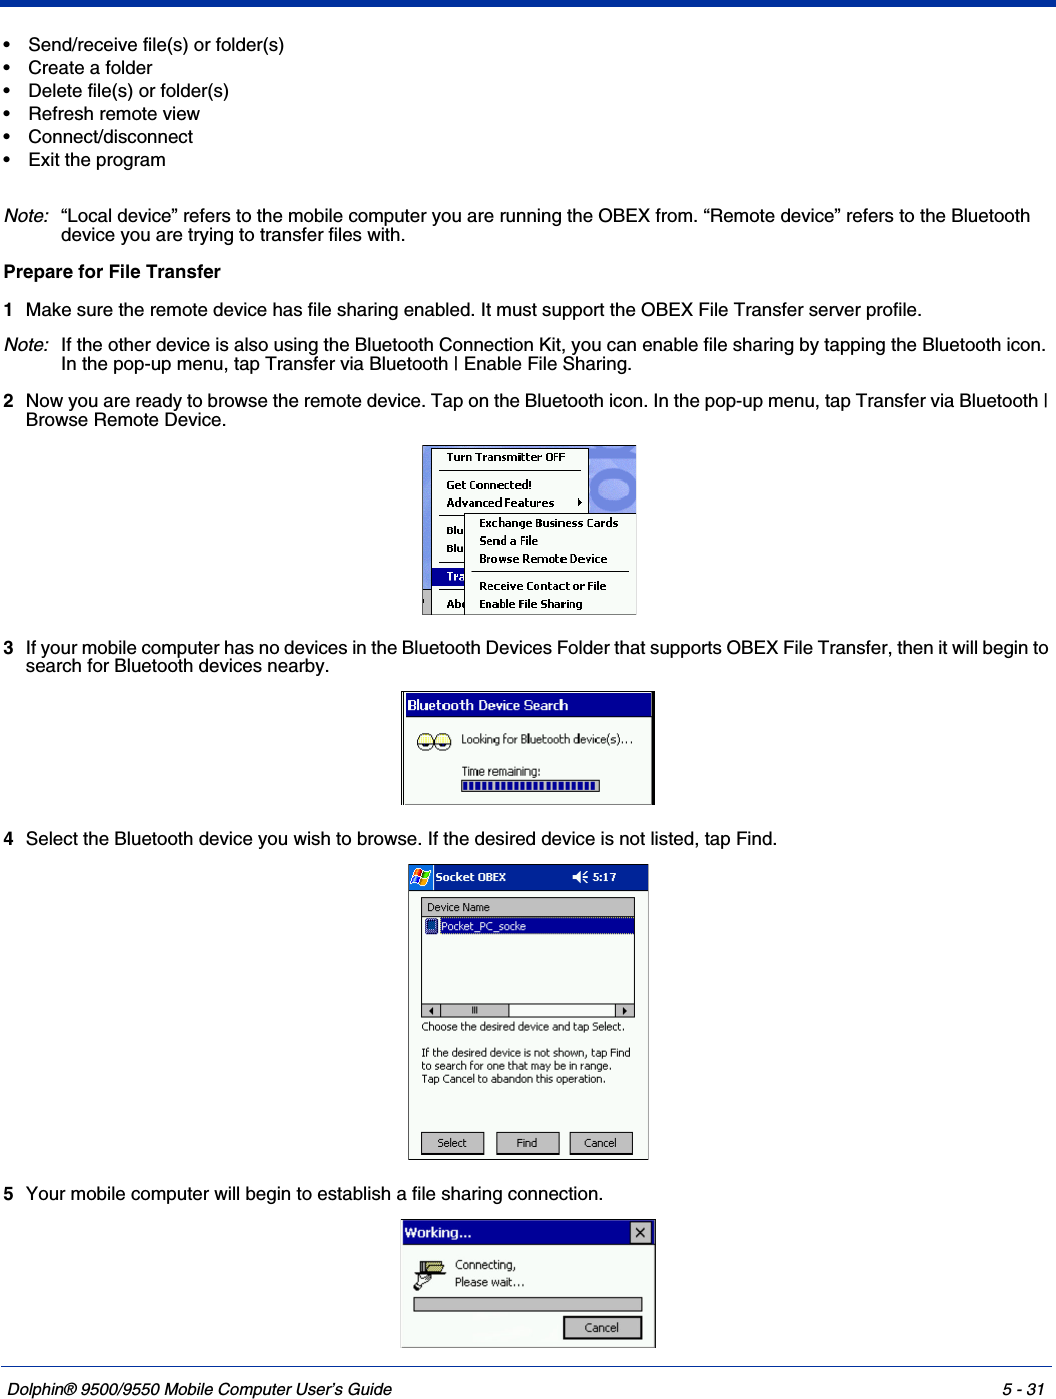
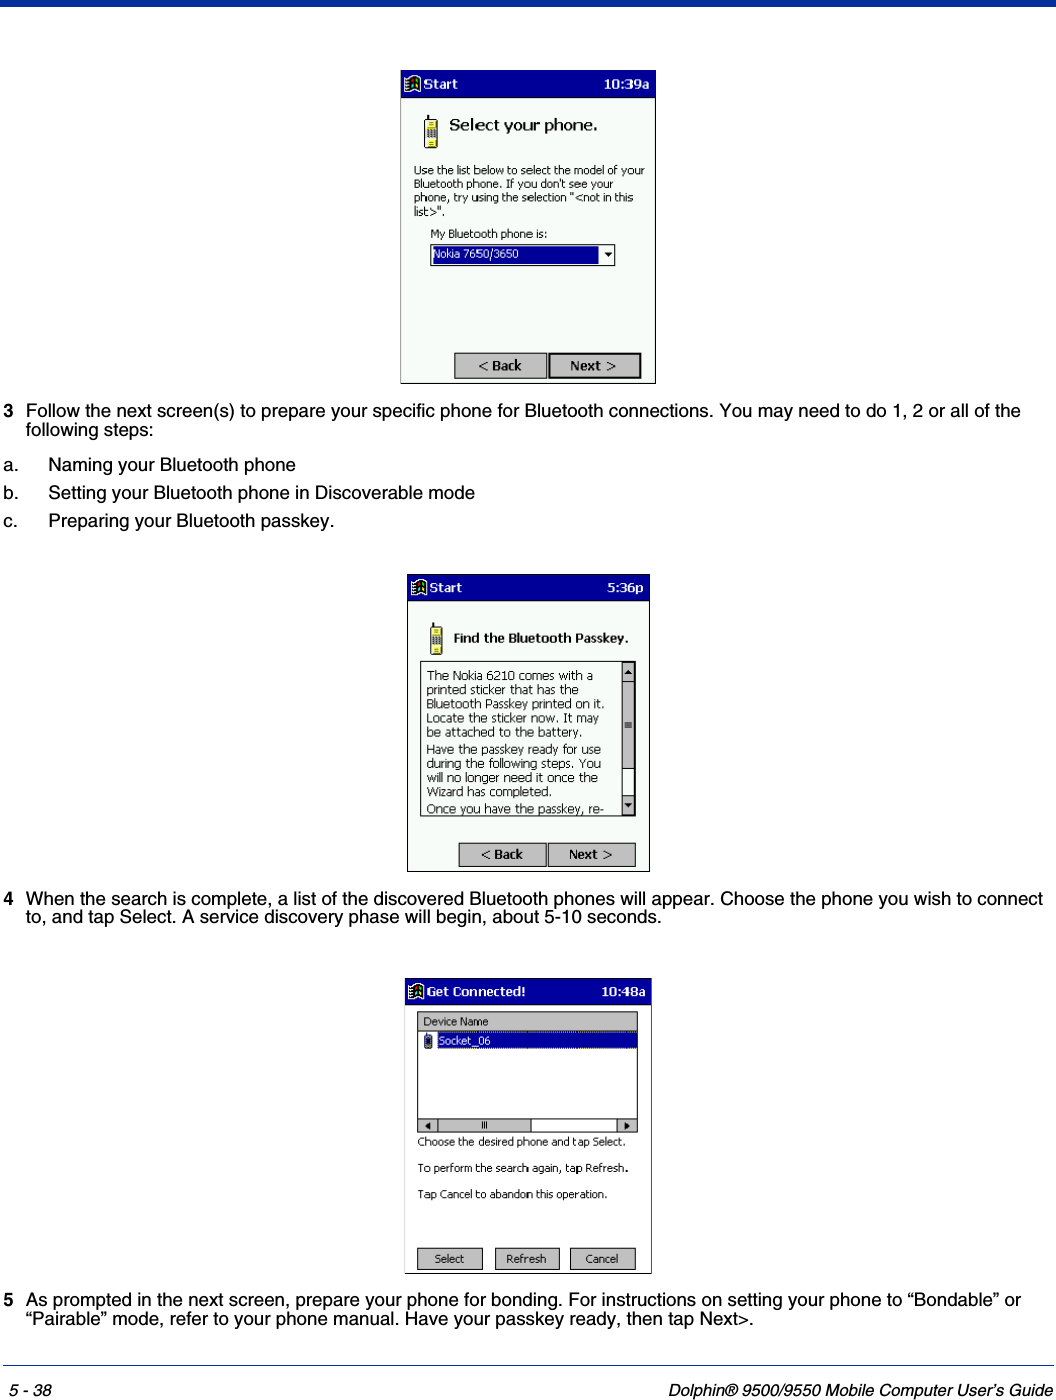
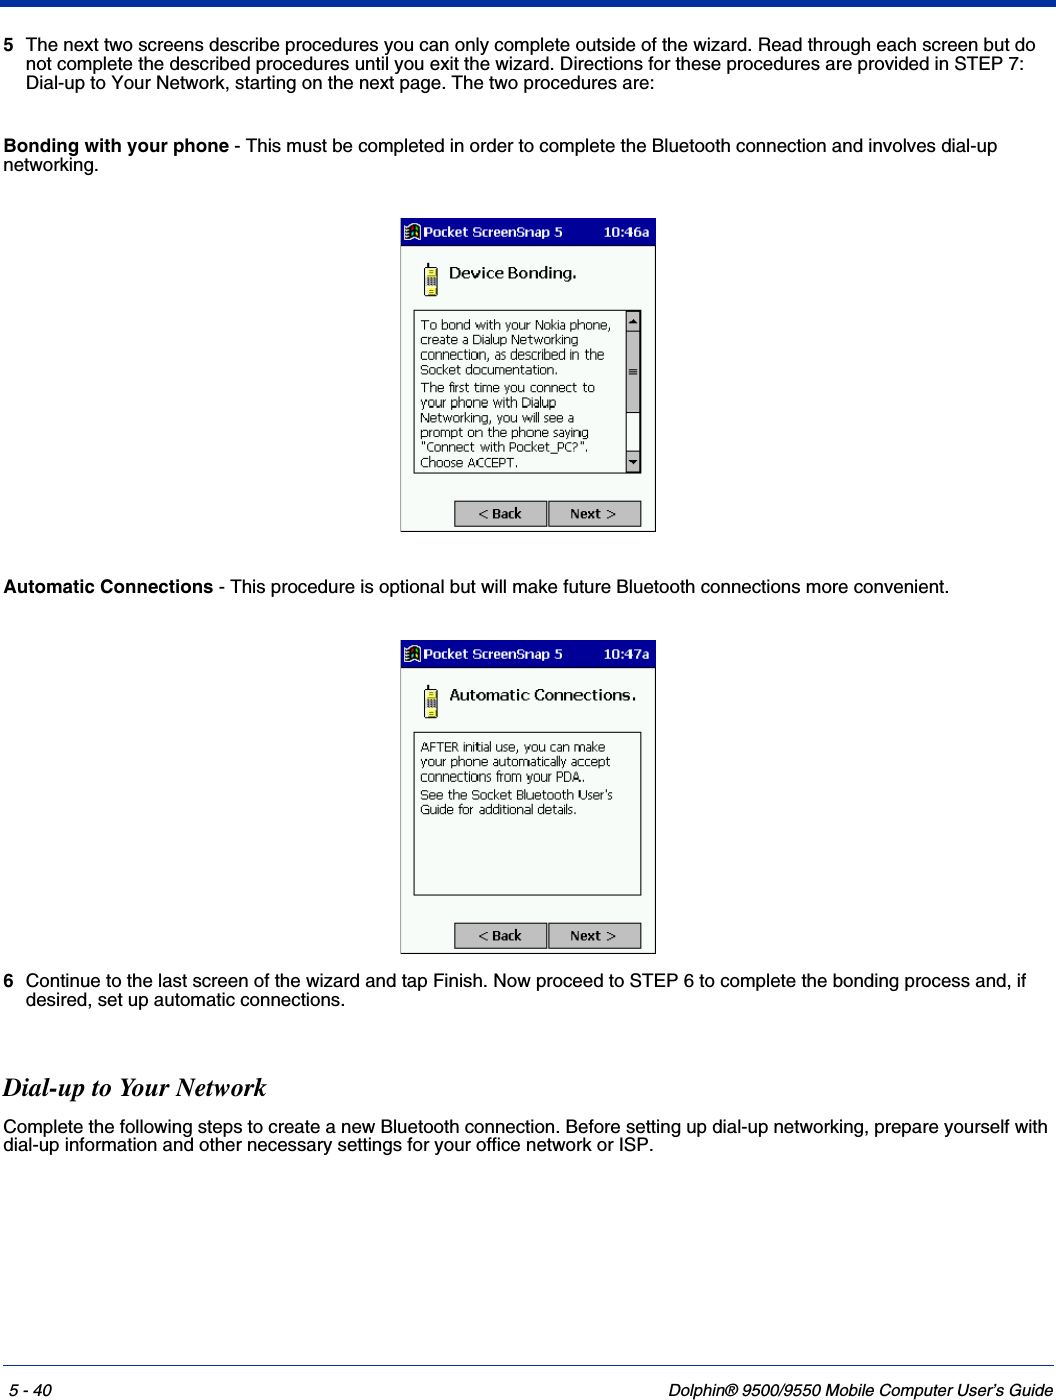
- 3. usermanual part3
- 4. usermanual part4
- 5. usermanual part6
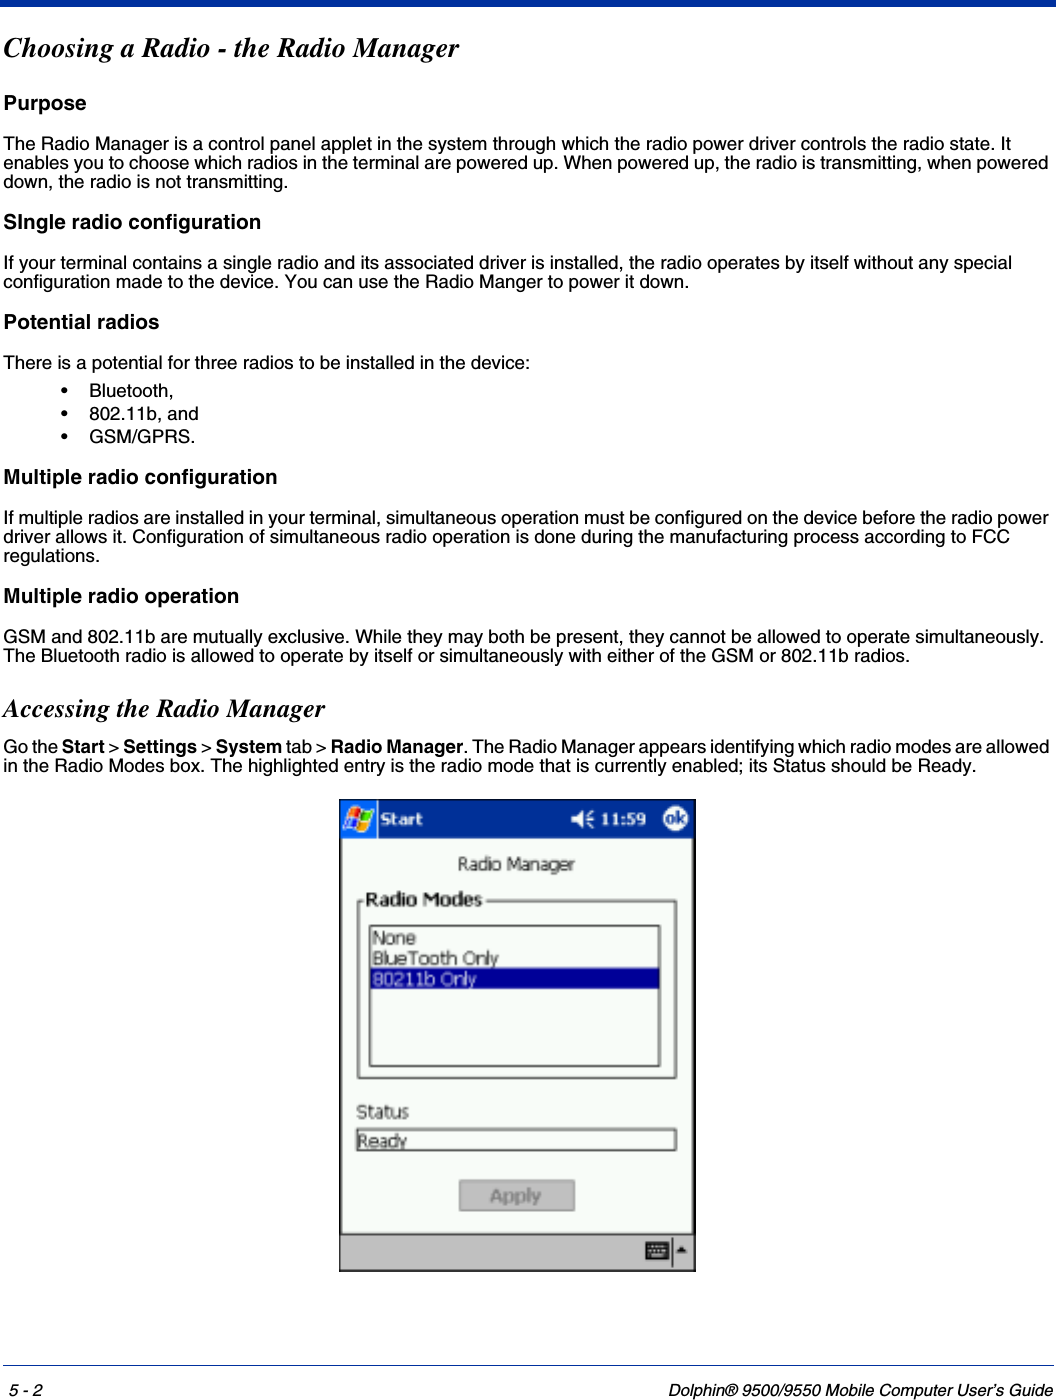
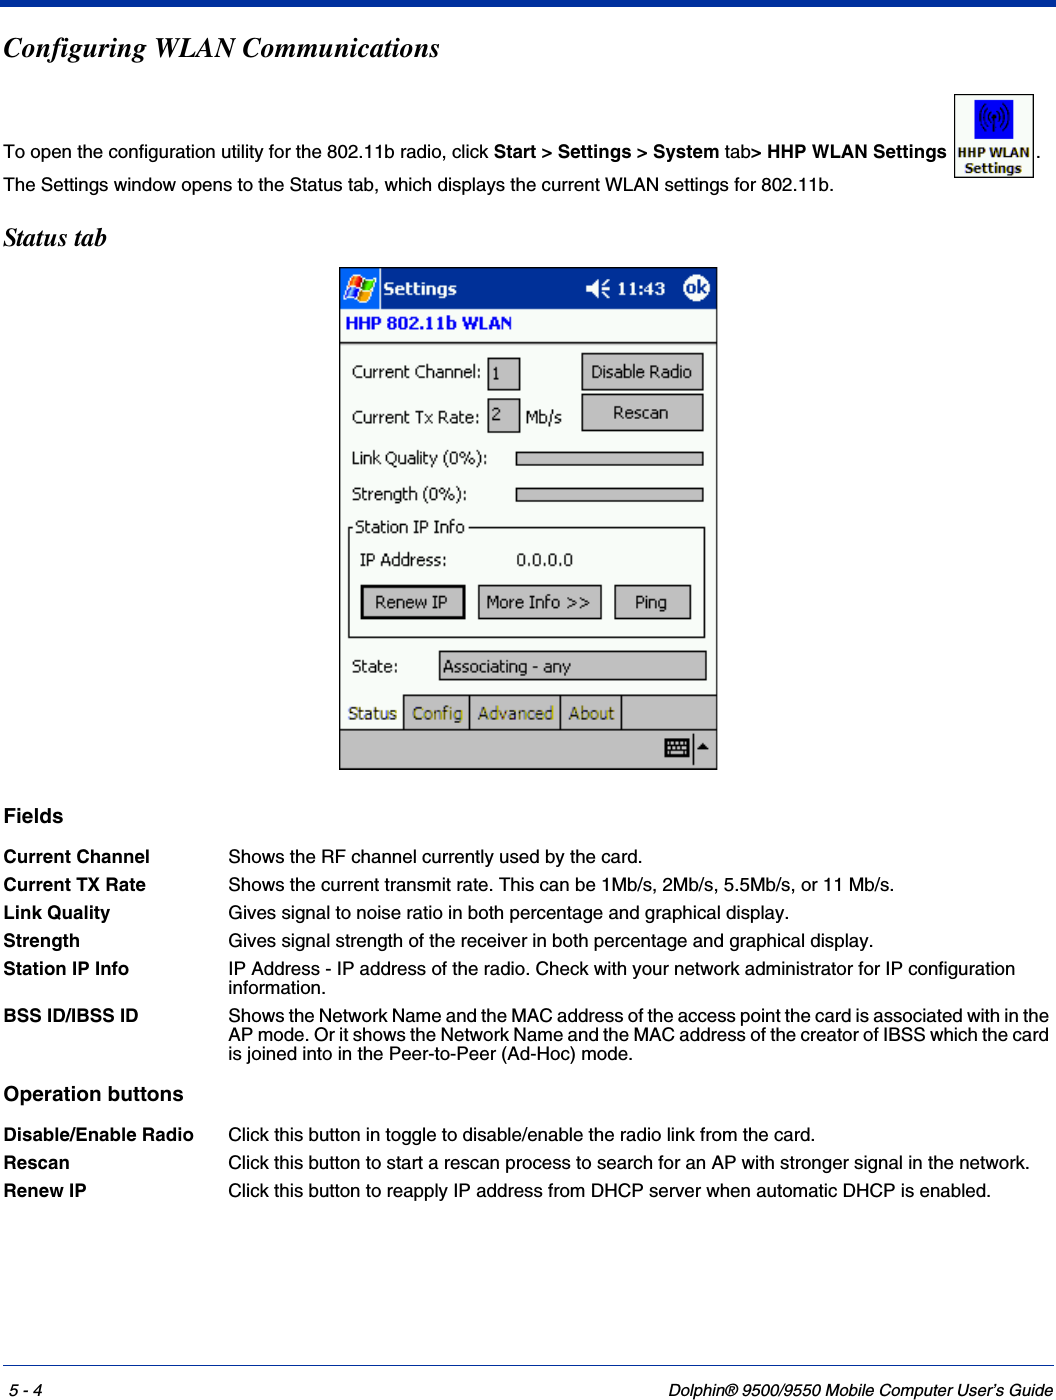
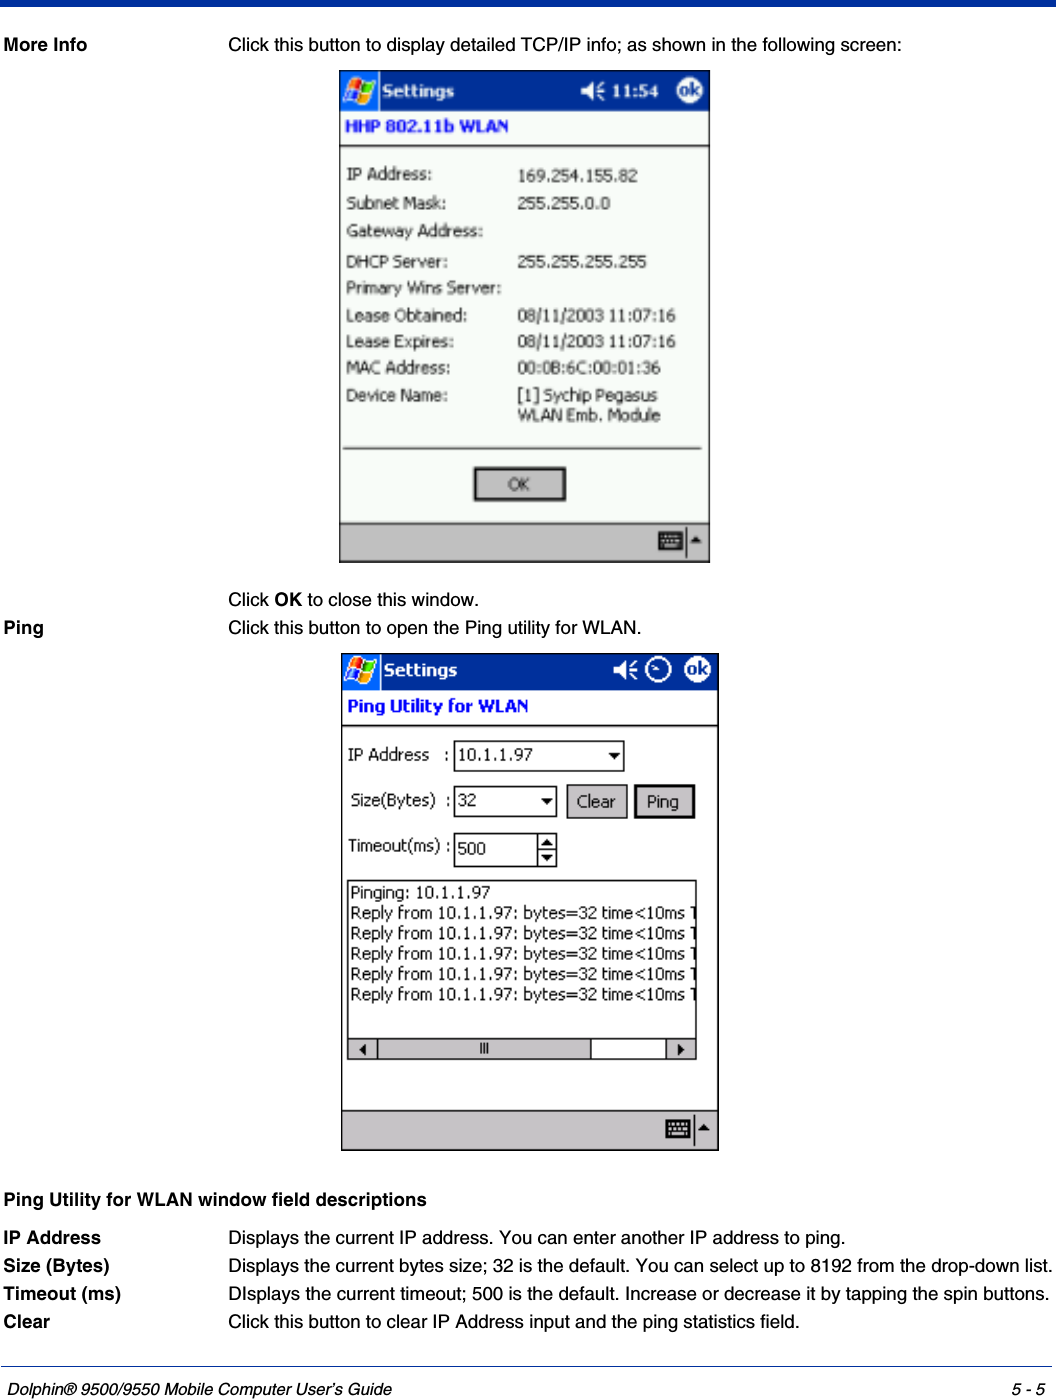
usermanual part3