Huawei Technologies C5589 CDMA 1x Digital Mobile Phone with BT User Manual C5589 User Guide En
Huawei Technologies Co.,Ltd CDMA 1x Digital Mobile Phone with BT C5589 User Guide En
UserManual.wiki
>
Huawei Technologies
>
C5589 User Manual
User Manual
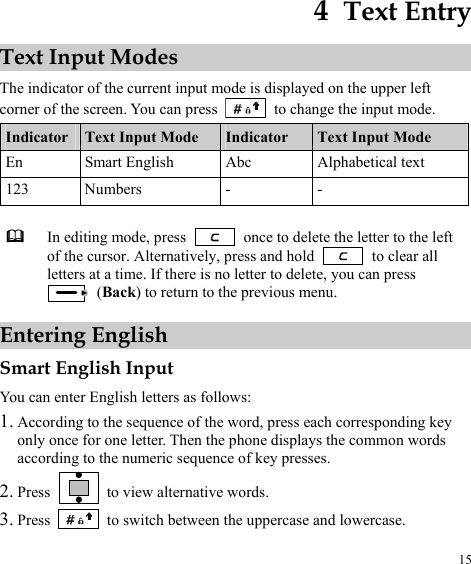
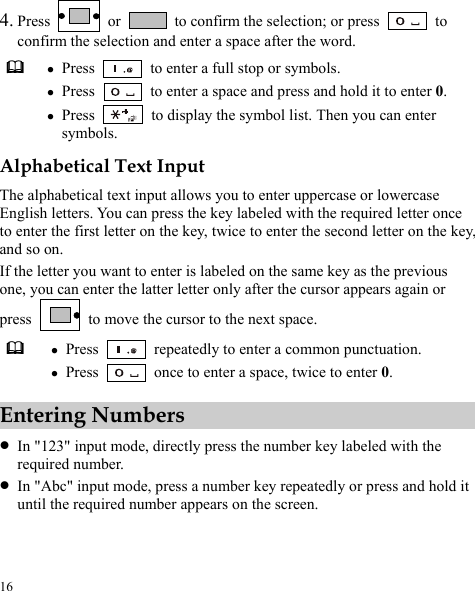
Navigation menu
Upload a User Manual
Namespaces
Wiki Guide
HTML
PDF
Info
Views
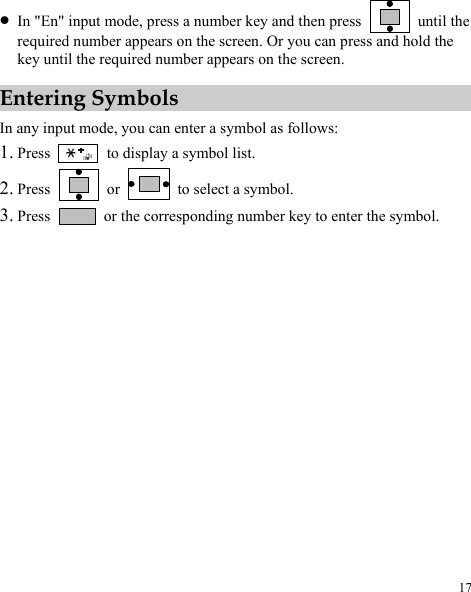
User Manual
Discussion / Help
Navigation