Huawei Technologies EPICO3801 UMTS Enhanced Pico Base Station User Manual User Guide
Huawei Technologies Co.,Ltd UMTS Enhanced Pico Base Station User Guide
UserManual.wiki
>
Huawei Technologies
>
EPICO3801 User Manual
User Manual
Navigation menu
Upload a User Manual
Namespaces
Wiki Guide
HTML
PDF
Info
Views
User Manual
Discussion / Help
Navigation

![Convention DescriptionBoldface Names of files, directories, folders, and users are inboldface. For example, log in as user root.Italic Book titles are in italics.Courier New Examples of information displayed on the screen are inCourier New. Command ConventionsThe command conventions that may be found in this document are defined as follows.Convention DescriptionBoldface The keywords of a command line are in boldface.Italic Command arguments are in italics.[ ] Items (keywords or arguments) in brackets [ ] are optional.{ x | y | ... } Optional items are grouped in braces and separated byvertical bars. One item is selected.[ x | y | ... ] Optional items are grouped in brackets and separated byvertical bars. One item is selected or no item is selected.{ x | y | ... }*Optional items are grouped in braces and separated byvertical bars. A minimum of one item or a maximum of allitems can be selected.[ x | y | ... ]*Optional items are grouped in brackets and separated byvertical bars. Several items or no item can be selected. GUI ConventionsThe GUI conventions that may be found in this document are defined as follows.Convention DescriptionBoldface Buttons, menus, parameters, tabs, window, and dialog titlesare in boldface. For example, click OK.>Multi-level menus are in boldface and separated by the ">"signs. For example, choose File > Create > Folder . Keyboard OperationsThe keyboard operations that may be found in this document are defined as follows.ePico3801User Guide About This DocumentIssue 01 (2009–09–23) Huawei Proprietary and ConfidentialCopyright © Huawei Technologies Co., Ltd.3](https://usermanual.wiki/Huawei-Technologies/EPICO3801/User-Guide-1190943-Page-11.png)


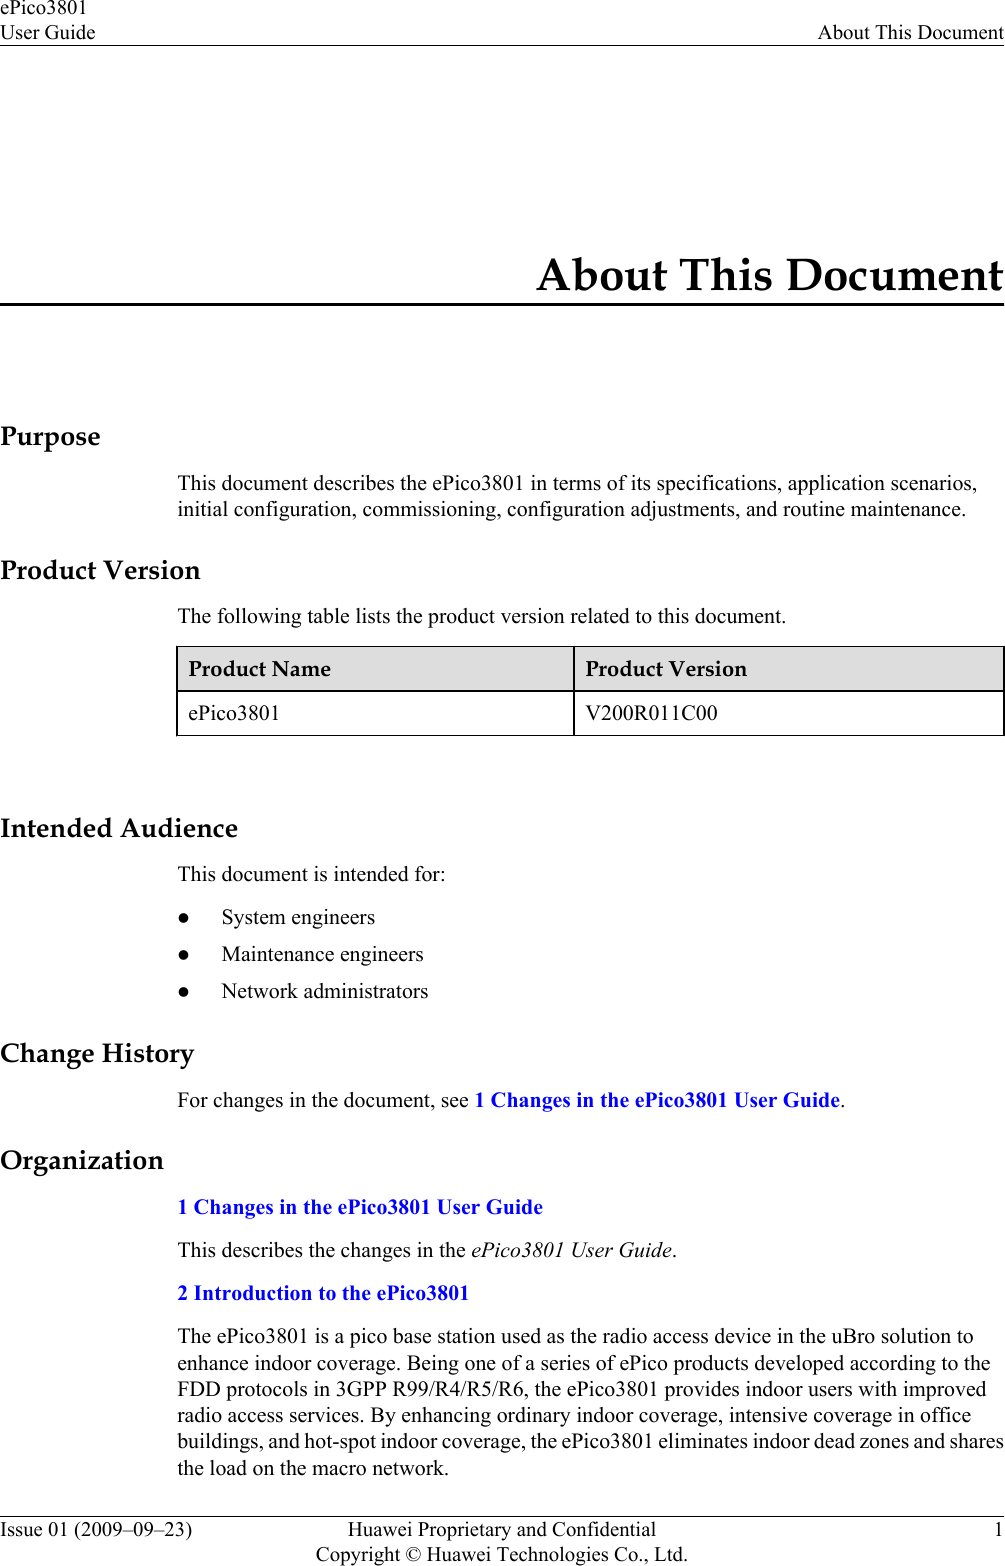
![Figure 3-1 Logging in to the WebUI Step 3 In the dialog box, type the user name and password under User Name and Passwordrespectively. Then, click Login.NOTEThe user name is set to admin and cannot be changed. The default password is the last eight digits of theAPEI. The APEI is silk screened on the housing of the ePico. The system automatically prompts you tochange your password during the initial login. You must change your password before logging in to thesystem normally.If you fail to log in to the system after the maximum number of consecutive login failures (three times bydefault) within the specified time (five minutes by default), the system is blocked for six hours by default.You can unblock the account after the duration times out or press the RST button to reset the system. Ifthe duration of system unblocking is set to 0 on the AP Manager, it indicates that you must reset the ePicofor re-login when your account is locked.Click Change password to change your password, The new password must meet the following conditions:lThe new password must consists of 8 to 18 characters.lThe new password cannot contain 3 or more consecutive same characters.lThe new password must contain at least 3 combinations of a lower-case letter, upper-case letter, number,and special character (such as ~!@#$%^*()-_=+\|[{}];:'",.>/?, and space).----End3.2 Configuring the ePico3801This chapter describes how to configure the ePico3801 on the WebUI when the ePico3801accesses the network through the PPPoE dial-up or static IP address authentication mode.Prerequisite3.1 Logging in to the ePico WebUI is complete.ePico3801User Guide 3 ePico3801 Initial ConfigurationIssue 01 (2009–09–23) Huawei Proprietary and ConfidentialCopyright © Huawei Technologies Co., Ltd.3-3](https://usermanual.wiki/Huawei-Technologies/EPICO3801/User-Guide-1190943-Page-37.png)