Humax RG-200 IP TV Receiver User Manual
Humax Co., Ltd. IP TV Receiver Users Manual
UserManual.wiki
>
Humax
>
RG 200 User Manual
Users Manual
Navigation menu
Upload a User Manual
Namespaces
Wiki Guide
HTML
PDF
Info
Views
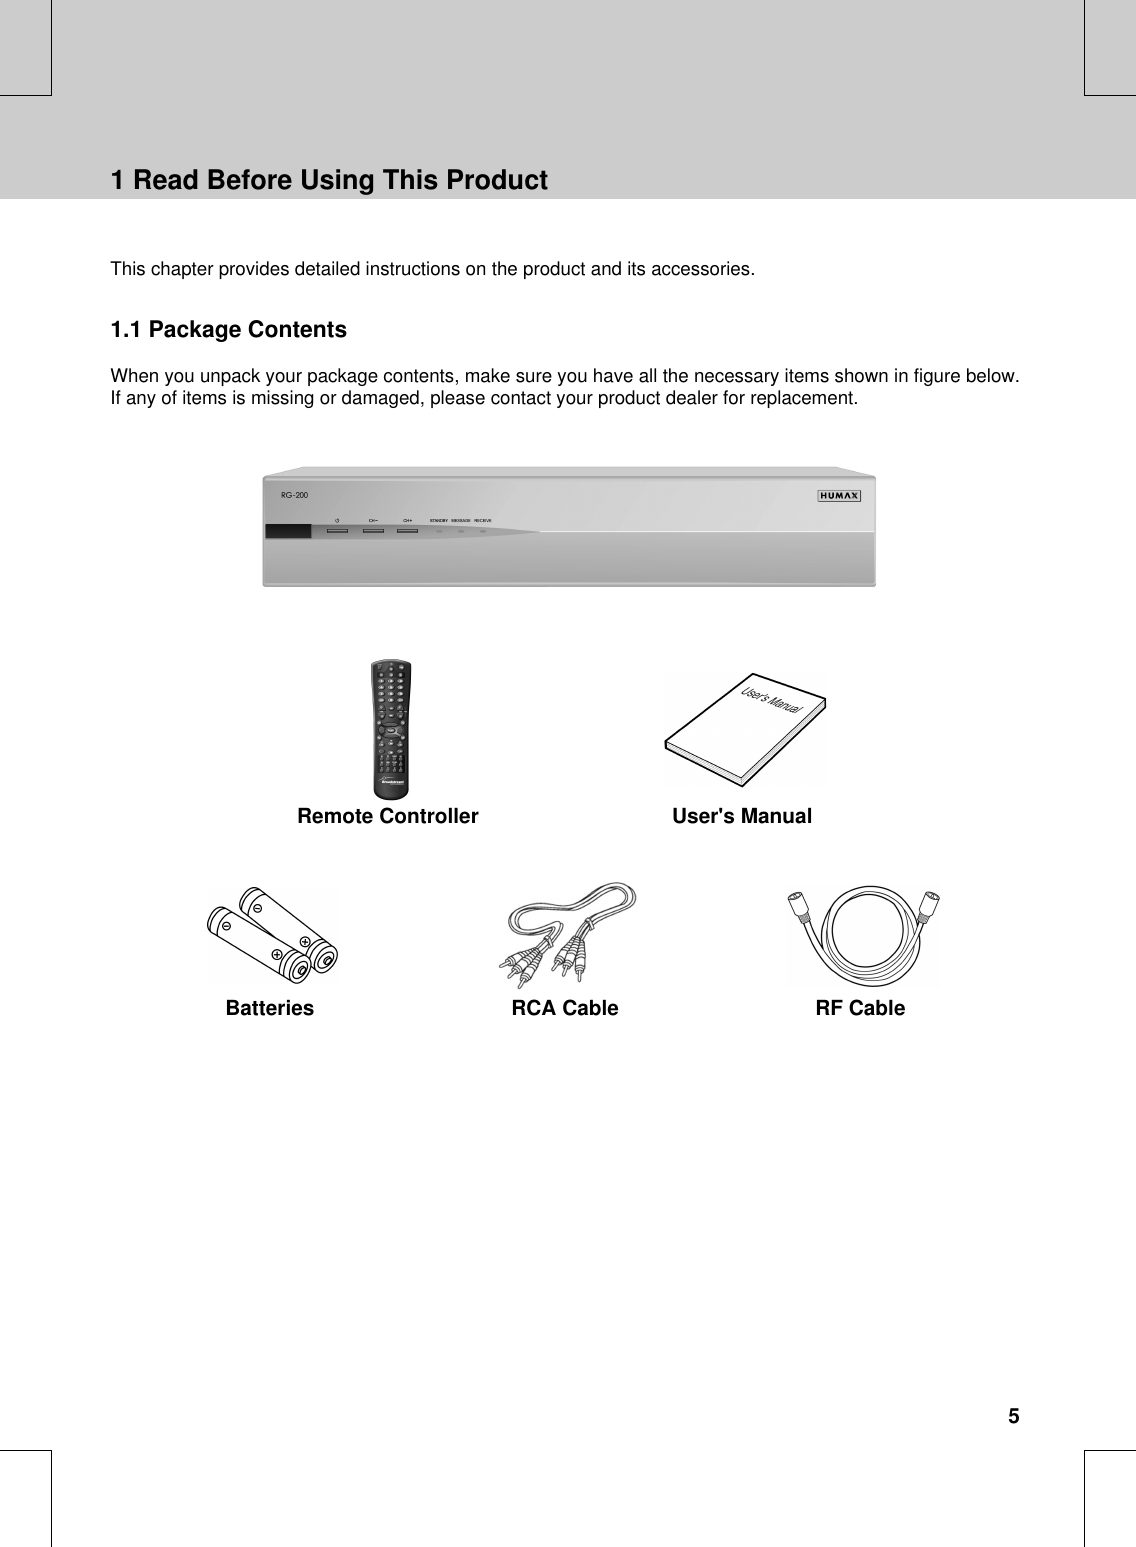
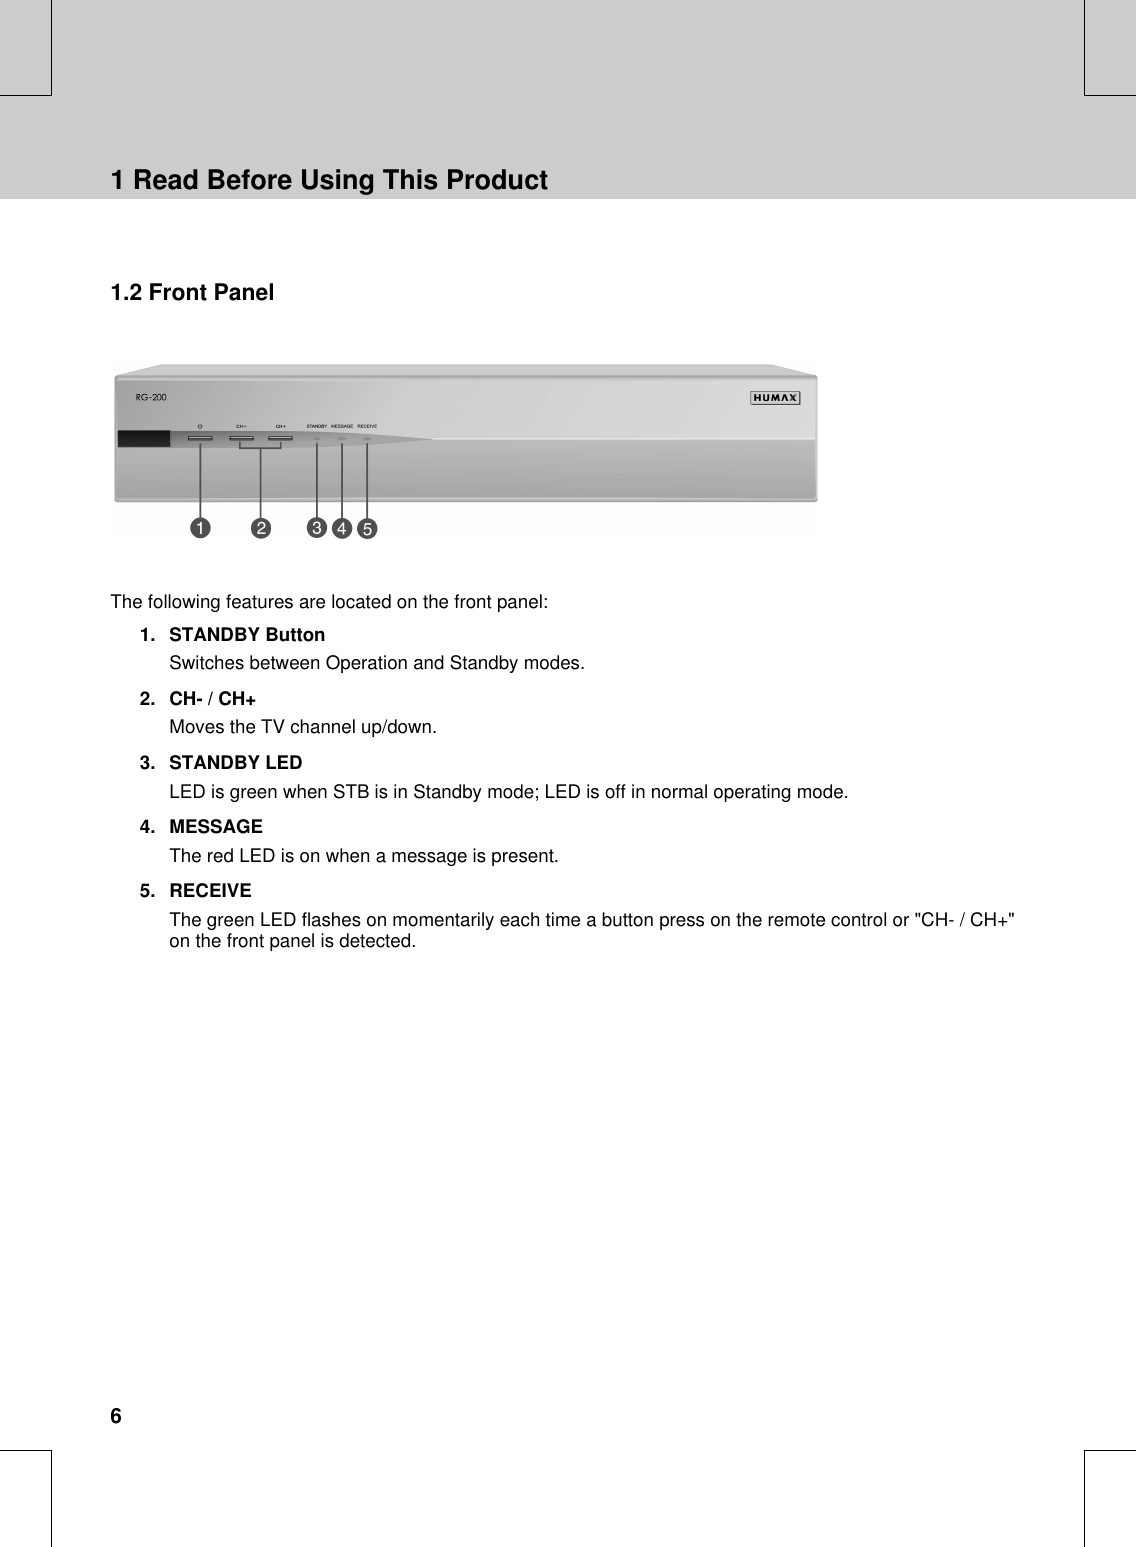
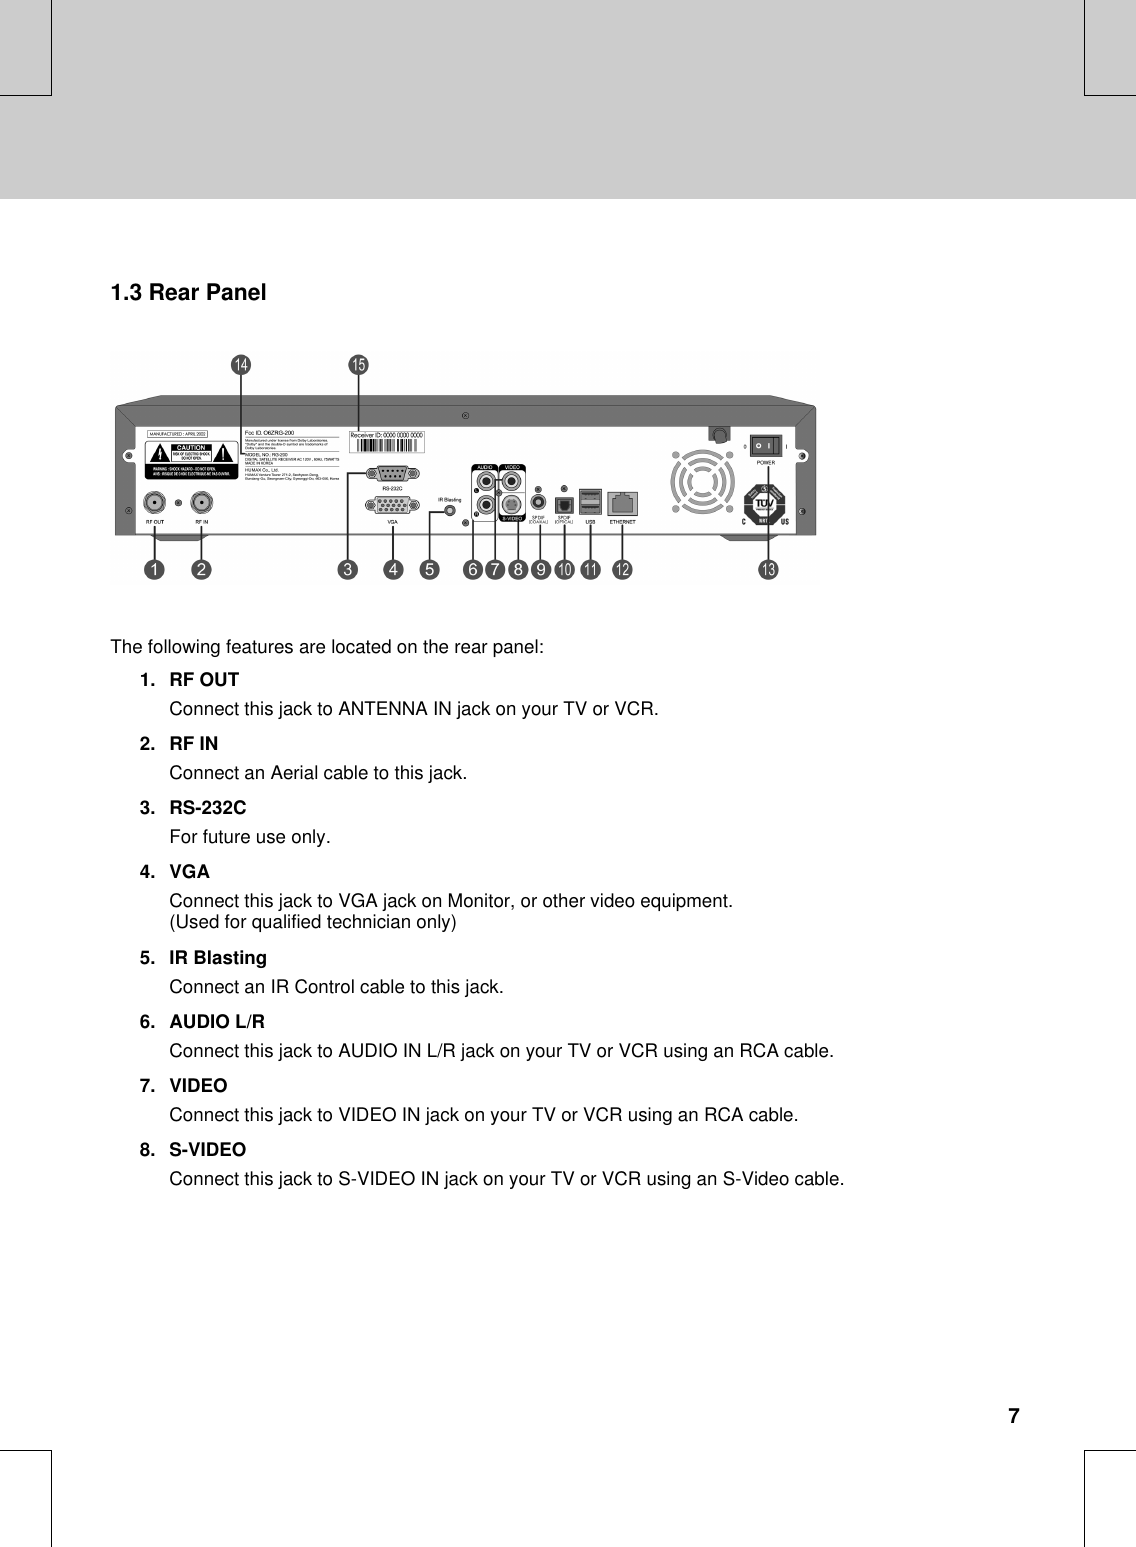
User Manual
Discussion / Help
Navigation
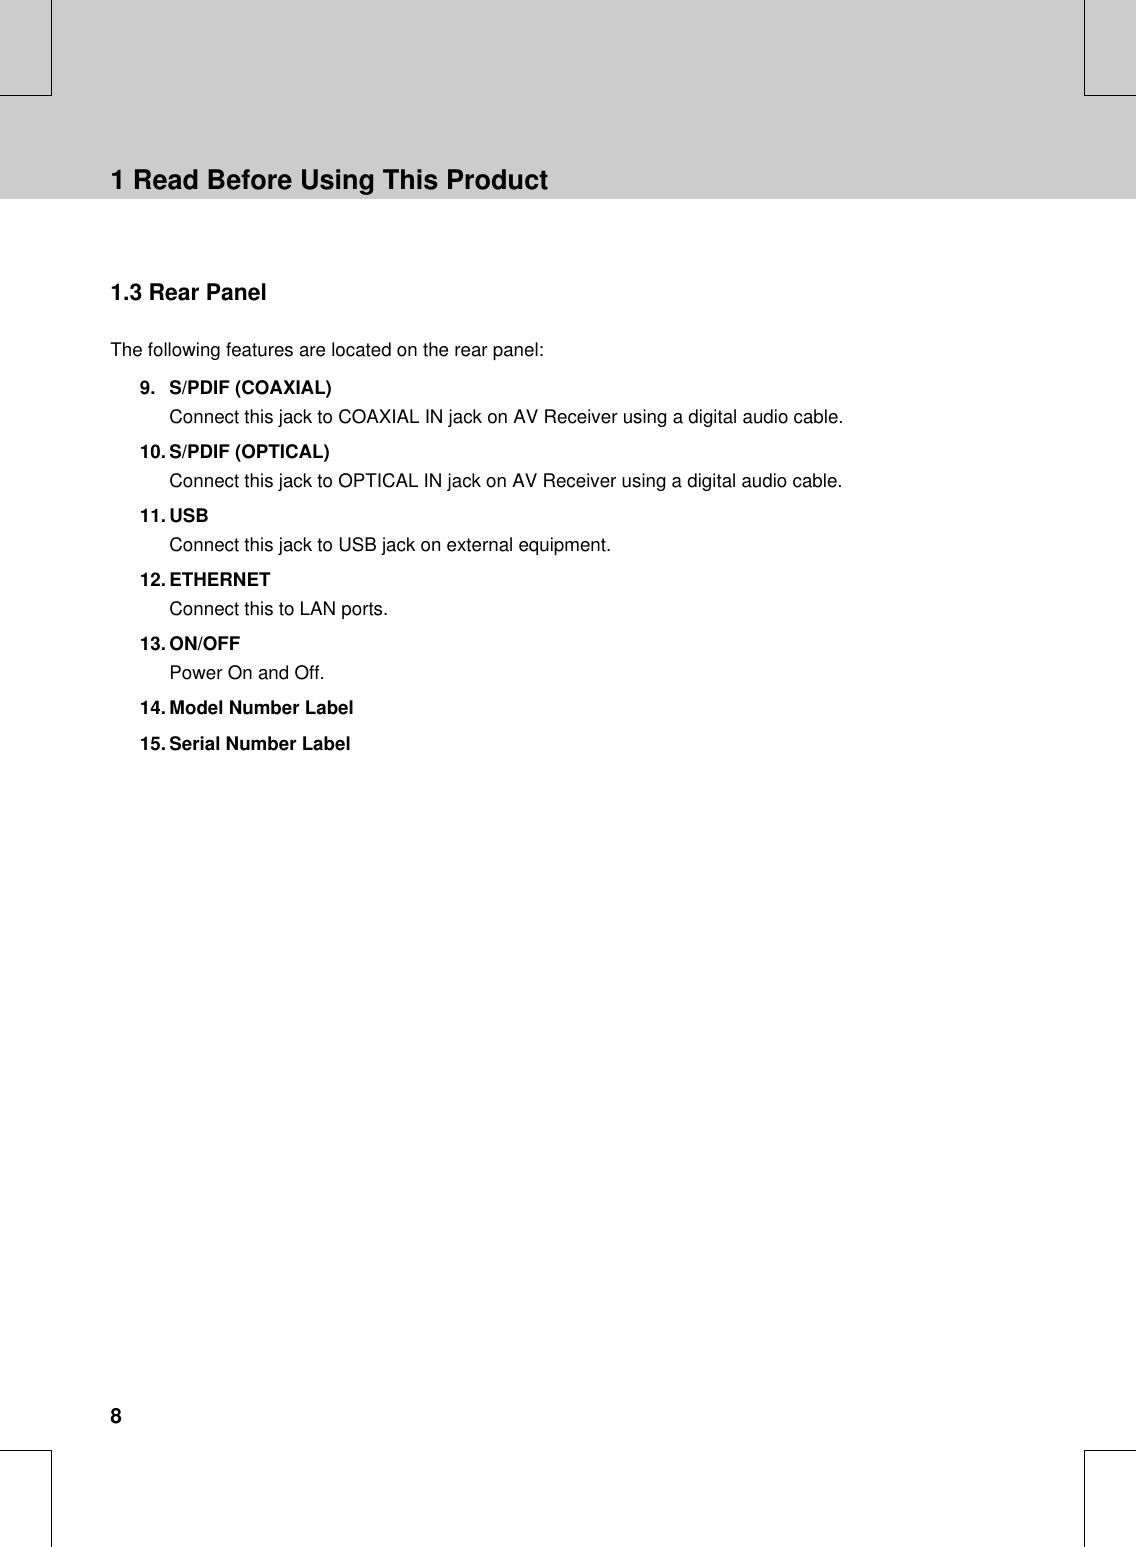
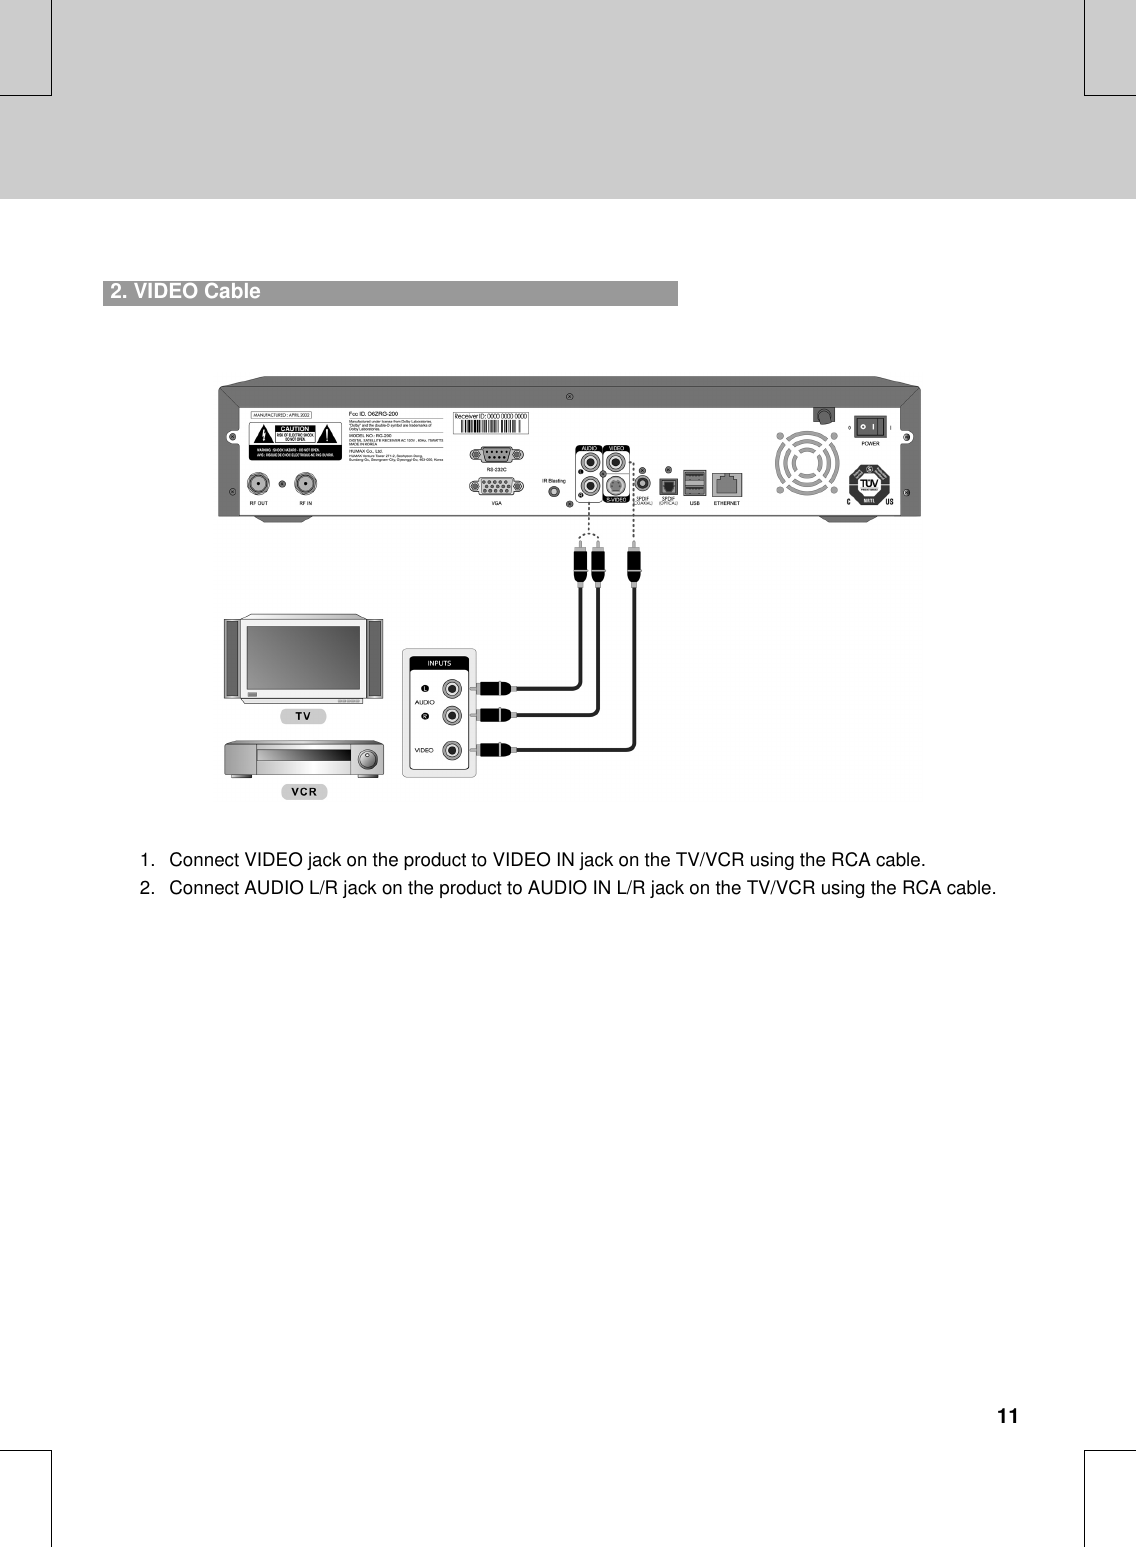
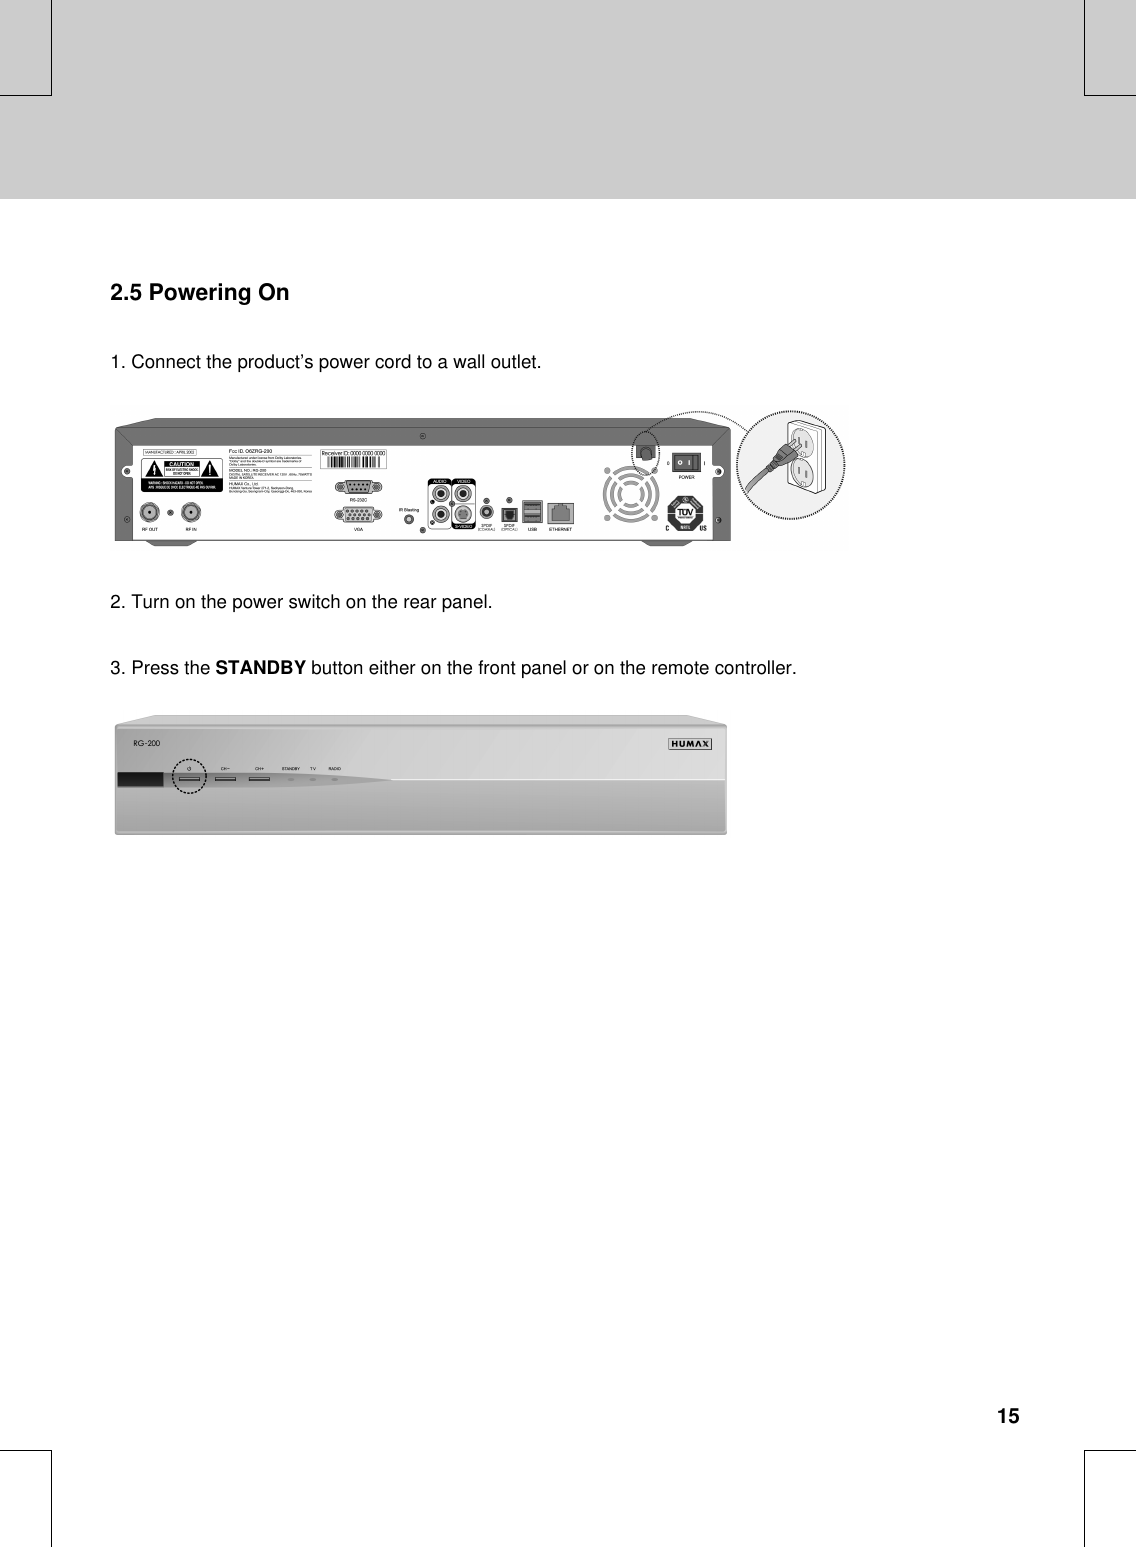
![**2.2 Connecting to TV/VCRSelect the most appropriate procedure depending on your situation.**1. RF Cable****Connect RF OUT jack on the product to ANTENNA IN jack on the TV/VCR using the RF cable.Note: Tune TV to channel [preset channel #].**2 Setup10 ****************************](https://usermanual.wiki/Humax/RG-200/User-Guide-555997-Page-10.png)