Hytera Communications TC-580U1 Two-way Radio User Manual TC 580 Owner s Manual V02
Hytera Communications Corporation Ltd. Two-way Radio TC 580 Owner s Manual V02
UserManual.wiki
>
Hytera Communications
>
TC 580U1 User Manual
User Manual
Navigation menu
Upload a User Manual
Namespaces
Wiki Guide
HTML
PDF
Info
Views
User Manual
Discussion / Help
Navigation


![7 Checking Items in the Package Please unpack carefully and check that all items listed below are received. If any item is missing or damaged, please contact your dealer. Battery Rapid-rate Charger (for Li-Ion battery) Power Adapter (different P/N for different countries and areas) Antenna Belt Clip Strap Owner’s Manual & Safety Information Booklet Radio Unit Note: The above pictures are for reference only. Actual products may vary slightly. The antenna may vary with different frequency bands. And the frequency band is marked on the label of antenna; if not, please refer to the label on the radio for frequency band information. 批注 [x1]: 排版时请注意与后面充电图中的适配器保持一致。](https://usermanual.wiki/Hytera-Communications/TC-580U1/User-Guide-1347009-Page-8.png)
![10 Before Use Charging the Battery Use only the charger and battery specified by HYT. Charger LED can indicate the charging process. Charge Diagram Procedures 1. Connect the power adapter to AC source. See arrow 1. 2. Plug the power adapter into the rear socket of the charger. See arrow 2. 3. Place the radio with the battery attached, or the battery alone, into the charger. See arrow 3. 4. The charging process initiates when LED glows red, and is completed when LED glows green. Note: To achieve optimal battery performance, please charge the battery for 5 hours before initial use. Charge Indicator LED Indicator Charge Status LED solidly glows red. Charging LED solidly glows orange. 90% charged LED solidly glows green. Idle or charge completed When battery power runs low, the LED will flash red, and the low-pitched tone will sound periodically. In this case, please replace or charge the battery. 批注 [x2]: 排版时请注意与前面充电图中的适配器保持一致。](https://usermanual.wiki/Hytera-Communications/TC-580U1/User-Guide-1347009-Page-11.png)
![11 Note: Be sure to read the Safety Information Booklet, to get necessary safety information. Assembly and Disassembly Attaching the Antenna Turn the antenna clockwise to fasten it. To remove the antenna, rotate it counter-clockwise. Attaching the Battery 1. Press the belt clip and slide the battery into the radio’s slot. 2. Slightly press the bottom of the battery until a click is heard. To remove the battery, turn off the radio first. Then press the belt clip, and slide the battery latch upward to release the battery. Attaching the Belt Clip 1. Remove the screws. 批注 [x3]: 已删除后面那张图片。](https://usermanual.wiki/Hytera-Communications/TC-580U1/User-Guide-1347009-Page-12.png)

![17 This function may not be available in certain countries or regions. Please contact your local dealer for more information. Adjusting the Power Level Generally, we recommend you to adopt low power for battery saving. However, if you cannot communicate with radios located at a distant place with low power, please select high power. Operations to change power level: Press the programmed Adjust Power Level key to switch between high and low; or Enter the Manual Program mode, and go to “CH Set->Option Items->Power Level”, to select high or low power (See Power Level on page 32 for more details). The home screen shows the icon for high power, and for low power. Transmitting/Receiving a Call To transmit a call, press and hold down the PTT, and speak into the microphone. During transmitting, the LED solidly glows red, and the icon appears on the display. To receive, just release the PTT. When a signal is received, the LED solidly glows green, and the icon appears on the display. Note: To ensure optimal volume of the receiving radio, hold the radio approximately 2.5 to 5 centimeters away from your mouth. Communication range may get affected in rainy days or forest locations. Locking/Unlocking the Keypad Locking the keypad can prevent accidental keypad operation. To lock or unlock the keypad, press and then immediately. Note: When the keypad is locked, the radio can also respond to the keys PTT, SK1, SK2 and TK. 批注 [x4]: 增加说明:在某些国家或地区,此功能的使用可能会受到限制,具体请咨询当地经销商。](https://usermanual.wiki/Hytera-Communications/TC-580U1/User-Guide-1347009-Page-18.png)
![21 Channel: You can input channel number through the keypad. DTMF: You can input DTMF code through the keypad. Frequency: You can input frequency through the keypad. Note: This function may not be available in certain countries or regions. Please contact your local dealer for more information. 批注 [x5]: 增加说明:在某些国家或地区,此功能的使用可能会受到限制,具体请咨询当地经销商。](https://usermanual.wiki/Hytera-Communications/TC-580U1/User-Guide-1347009-Page-22.png)
![23 information, please contact your dealer. 3. To exit the scanning process, press the Scan key again; or select “Off?” from the menu “Scan”, and press to confirm. When exiting from Scan mode, the radio will also sound an alert tone (programmed by your dealer) and the icon disappears. Methods to Exit Scanning Besides the above methods, you can exit scanning in the following ways: Switch to a channel where Auto Scan feature is not enabled; Press one of the programmed Call1-Call5 keys; Select a target contact from the menu “Call List”, and press PTT; Enable the Emergency function; Turn the radio off. Note: During scanning, the following functions can not be enabled: Power Adjust, Compandor, Scrambler, Whisper, Talk Around and Keypad Mode Switch. To ensure a quick scan, the adjacent channel spacing should not exceed 30MHz. Emergency In case of an emergency, you can use this feature to ask for help from your companion or the control center. Emergency Start Press the programmed Emergency key to trigger this function (the icon appears). Emergency Exit The radio will return to the previous operating channel after exiting from Emergency mode (the icon disappears). Ways to exit from Emergency mode include: 1. Long press the programmed Emergency key; or 2. The emergency cycles (programmed by your dealer) expires; or 3. Turn the radio off. Emergency Mode Once the radio enters Emergency mode, it will switch to the preset Emergency Revert Channel. A 批注 [x6]: 这段原来是在备注第3点,现在提前到此处。批注 [x7]: 第3点提到上面那个地方。](https://usermanual.wiki/Hytera-Communications/TC-580U1/User-Guide-1347009-Page-24.png)
![25 Press the programmed Display Mode Switch key to switch the mode; or Select your desired display mode through “CH Display” under the menu “Settings”, and press to confirm. Keypad Mode Switch This feature allows you to choose one of these keypad input modes: Disabled, Frequency, Channel and DTMF. Operation: Press the programmed Keypad Mode key to switch the keypad input mode; or Select your desired keypad input mode through the menu “Keypad Mode”, and press to confirm. Note: This function may not be available in certain countries or regions. Please contact your local dealer for more information. Talk Around This feature allows you to continue communication even when the repeater malfunctions, or when your terminal is out of the repeater’s range but within the coverage range of another terminal. Operation: Press the programmed Talk Around key to activate this function ( appears and an alert tone sounds). To deactivate this function, just press it again, or switch to another channel, or power the radio off (the icon disappears and the alert tone sounds twice). Monitor This feature allows you to lower the conditions for incoming signal match. Operation: Press the programmed Monitor key to activate this function ( appears and an alert tone sounds); press it again to deactivate the function (the icon disappears and the alert tone sounds twice). Or Press and hold the programmed Monitor Momentary key to activate this function ( appears and an alert tone sounds); release the key to exit (the icon disappears and the alert tone sounds 批注 [x8]: 增加说明:在某些国家或地区,此功能的使用可能会受到限制,具体请咨询当地经销商。](https://usermanual.wiki/Hytera-Communications/TC-580U1/User-Guide-1347009-Page-26.png)
![27 Scrambler This feature can encrypt your audio signals to prevent eavesdropping. Thus privacy of your voice communication is guaranteed. Operation: Press the programmed Scrambler key to activate this function ( appears and an alert tone sounds); press the key again to deactivate it (the icon disappears and the alert tone sounds twice). Or Switch to a channel programmed with this feature by your dealer; exiting from this channel would deactivate the function. Note: This function may vary with different radio models. This function may not be available in certain countries or regions. Please contact your local dealer for more information. VOX This feature allows you to transmit the voice with no need to press PTT. However, you must employ a dedicated earpiece to realize this function. Operation: 1. Set the PTT/VOX Switch on the earpiece to VOX; 2. Plug the earpiece into the accessory jack; 3. Press the programmed VOX key to activate this function ( appears on the LCD); 4. Speak into the microphone (on the earpiece) to transmit your voice, and transmission will stop automatically when you stop talking; 5. Power the radio off or press the VOX key again to deactivate this function. Note: If the PTT/VOX Switch on the earpiece is set to PTT, you can only transmit by pressing the external PTT, no matter whether VOX is activated. When the PTT/VOX Switch is set to PTT, you are not allowed to switch it from PTT to VOX directly; otherwise, continuous transmission may occur. If continuous transmission occurs unexpectedly, you can restore the radio to normal operation by toggling the switch from VOX to 批注 [x9]: 增加说明:在某些国家或地区,此功能的使用可能会受到限制,具体请咨询当地经销商。](https://usermanual.wiki/Hytera-Communications/TC-580U1/User-Guide-1347009-Page-28.png)
![31 Manual Program The radio supports convenient programming of zone and channel related parameters from the front panel. However, this function may not be available in certain countries or regions. Please contact your local dealer for more information. To enter the Manual Program mode: Rotate the Radio On-Off/Volume Control knob, with both PTT and SK2 held down for above 1.5 seconds, to turn the radio on. Then the radio will enter the Manual Program mode. When “Manual Program” appears on the LCD, press to begin settings of parameters. Manual ProgramTX CTC/CDCCH Set Zone SetAdd CHDel CHAliasRX FreqTX Freq RX CTC/CDCOption Items CH Set The CH Set menu allows you to add or delete channels, and set channel parameters and features. Operations: Select CH Set and press . Then press / to select a channel one by one, or press / to scroll by page (each page includes ten channels). The radio supports up to 256 channels. Under the CH Set menu, specific channel No. will be displayed for existing channels, while “CH 批注 [x10]: 增加说明:在某些国家或地区,此功能的使用可能会受到限制,具体请咨询当地经销商。](https://usermanual.wiki/Hytera-Communications/TC-580U1/User-Guide-1347009-Page-32.png)

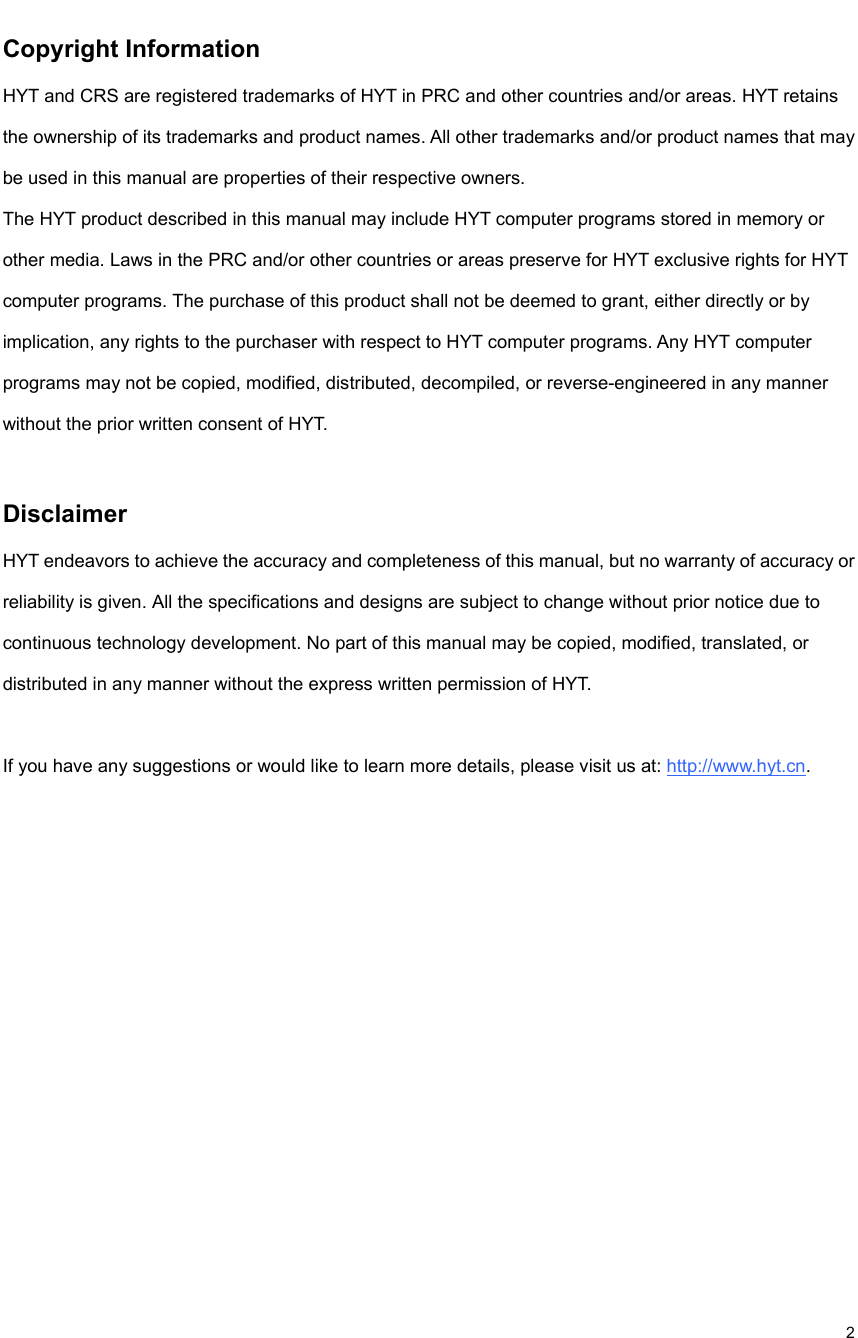
![38 Optional Accessories The following items are the main optional accessories for the radio, and please consult your local dealer for more accessories. Li-Ion Battery (1100mAh) BL1102 Li-Ion Battery (1300mAh) BL1301 Vehicle Adapter for Charger CHV09 Six-unit Switching Power PS7002 (The power cable may vary in different countries and areas) Remote Speaker Microphone SM08M3 Earbud with in-Line PTT & VOX ESM11 Earbud with on-MIC PTT & VOX ESM12 D-earset with in-Line MIC & VOX EHM15 D-earset with Boom MIC & VOX EHM16 Earpiece with on-MIC PTT & VOX& Transparent Acoustic Tube EAM12 Receive-Only Earbud (for use with remote speaker microphone) ESS07 Receive-Only Earpiece with Transparent Acoustic Tube (for use with remote speaker microphone) ESS08 批注 [x11]: 两款电池共用一张图片,描述放一起。后面的配件往前挪。](https://usermanual.wiki/Hytera-Communications/TC-580U1/User-Guide-1347009-Page-39.png)