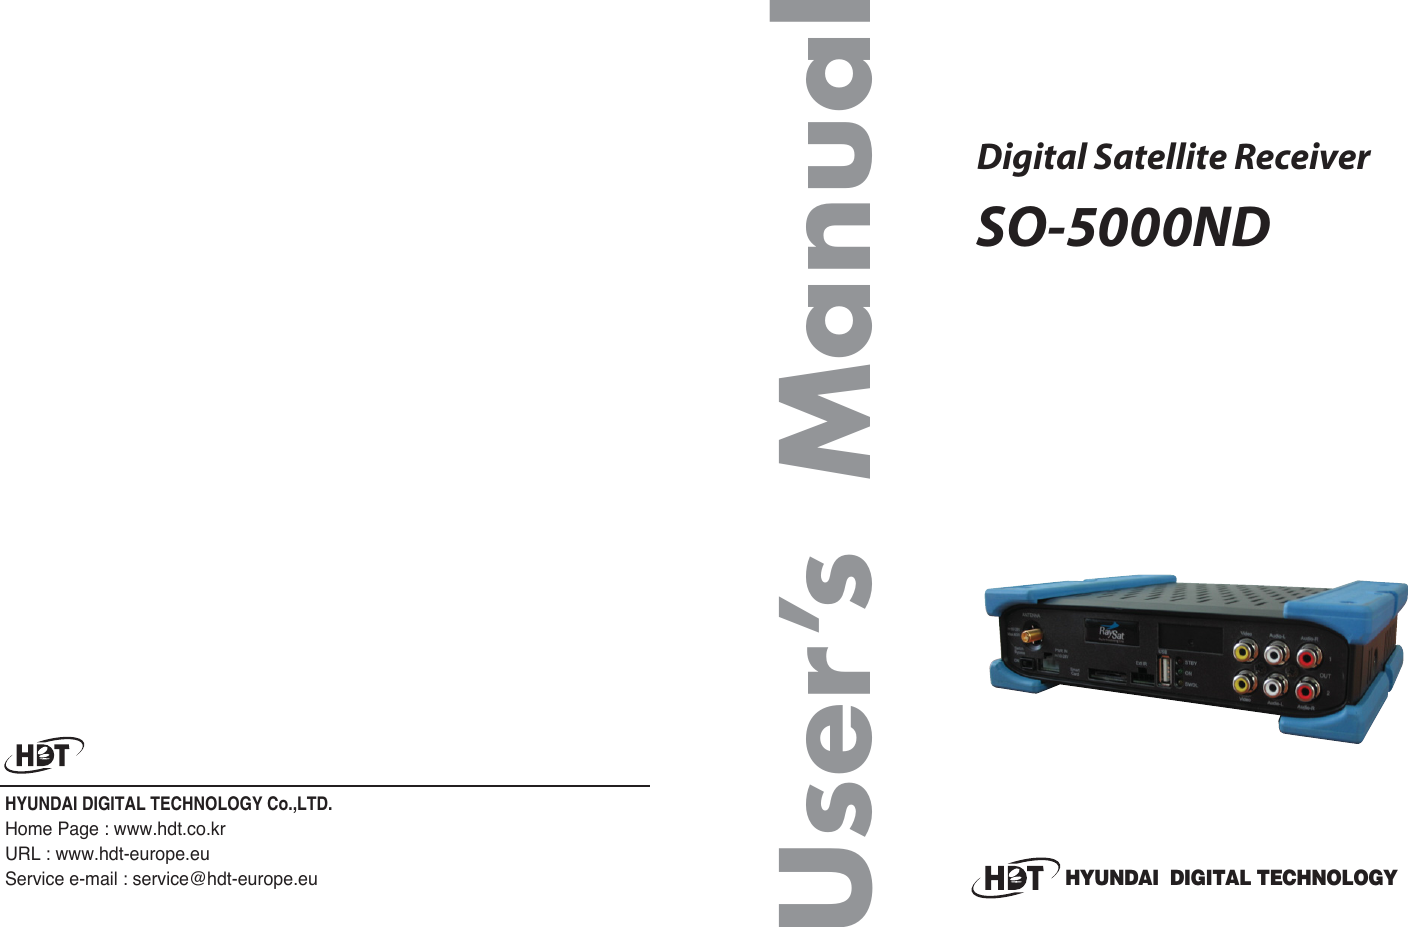
Hyundai Digital Technology SO-5000ND Digital Satellite Receiver User Manual SO 5000ND
Hyundai Digital Technology Co., Ltd. Digital Satellite Receiver SO 5000ND
UserManual.wiki
>
Hyundai Digital Technology
>
SO 5000ND User Manual
Users Manual
Navigation menu
Upload a User Manual
Namespaces
Wiki Guide
HTML
PDF
Info
Views
User Manual
Discussion / Help
Navigation
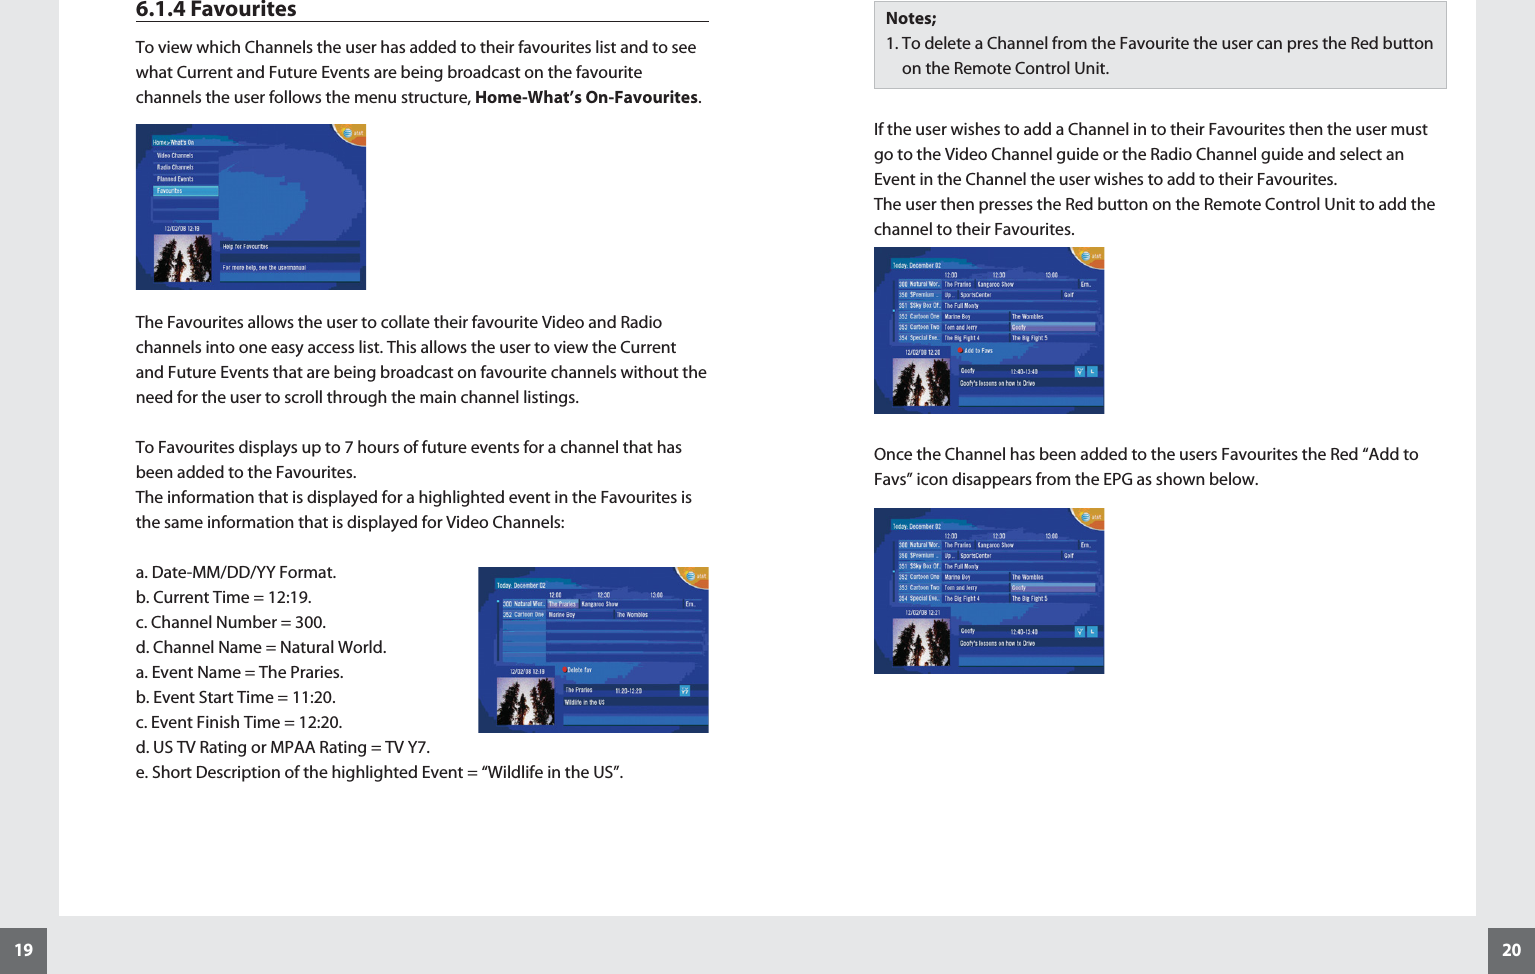
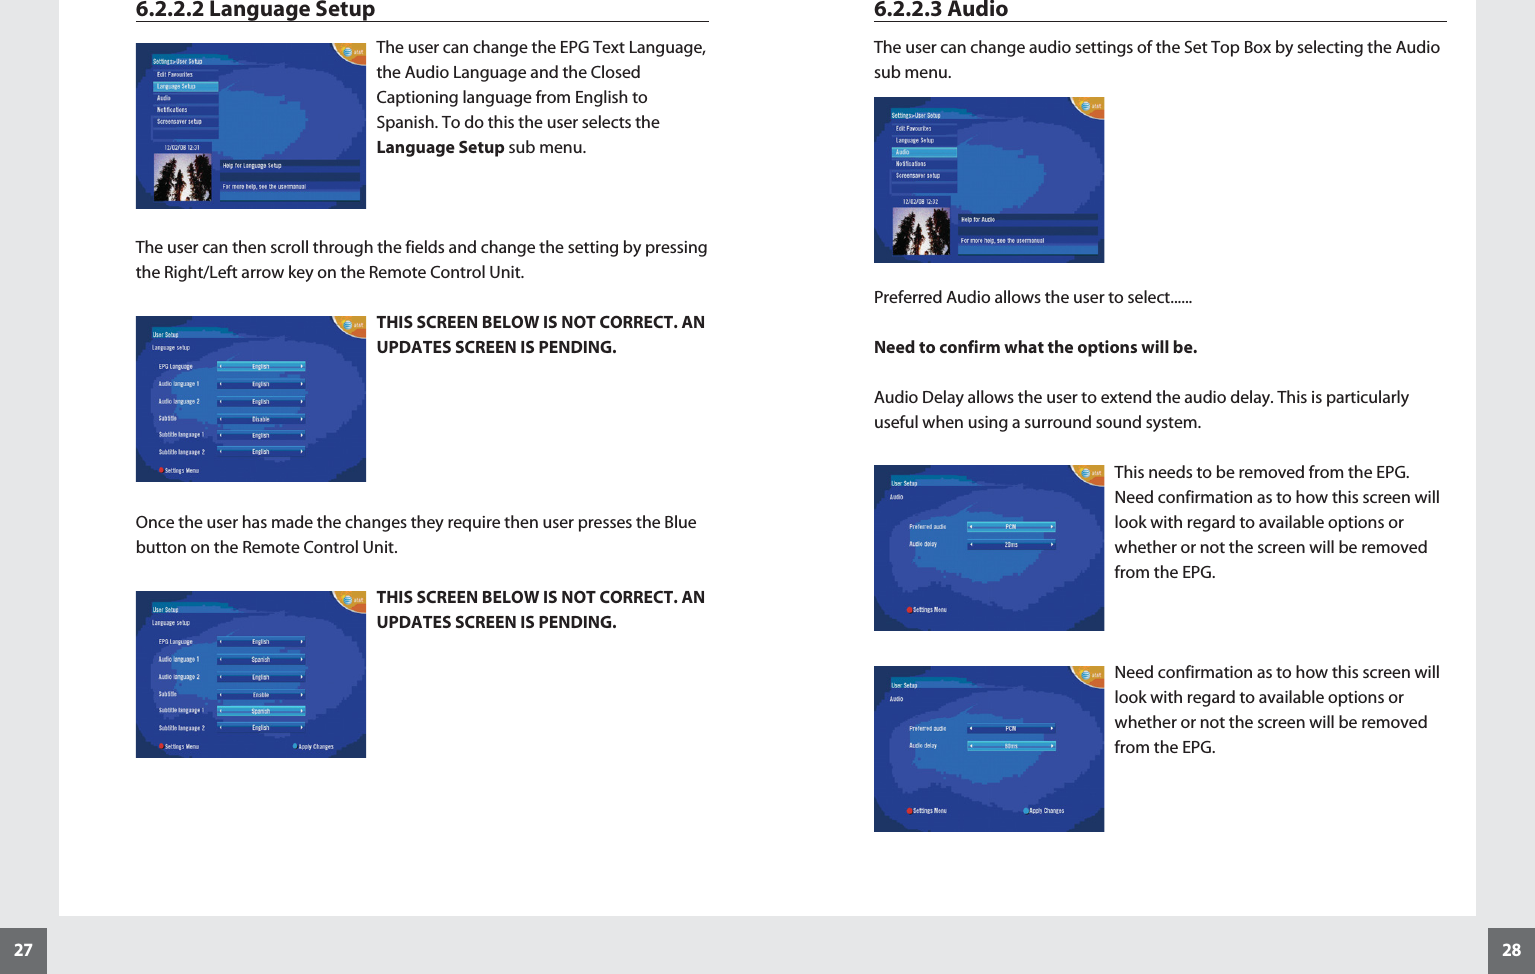
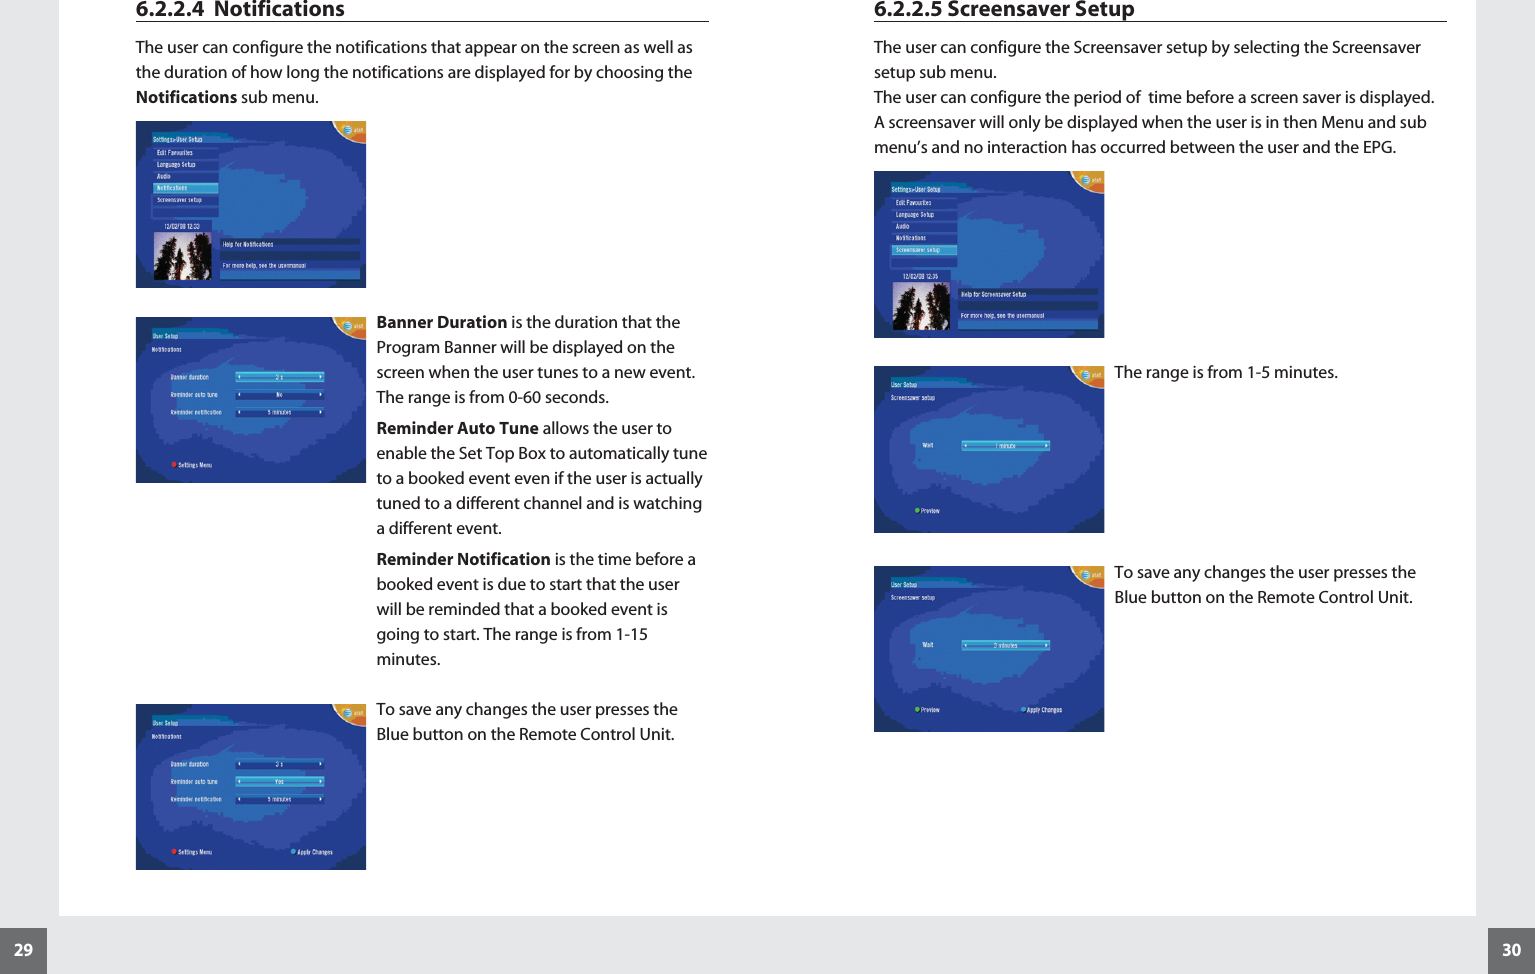
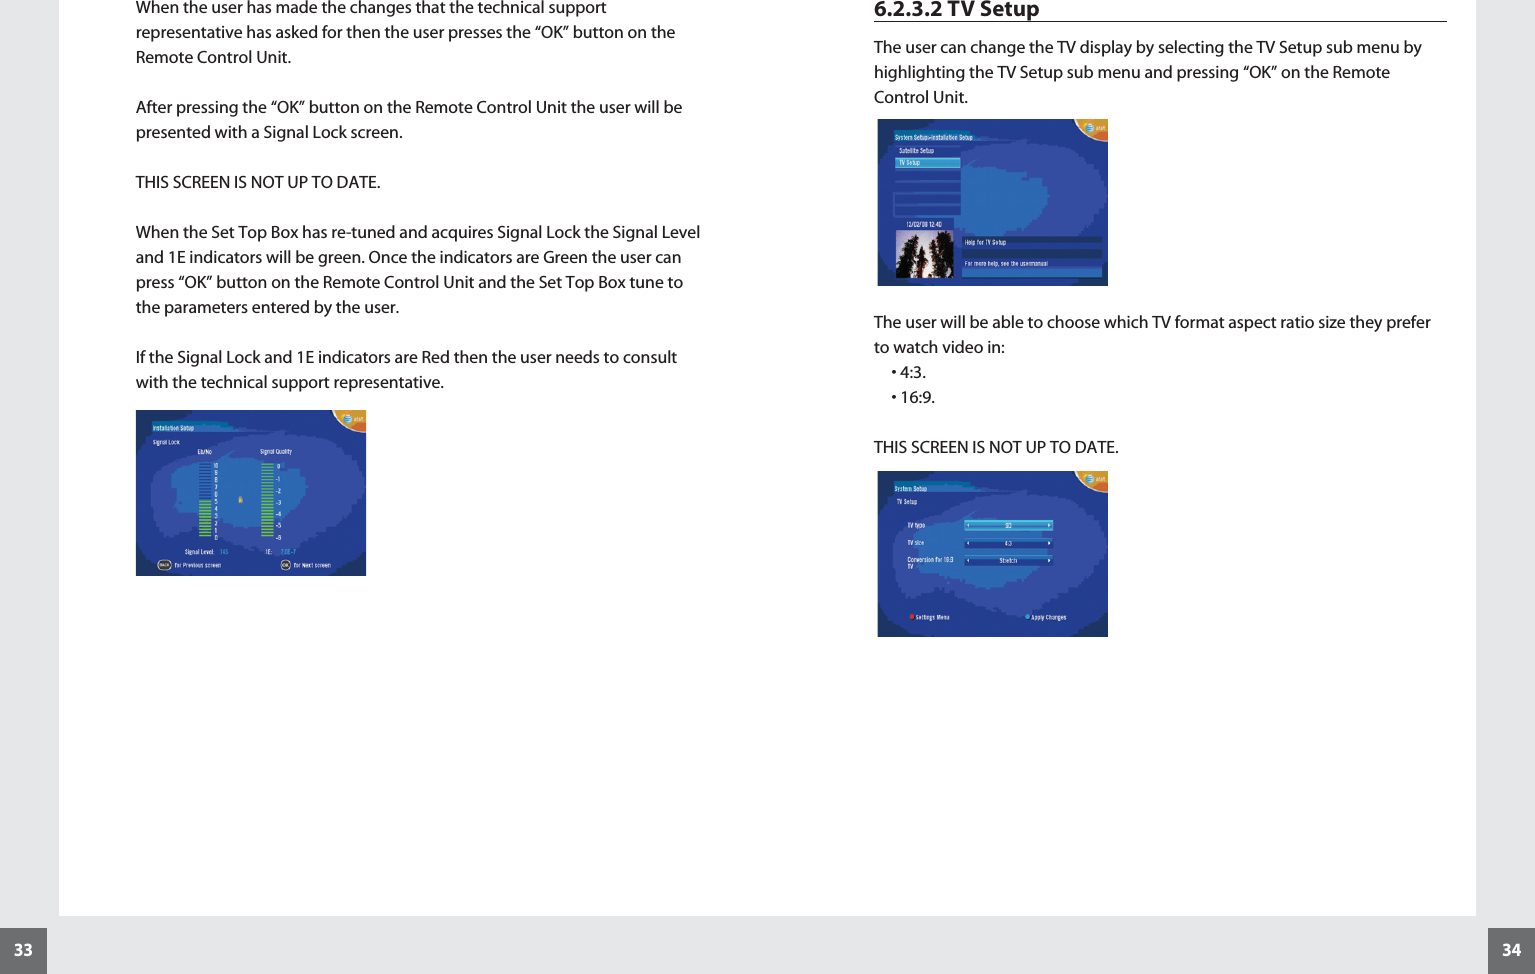
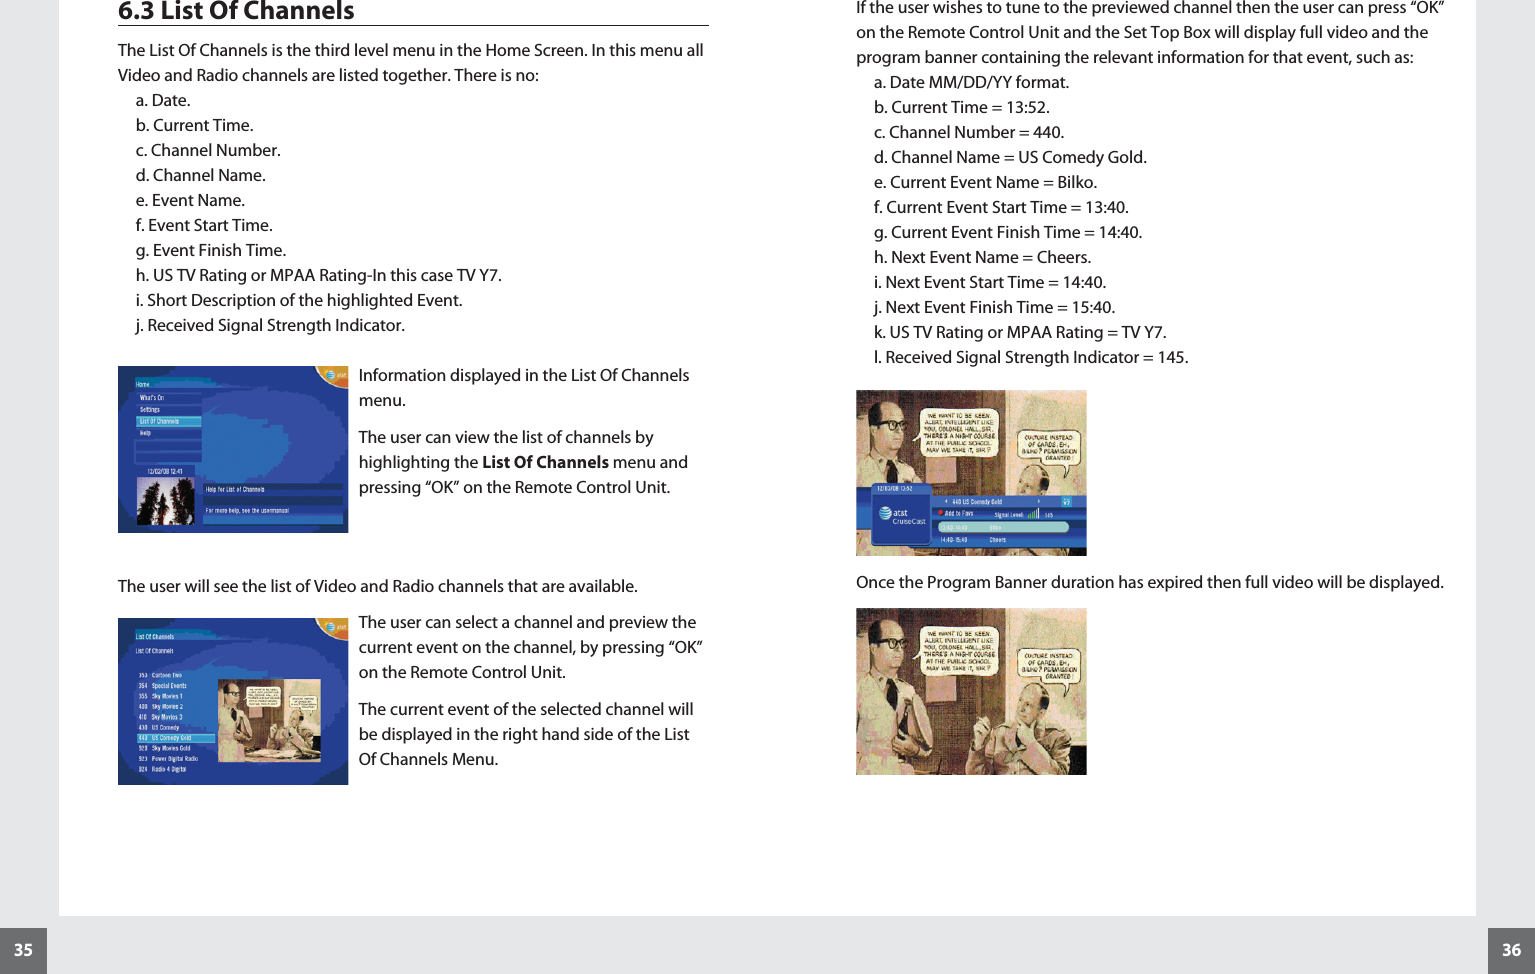
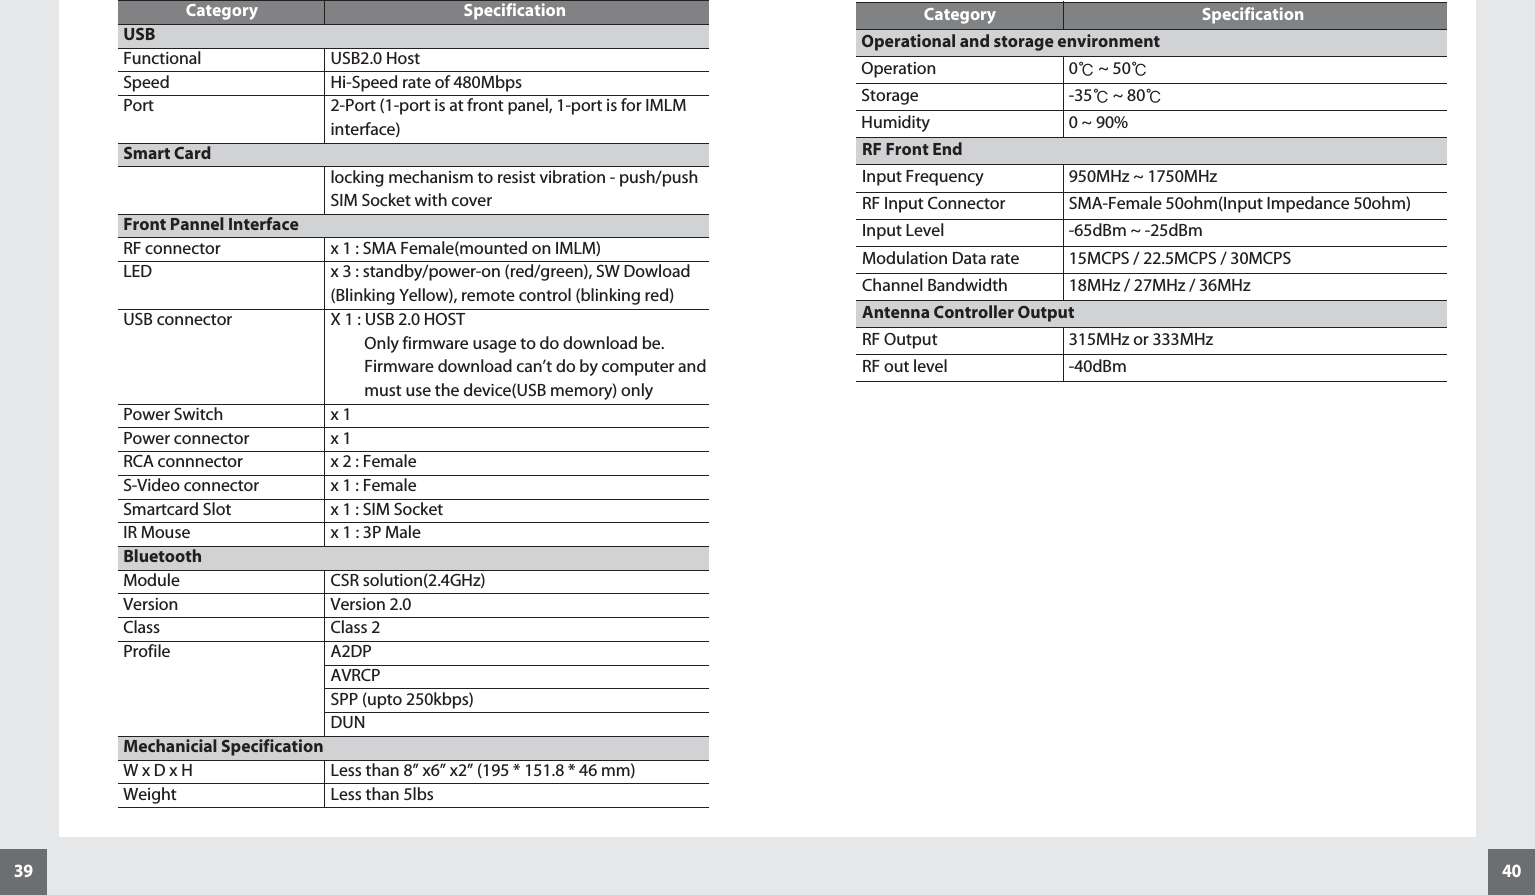
![1094. Controls/Functions4.1 Front Panel[1] Antenna : Digital cable signal input to digital tuner[2] Switch Bypass : To switch the receiver in “Car SW mode” or “power onmode”.[3] PWR IN : Input Voltage level (10-28VDC).[4] SIM slot(Smart Card) : SIM Card slot..[5] Ext IR : To receive the infrared signal from IR RCU (If want to be use the IRRCU).[6] USB HOST 2.0 : When use the Firmware download [7] LED Light : Turn on red light while in the “Standby mode” Green light while in the “power on mode”.Flashes yellow when receiving data from RF RCU[8] Video : Composite video output [9] Audio L/R : Audio output Left & Right 1 82 3 4 5 6 7 9Connecting your TV directly to the audio/video output of your Set-Top Boxwill assure a more vivid picture and enhance your viewing enjoyment.4.2 RF Remote Control Unit.[1] POWER : To switch into‘Standby’ or ‘Power on’ mode[2] TV/R : To switch between the TVand Radio channels[3] - [4] Up & Down : To move thecursor position on theapplication. [5] - [6] Left & Right : To changethe value of an item withpreprogrammed values.[7] (OK) : To select an item or toconfirm a menu[8] CHANNEL : To adjust thechannel[9] MUTE : To turn the soundon/off. [10] VOLUME : To adjust thevolume level. [11] Guide : To watch programinformation[12] BACK : Reserved.[13] INFO. : To display theinformation of the currentchannel[14] RED : To see Favorite channel list. To set up favorite in the Channel listmenu[15] BLUE : Reserved[16] GREEN : To lock channel in the Channel list menu. [17] Numeric Keys (0-9) : To select channels and input of channel numbers orcharacters[18] MENU : To enter the main menu. [19] EXIT : To return to previous status or menu. 79121513451011141718288610131619](https://usermanual.wiki/Hyundai-Digital-Technology/SO-5000ND/User-Guide-1062918-Page-5.png)