IAdea IAD16000 Digital Signage Media Appliance User Manual
IAdea Corporation Digital Signage Media Appliance
UserManual.wiki
>
IAdea
>
IAD16000 User Manual
>
Usuer Manual
Contents
1.
Usuer Manual
2.
User Manual
Usuer Manual
Navigation menu
Upload a User Manual
Namespaces
Wiki Guide
HTML
PDF
Info
Views
User Manual
Discussion / Help
Navigation
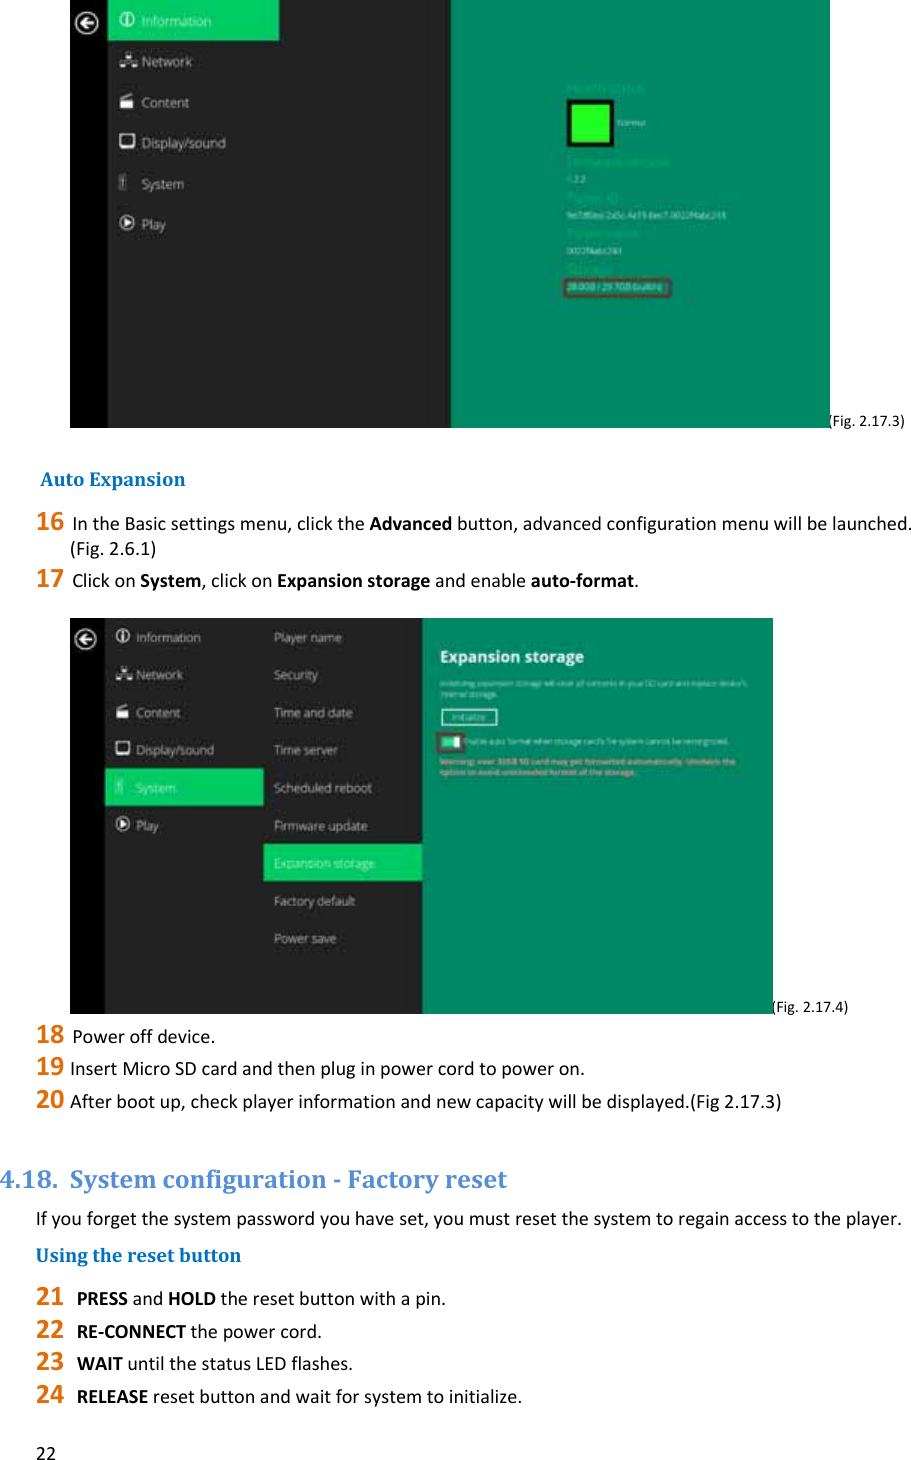
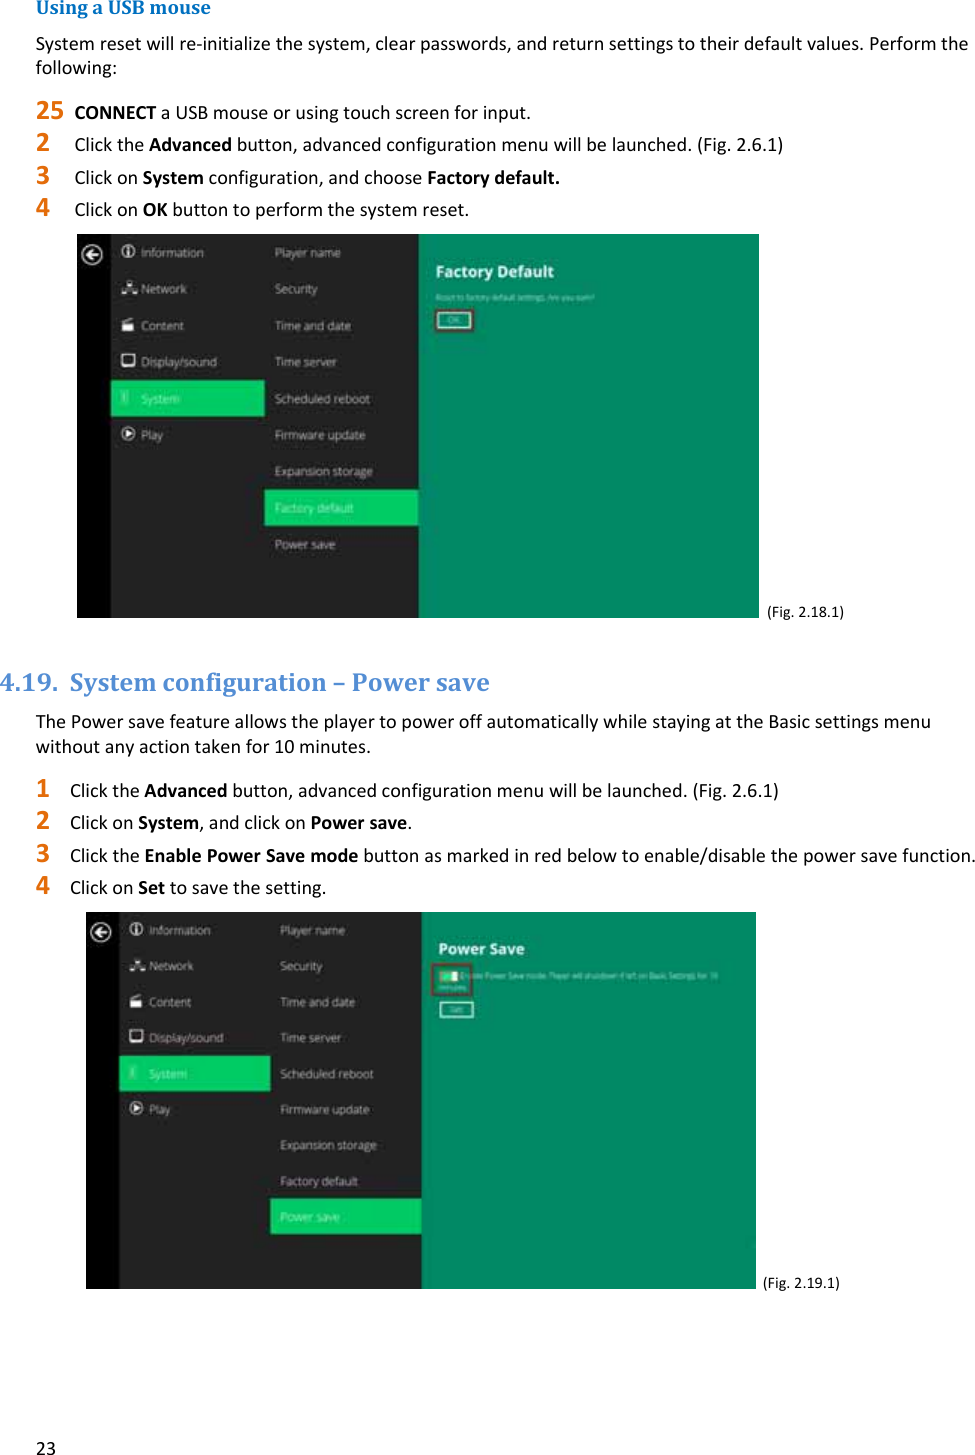
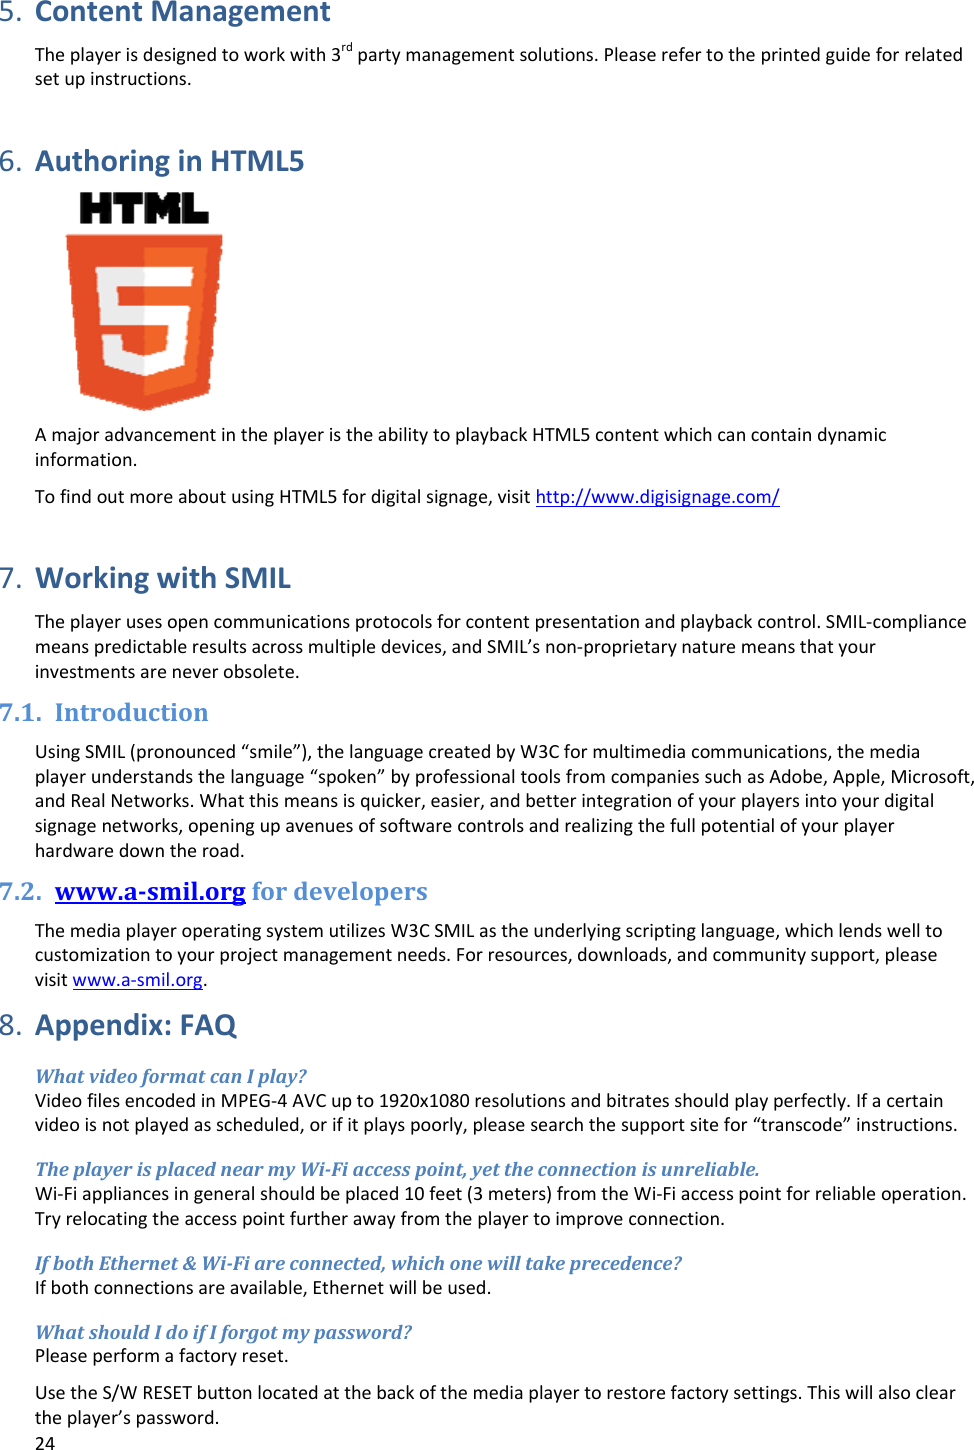
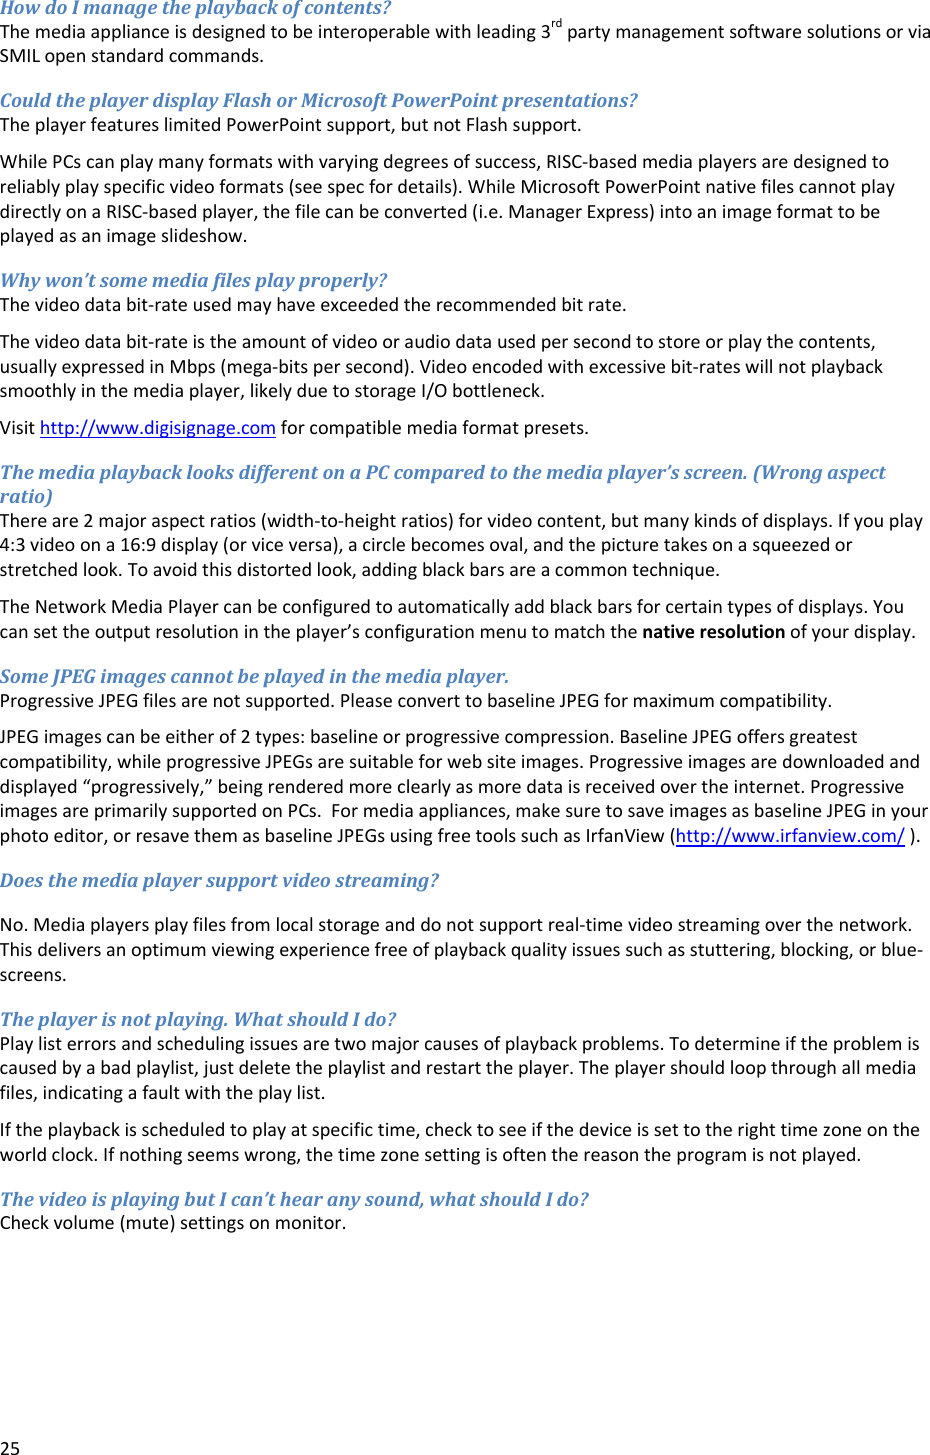
![i1. IntroductionThisdocumentdescribesthehardwareoftheXMP‐6400(IAD‐16000).1.1. PackagecontentsNOTINCLUDED:AUSBmouseisrequiredforsystemsetup1.2. InstallationAttachwirelessantennaAttachthewirelessantennaasshownbelow,andthenscrewantennaclockwiseontothepost.MountingOption:[AttachtheplayeronthebackofthemonitorusingVelcro] 1. SeparatetheVelcropads,andstickonthebottomofplayer.2. SticktheotherVelcropadontothebackofmonitor,andthenattachtheplayertoit.3. UseHDMIcabletoconnectplayerandthemonitor. MediaPlayerUnitHDMICableWi‐FiAntennaACAdapter(withselectpowerplug)Velcro(2sets)PowerandMicroSDcardbrackets](https://usermanual.wiki/IAdea/IAD16000.Usuer-Manual/User-Guide-2749246-Page-3.png)