IDT Technology THR228N-01 Remote Thermo Sensor User Manual
IDT Technology Limited Remote Thermo Sensor Users Manual
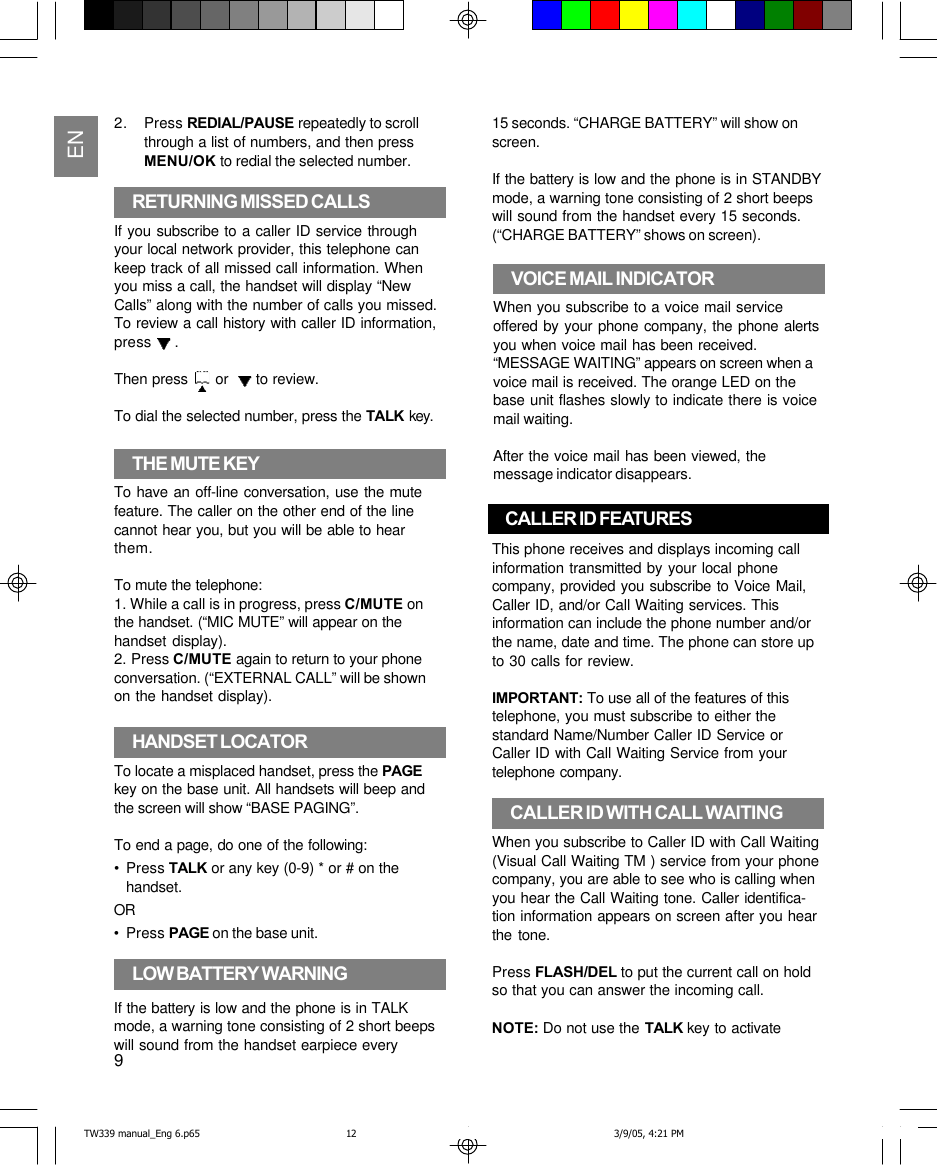
UserManual.wiki
>
IDT Technology
>
THR228N 01 User Manual
User Manual
Navigation menu
Upload a User Manual
Namespaces
Wiki Guide
HTML
PDF
Info
Views
User Manual
Discussion / Help
Navigation
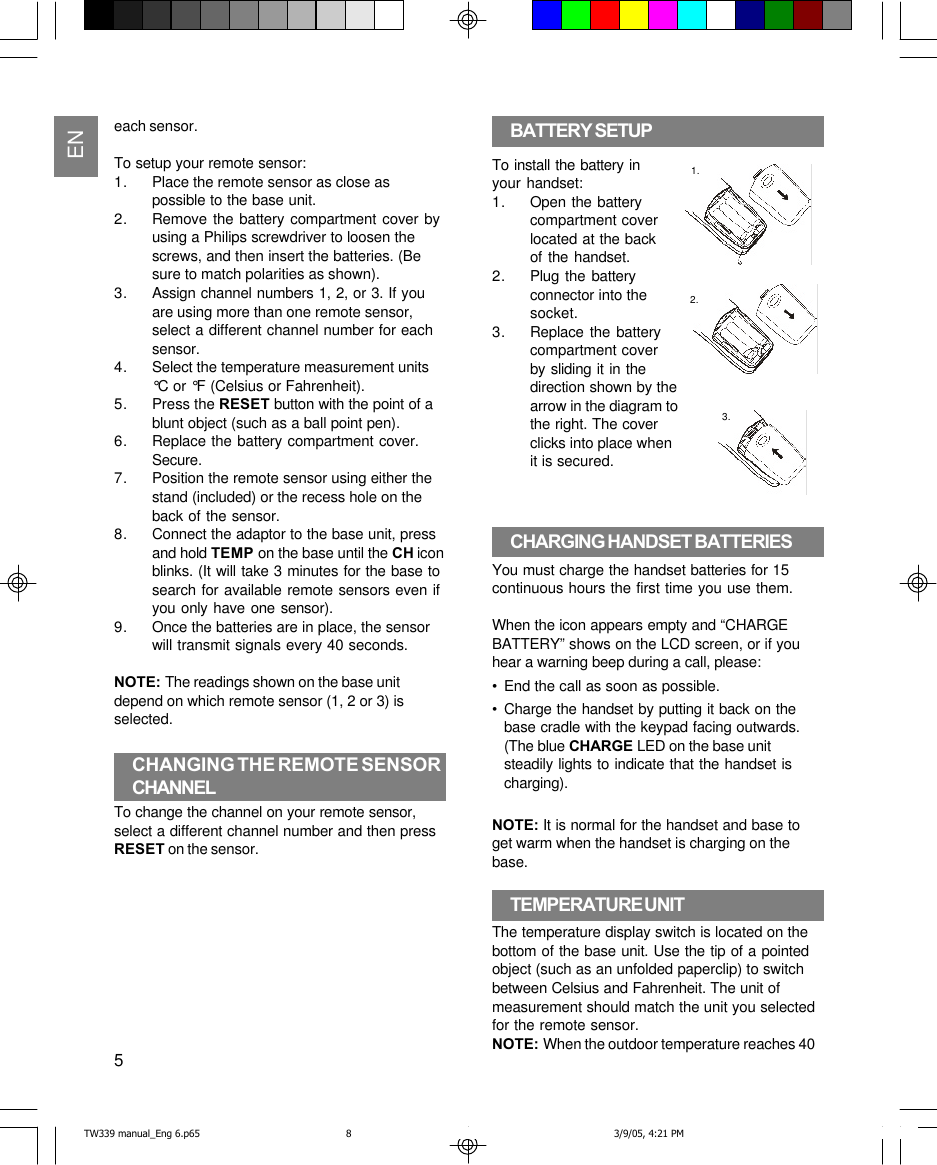
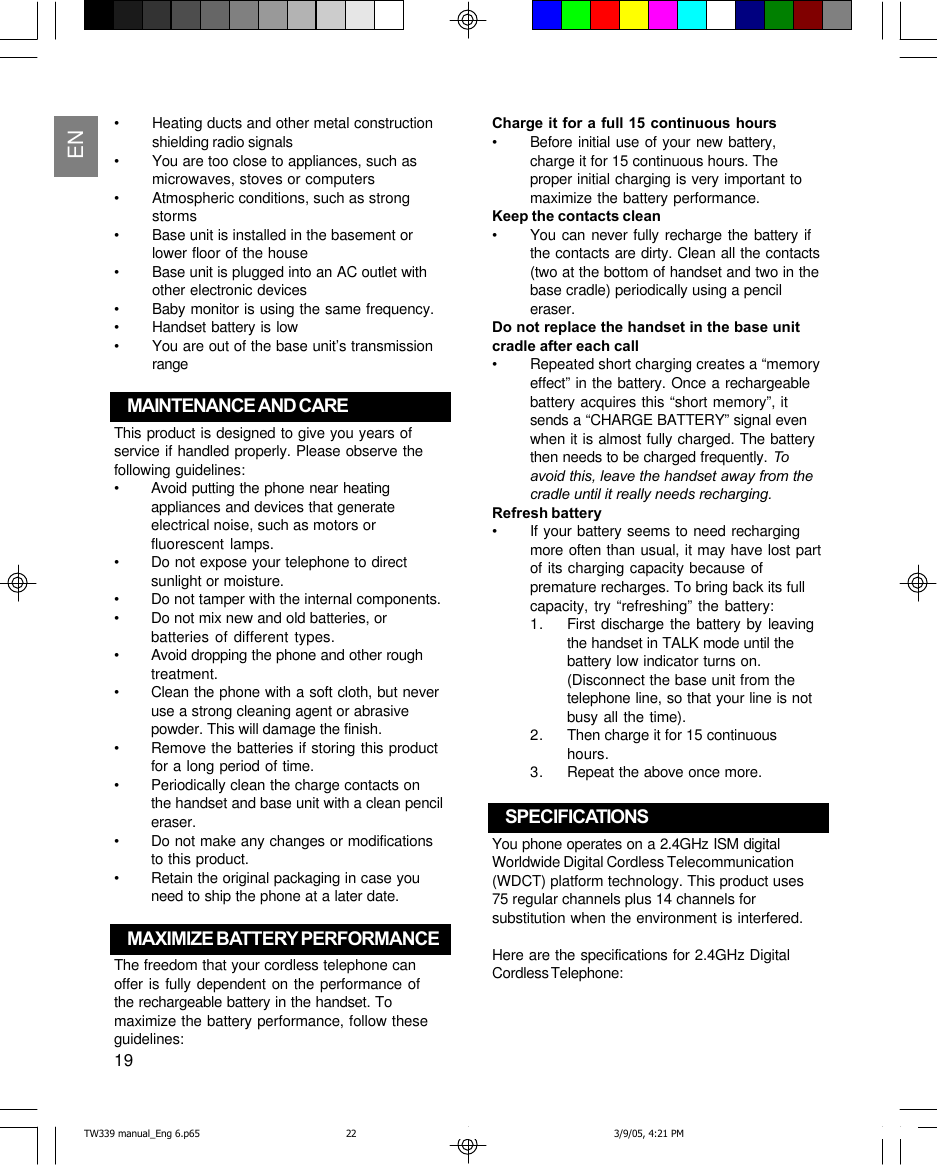
![ENNOTE: Shared configurations are available whereindividual handsets are sold. Please check withyour local distributor to find out if this option isavailable in your area.To store a name/number in your directory:1. Press MENU/OK in standby mode.2. Press or to select “PHONEBOOK”,then press MENU/OK.3. Press or to select “STORE”, thenpress MENU/OK.4. At the “STORE NUMBER” display, enter thenumber using the keypad, including anyprefixes or country codes. (If you make amistake, press the FLASH/DEL key to deletea digit one at a time. If you wish to add apause, press REDIAL/PAUSE once at thedesired location. Each pause counts as 1 digitin the dialing sequence).5. Press MENU/OK.6. At the “STORE NAME” display, enter thename using the keypad. The cursor advances1 space after each key press. Within 1 sec-ond, you can press the same key again toselect another character. If you make a mistake, press FLASH/DEL to delete a characterone at a time. (Use the chart below as aguide).7. Press MENU/OK to confirm. A beep tone willconfirm that the number has been saved.[PLEASE LAYOUT IN CHART FORMAT]Key key of times pressed1st 2nd 3rd 4th 5th 6th 7th8th9th1Space 12A B C2abc3DEF3def4GHI4ghi5JKL 5 jkl6MNO6mn o7PQRS7 p qrs8TUV8tuv9WX Y Z9wxyz00**?! / )# # ‘,-.&STORING A NAME/NUMBER INDIRECTORYTIP: Press FLASH/DEL to clear the lastcharacter, then press and hold FLASH/DEL toclear all. To return to “STANDBY MODE”, press C/MUTE repeatedly.NOTE: If you try to store a new number in thephonebook when it is full, the message“PHONEBOOK FULL” is displayed and the phonereturns to the phonebook menu after 5 seconds.You need to delete some numbers to free up thephonebook memory so that you can store newnumbers.1. Press MENU/OK.2. Press or to select “PHONEBOOK”,then press MENU/OK.3. Press or to select “RECALL”, thenpress MENU/OK.4. Press or , or enter the first characterof the desired name to select the desiredphonebook entry.5. Press TALK to call.TIP: Press in standby mode to enterphonebook quickly.MAKING CALLS FROM THEDIRECTORYDELETING AN ENTRYTo delete an entry from the telephone book:1. Press MENU/OK.2. Press or to select “PHONEBOOK”,then press MENU/OK.3. Press or to select “RECALL”, thenpress MENU/OK.4. Press or , or enter the first characterof the desired name to select the desiredphonebook entry.5. Press FLASH/DEL. “DELETE?” shows onscreen.6. Press MENU/OK to confirm or C/MUTE to goback. A confirmation tone can be heard andthe menu steps to the next entry.11TW339 manual_Eng 6.p65 3/9/05, 4:21 PM14](https://usermanual.wiki/IDT-Technology/THR228N-01/User-Guide-528465-Page-14.png)
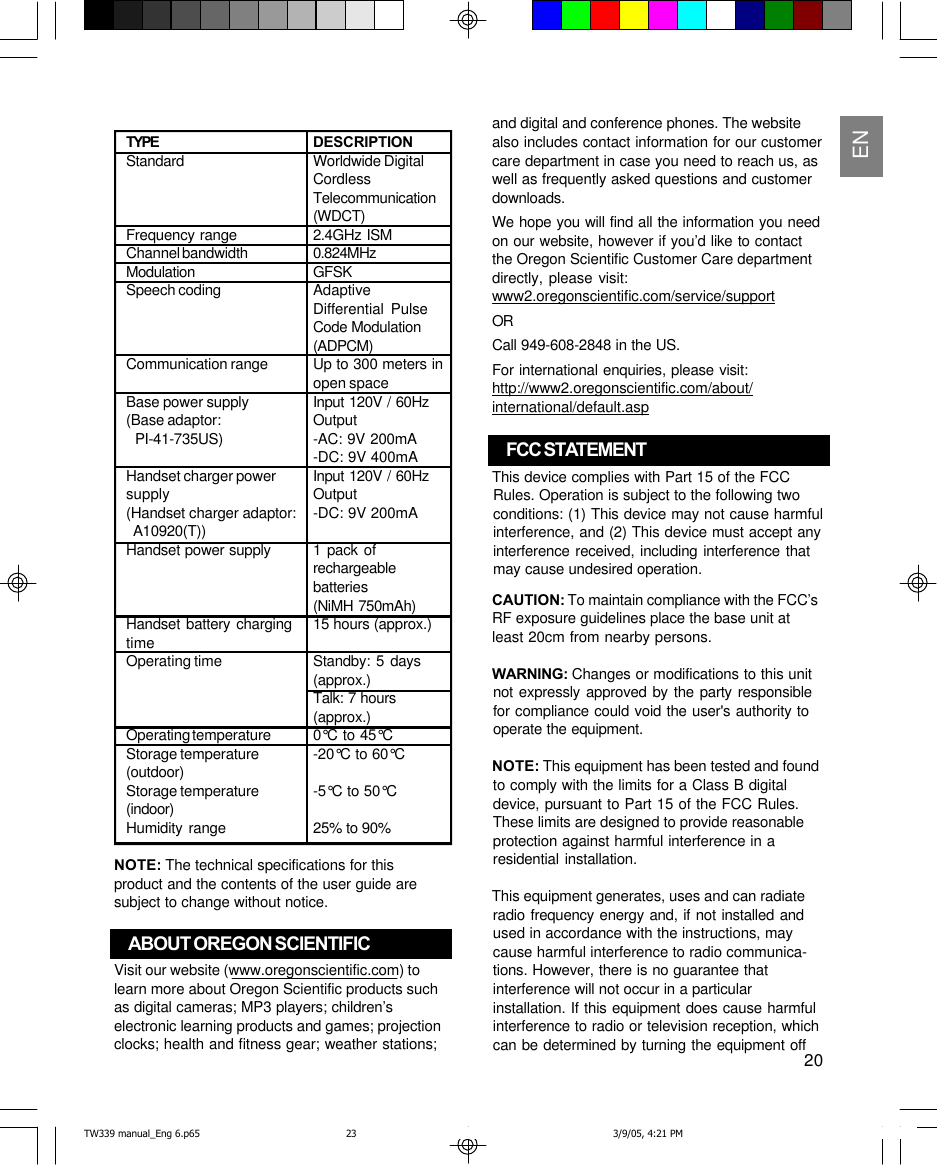
![ENSTORE NUMBER - Prompt telling you to enter thetelephone number for directory.STORE NAME - Prompt telling you to enter thename in directory.PHONEBOOK EMPTY - There is no record storedin the selected directory location.CALL LOG EMPTY - There is no record stored inthe selected call log location.NO LINE - Telephone line is disconnected fromthe base unit.KEY LOCKED - The keypad is locked.OUT OF SERVICE - When the handset is out ofrange or the base unit experiences power failure.CHARGE BATTERY - When the battery is low.PLACE IN CHARGER - The battery voltage is toolow.RINGER OFF - The ringer is switched off.LO - Temperature falls below –20 ° C.17LIGHT SIGNALSThe charge / in use indicator will change under thefollowing conditions:Talking Lit steadily (orange)Charging Lit steadily (blue)Incoming call Flashes in same patternas telephone ring (orange)Voice mail Flashes every 2 seconds(orange)No telephone line Flashes every second(orange)SOUND SIGNALSA long warbling tone Signals an incoming callSingle tone A key is pressedTwo short beeps Call waiting / MIC muteOne long beep Confirmation tone / pagesignal / call backThree short beeps Error tone / out of rangeTwo short beeps Low battery warning(every 15 seconds)No dial toneCheck installation:•Is the base unit plugged into the telephoneTROUBLESHOOTINGTELEPHONEline and AC power source?•If the telephone line is not properlyconnected to the base unit “NO LINE” willappear on the handset display.•Is the AC power source turned on at thesocket?•Are the batteries properly installed in thehandset?Dial tone is OK, but cannot dial outTry moving the handset closer to the base unit.•If this doesn’t work, try a different positionfor the base unit. (Typically, the higher youplace the base unit, the better the recep-tion).•The battery charge level may be low. Checkthe LCD display for the low battery-warningsignal. If the battery is low, place thehandset in the base unit’s charging cradle tocharge.•Check the power connection by switchingoff the power at the main socket. Wait afew seconds, then switching it back on.•Check to make sure that the phone andbase unit are within the range of transmis-sion.•The handset may be unable to find the baseunit. Try moving the handset closer to thebase unit. If the problem persists, trymoving the base unit in a suitable positionnearer to the handset.•If you have registered additional handsetsto the same base unit, make sure they arenot already on a call. The LCD display onyour handset will display EXT IN USE if theline is engaged.•The dial mode setting may be incorrect. Seethe DIAL MODE section for instructions onhow to change the dial mode.Handset does not ringCheck that you have not turned off the ringervolume level. Also, you may have too manyextension phones on your line. Try unpluggingsome phones.Call was disconnectedPlease move the handset closer to the base unit.Also, you may want to consider moving the baseunit to achieve a greater range of transmission.Keys do not work / [KEY] shows on screenThe symbol means that the keypad lock featurehas been activated.TW339 manual_Eng 6.p65 3/9/05, 4:21 PM20](https://usermanual.wiki/IDT-Technology/THR228N-01/User-Guide-528465-Page-20.png)
![EN21and on, the user is encouraged to try to correctthe interference by one or more of the followingmeasures:•Reorient or relocate the receiving antenna.•Increase the separation between theequipment and receiver.•Connect the equipment into an outlet on acircuit different from that to which the receiveris connected.•Consult the dealer or an experienced radio / TVtechnician for help.CONSUMER INFORMATIONThis equipment complies with Part 68 of the FCCrules and the requirements adopted by the ACTA.On the bottom of this equipment is a label thatcontains, among other information, a productidentifier in the format US: KT5W400BTW339. Ifrequested, this number must be provided to thetelephone company.A plug and jack used to connect this equipment tothe premises wiring and telephone network mustcomply with the applicable FCC Part 68 rules andrequirements adopted by the ACTA. A complianttelephone cord and modular plug is provided withthis product. It is designed to be connected to acompatible modular jack that is also compliant.See installation instructions for details.The REN is used to determine the number ofdevices that may be connected to a telephoneline. Excessive RENs on a telephone line mayresult in the devices not ringing in response to anincoming call. In most but not all areas, the sumof RENs should not exceed five (5.0). To becertain of the number of devices that may beconnected to a line, as determined by the totalRENs, contact the local telephone company. [Forproducts approved after July 23, 2001, the RENfor this product is part of the product identifierthat has the format US: KT5W400BTW339. Thedigits represented by 0.0B are the REN without adecimal point (e.g., 03 is a REN of 0.3). Forearlier products, the REN is separately shown onthe label.]If this equipment TW339 causes harm to thetelephone network, the telephone company willnotify you in advance that temporary discontinu-ance of service may be required. But if advancenotice isn’t practical, the telephone company willnotify the customer as soon as possible. Also,you will be advised of your right to file acomplaint with the FCC if you believe it isnecessary.The telephone company may make changes in itsfacilities, equipment, operations or proceduresthat could affect the operation of the equipment.If this happens the telephone company willprovide advance notice in order for you to makenecessary modifications to maintain uninterruptedservice.Should you experience trouble with this equip-ment, please contact Oregon Scientificwww2.oregonscientific.com/service/support or call949-608-2848 for repair or warranty information. Ifthe equipment is causing harm to the telephonenetwork, the telephone company may request thatyou disconnect the equipment until the problem isresolved.Please follow instructions for repairing (e.g.battery replacement section); otherwise do notalternate or repair any parts of device exceptspecified.Connection to party line service is subject tostate tariffs. Contact the state public utilitycommission, public service commission orcorporation commission for information.NOTICE: If your home has specially wired alarmequipment connected to the telephone line, ensurethe installation of this [equipment ID] does notdisable your alarm equipment. If you havequestions about what will disable alarm equipment,consult your telephone company or a qualifiedinstaller.This equipment is hearing aid compatible.NOTICE: According to telephone companyreports, AC electrical surges, typically resultingfrom lightning strikes, are very destructive totelephone equipment connected to AC powersources. To minimize damage from these types ofsurges, a surge arrestor is recommended.TW339 manual_Eng 6.p65 3/9/05, 4:21 PM24](https://usermanual.wiki/IDT-Technology/THR228N-01/User-Guide-528465-Page-24.png)