Imobiile Technology JUPITER GSM Mobile Phone User Manual
Imobiile Technology, L.L.C GSM Mobile Phone Users Manual
UserManual.wiki
>
Imobiile Technology
>
JUPITER User Manual
Users Manual
Navigation menu
Upload a User Manual
Namespaces
Wiki Guide
HTML
PDF
Info
Views
User Manual
Discussion / Help
Navigation


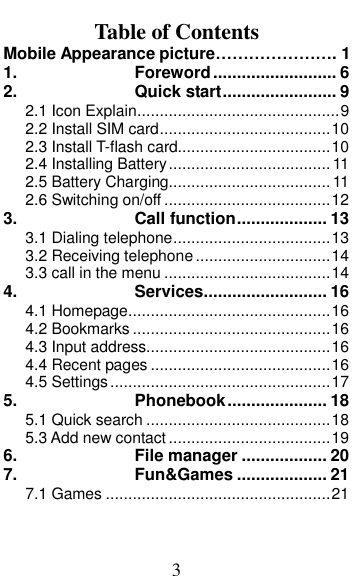


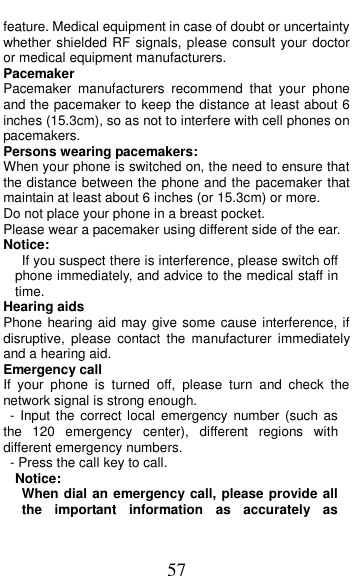
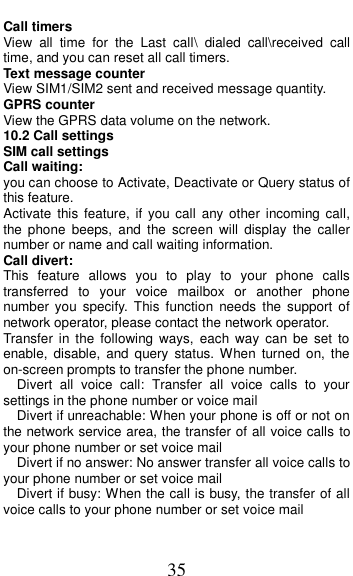
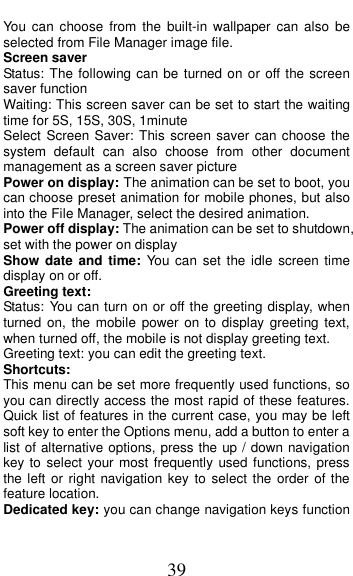
![13 3. Call function 3.1 Dialing telephone 1. Direct dial In standby mode, press the corresponding numeric keys to enter the phone number that you want to dial, including necessary area codes. Short Press the Right soft key [Clear] to delete one character, and Long Press delete all inputs, if inserted only one SIM card, press the Green key can directly to dial; if inserted two SIM cards, press the green key use SIM1 to dial, press the left soft key use SIM2 to dial. 2. Making an International Call: To make an international call, long press [0] key until the prefix symbol "+" of international call displays in screen. 3. Dialing from Phonebook Enter the Phonebook via the menu, use the Up/Down Navigator keys to scroll to the desired contact, or press the first letter of the name of the desired contact as saved in your phonebook for quick access to names beginning with the letter then scroll to the desired, if inserted only one SIM card, press the Green key can directly to dial; if inserted two SIM cards, press the green key into SIM select screen to dial. 4. Dialing from Call history Enter the Call center (press the Green key from standby or via the menu), use the Up/ Down navigator keys to scroll to the desired contact, press the green key can direct dial. 5. Dial emergency service You can directly dial the emergency service number](https://usermanual.wiki/Imobiile-Technology/JUPITER/User-Guide-1672615-Page-13.png)
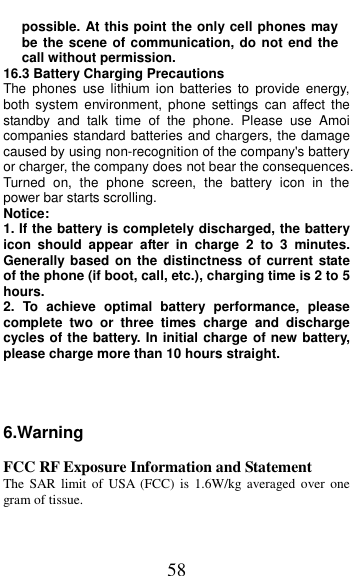
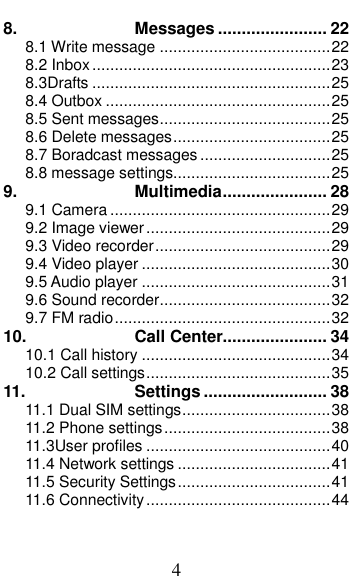
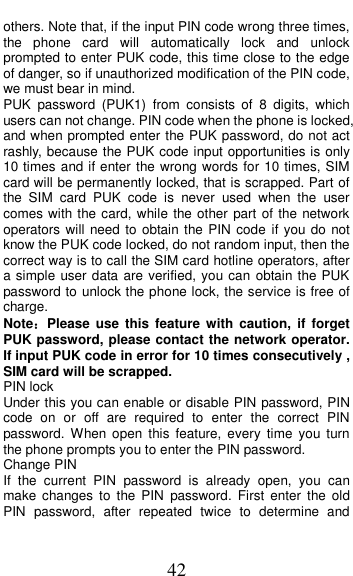
![14 without SIM card. Different networks use different urgency service numbers, so for details please inquire the network operation company. 3.2 Receiving telephone When there is an incoming call, the phone will give corresponding alert, if your network supports caller ID, the screen will display caller’s name or number (depending on whether there is information of the caller in your phonebook). 1. Press the green key or press the Left soft key and confirm [options] to answer the incoming call. 2. If function of [call center/call setting/Advanced setting/ Answer mode] is selected as [Any-key], press the any key to answer the incoming call except the Right soft key or the Red key. 3. If you do not want to answer an incoming call, press the Red key or the Right soft key [Reject] to reject it. You can also press the Red key to end a call. 4. During a call, you can press the Up/Down navigator key to adjust receiver volume. 3.3 call in the menu During a call, press the right soft key can also open / close the hands-free function, press the left soft-key into the options: - Swap*: Is maintained in the current call and switch between calls - Conference*:Into the multi-party conference call, you can follow the prompts to answer the waiting call, to add multi-session conference call will be maintained; and the party conference in private conversation, the call to keep all other parties; the parties to keep the party; the end of the current Calls and all calls remain.](https://usermanual.wiki/Imobiile-Technology/JUPITER/User-Guide-1672615-Page-14.png)
![15 - Hold/Retrieve single call*: The current call on hold or resume the call - End single call*: end off the current call. - End all calls*: end off the current call and the hold call - Transfer*: the function need network support. - New call: enter the dial-up interfaces. - Phonebook: enter the phonebook list of interfaces. - Messages: access to the message menu. - Call history: access to call history list. - Sound recorder: record the current call. Note: Recording of the call, in some countries is illegal. Therefore, when you talk to Recording, should seek prior approval from the other party's consent. - Mute: mute on or off, open the case in the quiet do not send local voice. -DTMF: The dual tone multi-frequency switching operation (a call, you press the keys on the keyboard, the audio signal will be sent to each other, for telephone banking, automatic answering machine, etc.) Note: * Denotes menu items only appear in specific circumstances. Such as: [Swap] exist only in the state of the phone and call the phone only appears to be suspended. At the same time for the conferencing, you need to the appropriate service provider to subscribe.](https://usermanual.wiki/Imobiile-Technology/JUPITER/User-Guide-1672615-Page-15.png)
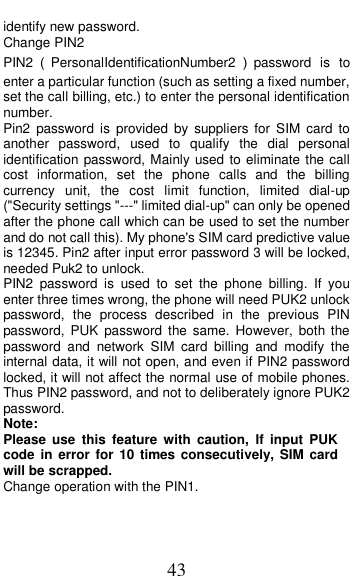
![16 4. Services The Internet is the combination of wireless communications and Internet application platform that enables you to get rich by phone and ecommerce and other Internet information resources application. Note: 1. Your ISP may not support some features, in order to ensure the normal operation of the browser, make sure your SIM card is supported and open Internet access. 2. If you browse the web, you need to charge fees related to traffic. 4.1 Homepage This is the WAP settings you set in the homepage address, if you have no other set will have a direct connection to the phone pre-set or the default home page. 4.2 Bookmarks In this menu, the display has all the bookmarks in the bookmark, you can add and save you frequently visit the site name and address for future quick access. 4.3 Input address Enter the need to access the WAP services, and URL addresses, complete, can be connected to the WAP site you want to connect. From the surface in the bookmarks, web history, other than to provide you a flexible way to access the network. 4.4 Recent pages List of pages you have recently visited records to facilitate your browsing history in selected cases, can directly select [Enter] to access the page, the record could be](https://usermanual.wiki/Imobiile-Technology/JUPITER/User-Guide-1672615-Page-16.png)

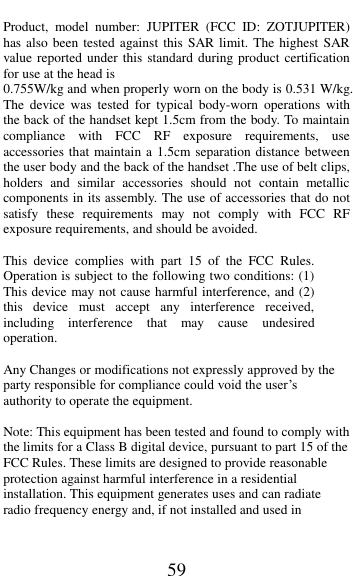
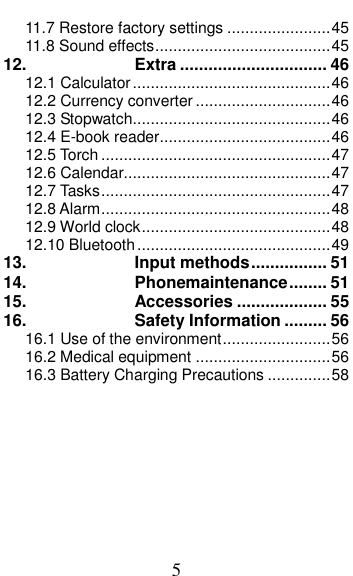
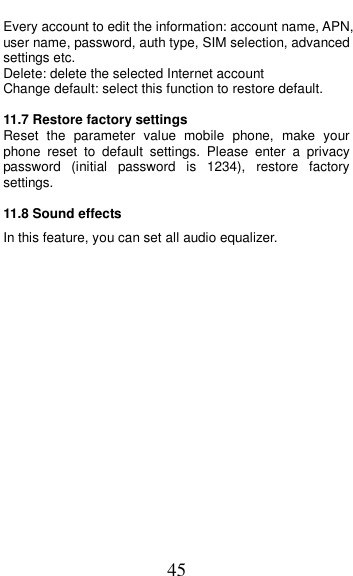
![20 6. File manager In document management, you can open files in the Phone or Memory card, you can select file or folder to press the left soft key into [Options], you can do the following: - Open: open the file or folder. - New Folder: the folder in the selected directory New Folder. - Rename: you can rename the select folder. - Delete: delete the selected file or folder. - Details: View the details of a folder or file. -Use as: The file can be selected as ring-tones, wallpapers, etc., depending on file format decided - Search: memory card can be customized to find all the documents. - Sort by: can "name", “time” "size" "type" or “none”. - Send: the select file can send by MMS or Bluetooth. - Copy: you can copy the select file to other folders. - Move: you can move the select file to other folders. - Delete all files: you can delete all files in the folders. Note: Memory card as the default save path, order to facilitate the use of multimedia features, please copy the appropriate files to My Music, Photos, Videos etc.](https://usermanual.wiki/Imobiile-Technology/JUPITER/User-Guide-1672615-Page-20.png)
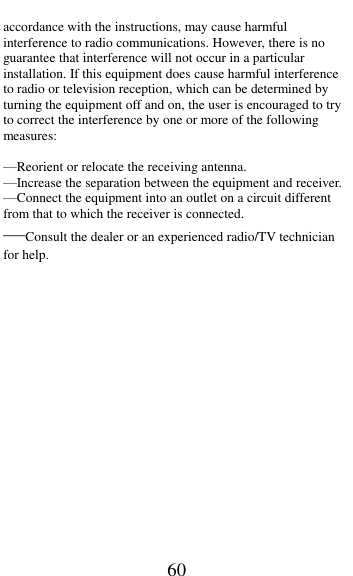
![22 8. Messages Message service is a network dependent function, which allows you to send, receive and edit all kinds of messages. Please contact the network operator for more details. 8.1 Write message Text message Edit a new message, save or send it to the recipient. Note: to send SMS, you need to set the correct SMS service center number which can be obtained from network provider. While editing, press the # key to change input method, a text message can be up to 612 characters in length. Press the OK Key, into add recipient interface, you can enter number and add from phonebook, you can add one number or more number, press the Left Soft key [Options] to select options when editing: - Send: Enter the destination number is sent, or press OK into the address book to find the necessary records, you can select the type of SIM card, confirmed, you can send. - Edit recipient: you can edit recipient number. - Remove recipient: you can remove one recipient. - Remove all recipients: you can remove all recipients - Save to drafts: Save the edited message to the Drafts box Multimedia message It’s multimedia information, with the information service, you can use the phone to send or receive text content. Including color pictures, animation and music can be sent by MMS to each other or receive their own phone. Note:](https://usermanual.wiki/Imobiile-Technology/JUPITER/User-Guide-1672615-Page-22.png)
![23 To use this feature only when the network operator is supported. And only those that with compatible MMS-enabled mobile phone can receive and display properly. Into the editing interface, press left soft key to option: -send to:you can enter number and add from phonebook, you can add one number or more number, after number edit, you can also remove number, change to CC or change to BCC. -Input method:You can select input method, or insert symbol. -Add picture:Insert picture in phone or memory card to MMS. -Picture options*: can remove the current picture. -Add sound:Insert audio file in phone or memory card to MMS. -Sound options*: can remove the current sound -Add video:Insert video file in phone or memory card to MMS. -Video options*: can remove the current video -Add subject:add MMS subject -Preview MMS:Preview each page in turn. -Slide options: Under this option adder to the next page, add the page to the previous page and set the slide timing. -Advanced: can select insert attachment and insert bookmark option -Save to Drafts:Save the MMS to the [Drafts], re-edit or send. 8.2 Inbox Received SMS/MMS messages can be stored either in](https://usermanual.wiki/Imobiile-Technology/JUPITER/User-Guide-1672615-Page-23.png)
![24 phone or in SIM1/SIM2 memory, and are accessed here. When you have received a message, the tones or vibration to alert you and message mark will also be shown on the screen. Press the Left soft key [Read] or the OK key to read the new message, press the Right soft key [Back] to return, and you can also access the inbox to read the new message. If the message memory is full, the indication “Memory full” and the message icon will be shown on the screen and flashed. Before you can receive new messages, delete some of your old messages in the inbox folder. If the capacity of new messages is beyond the capacity of the inbox, the information will be lost and incomplete. In message list, press the OK key to read the selected message, press the Left soft key [Options] to make the following menu: -View: view the current message -Reply by SMS: Reply SMS to the message sender directly. -Reply by MMS: Reply MMS to the message sender directly. -Call Sender: Select the "direct dial" or "IP dial-up" to call the sender number -Forward: forward the current message to other number. -Delete: Delete the messages. -Delete all: delete all messages in inbox. -Save to phonebook: Save the information in the sender number to the phonebook.](https://usermanual.wiki/Imobiile-Technology/JUPITER/User-Guide-1672615-Page-24.png)
![25 8.3Drafts Not send SMS and MMS, will be stored in the mail within, the operation is the same with inbox 8.4 Outbox Failed to send SMS and MMS, will be stored in the mail within, the operation is the same with inbox. 8.5 Sent messages If SMS or MMS is sent successfully, then be stored in the letter box. Automatically save messages need to select in [Message Settings →Text message →Message setting →common settings→save sent message], other operation is the same with inbox. 8.6 Delete messages In this feature, you can choose to delete a single mailbox, you can also choose to delete all mailbox information. 8.7Broadcastmessages Broadcast message is sent by network operators, public information, this function needs the network operator support, please contact the network operator. Using the cell broadcast service, you can receive from the network operator information on various topics, such as weather, taxis, hospitals and so on. For information on available topics, please consult your local network operator. 8.8 Message settings Text messages Profile settings: You can choose either of two modes, custom different parameters, including the model name, short message center number, Validity period and Message type. Voicemail server: When you can not answer the phone, automatically incoming calls to voice mail number, you can let the other party to your message, a message stored](https://usermanual.wiki/Imobiile-Technology/JUPITER/User-Guide-1672615-Page-25.png)
![26 in the network's voice mail system, and afterwards, you can access the voice mail system to listen to a message. Into the voice mail sub-menu, you can see the current voice message (up to the establishment of two voice mail) Voice mail function needs the support of network operator, you may need to subscribe to the service. For details, please contact with the operator. Common settings: Delivery report: Open the function, after a successful send text messages, the system will return to report. Reply path: If the network allows, open the function, the recipient receives a text message, the system will send a confirmation message. Save sent message: open the function, After the success of SMS will be automatically saved in the Outbox. Memory status: can view the memory storage status. Preferred storage: you can choose to give priority to messages stored in SIM card or mobile phone. Preferred connection: You can select prefer connection: GPRS or GSM. Multimedia message Data account:Internet access account settings. Common settings: Compose: In the menu, you can set slide time, creation mode, signature set act. Sending Delivery report:Select [On], when the recipient receives and download, the network will send a message to notify you (subject to network support); You can also choose [Off]](https://usermanual.wiki/Imobiile-Technology/JUPITER/User-Guide-1672615-Page-26.png)
![27 Read report:Select [On], then when the recipient read the MMS, you can choose to read the report sent to you(need network support), you can also choose [Off]. Priority:Priority Setting MMS. Delivery time:you can set delivery time,immediate\1 hour later\12 hours later\24 hours later. Send and save: open the function, After the success of MMS will be automatically saved in the Outbox. Retrieval: In the menu, you can set home network\Roaming\Filters\Read report\Delivery report Preferred storage: you can select preferred storage as phone or memory card. Memory status: you can select phone or memory card to view Used status. Service messages Enable push: you can select accept all push messages or disable. Enable service loading: you can select prompt, Auto launch or disable.](https://usermanual.wiki/Imobiile-Technology/JUPITER/User-Guide-1672615-Page-27.png)
![28 9. Multimedia 9.1 Camera Your phone is fitted with camera allows you to take photos whenever possible. You can store the pictures in phone or customize the wallpaper. In the multimedia menu, select the camera into the camera preview screen, press the following keys can be set for the following cameras: Press left/right navigation key to adjust [Exposal bias] Press up/down navigation key to adjust [Focal distance] Press “1” key to adjust [Image Size] Press”2” key to adjust [Image Quality] Press”4” key to adjust [White balance] Press”6” key to adjust [Delay timer] Press”7” key to adjust [Cont. shot] Press the OK key to take photo, press the right soft key to return, press the left soft key to option: Photos: select the function into image viewer. Camera settings: Press the left/right navigation key to adjust the following options, including Shutter sound, Ev, Anti-flicker, Contrast, Delay timer, Cont. shot, Profile that is complete, press the left soft key or the OK key to confirm the current setting. Image settings: can set the image quality and image size. White balance: can set white balance Scene mode: can set the photo mode as auto or night. Effect settings: can set special effect Storage: Can choose camera phone or memory card as the storage location Restore default: select the function and confirmed, the](https://usermanual.wiki/Imobiile-Technology/JUPITER/User-Guide-1672615-Page-28.png)
![29 camera parameters can be restored to the default location After taking pictures, press the back button to return camera preview screen, press the left soft key to enter options, can take pictures to send or delete 9.2 Image viewer This feature is convenient for users to view the photos stored in albums, press the OK key to open the picture, press the left soft key to open the option menu: View: open the current image to view. Image information: can display the current image information. Browse style: can set to list style or Matrix style. Send:Pictures can be selected through the "MMS" or "Bluetooth" method to send. Use as: The selected picture set to phone wallpaper, Screen saver, power on display, power off display. Rename: Change the name of the selected picture. Delete:Delete the select image. Sort by:Can sort by name, Type, Time, Size, None Delete all files:Delete all image files. Storage:Can choose phone or memory card as the storage location Note: When no pictures in Image viewer, the options menu only displays the browse style and storage. 9.3 Video recorder In the multimedia menu, select the video recorder into the video preview screen, Press left/right navigation key to adjust [Exposal bias], Press up/down navigation key to](https://usermanual.wiki/Imobiile-Technology/JUPITER/User-Guide-1672615-Page-29.png)
![30 adjust [Focal distance], press “2” key to adjust [video quality], press “3” key to adjust [Night mode], press”4”key to adjust [white balance], press the left soft key into options menu: Camcorder settings: Press the left/right navigation key to adjust the following options, including EV, Night mode, Anti-flicker. Video settings: Can set the image quality White balance: Can set white balance Effect settings: Can set special effect. Storage: Can choose camera phone or memory card as the storage location Restore default: select the function and confirmed, the camera parameters can be restored to the default location. Press the OK key to start recorder, recording, press the OK key to pause or resume recording; Press the right soft key to stop recording, the screen will be prompted to save video, press the left soft key to save and return to the video preview screen, press the right soft key to not save directly Back to the preview screen. 9.4 Video player This feature can be played stored in the mobile U disk or video files, supported formats to 3gp, mp4, Avi file player. In the multimedia menu, select the video player into the video list, press left soft key open the option menu: Play:Play the current video file Send: can be selected video through the "MMS" or "Bluetooth" method to send. Rename:Change the name of the selected video.](https://usermanual.wiki/Imobiile-Technology/JUPITER/User-Guide-1672615-Page-30.png)

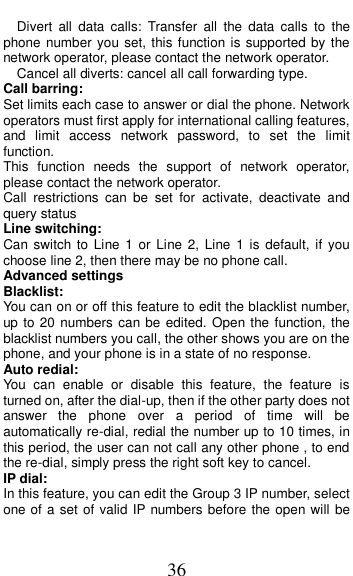
![34 10. Call Center This phone can record all answered, dialed and missed calls as well as their call time. Only when related function is supported by network and phone is switched on and in network service area, it can record the answered and missed calls. Call records may be accessed by pressing the Green key from standby or accessing through the menu. Access the Call Center menu using the normal menu path, the submenus are as follow: 10.1 Call history Missed/Dialed/Received calls Display list of missed/dialed/received calls. Once on the call records list, press the Green key to make a call; press the OK key to view the details of current call record; press the left soft key to make the following: - View: View the details of current call record. - Call: call current record. - send text message: send SMS to the select number -send multimedia message: send MMS to the select number. - Save to phonebook: Store the number as a phonebook entry. - Add to blacklist: The phone number is set to refuse to answer the phone, you can set the number after the [call center →call setting →Advanced settings→blacklist] query to - Edit before call: edit number before the call history - Delete: Delete the current call record. Delete call logs Choose to delete which call log or all call histories.](https://usermanual.wiki/Imobiile-Technology/JUPITER/User-Guide-1672615-Page-34.png)


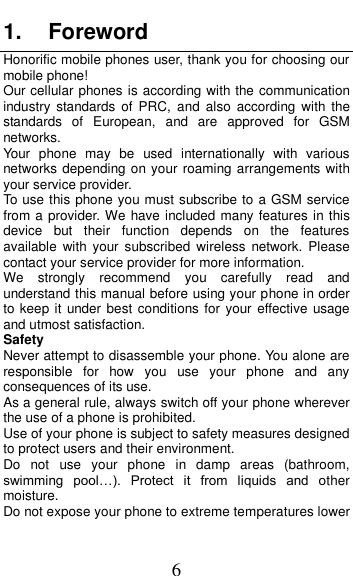
![44 Phone security Under this password there you can set the phone to avoid unauthorized use of your mobile phone Phone lock Under this you can enable or disable phone password, phone password on or off are required to enter the correct phone password. When open this feature, every time you turn the phone prompts you to enter the phone password. Change password You can make changes to the phone password. First enter the old phone password, after repeated twice to determine and identify new password. Auto keypad lock Under this you can set the time to open or close the keyboard lock keyboard lock feature. Set the keyboard lock time, the idle screen, mobile phone within the set time the keyboard does not perform any operation, it will be automatically locked, then you can press the # key to unlock. Note: Keyboard locked and the backlight is off, to be selected button lights up the screen, then press the # key to unlock 11.6 Connectivity Data account You can choose the Internet account. You can add Internet accounts by yourself. In the Internet interface, press [Options], you can do operations as followed: Edit: Edit selected network count. Add PS account: Mobile support 6 maximum data account.](https://usermanual.wiki/Imobiile-Technology/JUPITER/User-Guide-1672615-Page-44.png)
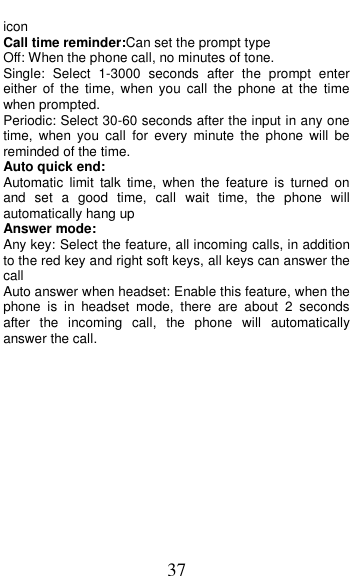
![46 12. Extra 12.1 Calculator Into the calculator, the calculator interface: Press 0 - 9 numeric keys to enter the number to be calculated, Press the navigation key to select the location on the screen corresponding to add, subtract, multiply and divide symbols for computing Press the # key for a decimal point. Press the right soft key to clear the last bit can be input or the result (no input figures, has withdrawn from the calculator function) Press the left soft key or the OK button to display the results. 12.2 Currency converter Enter the exchange rate conversion interface, first enter the exchange rate, determined to enter conversion interface, the rate of switching bar, press the left / right navigation key to switch the current exchange rate of the proportional method, that is, the local currency to foreign currency rate or its reciprocal, press the up/down navigation key to switch to local currency field, enter the amount of domestic currency, the press the left soft key, you can display in the foreign currency translation results. 12.3 Stopwatch The phone provide typical stopwatch and nWay stopwatch use for you. 12.4 Ebook reader You can read the .TXT format document by this function, after you have copied the TXT document into folder [File manager →Phone or Memory Card →Cool_Ebook].](https://usermanual.wiki/Imobiile-Technology/JUPITER/User-Guide-1672615-Page-46.png)

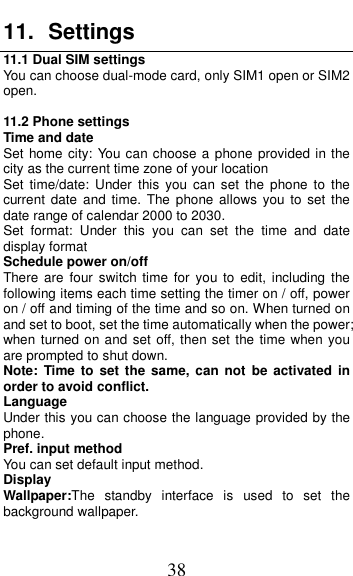
![51 13. Input methods This phone provides diversified input modes for you to enter letter information when editing SMS and adding phonebook. Use the # key to switch between different input methods. When editing the key controls: The Left soft key: Generally represents confirmation. The Right soft key: Press to clear one character, long press to clear all. The End/Power key: Return to the idle screen. [*] key: In every input status, press this key to call out punctuation and symbol input frame. ABC (abc) input method Each key is used to input several characters. Fast and repeatedly press key until your required character appears. When you need to input English punctuation and some special signs, press the [*] numeric key to call out special sign input box in English input status Press the [0] key to input blank once. AR(AR123) input method It’s Arabia uppercase and lowercase letters input, Each key is used to input several characters. Fast and repeatedly press key until your required character appears. Other key operation similar to the ABC input method. PT(pt) input method It’s Portuguese uppercase and lowercase letters input, Each key is used to input several characters. Fast and repeatedly press key until your required character appears. Other key operation similar to the ABC input](https://usermanual.wiki/Imobiile-Technology/JUPITER/User-Guide-1672615-Page-51.png)
![52 Smart input method Smart input method, the input method has association functions so that you can simply press each letter once to change the word order. Representatives of each key on the keyboard character, the input method will automatically compare phone language database, and select the correct word, so it needs more than the traditional input method saves time, smart input general methods of operation: Enter the appropriate key for each character, and automatically switch to the key-word based on previous corresponding characters. Quick Press Up / Down navigation key until the desired character or word you are there, you can choose it. You can press the left soft key to select the word or character, then press [0] key to confirm and enter the full word. The Numeric input method To input numerical values, press the respective numeric keys.](https://usermanual.wiki/Imobiile-Technology/JUPITER/User-Guide-1672615-Page-52.png)