Inkel LRC-122RF RF Remote Control User Manual R 772 A
Inkel Corporation RF Remote Control R 772 A
Inkel >
Contents
- 1. Users Manual I
- 2. Users Manual II
- 3. Users Manual III
Users Manual II
21
ENGLISH
• If any of buttons fails to operate as they should,
start from the step 1again to enter the correct setup
code.
Note :
• Manufacturers may use different setup codes for
the same product category. For that reason, it is
important that you check to see if the code you
have entered operates as many controls as
possible. If only a few functions operate, check to
see if another code will work with more buttons.
6. Operate the component using the corresponding
function buttons.
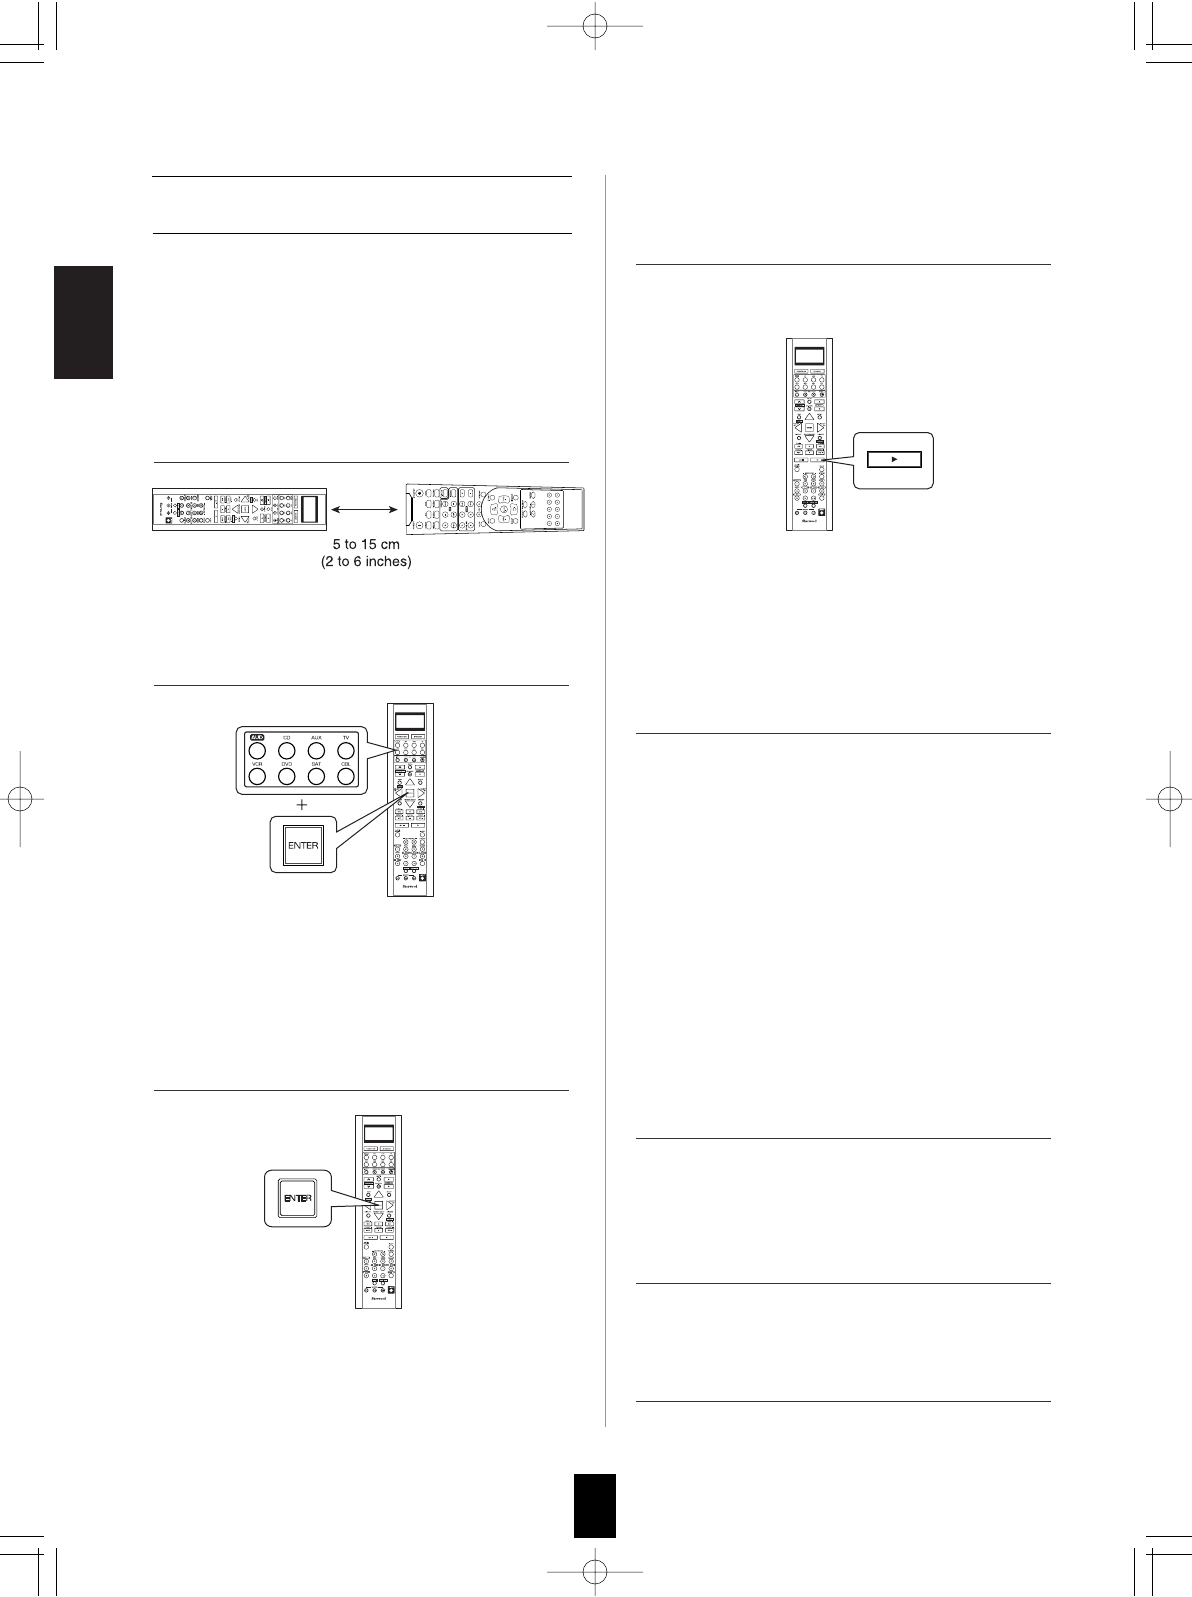
4. While "PRESET" is displayed, press the ENTER
button to store the setup code.
5. Operate the component using the corresponding
function buttons.
6. Repeat the above steps 1 to 5 for each of your
other components.
1. Turn on the component you want to operate.
2. Perform the steps 3 and 4 in "Entering a setup
code" procedure on page 20 to select the setup
code mode ("CODE").
3. While "PRESET" is displayed, search a setup
code, aiming the remote control at the remote
sensor on the component.
7. Repeat the above steps 1 to 6 for each of your
other components.
Searching a setup code
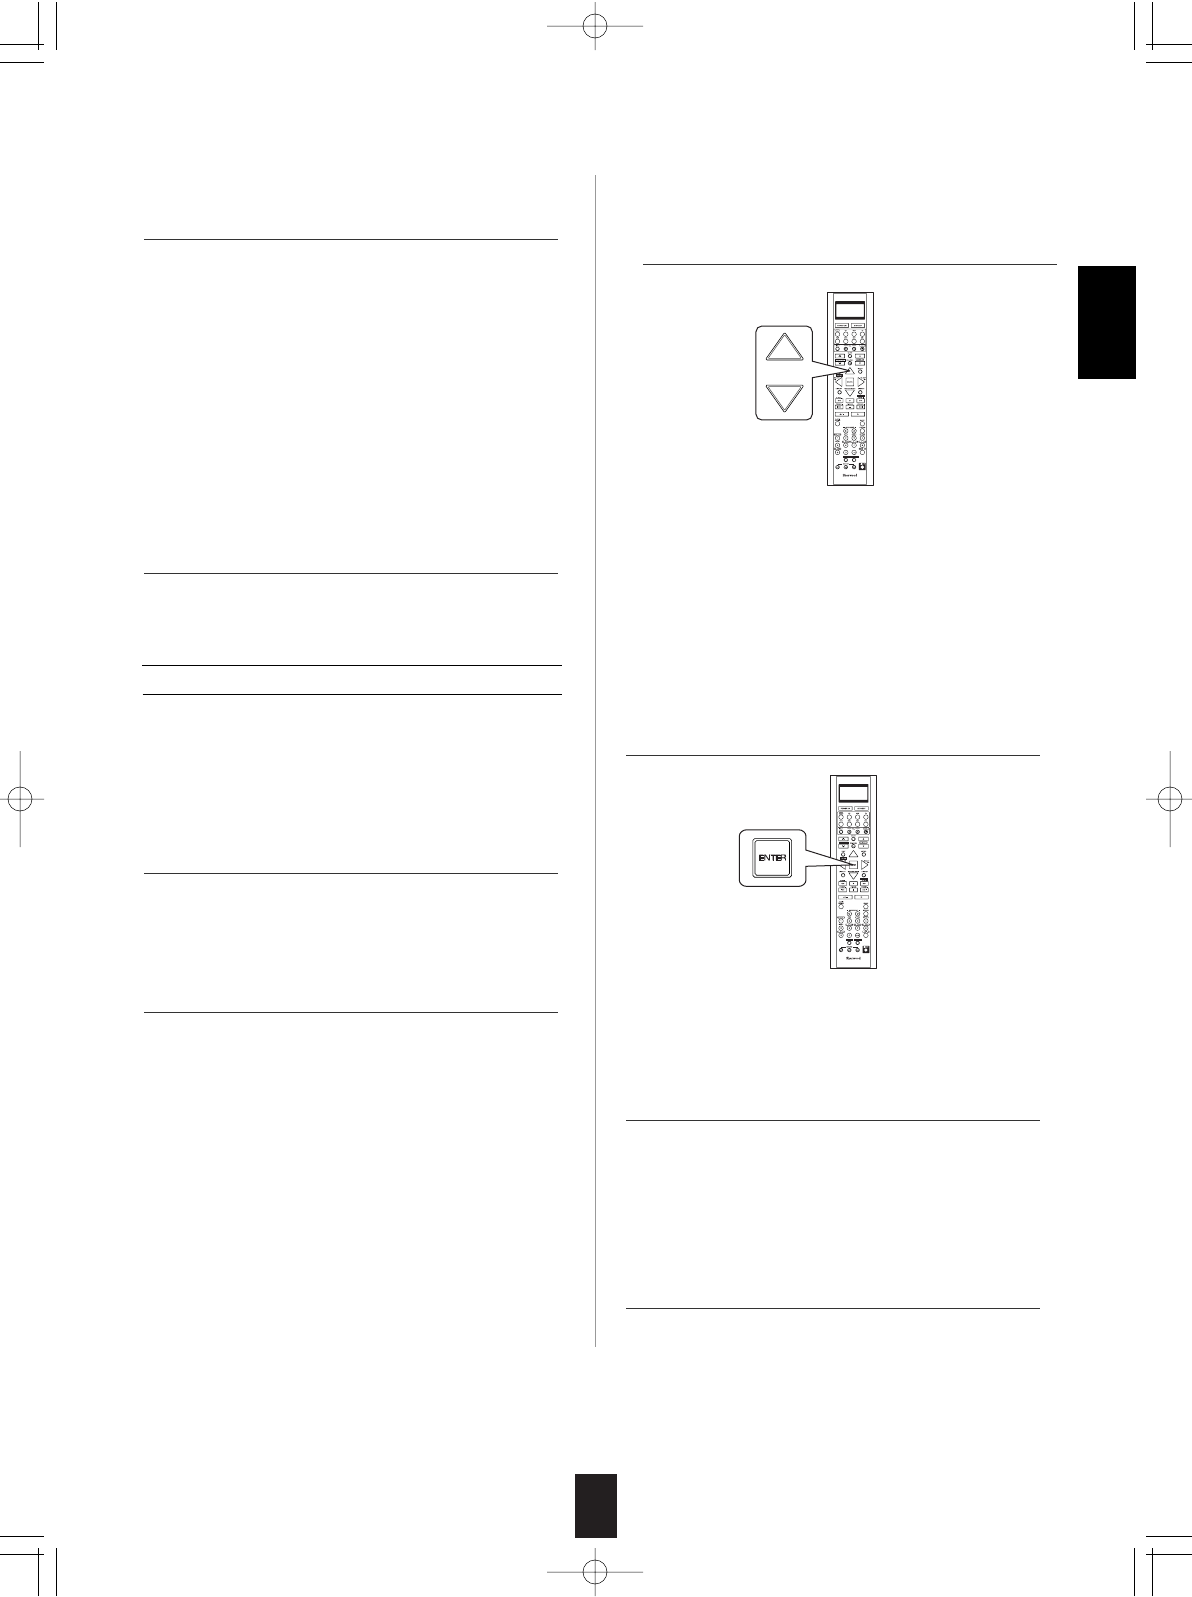
• Each time the CURSOR UP()/DOWN()
buttons are pressed, the setup code is selected
one by one.
• If the selected code is correct, your component
will be turned off.
• When your component is not turned off, repeat
this step until you find one that works.
• In addition to enter a setup code using "Setup
Code Table" on page 73, it is also possible to
search through all the codes that are stored in the
library of this remote control.
• Then "OK" is displayed on the LCD screen.
• If any of buttons fails to operate as they should,
start from the step 1 again to find the correct
setup code.
R-772(A) 2007.8.16 5:21 PM 페이지 21
ENGLISH
22
• If the command has been learned successfully,
"OK" is displayed and then "SEL" is flickering.
• If "ERROR" is displayed and then "SEL" is
flickering, it means that for some reason the
command was not learned. In this case, repeat
the above steps 4 and 5.
Notes :
• If an incorrect signal has been sent or, in some
cases, the command from other remote control
simply cannot be learned.
• In some "ERROR" cases, the remote controls just
need to be moved closer together or farther
apart.
Programing the commands from other
remote controls (LEARNING mode)
• Then "SEL" is flickering.
• If "SEL" goes off, start again from the above
step 2.
• If the setup codes are not available for your
component or you want to program a missing or
special function into one button of a device, the
learning function enables this remote control to
learn the commands from other remote controls.
• Then "READY" is displayed.
Note:
• You cannot program a function into some buttons
such as DEVICE, MACRO and LIGHT buttons.
To exit from the setting mode, press any of the
DEVICE buttons.
• Then "LEARN" is displayed on the LCD screen
for several seconds
Note :
• During setting operation, to exit from the setting
mode, press any of the DIVICE buttons.
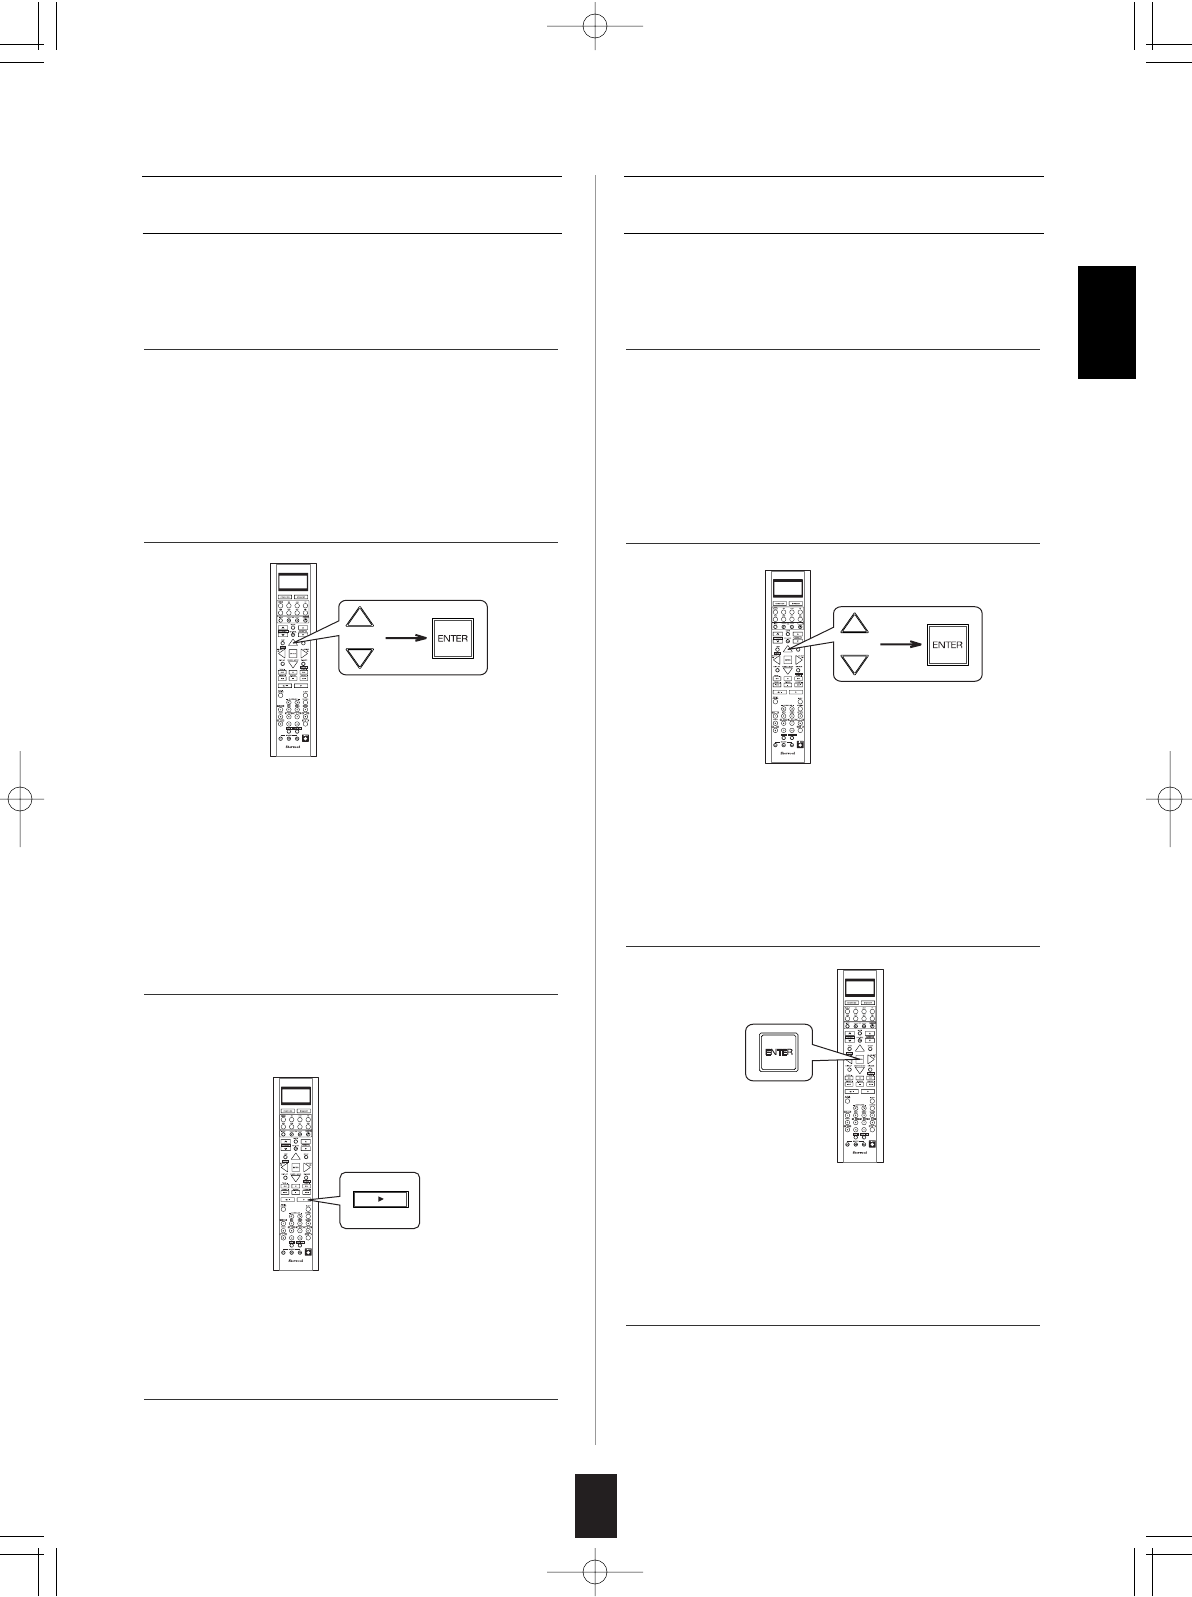
1. Place this remote control and other remote
control facing each other at a distance of 5 to 15
cm (2 to 6 inches ) apart.
2. Press and hold down the ENTER button and the
desired one of the DEVICE buttons for more
than 2 seconds.
3. While "LEARN" is displayed, press the ENTER
button.
4. While "SEL" is flickering, on this remote control,
press the button corresponding to the function to
be learned.
5. While "READY" is displayed, on the other
remote control, press the button of the function
to be learned.
8. Operate the newly programmed buttons to make
sure the learning function was performed
properly.
7. Repeat the above steps 1 to 6 to program the
commands from a different remote control.
6. While "SEL" is flickering, repeat the above steps
4 and 5 to program all the commands you want
to the buttons on this remote control under the
same device mode.
Example: If the function to be learned is playback,
press the PLAY() button.
R-772(A) 2007.8.16 5:21 PM 페이지 22
23
ENGLISH
Erasing the programmed command from
one button
• "OK" is displayed and then "SEL" is flickering.
• Then "BTTN" is displayed on the LCD screen for
several seconds.
Example: When the button for the command to be
erased is PLAY button.
• Each time the CURSOR UP()/DOWN()
buttons are pressed, "BTTN" or "LEARN"(all
command deleting mode) is selected.
• Then "SEL" is flickering.
• If "SEL" goes off, start again from the above
step 1.
1. Perform the steps 3 and 4 in "Entering a setup
code" procedure on page 20 to select the
delecting mode ("DELETE").
1. Perform the steps 3 and 4 in "Entering a setup
code" procedure on page 20 to select the
deleting mode ("DELETE").
2. While "BTTN" is displayed, press the CURSOR
UP()/DOWN() buttons to select the all
command deleting mode ("LEARN"), then press
the ENTER button.
3. While "SURE?" is displayed, press the ENTER
button.
4. To erase all the commands programmed under
other device mode, repeat the above steps 1 to
3.
2. While "BTTN" is displayed, press the CURSOR
UP()/DOWN() buttons to select the one
command deleting mode (BTTN), then press the
ENTER button.
3. While "SEL" is flickering, press the button for the
command you want to erase.
4. While "SEL" is flickering, repeat the above step
3 to erase other commands.
Erasing all the commands programmed
under a device mode
• Then all the commands programmed are erased.
• Then "BTTN" is displayed on the LCD screen for
several seconds.
• Then "SURE?" is displayed .
• If "SURE?" goes off, start again from the above
step 1
R-772(A) 2007.8.16 5:21 PM 페이지 23
ENGLISH
24
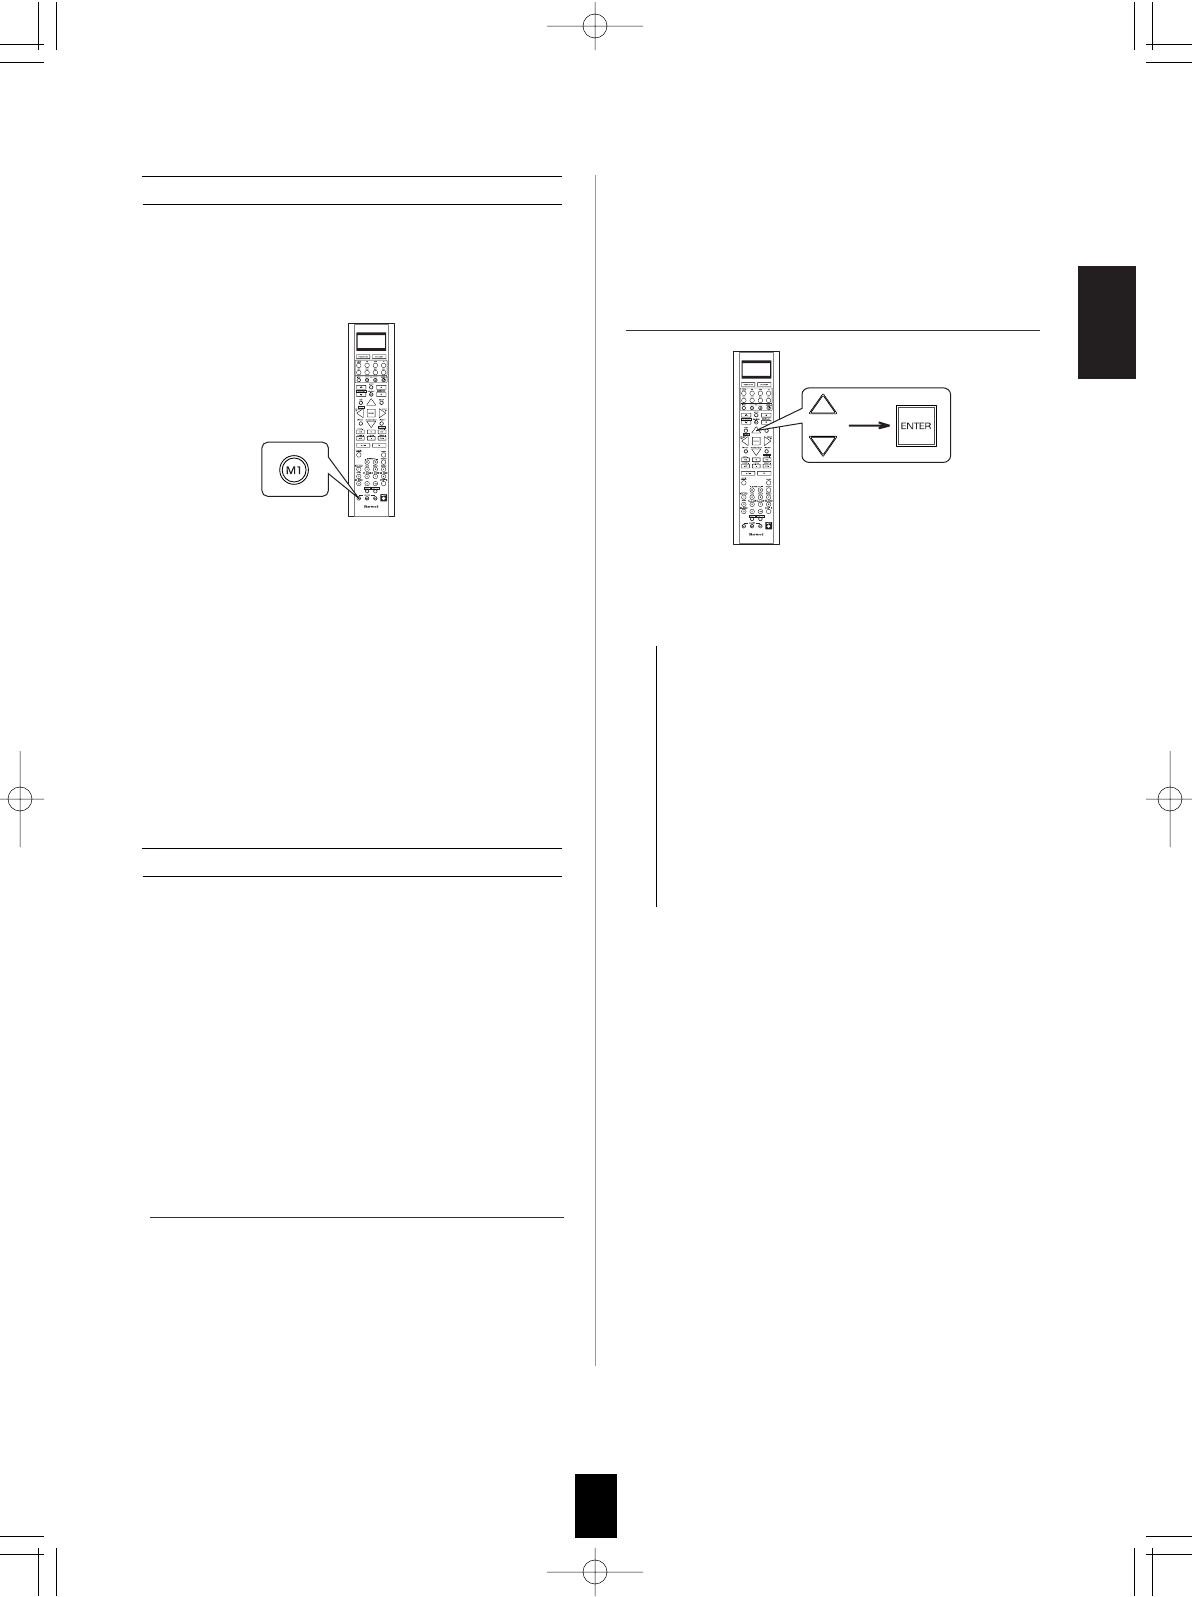
Programming a macro function
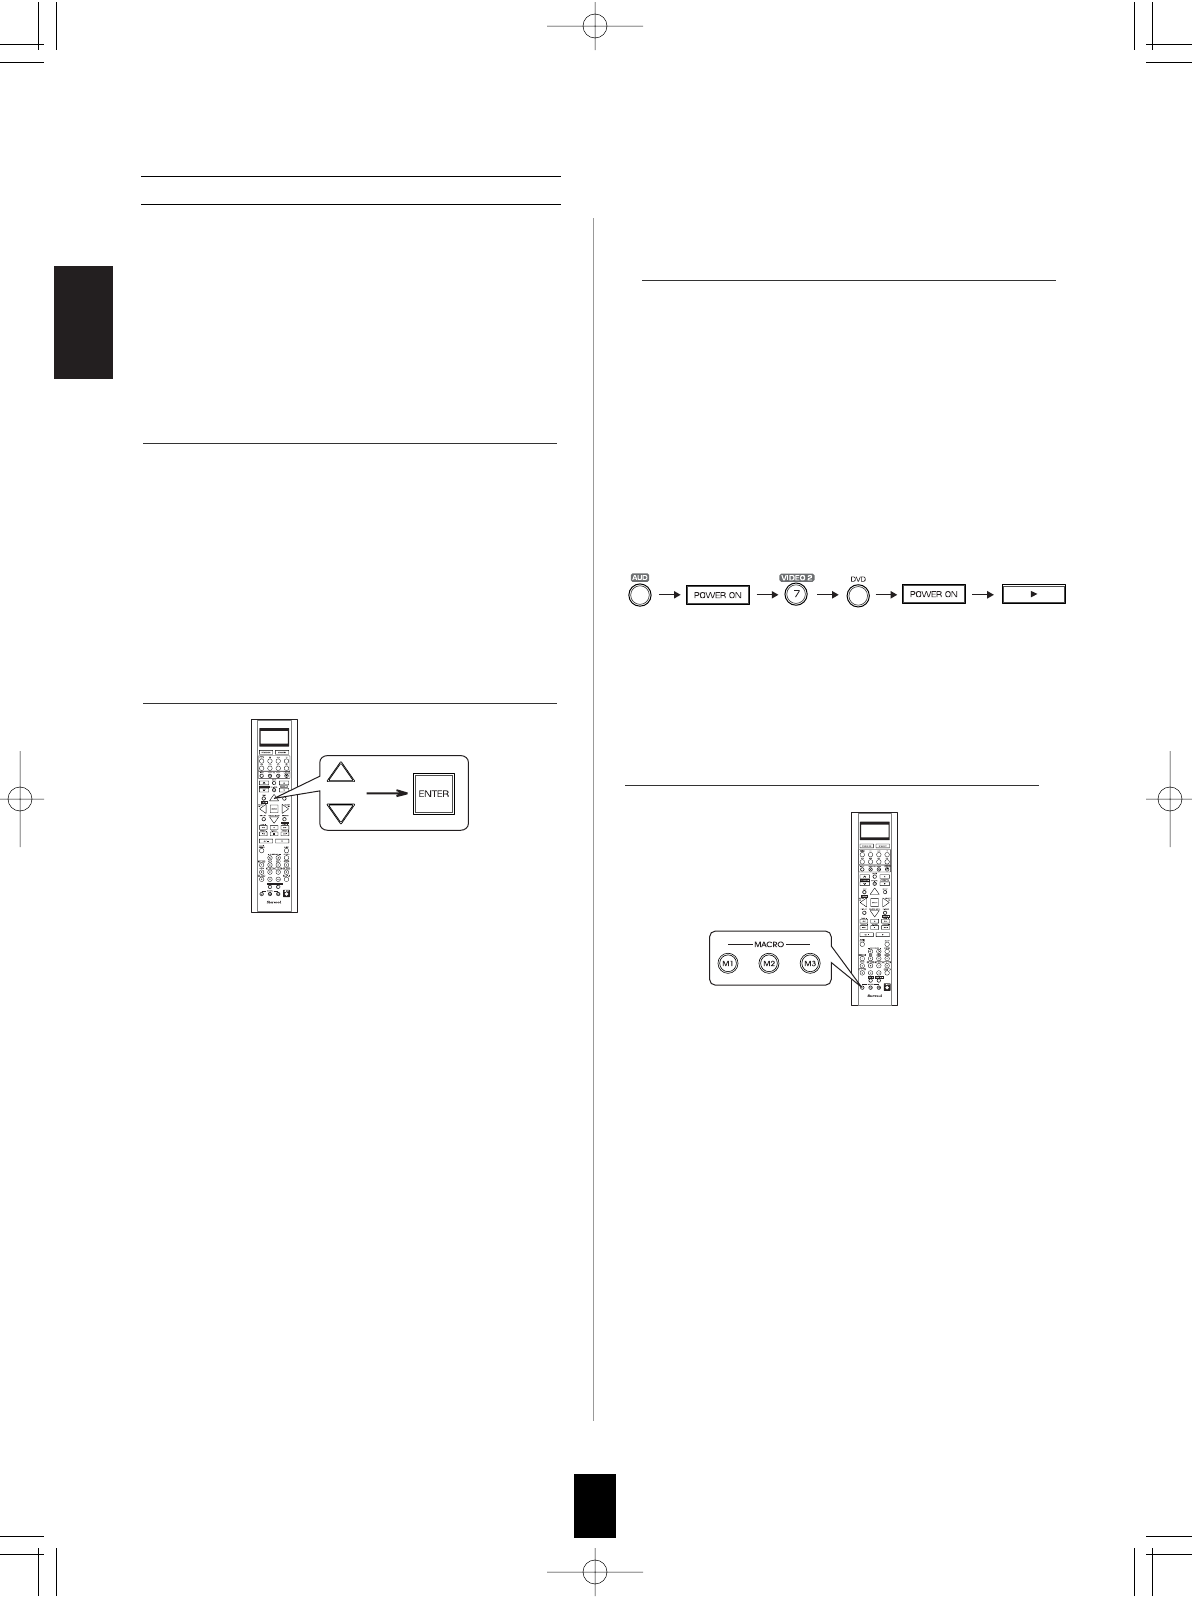
Example: When playing a DVD on the DVD player
connected to VIDEO 2 jacks of this
receiver.
. Press "AUDIO" button to control this receiver.
. Press "POWER ON" button to turn this
receiver on.
. Press "VIDEO 2(7)" button to select the
desired input source.
. Press "DVD" button to control the DVD player.
. Press "POWER ON" button to turn the DVD
player on.
. Press "PLAY ()" button to start playback.
• Each time the operation buttons are pressed, the
programmed order is displayed.
• The macro function enables you to program a
series of button operations(up to 15) on this
remote control into a single button.
• You can store up to three separate macro
command sequences into "M1", "M2" and "M3"
buttons.
• Then "M1" is displayed on the LCD screen for
several seconds.
• During macro setting operation, pressing any of
the DEVICE buttons cannot exit from the macro
mode.
• Each time the CURSOR UP()/DOWN()
buttons are pressed, "M1", "M2" or "M3" is
selected.
• Then "SEL" is flickering.
• If "SEL" goes off, start again from the above
step 1.
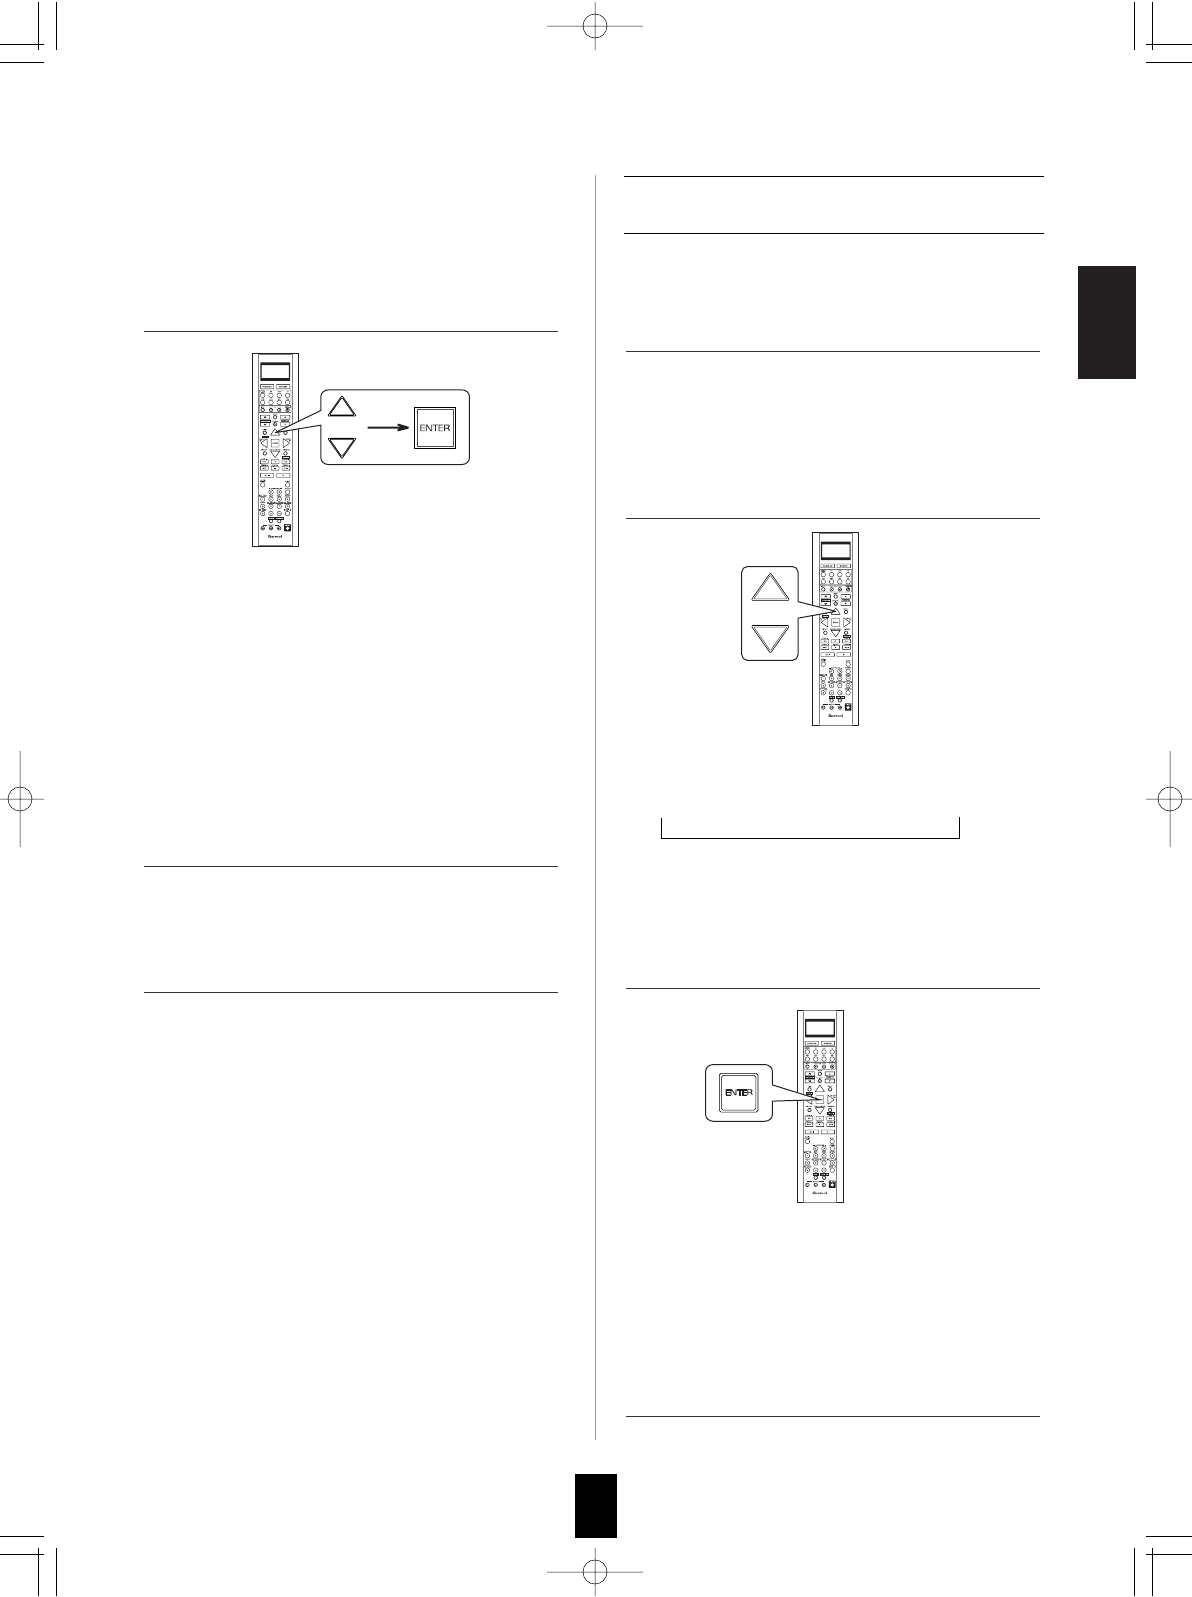
1. Perform the steps 3 and 4 in "Entering a setup
code" procedure on page 20 to select the macro
mode ("MACRO").
2. While "M1" is displayed, press the CURSOR
UP()/DOWN() buttons to select the MACRO
button to be programmed into, then press the
ENTER button.
3. While "SEL" is flickering, press the operation
buttons you want to program in order.
4. Press any of the MACRO buttons (M1~M3) to
complete the programming.
• Then "OK" is displayed.
To erase a macro program
• When erasing a macro program, perform the
above steps 1, 2 and 4, but ignore the step 3.
To change a macro program
• When a new macro program is stored into a
MACRO button with performing the above steps
1 to 4, the previous macro program is erased
from the memory of the MACRO button.
R-772(A) 2007.8.16 5:21 PM 페이지 24
ENGLISH
25
Operating a macro function
Notes:
• The codes programmed into a MACRO button will
be transmitted at an interval of 0.5 seconds.
However, some components may not be able to
complete one operation in 0.5 seconds and may
miss the next code.
In this case, the macro function cannot control the
corresponding components correctly.
• Be sure to use the remote control within the remote
control operation range of the components.
• Depending on the operation status of the
components, etc., the macro function cannot
control the corresponding components correctly.
• Aim the remote control at the REMOTE
SENSORs of the components to be controlled
and press the MACRO button you want.
Example : When pressing "M1" button.
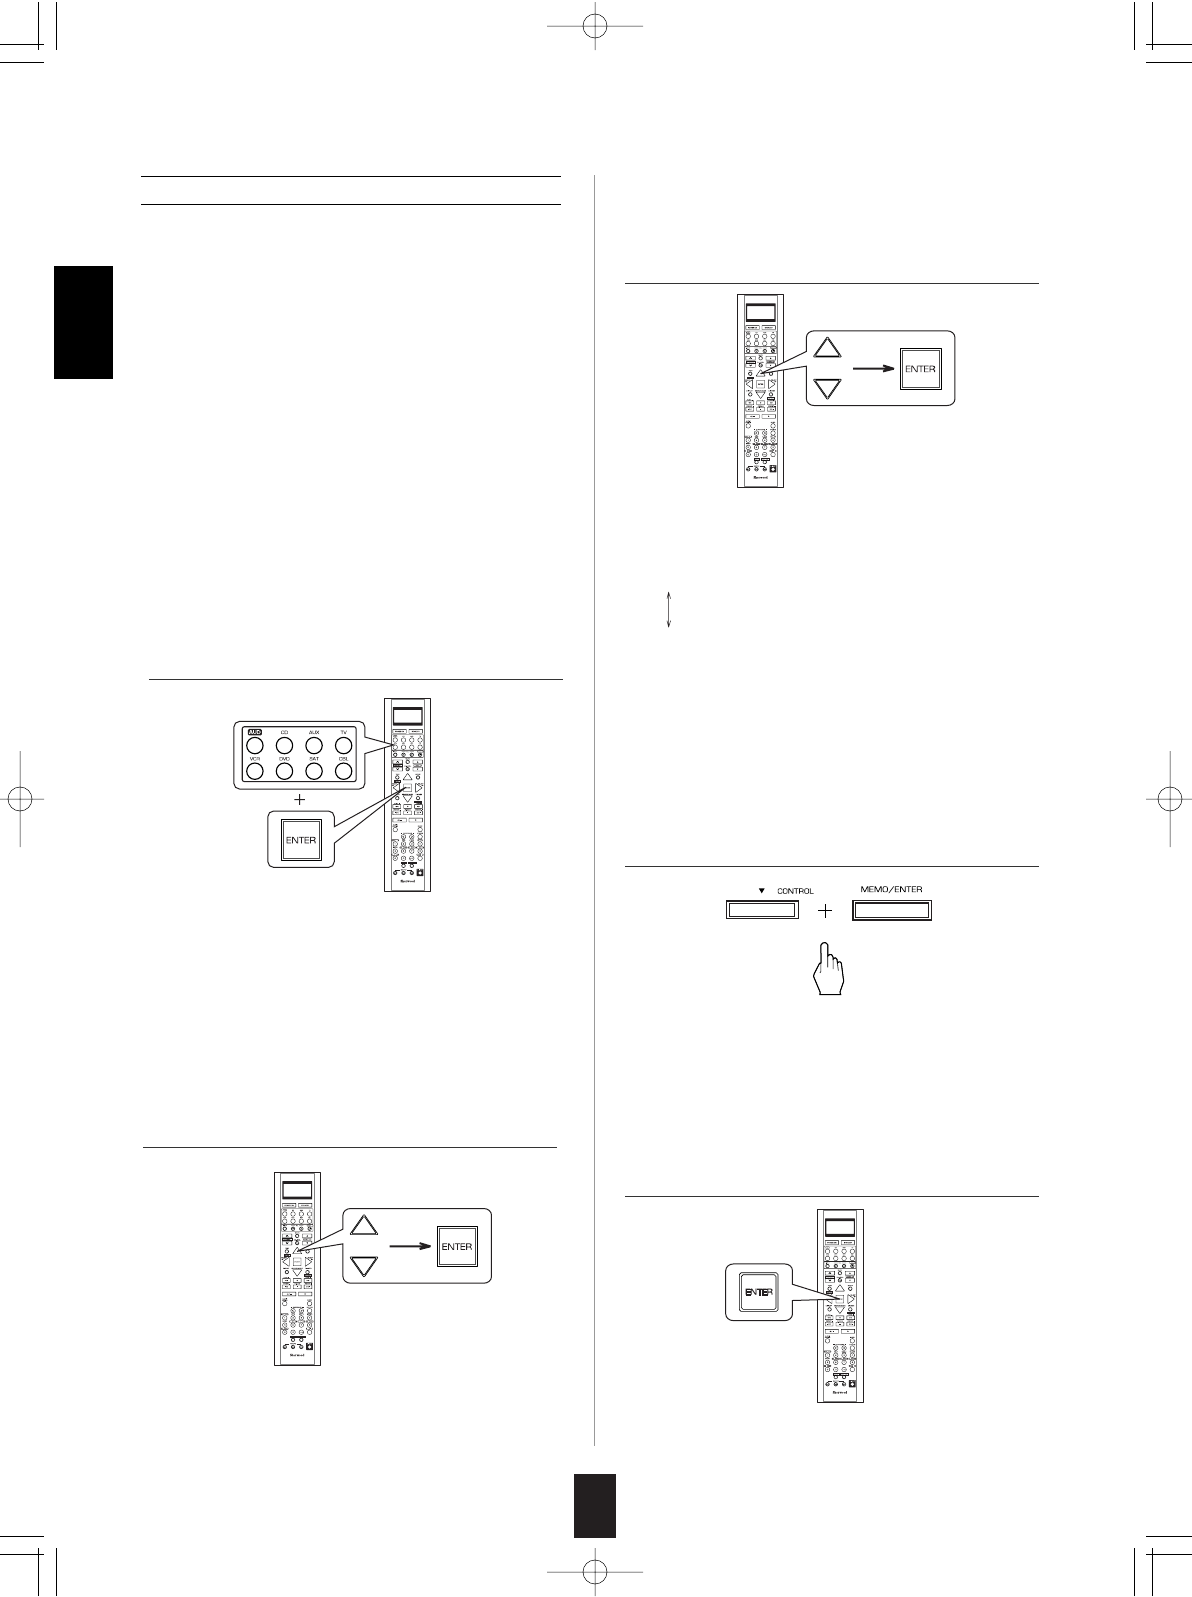
1. Perform the steps 3 and 4 in "Entering a setup
code" procedure on page 20 to select a master
device and the punch-through mode ("PUNCH").
2. While "VOL" is displayed, press the CURSOR
UP()/DOWN() buttons to select the desired
punch-through mode, then press the ENTER
button.
Programing a punch-through function
• The punch-through function allows the volume
controls, channel controls or transport controls to
link to a different device while a device is
controlled with this remote control as a master
device.
• For example, since this receiver will likely be
used as the sound system while watching TV,
you may want to use volume controls to operate
this receiver although this remote control is set to
control the TV.
• Each time the CURSOR UP()/DOWN()
buttons are pressed, the mode changes as
follows:
VOL : The volume punch -through mode
allows the "VOLUME /" and
"MUTE" buttons to operate a different
device.
DELETE : All punch-through deleting mode.
PLAY : The transport punch-through mode
allows the "", "", "", "
", "",
"
", "
" and "" buttons to
operate a different device.
CH : The channel punch-through mode
allows the "CHANNEL /" and "CH.
LEVEL" buttons to operate a different
device.
• Then the device to which you can link the
selected punch-through mode is displayed.
• Then "VOL" is displayed on the LCD screen for
several seconds.
R-772(A) 2007.8.16 5:21 PM 페이지 25

ENGLISH
26
• Each time the CURSOR UP()/DOWN()
buttons are pressed, depending on the selected
punch-through mode, punch-through devices
and the one punch-through deleting mode
("DELETE") are selected as follows :
• In case of the volume punch-through,
AUDIO DELETE TV
• In case of the transport punch-through,
CD DELETE DVD VCR AUX
• In case of the channel punch-through,
TV DELETE SAT CABLE VCR
• Then "OK" is displayed and the current punch-
through mode is displayed.
3. While the device is displayed, press the
CURSOR UP()/DOWN() buttons to select
the desired punch-through device, then press
the ENTER button.
1. Perform the steps 3 and 4 in "Entering a setup
code" procedure on page 20 to select a master
device and the punch-through mode ("PUNCH").
2. While "VOL" is displayed, press the CURSOR
UP()/DOWN() buttons to select the punch-
through mode to be erased, then press the
ENTER button.
4. While the punch-through mode is displayed,
repeat the above steps 2 and 3 to program other
punch-through function under the same master
device mode.
5. To program punch-through functions under
other master device mode, repeat the above
steps 1 to 4.
Operating a punch-through function
• While this remote control is set to control a
master device, aim the remote control at the
REMOTE SENSOR of the punch-through device
and press the desired button of the programmed
punch-through controls.
Example: When pressing "PLAY ()" button.
• Then the punch-through device is displayed on
the LCD screen.
Erasing the programmed puch-through
function
• Then "VOL" is displayed on the LCD screen for
several seconds.
• Each time the CURSOR UP()/DOWN()
buttons are pressed, the mode changes as
follows:
VOL DELETE PLAY CH
• Then the device is displayed .
Continued
R-772(A) 2007.8.16 5:21 PM 페이지 26
ENGLISH
27
3. While the device is displayed, press the
CURSOR UP()/DOWN() buttons to select
the one punch-through deleting mode
("DELETE"), then press the ENTER button.
2. While "VOL" is displayed, press the CURSOR
UP()/DOWN() buttons to select the all
punch-through deleting mode ("DELETE").
3. While "DELETE" is displayed, to erase all the
punch-through functions programmed under the
master device mode, press ENTER button.
4. To erase all the punch-through functions
programmed under other master device mode,
repeat the above steps 1 to 3.
4. While the punch-through mode is displayed,
repeat the above steps 2 and 3 to erase other
punch-through function under the same master
device mode.
5. To erase punch-through functions under other
master device mode, repeat the above steps 1
to 4.
• Each time the CURSOR UP()/DOWN()
buttons are pressed, depending on the
selected punch-through mode, the punch-
through devices and the deleting mode
("DELETE") are selected.
• Then "OK" is displayed and the current punch-
through mode is displayed .
• Then "OK" is displayed and "DELETE" is
displayed.
• To exit from the deleting mode, press any of the
DEVICE buttons.
• Each time the CURSOR UP()/DOWN()
buttons are pressed, the mode changes as
follows:
VOL DELETE PLAY CH
• Then "DELETE" is displayed .
Continued
1. Perform the steps 3 and 4 in "Entering a setup
code" procedure on page 20 to select a master
device and the punch-through mode ("PUNCH").
Erasing all the punch-through functions
programmed under a master device mode
• Then "VOL" is displayed on the LCD screen for
several seconds.
R-772(A) 2007.8.16 5:21 PM 페이지 27
28
Changing the transmission signal
• This remote control can emit not only the infrared
beams which the conventional remote control
uses but also the RF(Radio Frequency) beams
which are stronger than those.
• When you want to control this receiver from longer
distance even if there are obstacles such as walls,
furniture, etc. in the way, change the transmission
signal into "RF"(Radio Frequency).
Notes:
• When the RF remote antenna is not connected,
remote operation will become unreliable. (For
details, refer to "CONNECTING RF REMOTE
ANTENNA" on page 12.)
• If the transmission signal mode is set to "RF"
(Radio Frequency), this remote control cannot
control other audio and video components.
1. Press and hold down the ENTER button and
any of the DEVICE buttons for more than 2
seconds.
• Then "LEARN" is displayed on the LCD screen for
several seconds.
Note:
• During setting operation, to exit from the setting
mode, press any of the DEVICE buttons.
2. While "LEARN" is displayed, press the
CURSOR UP()/DOWN() buttons to select
the transmission signal mode("RF-IR"), then
press the ENTER button.
• Then "RF" (or "IR") is displayed.
• If "RF" (or "IR") goes off, start again from the
above step 1.
3. While "RF" (or "IR") is displayed, press the
CURSOR UP()/DOWN() buttons to select
the desired transmission signal, then press the
ENTER button.
4. To pair up this remote control and the receiver,
press the CONTROL DOWN() button and the
MEMORY/ENTER button simultaneously on the
receiver.
5. While "RF REMOCON PAIRING MODE" is
displayed, press the ENTER button, aiming at the
receiver.
• Each time the CURSOR UP()/DOWN()
buttons are pressed, the mode changes as
follows :
"RF" : This remote control emits the RF(Radio
Frequency) beams which stronger than the
infrared beams.
"IR" : This remote control emits the infrared
beams which the conventional remote
control uses.
• Then "OK" is displayed.
• "RF REMOCON PAIRING MODE" is displayed for
several seconds on the display of the receiver.
• If "RF REMOCON PAIRING MODE" goes off,
press these buttons again.
• Then "PAIRING SUCCESS" is displayed.
ENGLISH
When "RF" is set to.
R-772(A) 2007.8.16 5:21 PM 페이지 28
29
REMOTE CONTROL OPERATION RANGE
ROOM 2 Remote Controls
This remote control unit is an additional remote control unit for the ROOM 2 source playback only.
• You can use the ROOM 2 functions with this remote control unit more conveniently in another room than with
the universal remote control unit.
• For details on ROOM 2 operation, refer to "ROOM 2 SOURCE PLAYBACK" on page 44.
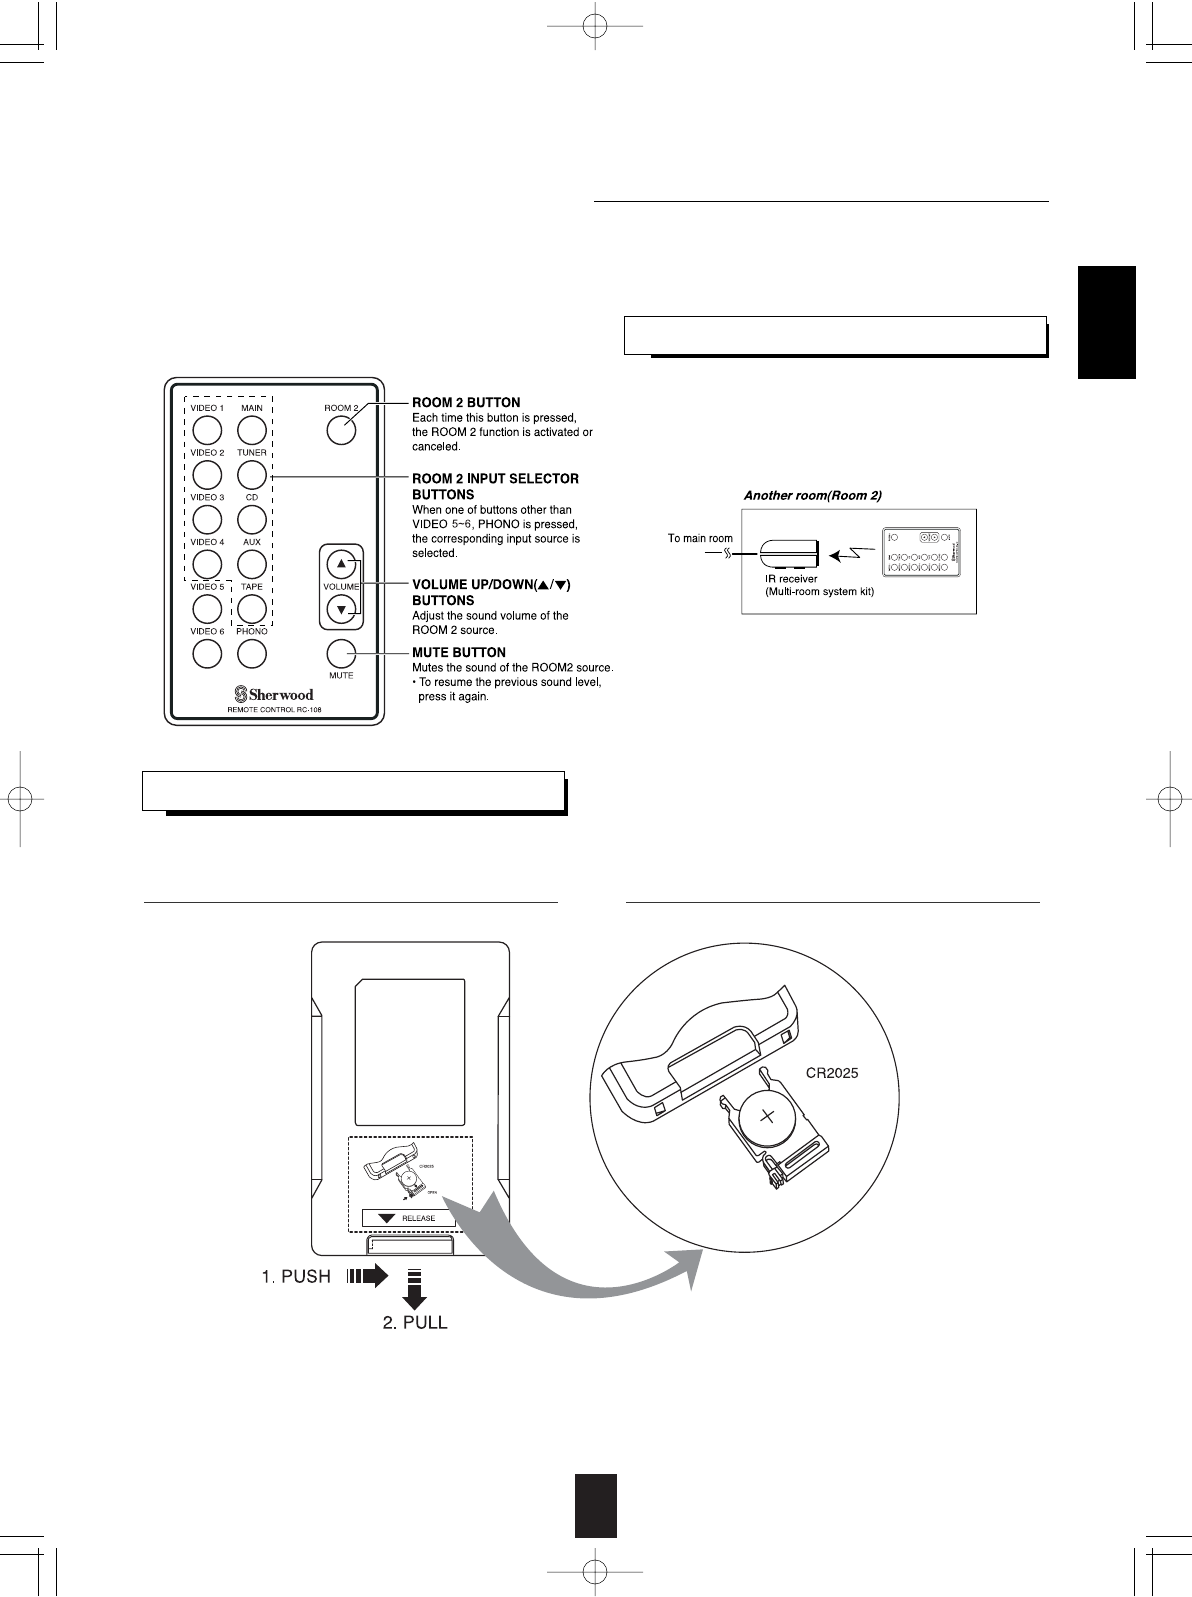
LOADING BATTERY
• Remove the battery when it is not used for a long
time.
• Aim the ROOM 2 remote control at the IR
receiver installed in another room.(For details,
refer to "CONNECTING MULTI-ROOM SYSTEM
KIT" on page 13.)
• When you operate the ROOM 2 function in the
main room, aim the ROOM 2 remote control at
the remote sensor of this receiver.
1. Remove the cover. 2. Load the battery(CR2025) matching the polarity.
ENGLISH
R-772(A) 2007.8.16 5:21 PM 페이지 29
ENGLISH
30
LISTENING TO A PROGRAM SOURCE
Operations
Before operation
• Enter the standby mode.
• The POWER ON/STANDBY button
lights up amber. This means that the
receiver is not disconnected from the
AC mains and a small amount of
current is retained to support the
operation readiness.
• To switch the power off, push the
POWER switch again.
Then the power is cut off and the
POWER ON/STANDBY button goes off.
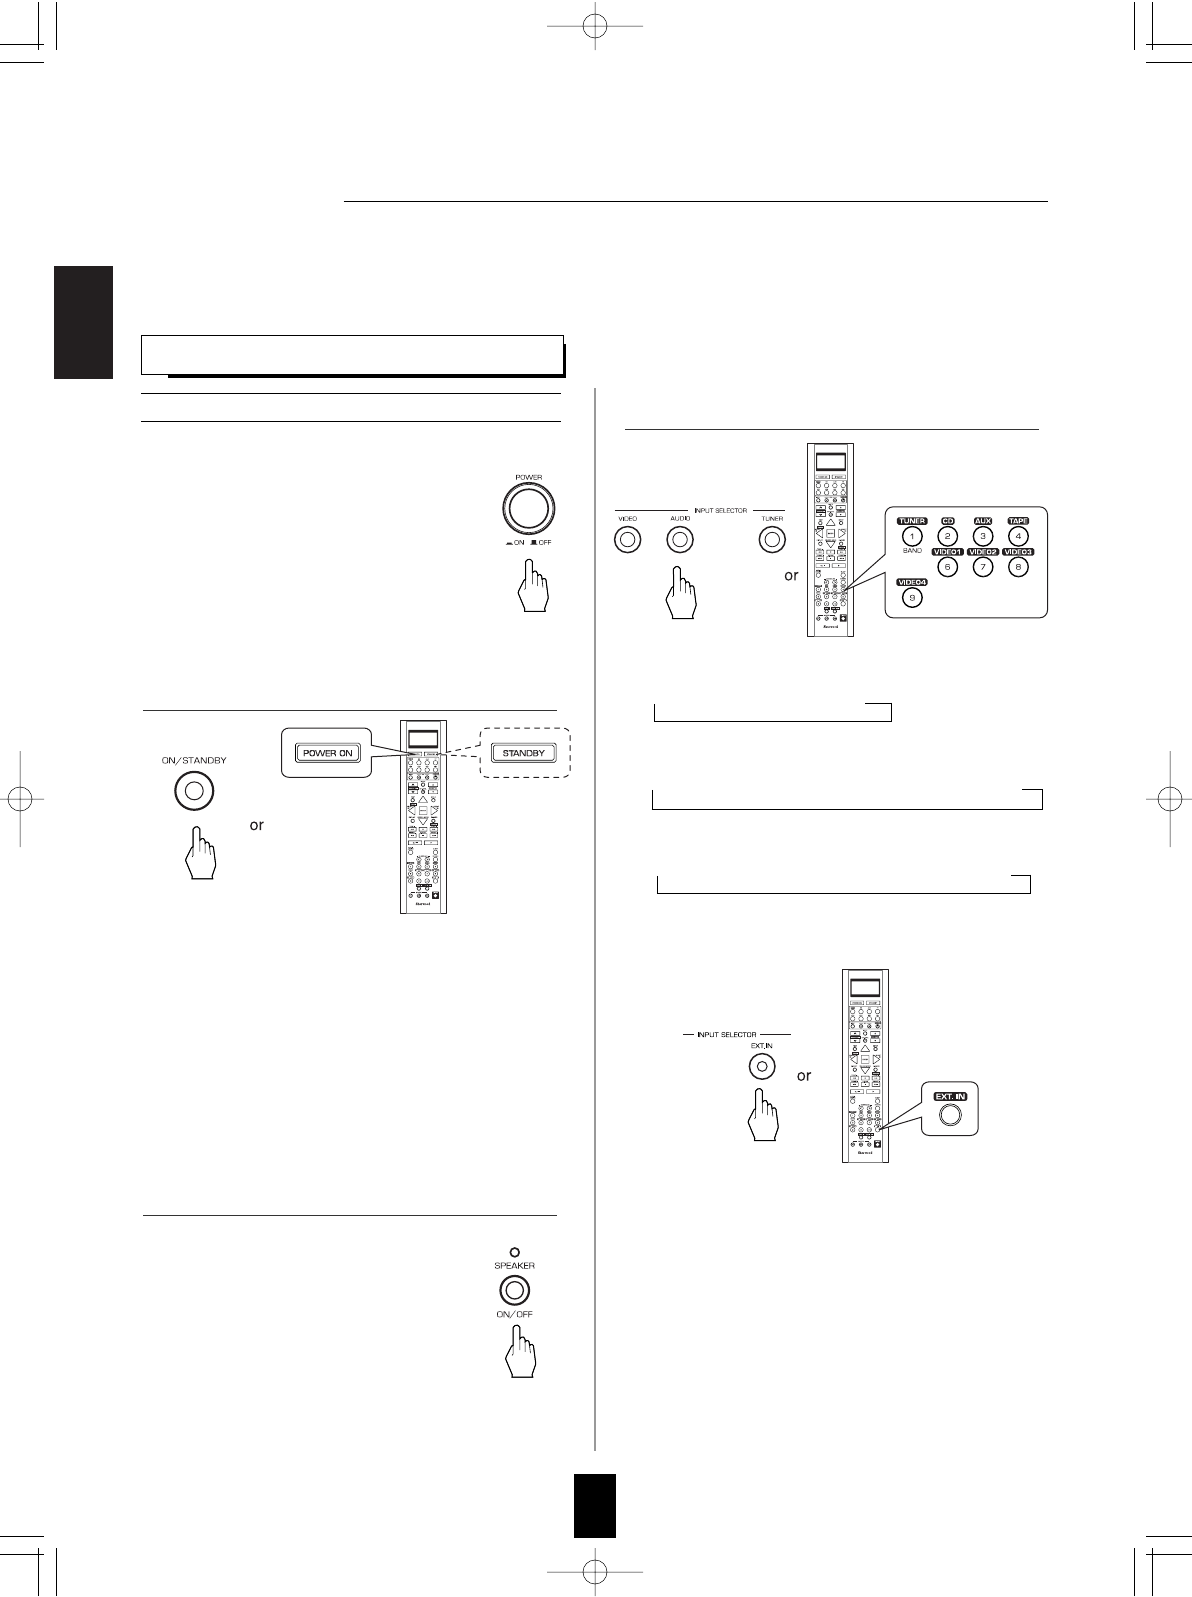
• Then the SPEAKER indicator lights up
and the sound can be heard from the
speakers connected to the speaker
terminals.
• When using the headphones for private
listening, press the SPEAKER button
again to switch the speakers off.
• Each time the "AUDIO" button on the front panel
is pressed, the input source changes as follows:
CD AUX TAPE
• Each time the "VIDEO" button on the front panel
is pressed, the input source changes as follows:
VIDEO 1VIDEO 2VIDEO 3 VIDEO 4
• Each time the "TUNER" button is pressed, the
band changes as follows:
FM STereo FM MONO AM XM
When selecting the EXTERNAL IN as desired,
• Depending on the power amplifier setting for the
surround back channels and the surround back
speaker setting, "EXT. IN" is displayed and 8(/7/6)
separate analog signals from the component
connected to this input pass through the tone and
volume circuits only and can be heard from your
speakers.
• Select the desired input source to cancel the
external in function.
• These analog signals can be heard only, not
recorded.
Notes:
• Before operating this receiver with the supplied remote control, refer to "Universal Remote Controls" on page
17 for details about operation.
• Before operating this receiver, first set this unit as desired for optimum performance, doing the OSD menu
setting procedures. (For details, refer to "OSD Menu Settings" on page 47.)
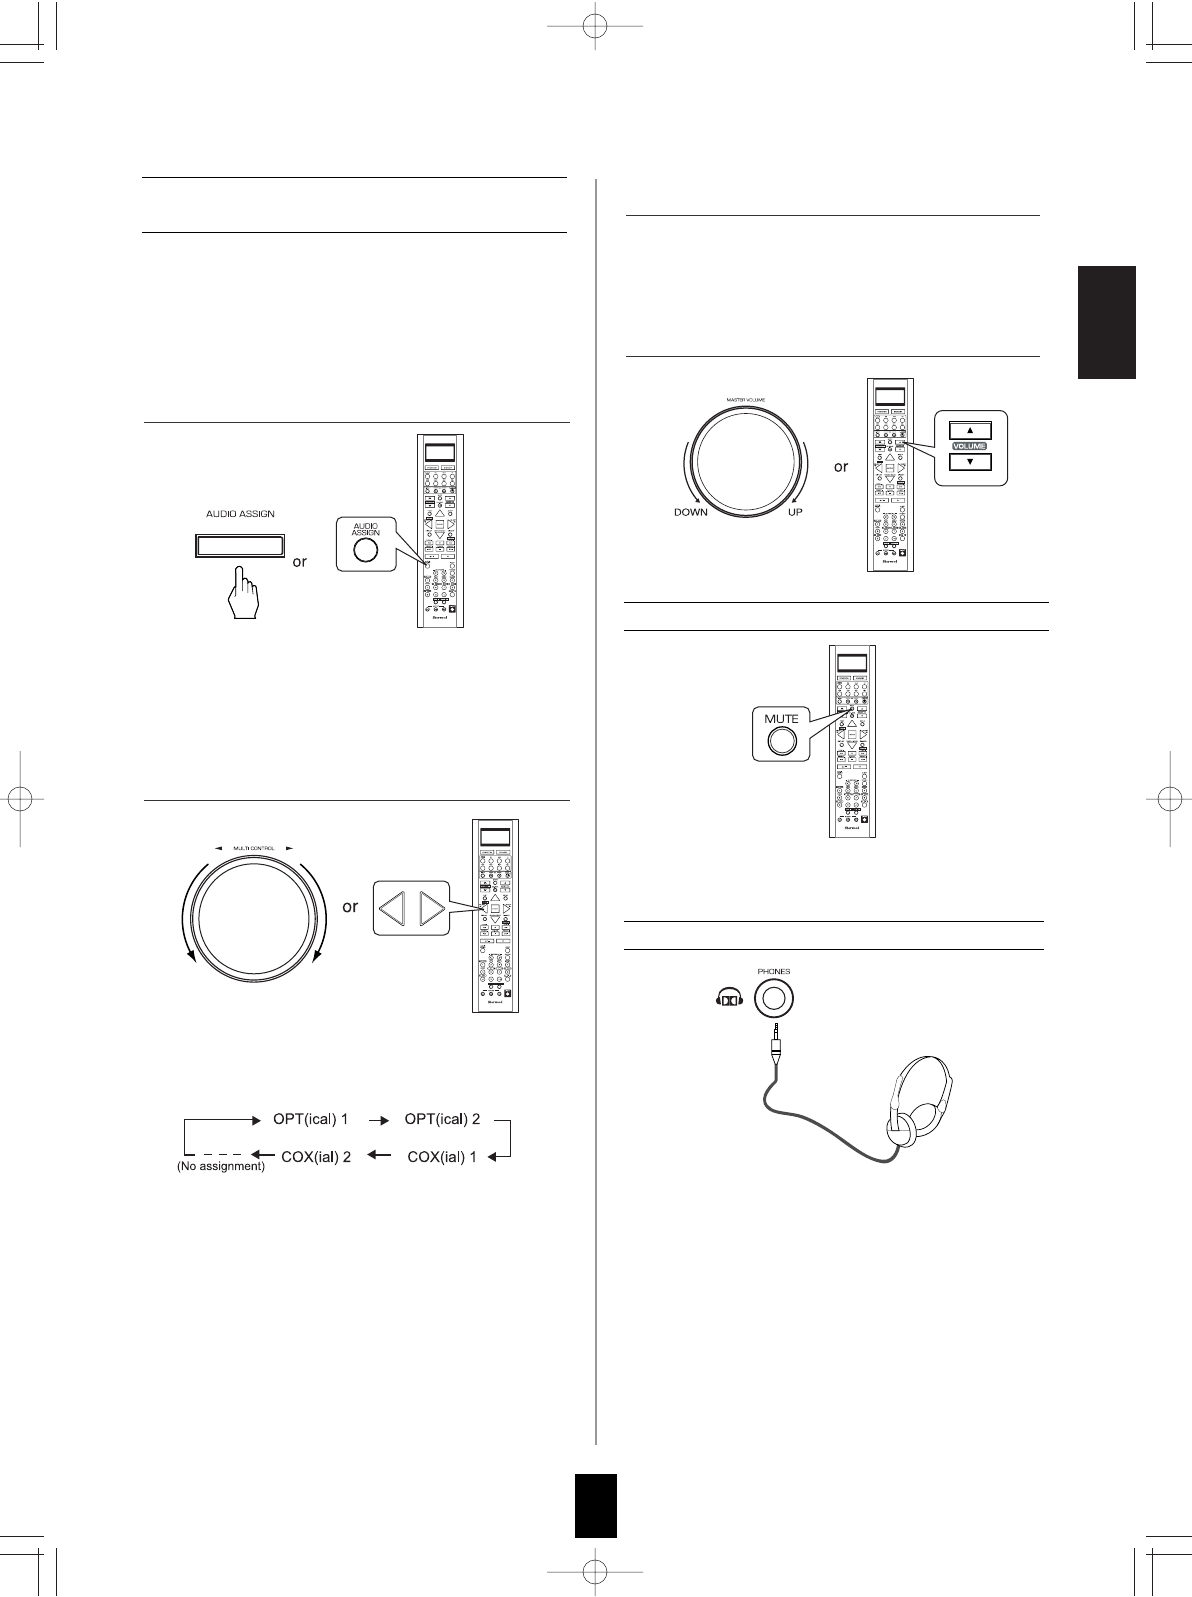
• Each time the POWER ON/STANDBY button on
the front panel is pressed, the receiver is turned on
to enter the operating mode (the POWER ON/
STANDBY button lights up blue) or off to enter the
standby mode(the POWER ON/STANDBY button
lights up amber).
• On the remote control, press the POWER ON
button to enter the operating mode or press the
STANDBY button to enter the standby mode.
• In the standby mode, if the INPUT SELECTOR
button is pressed, the receiver is turned on
automatically and the desired input is selected.
1. In the standby mode, turn the power on.
3. Select the desired input source.
2. Switch the speakers on.
R-772(A) 2007.8.16 5:21 PM 페이지 30
ENGLISH
31
• When playing back the program sources with
surround sound, refer to “ENJOYING
SURROUND SOUND” on page 34.
• If the AUDIO MODE is set to the mode other
than "DIGITAL" for the corresponding input
source on the INPUT SETUP menu, you cannot
hear the sound from the selected digital input.
(For details, refer to "SETTING THE INPUT
SETUP" on page 53.)
When CD, AUX, VIDEO 1~ 4 is selected as
an input source
■Notes:
• When the selected digital input is not connected
or assigned, "o1", "c1", etc (, meaning no digital
signal input from it) or "d"(, meaning no audio
assignment) flickers and no sound will be heard.
• The selected digital input is automatically
assigned to the corresponding input source on
the INPUT SETUP menu. (For details, refer to
"SETTING THE INPUT SETUP" on page 53.)
• The sound from the component connected to the
selected digital input can be heard regardless of
the selected input source.
• Each time the MULTI CONTOL knob is rotated or
the CURSOR LEFT(◀)/RIGHT(▶) buttons are
pressed, the corresponding input is selected as
follows :
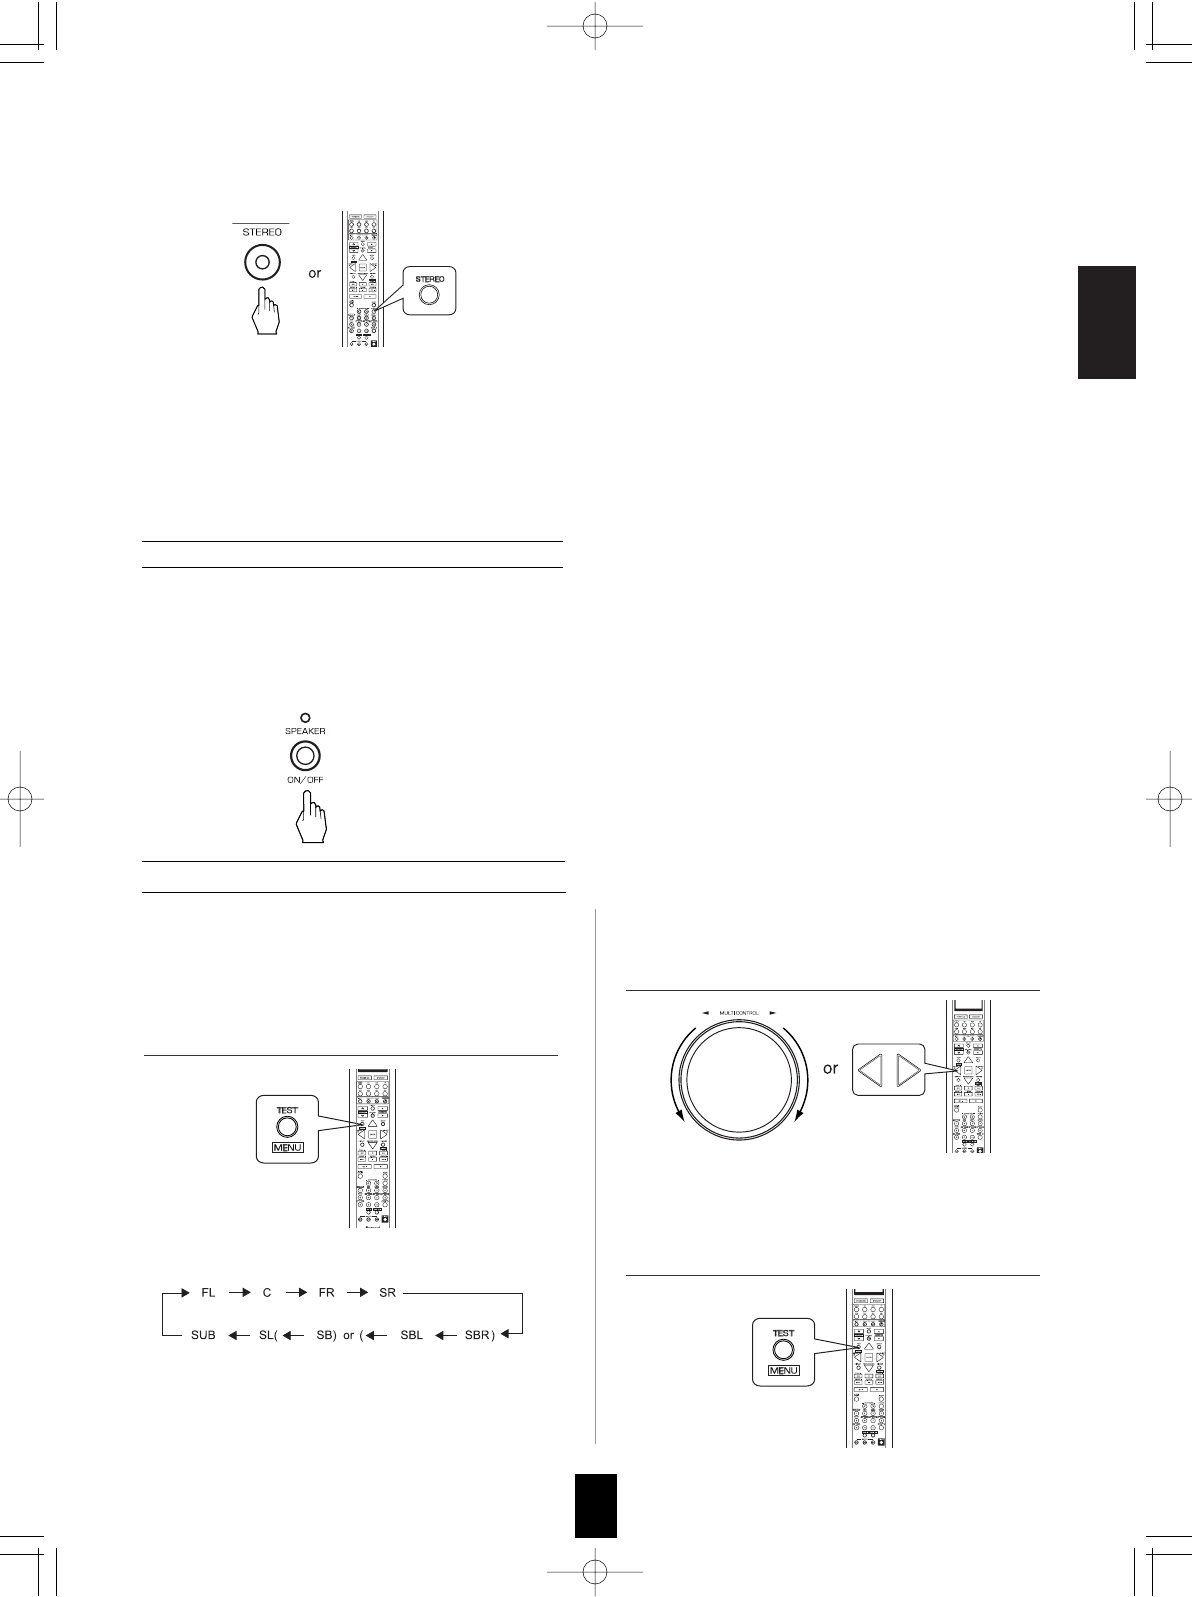
• Ensure that the SPEAKER button is set to off.
• Depending on the signal format which is being
input, you can listen in Dolby Headphone mode,
stereo mode, etc. (For details, refer to "Listening
in Dolby Headphone mode" on page 35).
• When the EXTERNAL IN is selected as an input
source, only front left and front right channel
signals can be reproduced through the
headphones.
■Note:
• Be careful not to set the volume too high when
using headphones.
Muting the sound
Listening with headphones
• "MUTE" flickers.
• To resume the previous sound level, press it again.
5. Select the desired of the digital inputs connected
while displaying "AUD ~ ".
4. Press the AUDIO ASSIGN button.
6. Operate the selected component for playback.
7. Adjust the (overall) volume.
• "AUD ~ " is displayed for several seconds.
• "AUD ~ " disappears, press the AUDIO ASSIGN
button again.
R-772(A) 2007.8.20 10:2 AM 페이지 31
ENGLISH
32
DTS Digital Surround
DTS Digital Surround(also called simply DTS) is a multi-channel
digital signal format which can handle higher data rates. Discs
bearing the “ ” include the recording of up to
5.1 channels of digital signals, which can be generally thought
to provide better sound quality due to the lower audio
compression required.
It also provides wide dynamic range and separation, resulting
in magnificent sound.
DTS - ES Extended Surround™
()
This is a new multi channel digital signal format which greatly
improves the 360- degree surround impression and space
expression thanks to further expanded surround signals,
offering high compatibility with the conventional DTS format.
In addition to the 5.1 channels, DTS-ES Extended Surround
also offers the surround back (sometimes also referred to as
“surround center”) channel for surround playback with a total
of 6.1 channels. DTS-ES Extended Surround includes two
signal formats with different surround signal recording
methods as follows:
• DTS-ES™ Discrete 6.1
Because the signals for 6.1 channels (including the surround back
channel) are fully independent, it is possible to achieve a sense
that the acoustic image are moving about freely among the
background sounds surrounding the listener from 360 degrees.
Though maximum performance is achieved when sound
tracks recorded with this system are played using a DTS -ES
decoder, when played with a conventional DTS decoder, the
surround back channel signals are automatically downmixed
to the surround left and surround right channels so that none
of the signal components are lost.
• DTS - ES™ Matrix 6.1
With this format, the additional surround back channel
signals undergo matrix encoding and are input to the
surround left and surround right channels beforehand. During
playback, they are decoded to the surround left, surround
right and surround back channels.
Because the bit stream format is 100% compatible with
conventional DTS signals, the effect of the DTS-ES Matrix 6.1
format can be achieved even with DTS 5.1- channel signal
sources. Of course, it is possible to play DTS-ES Matrix 6.1 -
channel signal sources with a DTS 5.1 - channel decoder.
When DTS-ES Discrete 6.1 or Matrix 6.1 sources are decoded
with a DTS - ES decoder, the format is automatically detected
upon decoding and the optimum surround mode is selected.
However, some DTS - ES Matrix 6.1 sources may be detected
as DTS sources. In this case, the DTS - ES Matrix mode
should be selected manually to play these sources.
DTS Neo : 6™ surround
This mode applies conventional 2-channel signals such as
digital PCM or analog stereo signals to the high precision digital
matrix decoder used for DTS-ES Matrix 6.1 to achieve 6.1-
channel surround playback. DTS Neo : 6 surround includes two
modes for selecting the optimum decoding for the signal source.
• DTS Neo : 6 Cinema
This mode is optimum for playing movies. Decoding is
performed with emphasis on separation performance to
achieve the same atmosphere with 2-channel sources as with
6.1-channel sources.
• DTS Neo : 6 Music
This mode is suited mainly for playing music. The front left
and front right signals bypass the decoder and are played
directly so there is no loss of sound quality, and the effect of
the surround signals from the center, surround left, surround
right and surround back channels adds a natural sense of
expansion to the sound field.
DTS 96/24
Conventional surround formats used sampling frequencies of
48 or 44.1 kHz, so 20 kHz was about the maximum playback
signal frequency. With DTS 96/24, the sampling frequency is
increased to 96 or 88.2 kHz to achieve a wide frequency
range of over 40 kHz. In addition, this format has a resolution
of 24 bits, resulting in the same frequency band and dynamic
range as 96kHz / 24 bit PCM signals.
As with conventional DTS surround, DTS 96/24 is compatible
with a maximum of 5.1 channels. DTS 96/24 is fully
compatible with the conventional DTS surround format, so
DTS 96/24 sources can be played using a conventional DTS
5.1 channel decoder.
"DTS" and "DTS-ES I Neo:6" are registered trademarks of
DTS, Inc. "96/24" is a trademarks of DTS, Inc.
Dolby Digital
Dolby Digital is the multi- channel digital signal format
developed by Dolby Laboratories. Discs bearing the
“ ” includes the recording of up to 5.1 channels of
digital signals, which can reproduce much better sound
quality, spatial expansion and dynamic range characteristics
than the previous Dolby Surround effect.
Dolby Digital EX
This mode creates the back (sometimes also referred to as
“surround center”) signals from the surround left and right
signals in Dolby Digital 5.1 channel source using a matrix
decoder and provides 6.1 channel surround playback. For the
best results, this mode should be selected during playback of
sources(bearing the “ ”) recorded in Dolby Digital
EX. With this additional channel, you can experience more
dynamic and realistic moving sound especially.
When Dolby Digital EX sources are decoded with a Dolby
Digital EX decoder, the format is automatically detected upon
decoding and the Dolby Digital EX mode is selected.
However, some Dolby Digital EX sources may be detected as
Dolby Digital sources. In this case, the Dolby Digital EX mode
should be selected manually to play these sources.
Surround modes
SURROUND SOUND
• This receiver incorporates a sophisticated Digital Signal Processor that allows you to create optimum sound quality and sound
atmosphere in your personal Home Theater.
R-772(A) 2007.8.16 5:21 PM 페이지 32
ENGLISH
33
Dolby Pro Logic IIx surround
Dolby Pro Logic IIx decodes all stereo (2 channel ) and 5.1
channel sources and extends to 7.1channel surround
playback. It delivers the most natural, full range and
immersing 7.1 channel listening experience. Dolby Pro Logic
IIx surround includes three modes as follows :
• Dolby Pro Logic IIx Movie
When enjoying movies, this mode allows you to further
enhance the cinematic quality by adding processing that
emphasizes the sounds of the action special effects.
• Dolby Pro Logic IIx Music
When listening to music, this mode allows you to further
enhance the sound quality by adding processing that
emphasizes the musical effects.
• Dolby Pro Logic IIx Game
When playing games, this mode allows you to further
enhance the dynamic surround effects by adding processing
that emphasizes the surrounded and exciting sound.
Dolby Pro Logic II surround
This mode applies conventional 2-channel signals such as
digital PCM or analog stereo signals as well as Dolby
Surround signals, etc. to surround processing to offer
improvements over conventional Dolby Pro Logic circuits.
Dolby Pro Logic II surround includes Dolby Pro Logic II
Movie, Dolby Pro Logic II Music and Dolby Pro Logic II
Game like Dolby Pro Logic IIx surround.
Dolby Virtual Speaker
This mode creates a virtual surround sound field using as few
as two front speakers, allowing you to experience listening
from 5.1 channel speakers.
This mode is effective not only for 5.1 channel sources but
also for stereo(2 channel) sources.
Dolby VIrtual Speaker includes two listening mode as follows:
• Dolby Virtual Speaker Reference
The width of the front sound image is defined by the actual
distance between front speakers.
• Dolby Virtual Speaker Wide
The width of the front sound image seems to extend beyond
the front speakers.
Dolby Headphone
The Dolby Headphone function simulates 5.1 channel
surround sound , which allows you to enjoy 5.1 channel
surround sound through 2 channel headphones, just like
listening from 5.1 channel speakers.
This mode is effective not only for 5.1 channel sources but
also for stereo ( 2 channel ) sources.
Manufactured under license from Dolby Laboratories.
“Dolby”, “Pro Logic” and the double-D symbol are trademarks
of Dolby Laboratories.
• The following modes apply conventional 2-channel signals
such as digital PCM or analog stereo signals to high
performance Digital Signal Processor to recreate sound
fields artificially. Select one of the 7 provided surround
modes according to the program source you want to play.
Theater
This mode provides the effect of being in a movie theater
when watching a play.
Hall
This mode provides the ambience of a concert hall for
classical music sources such as orchestral, chamber music
or an instrumental solo.
Stadium
This mode provides the expansive sound field to achieve the
true stadium effect when watching baseball or soccer games.
Room
This mode provides the sound field of a house with a low
ceiling and hard walls for jazz music.
Panorama
This mode provides a dynamic and broad sound space to
highten the overall impact of the sound track.
Classic
This mode provides the acoustic effects of a large concert
hall for classical music.
Multi CH Stereo
This mode is designed for playing background music. The
front, surround and surround back channels create a stereo
image that encompasses the entire area.
• When using the EXTERNAL INs to play back the sound from the additional multi-channel decoder for surround sound, you can
enjoy the corresponding surround sound, too.( For details, refer to the operating instructions of the component to be
connected.)
For your reference, the sound from each channel can be reproduced according to the surround modes as follows:
(*): Depending on the subwoofer setting, the sound from the subwoofer channel may be reproduced.
• Depending on the speaker settings and the number of the encoded channels, etc., the sound from the corresponding channels
cannot be reproduced.(For details, refer to "SETTING THE SPEAKER / ROOM EQ SETUP" on page 57.)
Modes Channels FRONT L/R CENTER SURROUND L/R SURROUND BACK L/R SUBWOOFER
DTS, DTS 96/24
DTS ES DISCRETE/MATRIX
DTS NEO: 6 CINEMA/MUSIC
(*)
DOLBY DIGITAL
DOLBY DIGITAL EX
DOLBY PRO LOGIC IIx MOVIE/MUSIC/GAME
DOLBY PRO LOGIC II MOVIE/MUSIC/GAME
DOLBY VIRTUAL SPEAKER
(*)
MULTI PCM
Other Surrounds
(*)
STEREO
(*)
EXTERNAL IN
R-772(A) 2007.8.16 5:21 PM 페이지 33
ENGLISH
34
ENJOYING SURROUND SOUND
• Each time this button is pressed, the mode changes as
follows :
Auto surround mode : The optimum surround mode will be
automatically selected depending on the signal
format being input.
Manual surround mode : You can select the desired of different
surround modes selectable for the signal
being input with using the MULTI
CONTROL knob or the SURROUND MODE
UP/DOWN ( ) buttons.
• Depending on surround back speaker setting, some surround modes can be selected or not as follows:
< >: Possible only when surround back speaker is not set to "NO".
[ ] : Possible only when surround back speaker is set to "NO".
( ): Possible only when surround back speaker is set to " 2CH".
* : Depending on the signal format being input, the Dolby Pro Logic IIx modes and the Dolby Virtual Speaker modes may not be selected.
Notes :
• Even when the auto surround mode is selected and the same type of digital signal format is being input, the
optimum surround mode may vary depending on whether the speaker type is set to "NO" or not.
• When the auto surround mode is selected, the surround modes other than the optimum surround mode
cannot be selected.
Notes:
• Before surround playback, first perform the speaker setup procedure, etc. on the OSD menu for optimum performance.
(For details, refer to "SETTING THE SPEAKER/ROOM EQ SETUP" on page 57.)
• When playing digital signals from the Dolby Digital program source or selecting the surround mode such as Dolby Pro Logic II
/Dolby Pro Logic IIx Music, Dolby Headphone, Dolby Virtual Speaker modes, you can adjust their parameters for optimum
surround effect. (For details, refer to "SETTING THE SOUND PARAMETER" on page 66.)
• When the EXTERNAL IN is selected as an input source, the surround modes cannot be selected.
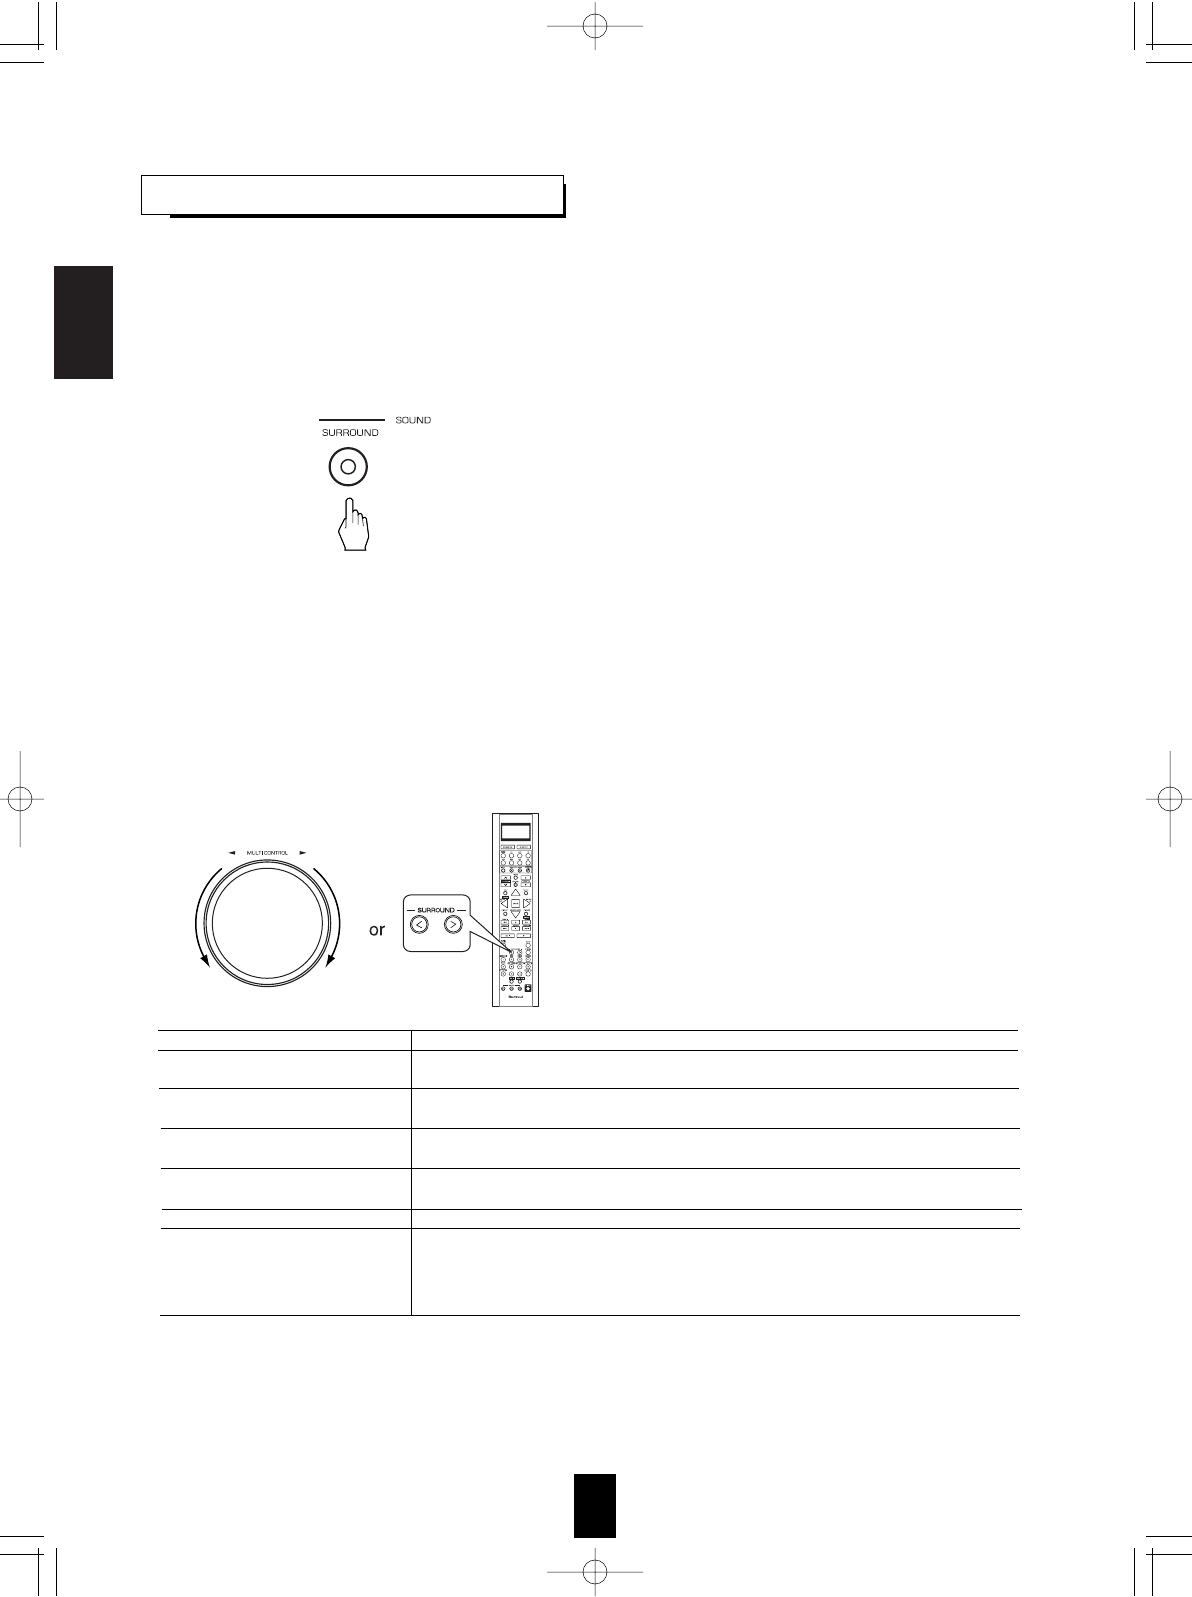
Depending on how to select a surround mode, select the auto surround mode or the manual surround mode.
("AUTO" lights up.)
("AUTO" goes off.)
When selecting the manual surround mode with pressing the SURROUND MODE button on the front panel.
Select the desired surround mode.
• Each time the MULTI CONTROL knob is rotated or
the SURROUND MODE UP / DOWN ( >/< ) buttons
are pressed, the surround mode changes depending
on the input signal format as follows :
Signal format being input
Dolby Digital EX 6.1 channel sources,
Dolby Digital 5.1 channel sources
Dolby Digital 2 channel sources
DTS ES Discrete/Matrix 6.1 channel
sources
DTS sources,
DTS 96/24 sources
PCM (multi-channel) sources*
96 kHz PCM (2 channel) sources
PCM (2 channel) sources,
Analog stereo sources
Selectable surround mode
<DOLBY DIGITAL EX, DOLBY D + PLIIx MUSIC>, (DOLBY D + PLIIx MOVIE),
DOLBY DIGITAL, DOLBY VS REF, DOLBY VS WIDE
<DOLBY PLIIx MOVIE, DOLBY PLIIx MUSIC, DOLBY PLIIx GAME>, [DOLBY PLII MOVIE,
DOLBY PLII MUSIC, DOLBY PLII GAME], DOLBY VS REF, DOLBY VS WIDE
<corresponding DTS ES mode, DTS + PLIIx MUSIC>, (DTS + PLIIx MOVIE), DTS,
DOLBY VS REF, DOLBY VS WIDE
correnponding DTS mode, DOLBY VS REF, DOLBY VS WIDE, <DTS + NEO:6, DTS + PLIIx
MUSIC>, (DTS + PLIIx MOVIE)
MULTI PCM, <DOLBY PLIIx MOVIE, DOLBY PLIIx MUSIC>, DOLBY VS REF, DOLBY VS WIDE
<DOLBY PLIIx MOVIE, DOLBY PLIIx MUSIC, DOLBY PLIIx GAME>, [DOLBY PLII MOVIE,
DOLBY PLII MUSIC, DOLBY PLII GAME], DOLBY VS REF, DOLBY VS WIDE,
NEO:6 CINEMA, NEO:6 MUSIC, THEATER, HALL, STADIUM, ROOM, PANORAMA, CLASSIC,
MULTI CH STEREO
R-772(A) 2007.8.16 5:21 PM 페이지 34
ENGLISH
35
Continued
To cancel the surround mode for stereo operation
• Depending on the signal format which is being input, either the stereo
mode or the 2CH downmix mode is selected.
• To cancel either the stereo mode or the 2CH downmix mode, select
the surround mode with using the MULTI CONTROL knob on the
front panel or the SURROUND MODE UP/DOWN ( >/< ) buttons on
the remote control.
2CH downmix mode
• This mode allows the multi-channel signals encoded in DTS or Dolby Digital format, etc. to be mixed down into
2 front channels and to be reproduced through only two front speakers or through headphones.
• When the SPEAKER button is set to off to listen with headphones, if the STEREO button is pressed while
playing the multi-channel digital signals from DTS or Dolby Digital sources, etc., it will enter the 2CH downmix
mode automatically.
• To cancel the 2CH downmix mode, select the Dolby Headphone mode with using the MULTI CONTROL knob
on the front panel or the SURROUND MODE UP/DOWN ( >/< ) buttons on the remote control.
• The Dolby Headphone function simulates 5.1 channel surround sound, which allows you to enjoy 5.1 channel
surround sound through 2 channel headphones, just like listening from 5.1 channel speakers.
Note :
• Only when the SPEAKER button is set to off, the Dolby Headphone mode can be selected.
• Switch the speakers off to listen with headphones.
Listening in Dolby Headphone mode
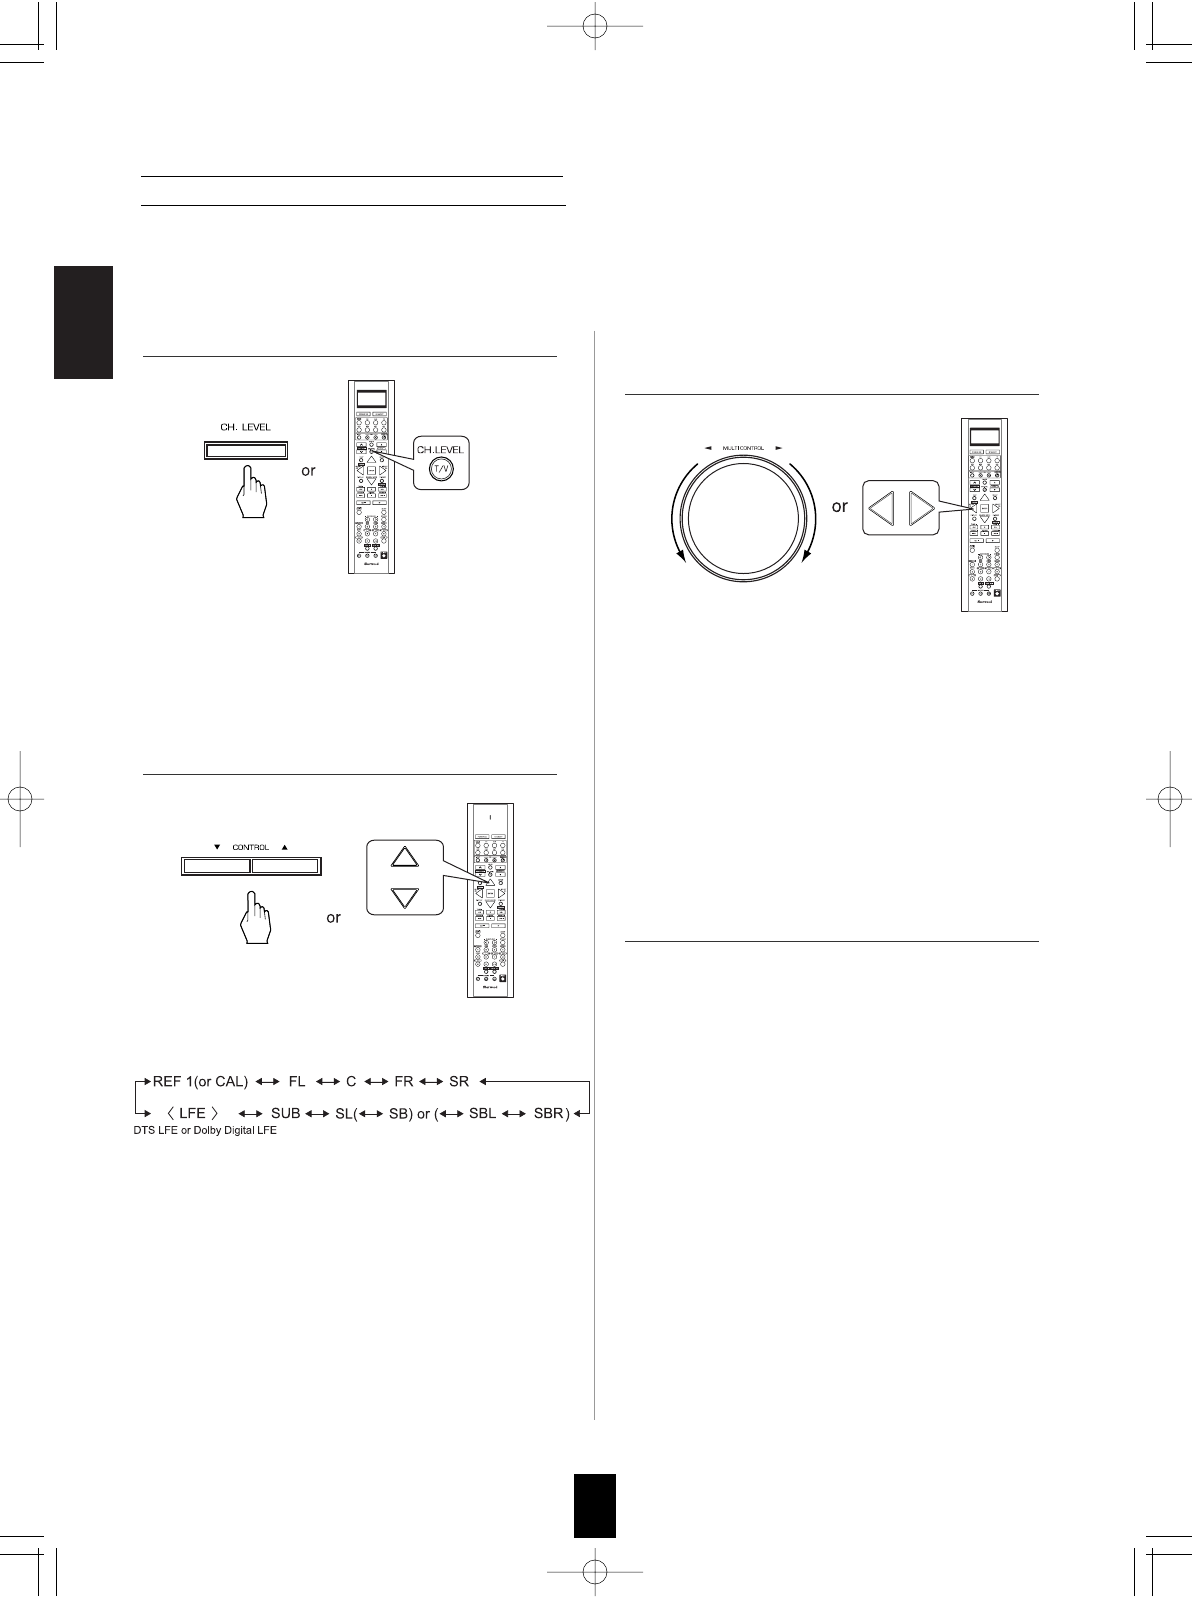
• The volume level of each channel can be
adjusted easily with the test tone function.
Note : When the SPEAKER button is set to off,
the test tone function does not work.
Adjusting each channel level with test tone
• The test tone will be heard from the speaker of
each channel for 2 seconds as follows:
Front Left Center Front Right Surround Right
Subwoofer Surround Left Surround Back Surr.Back Left Surr.Back Right
•When the speaker setting is "NO", the test tone of the
corresponding channel is not available.
• ( ) : Possible depending on whether the surround
back channel is set to "2 CH" or "1 CH".
• You can select the desired channel with pressing
the CONTROL UP/DOWN () buttons or the
CURSOR UP/DOWN () buttons.
1. Enter the test tone mode.
3. Cancel the test tone function.
2. At each channel, adjust the level as desired until
the sound level of each speaker is heard to be
equally loud.
• Then "DOLBY HEADPHONE" (or "DOLBY H ~ ") is displayed and
the Dolby Headphone mode is selected.
• To cancel the Dolby Headphone mode, press the SPEAKER
button again.
R-772(A) 2007.8.16 5:21 PM 페이지 35
ENGLISH
36
Adjusting the current channel level
• Each time these buttons are pressed, the
corresponding channel is selected as follows:
( ): Possible depending on whether the surround back channel is
set to "2 CH" or "1 CH".
< >: Possible only when the digital signals from Dolby Digital or
DTS program sources that include LFE signal are input.
• Depending on the speaker settings("NO", etc.)
and surround mode, etc., some channels cannot
be selected.
• When the SPEAKER button is set to off, only the
Front Left, Front Right (and LFE) channels can
be selected.
• After adjusting each channel level with test tone, adjust the channel levels either according to the program
sources or to suit your tastes.
• You can adjust the current channel levels as desired. These adjusted levels are just memorized into user’s
memory ("CAL"), not into preset memory("REF 1", "REF 2").
• The LFE level can be adjusted within the range of
-10~0 dB and other channel levels within the
range of -15~+15 dB.
• In general, we recommend the LFE level to be
adjusted to 0 dB.(However, the recommended
LFE level for some early DTS software is -10 dB.)
If the recommended levels seem too high, lower
the setting as necessary.
• Then the memory mode ("CAL" or "REF 1") is
displayed for several seconds.
• When the memory mode or channel level
disappears, press this button again.
1. Press the CHANNEL LEVEL button. 3. Adjust the level of the selected channel as
desired.
4. Repeat the above steps and 3 to adjust each
channel level.
2. Select the desired channel.
R-772(A) 2007.8.16 5:21 PM 페이지 36
ENGLISH
37
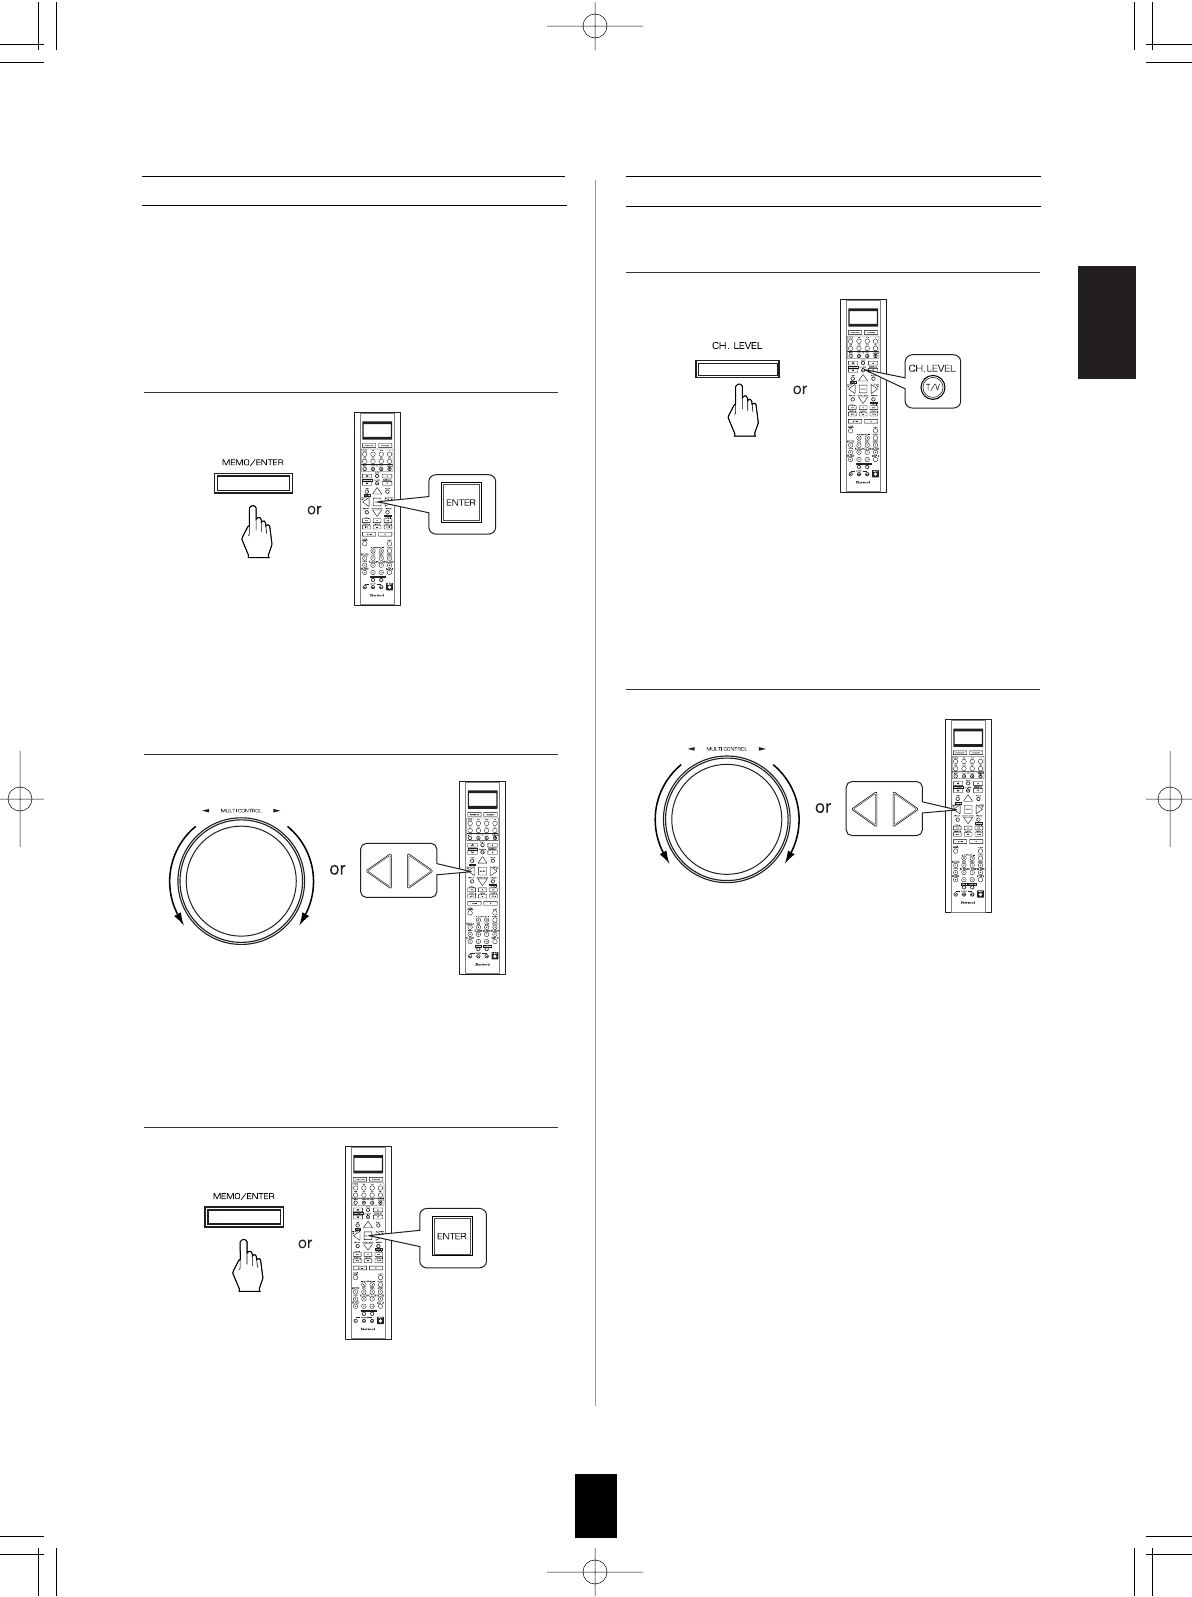
Memorizing the adjusted channel levels
• The "1" of "REF 1" indication flickers for several
seconds.
• You can memorize the adjusted channel levels into
preset memory("REF 1", "REF 2") and recall the
memorized whenever you want.
• The adjusted channel levels have now been
memorized into the selected memory.
Recalling the memorized channel levels
• "REF 1" (or "CAL") is displayed for several
seconds.
• If the channel level mode display disappears,
press this button again.
• Then the channel levels memorized into the
selected preset memory are recalled.
• If the preset memory disappears, perform the
above step 1 again.
1. After performing the steps 1 ~ 4 in "Adjusting the
current channel level" procedure on page 36,
press the (MEMORY/) ENTER button.
2. Select the desired one of REF 1 and REF 2.
2. Select the desired one of REF 1 and REF 2.
3. Confirm your selection.
1. Press the CHANNEL LEVEL button.
R-772(A) 2007.8.16 5:21 PM 페이지 37
ENGLISH
38
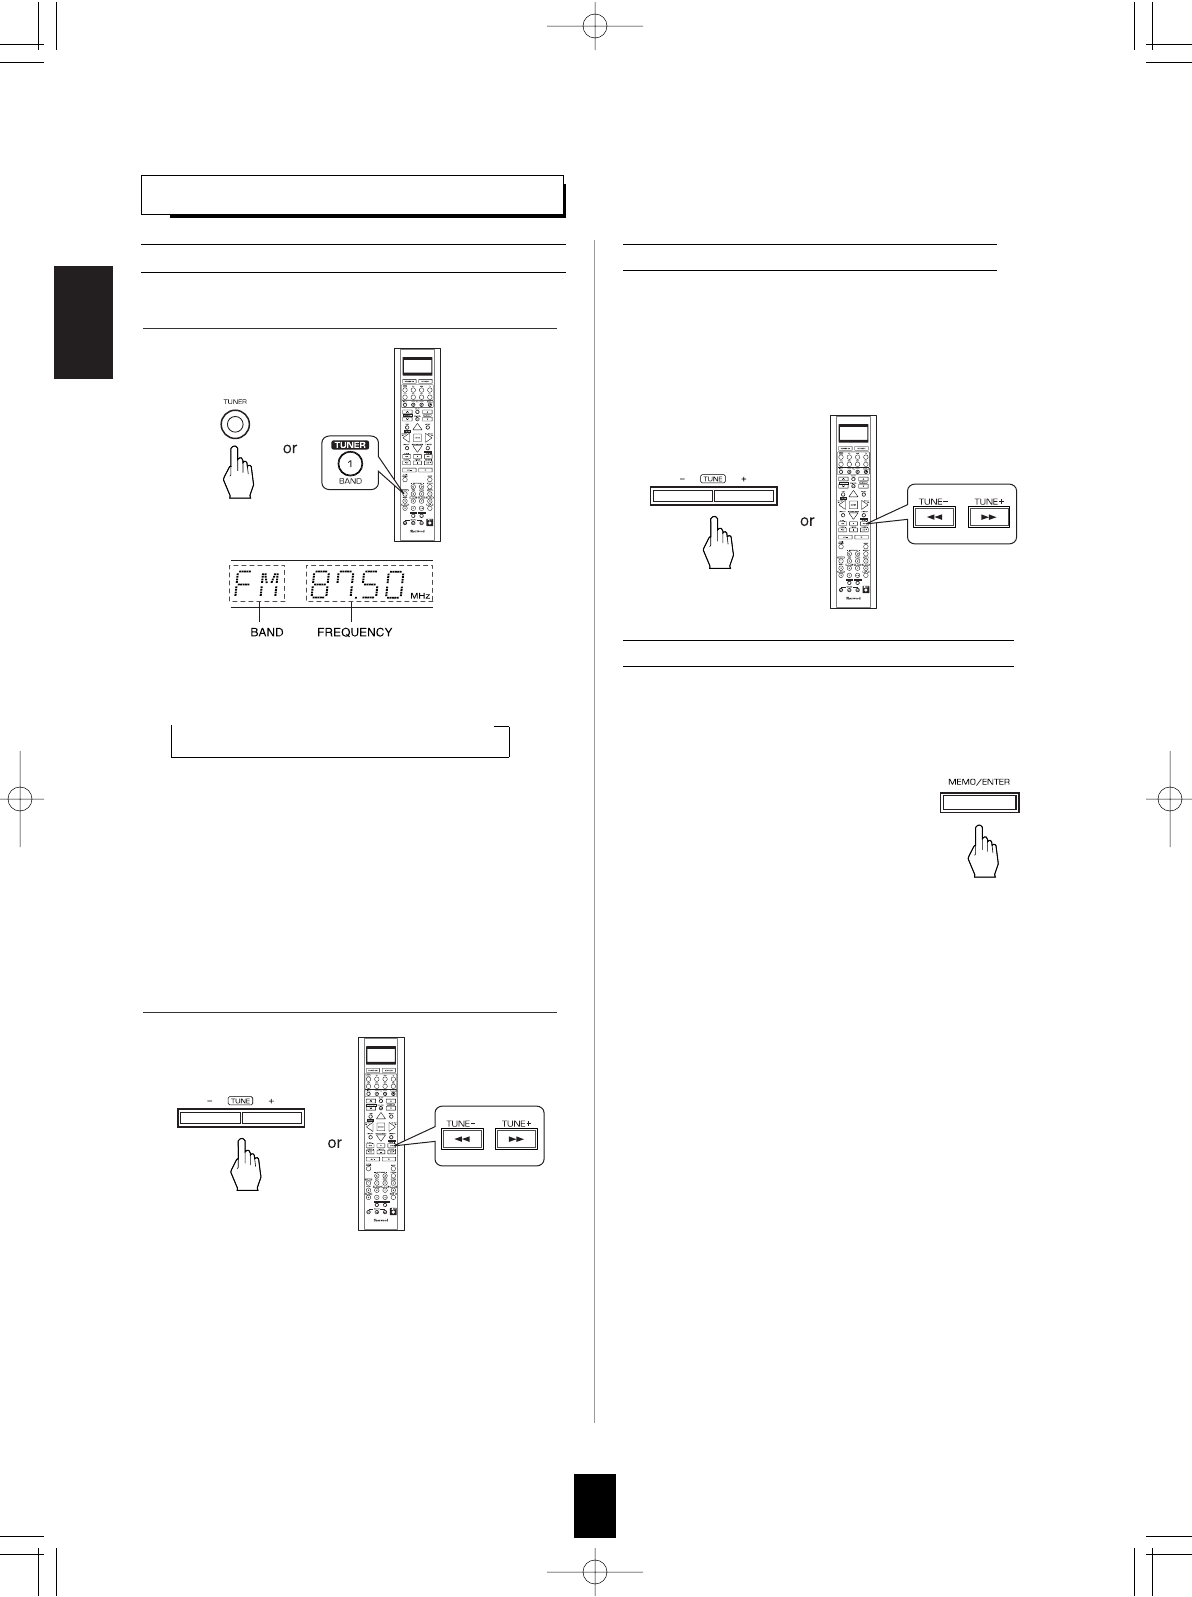
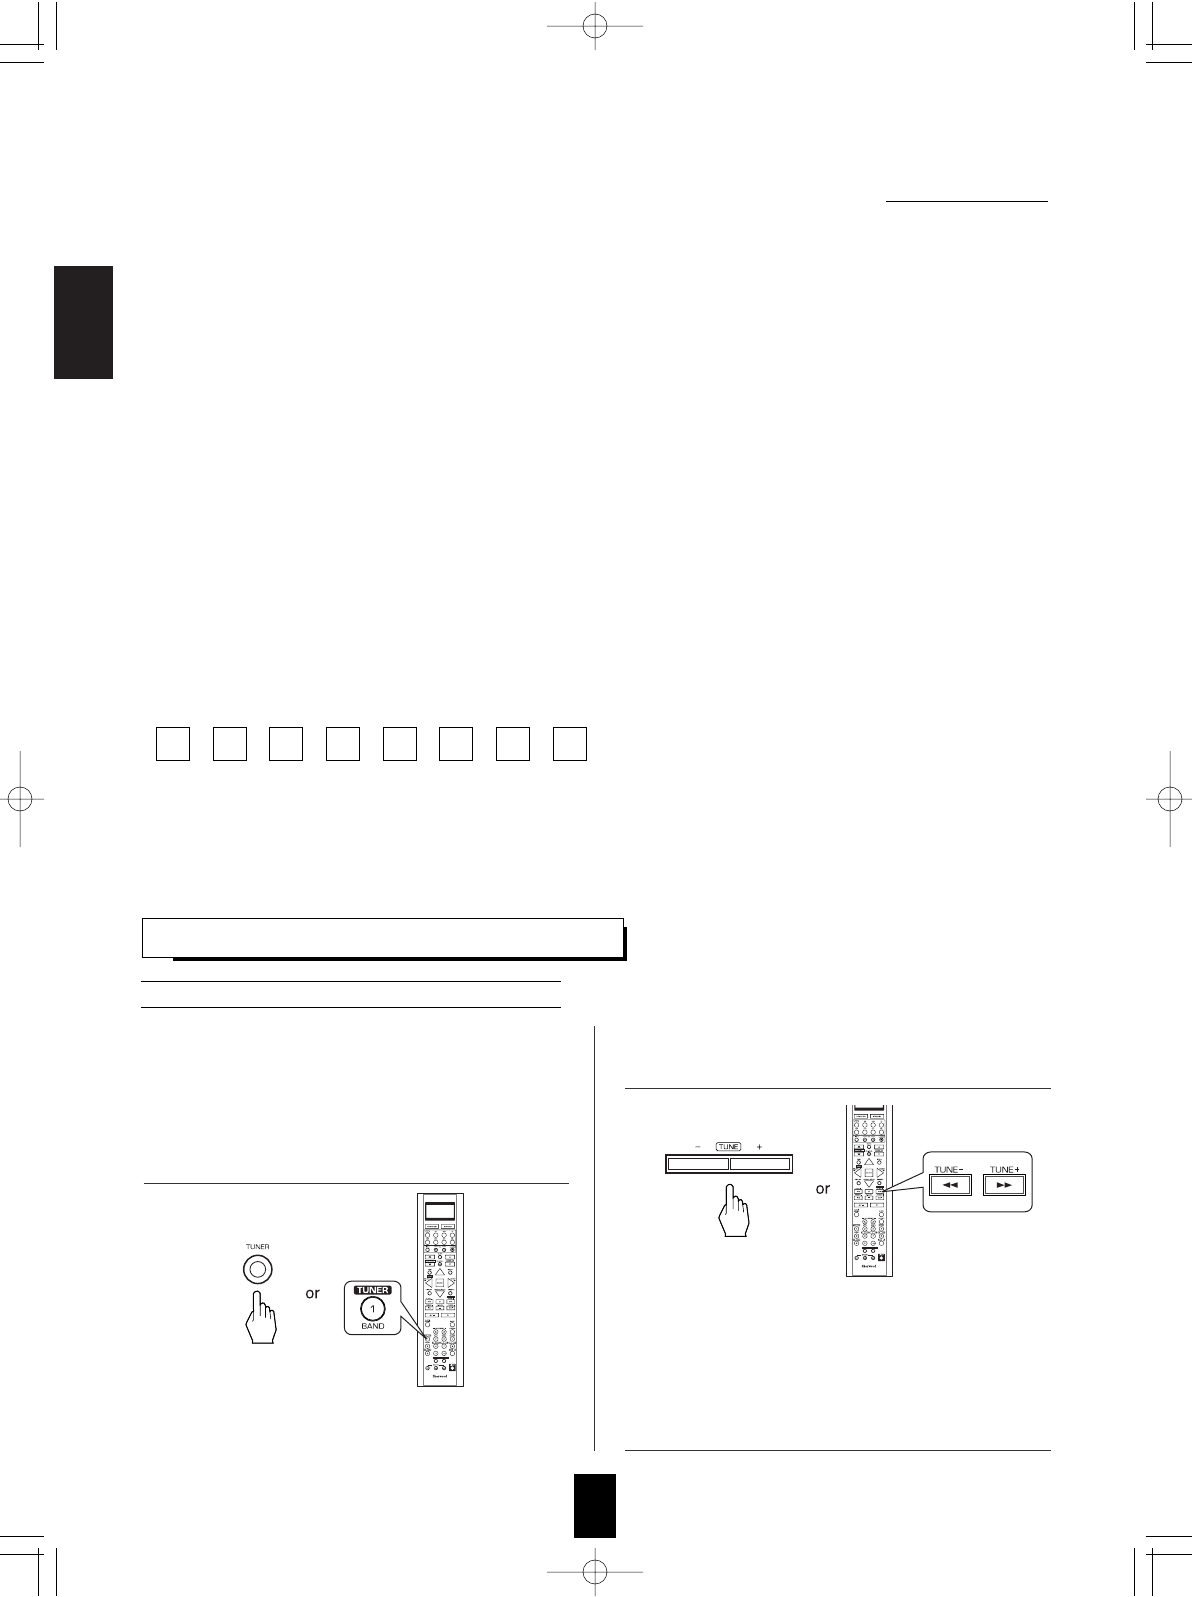
LISTENING TO RADIO BROADCASTS
Auto tuning
• Each time this button is pressed, the band
changes as follows :
→FM STereo →FM MONO →AM →XM
("ST" lights up) ("ST" goes off)
• When FM stereo broadcasts are poor because of
weak broadcast signals, select the FM mono
mode to reduce the noise, then FM broadcasts
are reproduced in monaural sound.
• To listen to XM Satellite Radio, select XM mode.
(For details, refer to "XM Satellite Radio (only for
North America)" on page 40.)
• Manual tuning is useful when you already know
the frequency of the desired station.
• After selecting the desired band, press the
TUNING UP(+) / DOWN(-) buttons repeatedly until
the right frequency has been reached.
Manual tuning
• Auto presetting function automatically searches
for FM stations only and store them in the
memory.
• While listening to FM or AM radio
broadcasts, press and hold down
the MEMORY/ENTER button for
more than 2 seconds.
• Then "AUTO MEM" flickers and
this receiver starts auto presetting.
• Up to 30 FM stations can be
stored.
�Notes:
• FM stations of weak strength cannot be
memorized.
• To memorize AM stations or weak stations,
preform "Manual presetting" procedure with using
"Manual tuning" operation.
Auto presetting
• The tuner will now search until a station of
sufficient strength has been found. The display
shows the tuned frequency and "TUNED".
• If the station found is not the desired one, simply
repeat this operation.
• Weak stations are skipped during auto tuning.
1. Select the desired band.
2. Press the TUNING UP(+)/DOWN(-) buttons for
more than 0.5 second.
R-772(A) 2007.8.20 10:2 AM 페이지 38
ENGLISH
39
• The station has now been stored in the memory.
• A stored frequency is erased from the memory
by storing another frequency in its place.
• If "MEM" goes off, start again from the above
step 2.
MEMORY BACKUP FUNCTION
The following items, set before the receiver is
turned off, are memorized.
• INPUT SELECTOR settings
• Surround mode settings
• Preset stations,etc.
Scanning preset stations in sequence
• The receiver will start scanning the stations in the
preset sequence and each station is received for 5
seconds.
• At the desired station, press this button again to
stop scanning.
Tuning to preset stationsManual presetting
• You can store up to 30 preferred stations in the
memory.
• "MEM" is flickering for several seconds.
• After selecting the tuner as an input source, select
the desired preset number.
1. Tune in the desired station with auto or manual
tuning.
3. Select the desired preset number (1~30) and
press the MEMORY/ENTER button.
4. Repeat the above steps 1 to 3 to memorize
other stations.
2. Press the MEMORY/ENTER button.
R-772(A) 2007.8.16 5:21 PM 페이지 39
ENGLISH
40
1. Press the TUNER button repeatedly to select XM
mode.
2. Press the TUNING UP(+)/DOWN(-) buttons
repeatedly to select "XM 000".
3. To sign up, access the website at
"http://activate.xmradio.com" or call "1-800-967-
2346".
• Then "XM ~" is displayed.
• Then your XM Satellite Radio ID is displayed.
• You can find the XM Satellite Radio ID on the XM Mini-
Tuner itself and the XM Mini-Tuner package. too.
LISTENING TO XM SATELLITE RADIO
XM Satellite Radio (only for North America)
• Before using XM Satellite Radio, you must first sign up
for an account. You will need a major credit card and
your XM Satellite Radio ID, which you can get from this
receiver as explained below.
• This receiver is the XM Ready® receiver. You can receive XM Satellite Radio® by connecting to the XM Mini-Tuner system
(sold separately) and subscribing the XM service.
About XM Satellite Radio for U.S. & Canadian products
XM Satellite Radio offers an extraordinary variety of commercial-free music, plus the best in sports, news, talk and
entertainment. XM is broadcast in superior digital audio from coast to coast. From rock to reggae, from classical to hip hop, XM
has something for every music fan. XM’s dedication to playing the richest selection of music is matched by its passion for live
sporting events, talk radio, up-to-the-minute news, stand-up comedy, children’s programming, and much more. For U.S.
customers, information about XM Satellite Radio is available online at www.xmradio.com. For Canadian customers, information
about XM Canada is online at www.xmradio.ca.
XM Ready® legal for U.S. & Canadian products
Hardware and required monthly subscription sold separately. Other fees and taxes, including a one-time activation fee may apply.
Subscription fee is consumer only. All fees and programming subject to change. Channels with frequent explicit language are
indicated with an XL. Channel blocking is available for XM radio receivers by calling 1-800-XMRADIO (US residents) and 1-877-
GET-XMSR (Canadian residents). For a full listing of the XM commercial-free channels and advertising-supported channels, visit
lineup.xmradio.com (US residents) or xmradio.ca (Canadian residents). Subscriptions subject to Customer Agreement available
at xmradio.com (US residents) and xmradio.ca (Canadian residents). Only available in the 48 contiguous United States and
Canada. ©2006 XM Satellite Radio Inc. All rights reserved. All other trademarks are the property of their respective owners.
XM Ready® subscriptions for U.S. Products & Canadian products
Once you have installed the XM Mini-Tuner Dock, inserted the XM Mini-Tuner, connected the XM Dock to your XM Ready®
home audio system, and installed the antenna, you are ready to subscribe and begin receiving XM programming. There are
three places to find your eight character XM Radio ID: on the XM Mini-Tuner, on the XM Mini-Tuner package, and on XM
Channel 0. Record the Radio ID in the following eight squares for reference.
Note: The XM Radio ID does not use the letters “I”, “O”, “S” or “F”. Activate your XM Satellite Radio service in the U.S. online at
http://activate.xmradio.com or call 1-800-XM-RADIO (1-800-967-2346). You will need a major credit card. XM will send a signal
from the satellites to activate the full channel lineup. Activation normally takes 10 to 15 minutes, but during peak busy periods
you may need to keep your XM Ready home audio system on for up to an hour. When you can access the full channel lineup on
your XM Ready home audio system you are done. For more information or to subscribe in Canada, visit XM on the Web at
www.xmradio.ca or call XM’s Listener Care at 1-877-GET-XMSR (1-877-438-9677).
Signing up for XM Satellite Radio
R-772(A) 2007.8.16 5:21 PM 페이지 40