InnoLabs I1000-PII Personal Computing Tablet User Manual ch3
InnoLabs Corporation Personal Computing Tablet ch3
InnoLabs >
Ch3

Battery and Power Management
This chapter gives information on using battery power. It also
describes how the Power Management features works to save power.

3-2 Battery and Power Management
3
Battery Pack
The rechargeable battery pack supplies power to your Qbe when
external power is not connected.
The average operating time of a battery pack is 2.5 hours for a Li-Ion
battery pack. The operating time can be prolonged if Power
Management is activated. However, actual operating time can vary,
depending on several factors; these could be the Power Management
settings, the software in use, the brightness of the display, and the system
configuration.
If you wish to extend the operating time when using battery power, you
can use an additional battery pack. (See the "Additional Battery Pack”
section later in this chapter.)
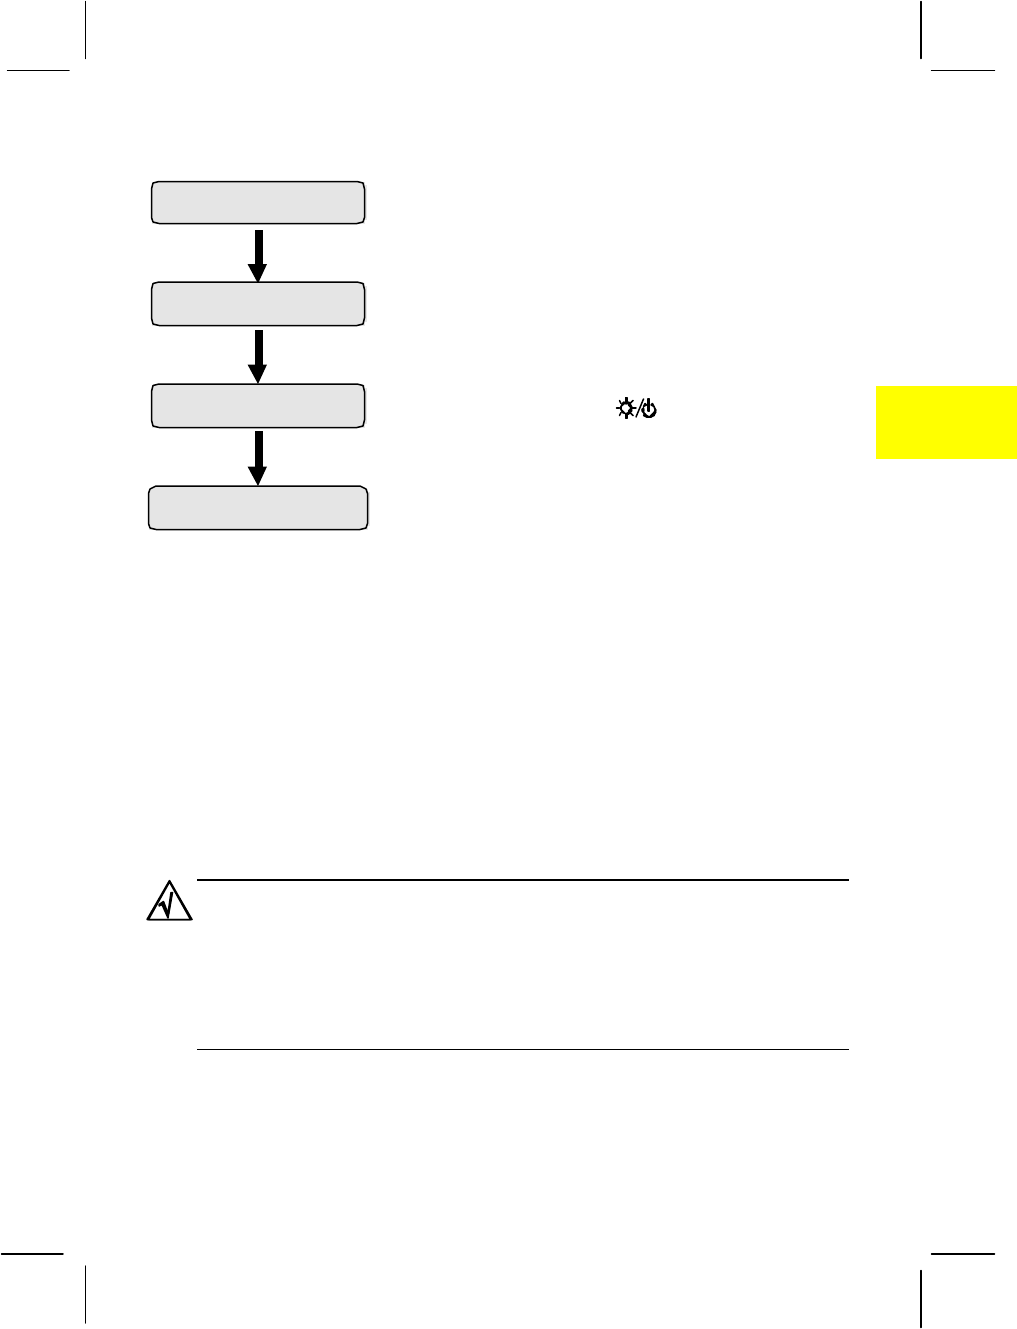
Initializing the Battery Pack
To assure optimal performance, initialize a battery pack before you use it
for the first time. Initialization means discharging and fully recharging
twice. This procedure could take a few hours.
1. Make sure the AC adapter is not connected and the battery pack is
installed.
2. Turn on the Qbe.
3. Select the "Run SCU Setup” item using the arrow key and then
press [Enter] to run SCU.
4. Leave the power on.
5. Wait until the battery is fully discharged and the power is off.
6. Connect the AC adapter to fully charge the battery pack.
7. Repeat steps 2 to 7.

Battery and Power Management 3-3
3
You cannot initialize two battery packs at the same time.
Recharging the Battery Pack
To recharge the battery pack, connect the AC adapter to the computer
and an electrical outlet.
To ensure the battery pack is charged to its full capacity, it is advisable to
keep the computer turned off during the recharging process. The battery
is fully recharged when all four bars of the battery indicator glow and the
frame stop flashing.
It takes, on average, 90 minutes to charge the battery pack to 80% of its
capacity. Two or three more hours are needed to charge it fully.
1. Recharging will not start if the battery temperature is below 0°C (32°F)
or above 45°C (113°F).
2. The recharging process will stop if the battery temperature rises above
60°C (140°F). It will continue when the temperature drops.
3. During recharging, do not disconnect the AC adapter before the battery
has been fully charged. This could result in a prematurely charged
battery.
4. After the battery has been fully recharged, do not immediately disconnect
and reconnect the AC adapter to charge it again. Doing so may damage
the battery.

3-4 Battery and Power Management
3
Checking the Battery Level
The battery level cannot be measured physically. Any reading on a battery
meter or gauge is only an estimation. This, however, could be less than
accurate due to factors such as temperature and a long period of storage. If
the difference between the displayed battery level and the actual operating
time is too large, initialize the battery pack as described earlier in this
chapter to correct the problem.
By Operating System
Some operating systems, such as Windows, display a battery meter that
indicates the battery level.
By Gas Gauge
A “gas gauge” on the battery pack itself also indicates estimated battery
charge. If the battery pack is not installed and you want to check the
level of the battery, you can do so by noting the number of lighted green
segments. These indicate the relative percentage of the battery charge.
The battery pack is fully discharged when a lighted green segment no
longer appears.

Battery and Power Management 3-5
3
Additional Battery Pack
There is danger of explosion if the battery is incorrectly replaced. Replace the
battery only with the same or equivalent type recommended by the equipment
manufacturer. Discard used batteries according to the manufacturer
instructions.
If you wish to prolong operating time on battery power while traveling, an
optional extra fully charged battery pack is necessary.
This additional battery pack can either be installed in the computer as the
secondary battery pack or used to replace the primary discharged battery
pack.
Installing the Secondary Battery Pack
1. As a special bracket is required to install the secondary battery pack, you
are advised to purchase the optional battery pack from an authorized
dealer.
2. When the secondary battery pack is installed, recharging and
discharging always begins with the primary battery pack.
The additional battery pack can be installed in the floppy disk drive bay
as the secondary battery pack. For installation instructions, see the
"Replacing the Floppy Disk Drive” section in Chapter 4.
Replacing the Primary Battery Pack
1. Make sure the computer is not turned on or connected to AC power.
2. Carefully turn the computer upside down.
3. Slide the locking latch toward the unlocked position and remove the
compartment cover.

3-6 Battery and Power Management
3
4. Pull the battery pack out of the compartment.
(diagram)
Figure 3-1. Removing the Primary Battery Pack
5. Slide the new battery pack into the compartment.
6. Replace the compartment cover. Make sure the locking latch is in
the locked position.

Battery and Power Management 3-7
3
Low Battery
When a single bar begins to flash in the battery indicator, battery power
has reached the "Low” level and only ten minutes of computer operation
remains.
At this stage, make sure to save your data then connect the AC adapter
or turn off the computer.
Battery operating time depends on functions performed. If, for example,
the audio subsystem, PC card, or disk drives are in use, then the battery
expends itself sooner.
If no appropriate action is taken within about three minutes of the battery
reaching "Low” level, the computer automatically suspends to disk and
turns off.
1. If the suspend-to-disk partition does not exist on your hard disk, the
computer will not be able to suspend to disk.
2. If you fail to save data when the battery power runs out, then you lose it.

3-8 Battery and Power Management
3
Power Management
Your Qbe’s Power Management feature saves power by automatically
reverting to low power mode when the system is inactive for some time.
The computer returns to full power mode whenever activity is detected
such as when a key is pressed.
This section describes how Power Management works. To customize
Power Management, you need to run the SCU program. (See the
"Power Management Menu” section in Chapter ? for instructions.)
Local Power Management
Local Power Management is "Device-level” power saving. When a
single device is inactive for some time, it automatically shuts down or is
slowed down to reduce power consumption. The device reactivates
when next accessed.
For your computer, the single devices under its control are:
• LCD display
The screen blanks out after a period of inactivity.
• Hard disk drive
The hard disk drive pins down” after a period of inactivity.
Global Power Management
Global Power Management is system-level power saving. When the
system is inactive for some time, it automatically enters low power mode
to reduce power consumption. The PCT resumes operation when a
system activity is detected. You can press any key to resume operation.
Battery and Power Management 3-9
3
Low power mode work in the following way:
In Global Standby mode, the CPU clock stops and
several system devices enter lower power mode.
In Power-On-Suspend mode, more system
devices enter lower power mode. The
power/suspend indicator ( ) lights amber in
Power-On-Suspend mode. To end Power-On-
Suspend mode, you need to press a key.
When Suspend-to-Disk takes effect, the system
saves the current status to a "Suspend-to-disk
partition” on the hard disk. The computer then
turns off automatically. When you next turn on the
computer, it retrieves the status from the suspend-
to-disk partition, so that your computer is returned to
exactly where you were at the time of suspension.
Suspend-to-Disk is convenient in the sense that you
do not have to close all the software applications
before turning off, and, when you next turn on the
computer, the software applications are ready for
use in a matter of seconds.
1. Whenever the computer is turned on, it checks the suspend-to-disk
partition. If the partition does not exist and there is enough hard disk
space left, the computer automatically creates the partition.
2. If there is no suspend-to-disk partition, you can not use the Suspend-to-
Disk function.
3. You can verify the suspend-to-disk partition using the SCU program. (See
the "Utility Menu” section in Chapter 5.)
Full Power Mode
Global Standby Mode
Power-On-Suspend
Mode
Suspend-to-Disk Mode
2 to 14 minute
5 to 60 minutes
1 to 16 minutes

3-10 Battery and Power Management
3
Manually Entering Low Power Mode
In addition to the timer setup in the SCU program that causes the
computer to enter lower power mode automatically, you can manually
initiate lower power mode at any time in one of the following ways:
• By pressing [Fn]+[F1]
This will activate Power-On-Suspend mode. If the computer
remains in Power-On-Suspend mode until Suspend-to-Disk mode
timer times out, the computer enters Suspend-to-Disk mode.
• By closing the top cover
If an external monitor is not connected, closing the top cover causes
the computer to enter Power-On-Suspend mode. When you next
open the LCD display, the computer operation resumes. If the top
cover remains closed until the Suspend-to-Disk mode timer times out,
the computer enters Suspend-to-Disk mode.
• By pressing the power button
When you press the power button, the computer enters Power-On-
Suspend or Suspend-to-Disk mode depending on the "Power Button
Function” setting in the SCU program. (Default setting is PowerOn
Suspend.) If the computer remains in Power-On-Suspend mode
until the Suspend-to-Disk mode timer times out, the computer enters
Suspend-to-Disk mode.
It a good habit to save your data before you manually initiate low power
mode.