IntelliDOT IDOT-001 802.11b radio User Manual
IntelliDOT 802.11b radio
Contents
- 1. Users manual part 1 of 4
- 2. Users manual part 2 of 4
- 3. Users manual part 3 of 4
- 4. Users manual part 4 of 4
Users manual part 1 of 4

intelliDOT
iConnect System
User Guide

Copyright P/N TP0001-01 Rev. B
ii Confidential intelliDOT iConnect System User Guide
intelliDOT iConnect System User Guide
Reproduction in any manner whatsoever without the written permission of intelliDOT Corporation is
strictly prohibited. Changes in equipment, software, or procedures may occur periodically; information
describing these changes will be included in future editions of the User Guide.
Information in this document is subject to change without notice and does not represent a commitment on
the part of intelliDOT to provide additional services or enhancements.
intelliDOT iConnect System User Guide
P/N: TP0001-01 Rev. B
Date: 8/19/04
intelliDOT is a registered trademark of intelliDOT Corporation.
© 2004
intelliDOT
13520 Evening Creek Drive North. Suite 400
San Diego, CA 92128
Phone: (858)746-3100
Fax: (858)-746-3101
www.intelliDOT.net
All rights reserved.
Printed in the United States of America.

intelliDOT iConnect System User Guide Confidential iii
P/N TP0001-01 Rev. B
Preface
Thank you for choosing the iConnect Handheld Device system.
iConnect Handheld Device is a handheld scanner used to assist the nurse in the
medication administration process. iConnect Handheld Device promotes nurse
and patient safety by verifying that the right patient is getting the right medication,
at the right dosage, at the right time, via the right route.
The iConnect Handheld Device focuses on the daily use, minor maintenance, and
troubleshooting of the iConnect Handheld Device and the iConnect DOT
Manager. The guide does not cover service or repair procedures.
For information about iConnect Handheld Device that is not covered in this
document, please call Intellidot at : 877-368-3687.
P/N TP0001-01 Rev. B
iv Confidential intelliDOT iConnect System User Guide
Overview
This User Guide includes the following information about the IntelliDOT
iConnect System:
•System Overview
•Using the iConnect Handheld
•Using the iConnect System Manager
•Generating Reports
•Creating Command iDOTs
•Diagnostics, Troubleshooting, and Safety
Conventions
This User Guide uses the following conventions:
Text
• The name of a document title, field, screen, or tab is formatted in italics.
• The name of a button, command, option, or icon is formatted in bold.
Icons
This document uses the following symbols:
Note text contains supplementary information or emphasizes a point or
procedure.
Caution indicates a potentially hazardous situation which, if not avoided, could
result in minor or moderate injury. Caution is also used to alert against unsafe
practices that could result in unpredictable results or data loss.
Warning indicates a potentially hazardous situation which, if not avoided, could
result in death or serious injury.

intelliDOT iConnect System User Guide Confidential v
Contents P/N TP0001-01 Rev. B
Contents
Chapter 1
System Overview.................................................................................... 1-1
Introduction....................................................................................................1-1
iConnect System Definition......................................................................................1-1
iConnect System Benefits..........................................................................................1-1
Outline of System Overview Section.......................................................................1-2
iConnect System Components .......................................................................1-2
iConnect Handheld ....................................................................................................1-2
Physical Description...................................................................................................1-3
Charging the Device...................................................................................................1-3
Operating the iConnect Handheld...........................................................................1-3
Durability .....................................................................................................................1-4
Using the iConnect Handheld..................................................................................1-4
iConnect System Manager.........................................................................................1-5
Physical Description ...........................................................................................1-5
Access / Operation of the iConnect System Manager..................................1-5
Functions..............................................................................................................1-5
iConnect Server...........................................................................................................1-5
Physical Description ...........................................................................................1-5
Purpose.................................................................................................................1-5
iConnect System Installation..........................................................................1-6
Wireless Access Point Installation ...........................................................................1-6
Function, Location, and Definition..................................................................1-6
Installation Responsibility..................................................................................1-6
Purpose.................................................................................................................1-6

Contents P/N TP0001-01 Rev. B
vi Confidential intelliDOT iConnect System User Guide
Interface Installation ..................................................................................................1-6
Definition ............................................................................................................. 1-6
Information Components..................................................................................1-6
Installation Responsibility..................................................................................1-7
Development and Testing..................................................................................1-7
Bar Coding...................................................................................................................1-7
Nurse Badges.......................................................................................................1-7
Patient Wristbands..............................................................................................1-7
Medication Packages...........................................................................................1-7
Pharmacy System Setup.............................................................................................1-8
Formulary.............................................................................................................1-8
System Configuration Process...........................................................................1-8
Clinical Settings....................................................................................................1-8
Nursing Workflow Setup...........................................................................................1-9
Workflow Assessment by IntelliDOT.............................................................1-9
Hospital-Specific Policies and Procedures......................................................1-9
Chapter 2
Using the iConnect Handheld............................................................... 2-1
Features of the iConnect Handheld...............................................................2-2
Charging the iConnect Handheld..................................................................2-3
iConnect Handheld Display Convention Used in this User Guide....................2-4
Scanning .........................................................................................................2-4
Scanning Bar Codes....................................................................................................2-4
Scanning iDOTs .........................................................................................................2-5
Login/Logout.................................................................................................2-5
Logging In............................................................................................................2-5
Logging Out.........................................................................................................2-6
Assigning Patients to Yourself Using the iConnect Handheld .....................2-8
Assigning Patients Using the Patient Assignment Worksheet and
iConnect Handheld ....................................................................................................2-8
Medication Administration Using the iConnect Handheld ..........................2-9
Basic Medication Administration Process for Scheduled Medications............2-10
Basic Medication Administration Process for Multi-dose PRN Medications.2-13
Responding to Prompts for Data During Administration.................................2-15
Dose-Due Reminders and Overdue Alerts...................................................2-17
Dose-Due Reminders...............................................................................................2-17
Overdue Dose Alerts........................................................................................2-18
Omitting a Due Dose.......................................................................................2-18
Using Snooze.....................................................................................................2-20
Using Delay Dose.....................................................................................................2-20
Using Cover Patients to Transfer Patient Responsibility...................................2-21

P/N TP0001-01 Rev. B Contents
intelliDOT iConnect System User Guide Confidential vii
Medication Administration Warnings..........................................................2-22
Early or Late Warnings............................................................................................2-22
Clinical Warnings......................................................................................................2-22
Timeout Warnings....................................................................................................2-22
Unknown Medication.......................................................................................2-23
Dose Out of Range...........................................................................................2-23
“No Order Found” Warning...........................................................................2-24
Battery Low Warning...............................................................................................2-24
Advance Prepared Items ..............................................................................2-25
Case 1 - Prepared Item that is printed on the Prospective MAR......................2-26
Case 2 - Prepared Item that is printed on the Prospective MAR and
requiring a witness....................................................................................................2-28
Case 3 - Prepared Item with multiple medications that is printed on the
Prospective MAR......................................................................................................2-31
Case 4 - Administering Medications for Cases 1-3..............................................2-33
Case 5 - Prepared Item that is NOT yet printed on the Prospective MAR....2-35
Case 6 - Prepared Item with multiple medications that is NOT yet
printed on the Prospective MAR...........................................................................2-40
Case 7 - Administering Medications for Cases 4-5..............................................2-44
Multi-Component Items Dispensed by Pharmacy......................................2-46
Correcting or Canceling During Medication Transactions.........................2-47
Communicating Directly with Pharmacy using the iConnect Handheld ...2-48
Pharmacy Inventory Verification Using the iConnect Handheld ...............2-49
Chapter 3
Using the iConnect System Manager ................................................... 3-1
Logging into the iConnect System Manager .................................................3-2
Login ..................................................................................................................... 3-2
Configuration Setup........................................................................................3-3
Hospital Address Setup .............................................................................................3-3
Printer Setup................................................................................................................3-4
Adding, Editing, and Deleting Printers............................................................3-4
Shift Setup....................................................................................................................3-5
Formulary Setup .............................................................................................3-6
Clinical Warnings........................................................................................................3-6
Adding, Editing and Deleting Clinical Warnings...........................................3-6
Clinical Prompts..........................................................................................................3-8
Adding, Editing, and Deleting Clinical Prompts............................................3-8
Master Drug File.......................................................................................................3-10
Formulary Download .......................................................................................3-10
Formulary Configuration .................................................................................3-10

Contents P/N TP0001-01 Rev. B
viii Confidential intelliDOT iConnect System User Guide
Nursing Unit Setup ......................................................................................3-13
Adding, Editing, and Deleting Nursing Units..............................................3-13
Sig Code Setup..............................................................................................3-15
Adding, Editing, and Deleting Sig Codes......................................................3-15
Adding, Editing, and Deleting a One Time Order......................................3-17
Adding, Editing, and Deleting a PRN ...........................................................3-19
Role Setup.....................................................................................................3-21
Complete List of User Roles and Privileges.........................................................3-22
Suggested Privileges for “Director/Nurse Manager” Roles.......................3-23
Suggested Privileges for “Charge Nurses” Roles.........................................3-24
Suggested Privileges for “Staff Nurses” Roles .............................................3-25
Suggested Privileges for “Ward Clerks/Unit Secretaries” Roles...............3-25
Suggested Privileges for “Pharmacists” Roles .............................................3-26
Suggested Privileges for “Pharmacy Technicians” Roles............................3-27
User Setup (Adding and Editing) ................................................................3-28
Patient Setup (Adding and Editing).............................................................3-29
Reviewing Medications on the iConnect System Manager ................................3-29
iConnect System Manager MAR..................................................................3-30
How to View the MAR............................................................................................3-30
Editing an Administration on the On-Line MAR...............................................3-31
Adding a New Administration event on the On-Line MAR.............................3-32
MAR Notes................................................................................................................3-34
Patient Specific Notes.......................................................................................3-34
Medication Order Specific Notes...................................................................3-36
Administration Specific Notes........................................................................3-37
Assigning Patients........................................................................................3-38
Configuring iConnect Handhelds................................................................3-39
Site of Administration Setup (Adding and Editing) ....................................3-40
Override Reasons Setup (Adding and Editing)...........................................3-41
Script Setup...................................................................................................3-41
Reports..........................................................................................................3-41
DOT Organization Setup.............................................................................3-42
iDOT Definitions.....................................................................................................3-43
Chapter 4
Generating Reports................................................................................ 4-1
Medication Administration Record................................................................4-2
Viewing your Medication Administration Report.................................................4-2
Printing Medication Administration Record..........................................................4-5
Medication Administration Record (By Unit) ...............................................4-7
Viewing your Medication Administration Report

P/N TP0001-01 Rev. B Contents
intelliDOT iConnect System User Guide Confidential ix
(By Unit).......................................................................................................................4-7
Printing Medication Administration Record (by Unit).......................................4-10
Medication Administration Record
(By Nurse) ....................................................................................................4-12
Viewing your Medication Administration Report
(By Nurse)..................................................................................................................4-12
Printing Medication Administration Record (By Nurse)....................................4-16
Prospective MAR (by Patient)......................................................................4-18
Viewing your Prospective MAR (by Patient) .......................................................4-18
Printing your Prospective MAR (by Patient)........................................................4-22
Prospective MAR (By User).........................................................................4-24
Viewing your Prospective MAR (by User) ...........................................................4-24
Printing your Prospective MAR (by User)............................................................4-28
Prospective MAR (By Unit)..........................................................................4-30
Viewing your Prospective MAR (By Unit) ...........................................................4-30
Printing your Prospective MAR (by Unit)............................................................4-34
Medication Administration DOT Sheet.......................................................4-36
Viewing your Medication Administration DOT Sheet.......................................4-36
Printing your Medication Administration DOT Sheet.......................................4-39
Administration History and Audit Report ...................................................4-41
Viewing the Administration History and Audit Report......................................4-41
Printing the Administration and Audit Report....................................................4-44
Seven (7) Day Medication Summary Report................................................4-46
Viewing your 7 Day Medication Summary Report..............................................4-46
Printing your 7 Day Medication Summary Report..............................................4-49
MicroTerminal Configuration Report..........................................................4-51
Viewing your MicroTerminal Configuration Report ..........................................4-51
Printing your MicroTerminal Configuration Report...........................................4-53
Patient Assignment Worksheet....................................................................4-54
Viewing your Patient Assignment Worksheet......................................................4-54
Printing your Patient Assignment Worksheet......................................................4-56
Sig Code Listing Report (CSV) ....................................................................4-57
Viewing your Sig Code Listing Report (CSV)......................................................4-57
Printing your Sig Code Listing Report (CSV)......................................................4-58
Formulary Listing Report (CSV)..................................................................4-59
Viewing your Formulary Listing Report (CSV) ...................................................4-59
Printing your Formulary Listing Report (CSV)....................................................4-60
Administration Sites Listing.........................................................................4-62
Viewing your Administration Sites Listing...........................................................4-62
Printing your Administration Sites Listing ...........................................................4-64

Contents P/N TP0001-01 Rev. B
x Confidential intelliDOT iConnect System User Guide
Command DOT Listing...............................................................................4-65
Viewing your Command DOT Listing .................................................................4-65
Printing your Command DOTs Listing................................................................4-67
Override Reasons Listing.............................................................................4-68
Viewing your Override Reasons Listing................................................................4-68
Printing your Override Reasons Listing................................................................4-70
DOT Keyboard.............................................................................................4-71
Viewing your DOTs Keyboard..............................................................................4-71
Printing your DOT Keyboard................................................................................4-73
Chapter 5
Creating Command iDOTs................................................................... 5-1
Command iDOT Prompt Setup.....................................................................5-2
Worksheet Reports .........................................................................................5-3
Chapter 6
Diagnostics, Troubleshooting, and Safety............................................ 6-1
Tethering the iConnect Handheld.................................................................6-2
Testing RF with the iConnect Handheld.......................................................6-4
Rebooting the iConnect Handheld................................................................6-4
System Timeout and What to Do.....................................................................6-5
Safety and Maintenance .................................................................................6-5
iConnect Handheld User Safety Information ........................................................6-5
General Tips.........................................................................................................6-6
Cleaning the Device............................................................................................6-6
Batteries ................................................................................................................ 6-6
Battery Charging.........................................................................................................6-7
Wireless Networking..................................................................................................6-7
iConnect Handheld Radiation Specifications.........................................................6-7
Troubleshooting.............................................................................................6-8
Unknown Patient .......................................................................................................6-8
Medication Can Not Be Found................................................................................6-8
Time Error...................................................................................................................6-8
Device Does Not Turn On ......................................................................................6-8
Scanner Does Not Function.....................................................................................6-8
Troubleshooting Quick Reference Chart................................................................6-9

intelliDOT iConnect System User Guide Confidential 1-1
System Overview P/N TP0001-01 Rev. B
Chapter 1
System Overview
Introduction
iConnect System Definition
The iConnect System, created by intelliDOT Corporation, is a wireless handheld
workflow tool that allows patient safety checks, documentation, and
communication functions to be completed quickly and easily by a nurse at the
bedside. The iConnect System was custom-designed with nursing professionals to
provide state-of-the-art patient safety while improving overall nurse productivity
and efficiency. The system helps nurses manage a myriad of tasks with a single
handheld wireless device that is linked in real time to the hospital's clinical
information system.
The heart of the IntelliDOT System is the iConnect Handheld. Using three simple
keys, nurses can complete a variety of tasks and commands. With just a quick
scan of a bar code or iDOT, critical information can be accessed. Information is
delivered right into the caregiver’s hands, right when it is needed.
iConnect System Benefits
Studies performed in acute care hospitals show that bar code-based medication
error prevention systems greatly reduce medication errors that occur during the
medication administration process. These errors have caused regulatory agencies
and some state legislators to mandate their use by 2005.

iConnect System Components P/N TP0001-01 Rev. B
1-2 Confidential intelliDOT iConnect System User Guide
Despite the existence of several bar code checking products, as of mid-2004 less
than five percent of the 5,800 acute care hospitals in the U.S. have purchased
bedside error prevention systems. Why? Poor product usability, prohibitive cost,
and difficult installation and integration with existing hospital systems.
The iConnect System is an easy-to-use, easy-to-integrate solution that is priced
significantly less than other bar code medication safety systems. Built from the
caregiver's point of view, the system combines a unique handheld device with
innovative Documentation of Treatment (iDOT) symbology, to allow nurses to
complete documentation at the bedside with just one hand.
Outline of System Overview Section
The iConnect System section of this document covers the following aspects of the
iConnect System:
• System components
• System installation
iConnect System Components
The iConnect System consists of the following key elements:
• iConnect Handheld
• iConnect System Manager
• iConnect Server
iConnect Handheld
The iConnect Handheld is a small, battery-operated wireless device that incorpo-
rates two types of scanning technology—a regular bar code scanner and a
special digital camera-based scanner that reads a small information-rich
symbol that intelliDOT calls the iDOT. The bar code scanner reads all
standard bar codes used throughout the medication administration process-
from medication packaging (both in-house and manufacturers' bar codes),
to patient wristbands and nurse badges. The iConnect Handheld scanning
device reads the unique iDOT symbol to accomplish a wide variety of
documentation and communication functions.

P/N TP0001-01 Rev. B iConnect System Components
intelliDOT iConnect System User Guide Confidential 1-3
Physical Description
Weighing less than 8 ounces, the iConnect Handheld can be used comfortably in
either the user's left or right hand. It has an extremely simple interface composed
of:
• A message display window from which the user views confirmations,
instructions, and other information
• Three buttons that allow the user to scan a bar code, scan an iDOT, or
confirm an action or instruction
• A visual and audible alert system to announce important information, such
as critical overdue medications or new abnormal lab results
The iConnect Handheld communicates continuously with the hospital computer
systems using a wireless, radio frequency (RF) network operating on a standard
802.11(b) wireless protocol. Wireless access points owned by the hospital provide
the iConnect System with an information channel to send and receive information
from the iConnect Server, iConnect System Manager, and iConnect Handheld.
Charging the Device
A rechargeable battery powers the iConnect Handheld. When not in use, place the
iConnect Handheld unit in the charger. It takes approximately 4 hours to
completely recharge a drained unit. Each time the iConnect Handheld is placed in
the charger, it will perform a wireless software maintenance routine. Maintenance
may take anywhere from 30 seconds to several minutes. Do not remove the
iConnect Handheld from the charger during software maintenance. Once
maintenance functions are completed, system charging will begin.
Operating the iConnect Handheld
Caregivers use the iConnect Handheld to scan the bar code on the nurse's name
badge, the patient's wristband, and the medication in order to provide verification
of the correct patient, medication, dosage, time, and route—the Five Rights of
medication administration.
The iConnect System provides nurses with a way to quickly and easily check
medication accuracy and enter patient data at the bedside, while receiving real-
time clinical alerts and reminders as well as other information anywhere in the
their work area.

iConnect System Components P/N TP0001-01 Rev. B
1-4 Confidential intelliDOT iConnect System User Guide
Durability
The iConnect Handheld is a sturdy piece of equipment designed to stand up well
to the continuous demands of nurses working in busy patient care areas. While it
is both water- and dust-resistant, the iConnect Handheld should not be submerged
or exposed to significant moisture for any extended period. In addition, even
though the device is rugged, care should also be taken to avoid dropping it or
subjecting it to significant or repetitive impacts. The iConnect Handheld operates
within the normal range of indoor temperatures, but it should be protected from
any temperature extremes.
Using the iConnect Handheld
In addition to using the iConnect Handheld as a bar code scanner, the iConnect
System provides users with a flexible tool to streamline the workflow process.
intelliDOT's patented Documentation of Treatment (iDOT) system allows
hospitals to create their own customized documentation and communication
applications that can be accessed by scanning a conveniently placed small, unique
dot-like symbol. Using the iConnect Handheld to scan iDOTs, medication
administration and other forms documentation flows wirelessly into an electronic
database while the nurse is at the patient's bedside.
The iDOT is the foundation of intelliDOT's Documentation of Treatment system.
The iDOT symbology is built on a patented, proprietary fingerprint-like symbol
that is only 5 millimeters in diameter and can hold a vast amount of information.
Over 19 billion, billion combinations are possible providing a virtually unlimited
supply of unique iDOTs for any hospital.
The iDOT symbol is easy to read with the iConnect Handheld—its unique design
allows it to be scanned upside down, sideways, or in any orientation. And a
portion of the iDOTs large storage capacity is dedicated to forward error
correction, allowing it to be accurately read even when portions are
damaged.
The iDOT provides nurses with a shorthand scanning system to record
information quickly and accurately and to issue commands with a quick scan
using the iConnect Handheld wireless reader. Tasks that can be accomplished with
this system include:
• Documenting numerical data, such as doses, vital signs, and pain scales
• Calling for services or support using customized paging iDOTs
• Summoning housekeeping, other nurses, or supervisory personnel
• Printing medication data sheets for physicians or other caregivers

P/N TP0001-01 Rev. B iConnect System Components
intelliDOT iConnect System User Guide Confidential 1-5
iConnect System Manager
Physical Description
The iConnect System Manager is a client-server application that operates on the
hospital's local area network (LAN).
Access / Operation of the iConnect System Manager
The application may be accessed via any assigned PC-based network client.
Typically, a PC on each nursing unit will host the iConnect System Manager
software program.
Functions
The iConnect System Manager contains all configuration settings for the iConnect
System. Nurses can use the iConnect System Manager to look up or edit
medication data, make patient assignments, and print reports. Pharmacy
computers are also clients to the iConnect System Manager application. Pharmacy
will routinely access the iConnect System Manager for formulary, database, and
system maintenance and reports.
iConnect Server
Physical Description
The iConnect Server is an enterprise-class server that operates on the hospital
network. The iConnect Server incorporates an HL7 interface engine in order to
link hospital information systems to the iConnect Handhelds over the hospital's
network, through wireless access points located in patient care areas.
Purpose
The iConnect Server interfaces with a variety of hospital information systems to
communicate both clinical and administrative information to and from users in
patient care areas. Connecting to the pharmacy information system provides real-
time physician order updates. Interfacing to the hospital's Admissions, Discharge
and Transfer (ADT) system, the iConnect Server provides patient location and
demographic information. Other optional interfaces provide links to the
laboratory information system and hospital electronic medical record systems to
integrate documentation into the master patient file.

iConnect System Installation P/N TP0001-01 Rev. B
1-6 Confidential intelliDOT iConnect System User Guide
iConnect System Installation
The iConnect System installation consists of the following key activities:
• Wireless access point installation
• Interface installation
• Bar coding (nurse badges/patient wristbands)
• Pharmacy system setup
• Nursing workflow setup
Wireless Access Point Installation
Function, Location, and Definition
The iConnect System uses 802.11b as a wireless communication protocol because
of its stability, availability, and range. Wireless access points must be installed in
all areas where iConnect Handhelds are used within the hospital. Typically, three
to four access points need to be installed for each nursing unit.
Installation Responsibility
Since wireless access points are often used to support multiple applications, it is
the customer's responsibility to assure installation in the hospital facility. When
needed, IntelliDOT may suggest third party vendors or other assistance in
completing the installation.
Purpose
Each handheld device must be able to communicate continuously with the
iConnect System Manager in order to maintain the real-time flow of information
to and from each nurse.
Interface Installation
Definition
The iConnect System utilizes an HL7, TCP/IP, port-based, healthcare data
exchange interface.
Information Components
The iConnect Server requires an interface which transmits verified pharmacy
orders; ADT administrative information; and formulary updates, when
appropriate. In addition, the iConnect can send outbound medication
administration documentation information (i.e., charting messages) to the clinical
system.

P/N TP0001-01 Rev. B iConnect System Installation
intelliDOT iConnect System User Guide Confidential 1-7
Installation Responsibility
The intelliDOT team of engineers works with the hospital to configure and install
the necessary system interfaces.
Development and Testing
As part of the installation process, the intelliDOT team will provide documented
verification that all identified interfaces to the iConnect Server perform according
to their specifications. The intelliDOT installation includes a test system
environment for quality testing of system functionality based on received HL7-
formatted messaging.
Bar Coding
The iConnect Handheld incorporates a scanner to check bar codes for the
medication administration process. In order to implement the iConnect System,
the hospital must have bar codes on nurse badges, patient wristbands, and
medication packages. intelliDOT works with hospital management to identify and
install a suitable badge, wristband, and medication bar code solutions.
Nurse Badges
The iConnect System requires that each user scan a unique user identification bar
code (typically found on the nurse's name badge) to log in to the system and to
close out each medication administration process. This provides security and
accountability for all functions performed by the nurse with the iConnect
Handheld.
Patient Wristbands
Patient wristbands with bar codes are required in order to match the correct
medications and information to the right patient. Each patient must wear a bar-
coded wristband that can be read using the iConnect Handheld.
Medication Packages
The iConnect System is designed to work with the unit-dose medication
distribution system. Medications not supplied in commercially produced unit-
dose packages are repackaged in the pharmacy, either through the use of a
medication packaging system or by a pharmacy technician providing manual bar
code labeling. A pharmacy technician can be assigned to perform both of these
functions under the supervision of a pharmacist utilizing a "pharmacist check
tech" quality assurance process.
Automated packaging systems provide a customizable packaging solution to help
hospitals maintain compliance with proposed FDA bar code requirements, as well
as contributing to patient safety by providing the basis for medication verification
at the patient bedside.

iConnect System Installation P/N TP0001-01 Rev. B
1-8 Confidential intelliDOT iConnect System User Guide
Pharmacy System Setup
The pharmacy information system provides the information needed for the
iConnect System. Physician orders are reviewed by the pharmacist, entered into
the computer, and medications are prepared and dispensed to the nursing unit.
Once completed, the physician order is sent through an electronic link between
the hospital pharmacy computer and the iConnect Server. For orders to be
correctly interpreted by the iConnect System, hospital-specific clinical settings,
warning parameters, and sig codes are set up for each formulary drug item.
Formulary
Because the iConnect Handheld is designed to scan bar codes on medications at
the patient bedside, the hospital pharmacy department is responsible for bar-
coding all medications, both during system setup and on an ongoing basis. The
intelliDOT installation team works closely with the pharmacy to set up this
process.
Often, several medication brands may satisfy an order for a particular medication
item. The iConnect System database is organized to allow multiple medications
(similar generic) to satisfy an order, if scanned at the bedside. This database
arrangement allows the iConnect System to properly identify medications when
scanned and to conduct proper checks for the Five Rights of medication
administration.
System Configuration Process
The steps for creating the hospital-specific iConnect System Manager medication
database on site include:
1. The hospital downloads the hospital medication list including medication
description, MedID, and NDC (if available) from the pharmacy information
system into the iConnect Server.
2. The iConnect Server organizes the data into a defined format and imports it
into the iConnect System Manager formulary table.
3. Using the iConnect Handheld, intelliDOT technicians working with hospital
staff scaning package bar codes for each formulary database line item.
4. If the medication cannot be scanned, information must be manually entered
from the product package.
Clinical Settings
The pharmacy is responsible for ensuring that clinical settings, warning
parameters, and sig codes are set up for each formulary drug item, as necessary.
All clinical warnings and alerts displayed on the iConnect Handheld during the
medication administration process must be first entered by the pharmacy into the
iConnect System Manager.

P/N TP0001-01 Rev. B iConnect System Installation
intelliDOT iConnect System User Guide Confidential 1-9
Nursing Workflow Setup
Workflow Assessment by IntelliDOT
Nursing setup of the iConnect System begins with an assessment of the facility's
specific and unique medication administration procedures. An intelliDOT nurse
consultant working with the hospital's nursing management and staff nurses
guides this process.
The intelliDOT consultant will also develop a variety of clinical settings to
support the nurses in the performance of three main functions with the iConnect
Handheld:
• Patient assignment
• Medication administration record (MAR)
• Reporting
Hospital-Specific Policies and Procedures
The intelliDOT nurse consultant assists in the creation of a new set of nursing
procedures in order to optimize the efficiency of the iConnect System. Nursing
setup includes developing and codifying procedures for bar codes on patient
wristbands, nurse badges, and medication packaging, along with other functions
associated with the medication administration process.

iConnect System Installation P/N TP0001-01 Rev. B
1-10 Confidential intelliDOT iConnect System User Guide
- Notes -

intelliDOT iConnect System User Guide Confidential 2-1
Using the iConnect Handheld P/N TP0001-01 Rev. B
Chapter 2
Using the iConnect Handheld
This section provides information on using the intelliDOTs iConnect Handheld
including:
•Features of the iConnect Handheld
•Charging the iConnect Handheld
•Scanning
•Login/Logout
•Assigning Patients to Yourself Using the iConnect Handheld
•Medication Administration Using the iConnect Handheld
•Dose-Due Reminders and Overdue Alerts
•Medication Administration Warnings
•Advance Prepared Items
•Multi-Component Items Dispensed by Pharmacy
•Correcting or Canceling During Medication Transactions
•Communicating Directly with Pharmacy using the iConnect Handheld
•Pharmacy Inventory Verification Using the iConnect Handheld
Features of the iConnect Handheld P/N TP0001-01 Rev. B
2-2 Confidential intelliDOT iConnect System User Guide
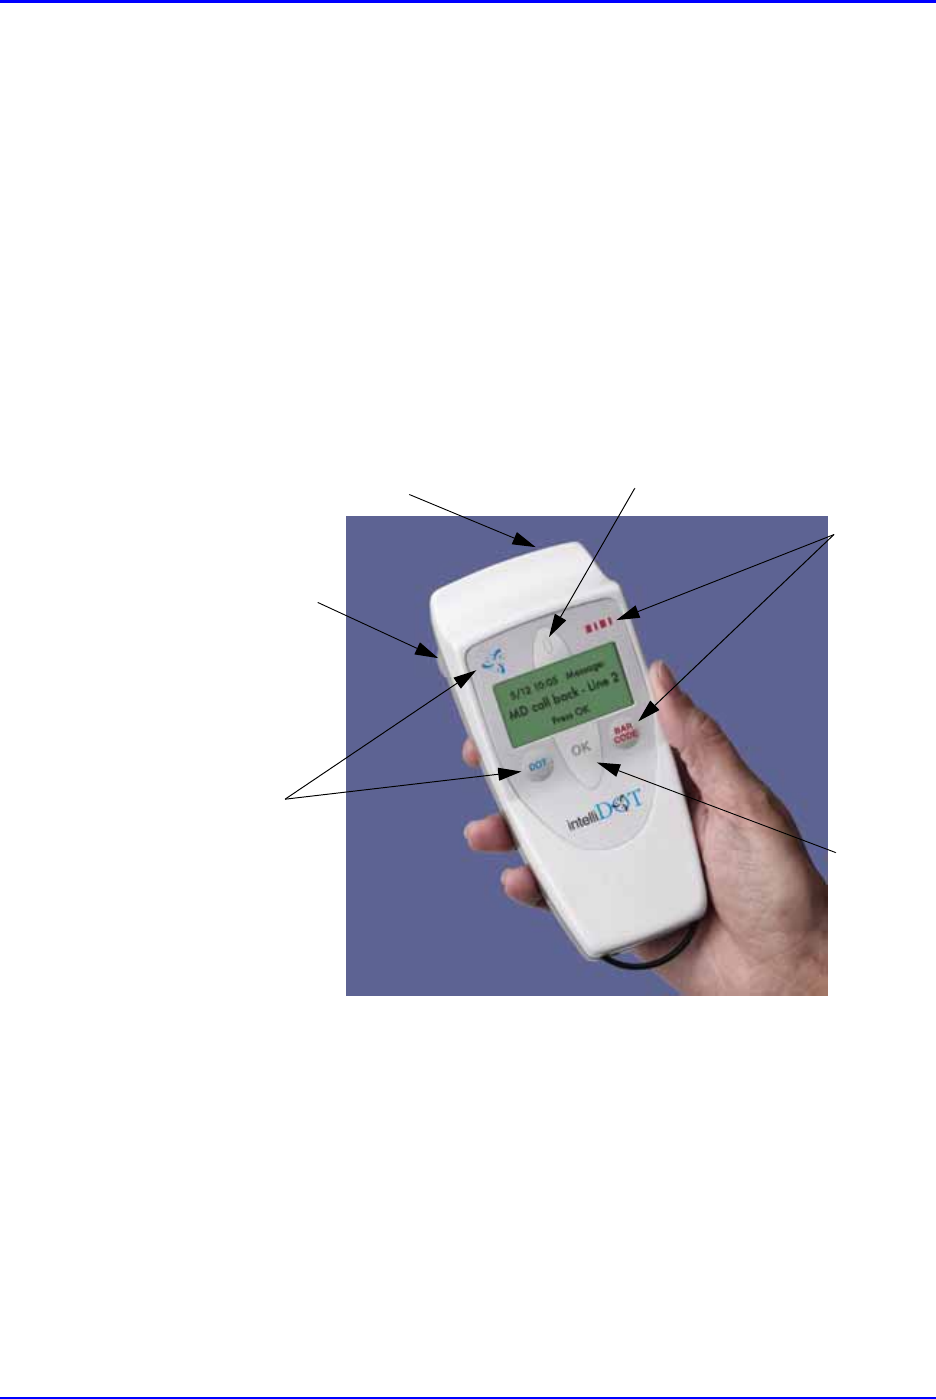
Features of the iConnect Handheld
The following illustration displays the features of the iConnect Handheld and their
functionality.
• Documentation of Treatment (DOT) Scanner - Used to scan iDOTs for
documentation and command functions
• Bar Code Scanner - Used to scan standard bar codes on medications,
wristbands, and badges
• DOT buttons (2) - Used to the DOT canner tscan iDOTs for documentation
and command execution, either button may be used
• Bar Code Buttons (2) - Used to the ar ode canner scan bar codes, either bar
code button may be used
• OK Button - Used to acknowledge the iConnect Handheld
Buttons for
Bar Code
“OK”
Button
Scanner
Buttons for
DOT
Scanner
DOT
Scanner
Bar Code
Scanner LED Status Light
P/N TP0001-01 Rev. B Charging the iConnect Handheld
intelliDOT iConnect System User Guide Confidential 2-3
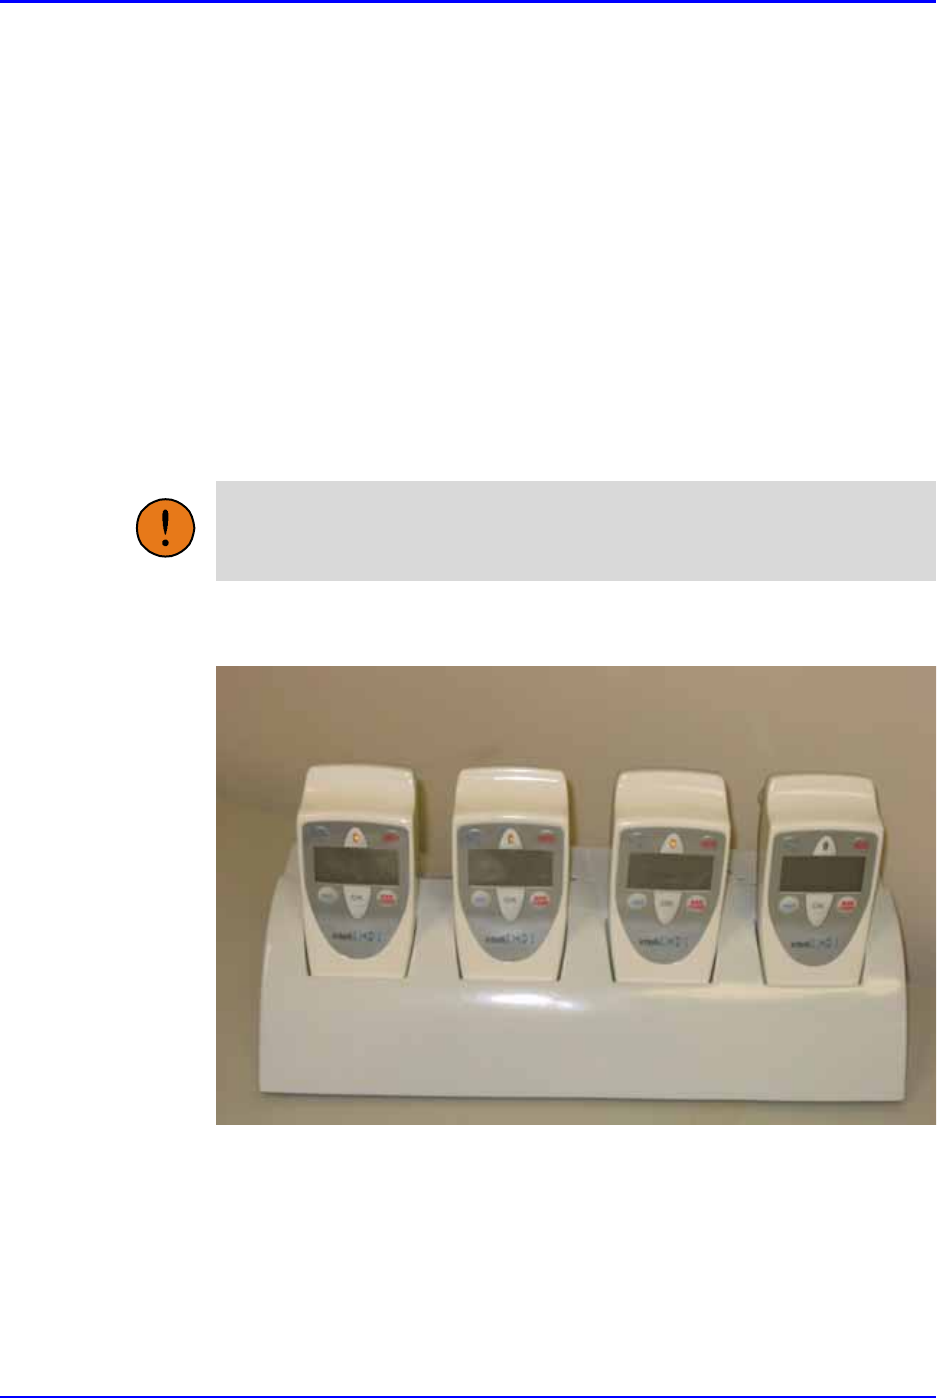
Charging the iConnect Handheld
The iConnect Handheld is powered by rechargeable batteries and should be stored
in the charger when not in use. Recharging time is approximately 4 hours when
battery power is near zero. While in the charger, the iConnect Handheld will also
perform wireless software maintenance. Software maintenance requires 30
seconds to several minutes to complete.
Once fully charged, battery power will last for approximately 12 hours. When the
charge falls below 18%, the low battery warning will appear. If this occurs, return
the iConnect Handheld to the charging cradle, and obtain a fully charged
replacement.
1. Always verify that the iConnect Handheld is inserted correctly into the power
cradle to ensure that the battery will recharge properly.
2. The iConnect Handheld will display “Updating Software” when software
maintenance is in progress.
3. Before removing an iConnect Handheld from the charger for use, verify that
the device is adequately charged by observing the percentage (%) of charge
displayed on the screen. Any charge above 87% is considered adequate to use.
Caution: Do not remove the iConnect Handheld from the charging cradle
during software maintenance.
Scanning P/N TP0001-01 Rev. B
2-4 Confidential intelliDOT iConnect System User Guide
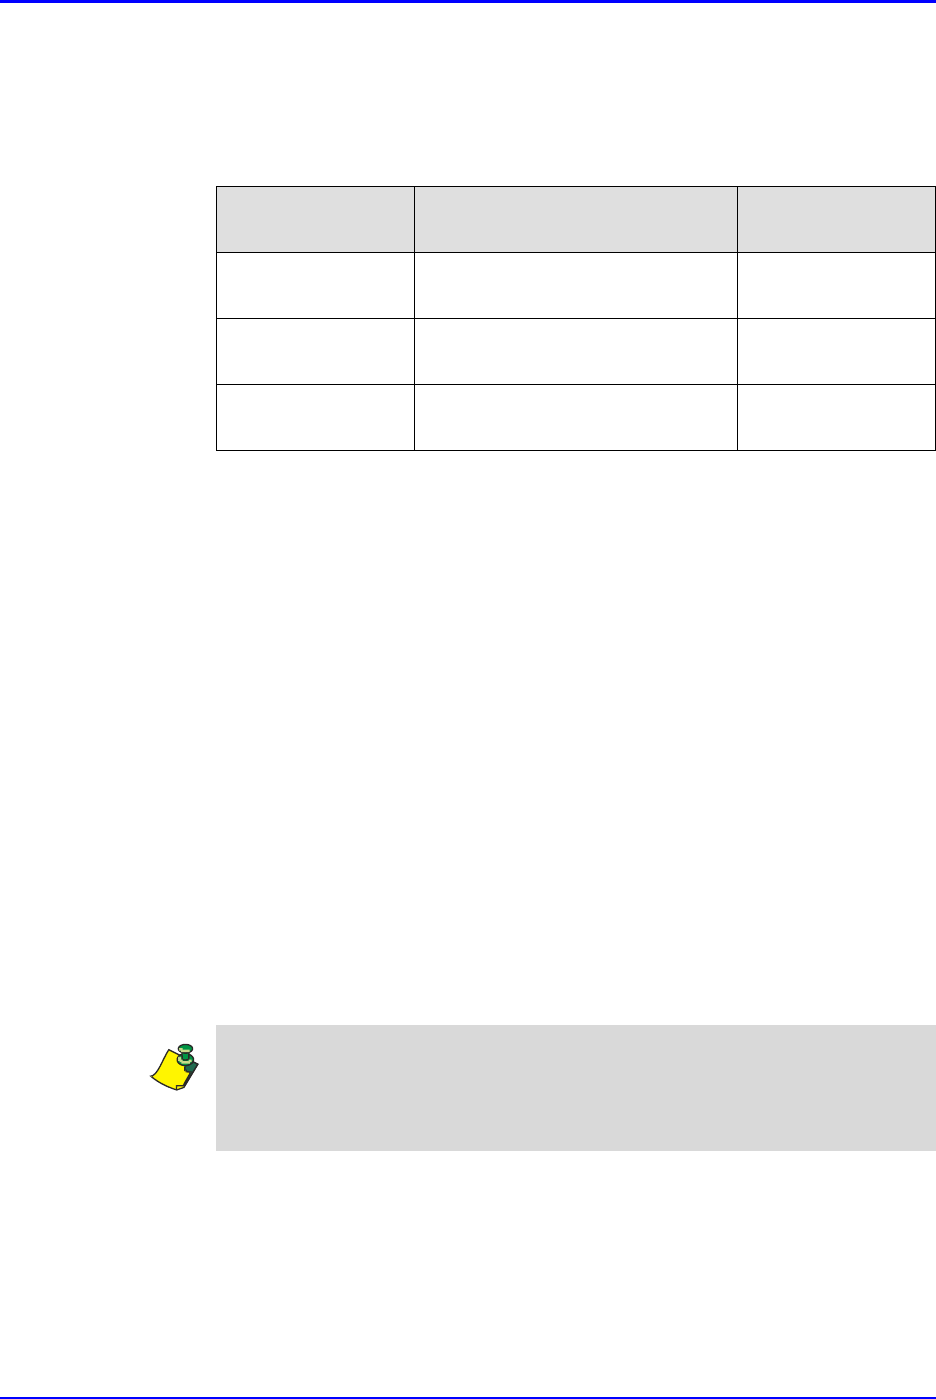
iConnect Handheld Display Convention Used in this User
Guide
To best describe what the user will see in the three lines of information displayed
on the iConnect Handheld, the following convention is used:
Scanning
The iConnect Handheld scans two different types of symbols, traditional bar
codes and iDOTs.
Bar codes are commonly found on medications, wristbands, and name badges.
Bar codes are best scanned by holding the bar code scanner 6-8 inches away and
pressing one of the bar code buttons to allow the laser to read across the bar code.
iDOTs are scanned by placing the clear cone or the DOT scanner directly on the
page, over the iDOT, and pressing the DOT scan button.
Scanning Bar Codes
1. Hold the iConnect Handheld perpendicular to bar code lines and press the Bar
Code Scan button on the right side of the iConnect Handheld. A red laser will
be beamed from the bottom right front of the iConnect Handheld.
2. Point the beam at the bar code.
3. If a “up-tone” chirp is heard, the scan is successful.
4. If a “down-tone” chirp is heard, repeat steps 1 and 2.
iConnect
Handheld Display Action Display
Contents
Display Line 1 Displays by toggling alternate
lines of information. Current Status
Display Line 2 Scrolls when necessary based on
message length. Information
Display Line 3 Alternates display of the
messages shown in the brackets. Prompts for action
Note: For best results when scanning bar codes, hold the scanner at a 30oto 40o
angle, approximately 6 to 8 inches away from the bar code. A simple firm button
press is all that’s needed.It is not necessary to hold down the scan button during
the scan.

P/N TP0001-01 Rev. B Login/Logout
intelliDOT iConnect System User Guide Confidential 2-5
Scanning iDOTs
1. Hold the iConnect Handheld DOT scanner clear cone directly in contact with
the page over the desired.
2. Press the DOT Scan button on the left side of the iConnect Handheld.
3. Hold the button for 1-3 seconds until a chirp sound is heard. A red LED will
be beamed from the bottom left front of iConnect Handheld.
4. If a “up tone” chirp is heard, the scan is successful.
5. If a “down-tone” chirp is heard, repeat steps 1 and 2.
Login/Logout
When planning to administer medications, the nurse should obtain a fully charged
iConnect Handheld from the charger. Login as soon as the device is removed from
the charger.
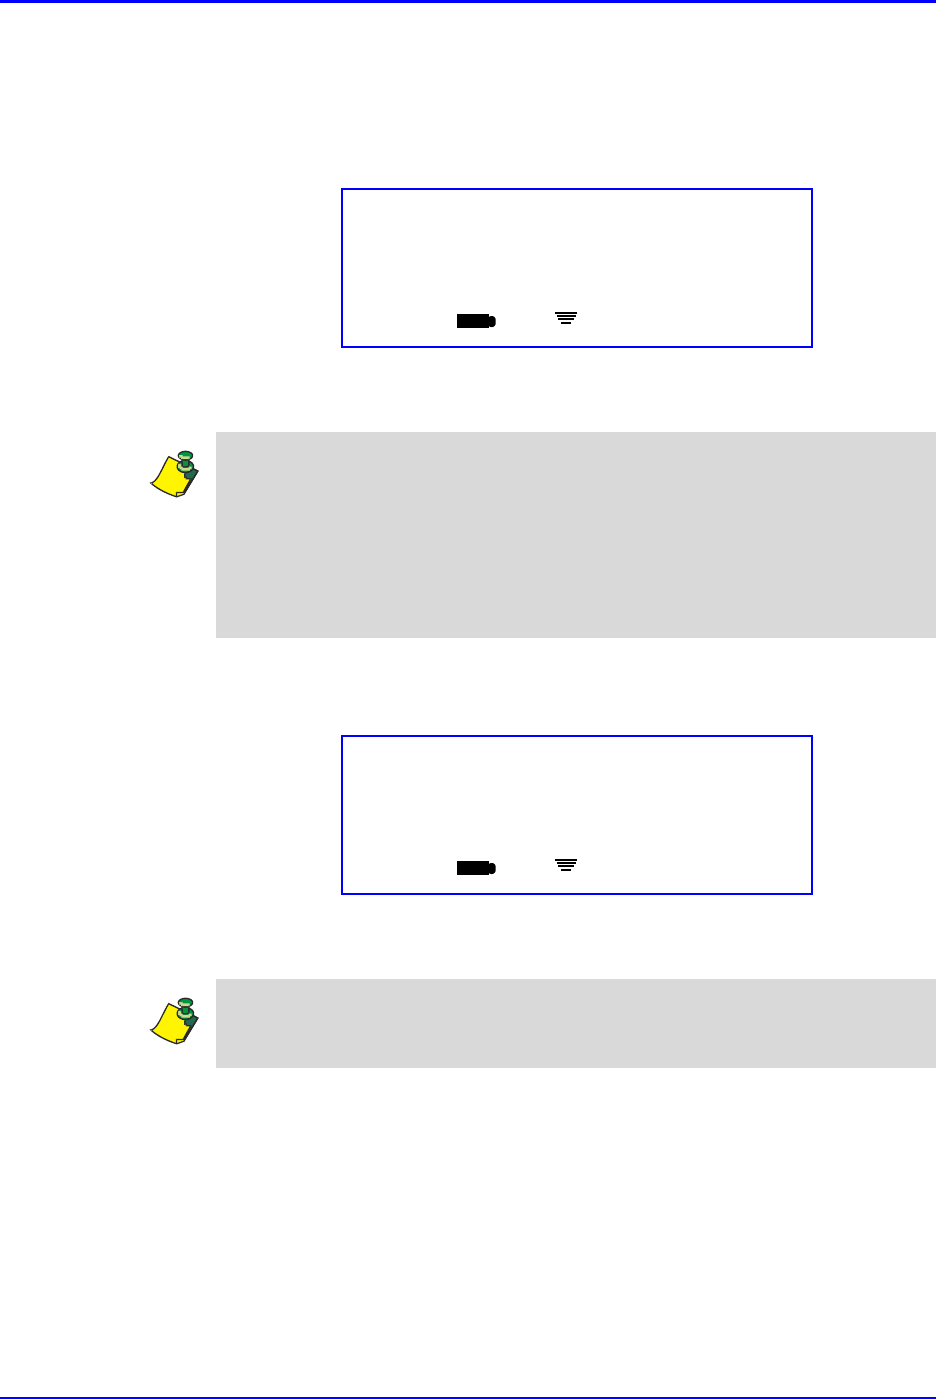
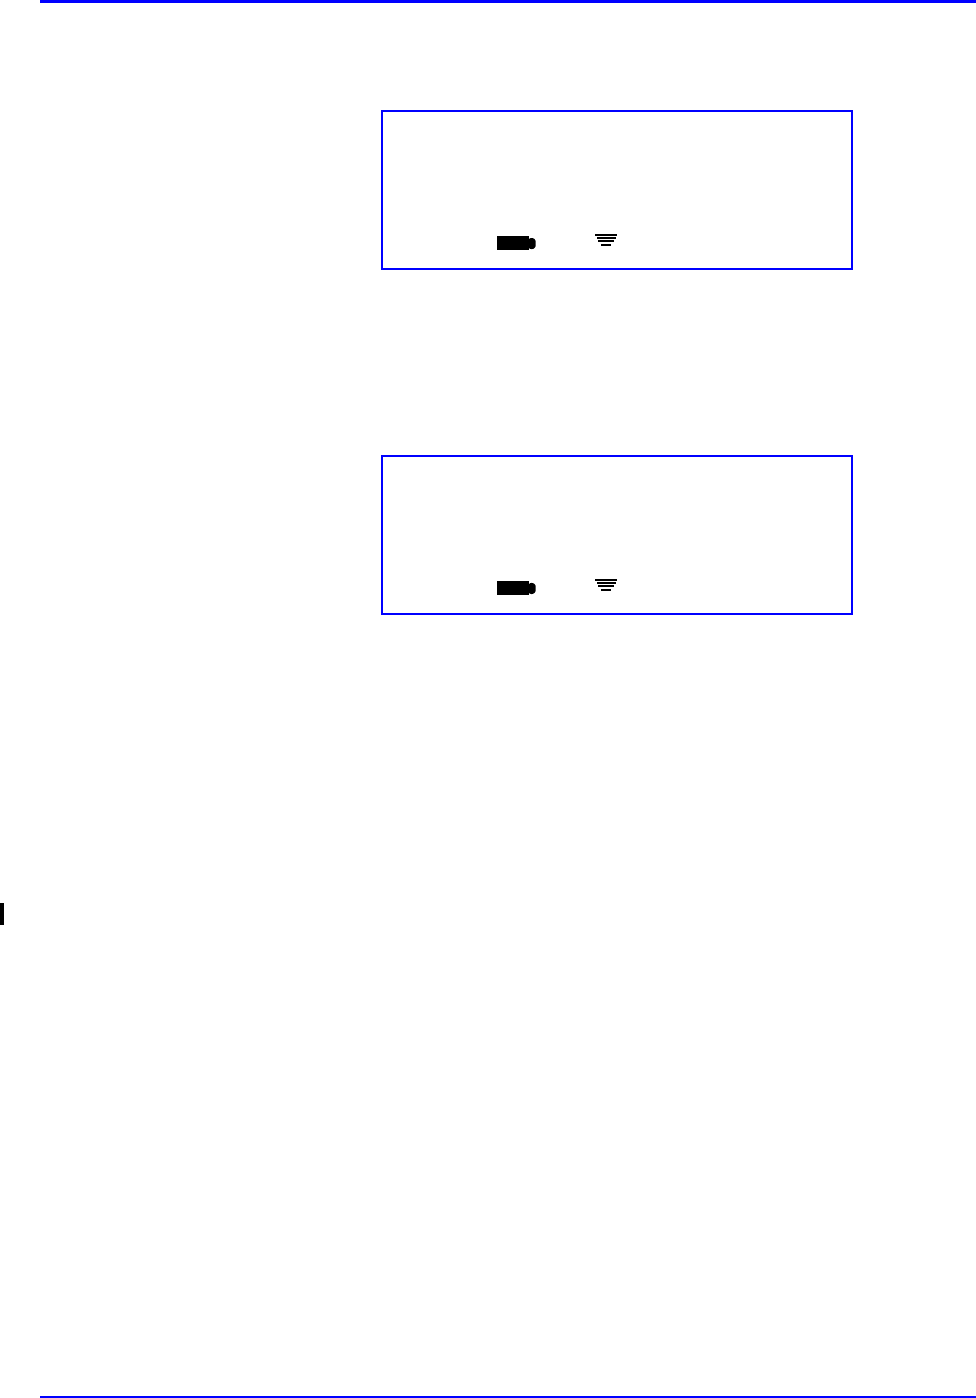
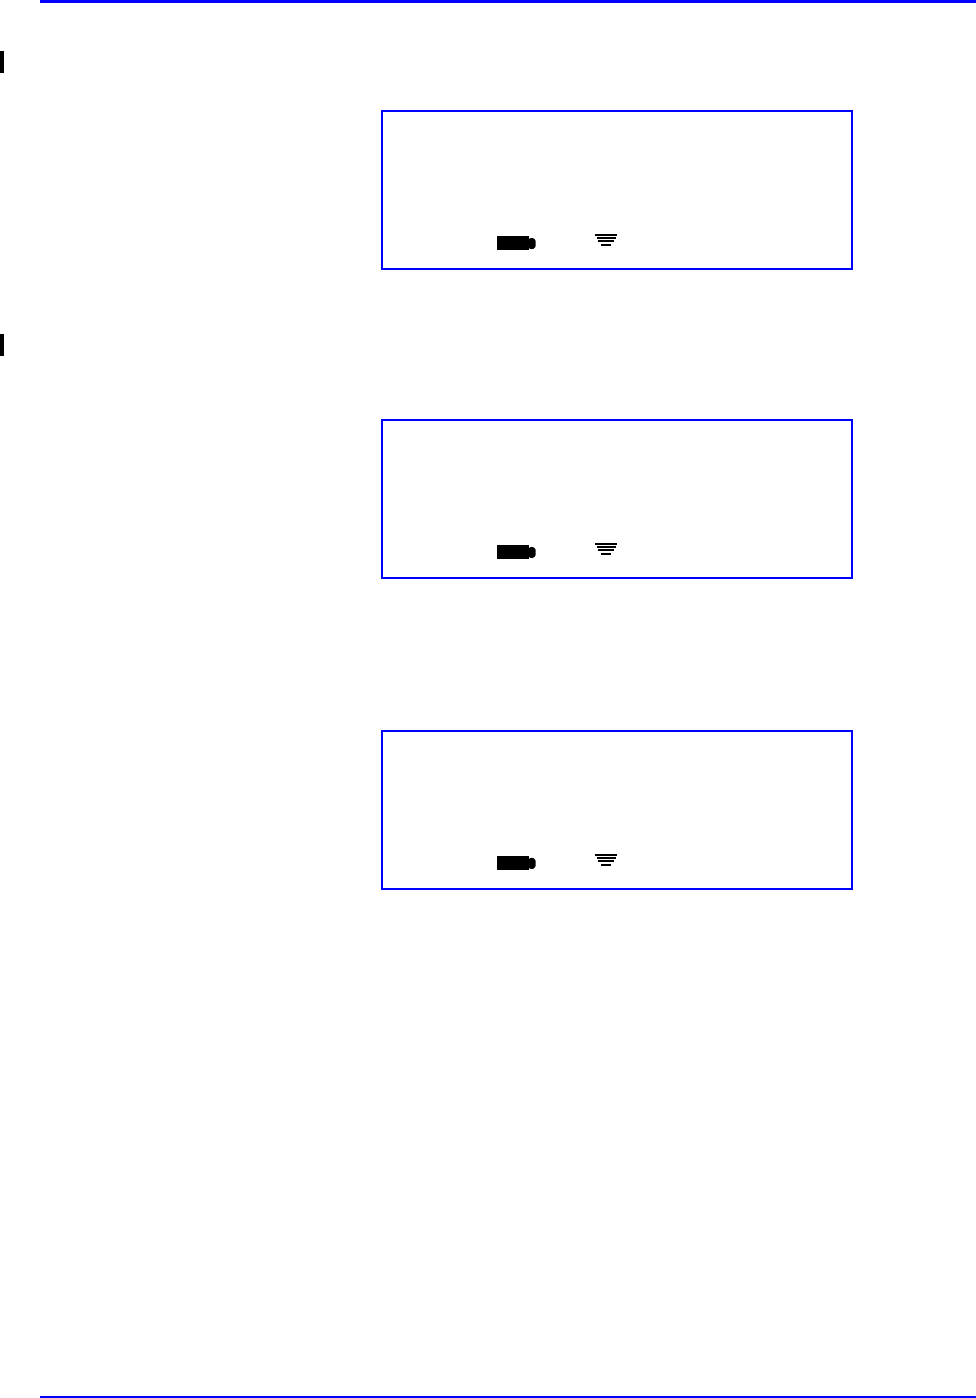
Logging In
1. Scan the bar code on your name badge to identify yourself to the system. The
following will appear:
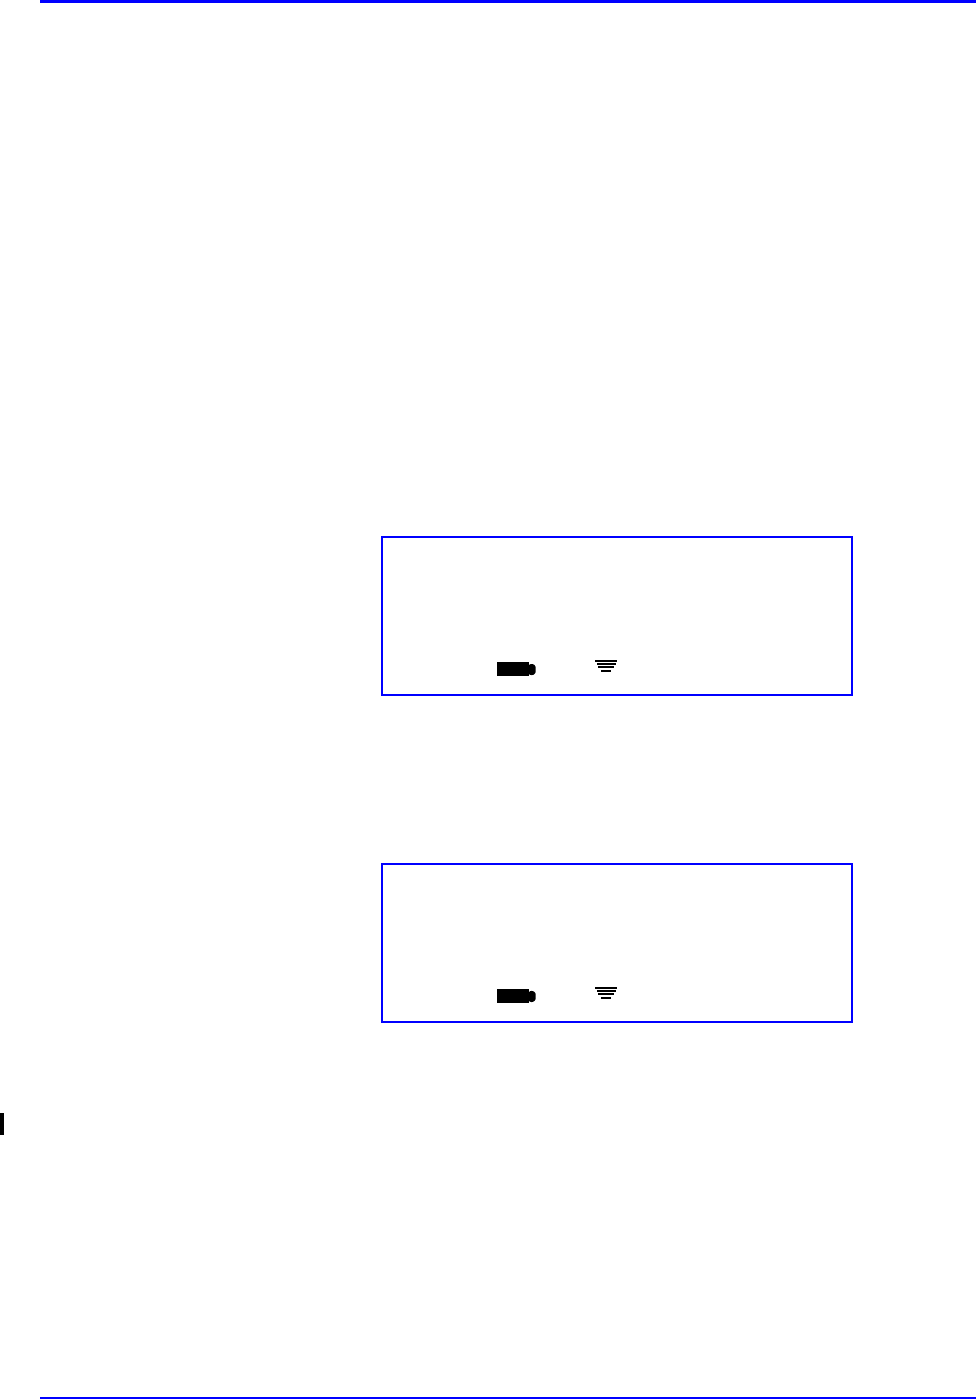
2. Scan the iDOTs corresponding to your password using the iDOT DOT sheets.
The screen will show asterisks for each password digit scanned:
Note: The iDOT symbol should be completely inside the clear plastic cone. For
best results, hold the scanner very still when scanning an iDOT.
Enter Password
<?>
Scan Numbers
iConnect Handheld screen
Enter Password
****
Accept OK or Scan Numbers
iConnect Handheld screen
Login/Logout P/N TP0001-01 Rev. B
2-6 Confidential intelliDOT iConnect System User Guide
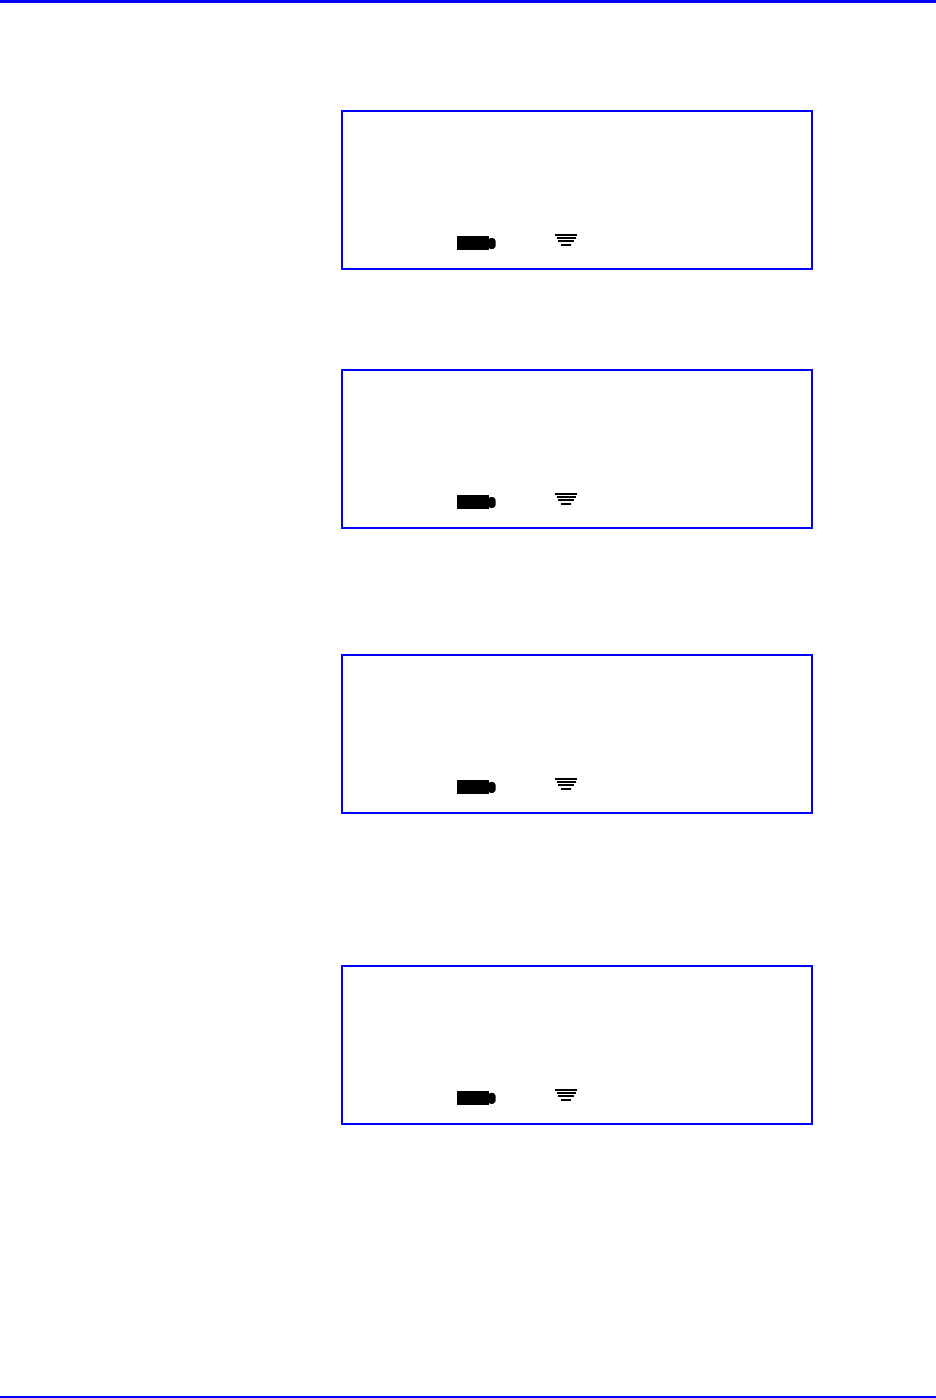
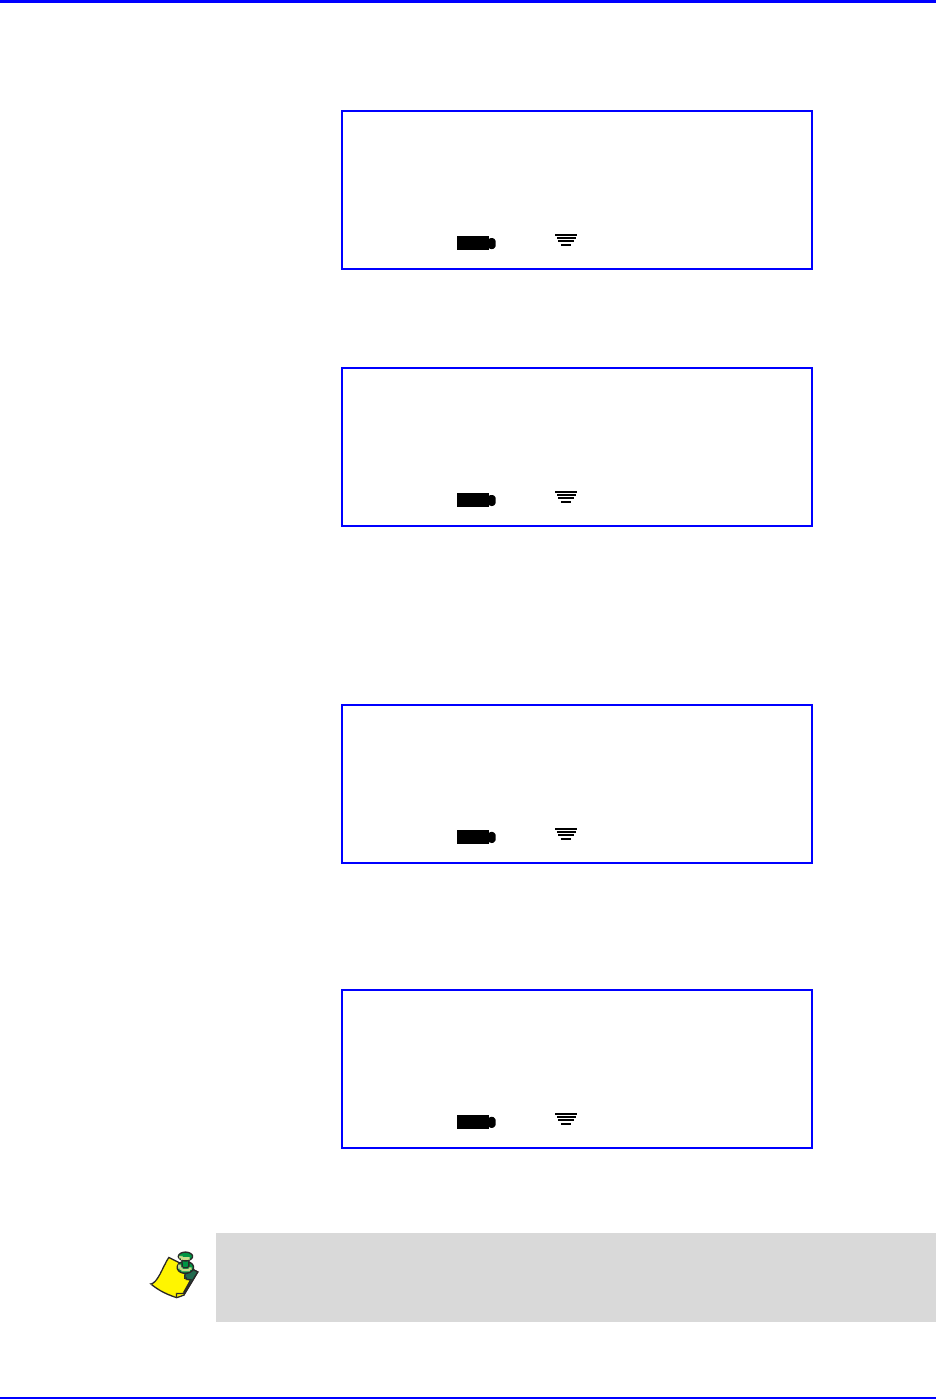
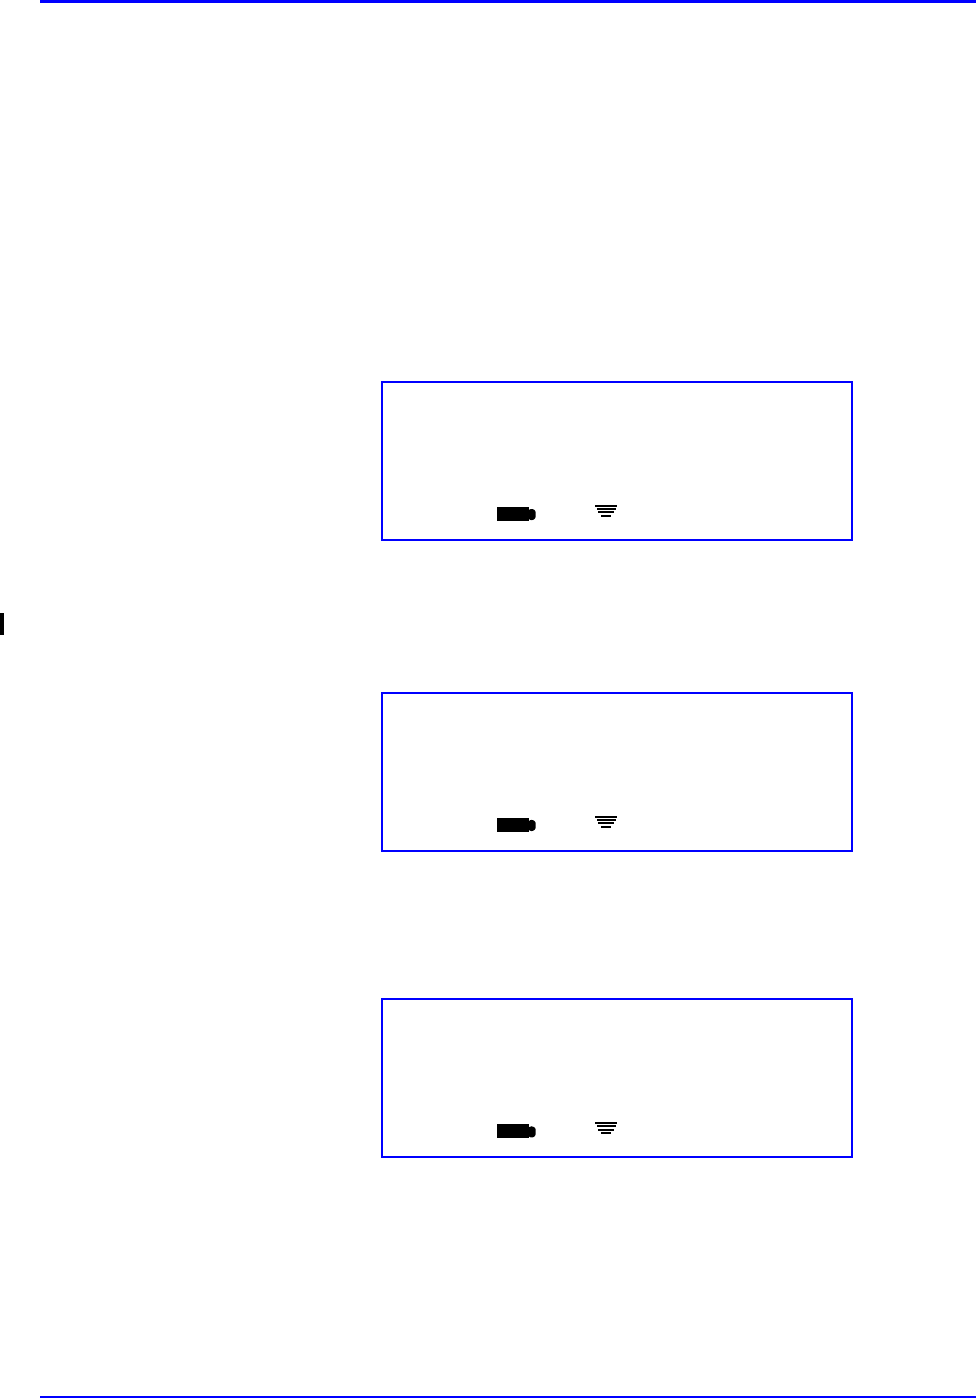
3. Press OK. If login is successful, the following screens will display briefly
while your user information is accessed:
The following is the home screen showing the name of the user who is logged in.
The screen will display whenever there is no transaction in progress. Once you are
logged into an iConnect Handheld, you will remain logged in until you log out,
the charge on the battery runs out, or the device times-out due to disconnection
with the system server.
4. If login is unsuccessful, repeat the process beginning at step 1.
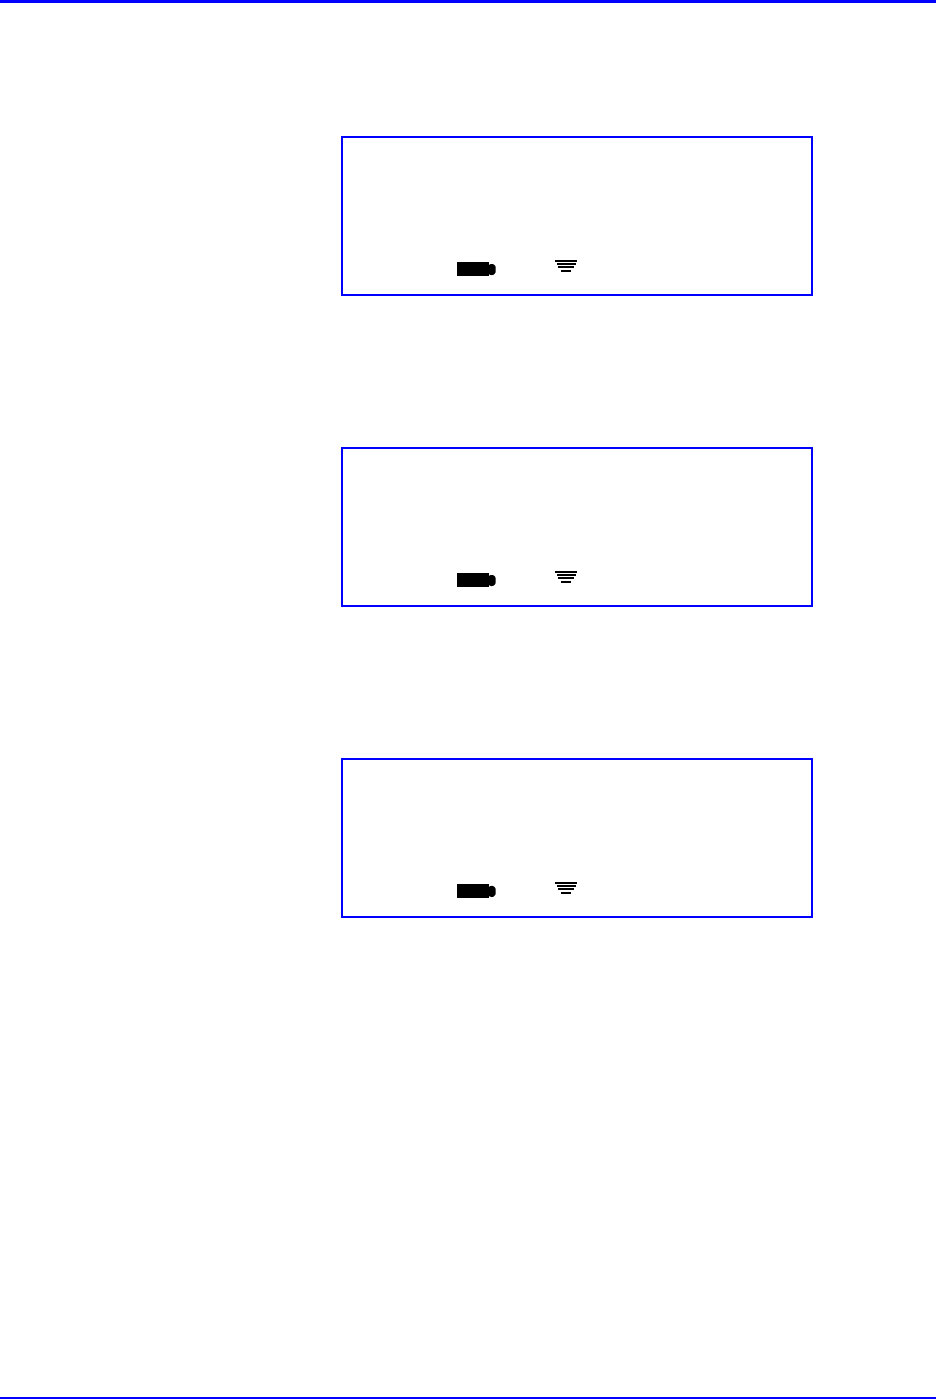
Logging Out
There are two ways to log out of the iConnect Handheld: (1) Place your iConnect
Handheld into the charging stand to automatically log out. (2) To log yourself out
(i.e., to give the iConnect Handheld to another nurse to log in and use) do the
following:
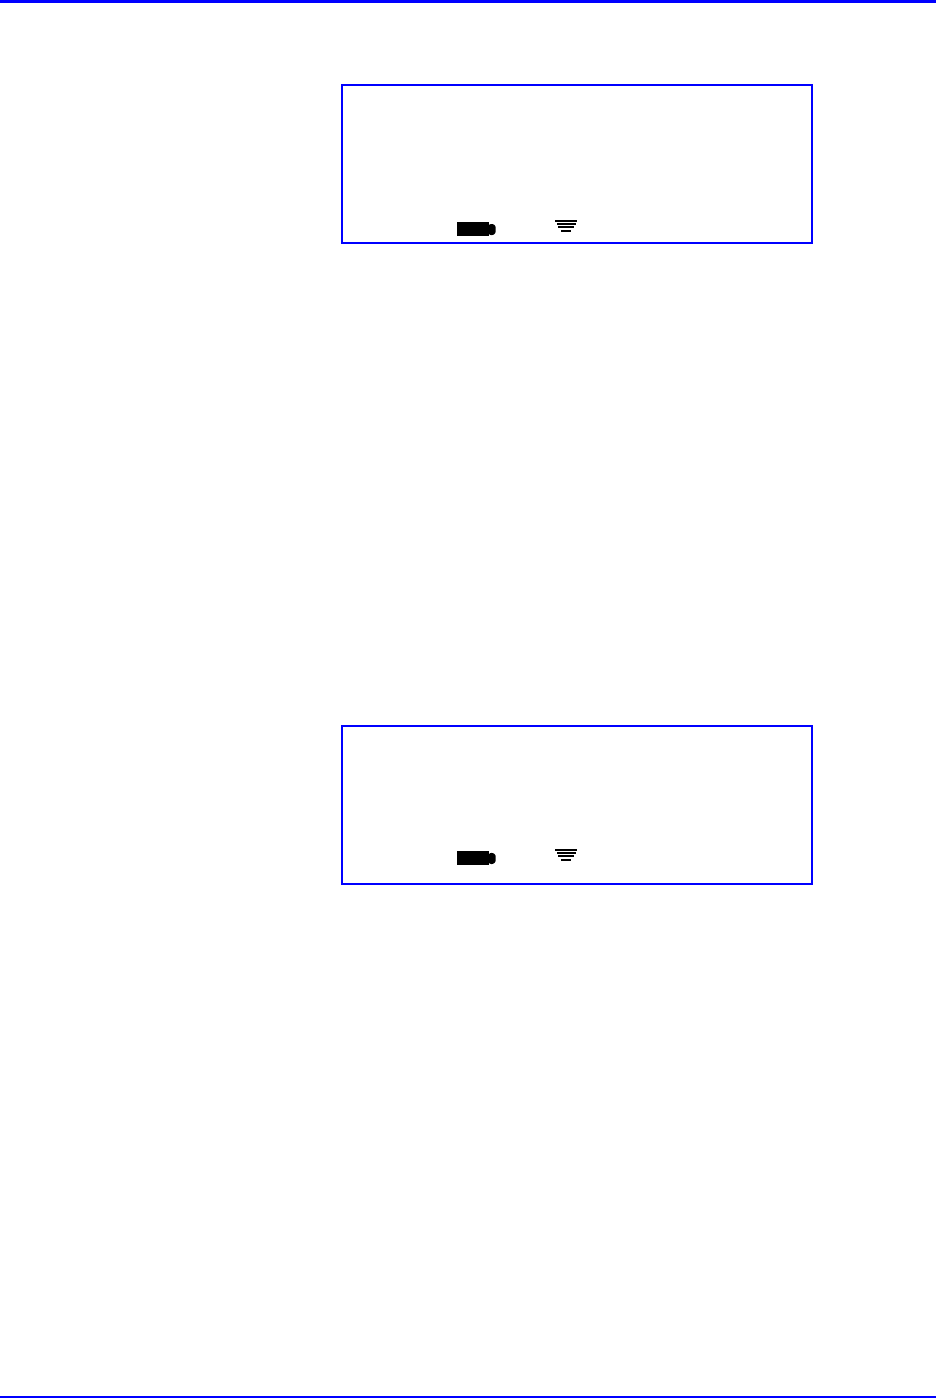
1. Scan the Logout iDOT on your Medication Administration iDOT sheet when
finished using the iConnect Handheld. The following screen will appear:
Logon Successful
Retrieving user workflow data
Please Wait
JS
iConnect Handheld screen
5/03/04 16:39
User: Elaine Dawson
Scan Patient or Command DOT
ED
iConnect Handheld screen
Note: The Logout iDOT can be found on the Medication Administration iDOT
sheet and the MAR reports.
Log Out
Push OK or
Scan Cancel
ED
iConnect Handheld screen
P/N TP0001-01 Rev. B Login/Logout
intelliDOT iConnect System User Guide Confidential 2-7
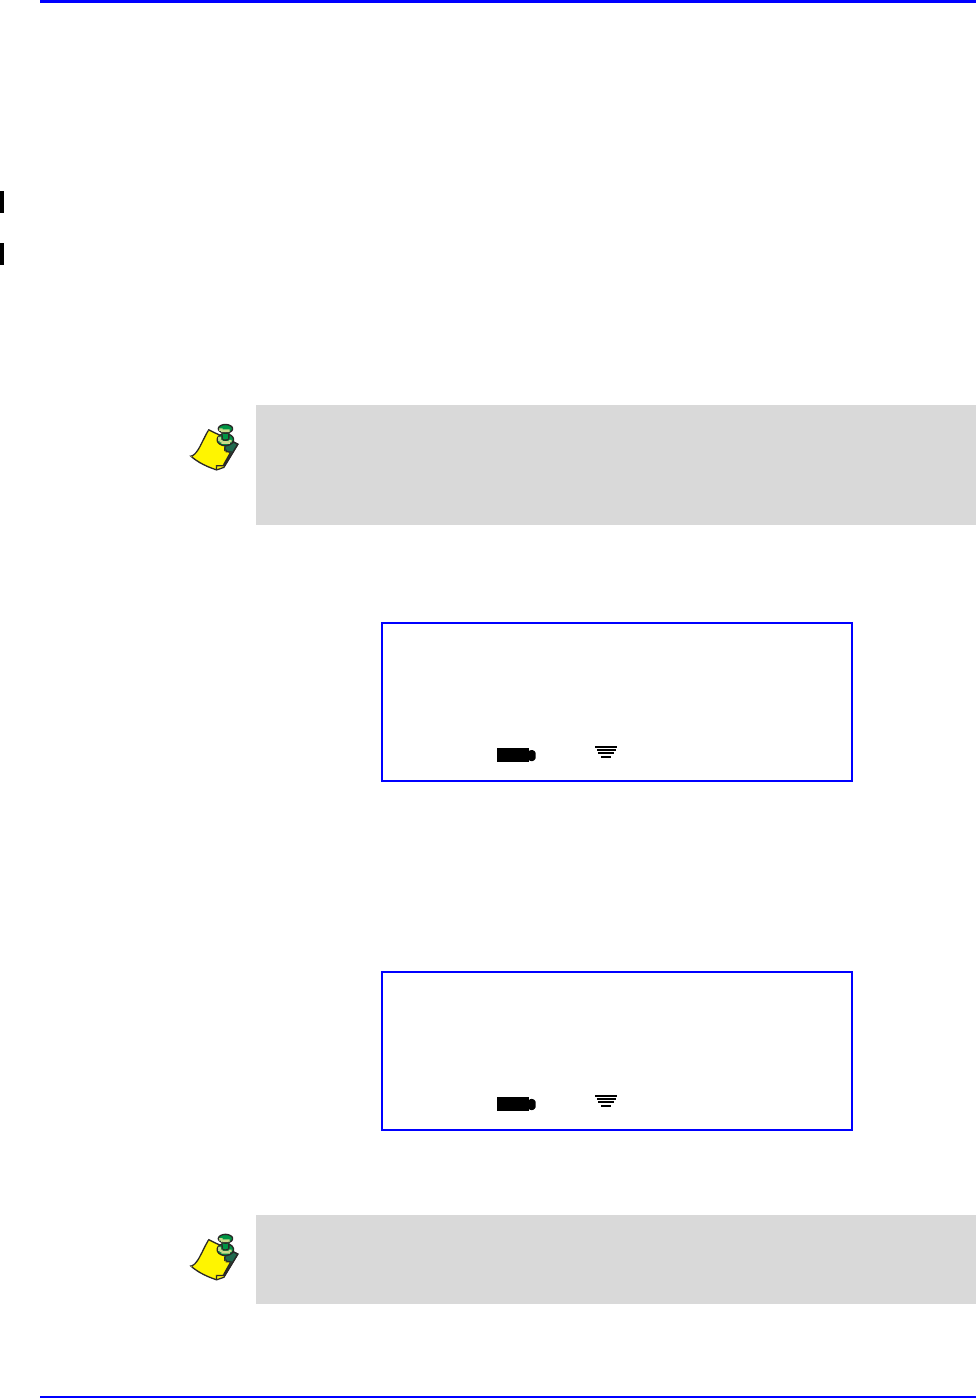
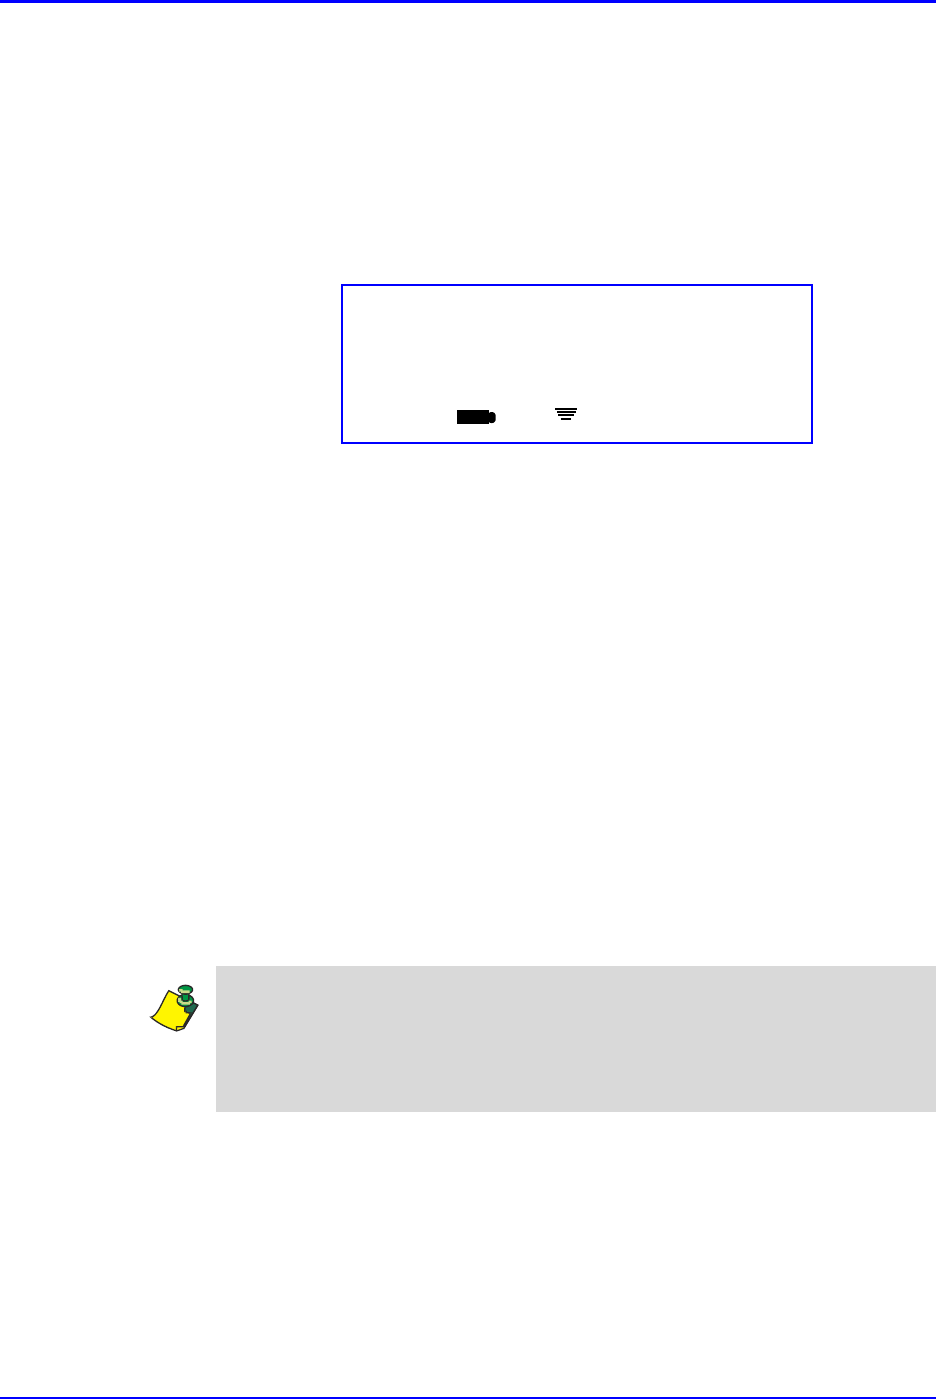
2. Press OK to logout. The following screen will briefly appear:
The login screen will appear confirming that you are logged off:
Logging Out
ED
iConnect Handheld screen
User Log-in
<no badge scanned>
Scan Badge
ED
iConnect Handheld screen
Assigning Patients to Yourself Using the iConnect Handheld P/N TP0001-01 Rev. B
2-8 Confidential intelliDOT iConnect System User Guide
Assigning Patients to Yourself Using the
iConnect Handheld
In the iConnect system, each patient is assigned to a nurse at all times. This allows
the system to send real-time dose reminders and other patient alerts to the
caregiver. The primary process for assigning patients to nurses requires the use of
a current Patient Assignment Worksheet Report and is described below.
Patient Assignments may also be done at the iConnect System Manager PC. Refer
to Assigning Patients on page 3-38.
Assigning Patients Using the Patient Assignment Worksheet
and iConnect Handheld
1. Print a current Patient Assignment Worksheet Report. Refer to The Report
will be printed on the applicable printer you selected. The Report prints from
the Internet file or EXCEL. See the following illustration for an example. on
page 4-58 for instructions on how to print.
2. Log into the iConnect Handheld, scan the Begin Patient Assignment Session
iDOT at the top of the worksheet. The following screen will appear:
3. Scan the iDOTs that correspond to the specific room numbers for patients that
you wish to assign to yourself. You can scan as many room number iDOTs as
needed. After each scan, you will see the following screen:
4. A green LED light should appear on the iConnect Handheld to indicate a
successful scan and assignment
Assign Pts/Locs
Scan PT Location
ED
iConnect Handheld screen
Sending Data
Please Wait
ED
iConnect Handheld screen

P/N TP0001-01 Rev. B Medication Administration Using the iConnect Handheld
intelliDOT iConnect System User Guide Confidential 2-9
5. When finished scanning room number iDOTs, scan the End Patient
Assignment Session iDOT on the Patient Assignment Worksheet to complete
the patient assignment process. You will see the following screen:
6. Press OK to exit the assignment process and return to the idle screen.
Medication Administration Using the iConnect
Handheld
This section provides detailed instructions on how to manage medication
administrations using the iConnect System. The section contains the following:
•Basic Medication Administration Process for Scheduled Medications
•Basic Medication Administration Process for Multi-dose PRN Medications
•Responding to Prompts for Data During Administration
•Dose-Due Reminders
•Using Delay Dose
•Using Cover Patients to Transfer Patient Responsibility
•Medication Administration Warnings
•Case 1 - Prepared Item that is printed on the Prospective MAR
•Case 2 - Prepared Item that is printed on the Prospective MAR and
requiring a witness
•Case 3 - Prepared Item with multiple medications that is printed on the
Prospective MAR
•Case 4 - Administering Medications for Cases 1-3
•Case 5 - Prepared Item that is NOT yet printed on the Prospective MAR
•Case 6 - Prepared Item with multiple medications that is NOT yet printed on
the Prospective MAR
•Case 7 - Administering Medications for Cases 4-5
Assign Pts/Locs
Process Done
OK
ED
iConnect Handheld screen
Medication Administration Using the iConnect Handheld P/N TP0001-01 Rev. B
2-10 Confidential intelliDOT iConnect System User Guide
Basic Medication Administration Process for Scheduled
Medications
The following is an example medication administration of two scheduled
medications, Furosemide 40 mg oral and phenytoin 100 mg oral, both due at 9 am.
1. By referring to the MAR, determine which medications are due for the 9 am
pass and obtain those medications. Refer to Generating Reports on page 4-1
for printing the MARs and other reports mentioned below.
2. Bring the Medication Administration DOT sheet with you to the bedside. This
provides the iDOTs for the override reasons, administration sites, commands,
number pad, and other entries that may be required when passing
medications.
3. Once at the bedside, scan the patient’s wristband.
4. Visually confirm that you have the correct patient. (If you do not have the
correct patient, scan your badge to exit this patient and start over.)
5. If desired, you may scroll through each of the medications due by pressing the
OK button.
Note: It is assumed that you are logged in, and the Medication Administration
DOT sheet and MARs are available. Either the Medication Administration DOT
sheet or the MAR both have iDOTs that can be used to complete iDOT functions
described.
Note: From this point and through the rest of the medication administration
process, remember that you can scan the Cancel iDOT to exit from any
transaction. If you cancel, you may still continue with transactions for the same
patient.
2 Med Due
John Smith, Rm: 333 1
Review Meds OK Or Scan Med/badge
ED
iConnect Handheld screen
Note: As an alternative, you may bypass the review of medications due and scan
the first medication that you know is due based on the information on the MAR.
In this case, go directly to step 6.
P/N TP0001-01 Rev. B Medication Administration Using the iConnect Handheld
intelliDOT iConnect System User Guide Confidential 2-11
6. When OK is pressed once, the following screen will appear, displaying the
first (1 of 2) medications due.
7. Press OK again to display the second due medication.
8. Scan the first medication (Furosemide in this example) to be administered.
The following screen will appear:
9. View the displayed medication information and, if it is the medication
intended, press OK to confirm that you plan to give the medication to the
patient now. The following screen will appear:
1 of 2
Furosemide (Lasix) 40 MG oral
Review Meds OK Or Scan Med/Badge
ED
iConnect Handheld screen
2 of 2
Phenytoin (Dilantin) 100 MG oral
Review Meds OK Or Scan Med/Badge
ED
iConnect Handheld screen
Due: 15th 09:00
Furosemide (Lasix) 40 MG oral
OK
ED
iConnect Handheld screen
Admin Complete/Dose 40 MG
Furosemide (Lasix) 40 MG oral
Confirm OK
ED
iConnect Handheld screen
Medication Administration Using the iConnect Handheld P/N TP0001-01 Rev. B
2-12 Confidential intelliDOT iConnect System User Guide
10. You may now scan the next scheduled medication (Phenytoin in this example)
to be administered. The process described above for the Furosemide dose you
gave is repeated for Phenytoin.
11. View the displayed medication information and, if it is the medication
intended, press OK to confirm that you plan to give the medication to the
patient now. The following screen will appear:
12. When you are finished scanning medications you plan to give to this patient,
scan your badge to record these transactions. Scan badge to complete Med
Pass. The following screen will appear:
13. The transactions are now sent wirelessly to the electronic Medication
Administration Record and are recorded as medications given.
14. Proceed with administering the medications you just scanned to the patient.
Due: 15th 09:00
Phenytoin (Dilantin) 100 MG oral
OK
ED
iConnect Handheld screen
Admin Complete/Dose 100 MG
Phenytoin (Dilantin) 100 MG oral
Confirm OK
ED
iConnect Handheld screen
Work recorded
2 Meds Given
Push OK
ED
iConnect Handheld screen
P/N TP0001-01 Rev. B Medication Administration Using the iConnect Handheld
intelliDOT iConnect System User Guide Confidential 2-13
Basic Medication Administration Process for Multi-dose
PRN Medications
The following is an example medication administration for Promethazine 25 mg/
1ml injection, ordered as a PRN medication with a dose of 12.5 mg:
1. By referring to the MAR, determine which ordered PRN medications you
wish to give and obtain that medication. Refer to Generating Reports on
page 4-1 for printing the MARs and other reports mentioned below.
2. Bring the Medication Administration DOT sheet with you to the bedside. This
provides the iDOTs for the override reasons, administration sites, commands,
number pad, and other entries that may be required when passing
medications.
3. Once at the bedside, scan the patient's wristband. Assuming there are no
scheduled medications due, the following screen will appear showing the patient's
name and location:
The iConnect Handheld displays the meds due for the patient.
3. Scan the PRN medication to be administered. If this medication has been
given previously, the last administration time will display on the top line. If no
administrations of this medication have occurred, the line will be blank.
Note: From this point and through the rest of the medication administration
process, remember that you can scan the Cancel iDOT to exit from any
transaction. If you cancel, you may still continue with transactions for the same
patient.
No Meds Due
John Smith, Rm: 333 1
Review Meds OK or Scan Med/Badge
ED
iConnect Handheld screen
Last: 25th 14:30
Promethazine 25 mg/1ml vial
OK
ED
iConnect Handheld screen
Note: If no doses of this medication were given, the line for the last time given
will be blank.
Medication Administration Using the iConnect Handheld P/N TP0001-01 Rev. B
2-14 Confidential intelliDOT iConnect System User Guide
4. View the displayed medication information and, if it is the medication
intended, press OK to confirm that you plan to give the medication to the
patient now. Since the medication amount and the dose ordered may not be
the same, the iConnect will prompt you to enter the amount you plan to
administer. Therefore, the following screen will appear.
5. Enter the amount you plan to give using the number iDOTs on the Medication
Administration DOT sheet. Use the decimal iDOT to enter a decimal point if
required. The screen will change as you enter the amount:
Multi-Dose Vial
<?> MG
Enter Dose
ED
iConnect Handheld screen
Note: The typical unit of measure (mg, mcg, ml, etc.) for this medication will
display automatically. The amount to be given must be entered in this unit of
measure.
The Enter Dose prompt will appear if the iConnect formulary item setting for the
medication requires that the amount given be entered. This is typically required
for injectable and oral liquid medications.
Multi-Dose Vial
12.5 MG
Accept OK or Enter Dose
ED
iConnect Handheld screen
Note: Use the iDOT labeled Back to backspace and remove a digit.
P/N TP0001-01 Rev. B Medication Administration Using the iConnect Handheld
intelliDOT iConnect System User Guide Confidential 2-15
6. When the correct amount is entered, press OK to accept the entry. The
following screen will appear to confirm your acceptance:
7. You may now scan another medication for this patient if desired.
8. When you are finished scanning medications, you can plan to give to this
patient. Scan your badge to record these transactions. The following screen
will appear:
9. The transactions are now sent wirelessly to the electronic Medication
Administration Record and are recorded as medications given.
10. Proceed with administering the medications you just scanned to the patient.
Responding to Prompts for Data During Administration
To comply with hospital policies and procedures for a medication administration
and documentation, the iConnect may be configured to prompt you to enter
information during the administration process. Scan iDOTs from the Medication
Administration DOT sheet to input the needed information. This information will
become part of the patient's permanent Medication Administration Record.
Example: Medication administration of Digoxin 0.25 mg oral tablet where
checking and recording the patient’s apical pulse prior to administration is
required.
Admin Complete/Dose: 25 MG
Phenergan 25 MG/1 ML
(Promethazine HCL) 25
Confirm OKED
iConnect Handheld screen
Work Recorded
1 Med Given
Push OK
ED
iConnect Handheld screen
Medication Administration Using the iConnect Handheld P/N TP0001-01 Rev. B
2-16 Confidential intelliDOT iConnect System User Guide
1. Once at the bedside, scan the patient wristband. The following screen will
appear showing that a medication is due:
2. Scan the Digoxin tablet bar code. The following screen will appear:
3. View the displayed medication information and, if it is the medication
intended, press OK to confirm that you plan to give the medication to the
patient now. The following screen will appear prompting you to enter the
apical pulse:
4. If you haven’t already, take the patient’s pulse. Scan number iDOTs to enter
the pulse rate.
1 Med Due
John Smith, Rm: 333 1
Review Meds OK or Scan Med/Badge
ED
iConnect Handheld screen
Due: 15th 09:00
Digoxin (Linoxin) 0.25 MG oral
OK
ED
iConnect Handheld screen
Enter Apical Pulse Rate
<?> BPM
Scan # DOTs
ED
iConnect Handheld screen
Enter Apical Pulse Rate
55 BPM
Accept OK or Scan # DOTs
ED
iConnect Handheld screen
Note: Use the iDOT labeled Back to backspace and remove a digit.
P/N TP0001-01 Rev. B Dose-Due Reminders and Overdue Alerts
intelliDOT iConnect System User Guide Confidential 2-17
5. Press OK to accept. The following screen will appear:
6. When you are finished scanning medications you plan to give to this patient,
scan your badge to record the transactions.
Dose-Due Reminders and Overdue Alerts
iConnect can be configured to alert the nurse to medications due or past due.
Dose-Due Reminders
Dose Due Reminders are an optional feature of iConnect. If your system is
configured to display reminders, when you log on to your iConnect Handheld, it
will alert you when scheduled medications are due for your assigned patients. The
window of time for reminders in advance after the scheduled dose time is
configured by your system manager. The following is an example of a reminder
screen:
Reminders are accompanied by an audible tone and a visual alert (yellow light)
and will appear for your assigned patients only. There are three ways to clear
dose-due reminders:
1. Snooze the alert for 10 minutes by pressing OK.
2. Omit the due dose.
3. Delay the reminder for a specified period of time.
Omit and Delay will be explained later in this chapter.
Admin Complete/Dose: 0.25 mg
Lanozin 0.25 MG (Digoxin) 0.25 mg
Confirm OK
ED
iConnect Handheld screen
Due 09:00 / Patient Name
Digoxin (Lanoxin) 0.25 mg oral
OK
ED
iConnect Handheld screen
Dose-Due Reminders and Overdue Alerts P/N TP0001-01 Rev. B
2-18 Confidential intelliDOT iConnect System User Guide
Overdue Dose Alerts
Overdue Dose Alerts are an optional feature of iConnect. If your system is
configured to display overdue alerts, when you log on to your iConnect Handheld,
it will alert you when scheduled medication doses are past due for your assigned
patients and now considered by iConnect to be late.
The window of time for initiating overdue medication alerts beyond the scheduled
dose time is configured by your system manager. The following is an example of
an overdue or late dose alert screen:
Overdue alerts are accompanied by an audible tone and a visual alert (red light)
and will appear for your assigned patients only. There are four ways to clear
overdue medication alerts:
1. Snooze the alert for 10 minutes by pressing OK.
2. Omit the due dose.
3. Delay the alert for a specified period of time.
Omit and Delay will be explained later in this section.
Omitting a Due Dose
With iConnect, every dose of medication must be accounted for by the system and
the nurse user. Based on clinical judgement, you may decide to permanently skip a
medication dose that is due. iConnect refers to this as "omitting" the scheduled
dose. An omitted dose will be charted on the electronic medication
administration record as omitted, or not given, with full documentation of the
date, time, caregiver who omitted the dose, and the reason for omitting.
To omit a due or overdue dose, perform the following steps when the Dose
Reminder or Overdue Dose Alert:
28th 13:00 Late John Smith
Digoxin (Lanoxin) 0.25 mg oral
OK
ED
iConnect Handheld screen
Note: Remember, omitting a dose that is not administered is important to
iConnect because the system will indefinitely continue to assume that the next
dose of the due medication that is given is the first due or overdue dose. Without
properly omitting a due or overdue dose that is purposely not administered, the
accountability and documentation for future doses given may be inaccurate.
P/N TP0001-01 Rev. B Dose-Due Reminders and Overdue Alerts
intelliDOT iConnect System User Guide Confidential 2-19
1. Scan the Omit iDOT found on the Medication Administration DOT Sheet.
The following screen will appear:
2. Scan a reason for omitting the dose using the reason iDOTs on the Medication
Administration DOT Sheet. For example, if the "Patient Declined" reason
iDOT is scanned, the following screen will appear:
3. Once the correct reason is displayed, press OK to confirm. The following
screen will appear to indicate that you have completed the steps required to
permanently omit the due dose:
4. Scan your badge to record the transaction.
Omit Dose
Digoxin (Lanoxin) 0.25 mg oral
Scan Reason
ED
iConnect Handheld screen
Omit Dose
Patient Declined
Scan Reason or OK
ED
iConnect Handheld screen
Omit Complete
1 Dose Omitted
Scan Badge
ED
iConnect Handheld screen
Dose-Due Reminders and Overdue Alerts P/N TP0001-01 Rev. B
2-20 Confidential intelliDOT iConnect System User Guide
Using Snooze
When you log in to the iConnect Handheld and a Dose Due Reminder or Overdue
Dose Alert displays, you can choose to "snooze" the message to have it reappear
approximately 10 minutes later. To do this, simply press OK when the message is
displayed. The message will appear again in ten minutes or the next time you log
in, whichever comes first. This process can be repeated if necessary.
The iConnect electronic medication administration record does not capture the
snoozing of a Dose Due Reminder or Overdue Dose Alert. Repeated snoozing
may result in giving and documenting a scheduled dose late.
If you decide not to give a scheduled dose, be sure to Omit the dose rather than
snooze it. (See Omitting a Due Dose).
Using Delay Dose
When you log in to the iConnect Handheld and a Dose Due Reminder or Overdue
Dose Alert displays, you can choose to "delay" the message to have it reappear
when a period of time that you specify has elapsed.
For example, to delay the above Overdue Dose Alert for 45 minutes, use the
following steps:
1. Scan the Delay Dose iDOT. The following screen will appear:
2. Enter the number of minutes (45 in this example) by scanning number iDOTs
on the Medication Administration DOT sheet. Use the Back iDOT to
backspace and remove a wrong entry.
3. When the desired number of minutes has been entered, press OK.
The iConnect electronic medication administration record does not capture the use
of Delay Dose to delay a Dose Due Reminder or Overdue Dose Alert. Use Delay
Dose carefully, since delaying a dose may result in giving and documenting it late.
Late 15th 09:00 / Furosimide 40 mg oral
Patient Name / Room #
OK to Snooze/Omit
ED
iConnect Handheld screen
Delay Dose
<?> Minutes
Enter Time
ED
iConnect Handheld screen
P/N TP0001-01 Rev. B Dose-Due Reminders and Overdue Alerts
intelliDOT iConnect System User Guide Confidential 2-21
Using Cover Patients to Transfer Patient Responsibility
When you are beginning a shift, the responsibility for patient medication care
must be transferred from the off-going nurse to you. During a shift, it may also be
necessary for a nurse to accept responsibility for another nurse's patients while
that nurse is temporarily away from the patient care area. The iConnect Handheld
can easily transfer patient medication responsibility, including medication
reminders and alerts, from one nurse to another using the Cover Patients feature.
The following steps should be followed by the nurse (e.g., on-coming) who is
accepting the responsibility for patient medication coverage:
1. Scan the Cover Patients iDOT on the Medication Administration DOT sheet.
The following screen will appear:
2. Scan a patient iDOT on the Prospective MAR to accept coverage for that
patient. The following screens will appear briefly as the iConnect transfers
coverage responsibility:
3. When "Process Done" appears, another patient iDOT can be scanned. This
process can be repeated until iDOTs for all patients to be covered have been
scanned.
4. Rescan the Cover Patient iDOT again to end the process of reassigning of
patient medication coverage.
Cover Patients
Scan Pt/Loc
ED
iConnect Handheld screen
Sending Data
Please Wait
ED
iConnect Handheld screen
Cover Patients
Scan Pt/Loc
ED
iConnect Handheld screen

Medication Administration Warnings P/N TP0001-01 Rev. B
2-22 Confidential intelliDOT iConnect System User Guide
Medication Administration Warnings
The iConnect System will alert the nurse to certain situations that may exist at the
time of medication administration. In cases where it is necessary to bypass the
alert, the system may ask the nurse to provide a reason or to enter other patient
information. This is easily accomplished by scanning iDOTs. The following types
of warnings are provided:
Early or Late Warnings
Early or Late Warnings may display when a medication that the nurse is scanning
prior to administration is early or late. This is determined by either the scheduled
time or the PRN interval order for the medication order's and other timing
parameters set in your iConnect system based on hospital policy.
If the nurse decides to give a medication despite an early or late medication
warning, the iConnect Handheld may be configured to prompt for entry of an
override reason to document why the warning is being bypassed. This
information will be recorded in association with the dose, which results in a more
complete and accurate medication administration record for the patient.
Clinical Warnings
The iConnect System may be configured according to hospital policy to display
helpful information for the nurse when a medication is scanned. These "Clinical
Warnings" may include messages such as "Do Not Crush", "Give with Food", or
"Dilute Before Use". The nurse acknowledges the warning simply by pressing
OK to continue the medication administration process. Clinical warnings are for
the caregiver's benefit only and are not recorded in the medication administration
record.
Timeout Warnings
If a user is logged on to the iConnect Handheld and it senses no activity (such as a
scan or a keypress) for 5 minutes, an audible and visual alert will sound/appear.
The visual light for yellow is a reminder, red is an action and green is charging
state for the iConnect Handhelds. If keypress is not recorded after 10 minutes, the
iConnect Handheld will automatically log off the user and return to the home
screen.
The timeout warnings only appear in the middle of a medication pass.
Note: It is important to log off when the iConnect Handheld is not in frequent
use. If an automatic logoff occurs, transaction data may be lost. For example, if
medications were administered without a final scan of the user's badge to save
the data, if a subsequent automatic logoff access the transactions will not be
recorded.
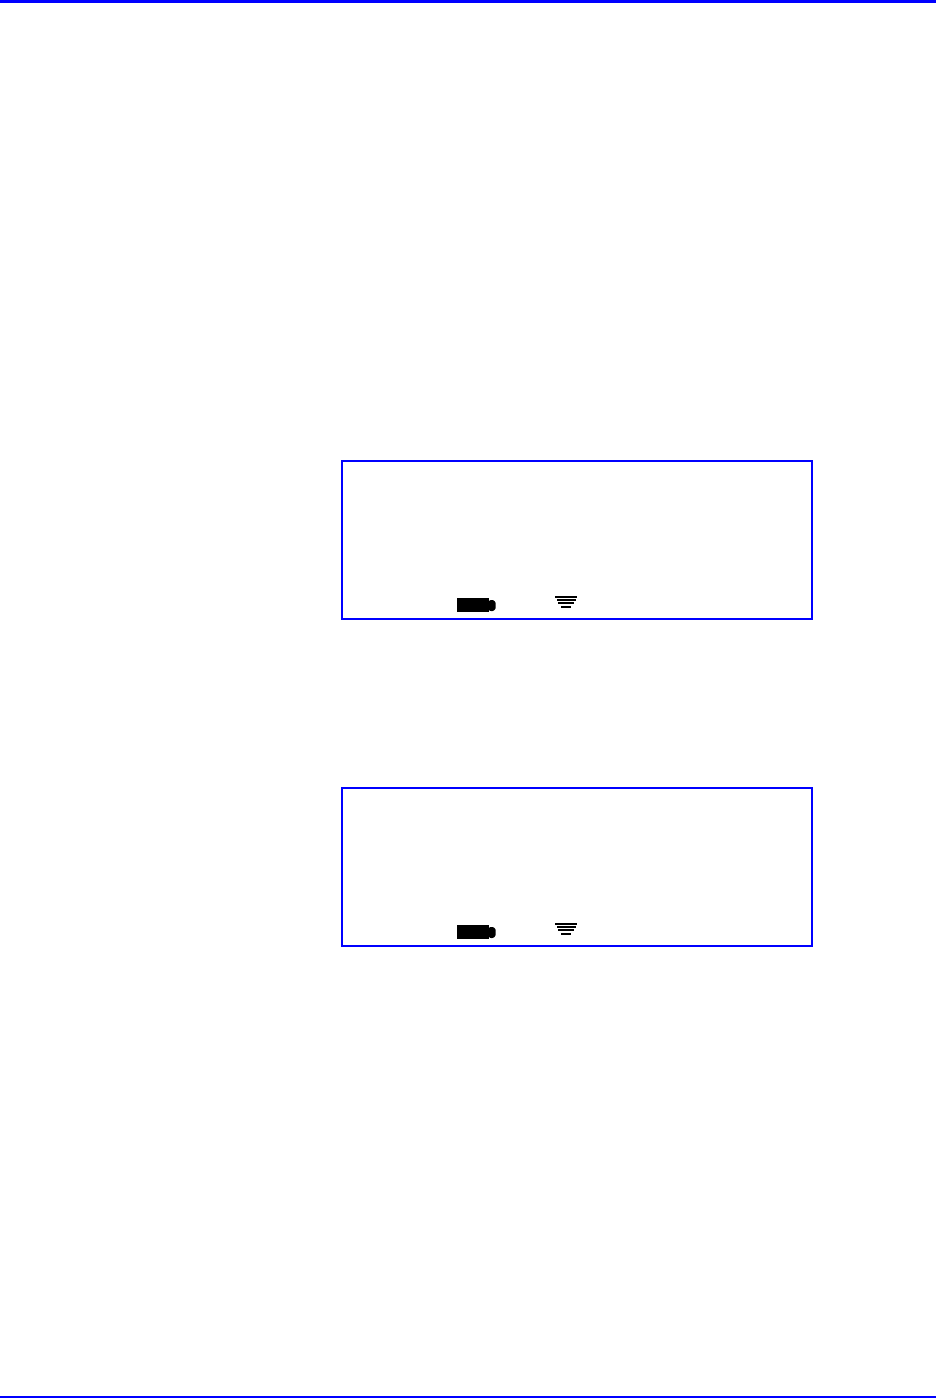
P/N TP0001-01 Rev. B Medication Administration Warnings
intelliDOT iConnect System User Guide Confidential 2-23
Unknown Medication
The pharmacy system manager maintains the iConnect medication database,
including information for the identification of all formulary medication bar codes.
However, if a dispensed medication bar code is scanned and not recognized by the
iConnect system, the unit will display "Requesting Information" followed by the
message "Unknown Medication". If this should occur, contact the pharmacy as
soon as possible to let them know the medication in question. Typically, the
medication and its associated bar code will need to be added to the intelliDOT
medication database.
Dose Out of Range
Based on hospital policy, some medications in the iConnect System may be
configured to require that the entry of a dose given amount be with a defined
range. For example:
If the nurse is prompted to enter the dose amount and if the entry is outside of the
defined range, the message "Out of Range" will be displayed.
If the amount was entered in error, the nurse can use the Backspace iDOT to
remove the incorrect entry and reenter it. For medications requesting the nurse to
enter a dose, the iConnect Handheld will display “out of range” if the dose entered
is more or less than the accepted dosage range set by pharmacy. If this message is
displayed, the nurse must reenter a dose in range, or scan a reason for giving the
“out of range” dose.
If the nurse decides to proceed with giving a dose amount that is outside of the
range defined in the iConnect System, an Override Reason iDOT may be scanned
when the out of range warming is displayed.
Multi -Dose Vial
<?>
Enter Dose
ED
iConnect Handheld screen
Out of Range
<?>
Accept OK or Enter Dose
ED
iConnect Handheld screen
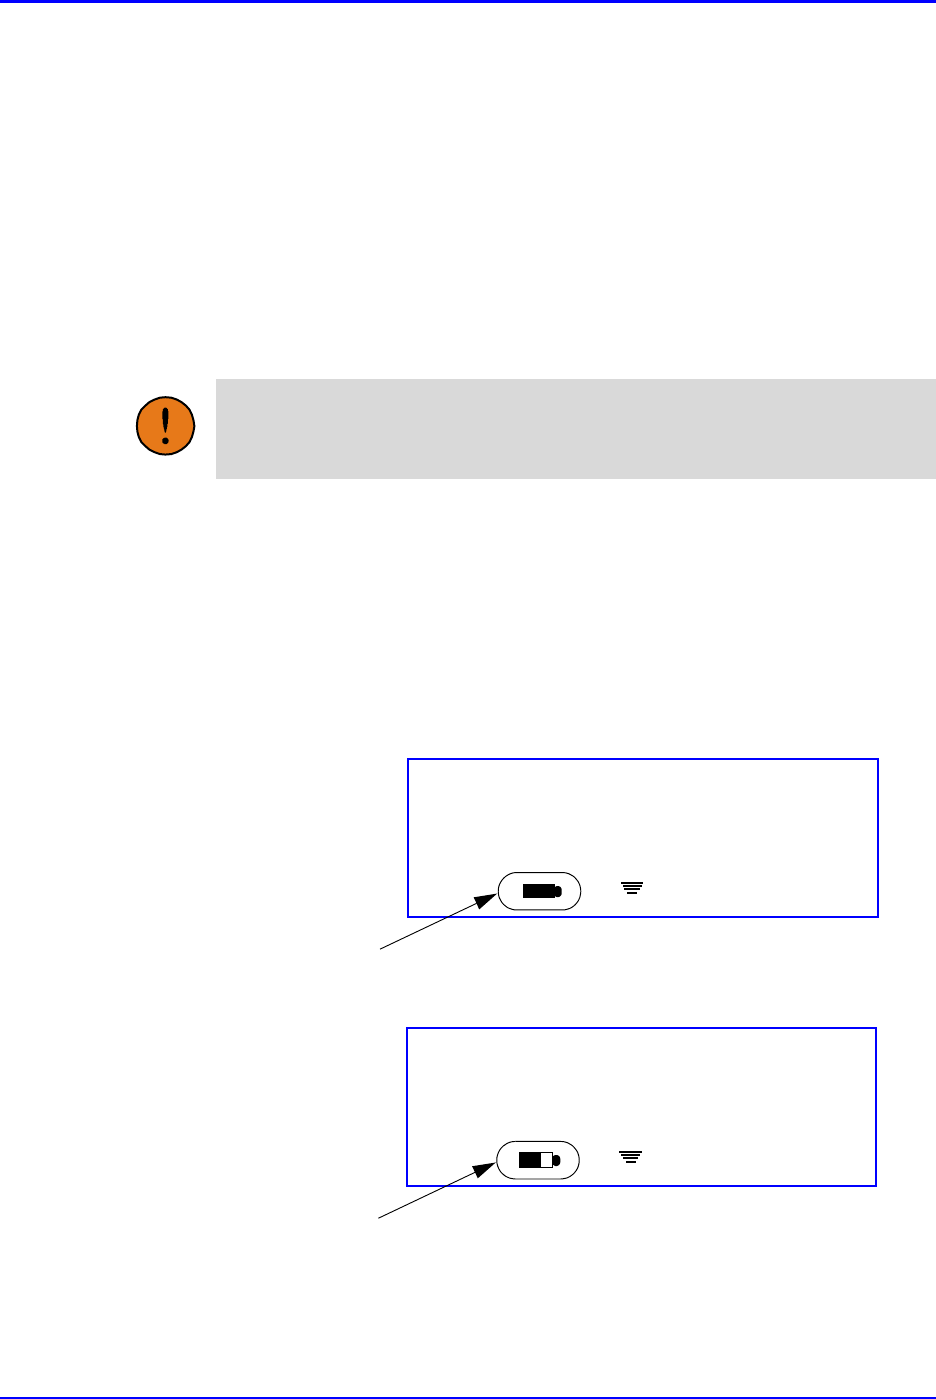
Medication Administration Warnings P/N TP0001-01 Rev. B
2-24 Confidential intelliDOT iConnect System User Guide
“No Order Found” Warning
The No Order Found warning will appear when a patient is scanned followed by
the scanning of a medication for which no current order exists in the iConnect
system or pharmacy system. This can happen when:
1. You are scanning a medication for administration before pharmacy has
processed and entered a new medication order. In this case, you should double
check the patient, medication, dose, route, and administration time (the 5-
Rights). If you decide to proceed after receiving the No Order Found warning,
you will be prompted to enter an Override Reason. Override Reasons are
configurable by your system manager. iDOTs for Override Reasons can be
found on the Medication Administration DOT sheet.
Battery Low Warning
The normal battery life for the iConnect Handheld is approximately 12 hours. The
battery low warning appears on your iConnect Handheld LCD when the battery
charge falls to 18%. The battery icon located on the bottom left side of your
iConnect Handheld LCD shows the amount of battery life remaining. Be sure to
check this periodically throughout the day to assure that you have enough battery
life to get through your shift. Refer to the following for an illustration of the
battery icon on the iConnect Handheld:
If the iConnect Handheld needs to be charged, place it in the charging cradle and
get a new iConnect Handheld from the charging cradle. Be sure to log onto the
new iConnect Handheld, Refer to Login/Logout on page 2-5.
Warning: Always check the patient chart and Physician Order if iConnect
Handheld prompts with “No Order Found”. It is possible that the medication may
not be ordered for this patient.
7 Meds Due
John Smith, Rm: 333 1
Review Meds OK or Scan Med/Badge
ED
iConnect Handheld screen
Full Battery
Icon
7 Meds Due
John Smith, Rm: 333 1
Review Meds OK or Scan Med/Badge
ED
iConnect Handheld screen
50% Battery
Icon

P/N TP0001-01 Rev. B Advance Prepared Items
intelliDOT iConnect System User Guide Confidential 2-25
Advance Prepared Items
Some medications must be prepared (e.g., measured or mixed) by the nurse before
being taken to the point of administration. Your iConnect system manager will
designate these medications as "Prepared Items" in the iConnect medication
formulary. The iConnect Handheld provides a special work pathway for these
medications.
There are five different cases where the special preparation work path applies, and
there are two possible processes for administering these doses once prepared.
•Case 1 - Prepared Item that is printed on the Prospective MAR
•Case 2 - Prepared Item that is printed on the Prospective MAR and
requiring a witness
•Case 3 - Prepared Item with multiple medications that is printed on the
Prospective MAR
•Case 4 - Administering Medications for Cases 1-3
•Case 5 - Prepared Item that is NOT yet printed on the Prospective MAR
•Case 6 - Prepared Item with multiple medications that is NOT yet printed on
the Prospective MAR
•Case 7 - Administering Medications for Cases 4-5
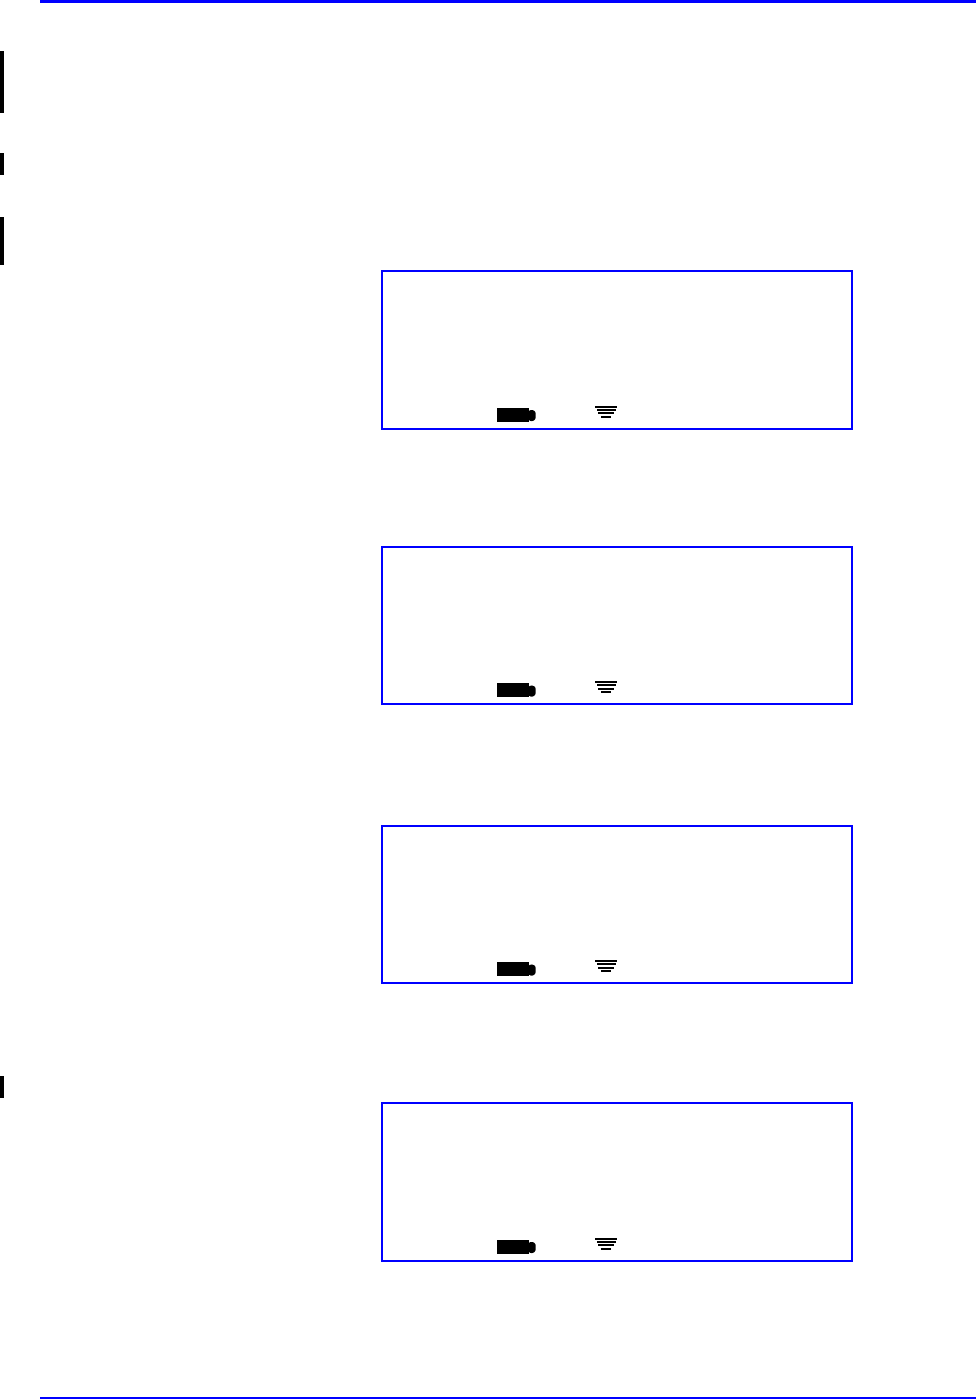
Advance Prepared Items P/N TP0001-01 Rev. B
2-26 Confidential intelliDOT iConnect System User Guide
Case 1 - Prepared Item that is printed on the Prospective
MAR
This case describes the handling of a prepared item that is printed on the
Prospective MAR. An iDOT will appear on the MAR to the left of the item. To
prepare this dose:
1. Scan the iDOT next to the medication to be prepared on the Prospective
MAR. The following screen will appear.
2. Scan the bar code on the medication you are preparing. The following will
screen appear.
3. Verify that the correct medication is displayed, then press OK. The following
screen will appear.
4. Enter the dose amount you are preparing using the numbered iDOTs on the
Medication Administration DOT sheet. The screen will display your entry.
Med Preparation
<0 of 1 Med Scanned>
Scan Med
ED
iConnect Handheld screen
Med Preparation
Normal Saline 60 ML
Scan Med or OK
ED
iConnect Handheld screen
Multi -Dose Vial
<?> Units
Enter Dose
ED
iConnect Handheld screen
Multi -Dose Vial
60 Units
Accept OK or Enter Dose
ED
iConnect Handheld screen
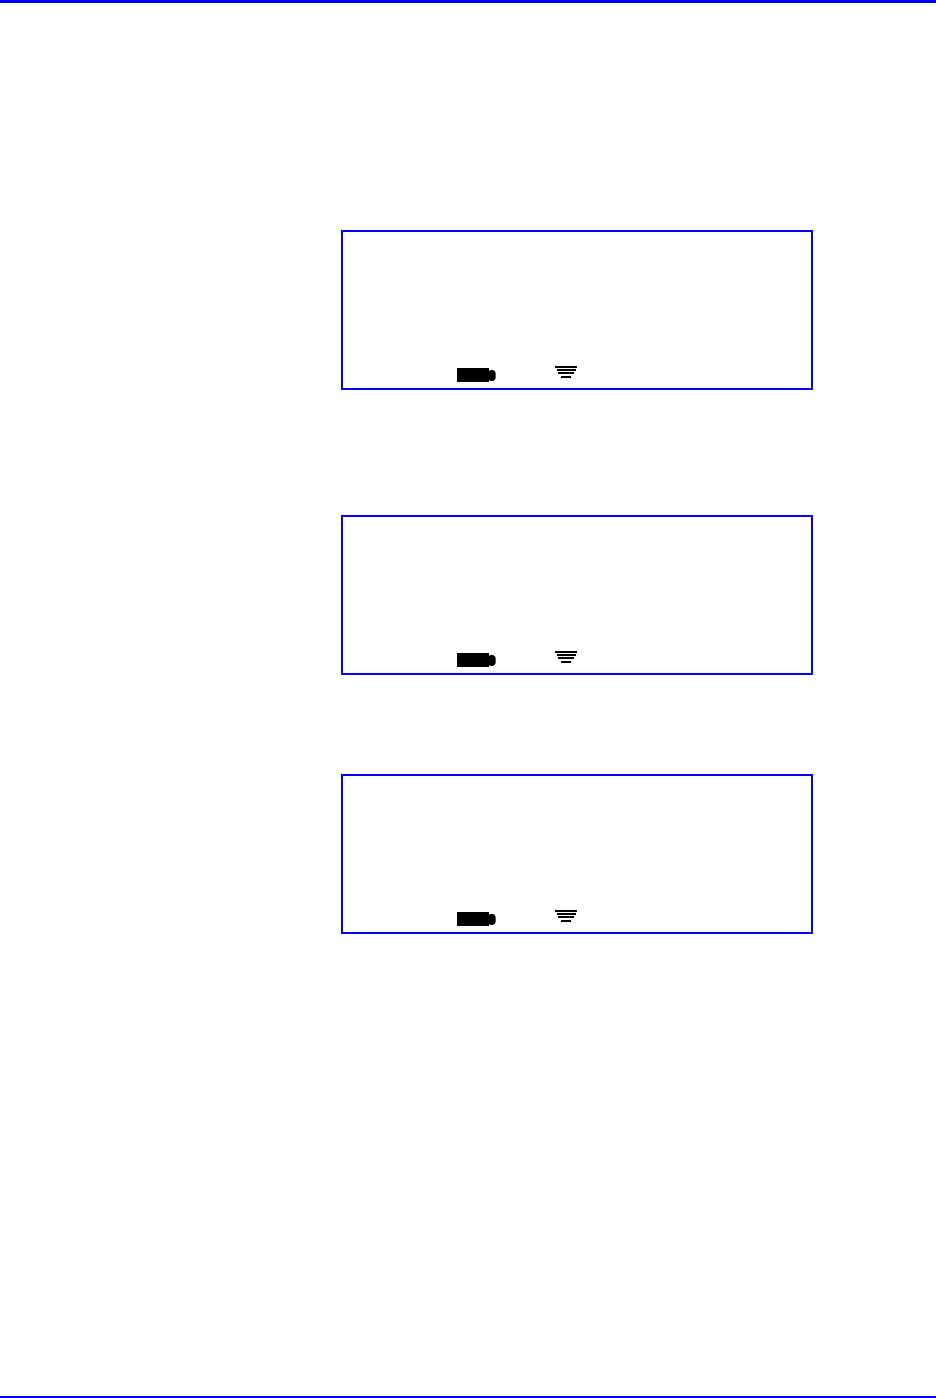
P/N TP0001-01 Rev. B Advance Prepared Items
intelliDOT iConnect System User Guide Confidential 2-27
5. If you entered an incorrect dose, scan the Back iDOT on the Medication
Administration DOT sheet to back up one space. Scan the # iDOT to clear the
previous entry and reenter the correct amount.
6. Verify that you have entered the correct dose amount. If necessary, use the
Backspace iDOT to remove your entry and reenter the dose amount.
7. Press the OK button to accept the entry. The following screen will appear:
8. Press OK to complete. The following screen will appear while the
information is stored.
When the following screen appears, the preparation process is complete.
9. When you later scan the patient wristband, iConnect will display the prepared
medication for administration.
Prep Complete
<1 Med Scanned>
OK
ED
iConnect Handheld screen
Sending Data
Please Wait
ED
iConnect Handheld screen
7/09/04 16:36
User: Joe Smith
Scan Patient or Command Dot
ED
iConnect Handheld screen
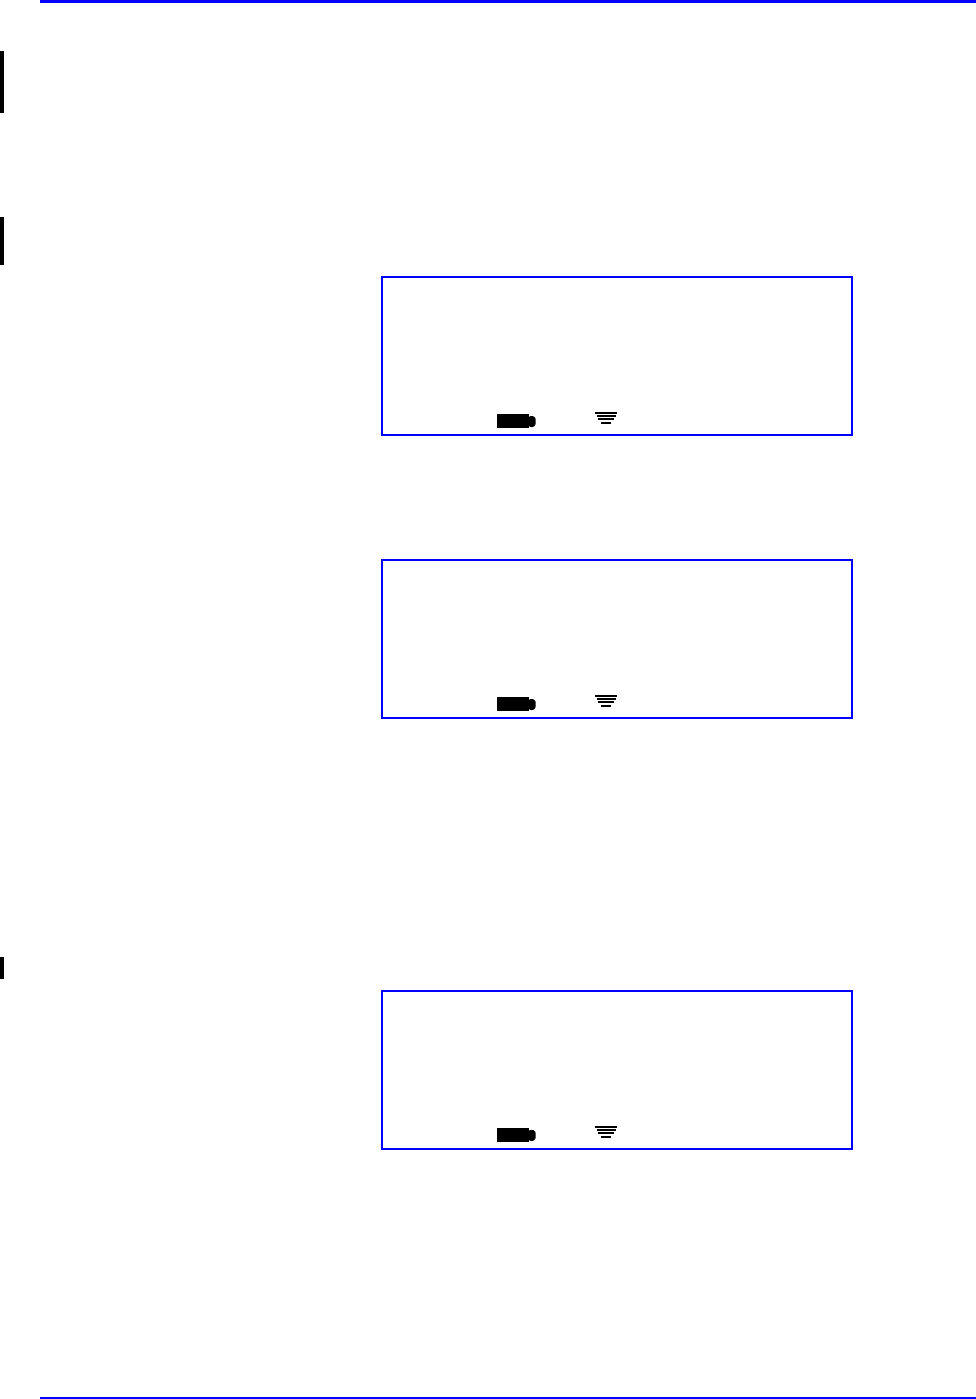
Advance Prepared Items P/N TP0001-01 Rev. B
2-28 Confidential intelliDOT iConnect System User Guide
Case 2 - Prepared Item that is printed on the Prospective
MAR and requiring a witness
Certain medications, such as Insulin, may require a witness to confirm proper
dose preparation and measurement. To prepare a medication that requires a
witness:
1. Scan the iDOT next to the medication to be prepared on the Prospective
MAR. The following screen will appear.
2. Scan the bar code on the medication you are preparing. The following screen
will appear.
3. Verify that the correct medication is displayed, then press OK. The following
screen will appear:
The multi-dose vial screen will appear only if the amount of medication to be
administered can be less than the total amount in the container dispensed by
pharmacy. Insulin 100/Units per ML 10 ML is a multi-dose vial.
4. Enter the dose using the numbered iDOTs on the Medication Administration
DOT sheet corresponding to the dose. The following screen will appear:
5. Verify that you have entered the correct dose amount. If necessary, use the
Backspace iDOT to remove your entry and reenter the dose amount.
Med Preparation
<0 of 1 Med Scanned>
Scan Med
ED
iConnect Handheld screen
Med Preparation
Human Insulin R-U-100
(Insulin Human Regular) 100 Units/ML 10 ML
Scan Med or OK
ED
iConnect Handheld screen
Multi -Dose Vial
10 Units
Accept OK or Enter Dose
ED
iConnect Handheld screen
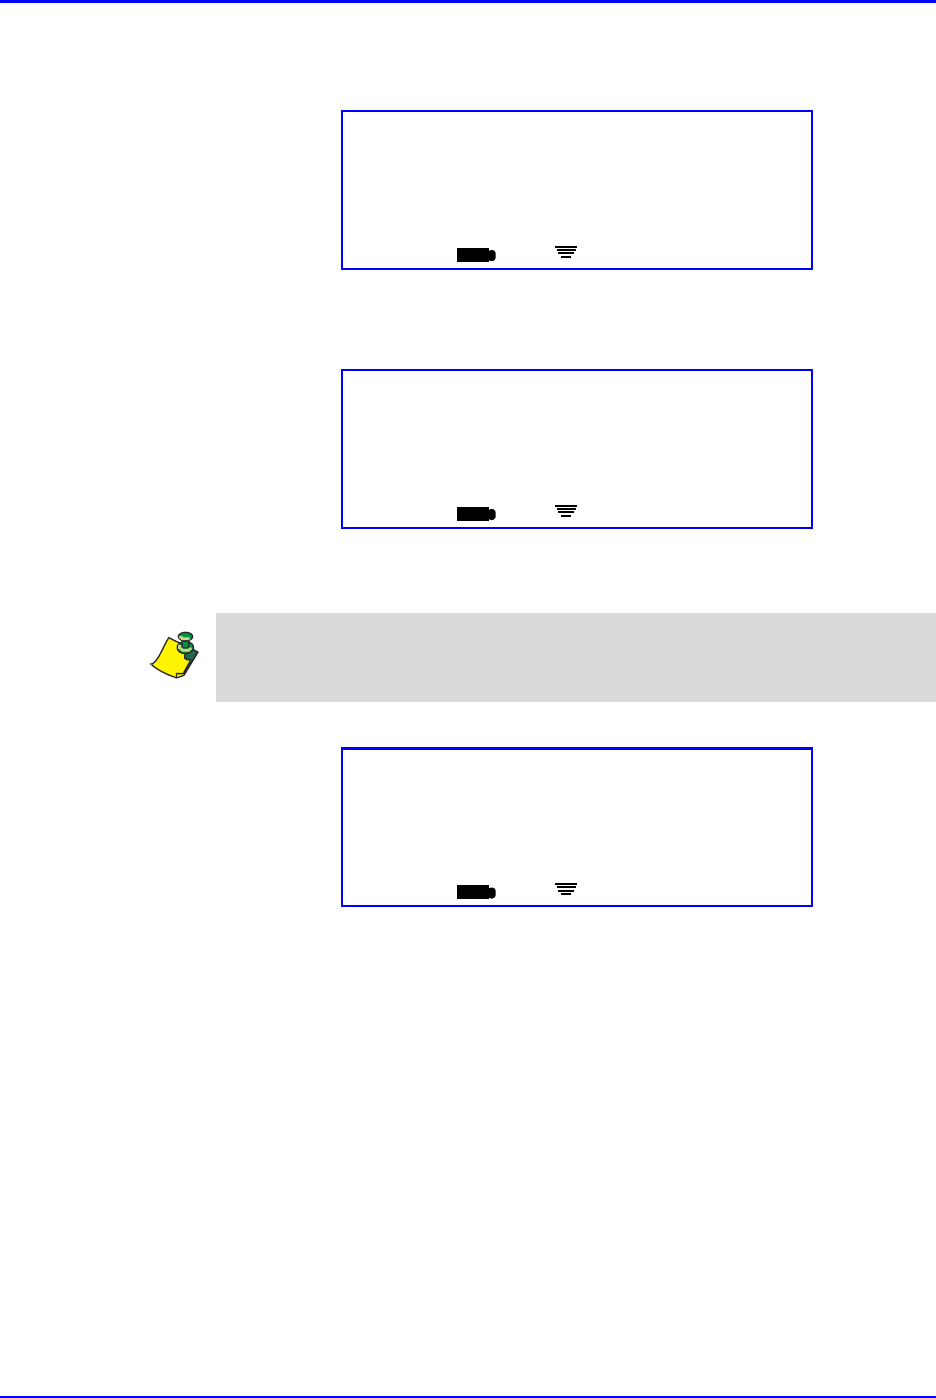
P/N TP0001-01 Rev. B Advance Prepared Items
intelliDOT iConnect System User Guide Confidential 2-29
6. Press the OK button to accept the entry. The Need Witness screen will
appear:
7. Scan your witness’s badge. The witness name will appear.
8. Press the OK button to accept the entry. The following screen will appear.
Need Witness
<No Badge Scanned>
Scan Badge
ED
iConnect Handheld screen
Need Witness
<John Smith>
Scan Badge or OK
ED
iConnect Handheld screen
Note: You cannot serve as a witness to your own preparations.
Prep Complete
<1 Med Scanned>
OK
ED
iConnect Handheld screen
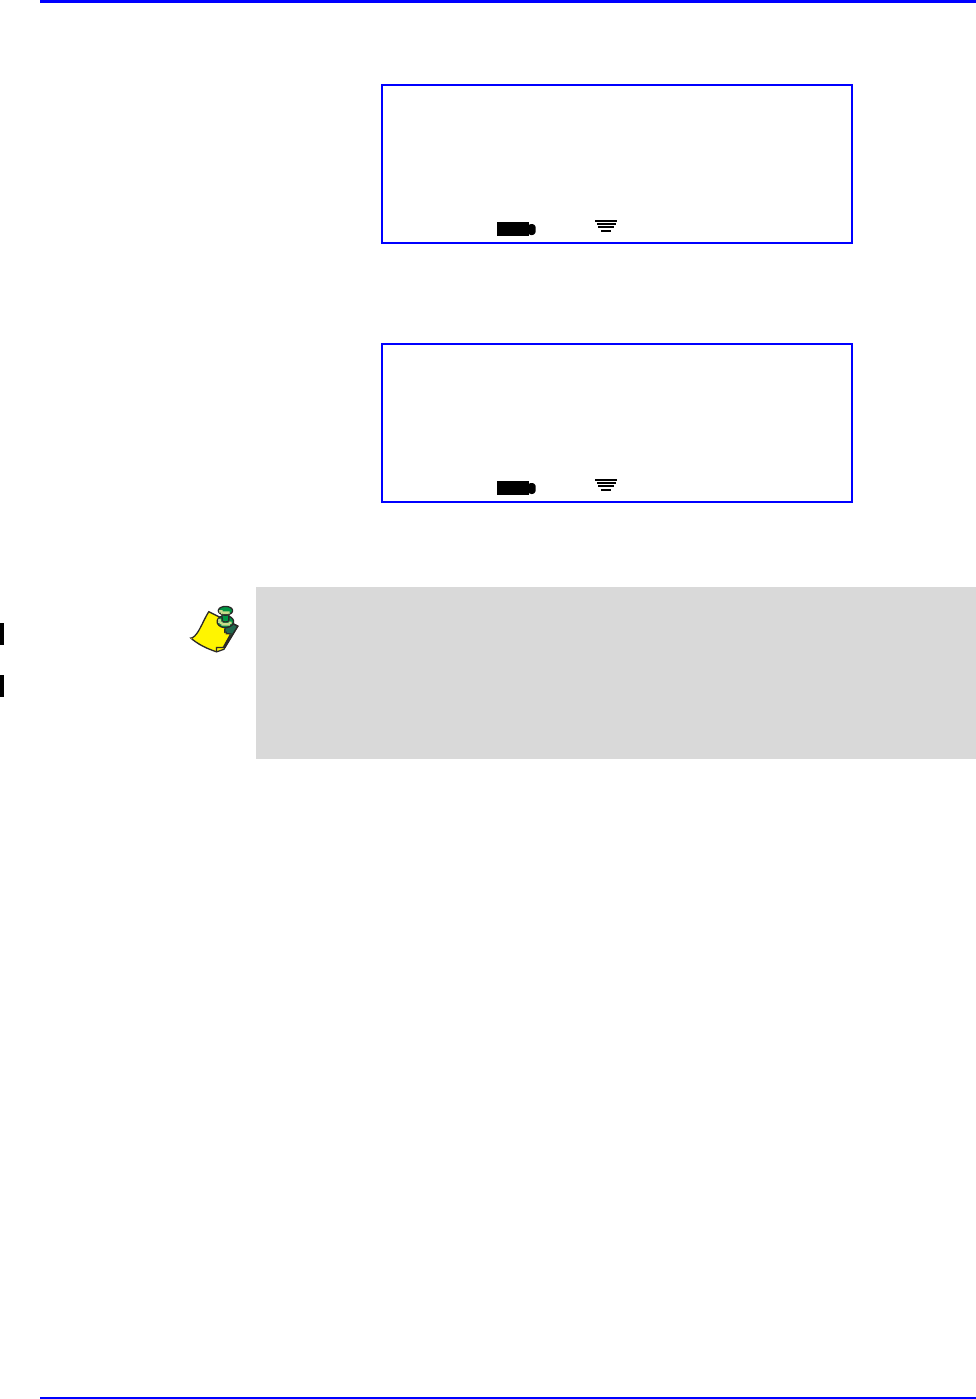
Advance Prepared Items P/N TP0001-01 Rev. B
2-30 Confidential intelliDOT iConnect System User Guide
9. The following screen will appear while the information is stored.
10. When the following screen appears, the preparation process is complete.
11. Your preparation is complete. The medication may be taken to the patient for
administration.
Sending Data
Please Wait
ED
iConnect Handheld screen
7/09/04 16:36
User: Elaine Dawson
Scan Patient or Command Dot
ED
iConnect Handheld screen
Note: The witness information is recorded in the shift column of the
administered medication on the printed Prospective MAR as "Witnessed By:
<user initials>". The witness user name and initials also display in the Nurse
Signatures block at the bottom of the Prospective MAR. For the On-Line MAR,
the text displays "Witnessed By: <User Name>" in the shift column of the
administered medication.