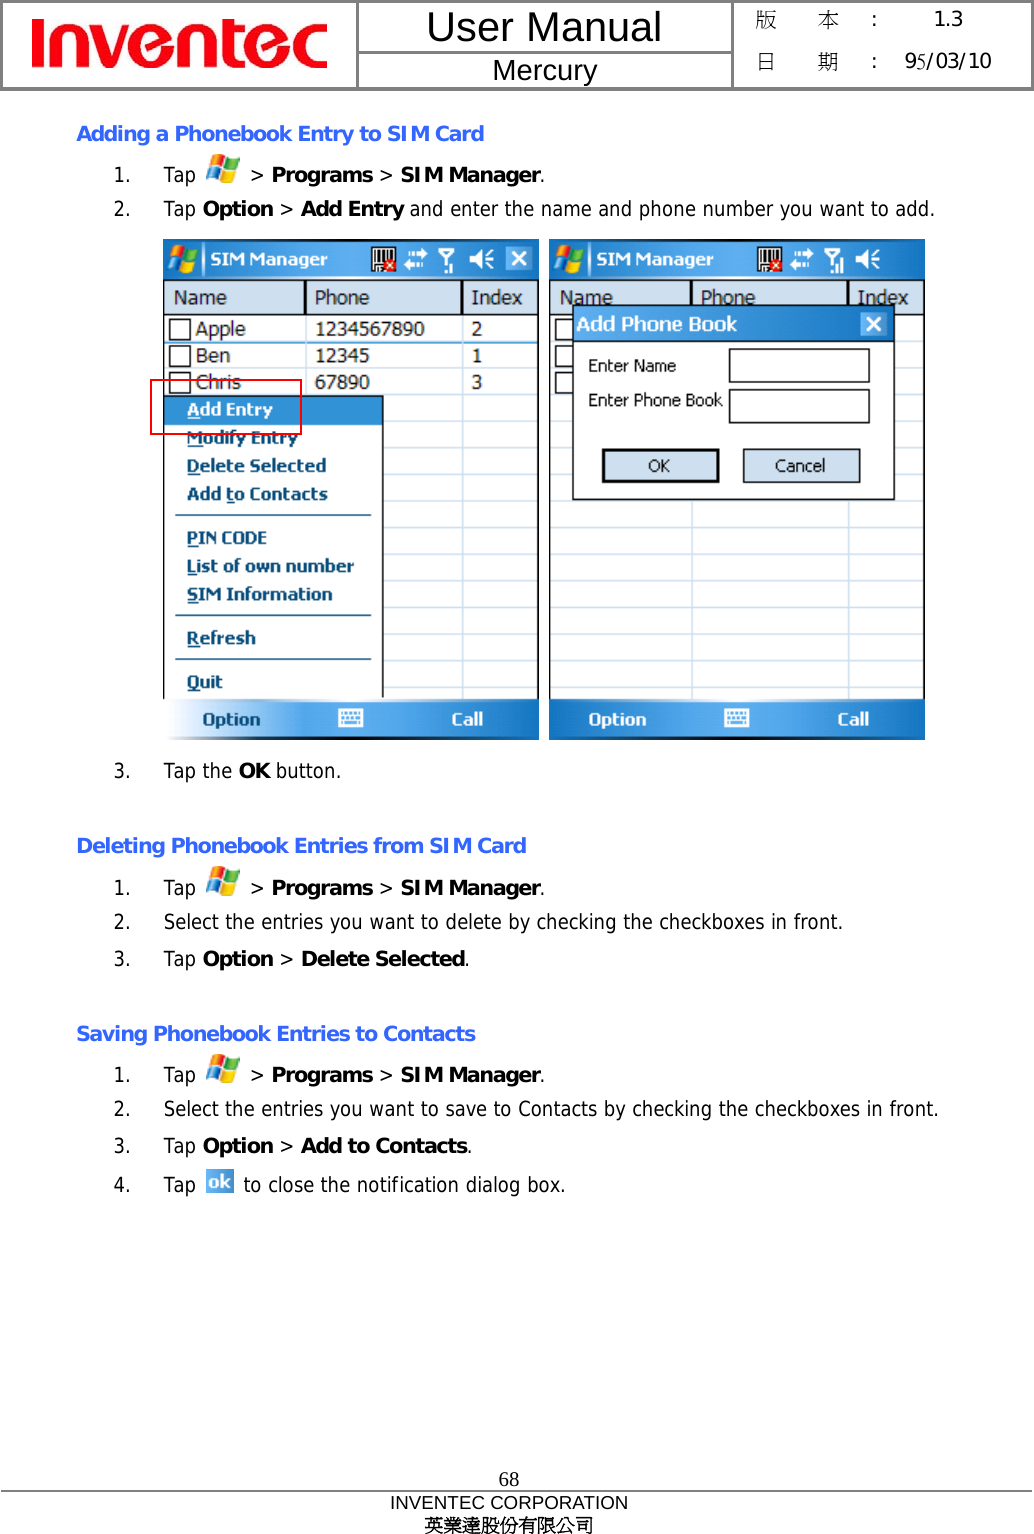
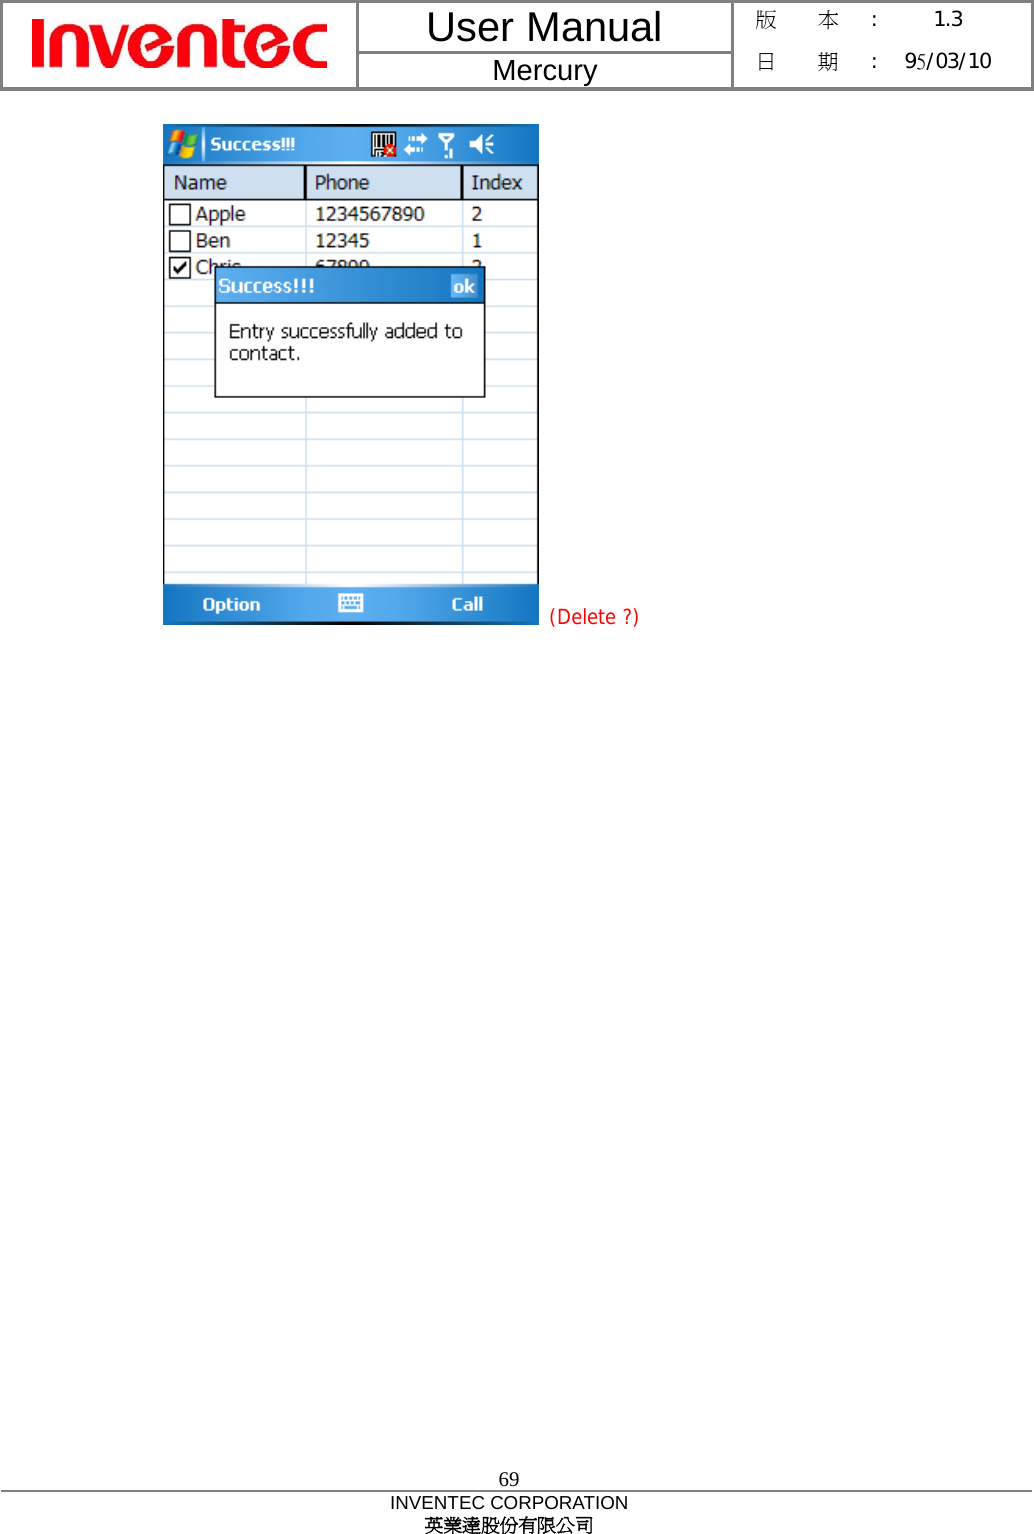
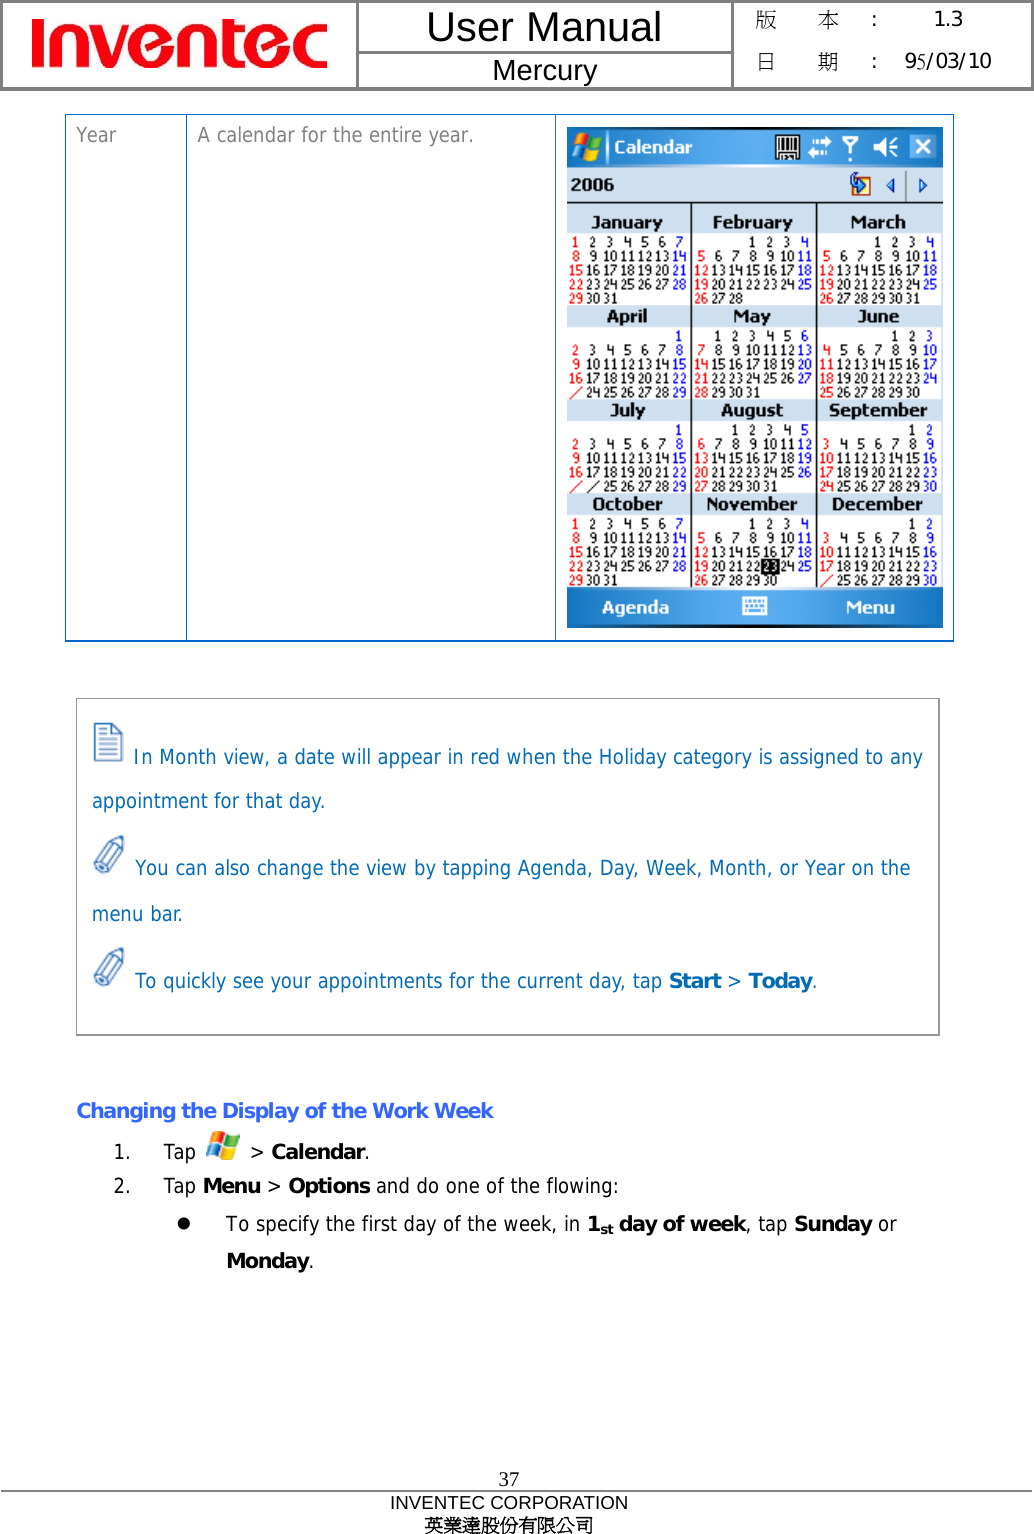
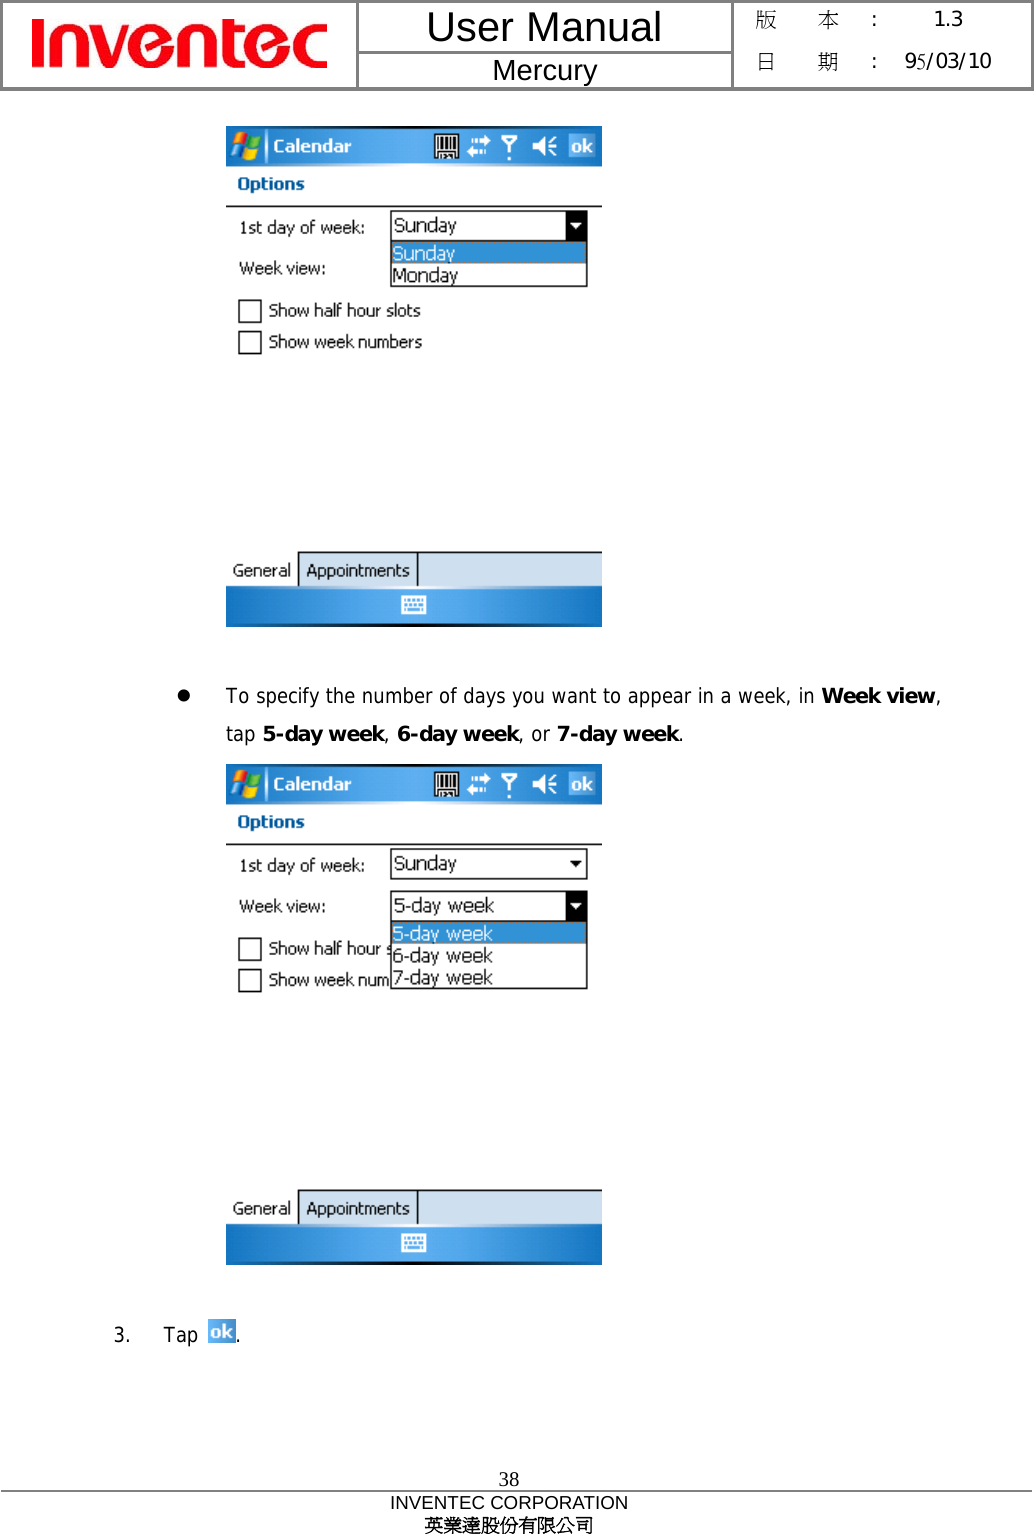
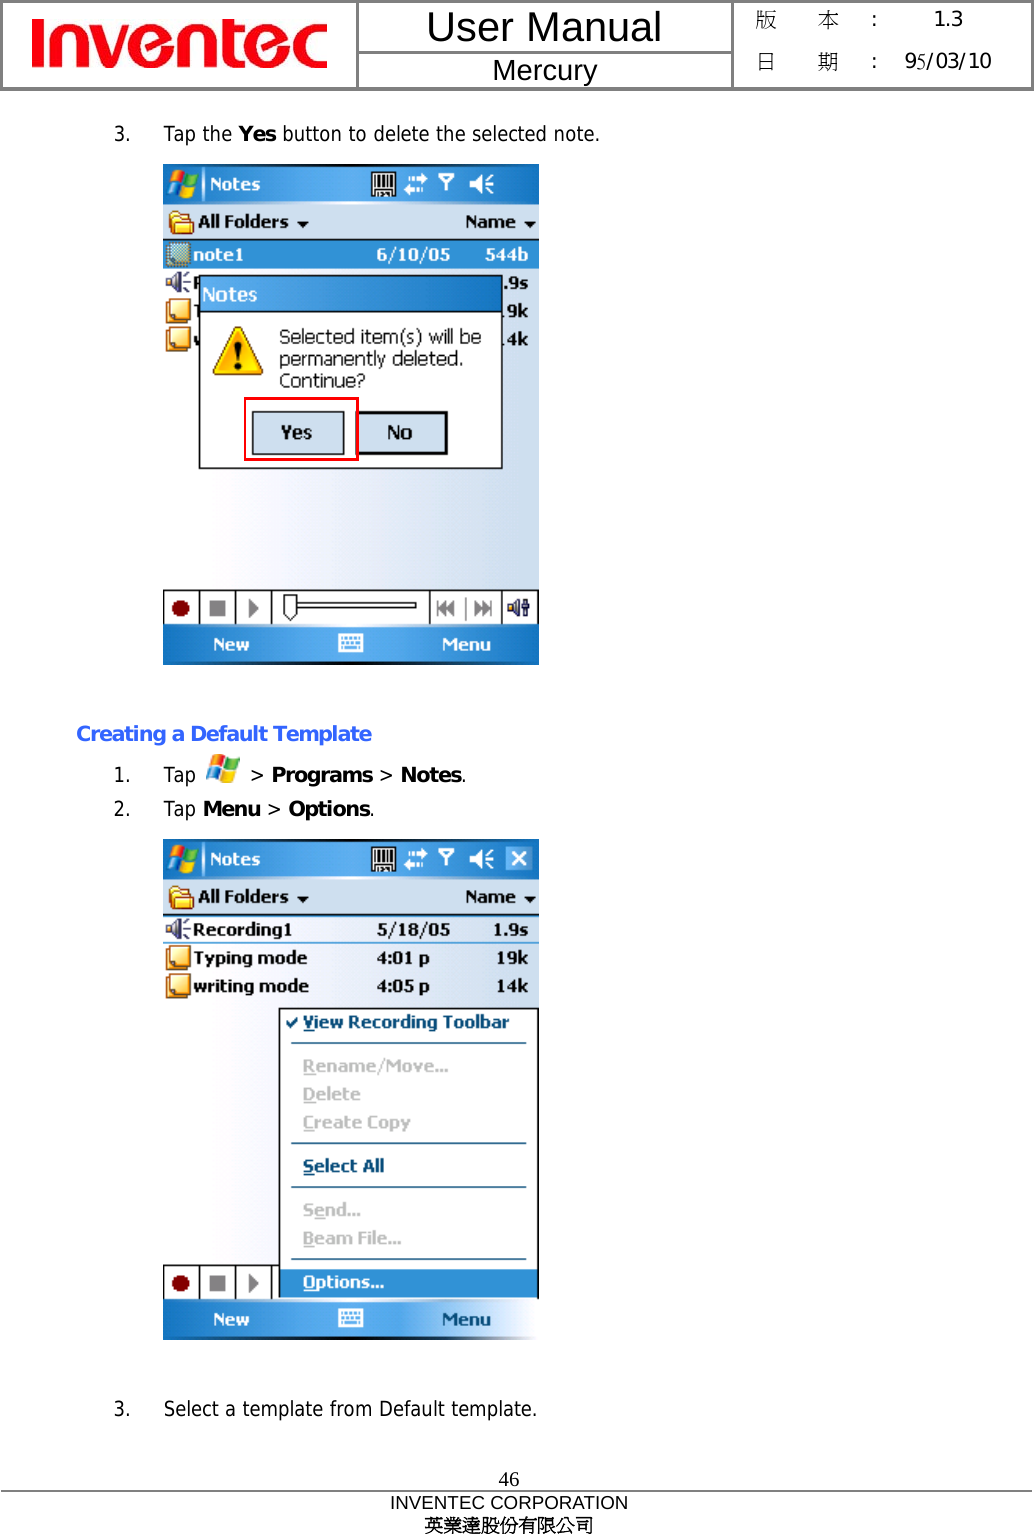
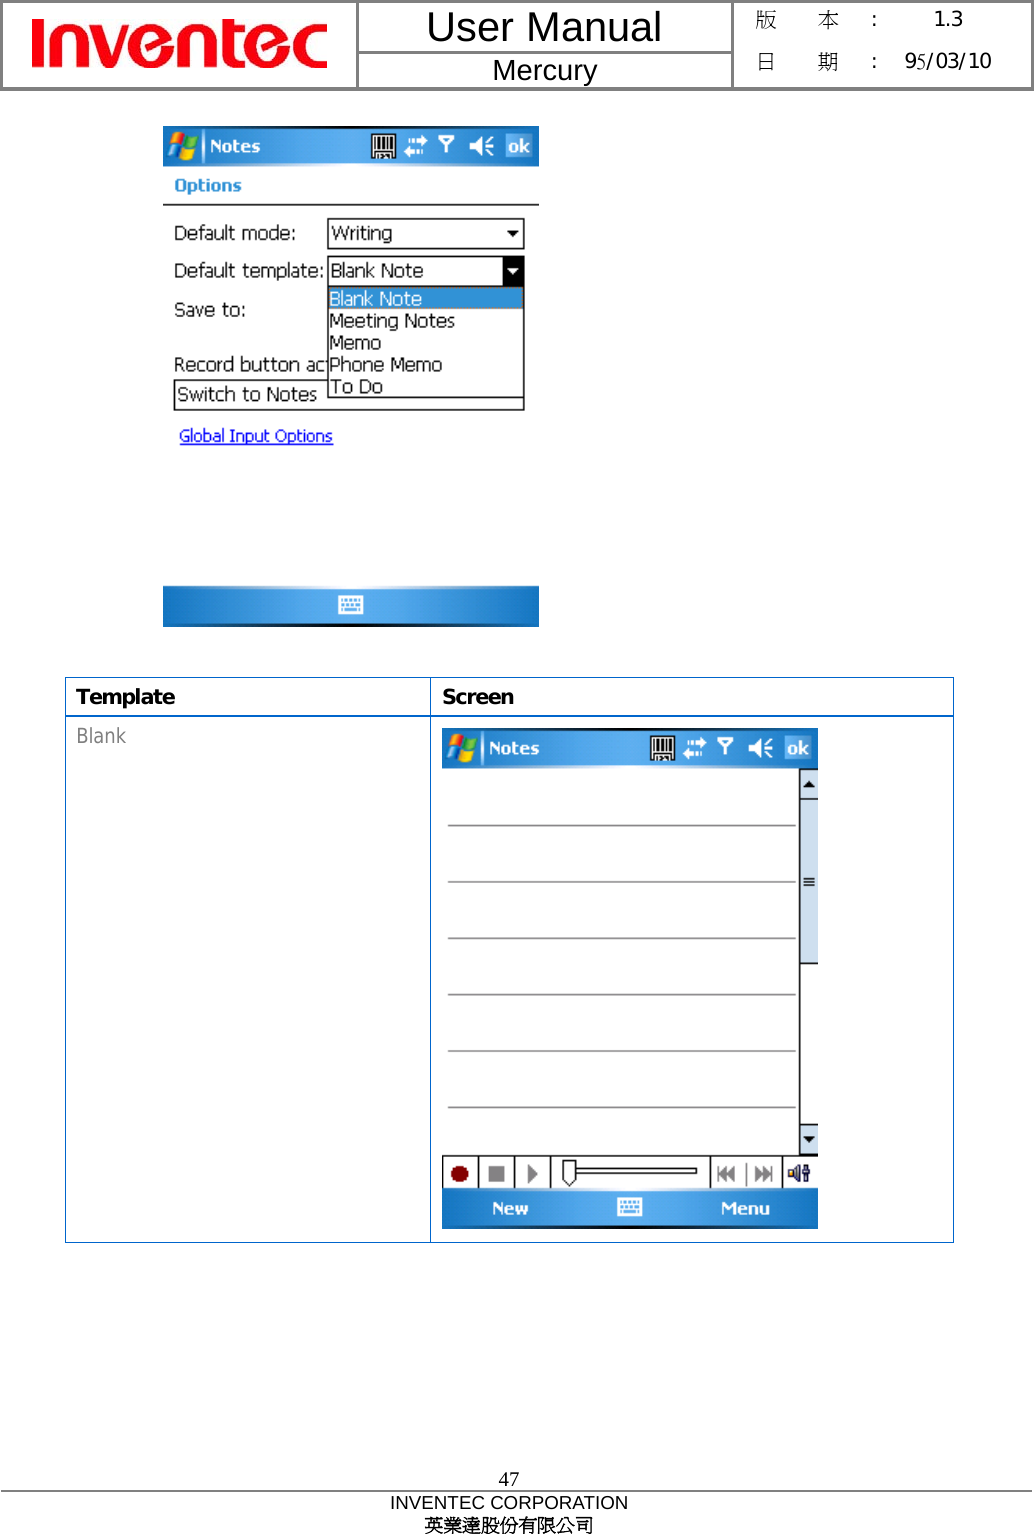
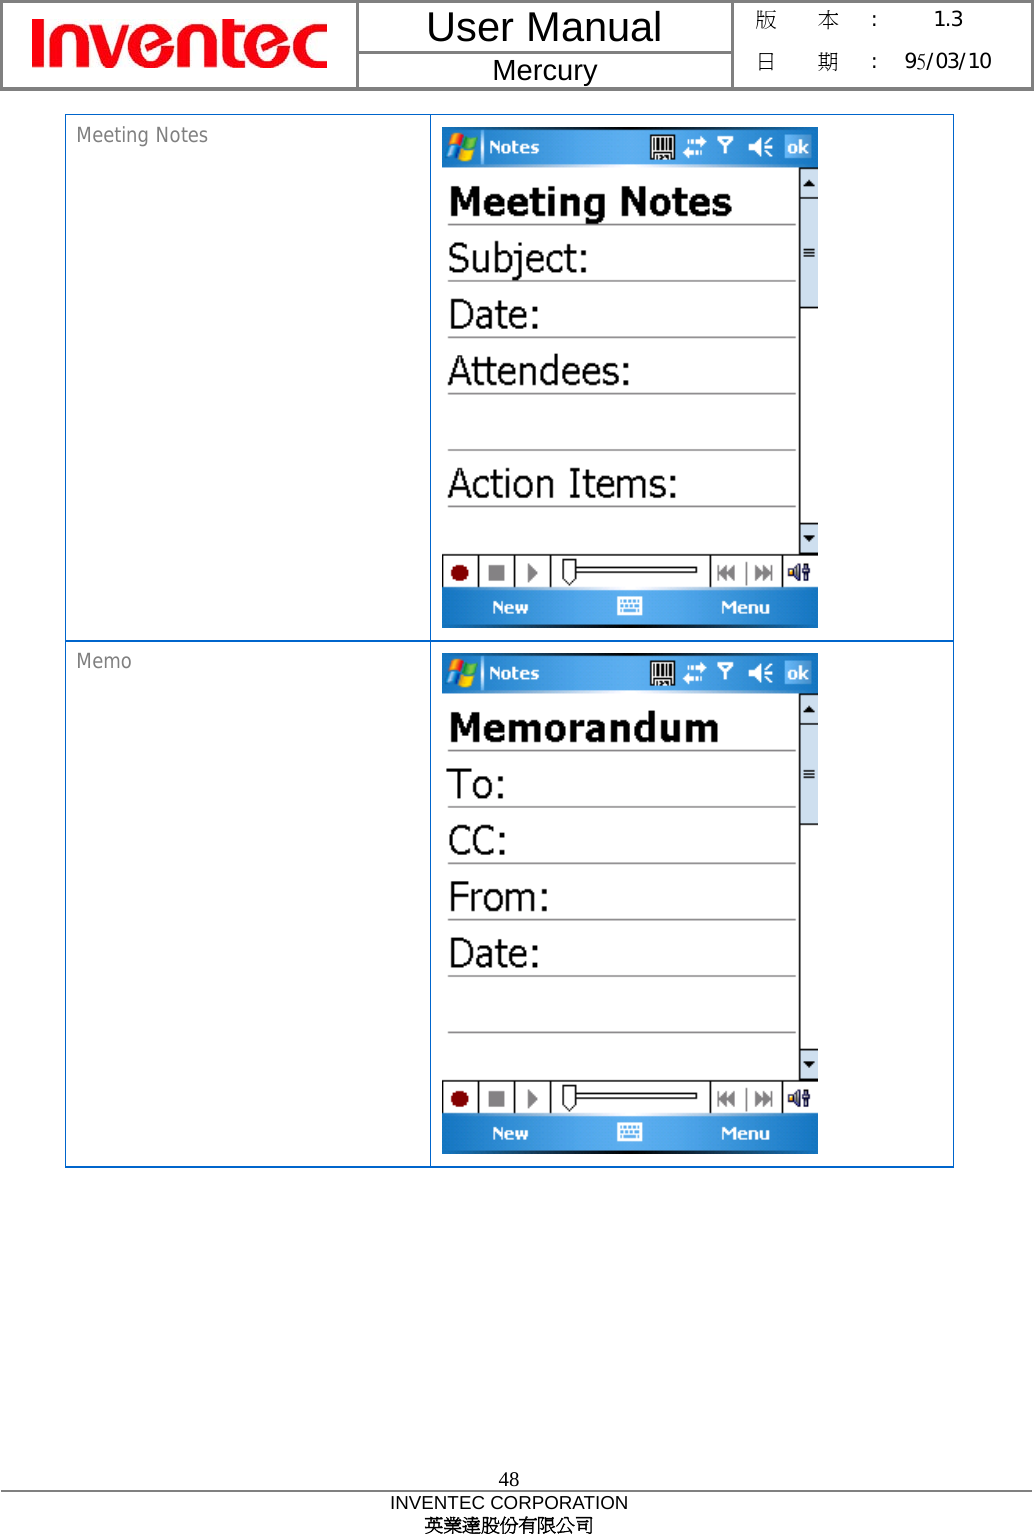
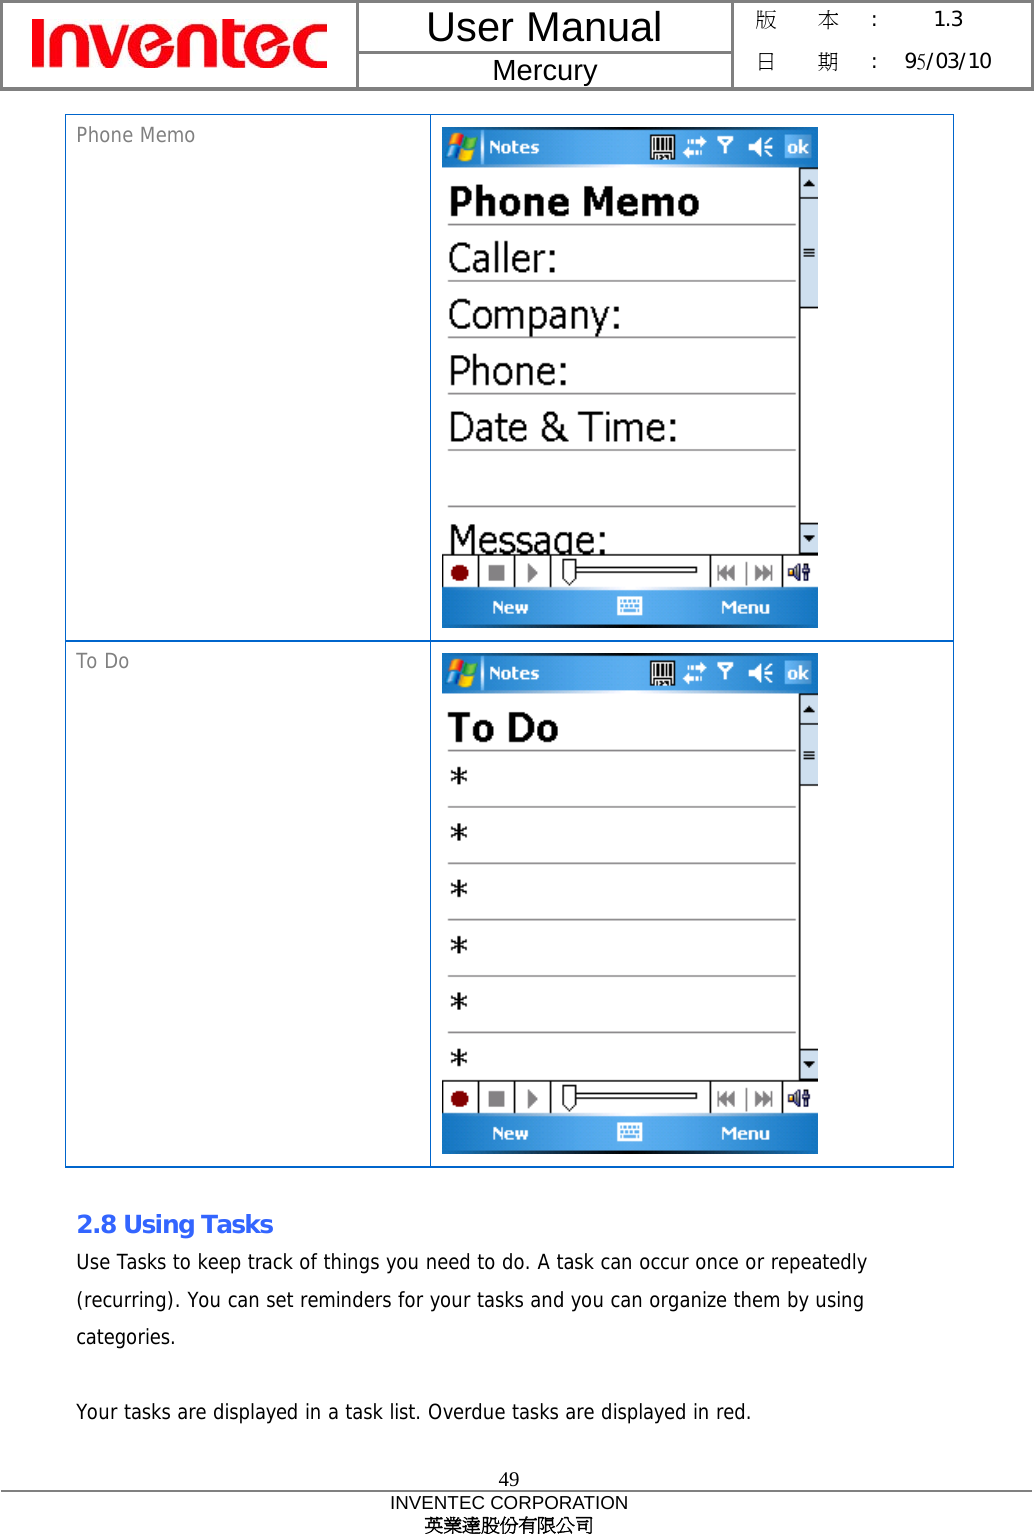
Inventec BC0129AAA190 PDA Phone User Manual Iris Eng UM WLAN body SAR
Inventec Corporation PDA Phone Iris Eng UM WLAN body SAR
UserManual.wiki
>
Inventec
>
BC0129AAA190 User Manual
>
Manual
Contents
1.
Manual
2.
Users Manual
Manual
Navigation menu
Upload a User Manual
Namespaces
Wiki Guide
HTML
PDF
Info
Views
User Manual
Discussion / Help
Navigation


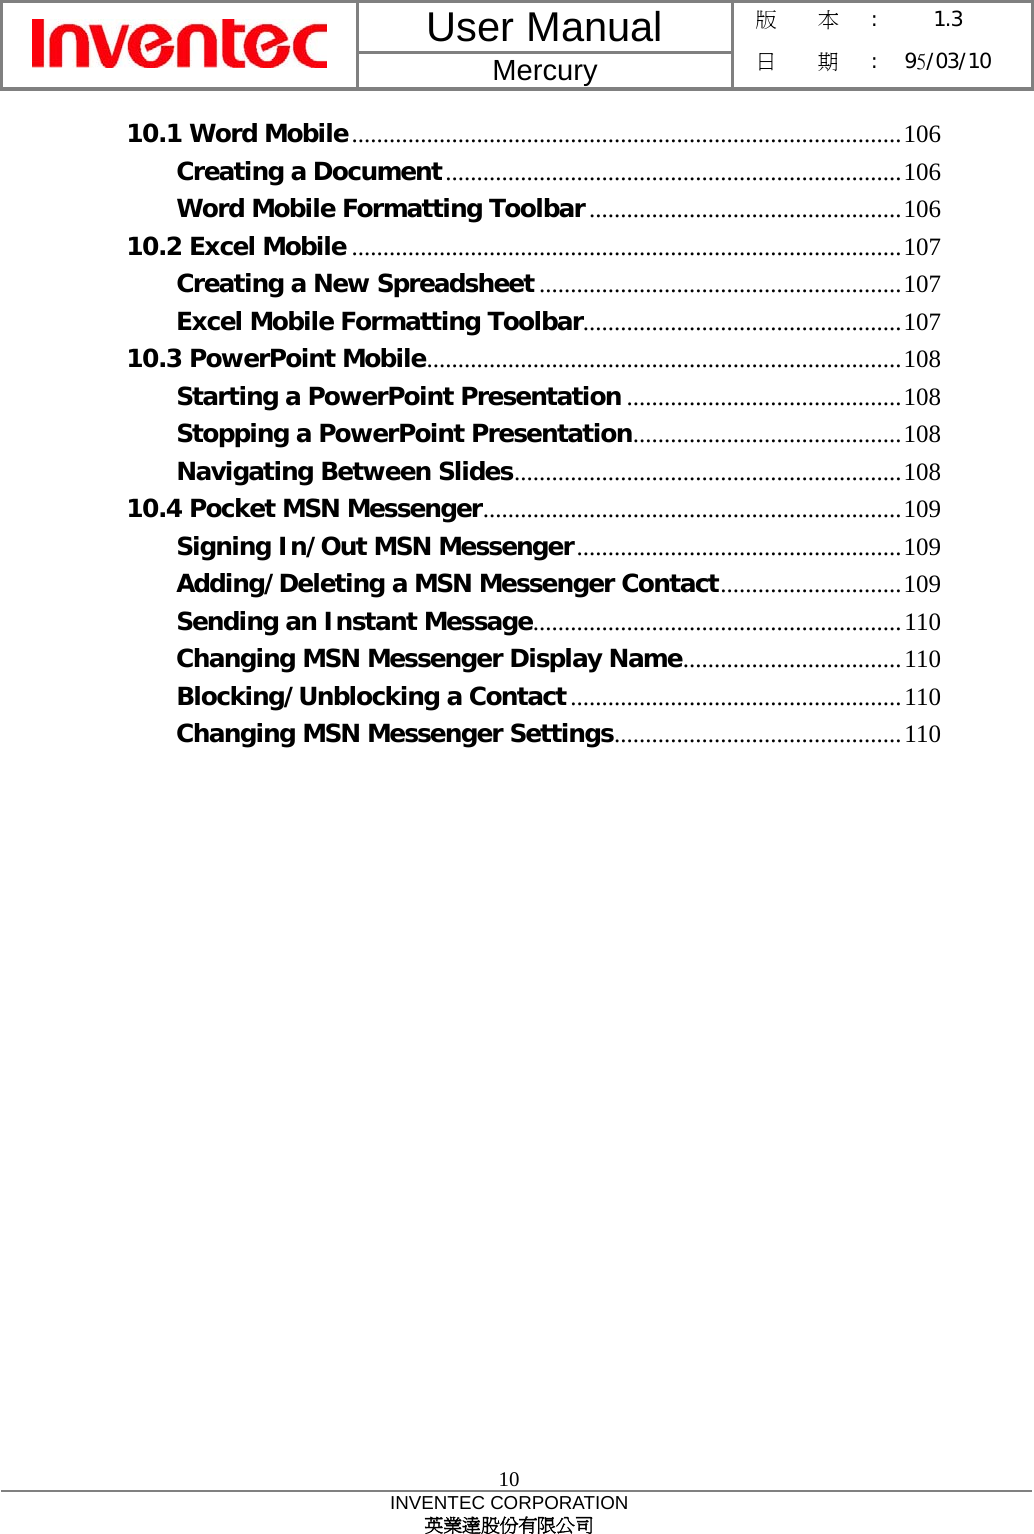


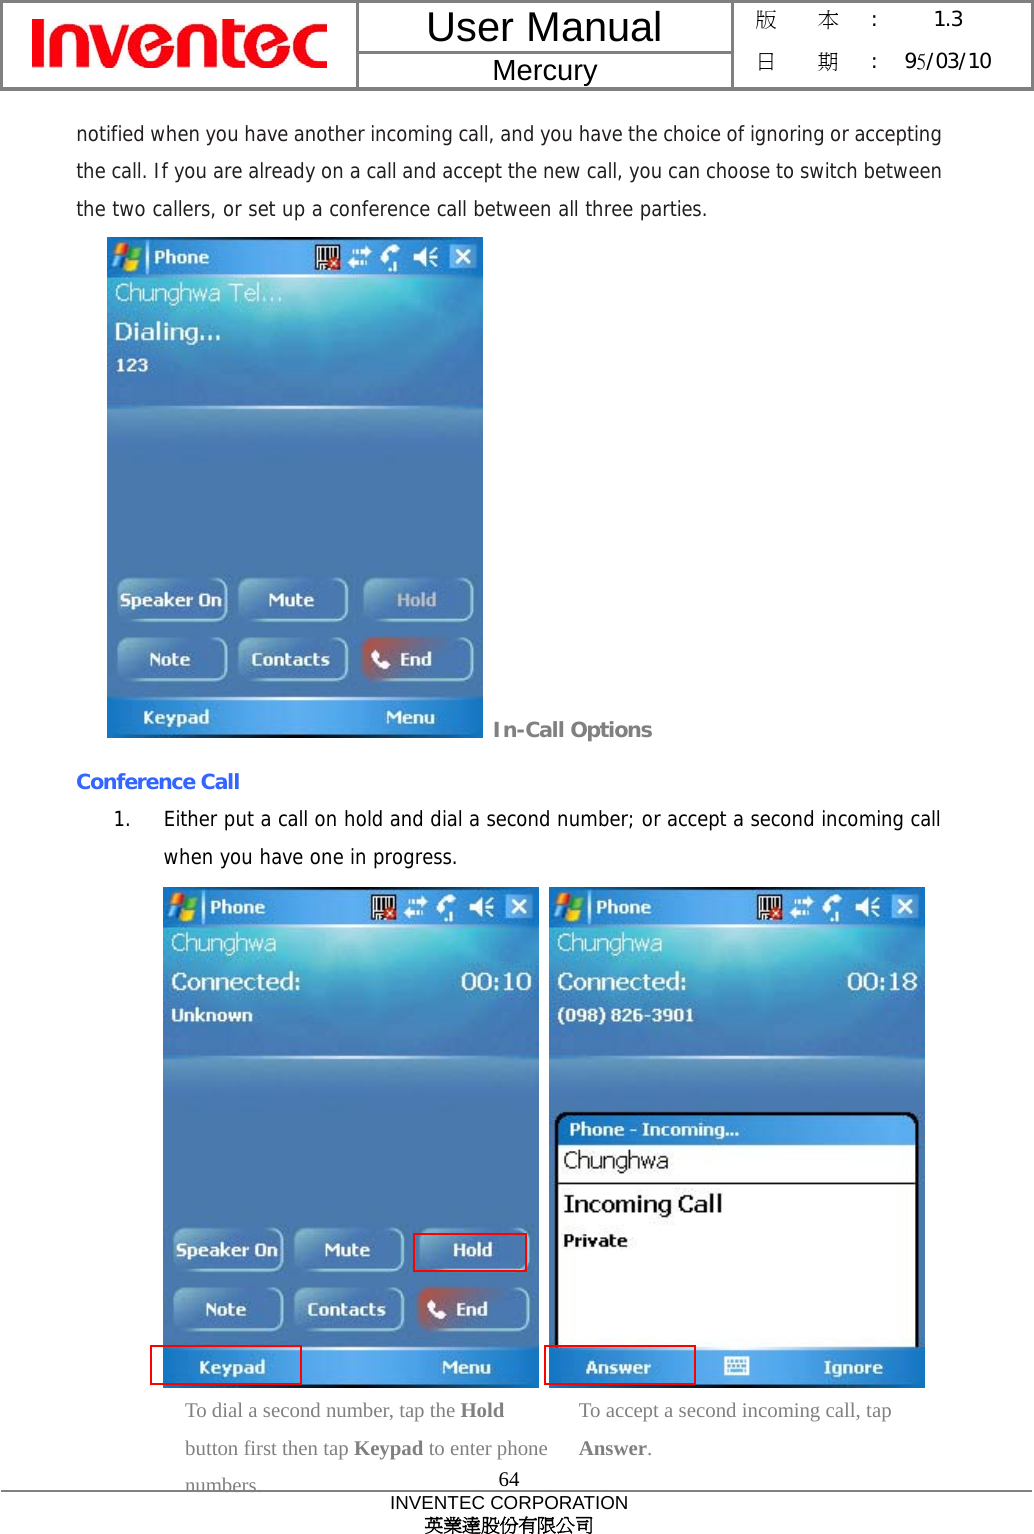
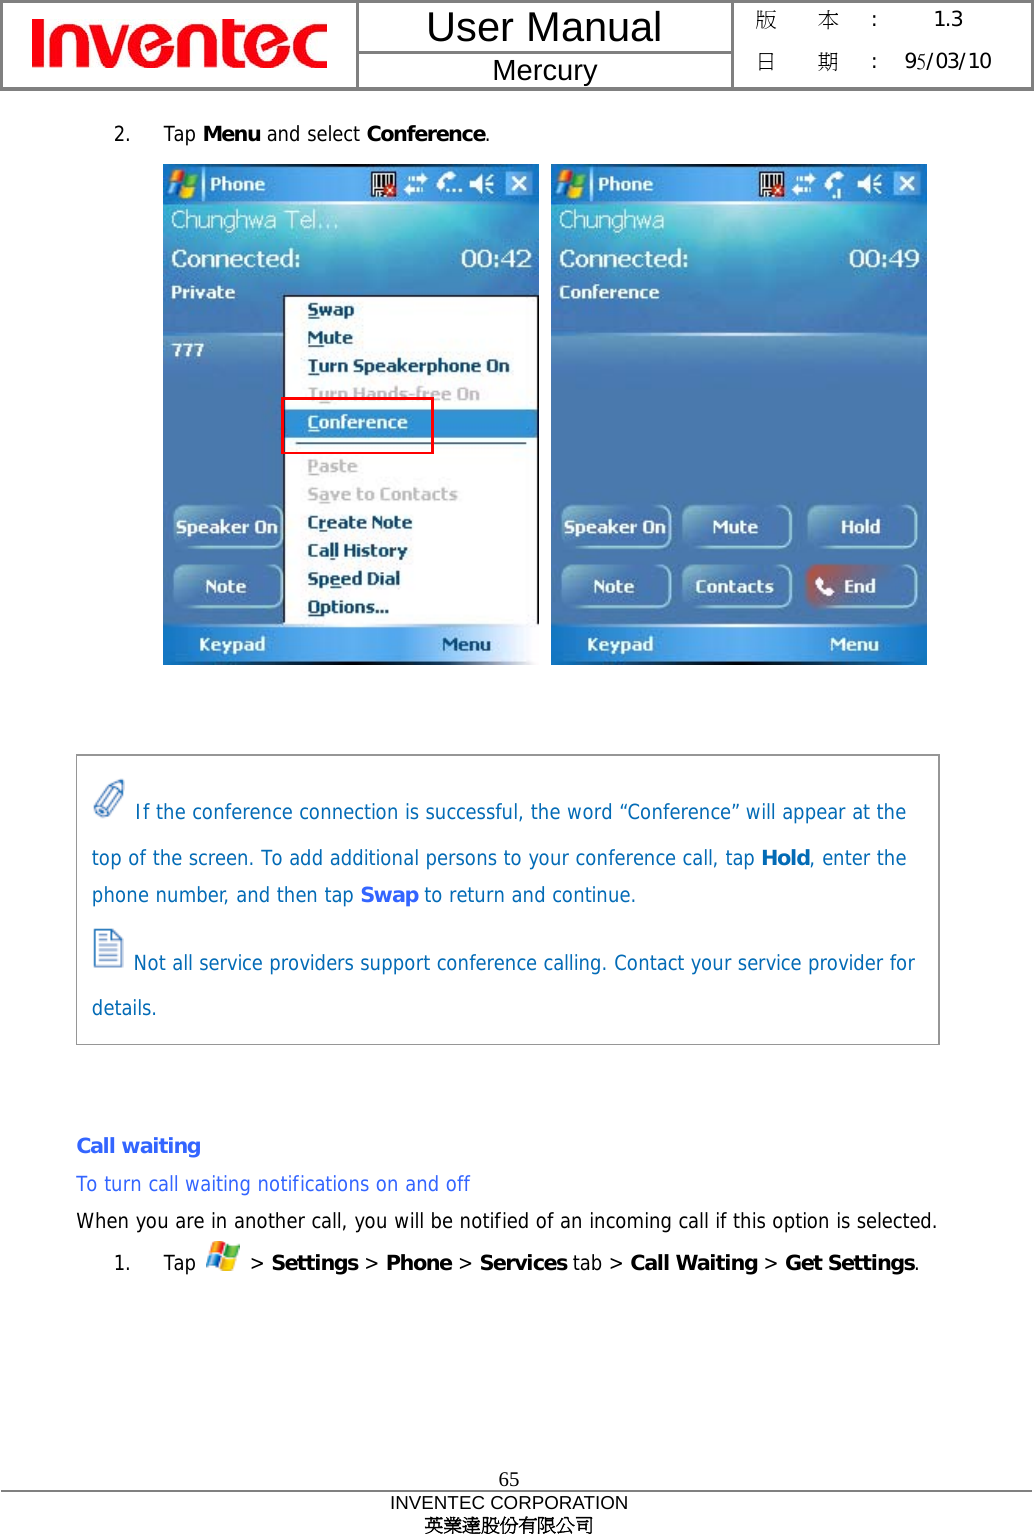
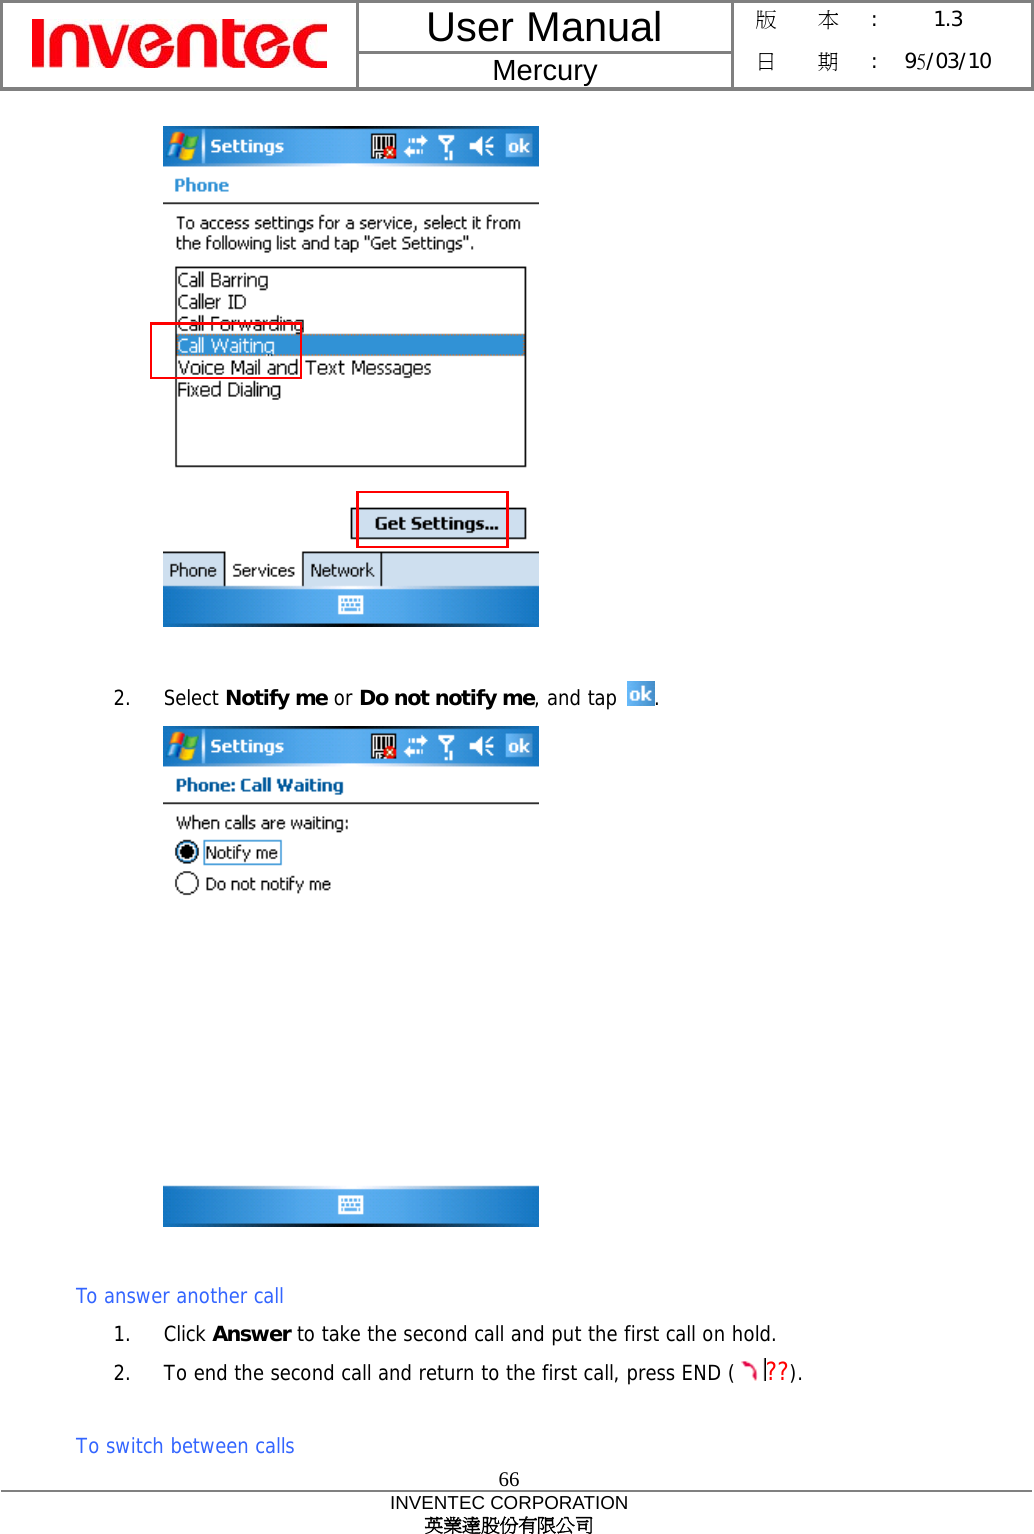
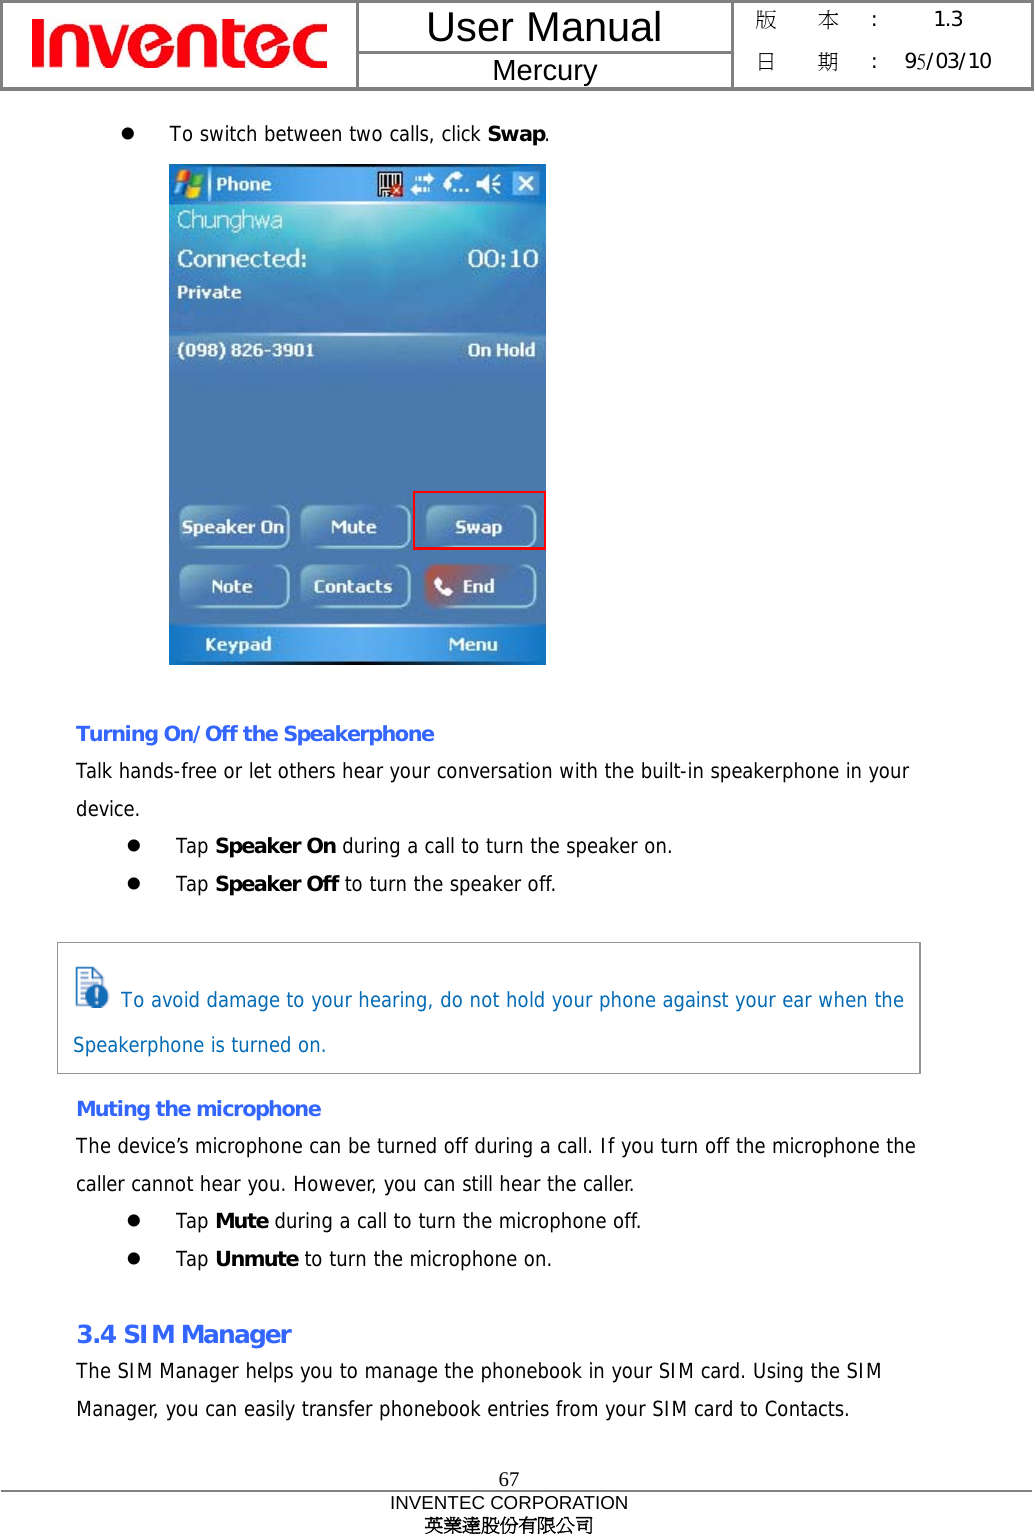
![User Manual Mercury 版 本 : 1.3 日 期 : 95/03/10 59 INVENTEC CORPORATION 英業達股份有限公司 3.2 Making a Call Making a Call by Entering a Phone Number 1. On the Phone screen, begin entering the phone number. 2. Do one of the following: If you see the number or contact name to call, select it, then tap [ Talk] or press the TALK (?) key. If you do not see the number or contact name, finish entering the number, then tap [ Talk] or press the TALK (?) key. TALK/Send Key END Key To adjust the earpiece volume during a call, press the VOLUME control on the phoneside panel. Adjusting the volume at any other time can affect the ring and notification and MP3 sound levels. Tap the Backspace ( ) button once to erase one single number; tap and hold the Backspace ( ) button to erase a whole string of numbers.](https://usermanual.wiki/Inventec/BC0129AAA190.Manual/User-Guide-747281-Page-59.png)