Inventec WS9603 WIRELESS POINT OF SALE PDA User Manual MRT320 new use
Inventec (Shanghai) Corporation WIRELESS POINT OF SALE PDA MRT320 new use
UserManual.wiki
>
Inventec
>
WS9603 User Manual
users manual
Navigation menu
Upload a User Manual
Namespaces
Wiki Guide
HTML
PDF
Info
Views
User Manual
Discussion / Help
Navigation
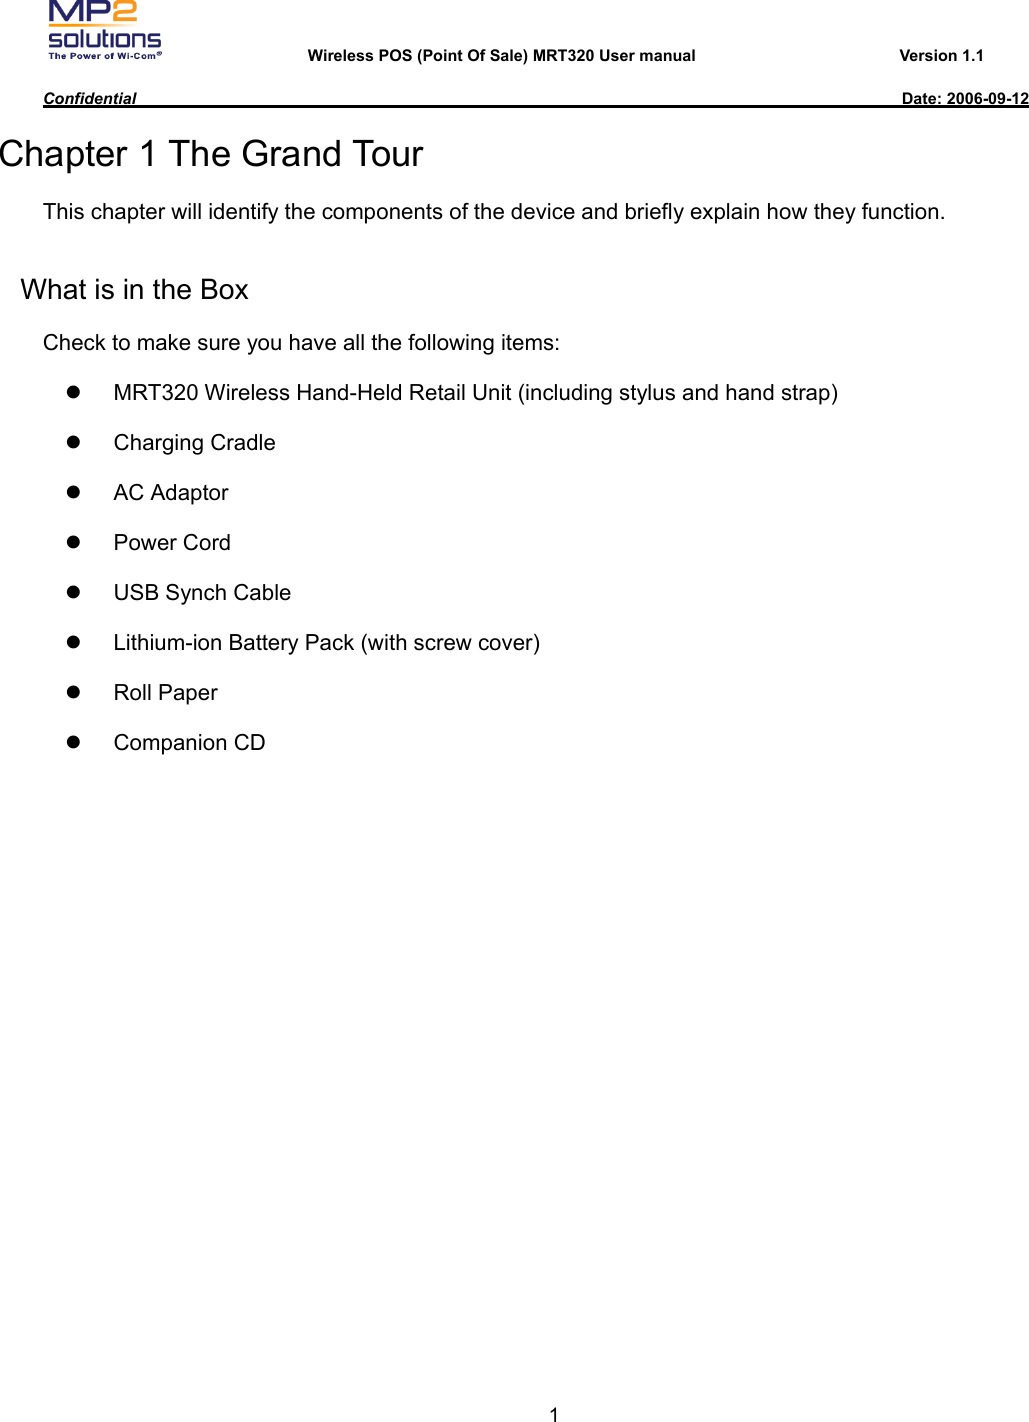
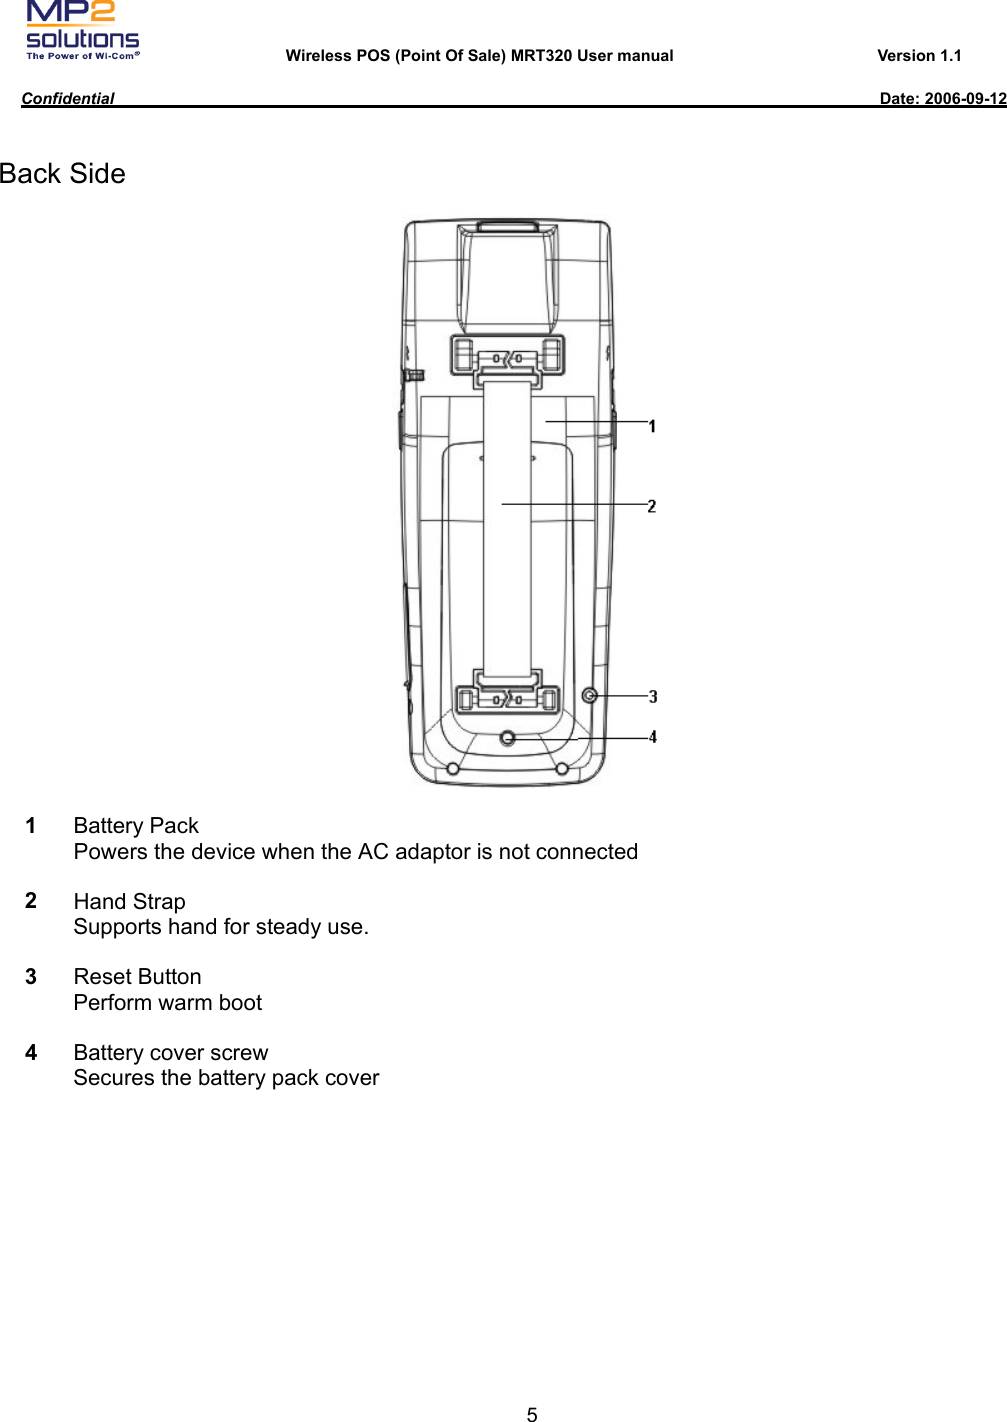


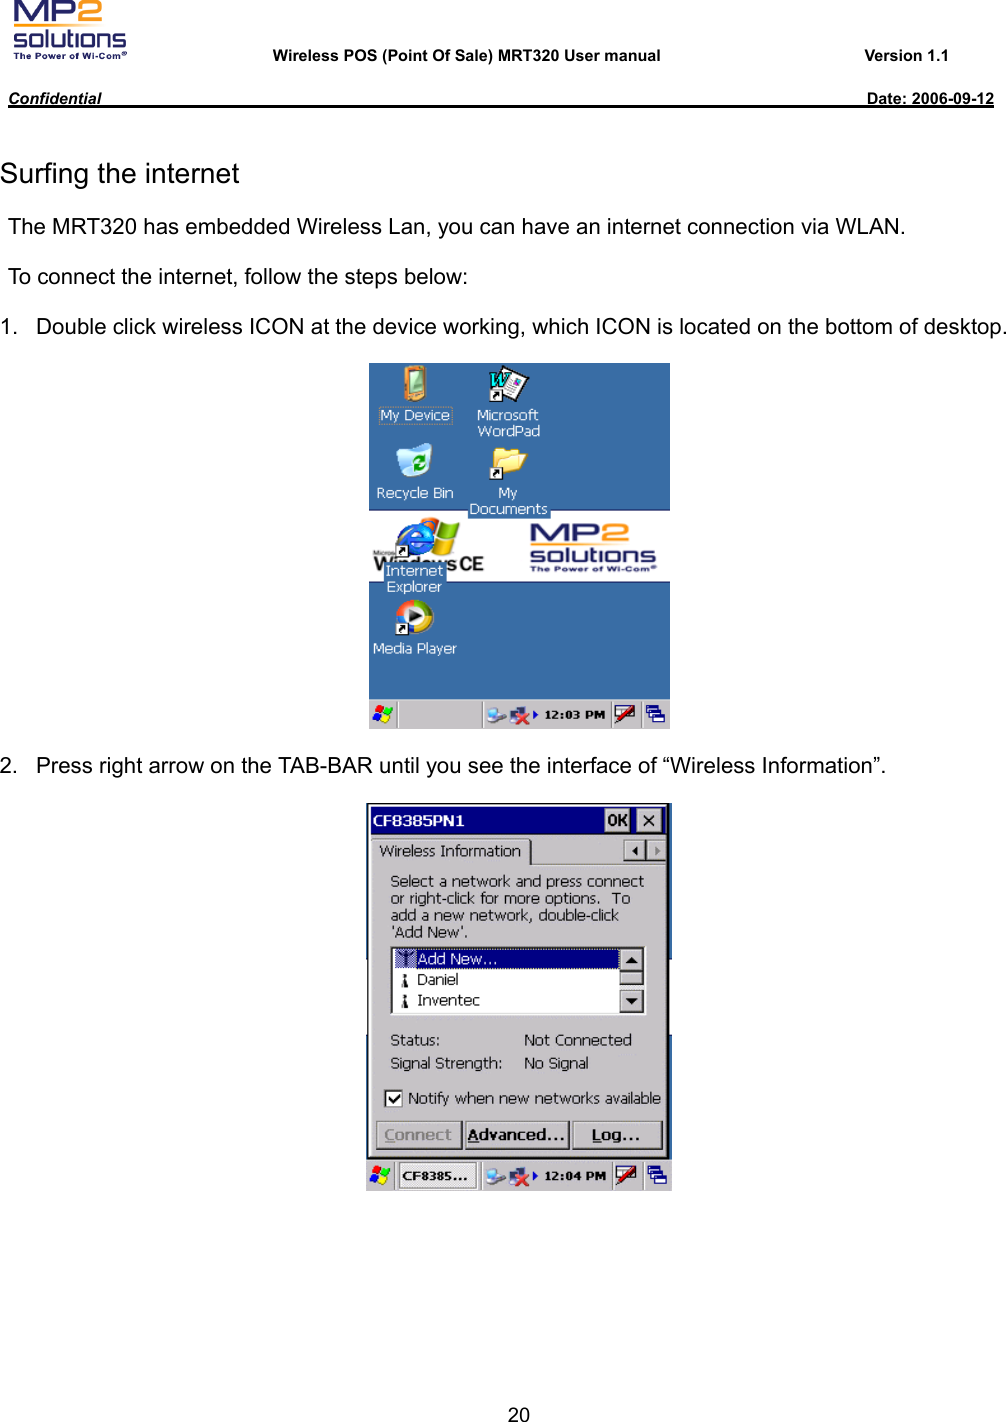
![Wireless POS (Point Of Sale) MRT320 User manual Version 1.1 Confidential Date: 2006-09-12 14 NOTE: Make sure the screw is tightened. This secures the battery pack in the case. Removal of the battery pack will cause data loss. Aligning the Screen When you turn on the screen of your device for the first time, you will be guided through the alignment process. Screen alignments are required if your device is not responding properly, or following a hard reset. To align your screen, follow the steps below: 1. From the [Start] menu, tap the [Settings] > [Control panel] > [Stylus] icon > tab [Calibration] > [Recalibrate] button to begin the realignment process. 2. Follow up the instructions from the application. 3. Tap [OK].](https://usermanual.wiki/Inventec/WS9603/User-Guide-707869-Page-20.png)
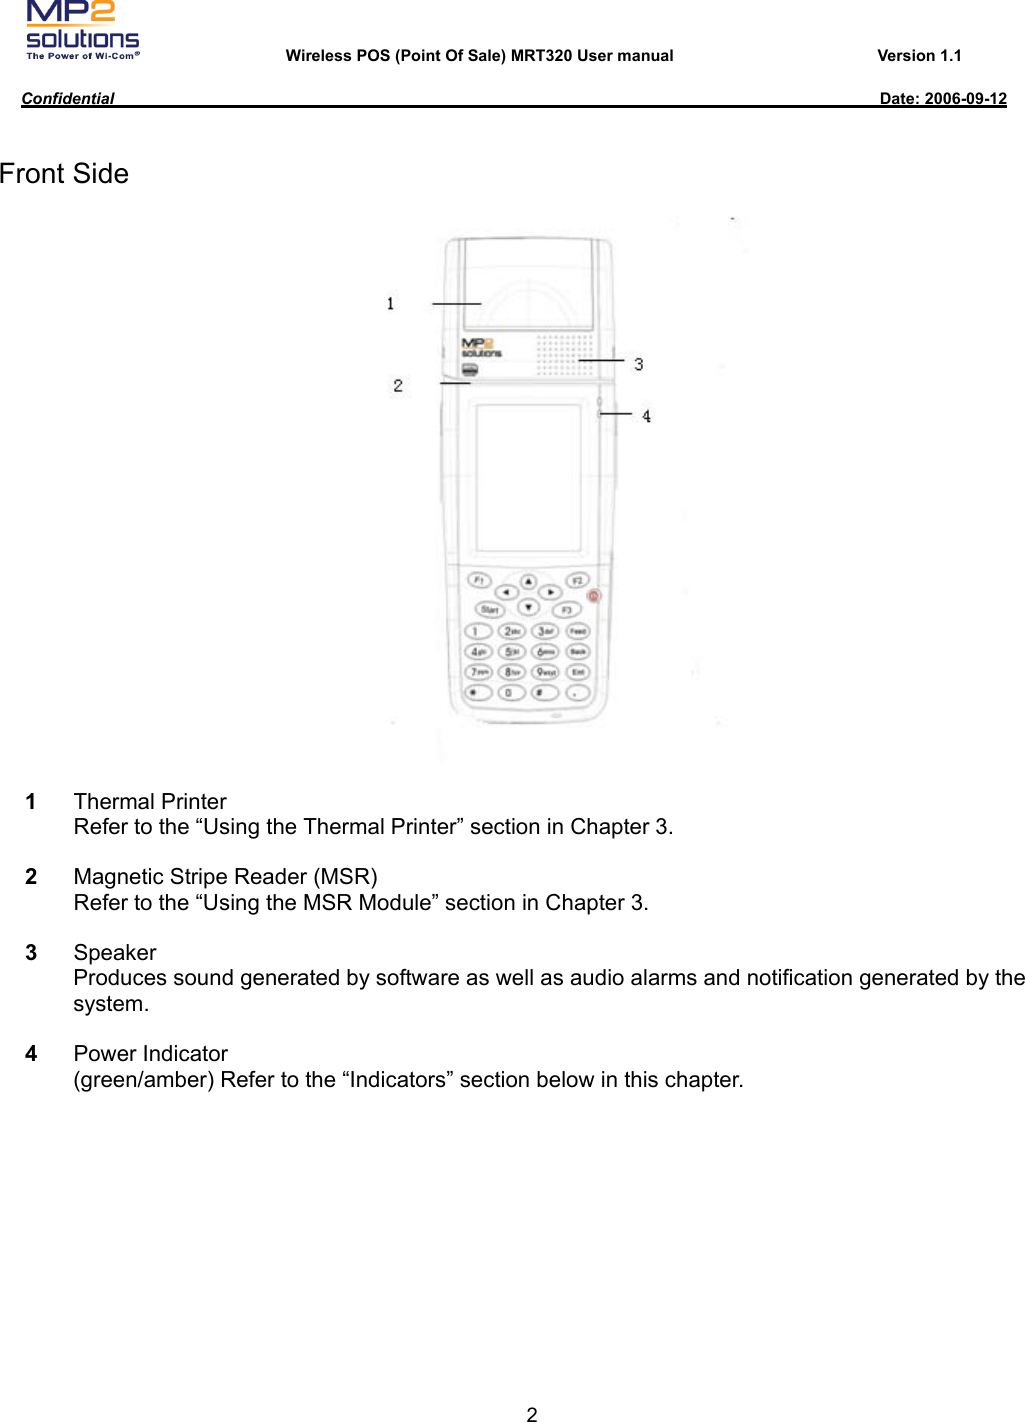
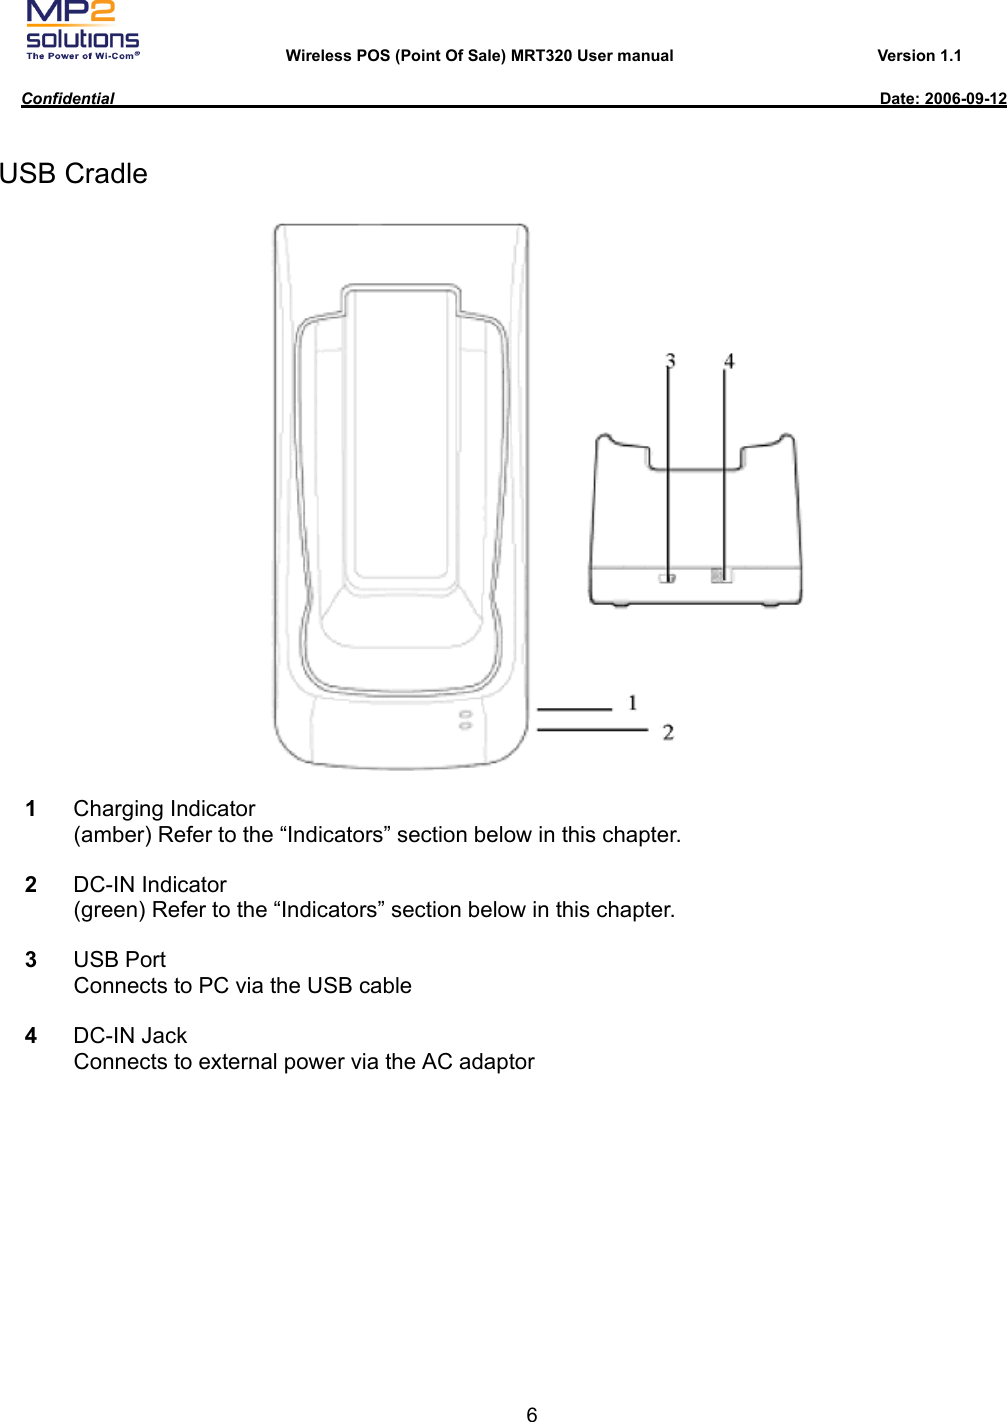
![Wireless POS (Point Of Sale) MRT320 User manual Version 1.1 Confidential Date: 2006-09-12 21 Note: Once you connect AP through proxy sever, please follow the steps to set proxy sever, To open, tap [Start] - [Settings] - [Control Panel] - [Internet Options] - [Connection] Choose “Access the internet using a proxy sever” Input proxy sever [Address] and [Port], then, Press “OK”. 3. Choose the AP you want to connect, then press “Connect” button to connect the AP.](https://usermanual.wiki/Inventec/WS9603/User-Guide-707869-Page-27.png)
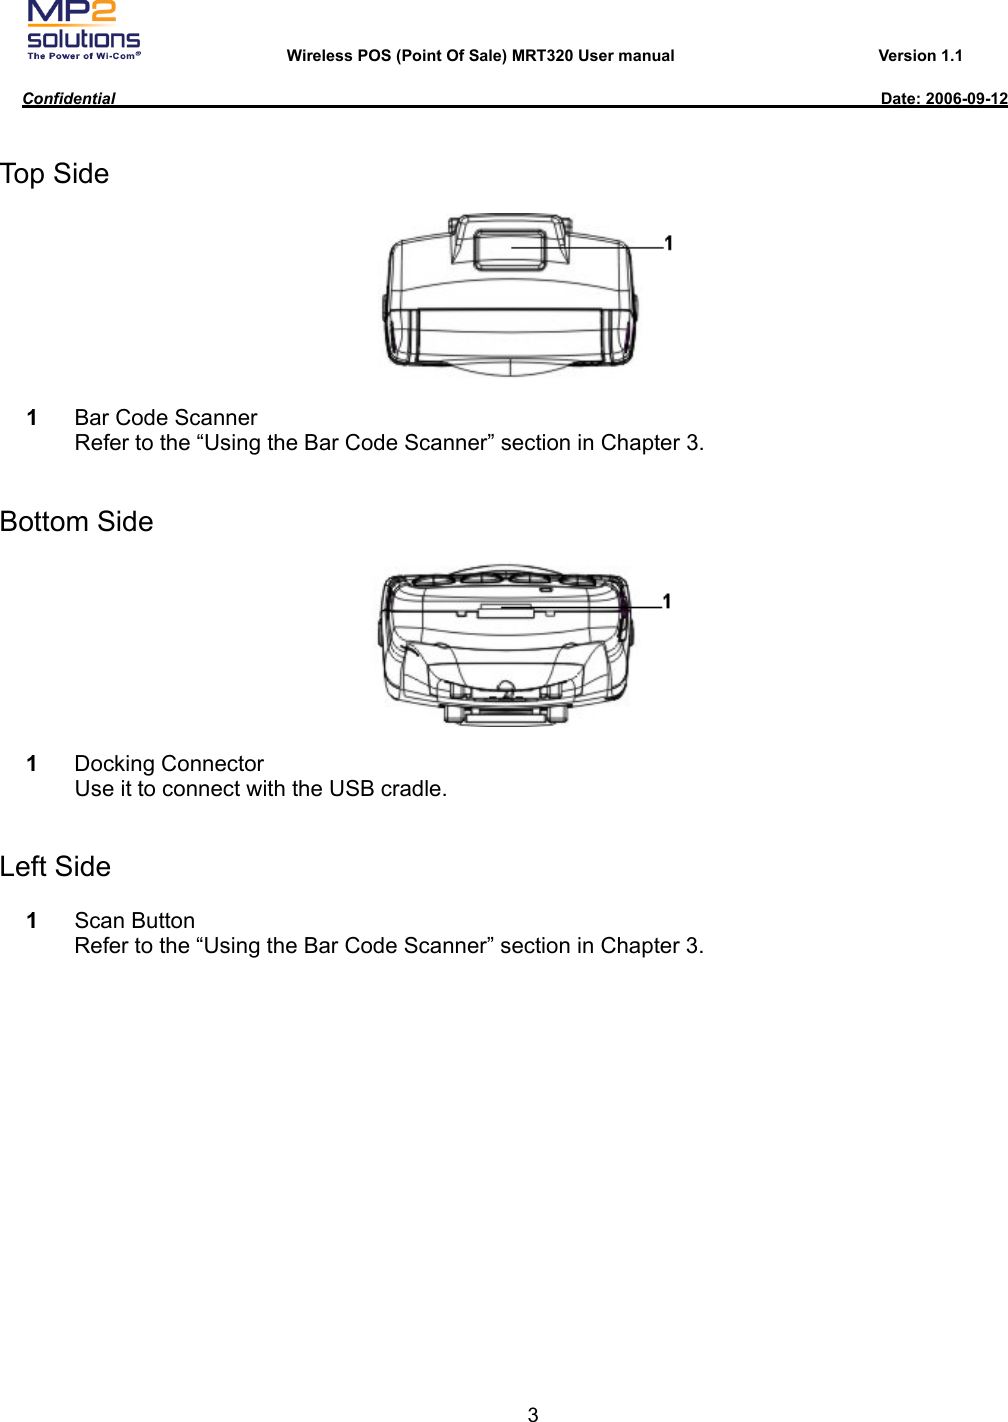
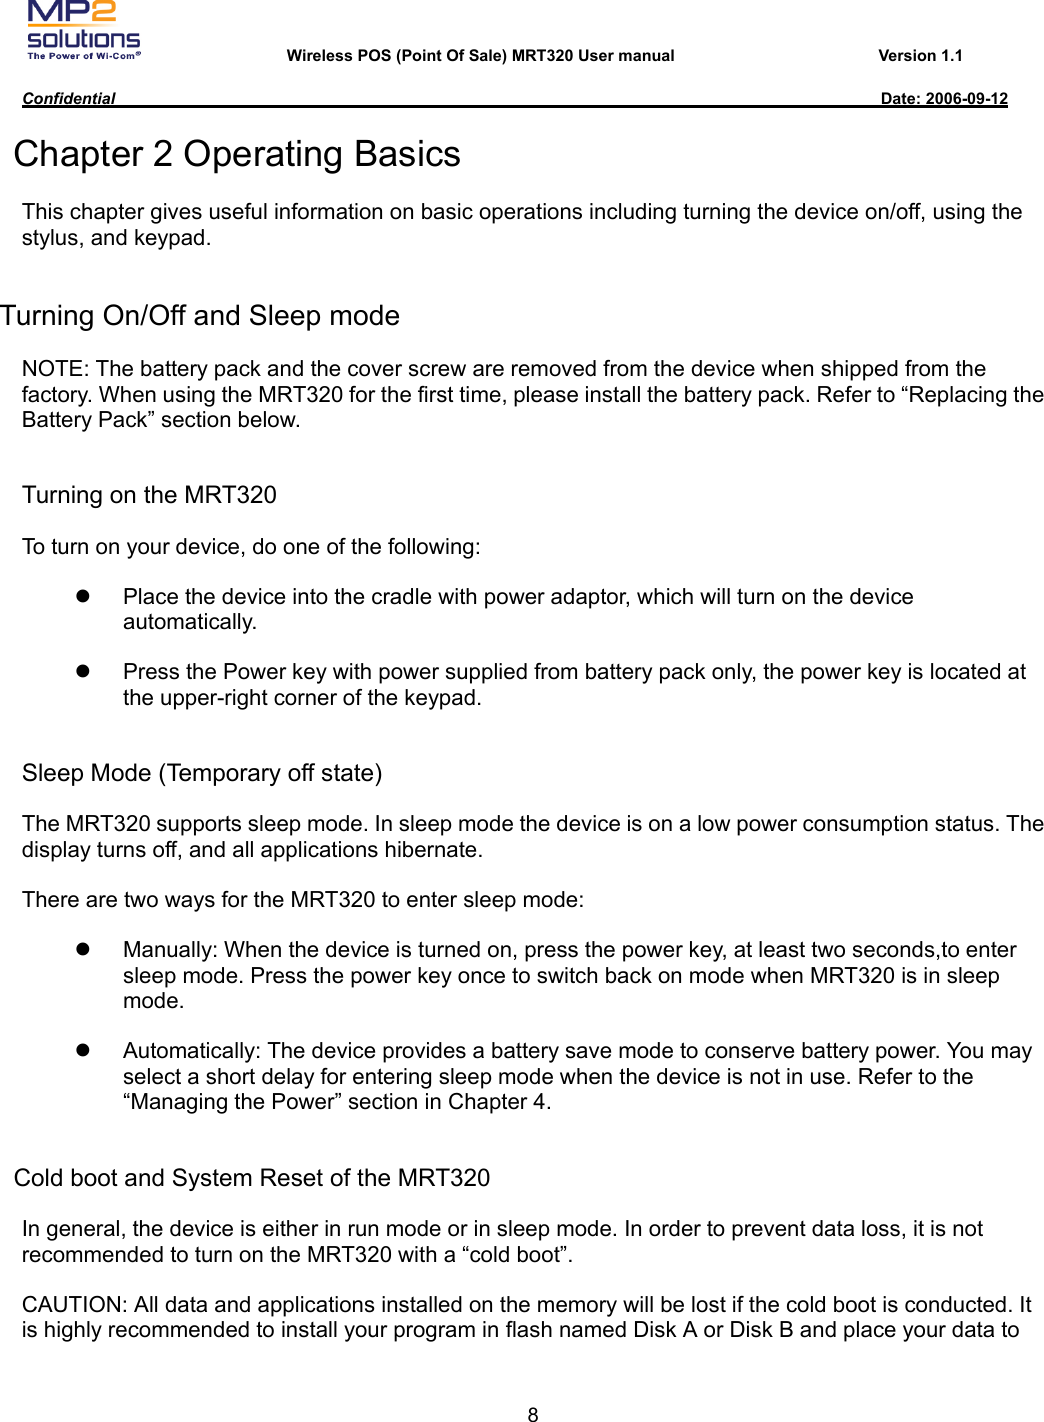
![Wireless POS (Point Of Sale) MRT320 User manual Version 1.1 Confidential Date: 2006-09-12 22 Connecting MRT320 to PC via ActiveSync The MRT320 has internal platform of Win CE 5.0, which introduced the ability for you to transfer the Internet connection to the device via “ActiveSync Pass Through” if you have an Internet connection on your desktop PC. To connect your device to the Internet via ActiveSync, follow the steps below: 1. Place the device into the cradle. NOTE: To reduce damage to the connector, grasp the cradle with one hand while placing the device into the cradle or while removing. 2. Connect the USB port on the cradle and PC with the USB cable. 3. The “New Partnership” window appears on your desktop. You may select either [Standard partnership] or [Guest partnership] at your own choice. NOTE: Microsoft ActiveSync program must be installed on the PC before the connection. 4. The “Microsoft ActiveSync” window appears with the message “Connected”. NOTE: Version of Microsoft ActiveSync program 4.1.0 or later is recommended.](https://usermanual.wiki/Inventec/WS9603/User-Guide-707869-Page-28.png)