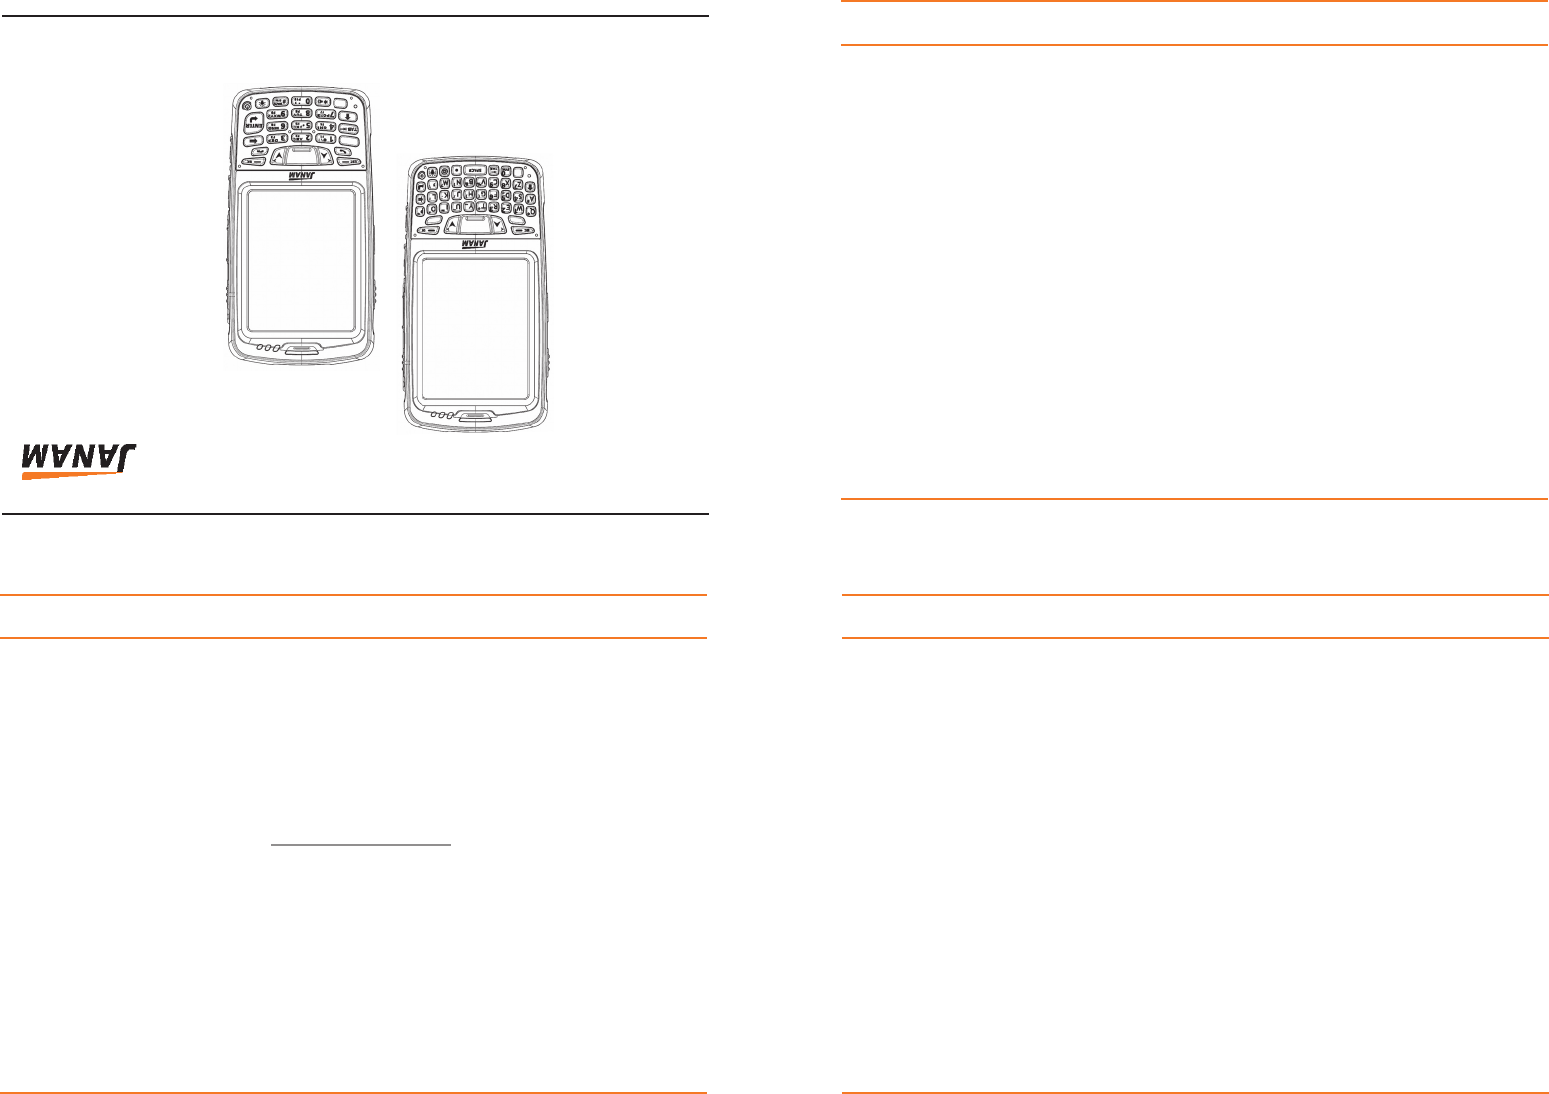
Janam Technologies XT85WA Portable Data Terminal User Manual
Janam Technologies LLC Portable Data Terminal Users Manual
Contents
- 1. Users Manual (Statements).pdf
- 2. Users Manual.pdf
Users Manual.pdf
Copyright 2012 Janam Technologies LLC. All rights reserved.
XM Series Quick Start Guide
XT Series, Janam and the Janam logo are trademarks of Janam Technologies LLC. Other product and brand names
may be trademarks or registered trademarks of their respective owners.
Janam Technologies LLC assumes no responsibility for any damage or loss resulting from the use of this guide.
Janam Technologies LLC assumes no responsibility for any loss or claims by third parties which may arise through
the use of this product. Janam Technologies LLC assumes no responsibility for any damage or loss caused by
deletion of data as a result of malfunction, dead battery or repairs. To protect against data loss, be sure to make
backup copies (on other media) of all important data.
Follow all usage, charging and maintenance guidelines in the Product User Guide. If you have questions, contact
Janam. For a copy of the Product User Guide, visit www.janam.com.
Important: Please read the End User License Agreement for this product before using the device or the
accompanying software program(s). Using the device or any part of the software indicates that you accept the
terms of the End User License Agreement.
Janam Technologies LLCPage 1
Content and Additional Resources
To help you get started with your XT Series mobile computer, this guide features:
- Hardware Overview
- Getting Started
A. Install the Battery
B. Charge the Battery
C. Attach the Handstrap
D. Remove the Battery
E. Access the SIM Card Slot and microSD Card Slot
Contents of this guide are subject to change. For the most current version of this guide and additional
product details visit, www.janam.com.
For software updates and information, visit www.microsoft.com.
XT Series Quick Start GuidePage 2
www.janam.com
Technology at Work.
®
XT Series
Quick Start Guide
™
111212XTminiQSG1
Technology at Work.
®
A. INSTALL THE BATTERY
1. Place the plastic tabs on the base of the battery in the notches at the bottom of the battery compartment.
2. Press the top of the battery to snap in place.
3. Push the battery lock switch to the lock position by sliding it to the left.
B. CHARGE THE BATTERY
Important Note: The main battery charges the backup battery in the XT Series unit. Once the main battery is
fully charged, do not remove it from the unit for 24 hours. During this period, the unit cannot maintain any
user data if the battery is removed.
To charge the battery using the USB AC Adapter Kit:
1. Slide adapter plug onto the AC adapter housing.
2. Insert the USB end of the USB cable into the USB port on the AC adapter housing.
3. Insert the micro USB end of the USB cable into the micro USB port on the XT Series unit.
4. Plug in the AC Adapter. Use only easily accessible wall sockets that are easily reached with the length of supplied power cable.
To charge the battery using the USB Syncing/Charging Cable:
1. Connect the power supply to the cable accessory, then connect the line cord to the power supply.
2. Connect snap-on end of cable accessory to bottom of XT Series unit making sure the Janam logo on the
connector faces front.
3. Plug in the power supply. Use only easily accessible wall sockets that are easily reached with the length of supplied power cable.
To charge the battery using a Cradle Kit:
1. Connect the power supply to the cradle, then connect the line cord to the power supply.
2. Plug in the power supply. Use only easily accessible wall sockets that are easily reached with the length of supplied power cable.
3. Placethedeviceincradle.TheLEDonthedevicewillilluminatetoconrmconnection.
4. The battery is fully charged in approximately 2 hours.
Getting Started
Page 5
Getting Started (continued)
5. To charge a battery in the spare battery well, insert the battery into the well top down (connectors
on the battery should face downward and to the back of the cradle) and gently press down. The LED
lightonthecradlewillilluminatetoconrmconnection.
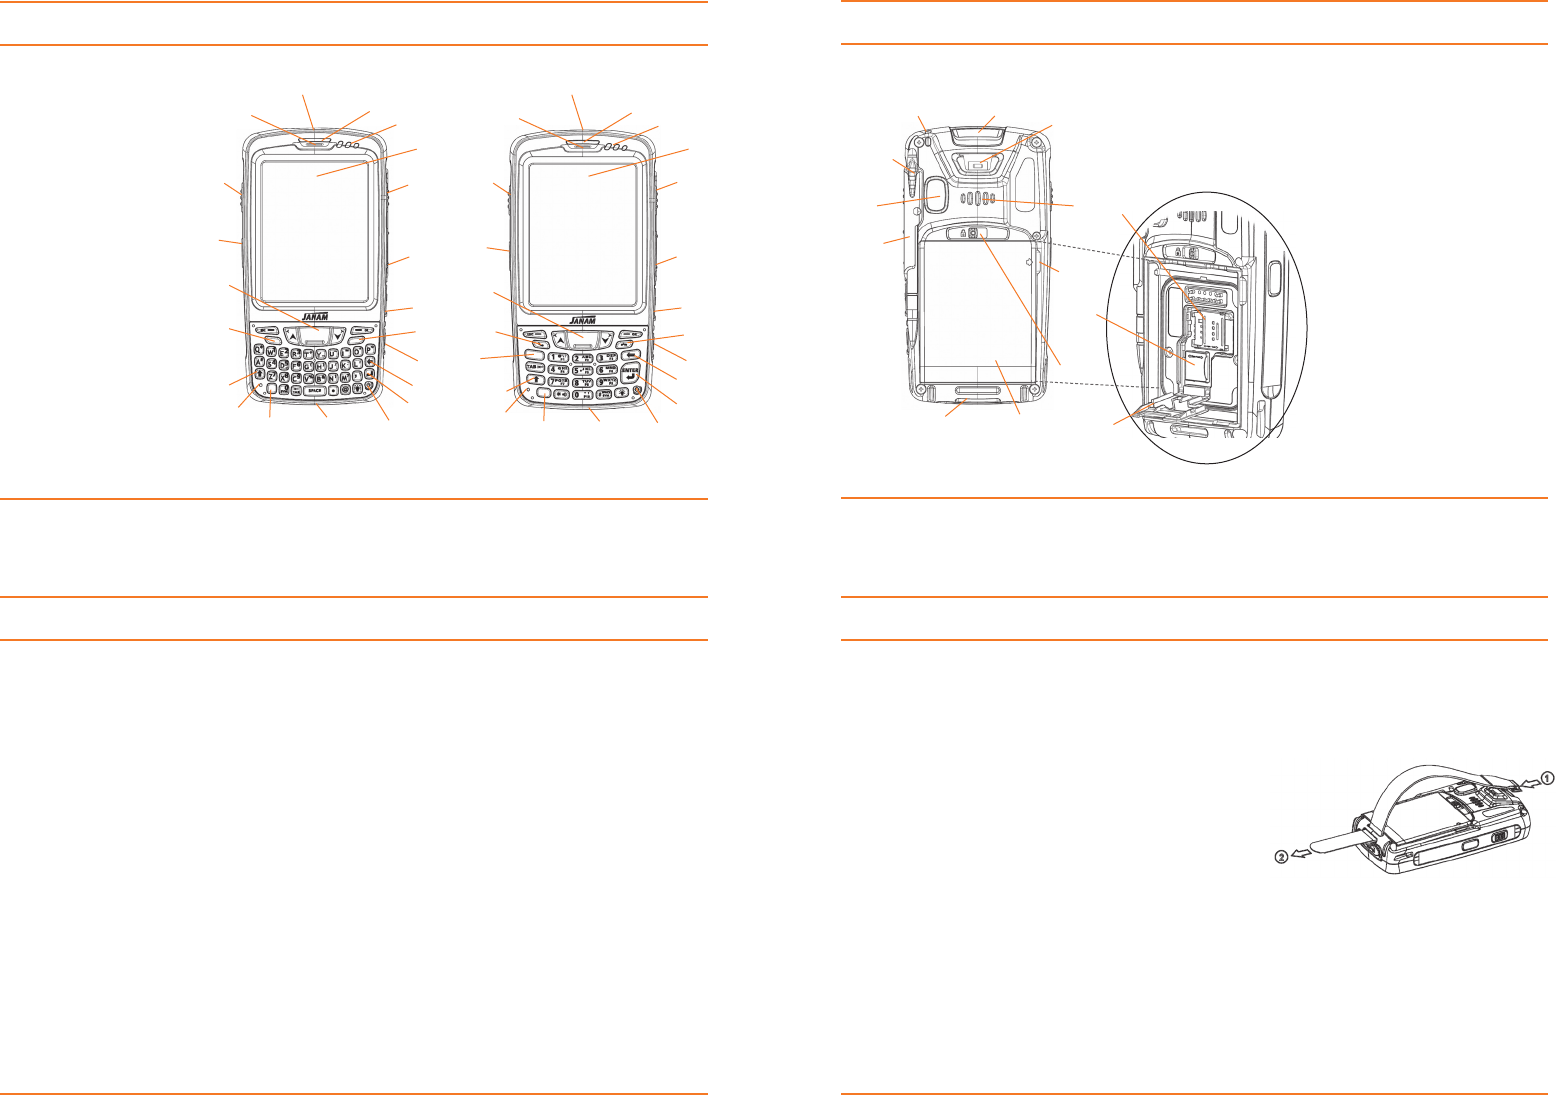
C. ATTACH THE HANDSTRAP
1. Insert plastic fastener on handstrap into the handstrap
retainer clip face down as shown in diagram. It will click
into place.
2. Extend other end of handstrap toward base of XT Series
unit (rough side of Velcro should be facing up). Feed
through the handstrap bar as shown in diagram.
3. Pull handstrap through handstrap bar and fasten Velcro to
close the strap. Fit strap and secure device to user’s hand
by adjusting Velcro as needed.
D. REMOVE THE BATTERY
1. Push the battery lock switch to the unlock position by sliding it to the right.
2. Liftthebatteryattheupperrightcorner(ngerliftgroovemarkedbyanarrow).
E. ACCESS SIM CARD SLOT AND MICRO SD CARD SLOT
1. After removing the battery, lift the media card compartment cover using notch at the top (it drops
down to open).
2. To access the SIM card slot, slide silver SIM card cover to the left and lift open.
3. To access the microSD card slot, slide silver microSD card cover to the left and lift open.
XT Series Quick Start GuidePage 6
Hardware Overview
Page 3
6
1
9
14
13
16
18 3
19 2
17
1. Power Button
2. Enter Key
3. Back Space Key
4. Micro USB Port
5. Phone Disconnect Key
6. Headset with Microphone
7. Volume Control
8. Right Trigger
9. LCD
10. NoticationLEDs
11. Indicator LED
12. Scan Window
13. Receiver
14. Left Trigger
15. Push-to-Talk Button
16. Scan Trigger
17. Phone Connect Key
18. Shift Key
19. Microphone
20. Yellow Function Key
21. Connector
22. Blue Function Key
(Numeric keypad only)
20
Numeric KeypadQWERTY Keypad
7
8
5
1
2
3
44
5
6
7
8
9
11
21
13
14
16
17
18
19 20 21
22
12 12
15 15
10
11
10
Hardware Overview
Janam Technologies LLCPage 4
8
5
2
4
67
9
10
1
Battery Compartment
1. Battery
2. Battery Lock Switch
3. Finger Lift Groove
4. Speaker
5. Handstrap Retainer Clip
6. Scan Window
7. Lanyard Connector
8. Stylus
9. Camera or IrDA Window
10. Stylus Slot
11. Handstrap Bar
12. Media Card Compartment Cover
13. microSD Card Cover/Slot
14. SIM Card Cover/Slot
11
13
14
12
3