KYE SYSTEMS GTU504 digitizing tablet User Manual
KYE Systems Corp digitizing tablet Users Manual
Contents
- 1. 8
- 2. Users Manual
Users Manual

Easy Pen pro USB Introduction
Page: 1
EUT : STYLUS
FCC ID : FSUGTU504
KYE SYSTEMS CORP.
USER’S Manual

Easy Pen pro USB Introduction
Page: 2
FEDERAL COMMUNICATIONS COMMISSION
This device complies with Part 15 of the FCC Rules. Operation is subject
to the following two conditions:(1) this device may not cause harmful
interference, and (2) this device must accept any interference received,
including interference that may cause undesired operation.
NOTE
This equipment has been tested and found to comply with the limits for a
Class B digital device, pursuant to Part 15 of the FCC Rules. These limits
are designed to provide reasonable protection. This equipment generates,
uses and can radiated radio frequency energy and, if not installed and
used in accordance with the instructions, may cause harmful interference
to radio communications. However, there is no guarantee that interference
will not occur in a particular installation If this equipment does cause
harmful interference to radio or television reception, which can be
determined by turning the equipment off and on, the user is encouraged to
try to correct the interference by one or more of the following measures:
-Reorient or relocate the receiving antenna.
-Increase the separation between the equipment and receiver.
-Connect the equipment into an outlet on a circuit different from that to
which the receiver is connected.
-Consult the dealer or an experienced radio/TV technician for help.
Shielded interface cables (Tablet) must be used in order to comply with
emission limits.
Changes or modifications not expressly approved by the party responsible
for compliance could void the user‘s authority to operate the equipment.

Easy Pen pro USB Introduction
Page: 3
1.Introduction
The Easy Pen pro USB is a graphics tablet that translates X-Y dimensional data into
computer readable information in cordless pen. Its many use include :
.Guiding the cursor on a computer screen.
.Picking up location on application template.
.Hand writing and electronic signature
.Free hand talking on Internet conference and white board.
Easy Pen pro USB is the best tool for pen computer that includes both absolute and
relative cursor expression modes. It uses the latest advances electromagnetic
technology, which make it accurate and reliable. The Easy Pen pro USB tablet
combine all the advantages of a mouse and graphics tablet to eliminate multiple input
devices and to provide a simplified desktop. You can ‘map’ your tablet to correspond
to the monitor screen, meaning if you place your pen at a specific location on the
tablet, your screen cursor will also move to that location on the monitor.
Easy pen pro USB Fundamental Specification
Page: 4
2. Fundamental Specification
Platform Support PC
Hardware Interface USB
Software Driver GeniTab III USB for Windows3.x, 95, 98, NT3.x , 4.x
Resolution Up to 2,540LPI
Accuracy 0.01 inch
Proximity 8 mm from surface of tablet
Working Area Horizontal : 5 inches , Vertical : 3.75 inches
Data Rate Low Speed 1.5Mbps
Report Rate Up to 125 RPS in interrupt transaction
Protocol Compliance HID v1.1
Power Source USB +5V
Operation mode Endpoint 0 and Endpoint 1 .
Technology Electromagnetic
Cursor Support S-09W Cordless pen
FCC CLASS B, CE, BCIQ approved

Easy Pen pro USB Operation Characteristic
Page: 5
3.Operation Characteristic
1. Tablet : Easy plug and works on USB port with (H) 5 x (V) 3.75
inches sketching area.
2. Stylus : A ball point pen like pointing device , that delivers
electromagnetic flux to tablet to point out where position is.
One tip button like mouse “left button” and barrel button as
“right and middle button” . Both tip and barrel button
function are definable by user’s choice.
3. Button operation force :
Tip button: 15±5g
Barrel button: 100±50g
5.Status indicator on tablet :
Continuous light on to express STYLUS locates in sensing
altitude, means in proximity.
Blinking express STYLUS locates out sensing altitude, means
out proximity.
1. Sketch template :
A very thin film that help you easy to express art of
Writing and sketching.

Easy Pen pro USB User Interface Specifications
Page: 6
6.User Interface Specifications
˙About Genius Tablet
Genius Tablet is a graphics tablet used to create or reproduce diagrams, drawings,
building layouts, maps, etc. You can then save these graphics into your computer
for other uses.
˙Using this tablet, you can:
Trace anything; pictures, drawings, photos, maps, etc.
Draw freehand; achieve precision and accuracy
Move the puck (or stylus) to select commands on the template, or move objects on
the screen Create a symbol library for your most often used symbols using
AutoCAD
Easy Pen pro USB User Interface Specifications
Page: 7
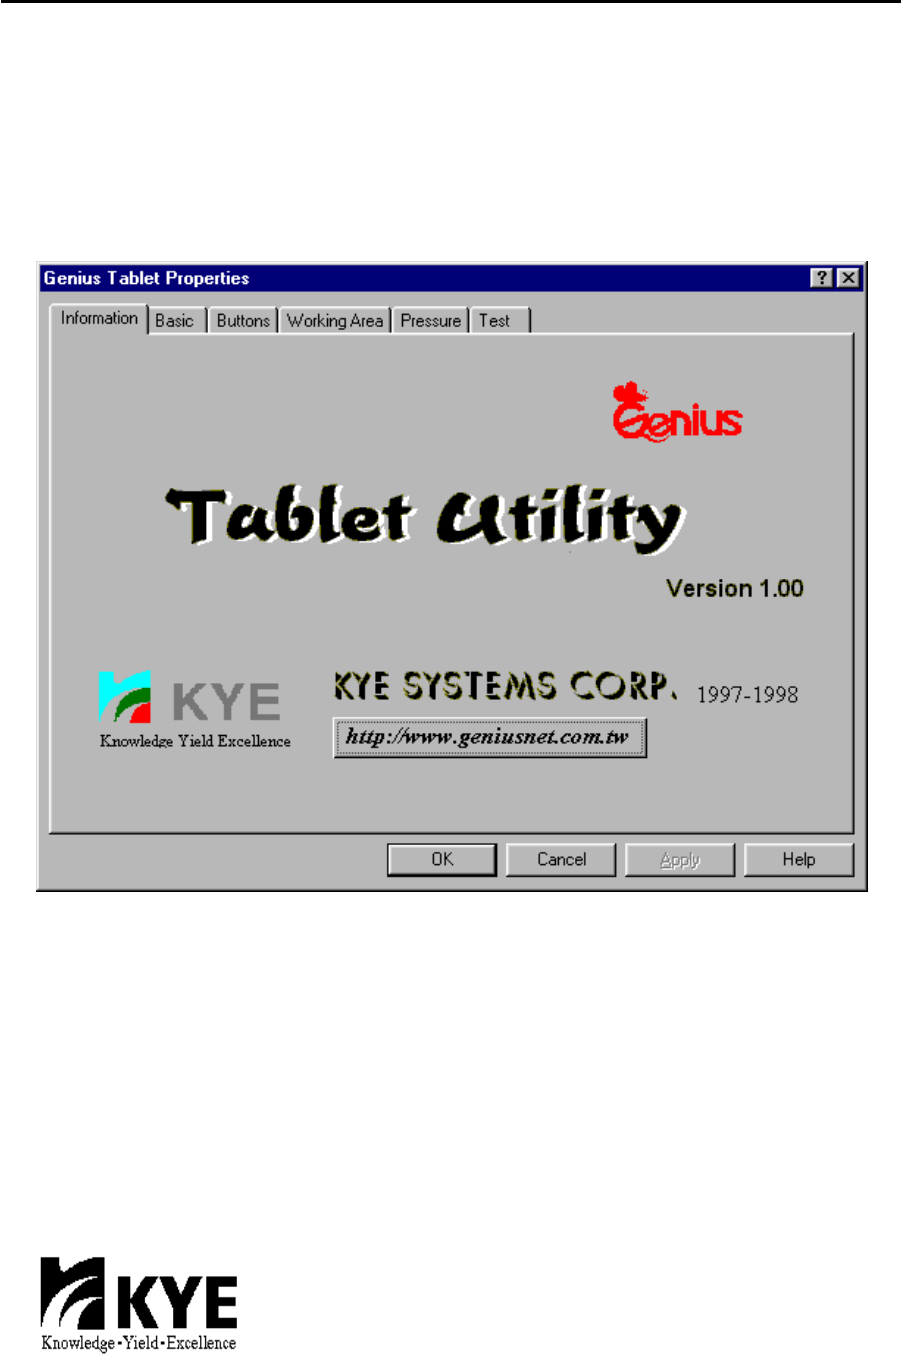
6.1 Information Folder
˙General Information
The Information Folder has general information about the Genius Tablet such as
version, corporation name and linking to Genius Web Site,etc.

Easy Pen pro USB User Interface Specifications
Page: 8
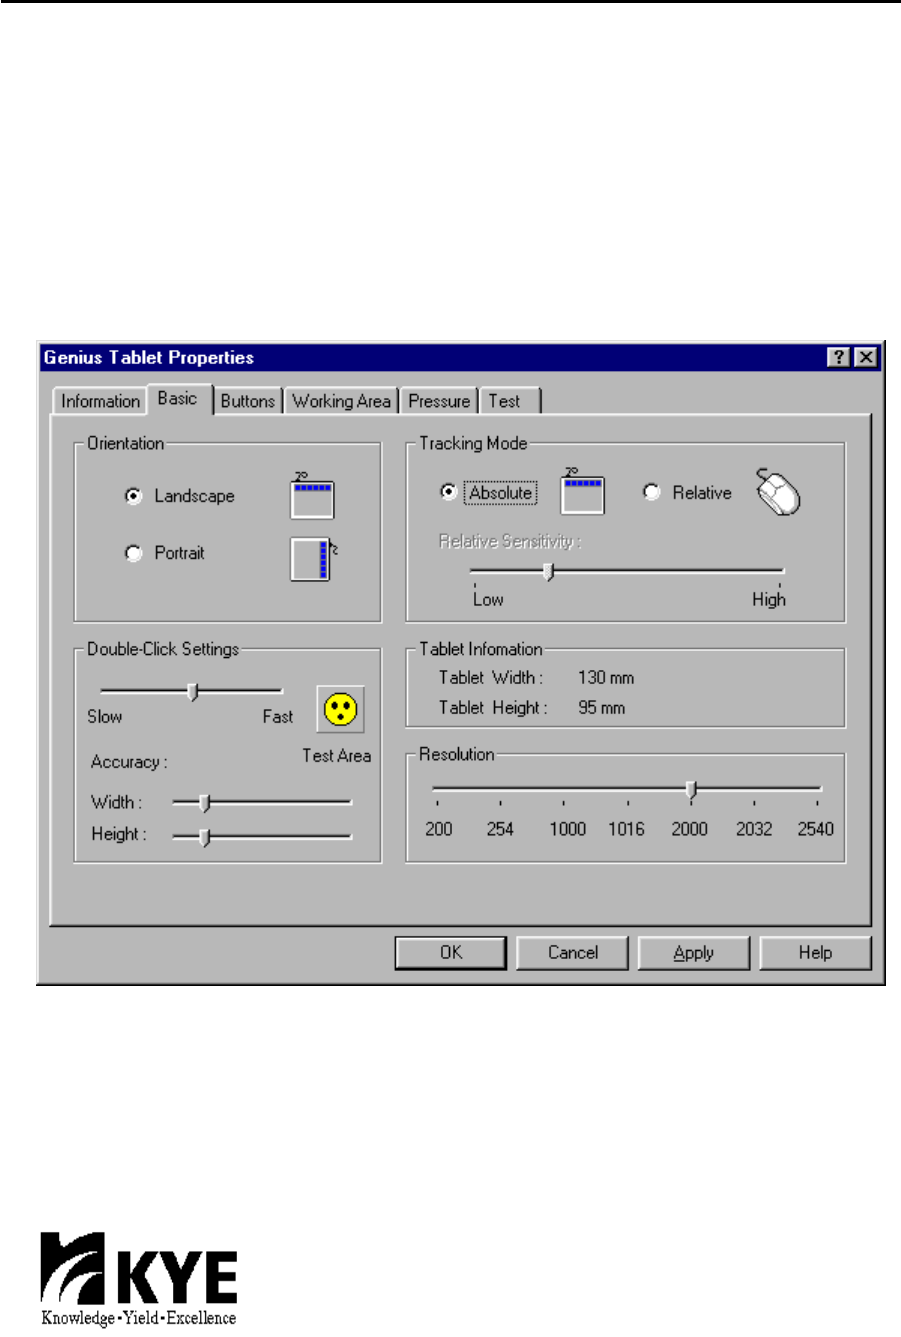
6.2 Basic Folder
˙Changing the Tablet Orientation
Orientation allows you to rotate the Genius Tablet 90 degrees. Landscape is the
normal operating position (with the tablet's interface cables exiting the top of the
tablet). Selecting Portrait allows you to rotate the tablet 90 degrees clockwise from
the normal operating position (so the tablet's interface cables would be exiting from
the right hand side of the tablet). Try changing to portrait orientation if you prefer
using your tablet in a vertical orientation, like a typical sketch pad.
˙Double-Click Test
In the Double-Click Test Box, you can set the widest and highest distance between the
two points of double click and you can set the speed of double click by dragging the
pointer on the slider bar or clicking on the slider bar. Then test the speed in the
"Smiling" area.
˙Tracking Mode
The Tracking Mode function allows you to switch how the Genius Tablet
moves the screen cursor.
The Absolute tracking mode is the normal (default) tablet mode. In absolute mode the
screen is directly mapped to the tablet's active area. In this mode, the lower left
corner of the tablet's active area corresponds to the lower left corner of the screen, the
upper right corner on the tablet corresponds to the upper right corner of the screen,
etc. When you place a pointing device on the tablet, the screen cursor would jump to
the location on the screen that directly corresponds to the position on the tablet. You'll
notice that you don't have to "row" the cursor (e.g., pick up and move over and move
again) like you often have to do with a conventional mouse.
On the other hand, in Relative tracking mode you move the screen cursor just like you
would with a mouse. In relative mode it's possible to find yourself with the screen
cursor at one side of the screen, while your pointing device is at the opposite side of
the tablet. In that case, you would have to pick up and move your pointing device just
like you would do with a mouse. You can set the Relative Resolution in this area by
clicking the bar. The resolution means the number of pixel in an inch. The resolution
is higher on the right side than on the left side.
Easy Pen pro USB User Interface Specifications
Page: 9
˙Tablet Information
You can see the width and height of the tablet in this area.
˙Adjust the Resolution in Absolute Mode
In the Resolution area, you can set the resolution of the tablet in absolute tracking
mode. The resolution refers to the number of pixel in an inch. You can set it from 254
to 2540.
Easy Pen pro USB User Interface Specifications
Page: 10
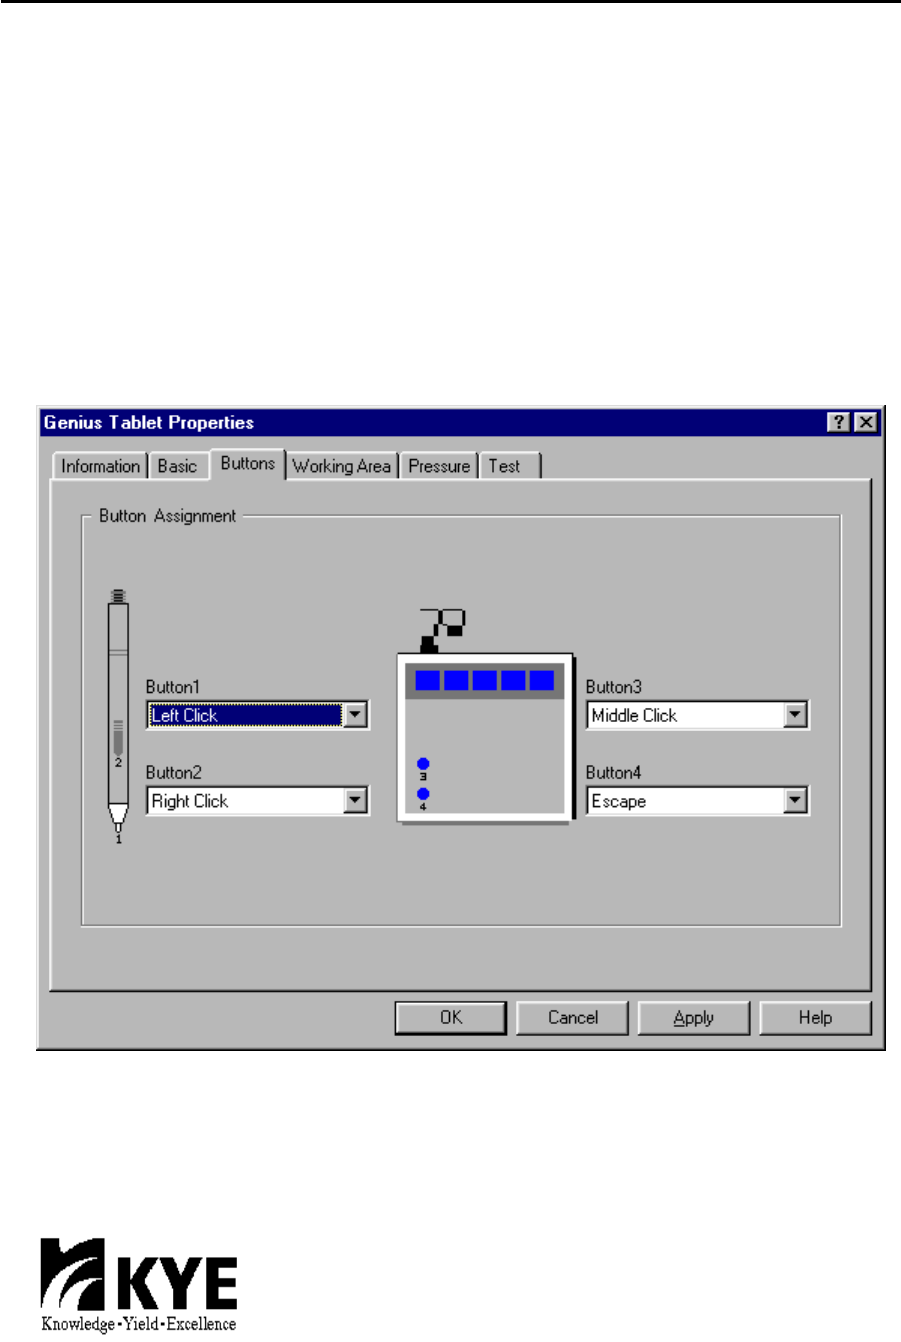
6.3 Button Assignment Folder
˙Use the Button Assignment Function
The Button Assignment function allows you to change the function of the buttons on
your pointing device. Select which pointing device you are using from the Pointing
Device list. This would allow you to change the functions assigned to the different
buttons on that device. Simply pick the button in the Assignment area that
corresponds to the pointing device button you wish to change and then select from the
function list the function you wish to assign to that button. You can set the function of
your button as Left Click, Right Click, Middle Double Click, Copy, etc.
Easy Pen pro USB User Interface Specifications
Page: 11
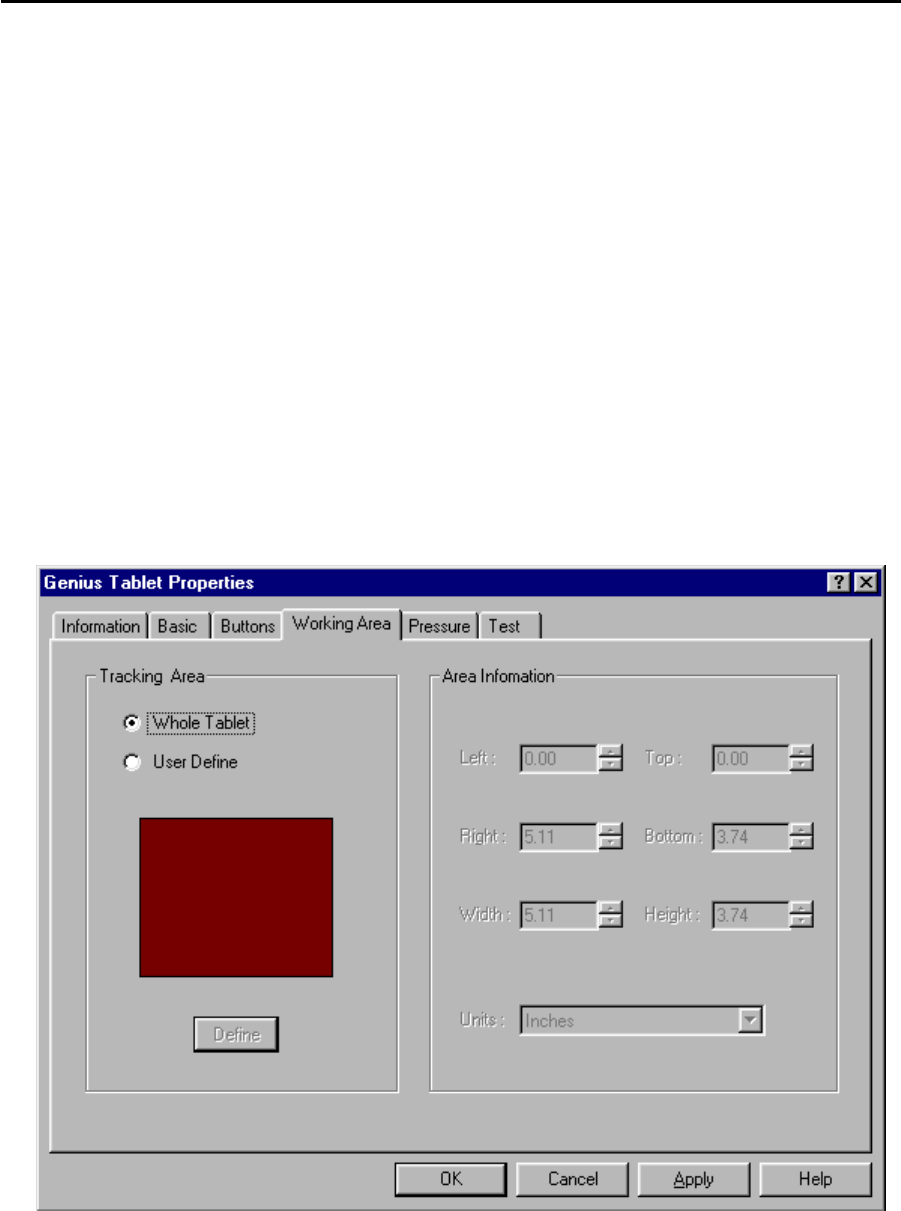
6.4 Working Area Folder
˙Adjust Working Area
The default option is the Whole Tablet.
When the Tracking Mode in the Basic folder is Absolute, you can define the tracking
area as your require. This is especially useful if you have a large tablet and you want
to define a smaller active area so you don't have to move the pointing device around
so far on the tablet.
In order to set the tracking area:
1) Choose the Preserve Aspect.
2) Click on the Define button, then the define area will turn grey.
3) Click on any button in the define area, drag the puck, then click the button again.
The area will be defined. Some information about the defined area such as Top,
Bottom, Right, Left, Width, Height will appear in the Area Information. You can
change the units from inch to centimeters. If you change it ,the number information
will also be changed.
You can input the number of Left, Top, Right, Bottom, Width and Height or click on
these up-down controls in the Area Information as you require, then the working area
will be defined.
Easy Pen pro USB User Interface Specifications
Page: 12
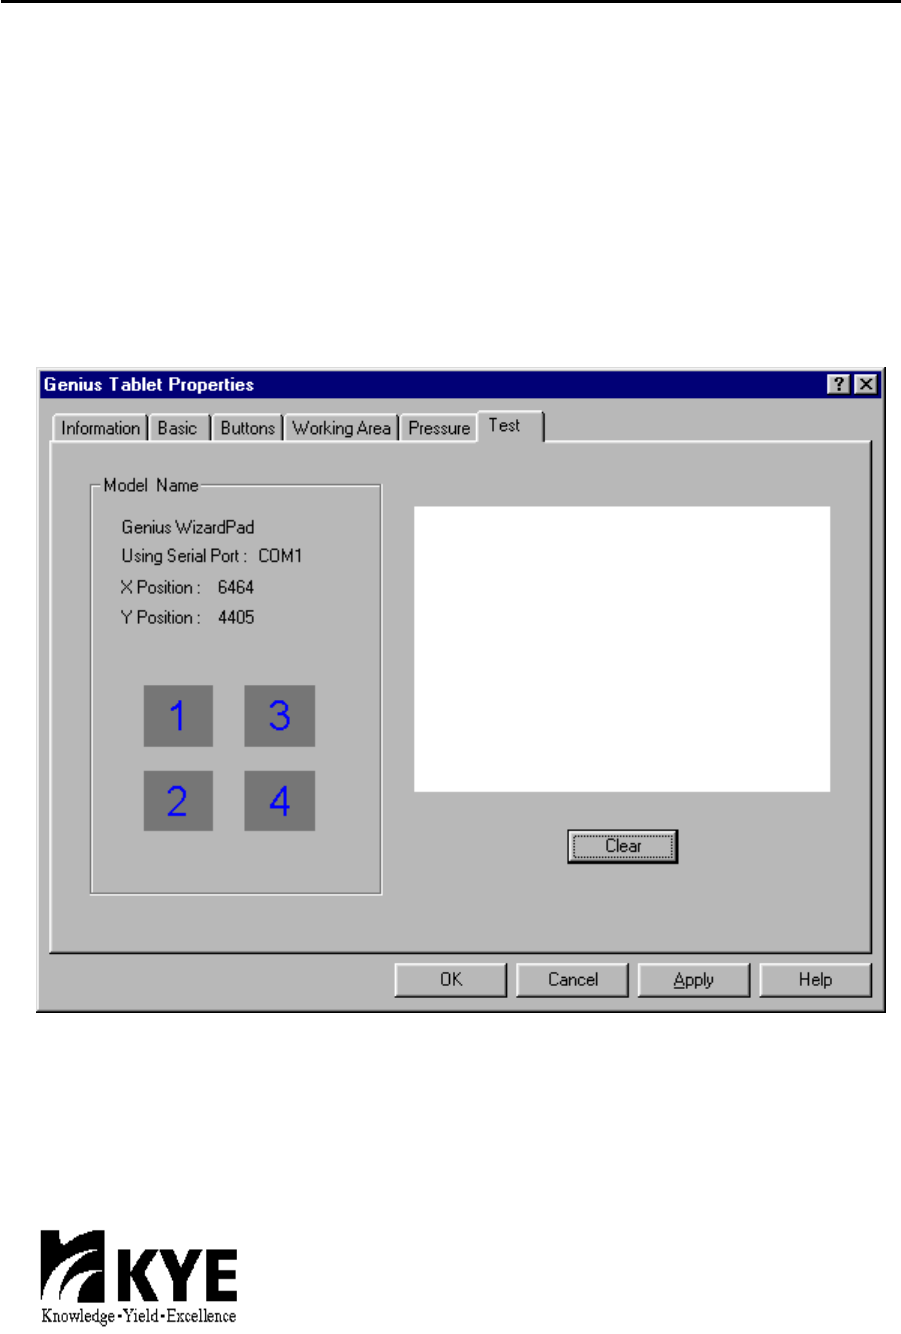
6.5 Test Folder
˙Test Your Buttons
In this area, you can verify if all of your pointing device buttons are operating
properly. Move your pointing device around the tablet and press the buttons (and the
pen tip, if using a stylus). You will see the position of the cursor on the screen in the
Model Name area, and the button in this area will flash to respond to the button
presses. When you move your puck in the test area on the right side , you will see
trails remain responding your button's movement. Click on "clear" to clear this area.
Easy Pen pro USB Packing Specifications
Page: 13
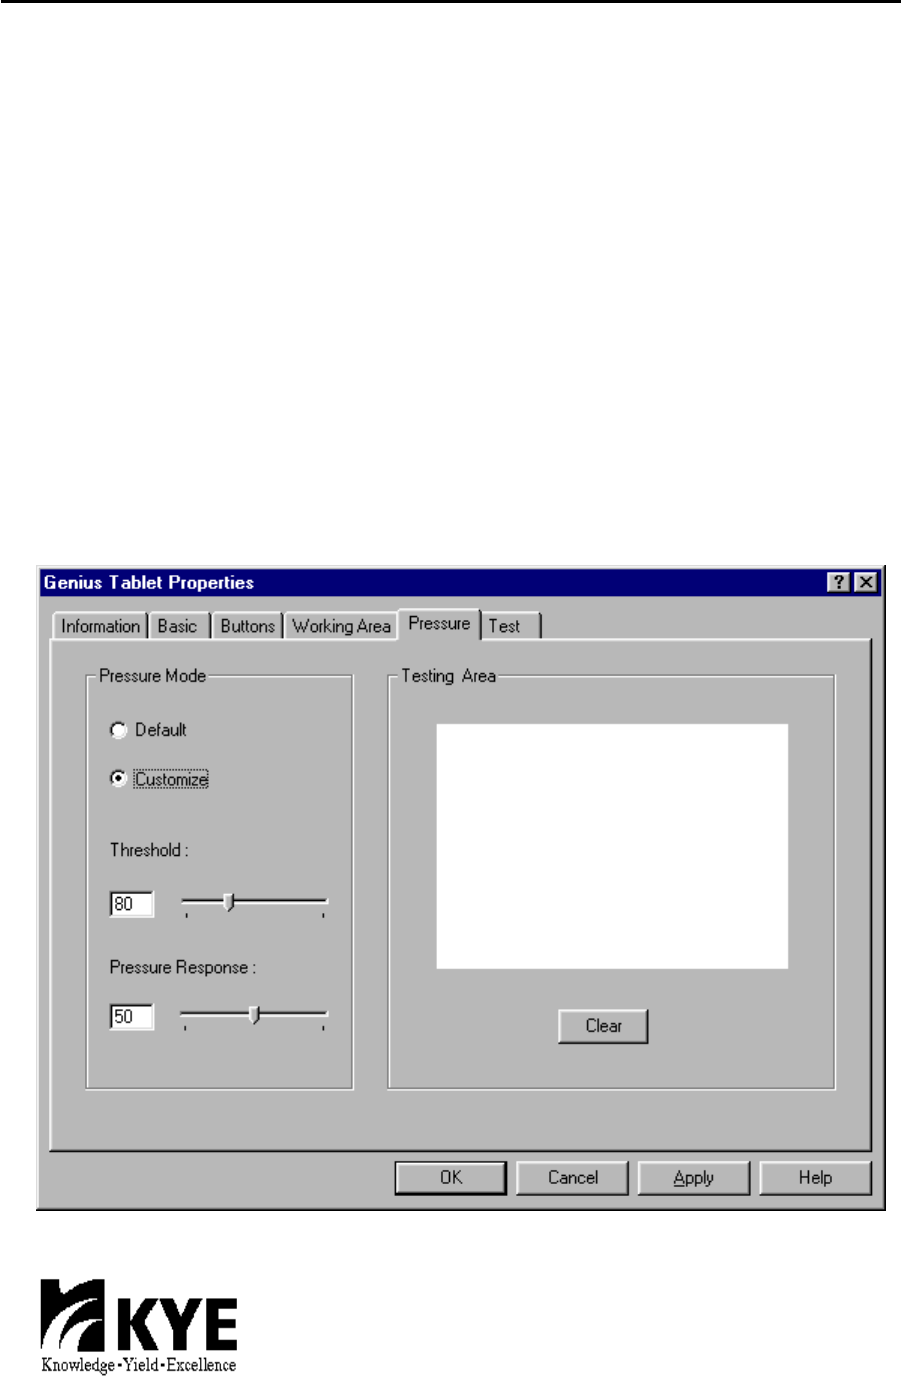
6.6 Pressure Folder
˙Pressure
For the WizardPad, you can use the Pressure folder in the Genius Tablet Control
Panel.
If you want to adjust the pressure, click "Customize in Pressure Mode area", then you
can customize the feel of your pressure-sensitive pen by setting these options.
Threshold allows you to define how hard you have to press on the tip of the pen
before it "reads" a "click," and the function assigned to it is executed. The threshold
can be set from 0 to 255.
Pressure Response allows you to set how soft or firm the pen feels when drawing. The
pen is harder when you increase the number.
The Test Area is a small pressure-sensitive drawing area that allows you to test how
the pen reacts to the options in the control panel. You can click on "clear" to clear the
area.