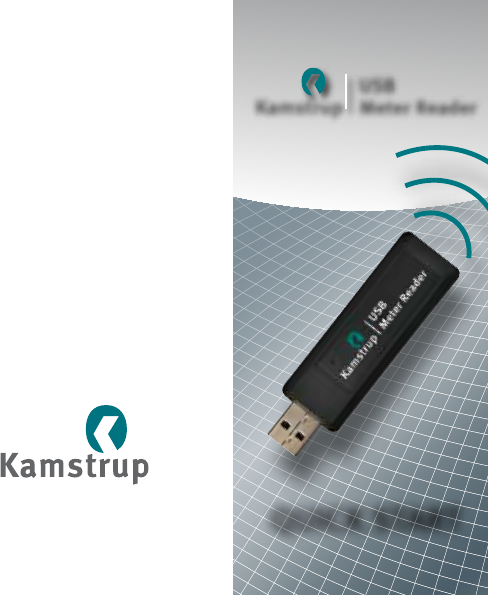
Kamstrup A S USBEXT USB Meter Reader User Manual 15 USB Meter Reader UserMan
Kamstrup A/S USB Meter Reader 15 USB Meter Reader UserMan
15_USB Meter Reader_UserMan

3
55121179_B1_GB_10.2012
21. Select “Install the software automatically”, and then click
“Next”.
22. Enter a name for the USB Reader. If you have several USB
Readers, name them all.
23. Create meters, groups and job lists as described in the online
user manual.
The online manual is available under the Help menu in the program
and in Windows under Start –> All Programs –> Kamstrup and from
www.kamstrup.com.
Charging of Power Pack
Before using Power Pack (the battery part), it must be charged. Charge
it with the enclosed charging cable that should be mounted in Power
Pack and the PC, after which the charging will start automatically.
Power Pack is fully charged when the light emitting diode in the mid-
dle of the round button on the front of Power Pack emits green light. It
takes approx. 5-8 hours.

Kamstrup
USB
Meter Reader
Kamstrup A/S
Industrivej 28, Stilling
DK-8660 Skanderborg
Tel.: +45 89 93 10 00
Fax: +45 89 93 10 01
info@kamstrup.com
www.kamstrup.com
55121179_B1_GB_10.2012
QUICK START

1
FCC Cautions
Caution: Changes or modifications not expressly approved by the
party responsible for compliance could void the user’s authority to
operate the equipment.
RF Exposure compliance statement: This device may be used in
portable exposure conditions with no restrictions, since the source-
based time-averaged output power is ≤ 60/f(GHz) mW.
This device complies with Part 15 of the FCC rules.
Operation is subject to the following two conditions: (1) this device
may not cause harmful interference, and (2) this device must accept
any interference received, including interference that may cause un-
desired operation.
NOTE: This equipment has been tested and found to comply with
the limits for a Class B digital device, pursuant to part 15 of the
FCC Rules. These limits are designed to provide reasonable protec-
tion against harmful interference in a residential installation. This
equipment generates, uses and can radiate radio frequency energy
and, if not installed and used in accordance with the instructions,
may cause harmful interference to radio communications. However,
there is no guarantee that interference will not occur in a particular
installation. If this equipment does cause harmful interference to
radio or television reception, which can be determined by turning
the equipment off and on, the user is encouraged to try to correct
the interference by one or more of the following measures:
• Reorient or relocate the receiving antenna.
• Increase the separation between the equipment and receiver.
• Connect the equipment into an outlet on a circuit different from
that to which the receiver is connected.
• Consult the dealer or an experienced radio/TV technician for help.
Kamstrup USB Meter Reader
FCC ID: OUY-USBEXT
1 2
Installation of Software
1. Start the Internet browser and connect to the website www.
kamstrup.com.
2. Under “Online services”, select “USB Meter Reader Software”.
3. Fill in the form and click on “Send”.
4. Click on “Confirm” to continue or “Back” to correct your data.
5. You will receive an e-mail with a link for software download.
6. Click on the link and select “Download”.
7. Select “Run” twice. The program is now saved to your PC.
8. Select “Next ”.
9. When asked, accept the installation of Microsoft ”.Net
Framework”.
Select ”Yes” for allowing .Net to make changes on the
computer.
10. Select language, and click “Next”.
11. Select “Next” twice. Now the program is installed.
12. Windows 7™: Select ”Yes” to allow the installation of the
program.
13. Select “Close” to finish the installation.
14. Select ”Next” to confirm the installation of USB Reader driver.
15. Select ”Execute” to end the installation.
16. Start the program by clicking on the icon on the desktop.
17. Insert the USB in your PC.
18. Windows® XP: Select ”No, not this time” and then ”Next”.
19. Windows® XP: Select “Install the software automatically” and
then “Next”.
20. Windows® XP: Select ”Execute”.