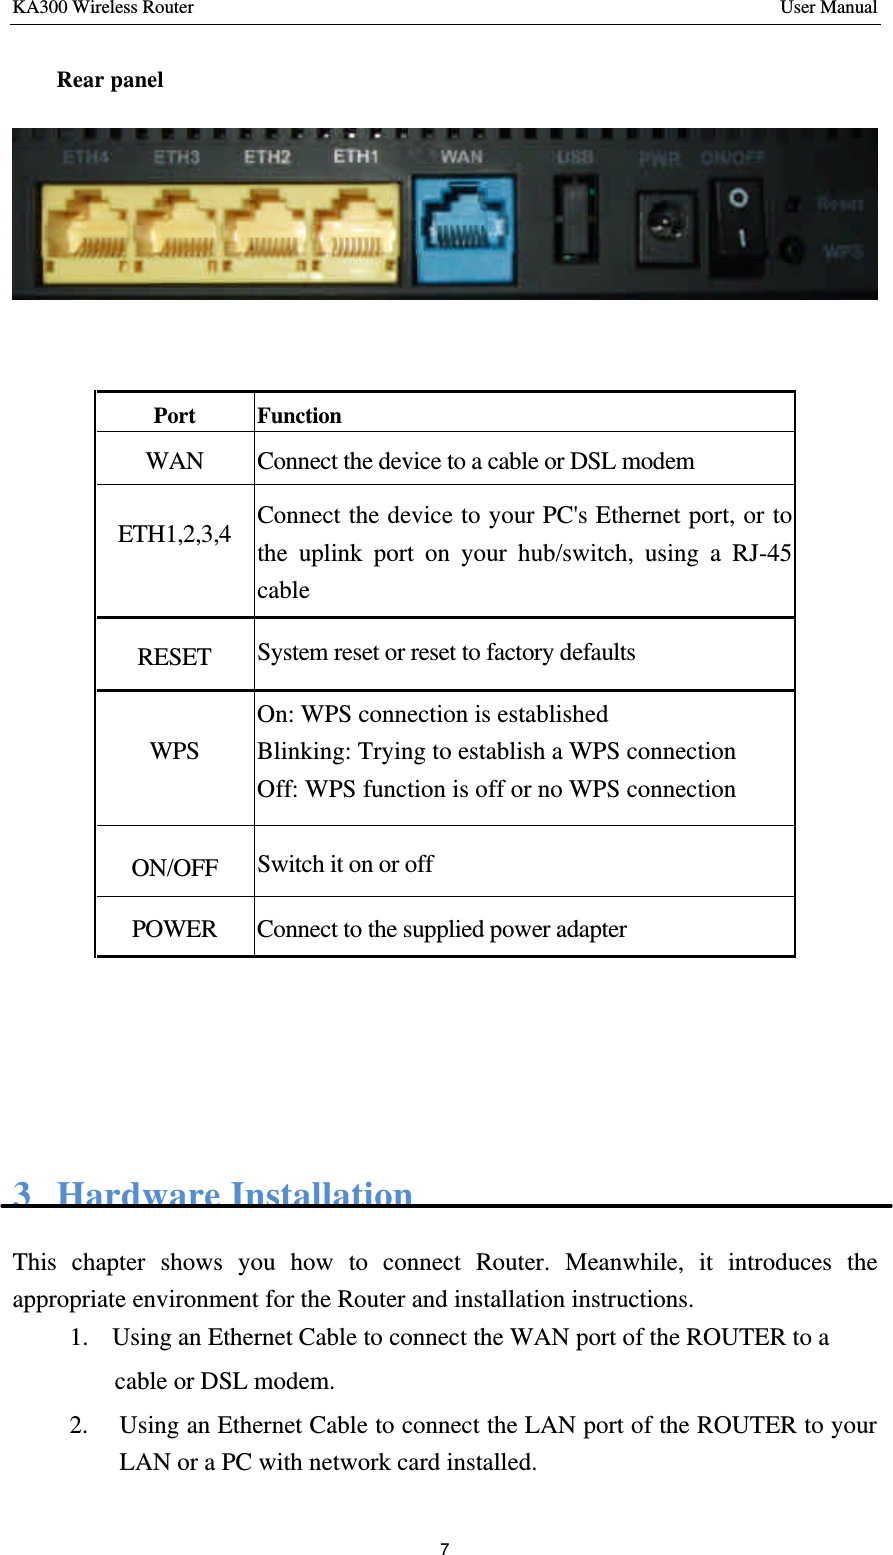
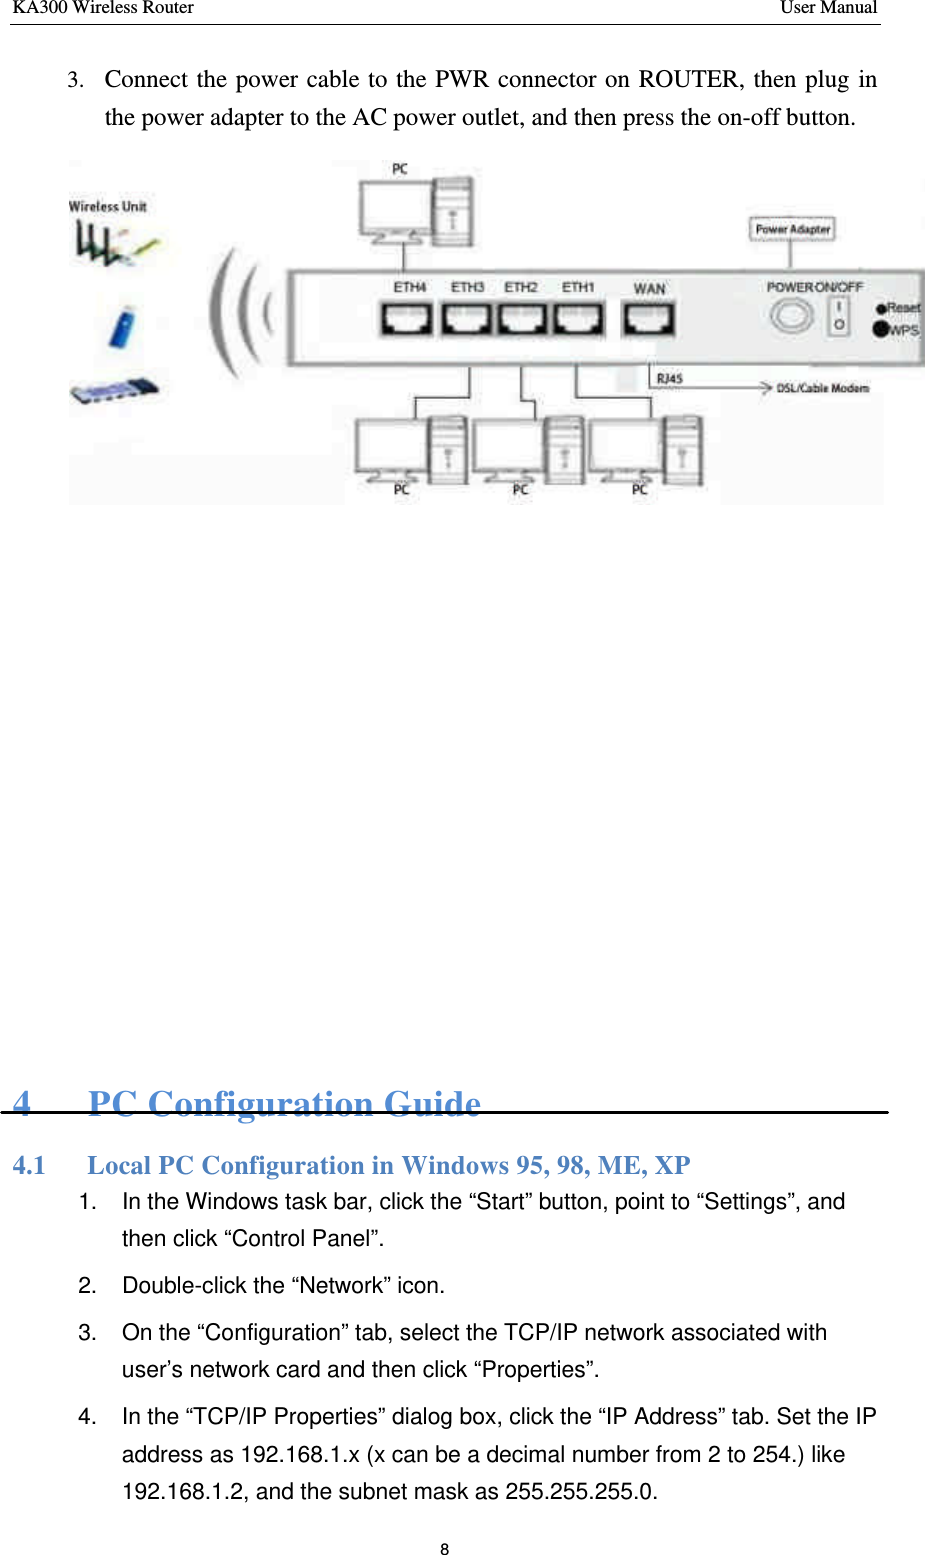
Kasda Networks KA300 Wireless Router User Manual KA300 Manual NEW SOFT
Kasda Networks inc Wireless Router KA300 Manual NEW SOFT
UserManual.wiki
>
Kasda Networks
>
KA300 User Manual
Users Manual
Navigation menu
Upload a User Manual
Namespaces
Wiki Guide
HTML
PDF
Info
Views
User Manual
Discussion / Help
Navigation


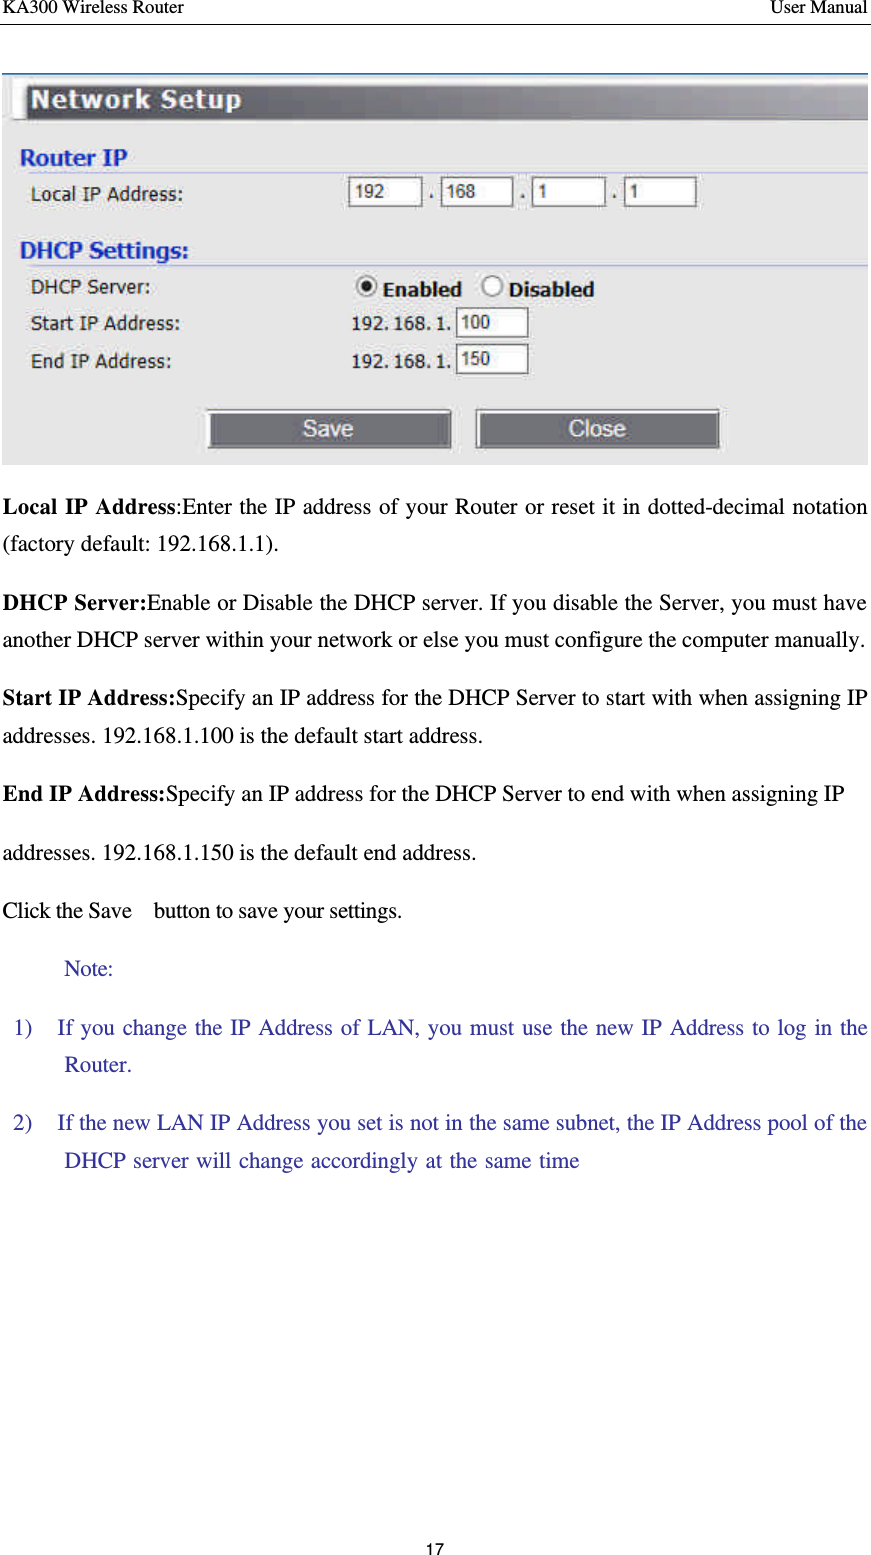
![KA300 Wireless Router User Manual 18 6.1.3 Wireless Settings Cliick icon,you can configure the basic settings for the wireless network of 2.4GHz on this page. Wireless enable :Enable or disable the Wirless function here. Network Name(SSID): Also called the SSID. Enter a value of up to 32 characters. The same name must be assigned to all wireless devices in your network . Wireless password : nothing or enter 8~64 characters for the wifi password. Click the Save button to save your settings. 6.2 Parental Control Parental control allows you to set the time limit for a client's network usage. 1. In the [Service Name] column, select the client whose network usage you want to control. You may also key in the clients MAC address in the [Local MAC] column. 2. In the [Add / Delete] column, click the Edit icon.](https://usermanual.wiki/Kasda-Networks/KA300/User-Guide-2367041-Page-22.png)
![KA300 Wireless Router User Manual 19 3. Set up allowed time limits in the [Time Settings] map. Drag and drop to desired day/time. 6.3 Administration 6.3.1 Time setting This page allows you to set the time manually or to configure automatic time synchronization. The Router can automatically update the time from an NTP server via the Internet. Time Zone - Select your local time zone from this pull-down list. Time Servers - Select the time servers.You can choose the place where you are.Or select Custom to configure the servers by yourself. Time will show up on the page(Advanced--Status--Status,Current Time). Note: After you have made your changes, Click Save to apply the changes.](https://usermanual.wiki/Kasda-Networks/KA300/User-Guide-2367041-Page-23.png)