Kinpo Electronics SP70 SMART- PHONE WITH WLAN, BT, AND GSM/ GPRS User Manual manual 2 of 2
Kinpo Electronics Inc SMART- PHONE WITH WLAN, BT, AND GSM/ GPRS manual 2 of 2
UserManual.wiki
>
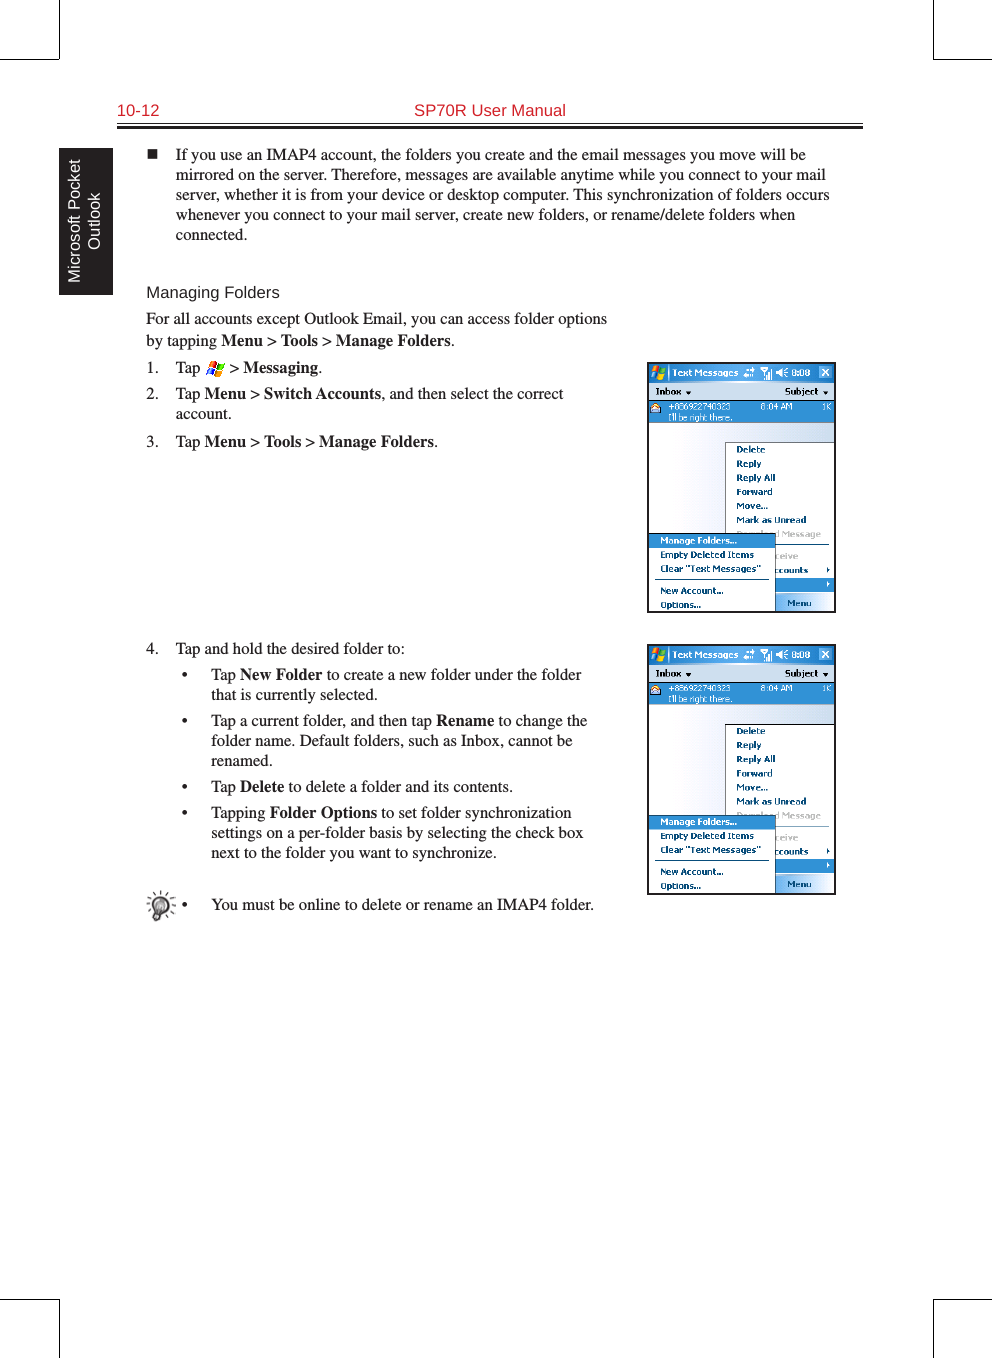
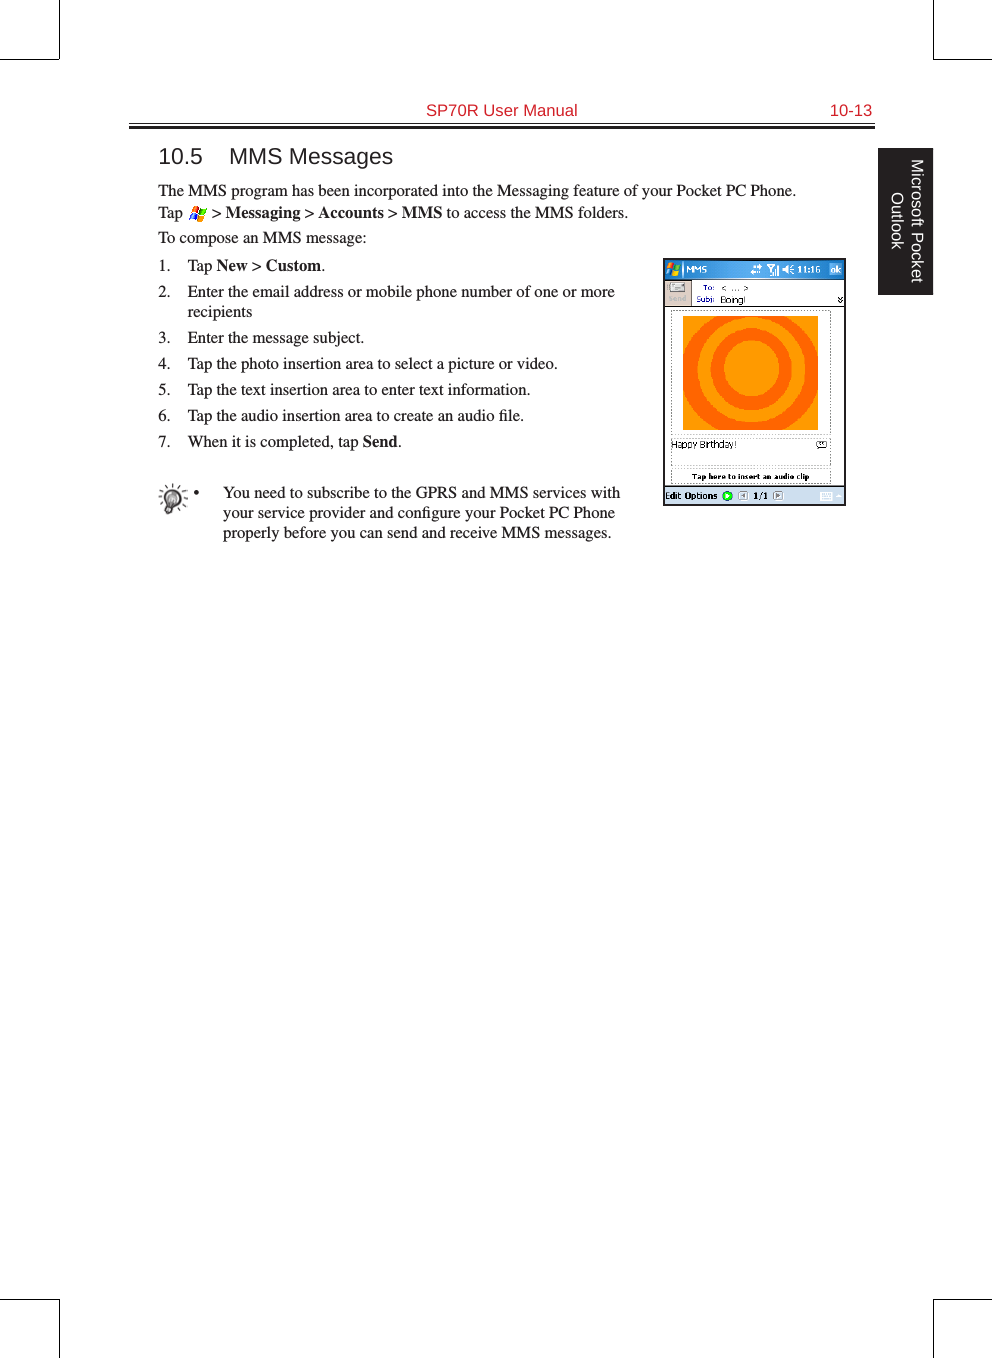
Kinpo Electronics
>
SP70 User Manual
>
manual 2 of 2
Contents
1.
USERS MANUAL 1
2.
USERS MANUAL 2
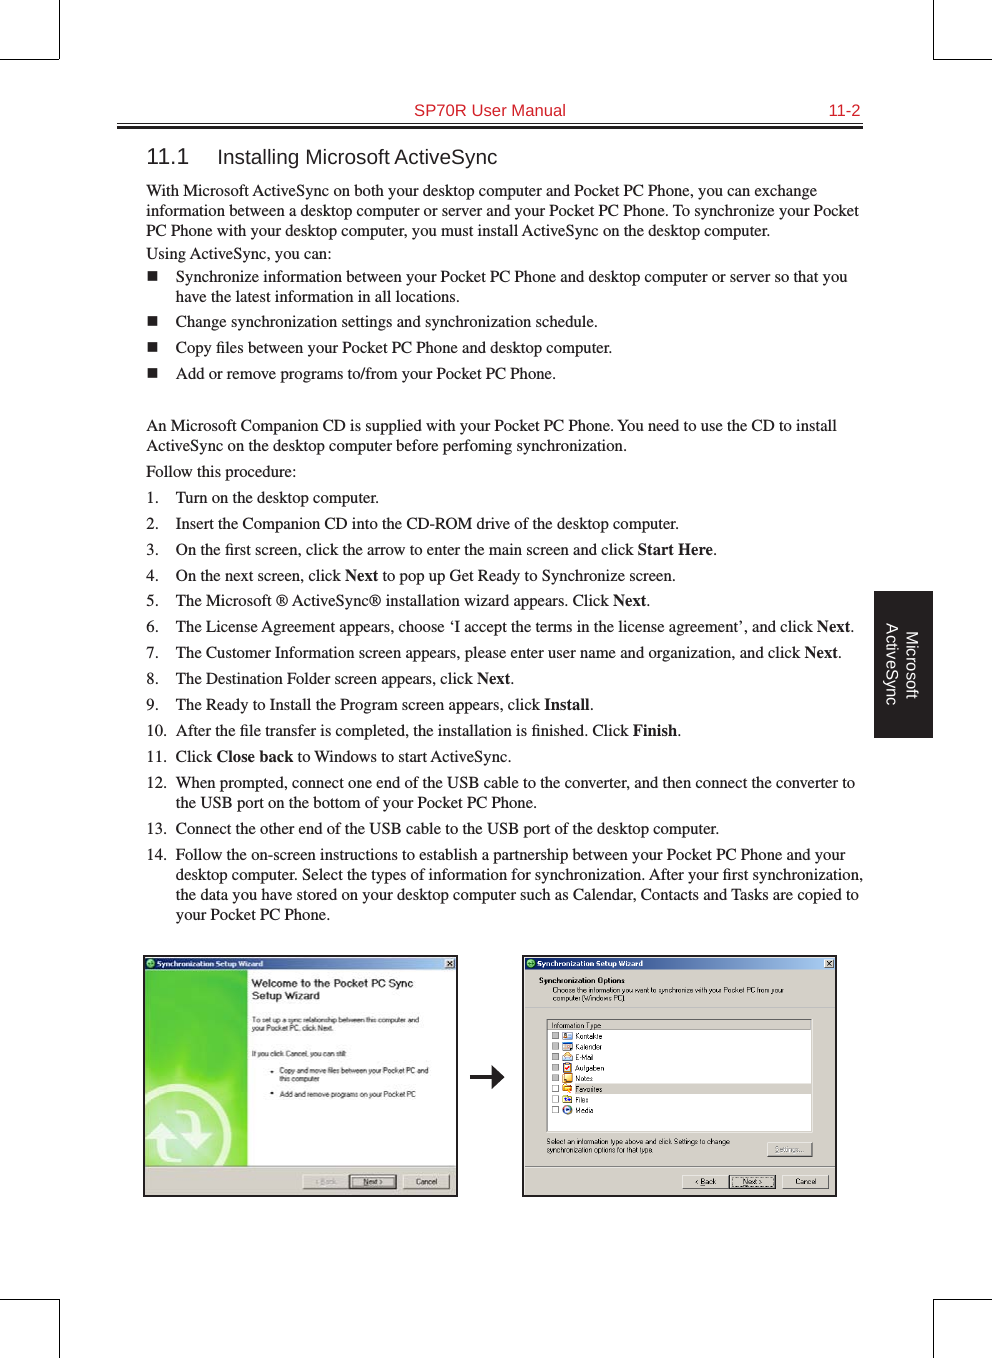
3.
USERS MANUAL 2
4.
Users Manual 1 of 2
5.
Users Manual 2 of 2
6.
manual 1 of 2
7.
manual 2 of 2
manual 2 of 2
Navigation menu
Upload a User Manual
Namespaces
Wiki Guide
HTML
PDF
Info
Views
User Manual
Discussion / Help
Navigation

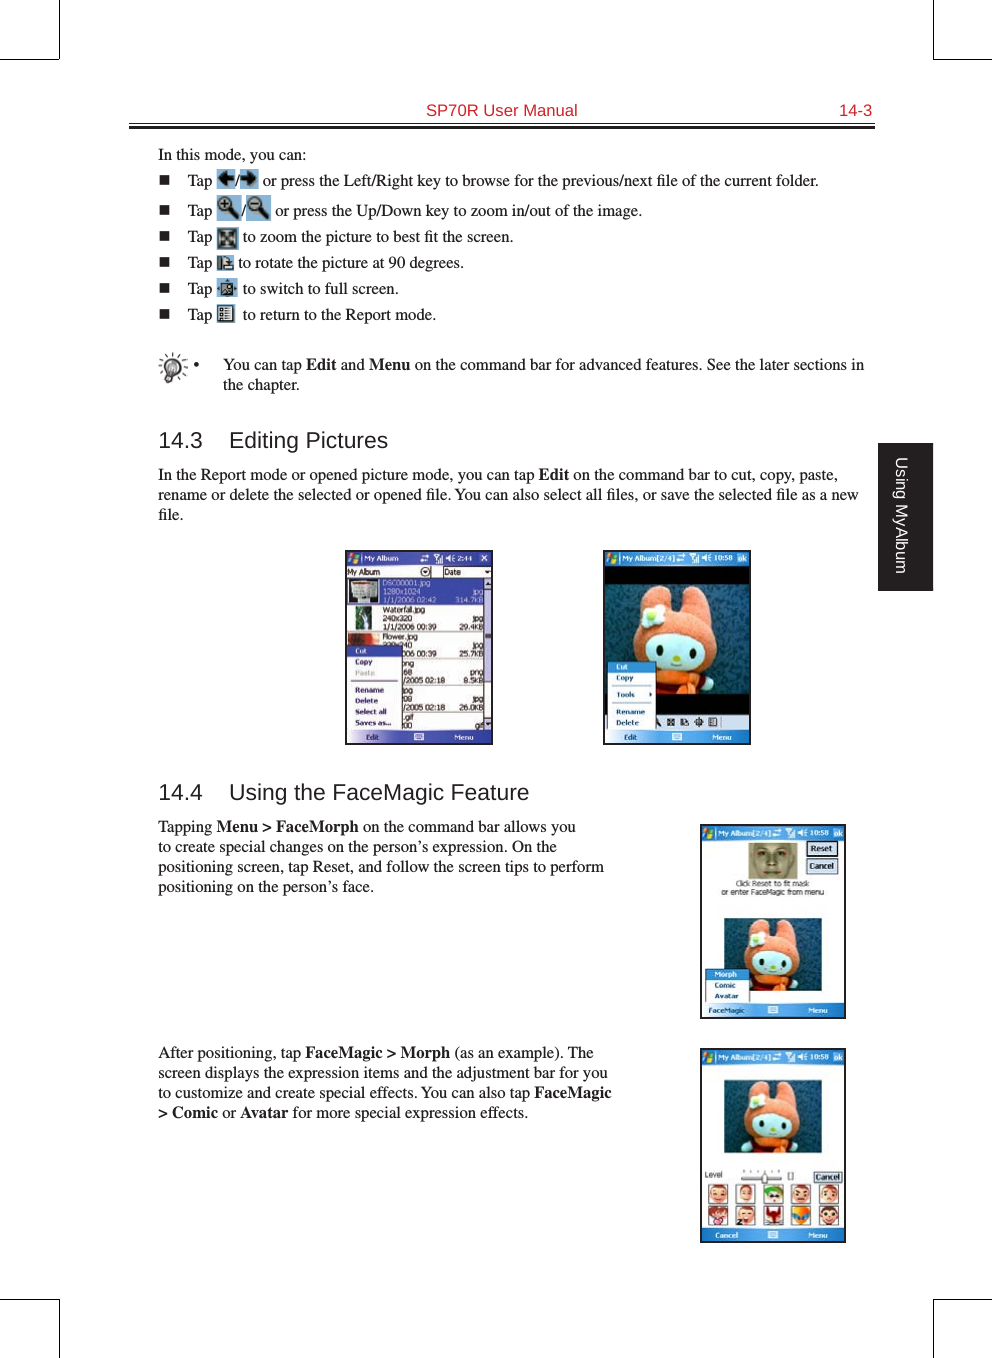


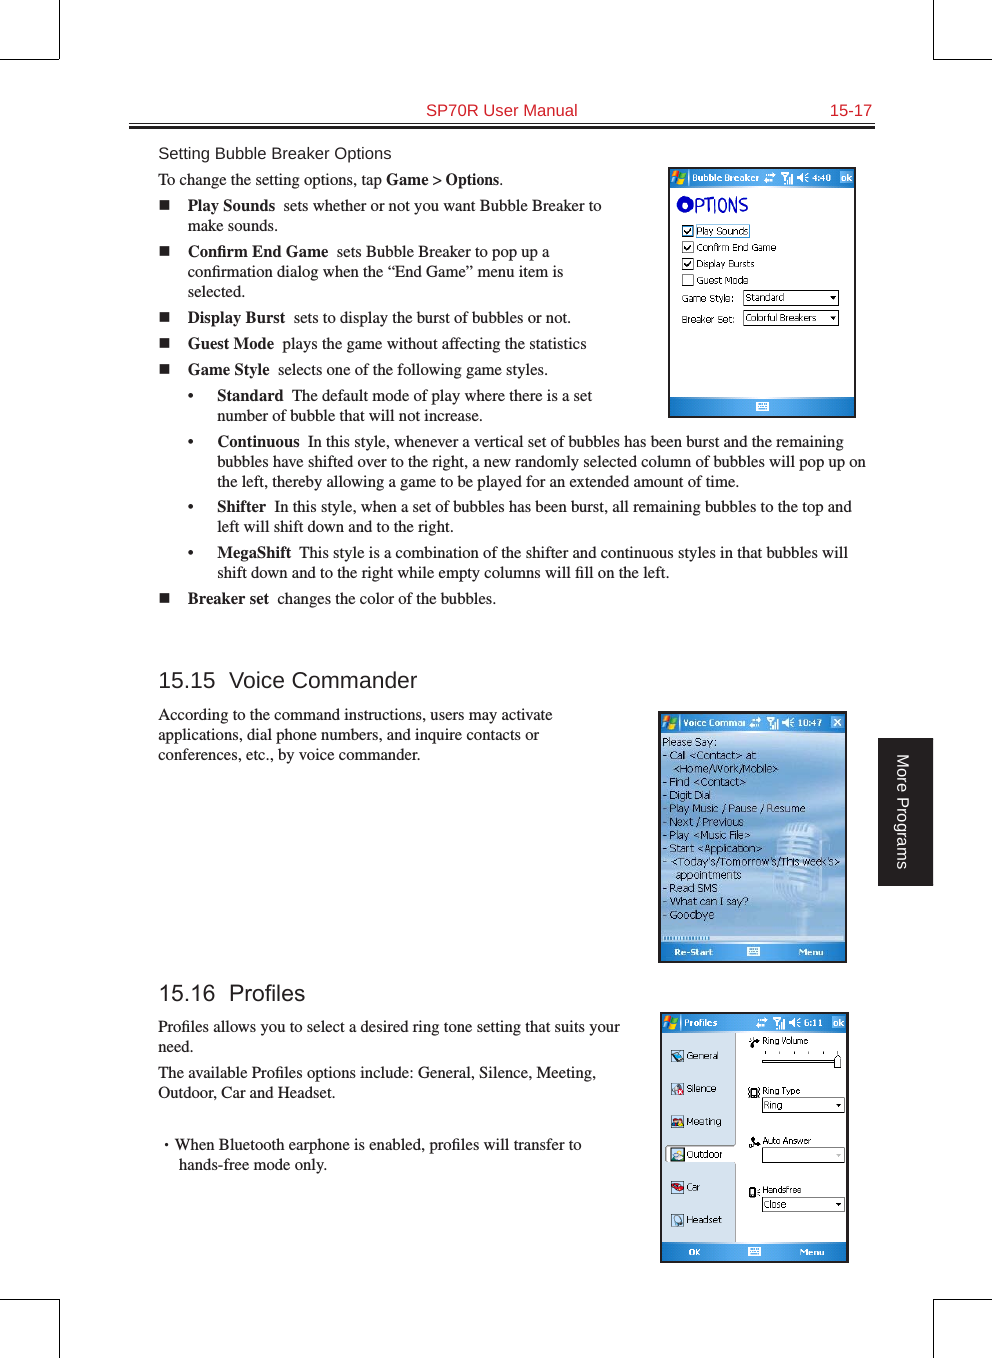
![15-18 SP70R User ManualMore Programs15.17 SmartXYour Pocket PC Phone has a smart close (SmartX) function to quickly close running programs. Tap and hold on the top-right corner of the screen to display the SmartX menu.By default, the SmartX menu displays the following items:n Close closes the current program.n Minimize minimizes the current program.n Close All closes all running programs.n Close Inactive closes inactive programs.n [program name] displays the running program(s).n Settings displays the SmartX settings. By default, the SmartX function is enabled. You can clear the Enable Smart Close function item to disable the SmartX function. You can customize the displayed items on the SmartX menu. The items for selection include:• Auto close • Close All • Close Inactive • Running Program • Rotate screen left (disabled by default)• Rotate screen right (disabled by default)• Settings](https://usermanual.wiki/Kinpo-Electronics/SP70.manual-2-of-2/User-Guide-718172-Page-40.png)