Kinpo Electronics SP70 SMART- PHONE WITH WLAN, BT, AND GSM/ GPRS User Manual manual 1 of 2
Kinpo Electronics Inc SMART- PHONE WITH WLAN, BT, AND GSM/ GPRS manual 1 of 2
UserManual.wiki
>
Kinpo Electronics
>
SP70 User Manual
>
manual 1 of 2
Contents
1.
USERS MANUAL 1
2.
USERS MANUAL 2
3.
USERS MANUAL 2
4.
Users Manual 1 of 2
5.
Users Manual 2 of 2
6.
manual 1 of 2
7.
manual 2 of 2
manual 1 of 2
Navigation menu
Upload a User Manual
Namespaces
Wiki Guide
HTML
PDF
Info
Views
User Manual
Discussion / Help
Navigation


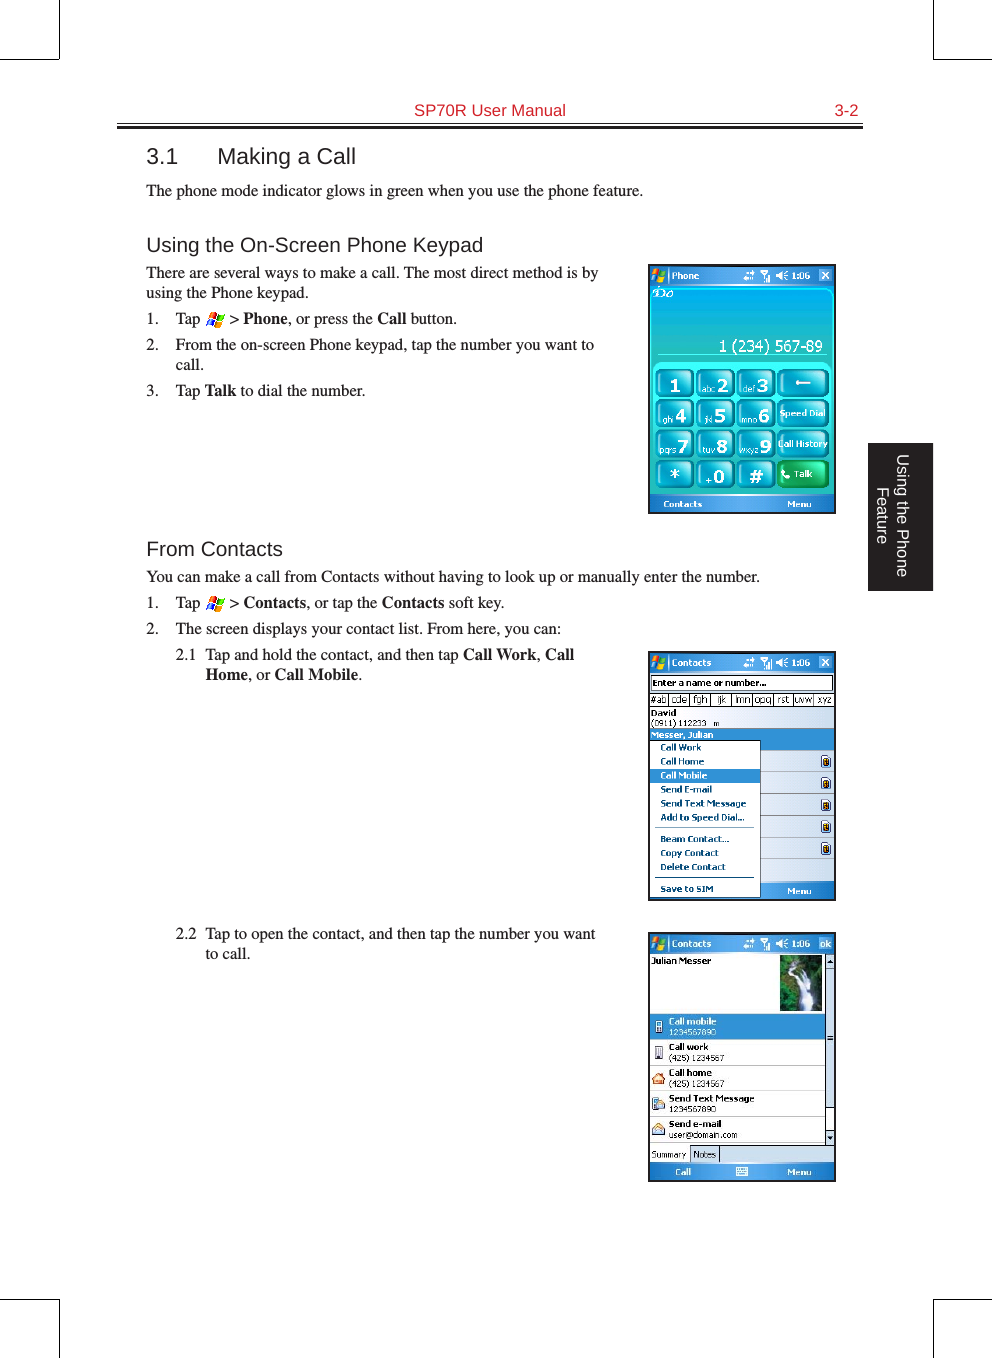
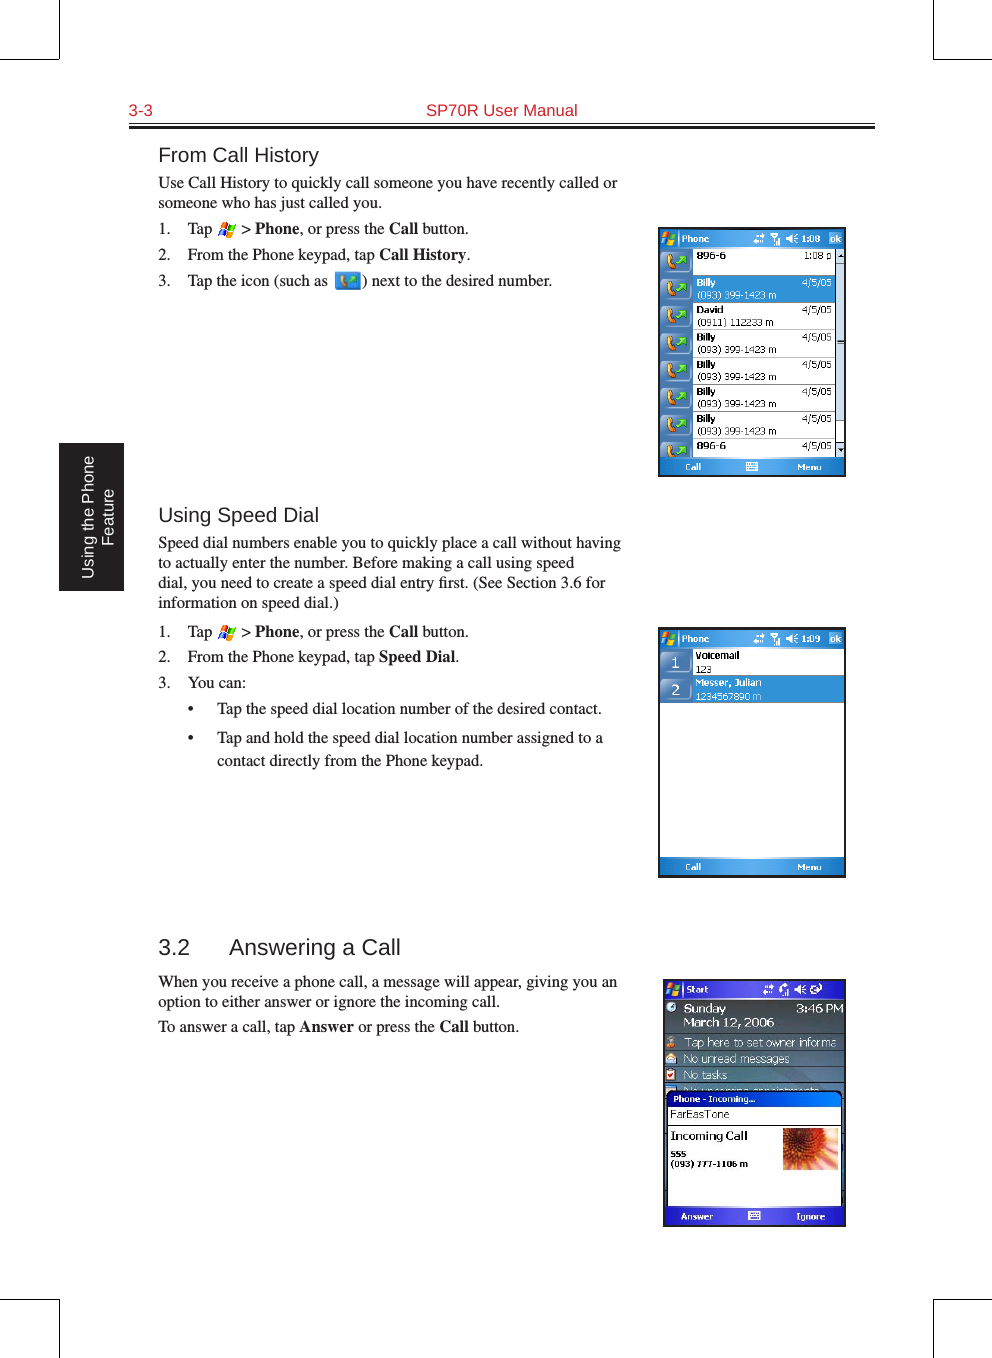
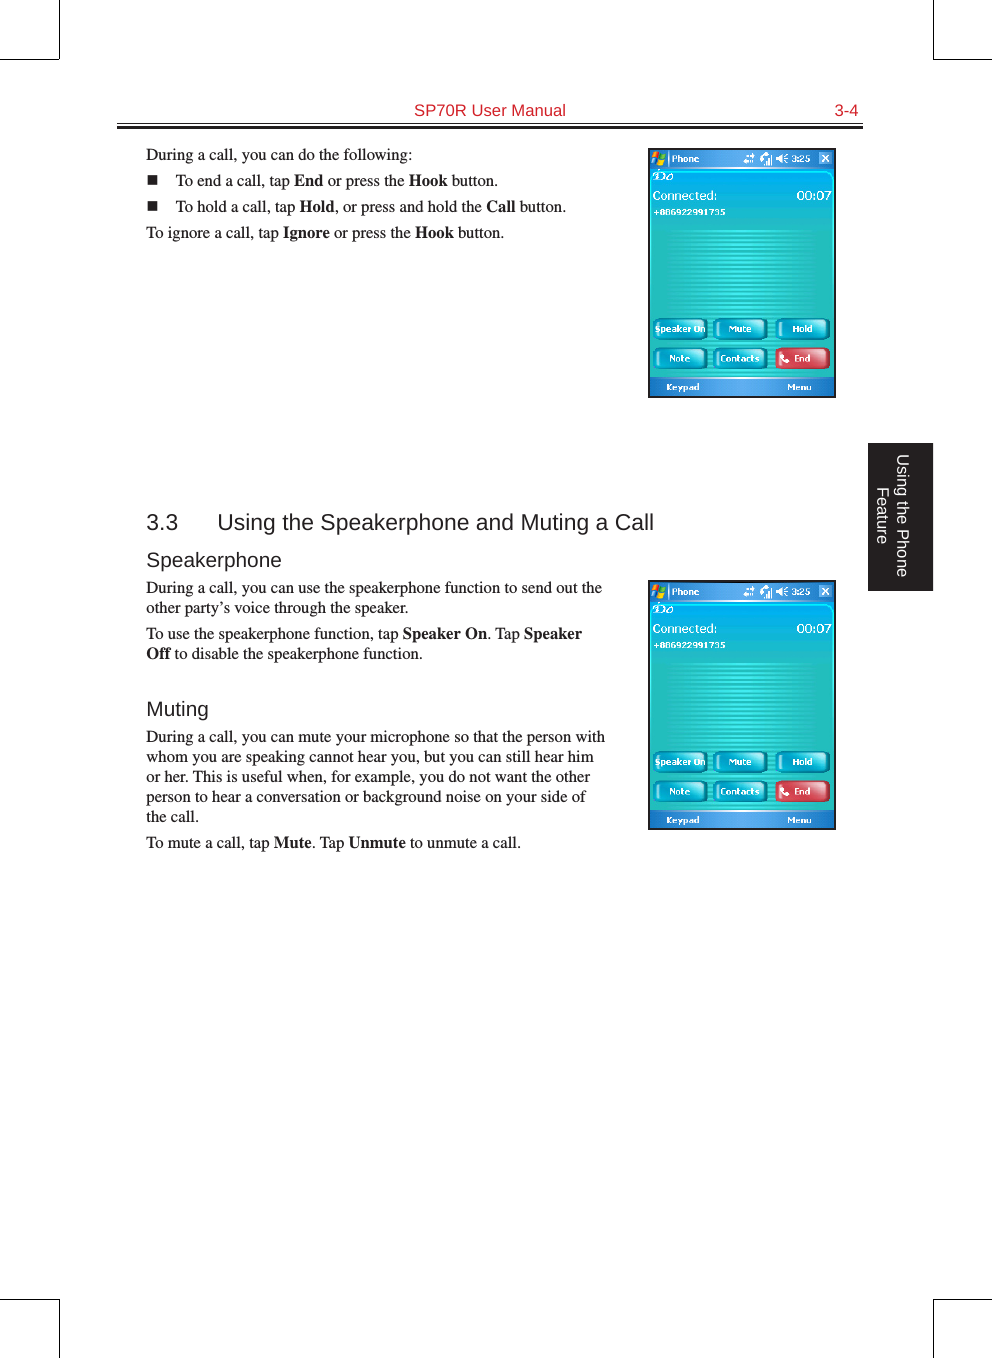


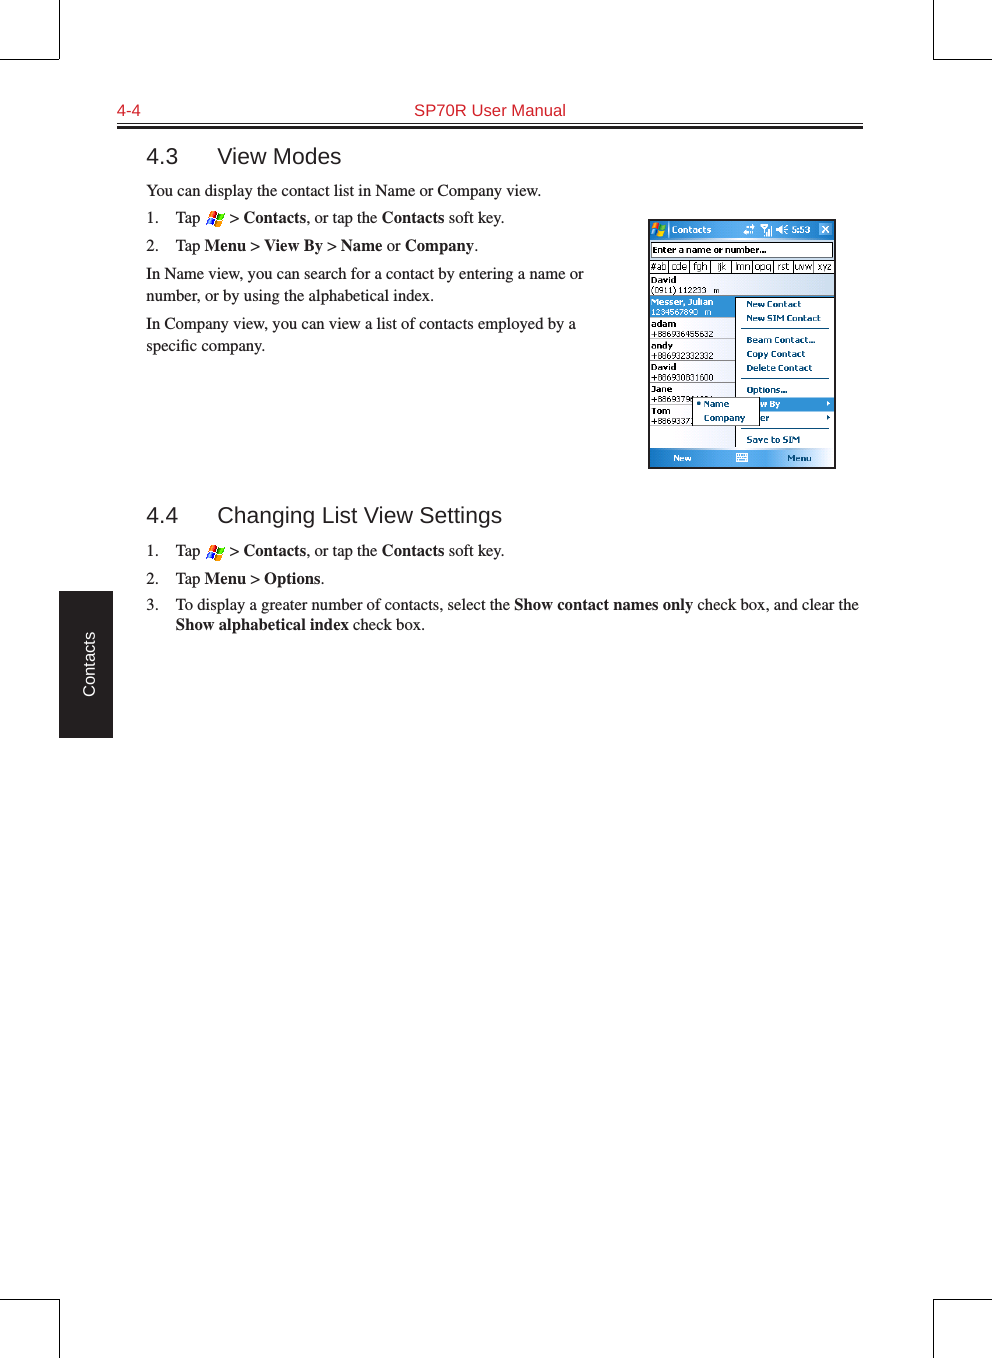

![SP70R User Manual 8-3Getting ConnectedReceiving Information1. Before receiving beamed information, tap > Settings > Connections > Beam.2. Select Receive all incoming beams, and tap OK.3. Align the IR ports so that they are unobstructed and within a close range.4. The Pocket PC Phone will search for the other device and receive information automatically.8.3 BluetoothBluetooth is a short-range wireless communications technology. Devices with Bluetooth capabilities can exchange information over a distance of about 10 meters (30 feet) without requiring a physical connection. You can use Bluetooth in the following ways:n Beam information, such as files, appointments, tasks, and contact cards, between devices that have Bluetooth capabilities.Turning on and off Bluetooth1. Tap > Settings > Connections > Bluetooth.2. To turn on Bluetooth, select the Turn on Bluetooth check box. To make your device discoverable for information exchange, select the Make this device discoverable to other devices check box. To turn off Bluetooth, clear the Turn on Bluetooth check box.3. Tap OK.• By default the Bluetooth is turned off. If you turn it on, and then turn off your device, the Bluetooth also turns off. When you turn on your device again, the Bluetooth turns on automatically.Bluetooth Information ExchangeBeaming Information with Bluetooth1. Turn on the Bluetooth as described earlier in the “Turning on and off Bluetooth” section.2. Tap and hold an item to beam, such as an appointment in Calendar, a task in Tasks, a contact card in Contacts, or a file in File Explorer.3. Tap Beam [type of item].4. Your Pocket PC Phone will search for Bluetooth devices within a range of about 10 meters (30 feet) and display the device names on the screen. Tap the device to which you want to send the beam.](https://usermanual.wiki/Kinpo-Electronics/SP70.manual-1-of-2/User-Guide-718171-Page-61.png)