Kintech PC7074ME tablet pc User Manual KW GPS 4301
Kintech Co. Ltd tablet pc KW GPS 4301
UserManual.wiki
>
Kintech
>
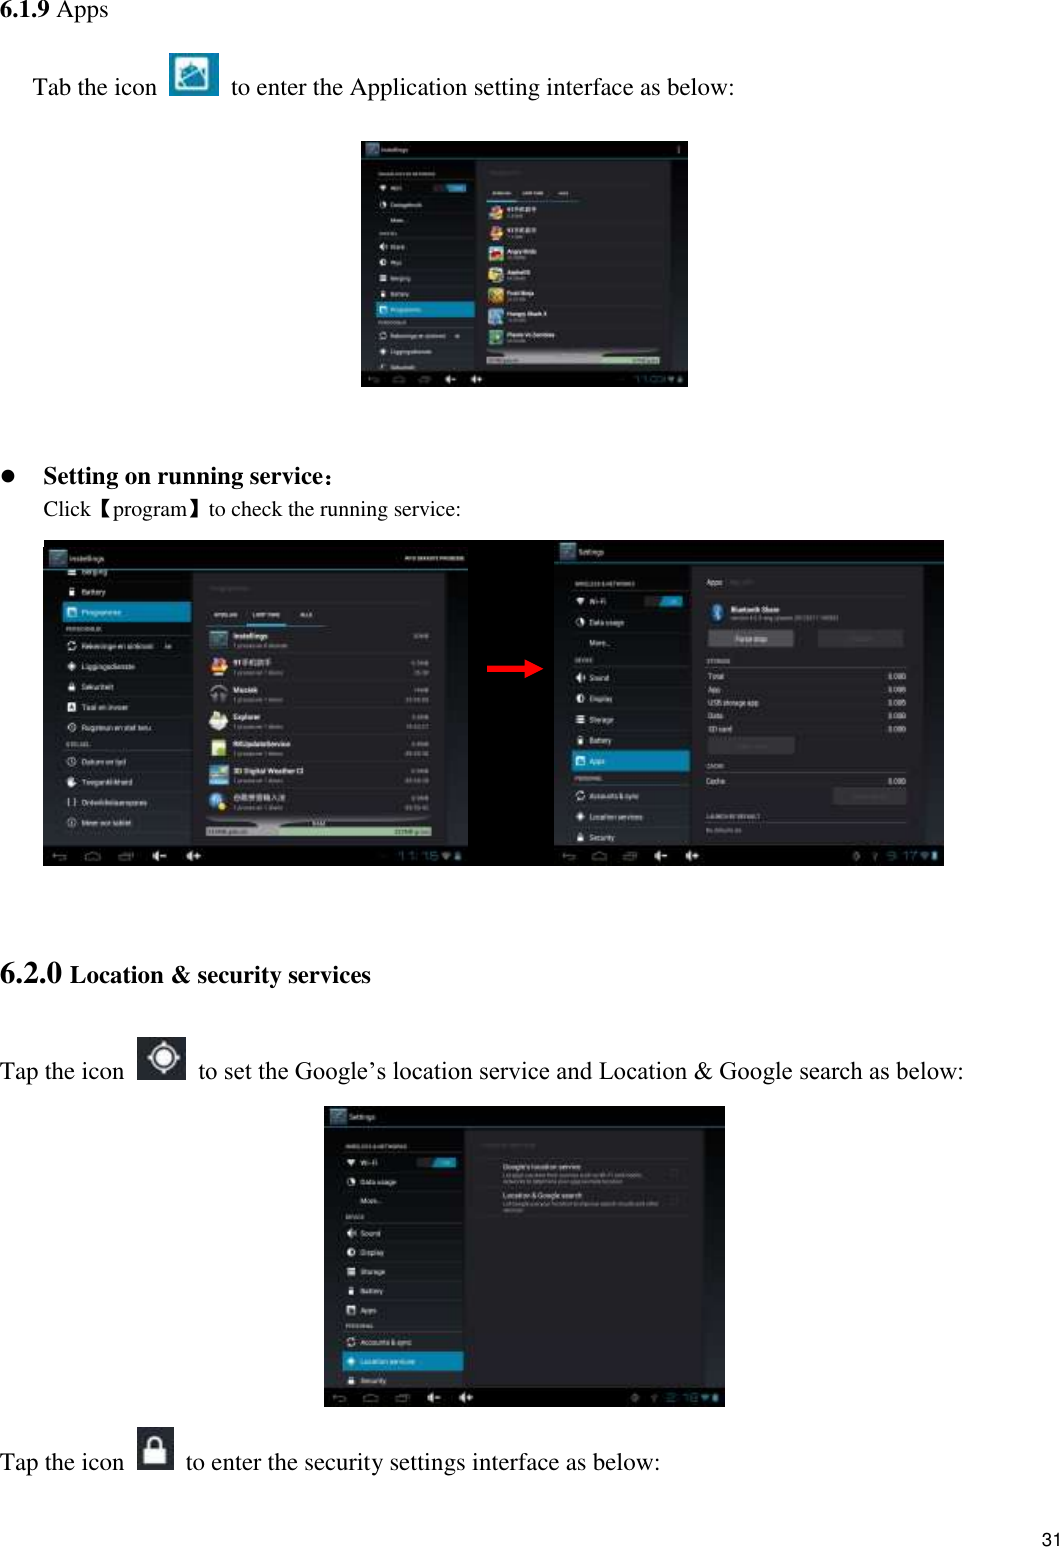
PC7074ME User Manual
User Manual
Navigation menu
Upload a User Manual
Namespaces
Wiki Guide
HTML
PDF
Info
Views
User Manual
Discussion / Help
Navigation
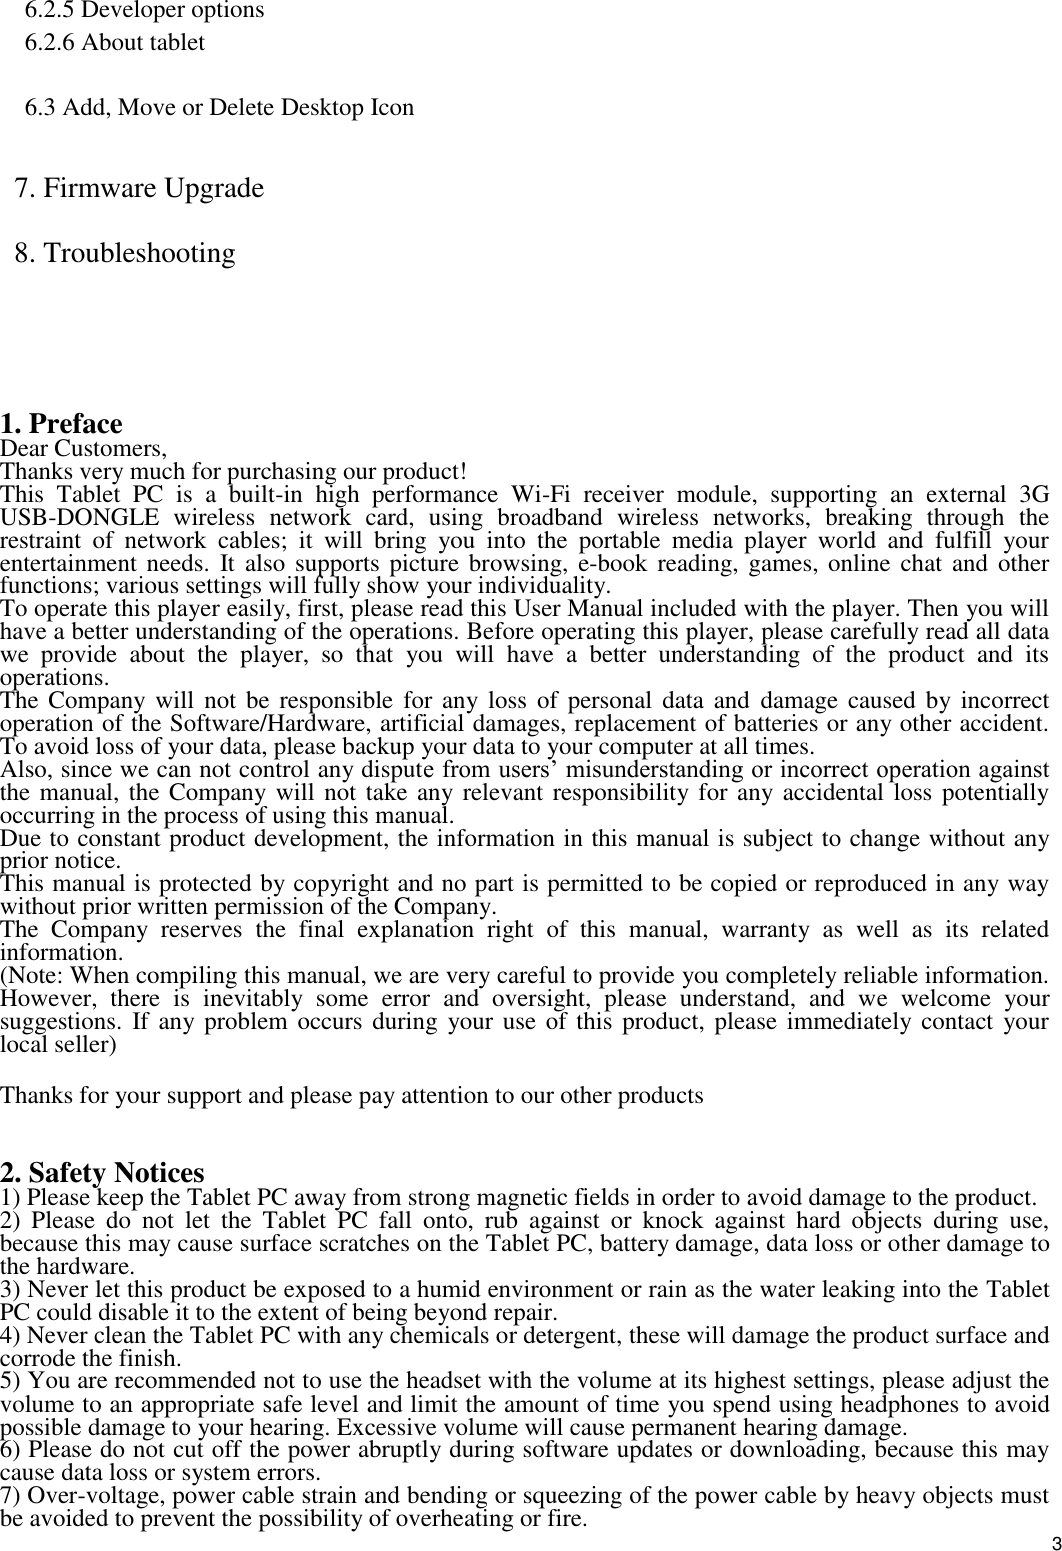

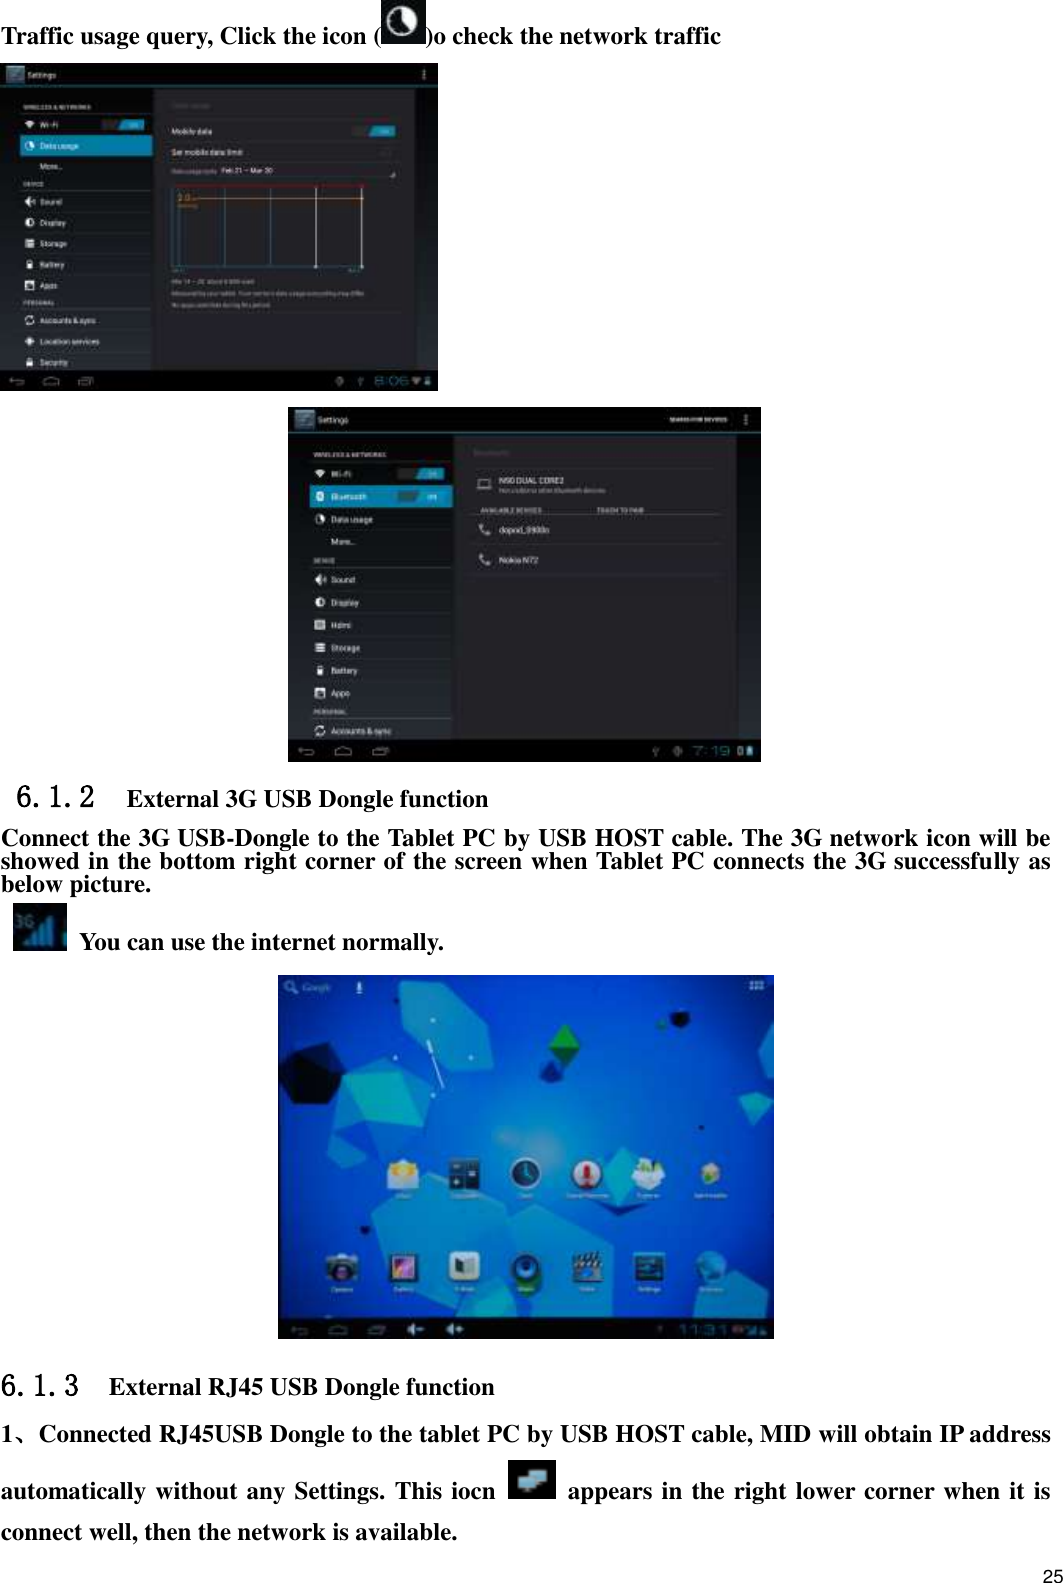
![13 Tap icon on the menu or desktop to enter the interface of File Manager,click【SD Card】、【Internal Memory】and【USB】the system will pop up the file or folder operations window, then you can choose to Copy, Delete, Move, Rename etc。Long press a single folder or file, select the "last", "next", or "top" to find the corresponding path, click on the "edit" in the pop-up window choose paste to the corresponding path. 5.1.6 IE Web Browser Under WIFI connected,(see chapter6.1.1 WiFi), tap icon enter to the Web Browser interface; tap the address bar of the browser and input the website and enter. Note: The IE Explorer uses the popular third-party IE Explorer software; please follow the IE Explorer's standard operating mode to operate. Voice Search In the application menu or on the desktop, tap the icon [ ]and enter into the voice search page: Once you have entered in, you can speak out the content to the device with standard language, and then the device will recognize your voice and automatically search what you have said. 5.1.7 Calculator In the main menu or the desktop Tap icon to open the calculator.](https://usermanual.wiki/Kintech/PC7074ME/User-Guide-2203538-Page-13.png)
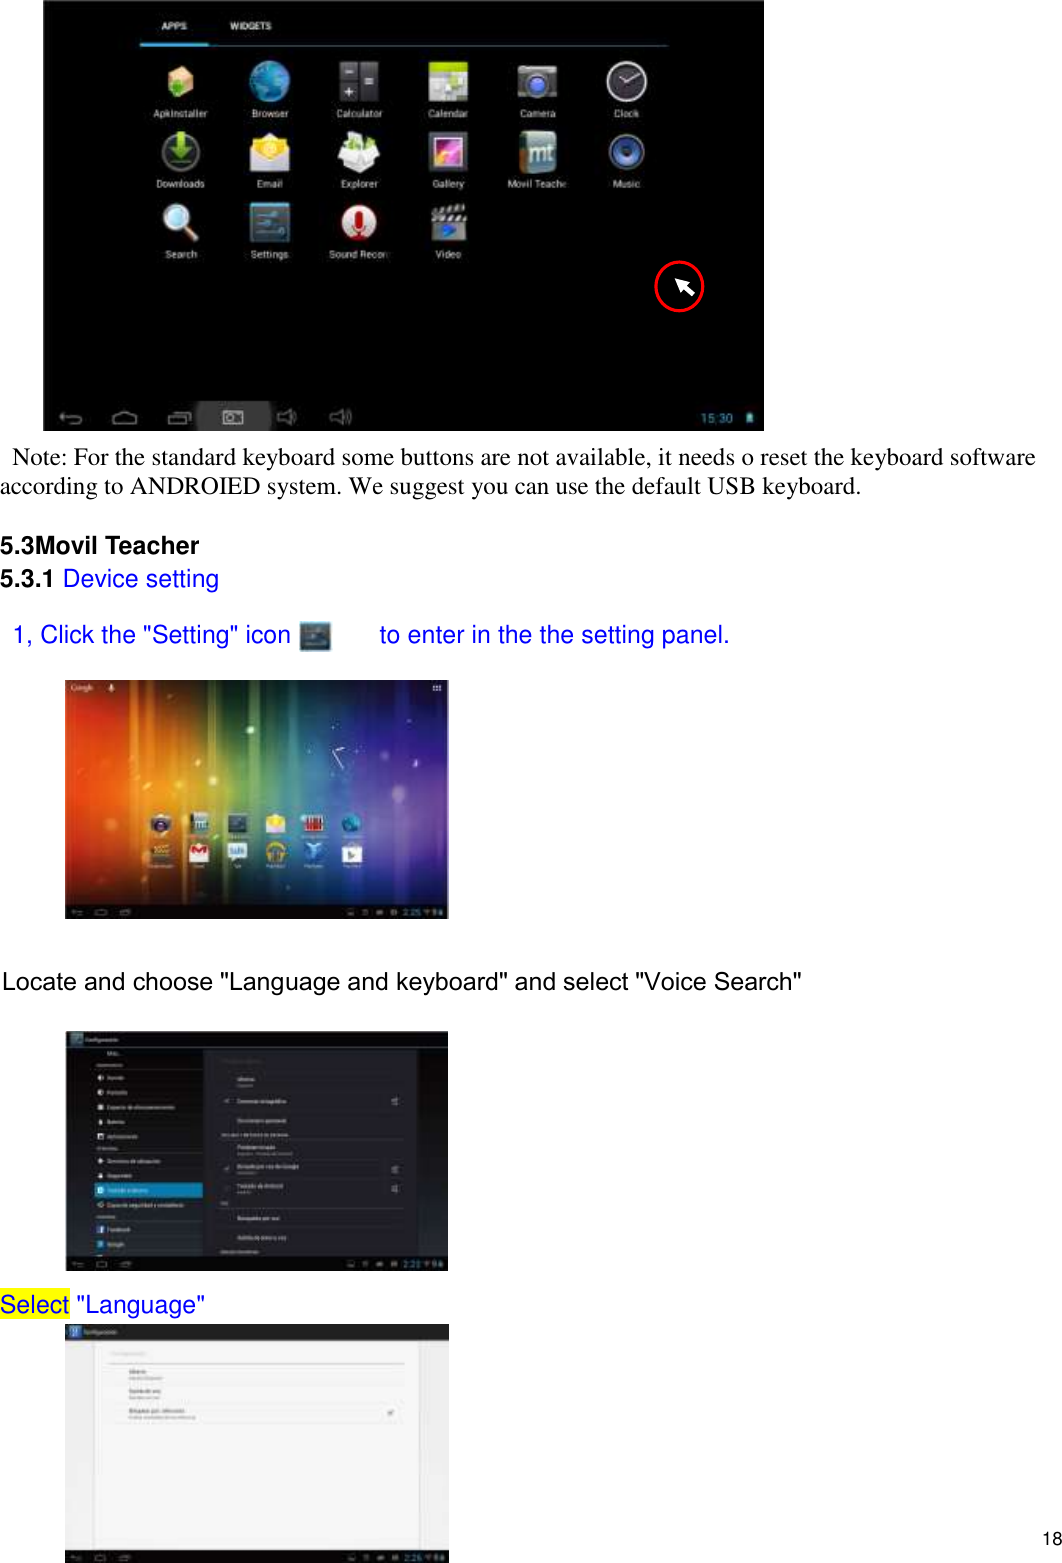
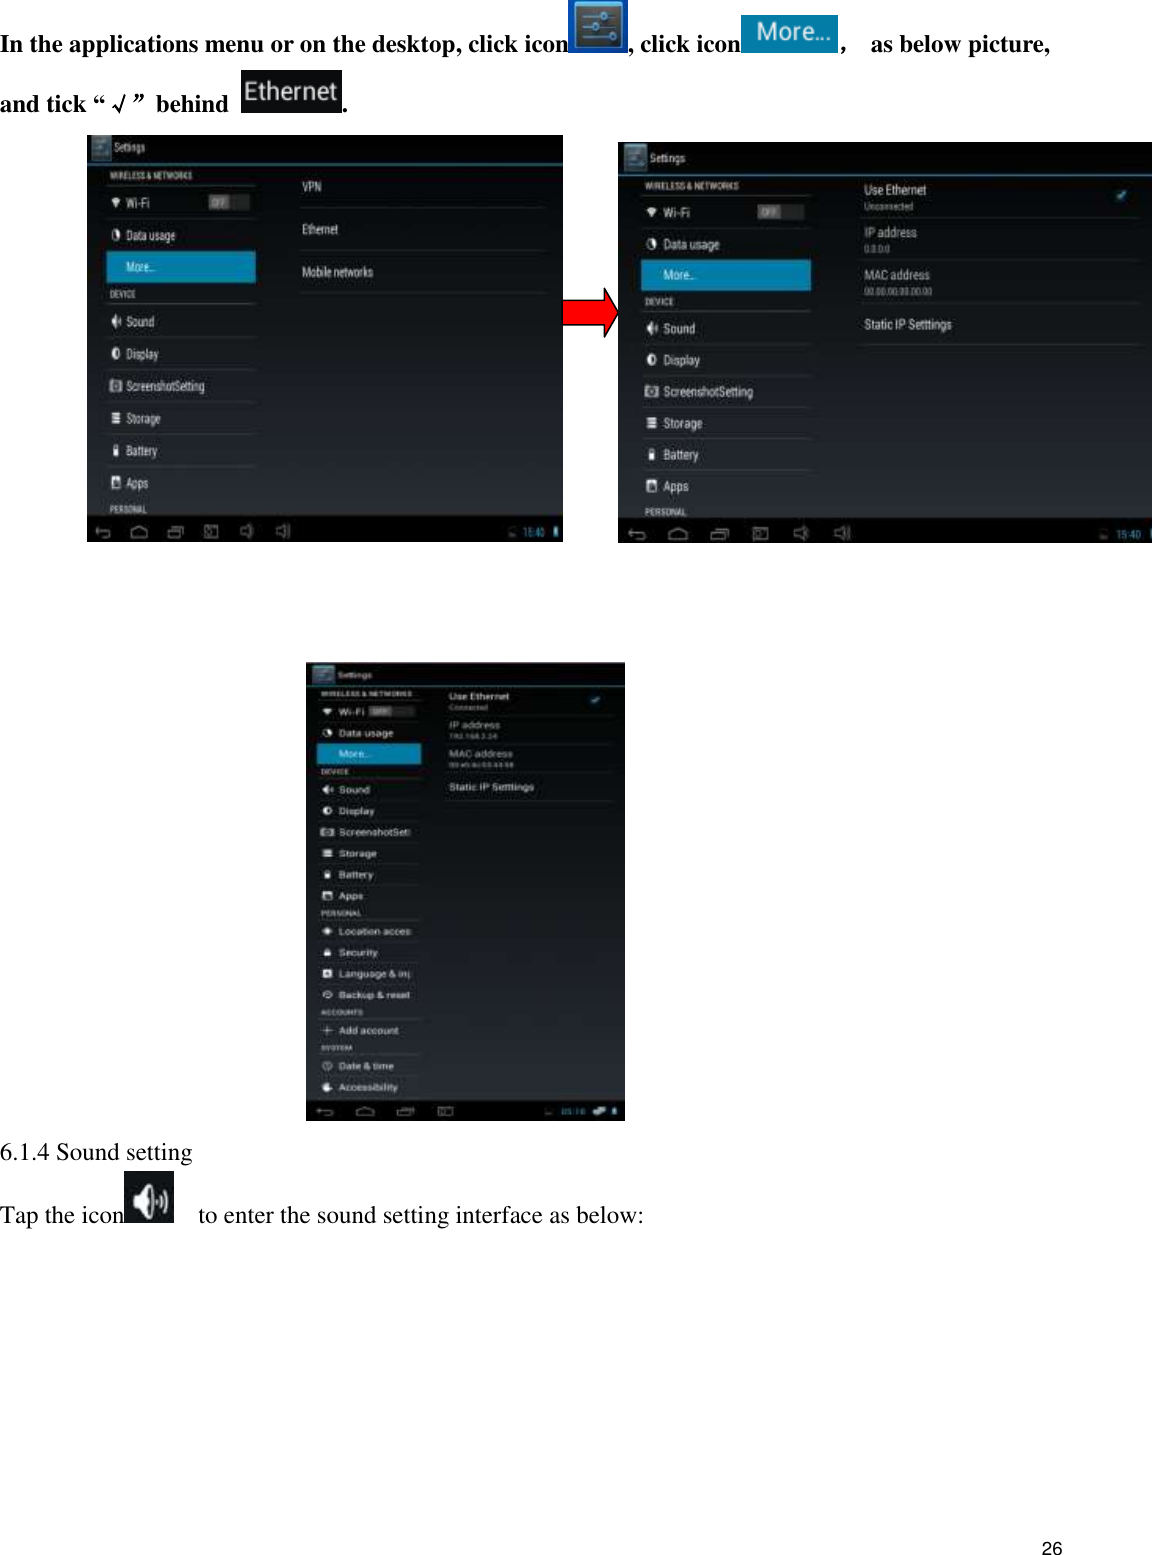
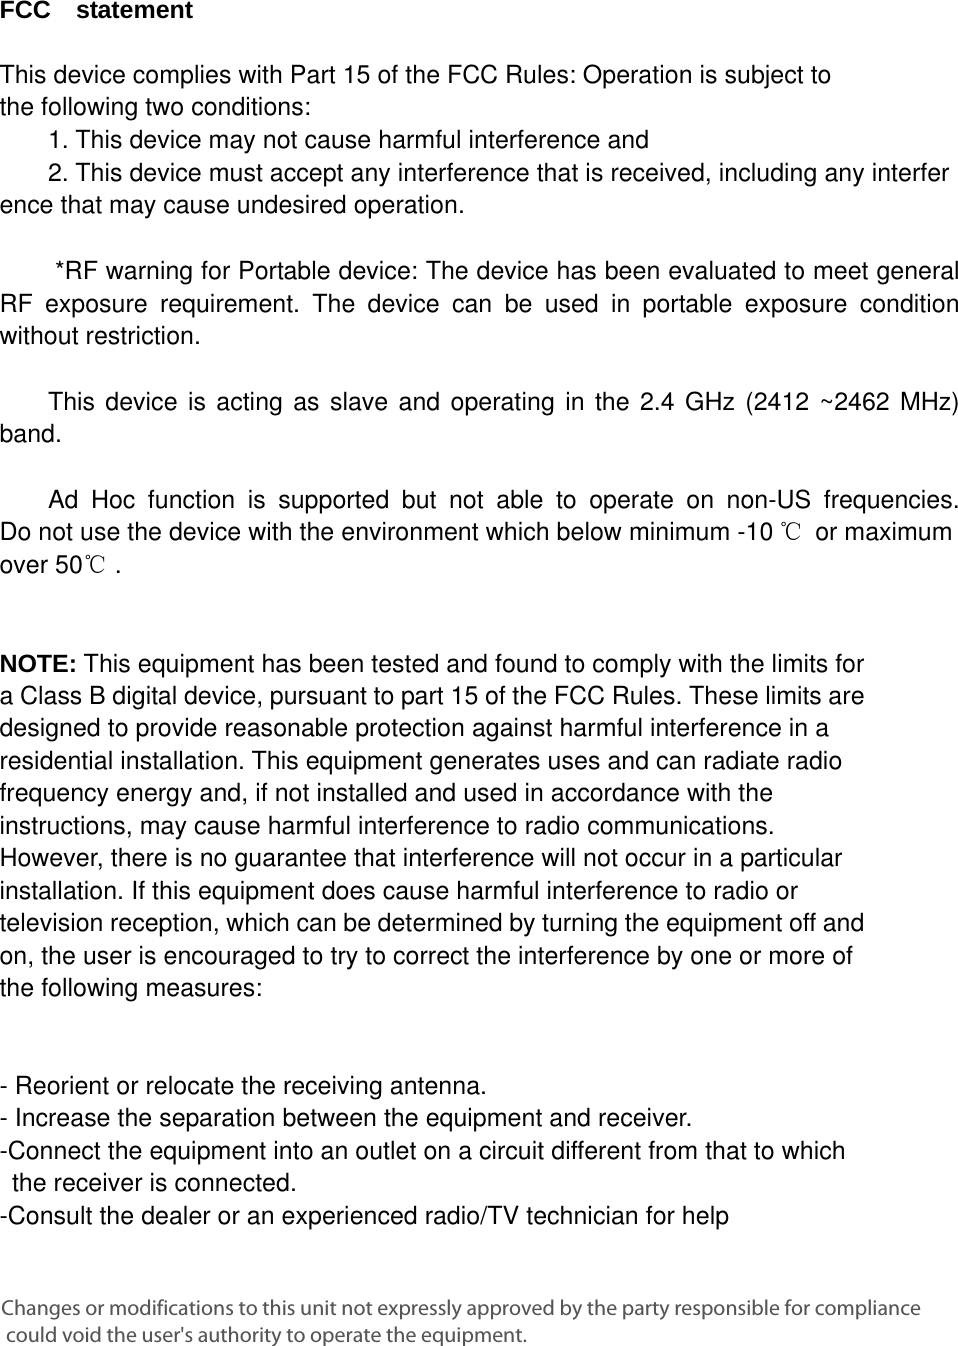
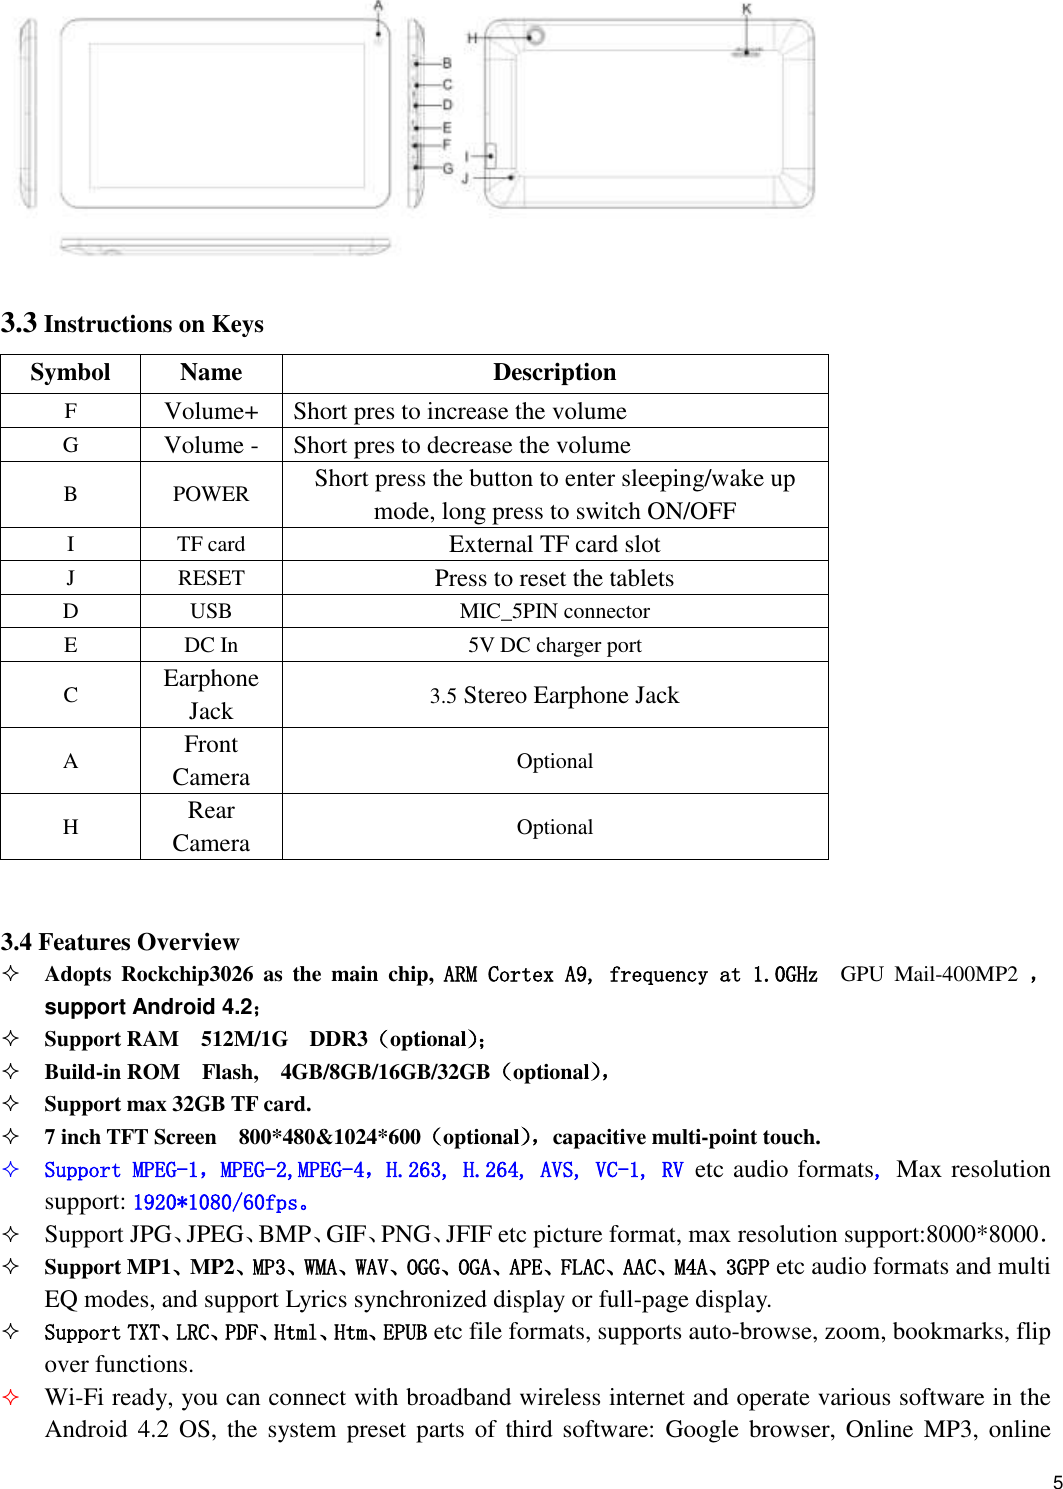
![27 a. [Silent mode] :click into volumes settings ,tablet will be no sound.. b. [Volume] : Click into the volume Settings as shown in figure: Set the media, the alarm clock, notify the volume; C Ring setting In the setting interface, tap “Ring notice” to enter into Ring setting interface: System indicator sound setting A touch indicator sound ( tap the touch screen) B Lock indicator sound (lock and unlock the screen broadcast voice C touch vibration;(if the machine is equipped with vibration motor, slight vibration when click on the touch screen machine) This two functions are optional, press to enter mute state if you do not want those functions.](https://usermanual.wiki/Kintech/PC7074ME/User-Guide-2203538-Page-27.png)

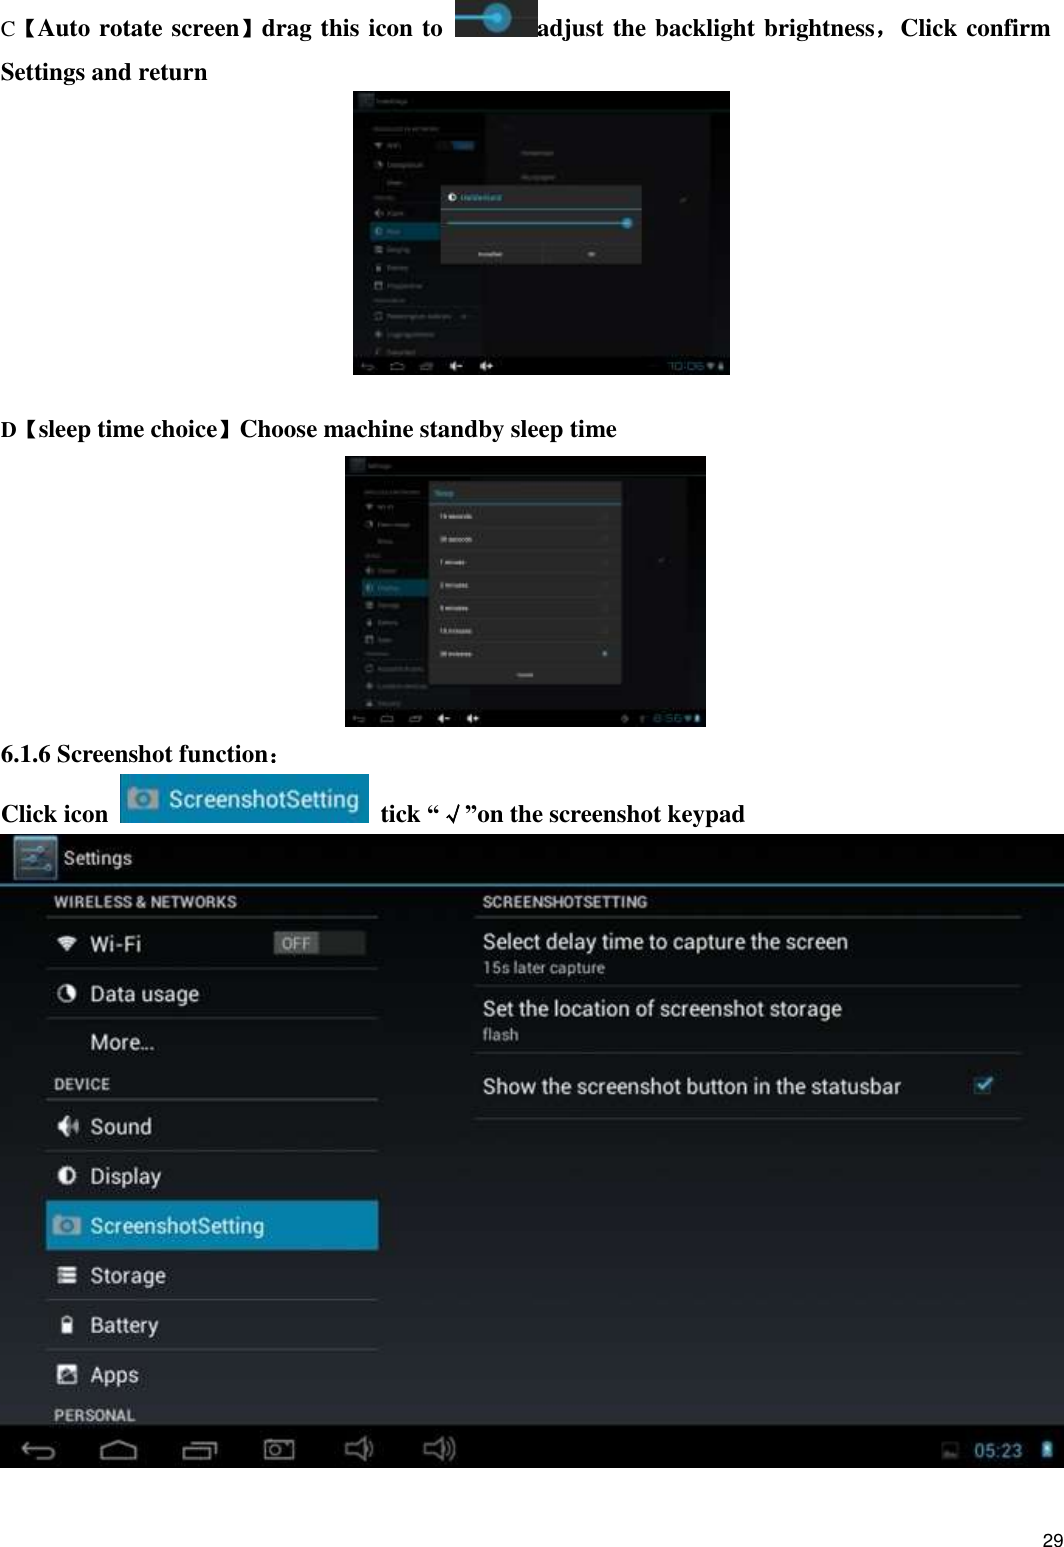
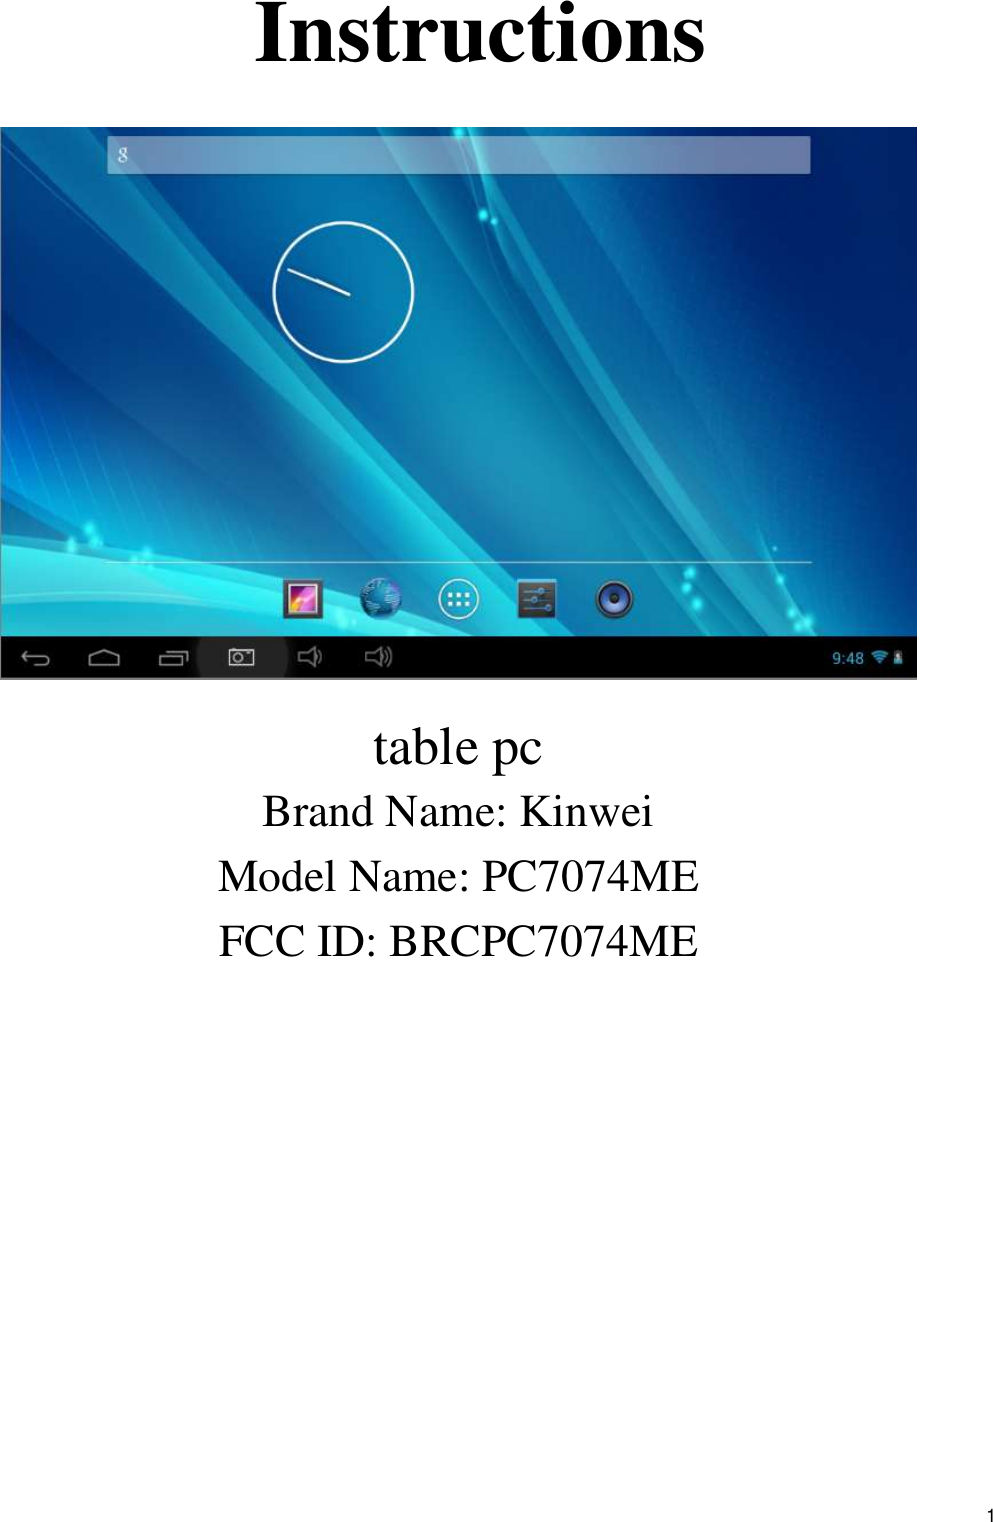
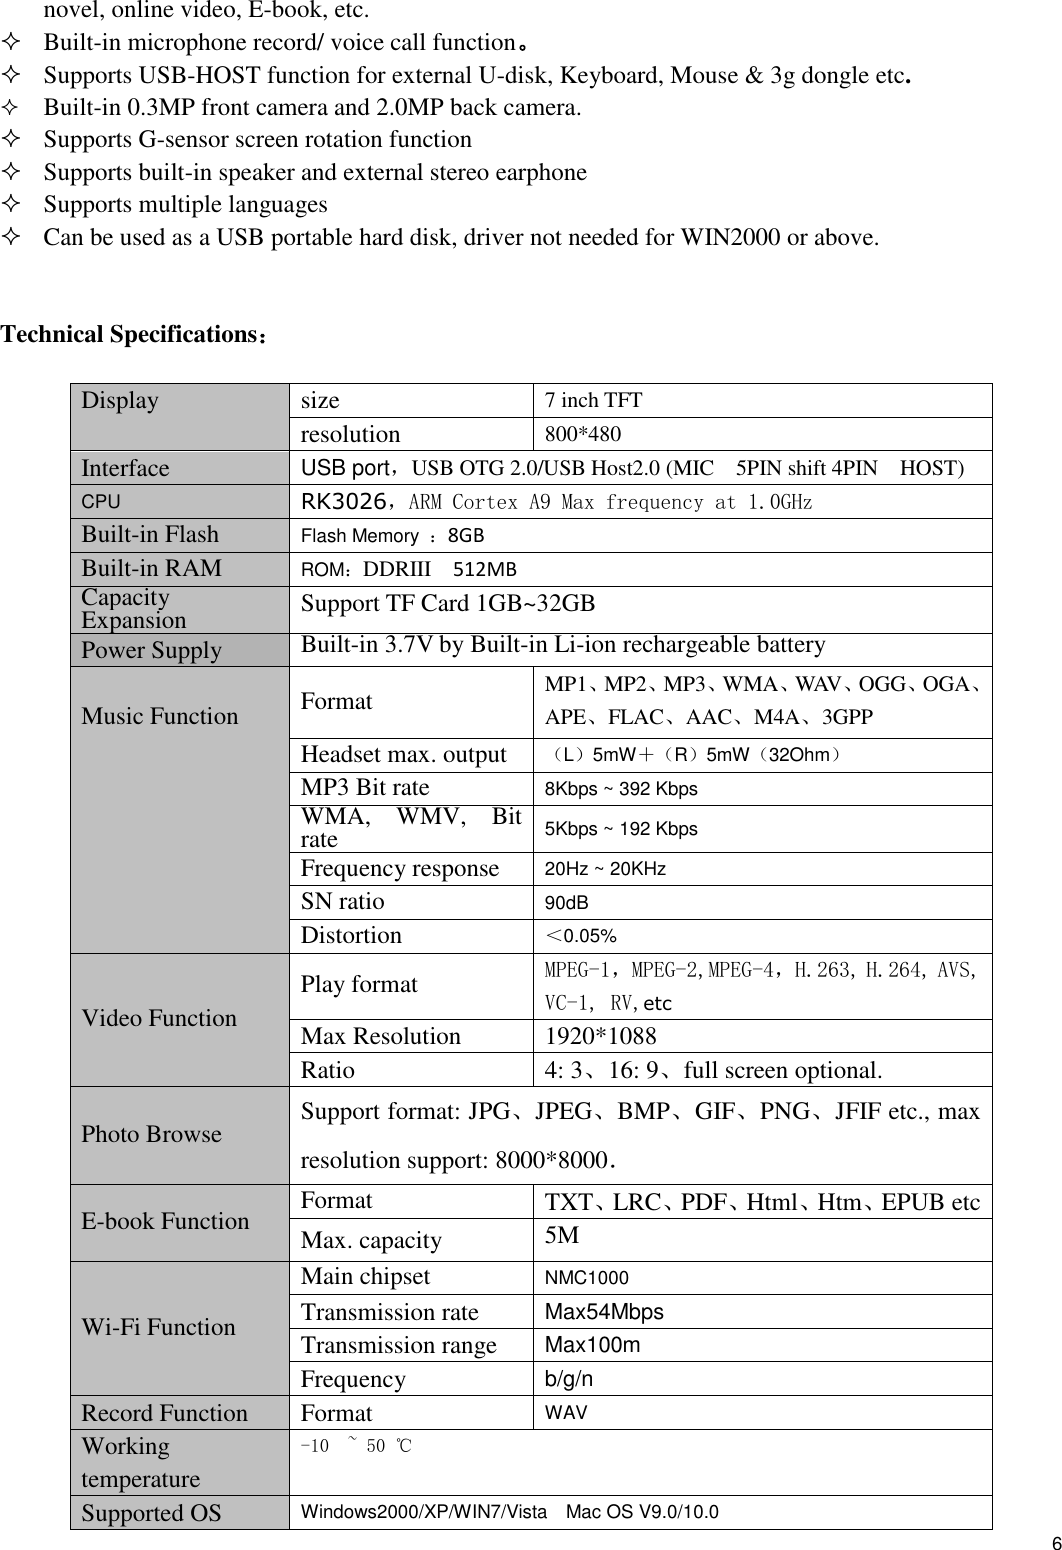
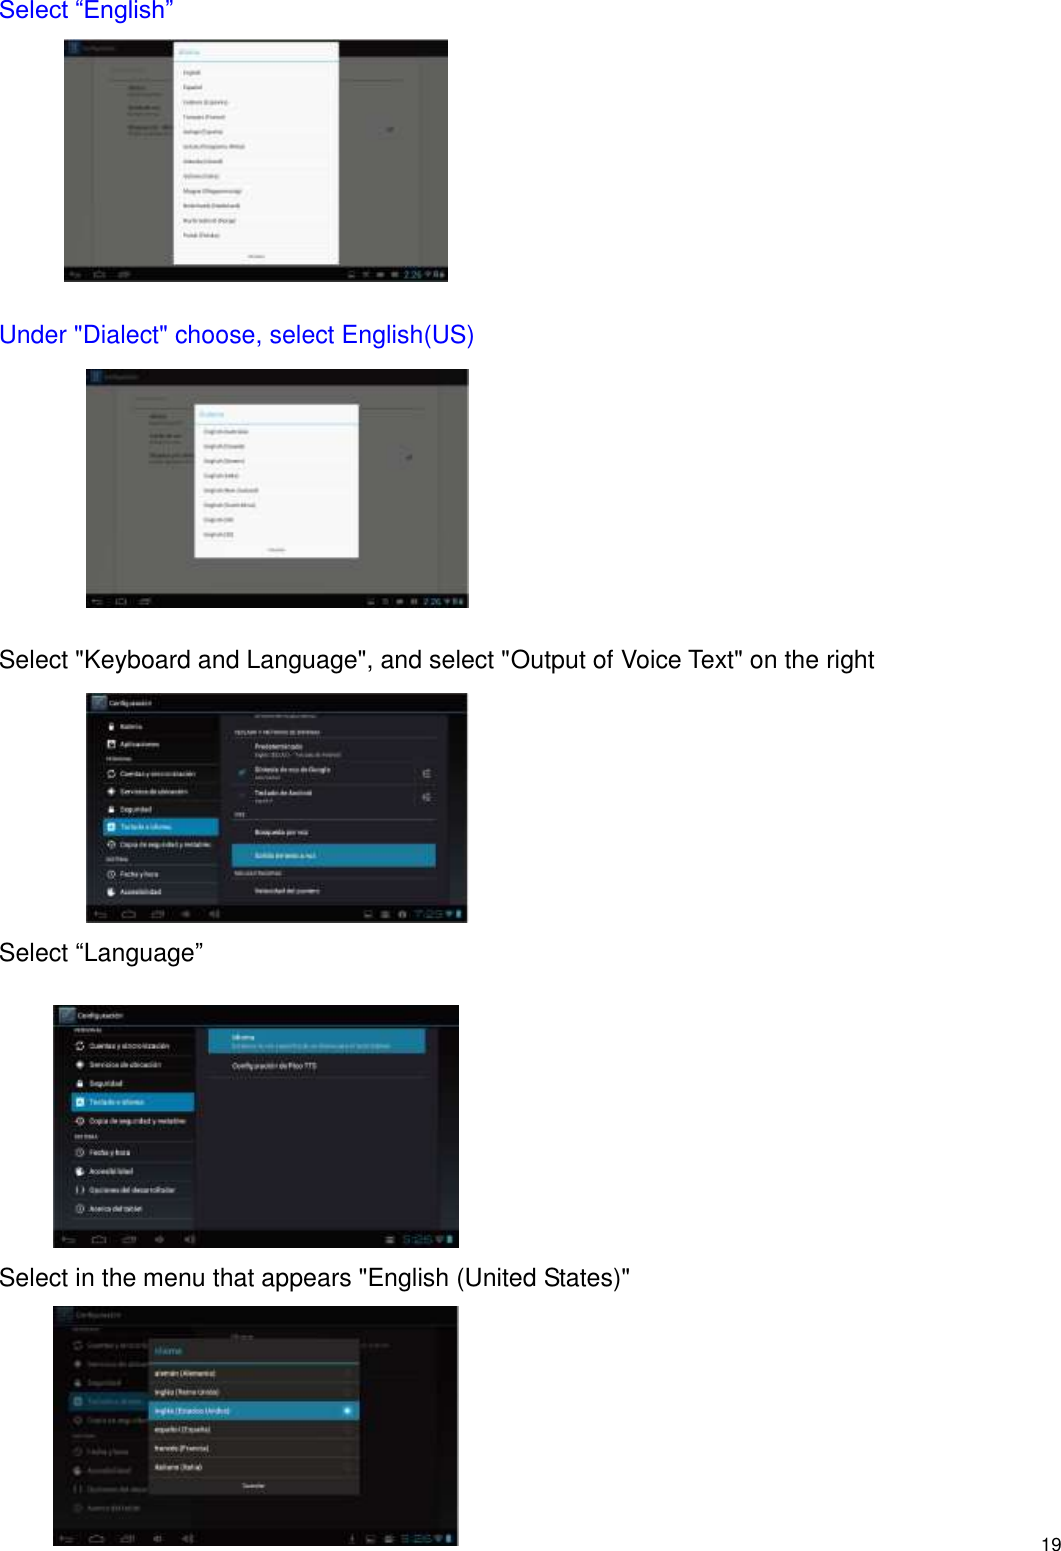
![32 Screen Lock Settings: 1.None 2.Slide 3. Face Unlock 4.Pattern 5.PIN 6.Password 【Pattern settings】Enter Settings-security-choose Pattern to set password for screen as below: Choose at least four points when set pattern pass word, click NEXT STEP to finish the setting procedure. [PIN settings]: Set PIN pass word: Click OK button after input four pass words, and remember pass word for later use. It will inform you to input password when device boot ups:](https://usermanual.wiki/Kintech/PC7074ME/User-Guide-2203538-Page-32.png)