Kyocera E4281 Cellular/ PCS CDMA/ GSM/ EDGE Handset with Bluetooth User Manual
Kyocera Corporation Cellular/ PCS CDMA/ GSM/ EDGE Handset with Bluetooth Users Manual
UserManual.wiki
>
Kyocera
>
E4281 User Manual
Users Manual
Navigation menu
Upload a User Manual
Namespaces
Wiki Guide
HTML
PDF
Info
Views
User Manual
Discussion / Help
Navigation
![DuraXTP User Guide [UG template version 15b] [Sprint_Kyocera_I-85_ug_en_150828_final]](https://usermanual.wiki/Kyocera/E4281/User-Guide-2790713-Page-1.png)

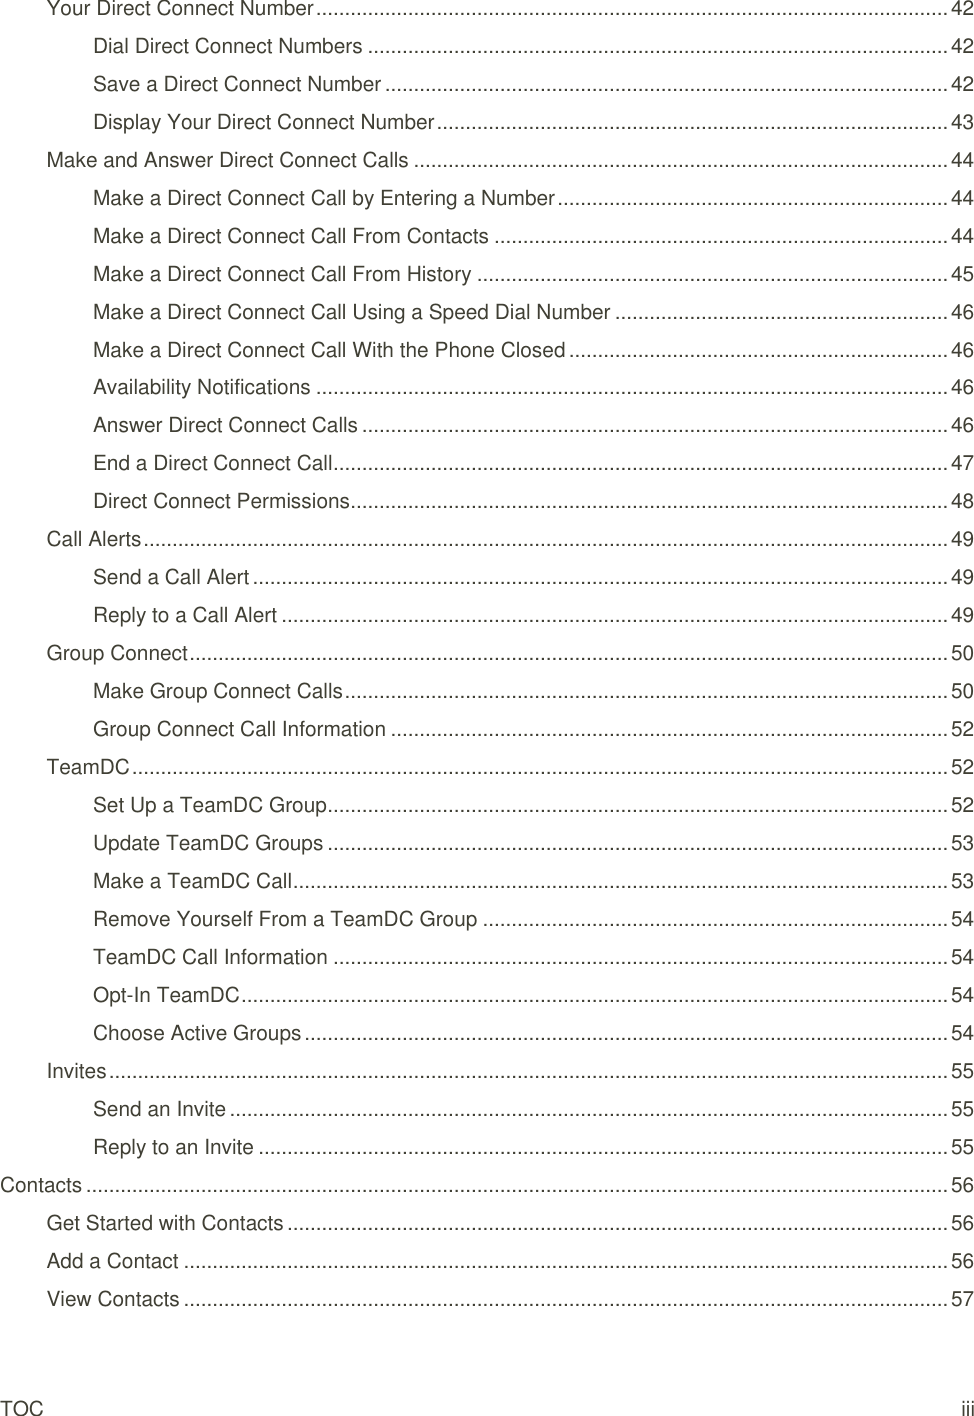


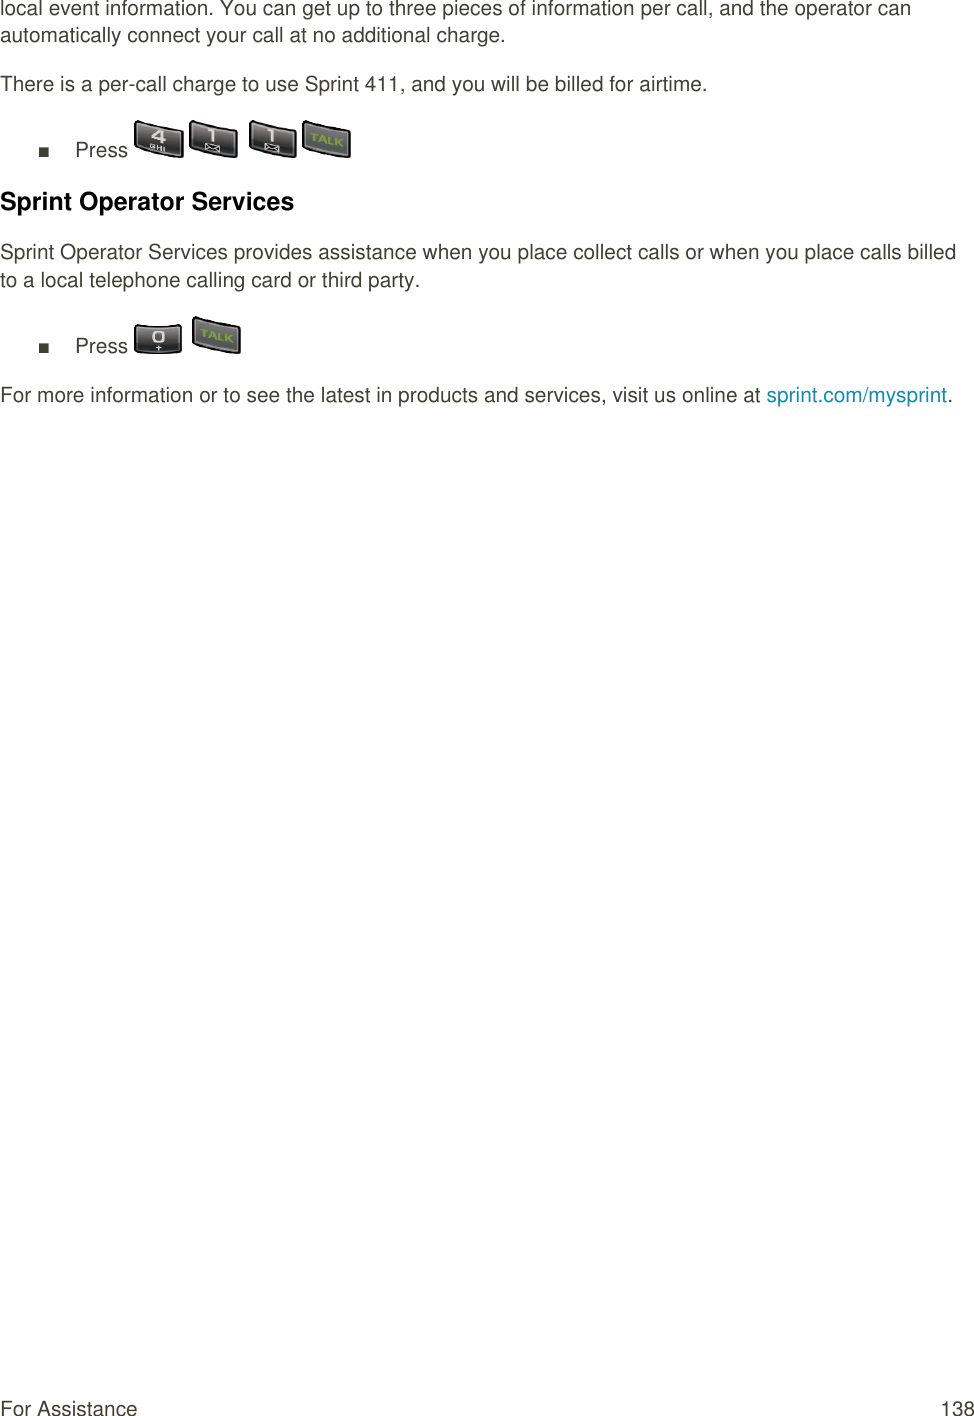
![Basic Operations 15 Enter Text You can type on your phone using the keypad. Select a Text Input Mode Your phone provides convenient ways to enter letters, numbers, and symbols whenever you are prompted to enter text. 1. From a screen where you can enter text, press OPTIONS (right softkey) to change the text mode. (If you are in the message entry screen, press OPTIONS [right softkey] > Text Mode.) 2. Select one of the following options: Abc to enter characters by using the alphabet mode. See Abc Mode. XT9Word to enter text using a predictive text system. See XT9 Smart Input. 123 to enter numeric characters. Symbols to enter symbols. Smileys to enter smile icons. Emoticons to enter “emoticons.” (This is available, for example, when composing a message or when editing a Schedule or To Do description in Calendar.) Paste List to paste copied or cut text (if applicable). Web Shortcuts to enter Web shortcuts (for example, www., http://, or .com). Text Options to display the text entry options menu (if applicable). See Text Entry Options. Tip: When entering text, press to change the capitalization style as Abc > ABC > abc (ABC mode), or as XT9Word > XT9WORD > XT9word (T9Word mode). The selected style is displayed in the bottom-right corner of the screen, above the right softkey label (if applicable). Abc Mode In Abc mode, also known as multi-tap entry, you press keys one, two, three, or four times to enter the letters you see on the keypad. By default, the first letter of a sentence is capitalized and the following letters are lowercased. To switch between lowercase and uppercase, press the key. After a character is entered, the cursor automatically advances to the next space after two seconds or when you enter a character on a different key. 1. Select the Abc text input mode. See Select a Text Input Mode.](https://usermanual.wiki/Kyocera/E4281/User-Guide-2790713-Page-24.png)
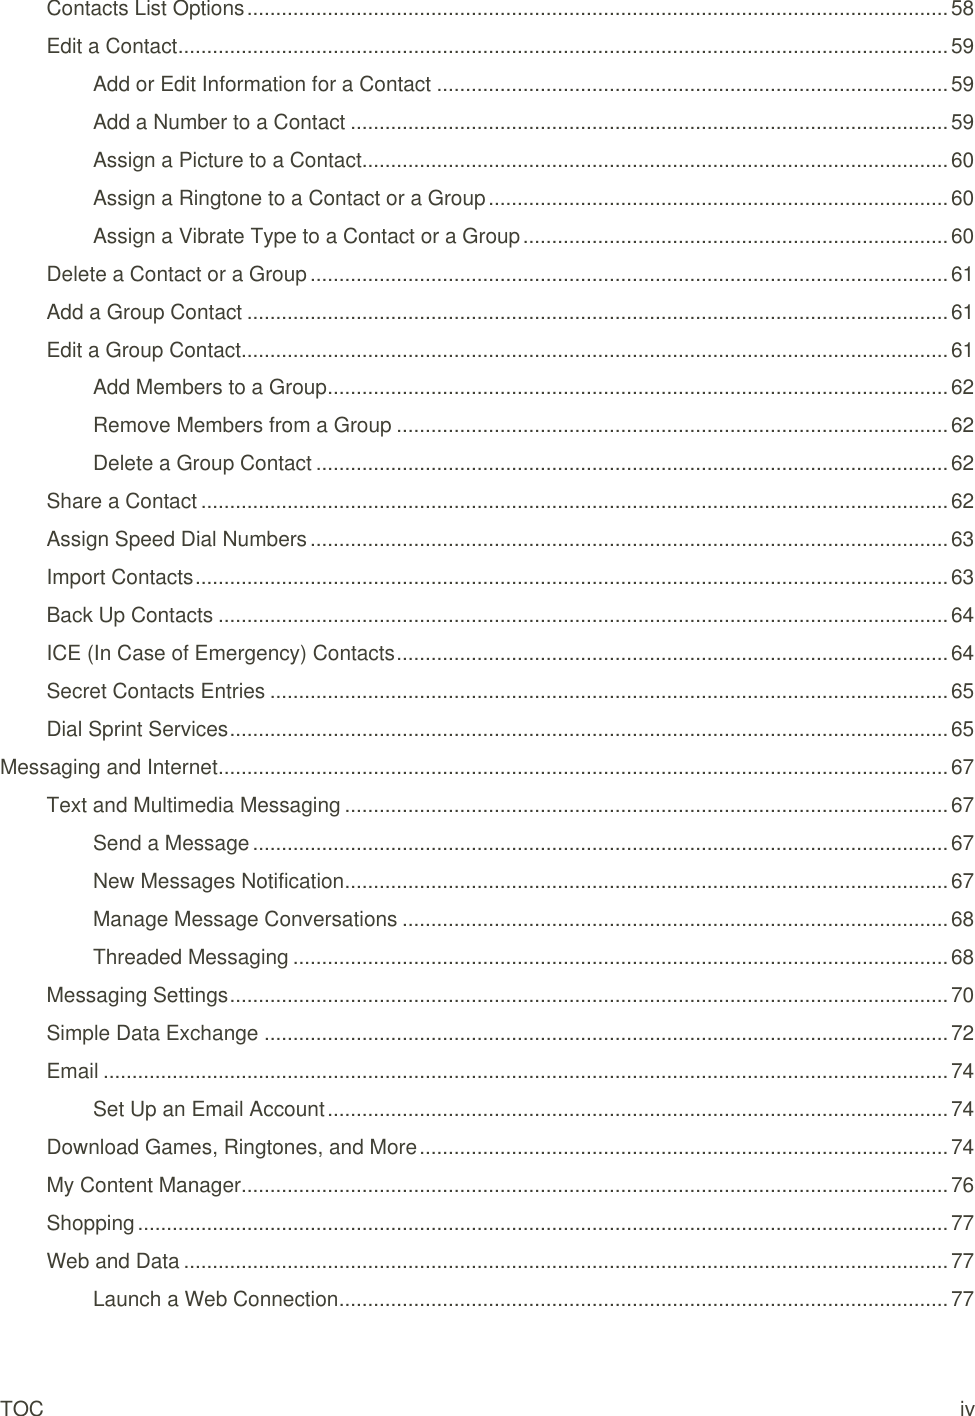
![Basic Operations 17 Phrase Complete to set the phone to predict possible phrases after one word with a space is entered. Word Scan to allow the predictive text input system to recognize words by searching Contacts. Word Choice List to select whether to display the word choice list. Input Language to select the language to enter (English or Spanish). My Words to edit or delete custom words you have added to the predictive text database. • Add Word to store words that you frequently use. Select Text to select text for copying, cutting or adding (if applicable). Delete All to delete all text (if applicable). Help to view the XT9 instructions. Copy and Paste Text You can copy and paste the text in the text entry field. 1. In the text entry field, move the cursor next to the text you want to copy and press OPTIONS (right softkey) > Text Options > Select Text. 2. Press the navigation key and highlight the text you want to copy. 3. Press NEXT ACT… (left softkey) > Copy. The text is saved in the Paste List. 4. In the text entry field, move the cursor to the place where you want to paste the text to and press OPTIONS (right softkey) > Paste List. (On the message entry screen, press OPTIONS [right softkey] > Text Mode > Paste List.) 5. Press the navigation key to scroll to the text you want to paste and press . Note: This feature is not available where you cannot select the text input mode or in the Web application. Lock and Unlock Your Phone When your phone is locked using the Lock Phone feature, you can only make calls to 9-1-1 and the ICE contacts. Lock Your Phone 1. Press > Settings > Lock Phone. 2. Enter your lock code. 3. Select Auto Lock > Lock Now.](https://usermanual.wiki/Kyocera/E4281/User-Guide-2790713-Page-26.png)


![Messaging and Internet 71 1. From standby mode, press MESSAGING (left softkey) > OPTIONS (right softkey) > Preset Messages. The list of preset messages will be displayed. 2. To edit or delete a message, highlight it and press OPTIONS (right softkey). 3. Select Edit, edit the message, and press OK (left softkey). – or – Select Delete > YES (left softkey) to delete the message. (You can also reset all messages by selecting Reset all messages > YES [left softkey].) To change the language of the preset message: 1. From standby mode, press MESSAGING (left softkey) > OPTIONS (right softkey) > Preset Messages. 2. Press OPTIONS (right softkey) > Select Language. 3. Select English or Spanish. Message Alerts You can set how often your phone alerts you when there is a new message notification. 1. From standby mode, press MESSAGING (left softkey) > OPTIONS (right softkey) > Repeated Tone > Messages. 2. Select Single Tone (once only) or Repeated Tone (once every minute). Emergency Alerts Your phone is compatible with federally supervised cell phone alert services which send out broadcast SMS messages for public warning. 1. From standby mode, press MESSAGING (left softkey) > OPTIONS (right softkey) > Emergency Alerts. 2. Check the box next to the options you wish to select: Presidential Alerts to deliver a national Presidential alert. Presidential Alerts is always grayed out (not selectable) and cannot be excluded. Imminent Threat - Extreme to deliver emergency alerts in an extreme emergency situation (an extraordinary threat to life or property). Imminent Threat - Severe to deliver emergency alerts in a severe emergency situation (a significant threat to life or property). Amber Alerts to deliver alerts related to missing or endangered children. Emergency Alerts Test Messages to receive a test message to make sure that the alert messages can be successfully received.](https://usermanual.wiki/Kyocera/E4281/User-Guide-2790713-Page-80.png)
![Messaging and Internet 76 My Content Manager Whether you purchase your content from your phone or from your online account management page at sprint.com/mysprint, My Content Manager stores all of your purchases and you may download them to your phone from there. My Content Manager is a storage area on the Nationwide Sprint Network that allows you to store all your purchased files. The files remain in My Content Manager until their license terms have expired—even after you have downloaded the content to your phone. This provides you with a convenient place to access information about your downloaded files without having to store the information in your phone’s memory. Access My Content Manager 1. From the SprintWeb home page, select Categories > My Account > My Content Manager. (You will see a list of your purchased items.) 2. Highlight a category and press . (You will see your downloads for that category.) Download Purchased Contents from My Content Manager 1. From the My Content Manager display, highlight the item you wish to download, and press . (You will see the information page for the selected item.) 2. Highlight Download and press . (The item will download automatically.) 3. Select an option to continue: Select a menu such as Run/Open/Listen/View/Play to start the downloaded item. Your data session will end, and your phone will redirect you to the appropriate phone menu screen. Select Assign to assign a ringtone or screen saver to a phone function. Select Settings to configure downloaded games or applications. Select Shop to browse for other items to download. Press to quit the browser and return to standby mode. Tip: You can also access My Content Manager through the phone’s main menu. Go to My Stuff > [Games, Screen Savers, or Applications] > My Content Manager. The browser will open and take you to the corresponding content. For complete information and instructions on downloading Games, Ringtones, Screen Savers, and Applications, visit the Digital Lounge at sprint.com/mysprint.](https://usermanual.wiki/Kyocera/E4281/User-Guide-2790713-Page-85.png)


![Settings 129 To reset your APN settings: 1. Press > Settings > Others > Data Settings > APN. 2. Highlight an APN and press RESET (right softkey). 3. Read the message displayed and press OK (left softkey). Headset Mode Set up your phone for hands-free use and the ringer mode. To set the headset button mode: ■ Press > Settings > DC Settings > Headset Mode > Headset button starts Voice calls. [TALK Key] or Headset button starts DC calls. [DC button]. To set the ringer mode: ■ Press > Settings > Others > Headset Mode > Normal or Headset Only. Language Settings You can choose to display your phone’s onscreen menus in English or in Spanish. 1. Press > Settings > Others > Language. 2. Select English or Español. Location Settings Before using any of the location-based services, you must turn on your phone’s location mode. Enable Location Services 1. Press > Settings > Others > Location > On/Off. (You will see the Location disclaimer.) 2. Read the disclaimer and press . 3. Select On. When the Location feature is on, your phone’s standby screen will display the icon. When Location is turned off, your phone will display the icon. Enable NMEA Output 1. Press > Settings > Others > Location > NMEA Output. 2. Select USB to enable GPS-NMEA location data output via USB cable.](https://usermanual.wiki/Kyocera/E4281/User-Guide-2790713-Page-138.png)
![Settings 132 3. Press DONE (left softkey). Tip: If you prefer not to use the Roaming Guards feature, select Never Ask when the message is displayed. You will not be notified of your roaming status until you enable Roaming Guards again. To place roaming calls with Roaming Guards on: 1. From standby mode, dial the area code followed by the seven-digit number and press . 2. Read the message and press . To answer incoming roaming calls with Roaming Guards on: 1. Press . 2. Read the message and press . To access data services while roaming with Roaming Guards on: ■ When a notification appears informing you that data roam charges may apply, press ROAM (left softkey) to connect. To send a text message while roaming with Roaming Guards on: ■ When a notification appears informing you that data roam charges may apply, select Send Now. You can select Auto Send Later to send the message automatically when you return to Sprint coverage, or you can simply save the message by selecting Save. Navigation Key Shortcuts You can use the navigation keys as shortcuts to access specific menu items directly from standby mode. You can reassign the default shortcuts to the menu items you choose. 1. Press > Settings > Others > Navigation Keys. 2. Highlight the navigation key you wish to reassign and press . 3. Highlight an option and press to select a function. 4. Press ASSIGN (left softkey) to save. (For options with submenu levels, such as Settings, you can assign submenu options by navigating to the desired option before pressing ASSIGN [left softkey].). Direct Connect Button If you don’t subscribe to Sprint Direct Connect services, you can use the DC button for other functions. 1. Press the DC button in standby mode and then press CUSTOMIZE (left softkey), if available.](https://usermanual.wiki/Kyocera/E4281/User-Guide-2790713-Page-141.png)