Kyocera KWC-KX21 Tri-Mode Dual-Band CDMA/AMPS Cellular Phone User Manual
Kyocera Communications, Inc Tri-Mode Dual-Band CDMA/AMPS Cellular Phone
UserManual.wiki
>
Kyocera
>
KWC KX21 User Manual
User Manual
Navigation menu
Upload a User Manual
Namespaces
Wiki Guide
HTML
PDF
Info
Views
User Manual
Discussion / Help
Navigation
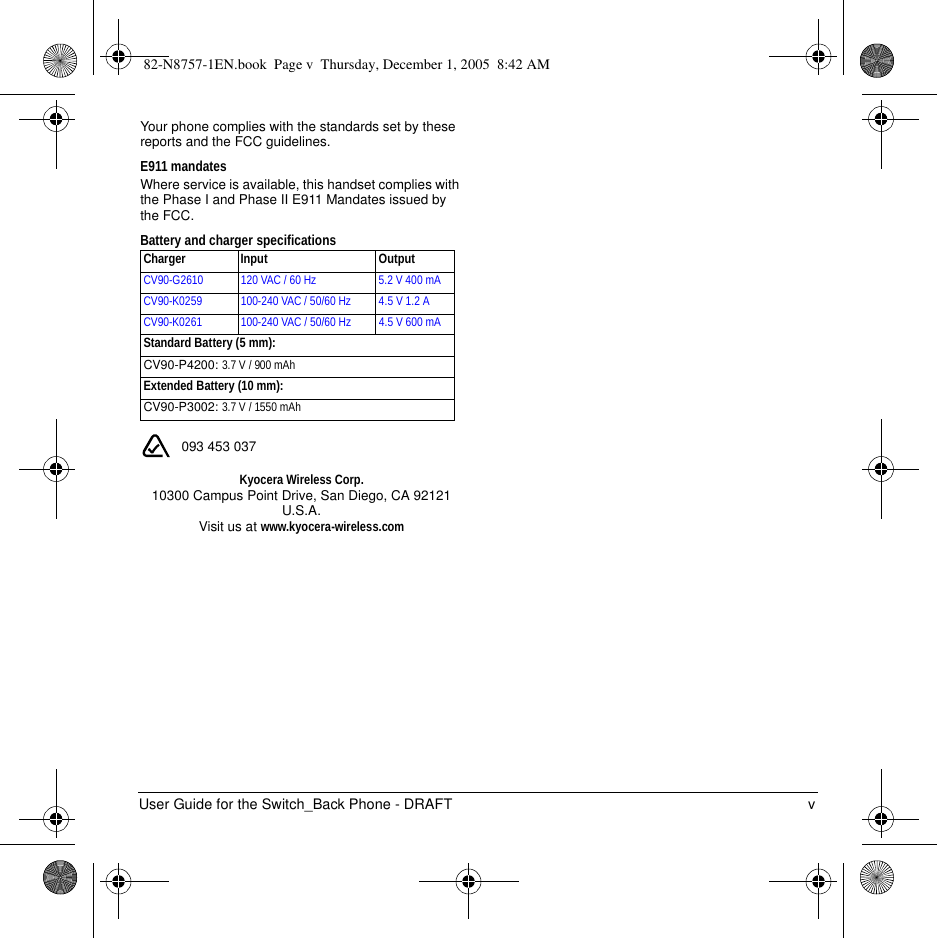
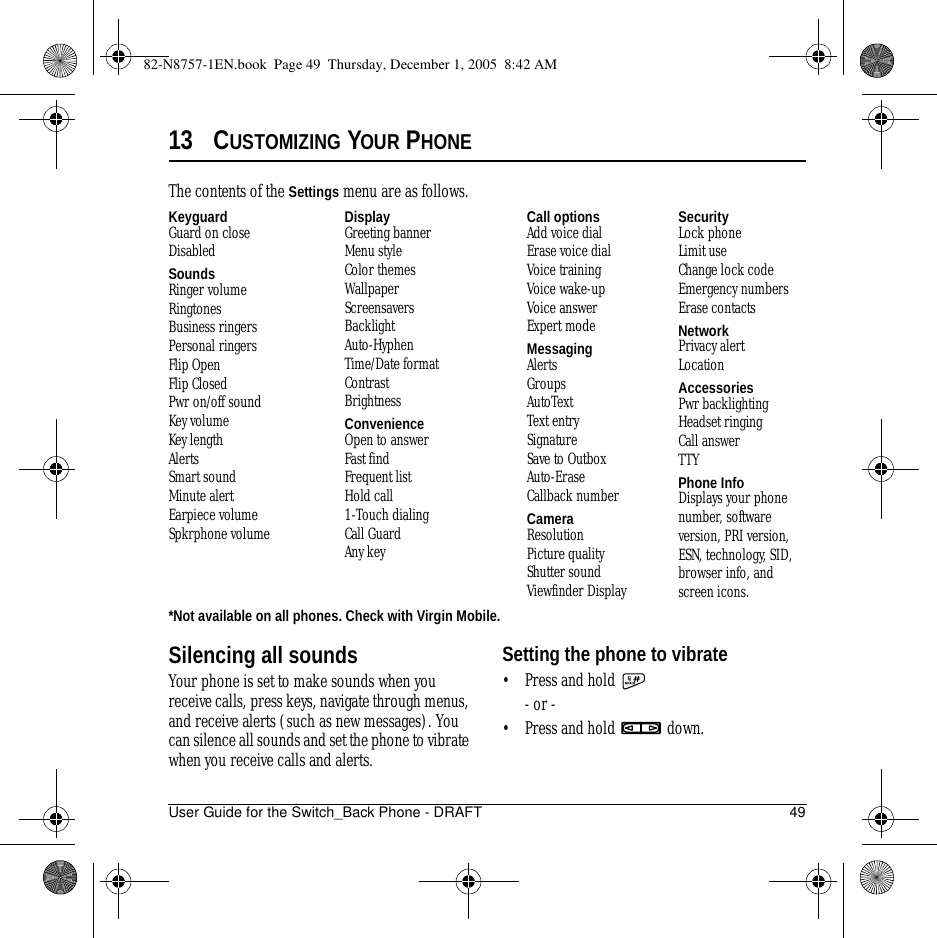
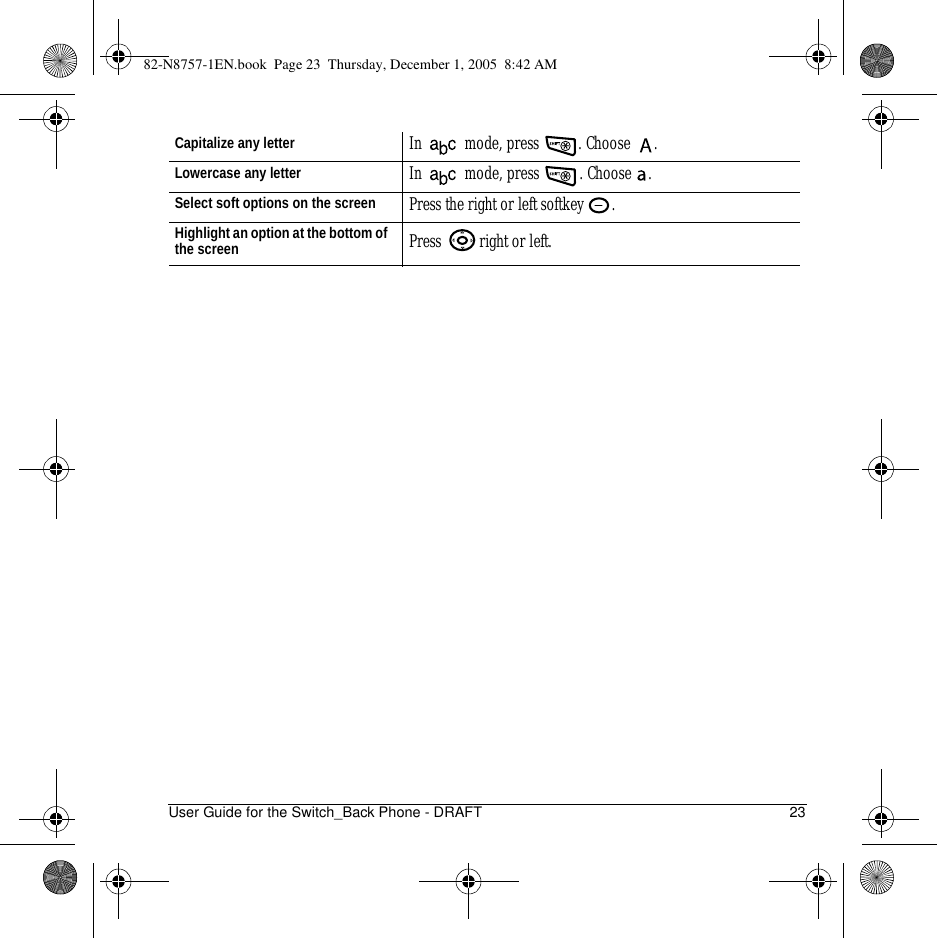
![vi ContentsCONTENTS1 Getting Started. . . . . . . . . . . . . . . . . . . . . . 1Installing the battery . . . . . . . . . . . . . . . . . . . . . . 1Getting to know your phone . . . . . . . . . . . . . . . . 32 My Account . . . . . . . . . . . . . . . . . . . . . . . 11Checking your account balance . . . . . . . . . . . . 11Top-Up your account . . . . . . . . . . . . . . . . . . . . 113 Making and Answering Calls . . . . . . . . . 12Phone calls. . . . . . . . . . . . . . . . . . . . . . . . . . . . 12Recent Calls . . . . . . . . . . . . . . . . . . . . . . . . . . . 14Speed dialing . . . . . . . . . . . . . . . . . . . . . . . . . . 151-Touch dialing. . . . . . . . . . . . . . . . . . . . . . . . . 15Voicemail . . . . . . . . . . . . . . . . . . . . . . . . . . . . . 154 Entering Text . . . . . . . . . . . . . . . . . . . . . . 18QUERTY keypad . . . . . . . . . . . . . . . . . . . . . . . . 18Number keypad. . . . . . . . . . . . . . . . . . . . . . . . . 195 Storing Contacts . . . . . . . . . . . . . . . . . . . 24Creating a new contact . . . . . . . . . . . . . . . . . . . 24Adding a code or extension. . . . . . . . . . . . . . . . 24Customizing your contacts. . . . . . . . . . . . . . . . . 24Editing a contact. . . . . . . . . . . . . . . . . . . . . . . . 25Erasing a contact. . . . . . . . . . . . . . . . . . . . . . . . 26Customizing a phone number . . . . . . . . . . . . . . 26Finding contact information . . . . . . . . . . . . . . . 266 Text Messaging . . . . . . . . . . . . . . . . . . . . 28Sending text messages. . . . . . . . . . . . . . . . . . . . 28Retrieving text messages . . . . . . . . . . . . . . . . . . 31Customizing message settings . . . . . . . . . . . . . . 327 Multimedia Messaging . . . . . . . . . . . . . . 34Sending multimedia messages. . . . . . . . . . . . . . 34Receiving multimedia messages . . . . . . . . . . . . 35Viewing multimedia messages. . . . . . . . . . . . . . 358 IM Client . . . . . . . . . . . . . . . . . . . . . . . . . . 37Accessing IM Client. . . . . . . . . . . . . . . . . . . . . . 37Ending an IM client session . . . . . . . . . . . . . . . 37Navigating IM Client . . . . . . . . . . . . . . . . . . . . . 37Send IM message . . . . . . . . . . . . . . . . . . . . . . . 379 VirginXL . . . . . . . . . . . . . . . . . . . . . . . . . .38Accessing VirginXL . . . . . . . . . . . . . . . . . . . . . . 38Ending a VirginXL session. . . . . . . . . . . . . . . . . 38Navigating VirginXL. . . . . . . . . . . . . . . . . . . . . . 3810 My stuff. . . . . . . . . . . . . . . . . . . . . . . . . . .39My ringtones. . . . . . . . . . . . . . . . . . . . . . . . . . . 39My games . . . . . . . . . . . . . . . . . . . . . . . . . . . . . 39My other stuff. . . . . . . . . . . . . . . . . . . . . . . . . . 40My graphics . . . . . . . . . . . . . . . . . . . . . . . . . . . 40My sounds . . . . . . . . . . . . . . . . . . . . . . . . . . . . 4011 Using the Camera . . . . . . . . . . . . . . . . . .42Restoring camera menu settings. . . . . . . . . . . . 43Taking a picture . . . . . . . . . . . . . . . . . . . . . . . . 44Camera key map [Flip open or closed] . . . . . . 4412 Using Tools . . . . . . . . . . . . . . . . . . . . . . .45Voice memo . . . . . . . . . . . . . . . . . . . . . . . . . . . 45Scheduler. . . . . . . . . . . . . . . . . . . . . . . . . . . . . 45Alarm clock . . . . . . . . . . . . . . . . . . . . . . . . . . . 46Tip calculator . . . . . . . . . . . . . . . . . . . . . . . . . . 47Calculator. . . . . . . . . . . . . . . . . . . . . . . . . . . . . 47Timer . . . . . . . . . . . . . . . . . . . . . . . . . . . . . . . . 48Stopwatch. . . . . . . . . . . . . . . . . . . . . . . . . . . . . 48Flashlight . . . . . . . . . . . . . . . . . . . . . . . . . . . . . 4813 Customizing Your Phone . . . . . . . . . . . .49Silencing all sounds . . . . . . . . . . . . . . . . . . . . . 49Choosing ringers . . . . . . . . . . . . . . . . . . . . . . . 50Setting sounds for your phone . . . . . . . . . . . . . 50Personalizing the screen. . . . . . . . . . . . . . . . . . 52Creating a secure environment . . . . . . . . . . . . . 54Connecting to a TTY/TDD device. . . . . . . . . . . . 55Setting position location . . . . . . . . . . . . . . . . . . 5582-N8757-1EN.book Page vi Thursday, December 1, 2005 8:42 AM](https://usermanual.wiki/Kyocera/KWC-KX21/User-Guide-616376-Page-6.png)
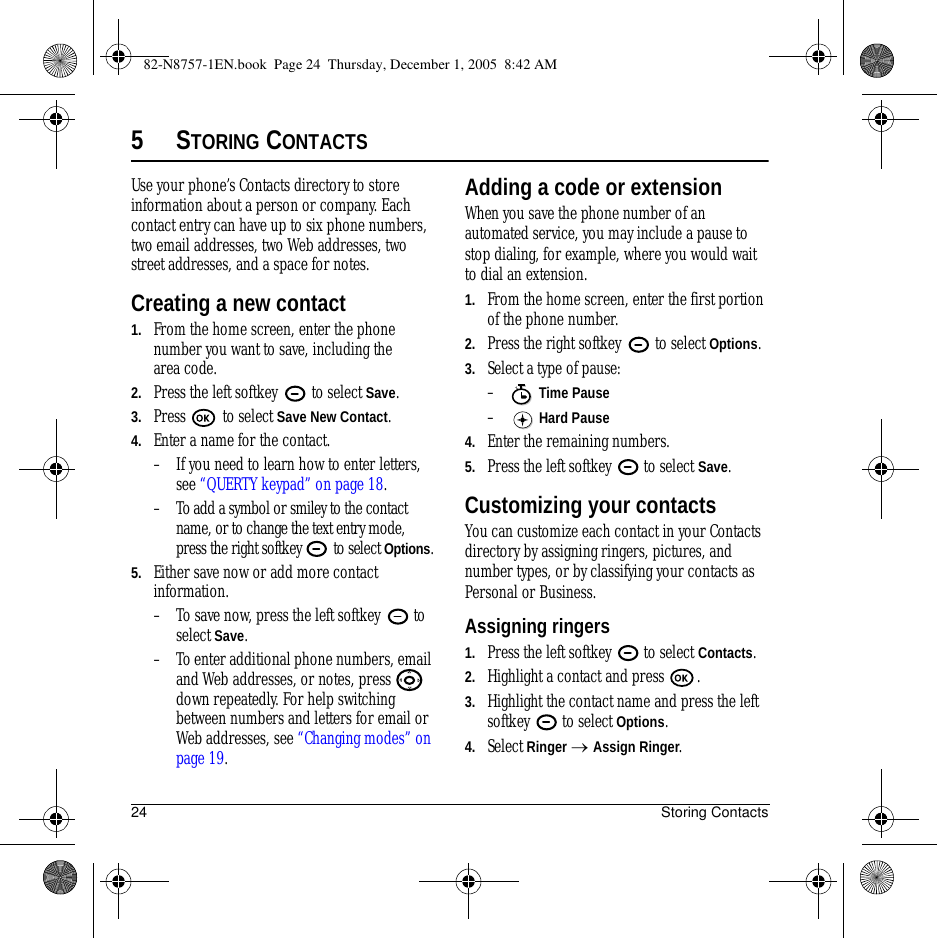


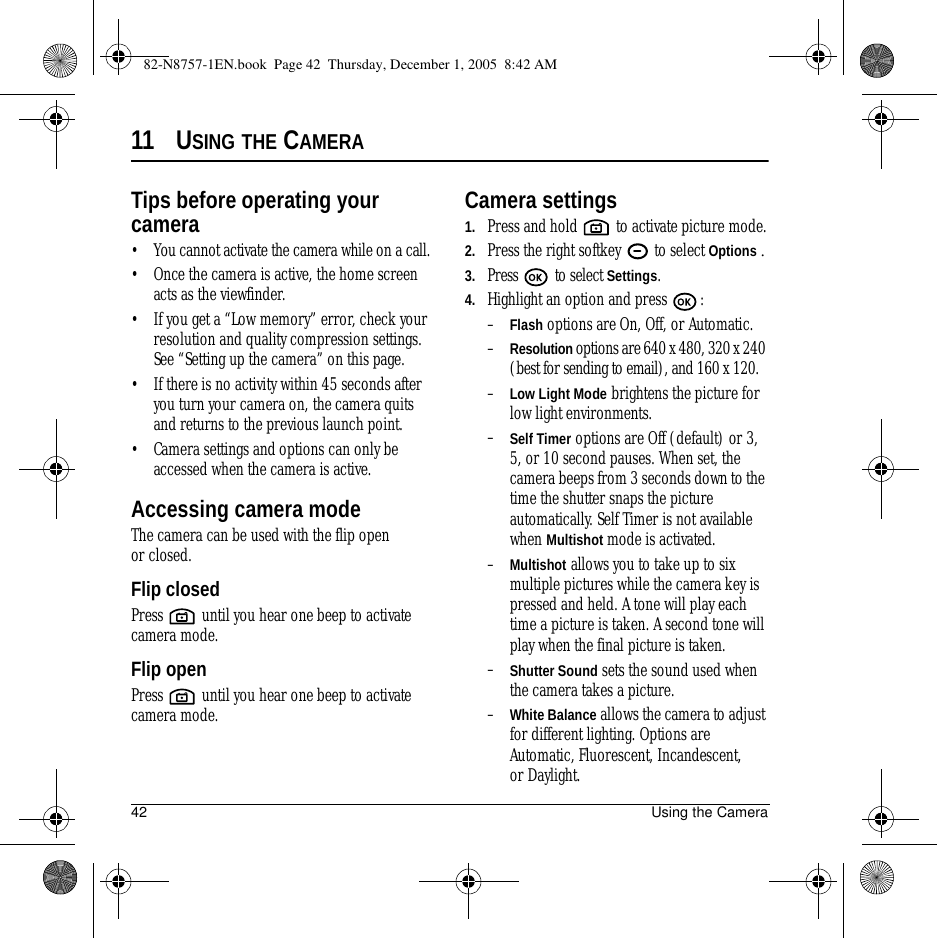
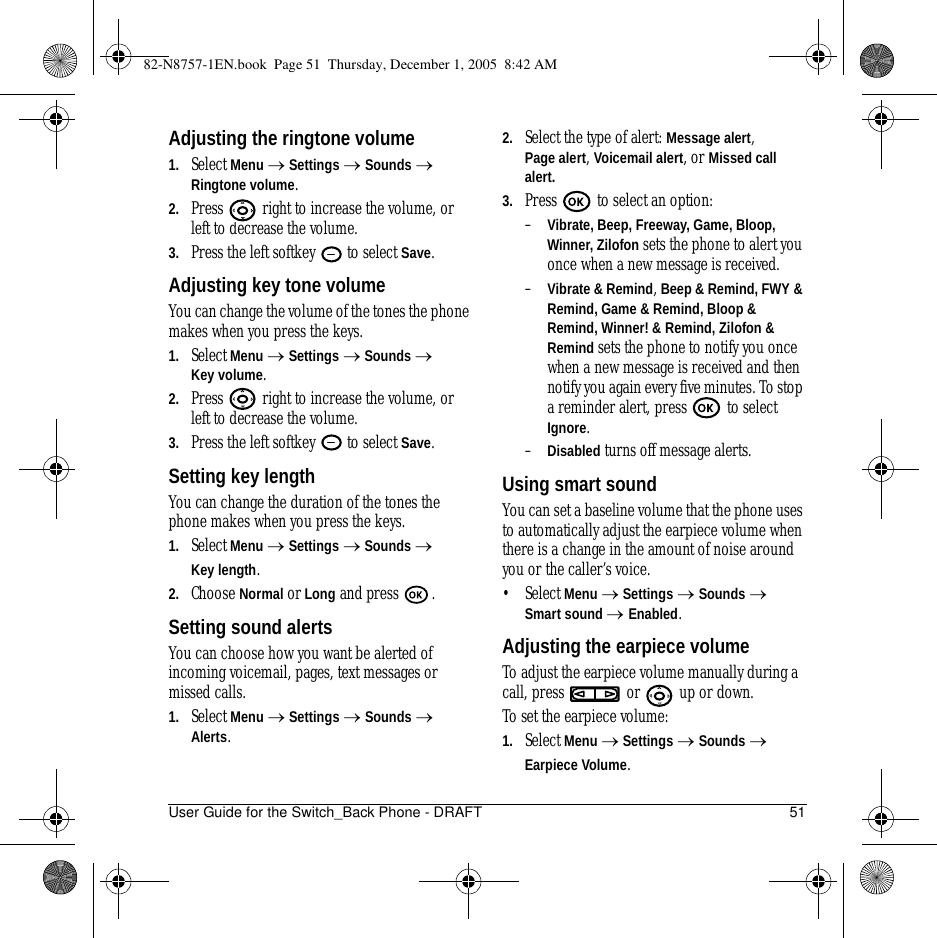
![44 Using the CameraTaking a pictureFlip open or closed1. Select Menu → Pictures → Take a picture.2. Focus on the image using the phone’s display as a viewfinder. Tip: Press up or down to zoom in or zoom out.3. Take the picture using one of two methods:– Press or the left softkey .4. Press the left softkey to select OK or the right softkey to select Erase.5. Press when finished taking pictures.Camera key map [Flip open or closed]Top right hand corner numbers Number of snapshots remainingZoom levelBottom left hand numbers Resolution settingMultishotSelf Timer Icon Description Key Camera Menu Screen Take picture Dismiss menu optionsLeft softkey Select Capture to take picture Select OK. Right softkey Select Options Cancel, dismisses menu Up Zoom in Scroll menu options right Down Zoom out Scrolls menu options leftTakes picture Select menu option82-N8757-1EN.book Page 44 Thursday, December 1, 2005 8:42 AM](https://usermanual.wiki/Kyocera/KWC-KX21/User-Guide-616376-Page-51.png)