LG Electronics USA 44SZ8RUE 44" DLP PROJECTION TV User Manual User s Manual H
LG Electronics USA 44" DLP PROJECTION TV User s Manual H
UserManual.wiki
>
LG Electronics USA
>
44SZ8RUE User Manual
USERS MANUAL
Navigation menu
Upload a User Manual
Namespaces
Wiki Guide
HTML
PDF
Info
Views
User Manual
Discussion / Help
Navigation

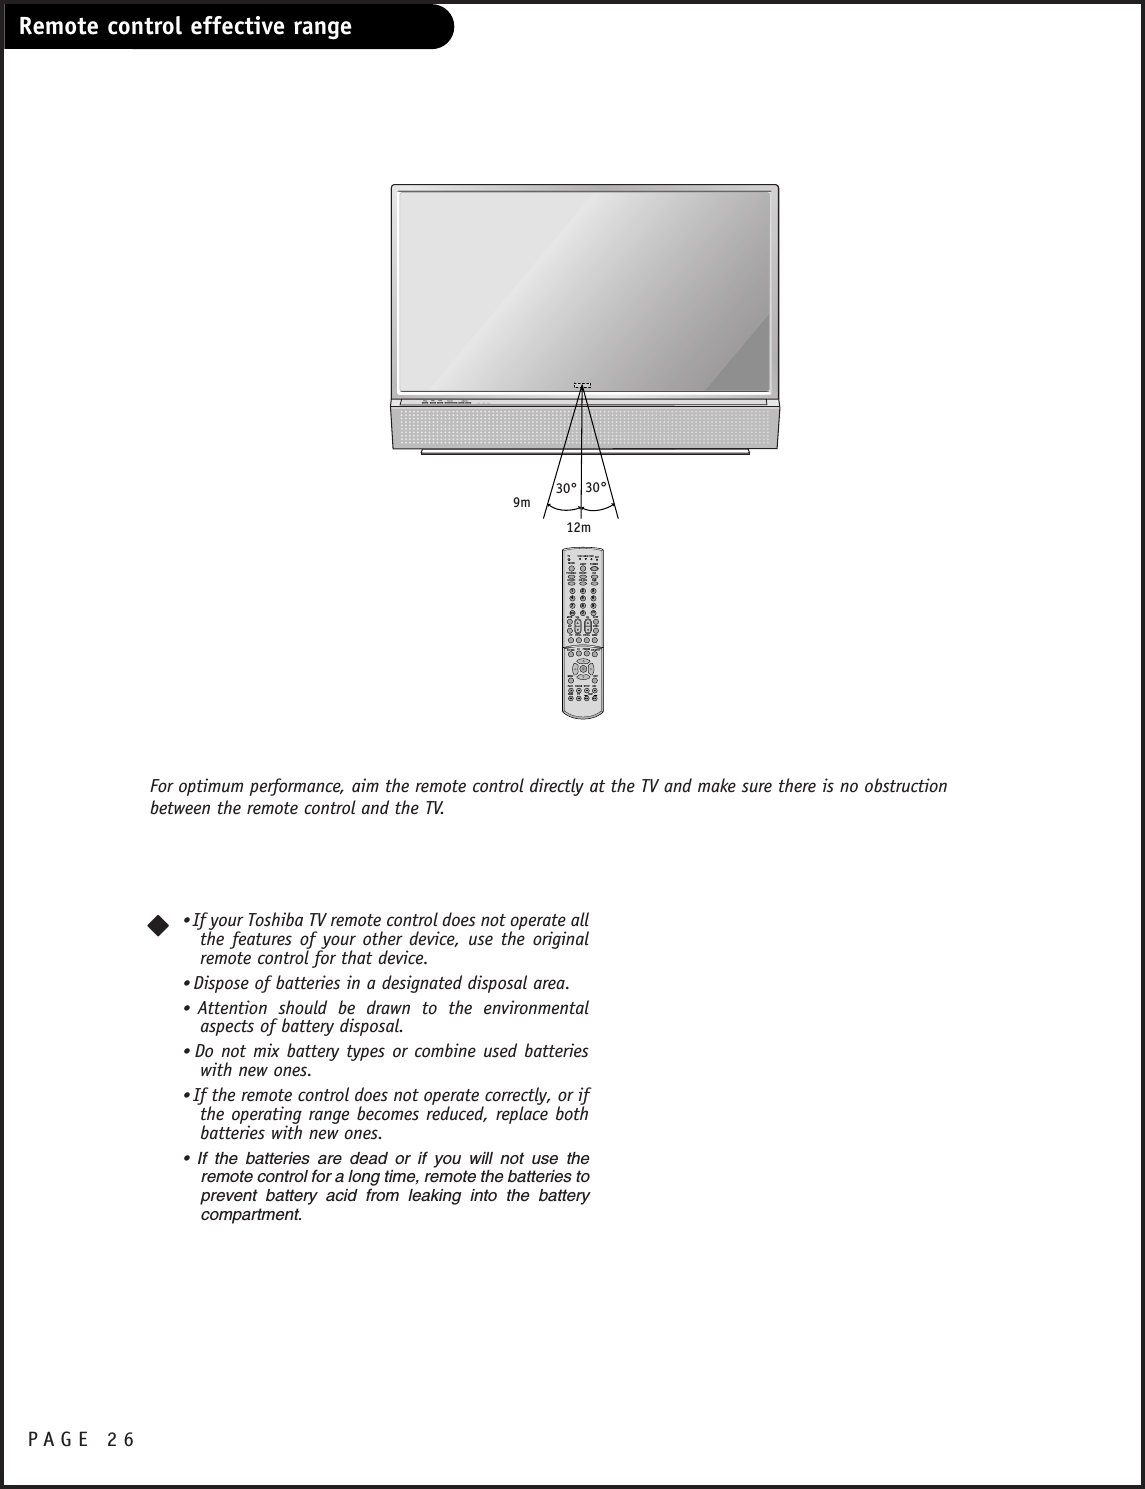
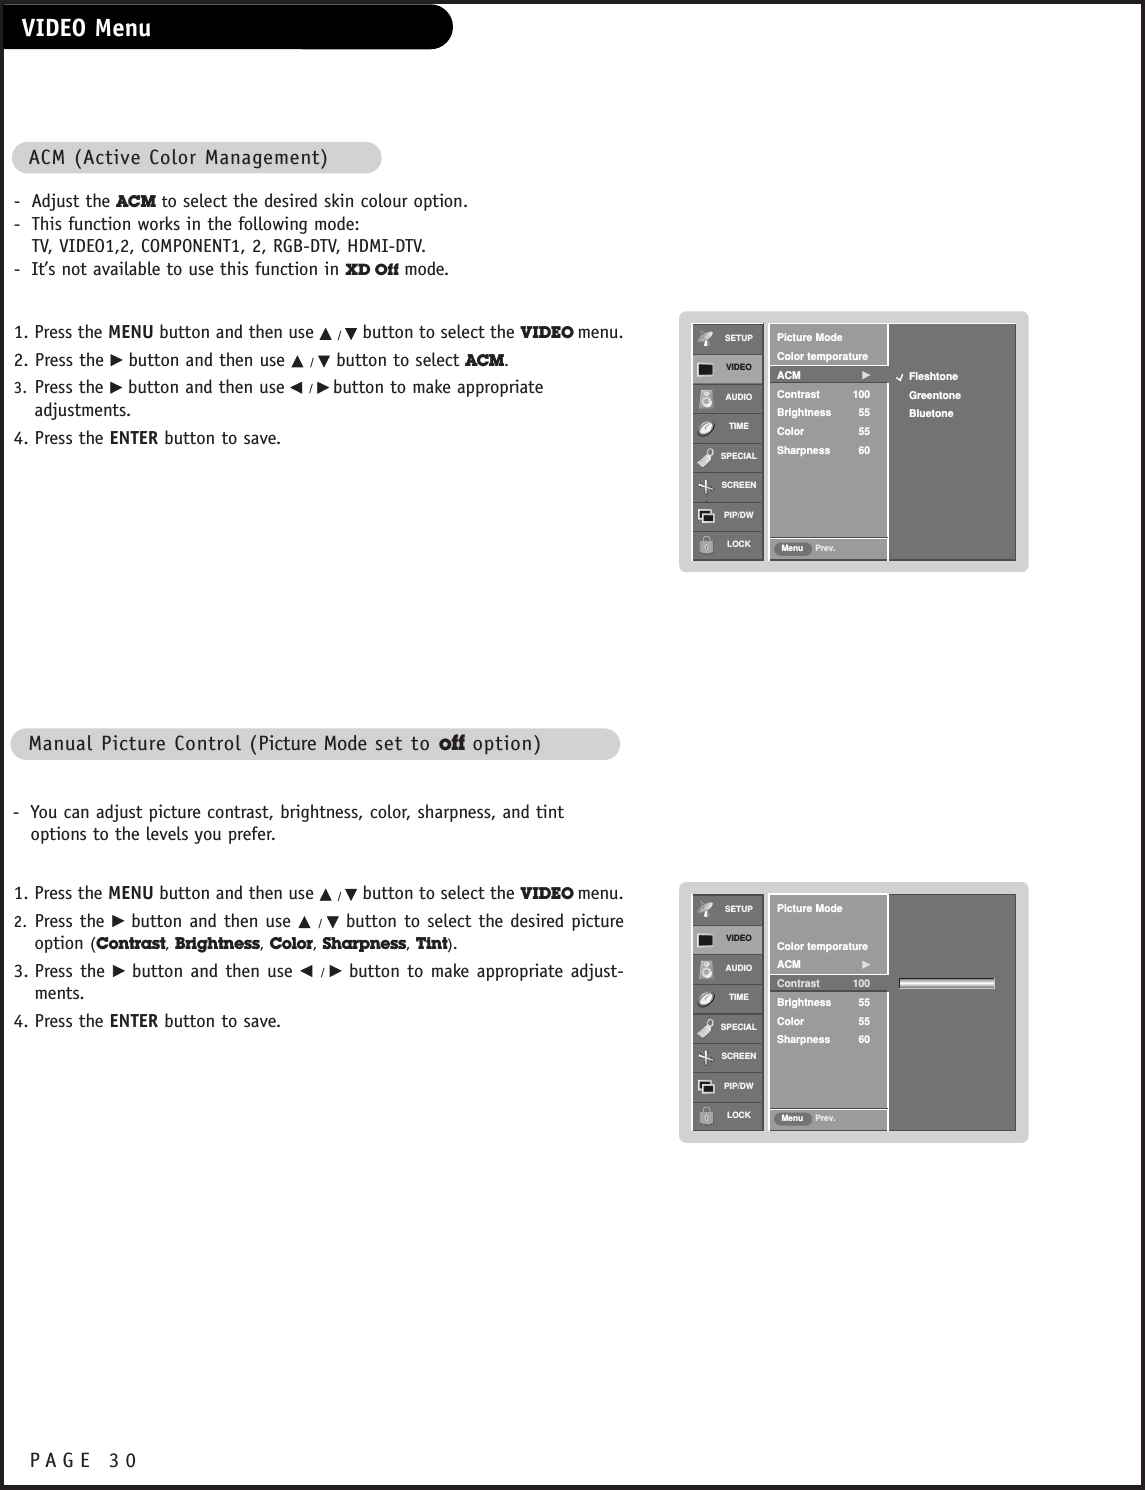

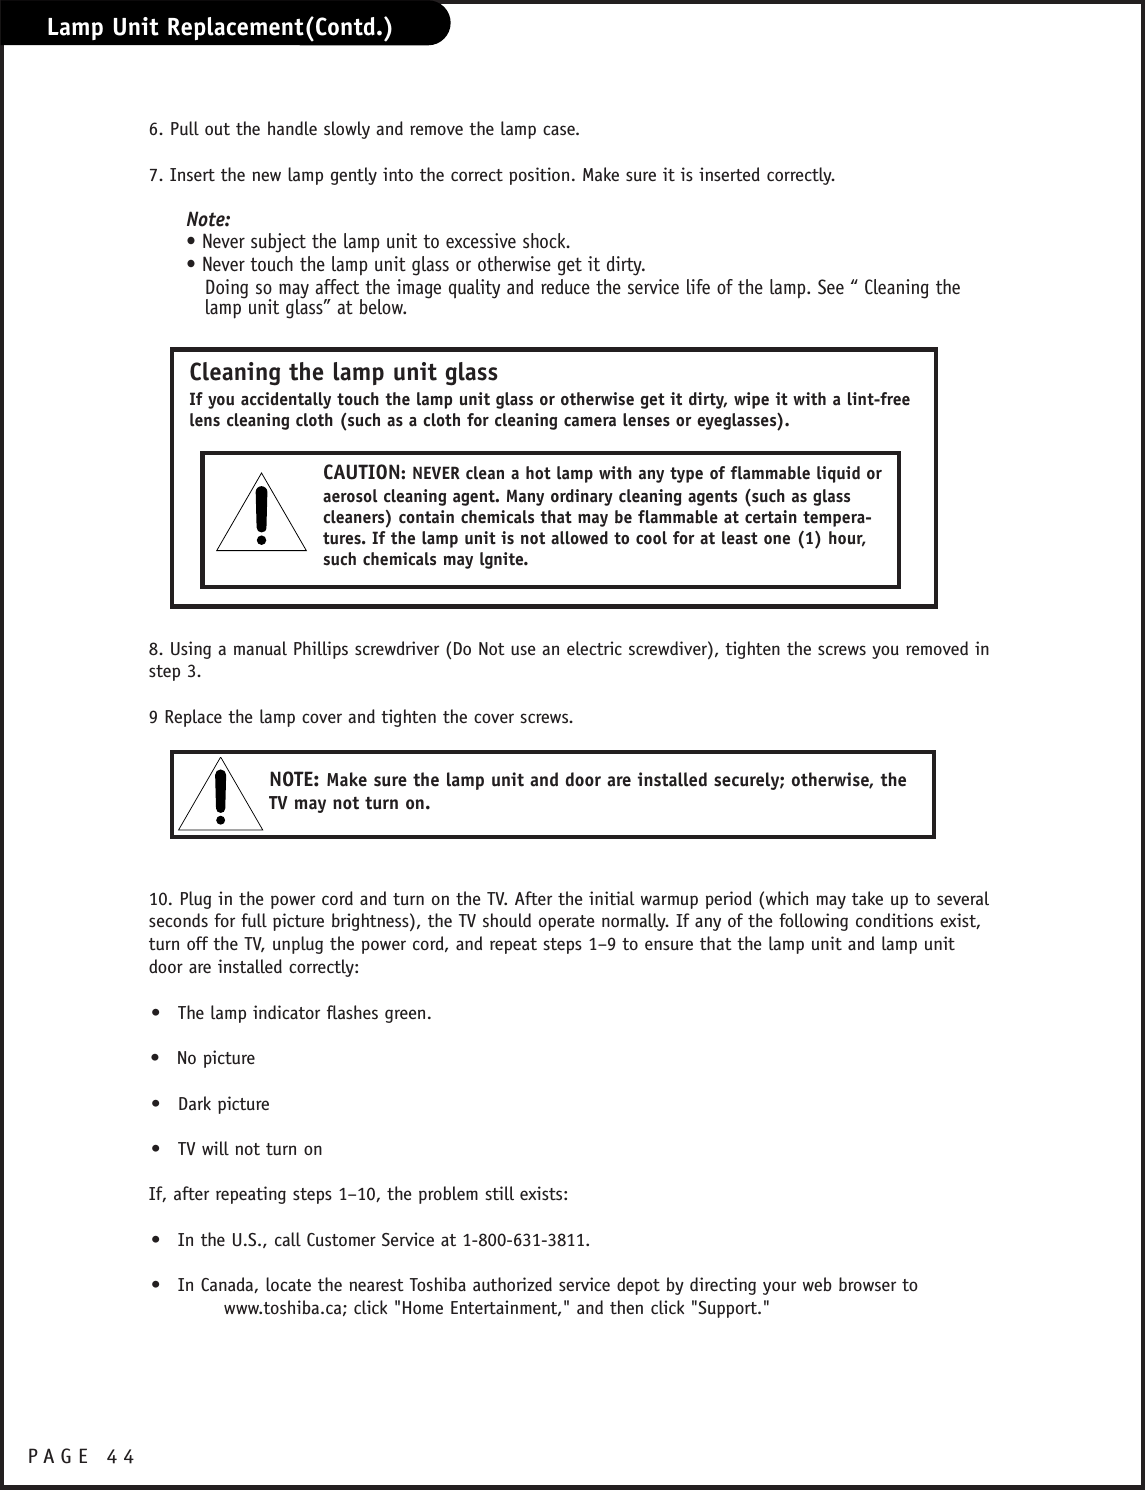
![PAGE43Lamp Unit Replacement•To obtain a replacement lamp unit:•In the U.S.: •In Canada, contact a Toshiba parts distributor by directing your web browser to www.toshiba.ca Click"Home Entertainment," and then click "Support."Use the replacement lamp unit model listed below only. Using any other lamp may cause damage to the TVand/or lamp. Model name is TBL4-LMP.You must replace the lamp when:•The image gets darker or starts to deteriorate.•Follow the instructions to replace the lamp, as shown below.1. Turn off the TV and unplug the power cable.2. STOP! Allow the lamp to cool for at least one (1) hour before replacing it.3. Remove the 2 retaining screws on the lamp cover with a Phillips type screwdriver. Remove the lamp door completely from the TV. 4. Remove the two retaining screws on the lamp case with using Phillips type screwdriver.5. Lift up the fixed wire handle of the lamp.CAUTION: Always replace with same type lamp unit: Model No.[TBL4-LMP]CAUTION: HOT SURFACE!The temperature of the lamp immediately after use exceeds392°F (200°C). Touching the lamp before it has cooledwill result in severe burns. ALLOW THE LAMP TO COOL FORAT LEAST ONE (1) HOUR BEFORE REPLACING IT.WARNING: RISK OFF ELECTRIC SHOCK!The lamp unit door is provided with an interlock to reduce therisk of electric shock and excessive ultraviolet radiation. Neverdefeat its purpose or attempt to service without removing thelamp unit door completely. Failure to follow this WARNING may result in death or seri-ous injury.Consult your consumer elec-tronics dealer for availabili-ty. In warrantywww.tacp.toshiba.com/serviceCall toll-free 1-800-631-3811.Out of www.ceaccessories.toshiba.comwarrantyWeb Contact](https://usermanual.wiki/LG-Electronics-USA/44SZ8RUE/User-Guide-542471-Page-44.png)