LG Electronics USA 50PS80UA PLASMA TV/MONITOR User Manual SAC33601905 Edit1 en
LG Electronics USA PLASMA TV/MONITOR SAC33601905 Edit1 en
Contents
- 1. User manaul 1
- 2. User manual 2
- 3. User manual 3
- 4. User manual 4
User manual 3
YAHOO!WIDGETS
NETWORK
86
NETWORK
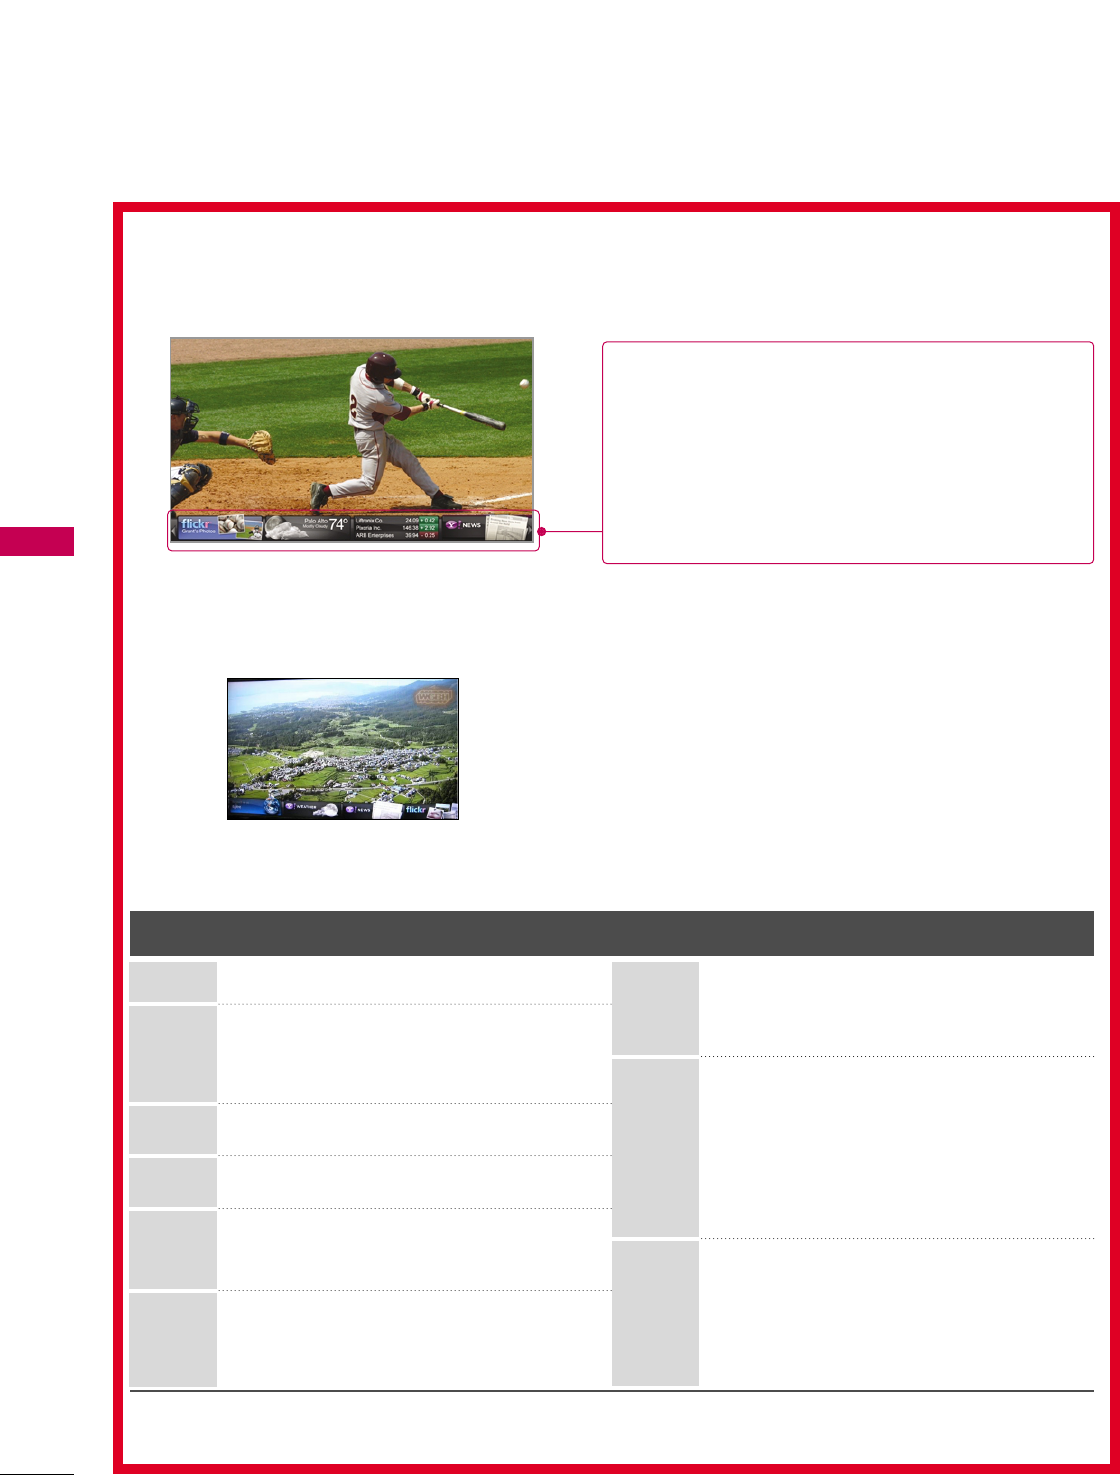
You can enjoy widget on your TV and available to select a useful snippets in dock,at the bottom of your TV.
These snippets contain updated weather, sports score, updated stock, and view photo/video.
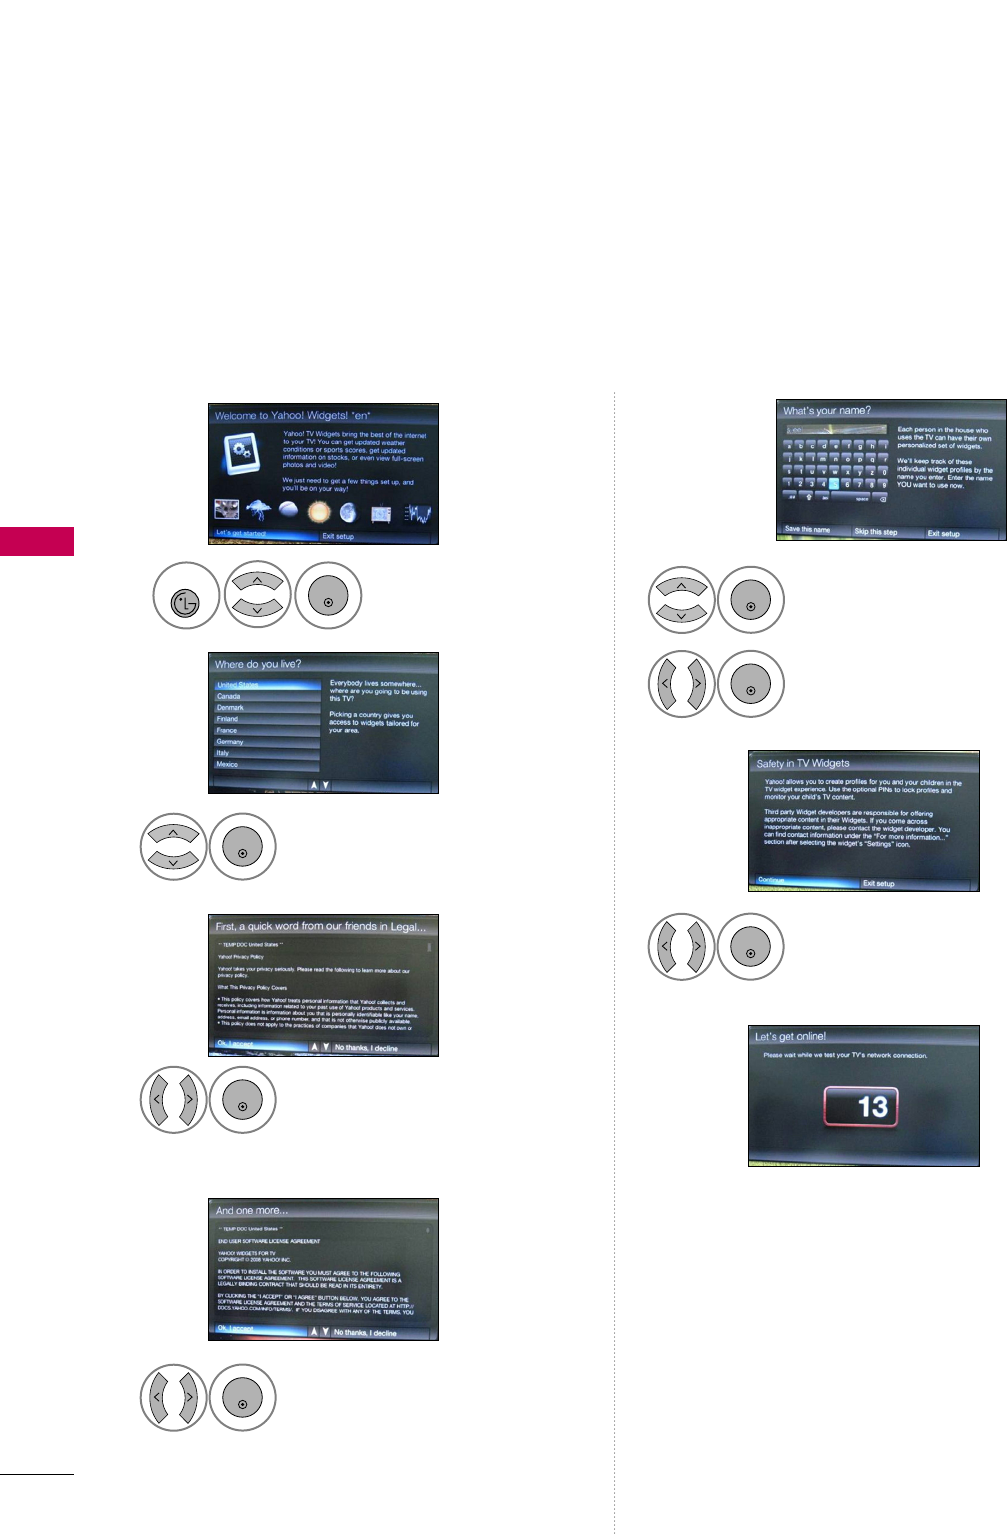
OOBE (Out-of-Box-Experience)
Select your country.
2
ENTER
Select OOkk,, II aacccceepptt.
3
ENTER
Select SSaavvee tthhiiss nnaammee.
6
ENTER
Select the alphabet.
5
ENTER
Display the Yahoo!Widgets.
Start Widgets setting.
1
NETCAST
ENTER
Select OOkk,, II aacccceepptt.
7
ENTER
Select OOkk,, II aacccceepptt.
4
ENTER
NETWORK
87
Tutorial 2
Tutorial 3
Tutorial 4
Red button: Close the widget.
Green button: Change the widget’s settings.
Yellow button: Manage your snippets.
Blue button: Size video to fit, or make it fullscreen.
If you wnat to run this step again, select “Replay
introduction” from the Profile widget at any time.
Tutorial 1 Tutorial 5
Tutorial 6
1
Choose any of the menu items
NETWORK
88
NETWORK
Available Widgets
Setting Widgets
Button Operation
Show the DOCK.
Move to sub menu highlight.
Show Snippets.
Return to MENU OSD
Exit Yahoo mode.
Close the widget.
Enter to weather widget setting mode
Change viewport (aspect ratio)
Move between snippets in the dock
Edit snippets
Yahoo
(Widgets)
up/down
Left/right
Yellow
enter
menu
back/red
red
green
blue
L/R button: Select snippet.
U/D
Enter button: Enter the selected widget.
Blue button: Change viewport.
Yellow: Move/Delete the selected widget.
Yahoo: Slide out the dock.
Menu: Show the Menu.
?
GGFFlliicckkeerr:
GGFFiinnaannccee:
GGGGaalllleerryy:
GGNNeewwss:
GGWWeeaatthheerr: When pressing the Yellow button in the
dock, you can select the Weather widget.

NETWORK
89
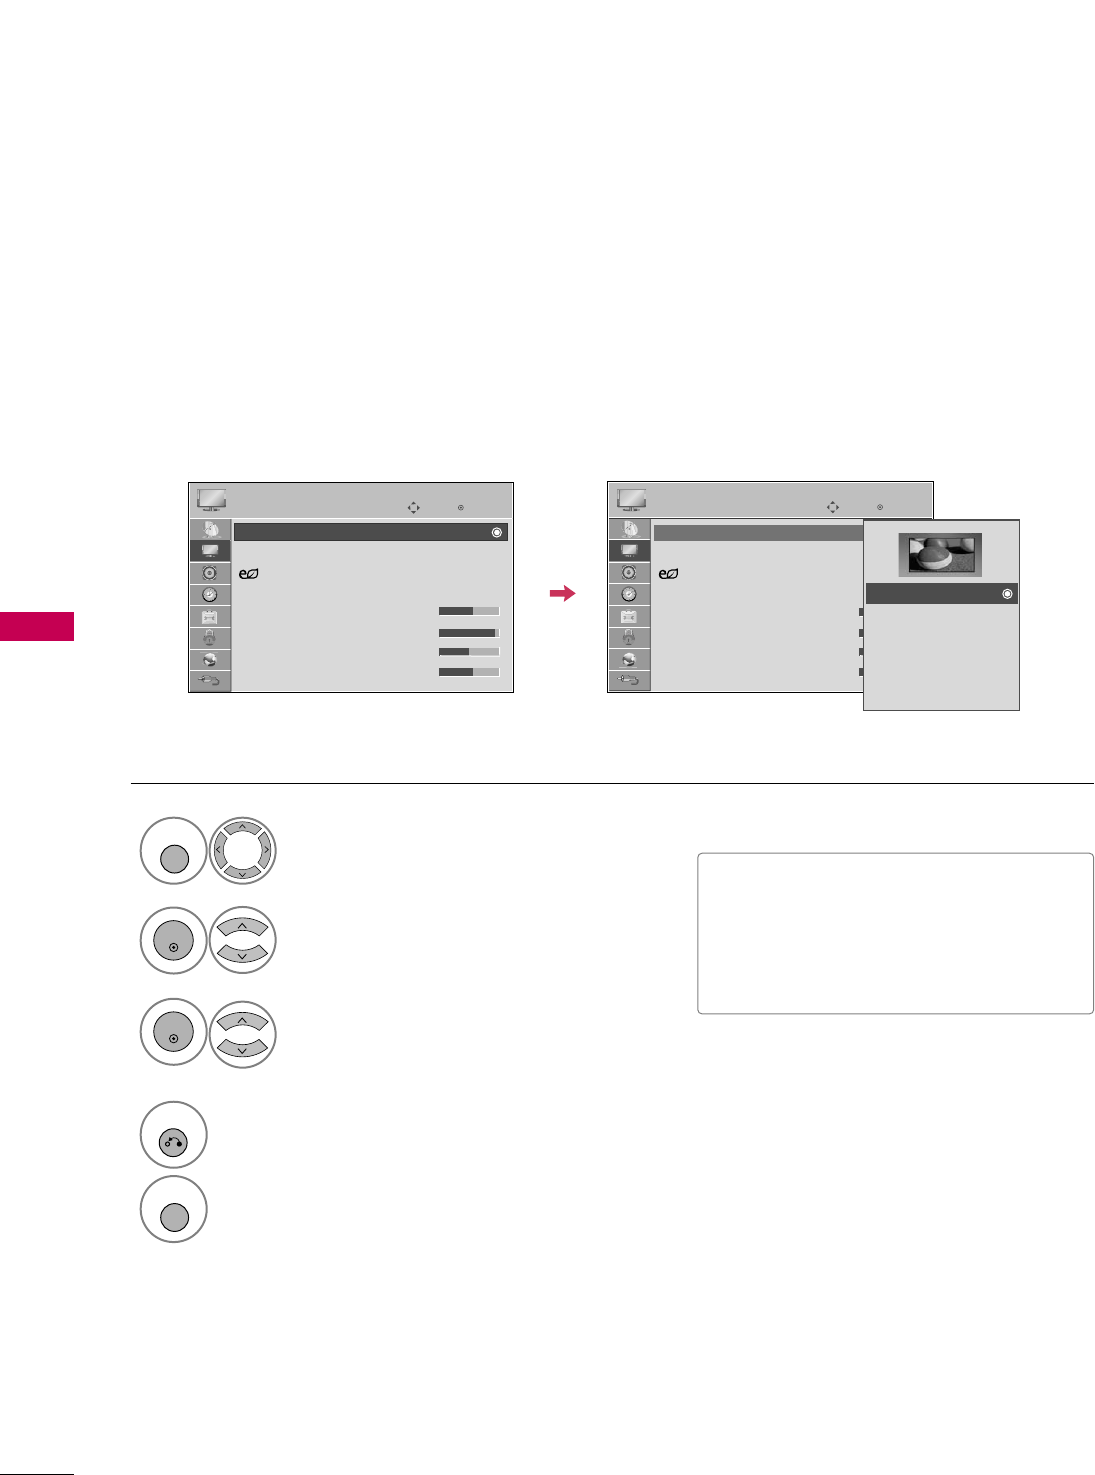
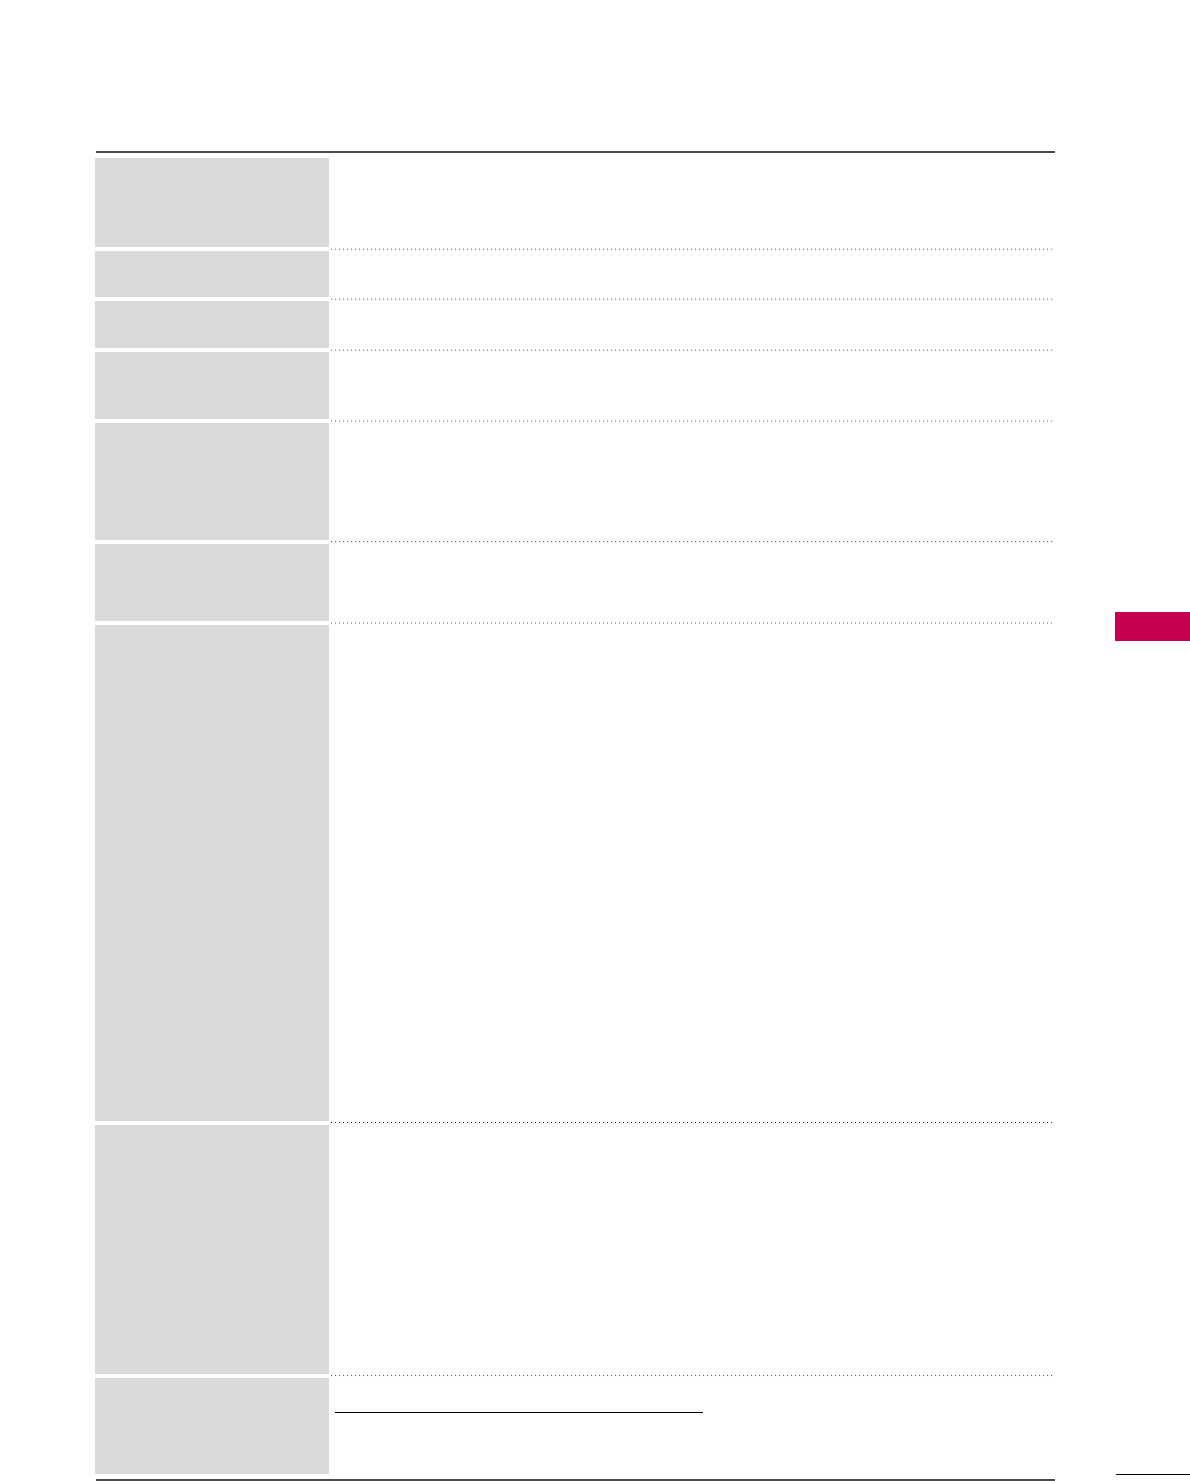
PICTURE CONTROL
90
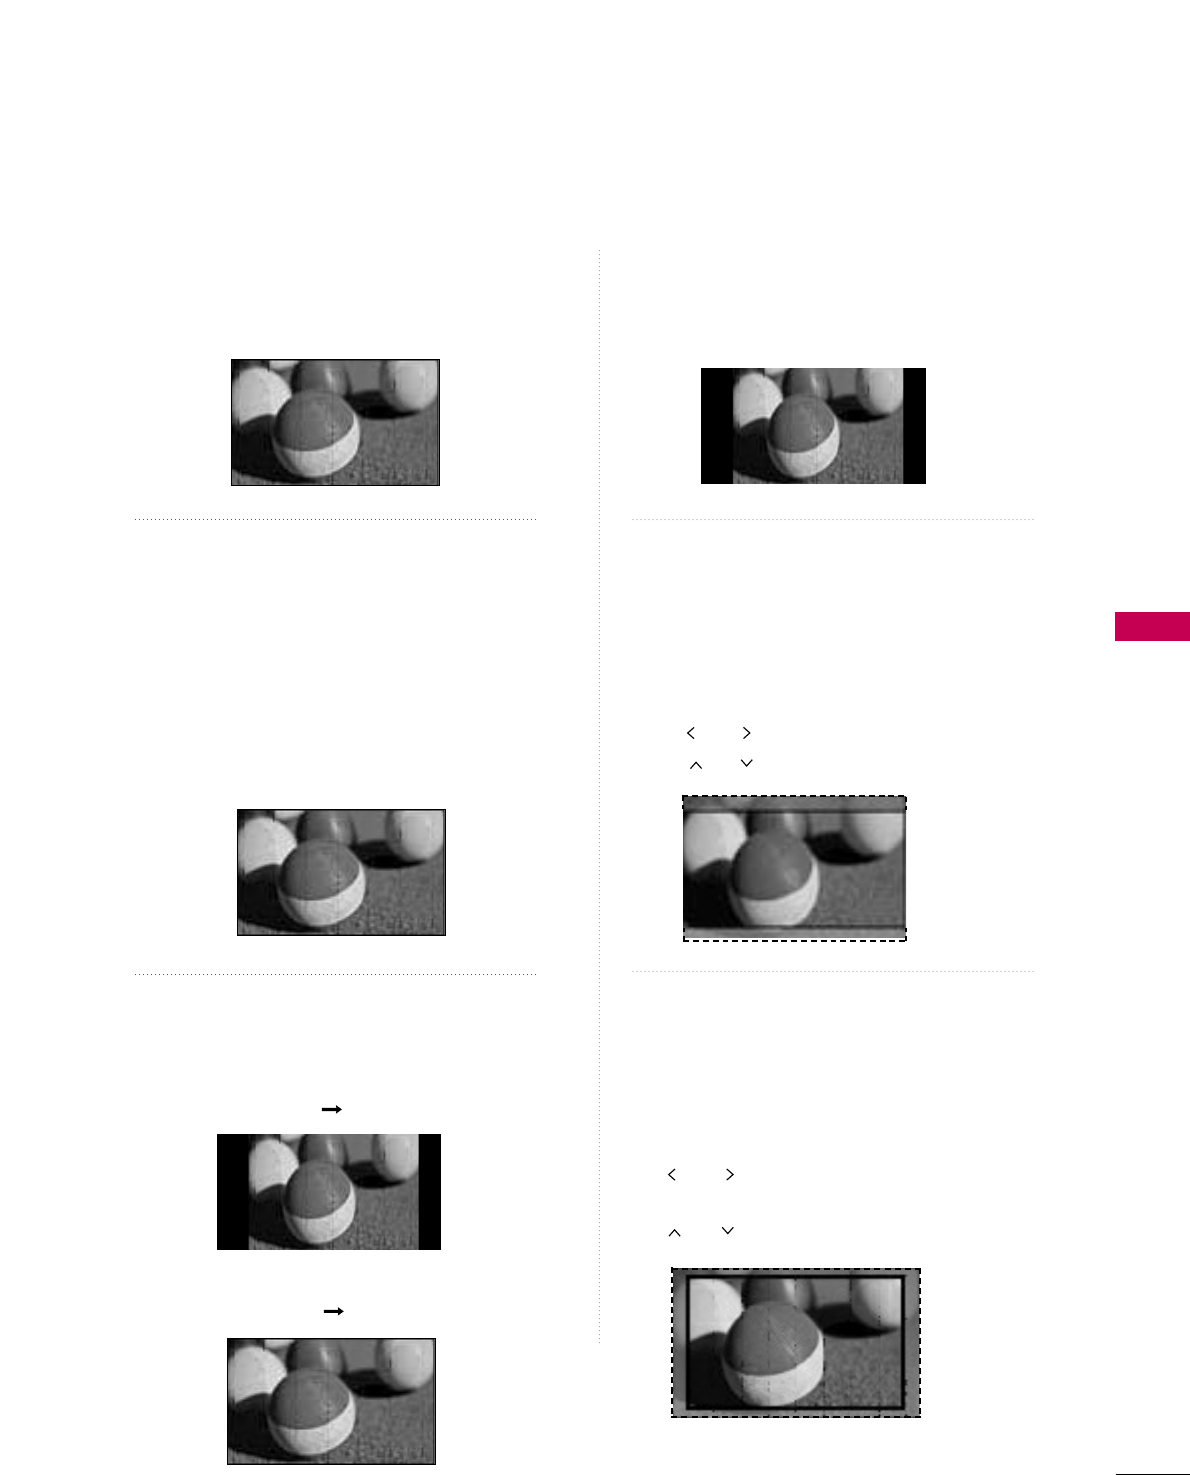
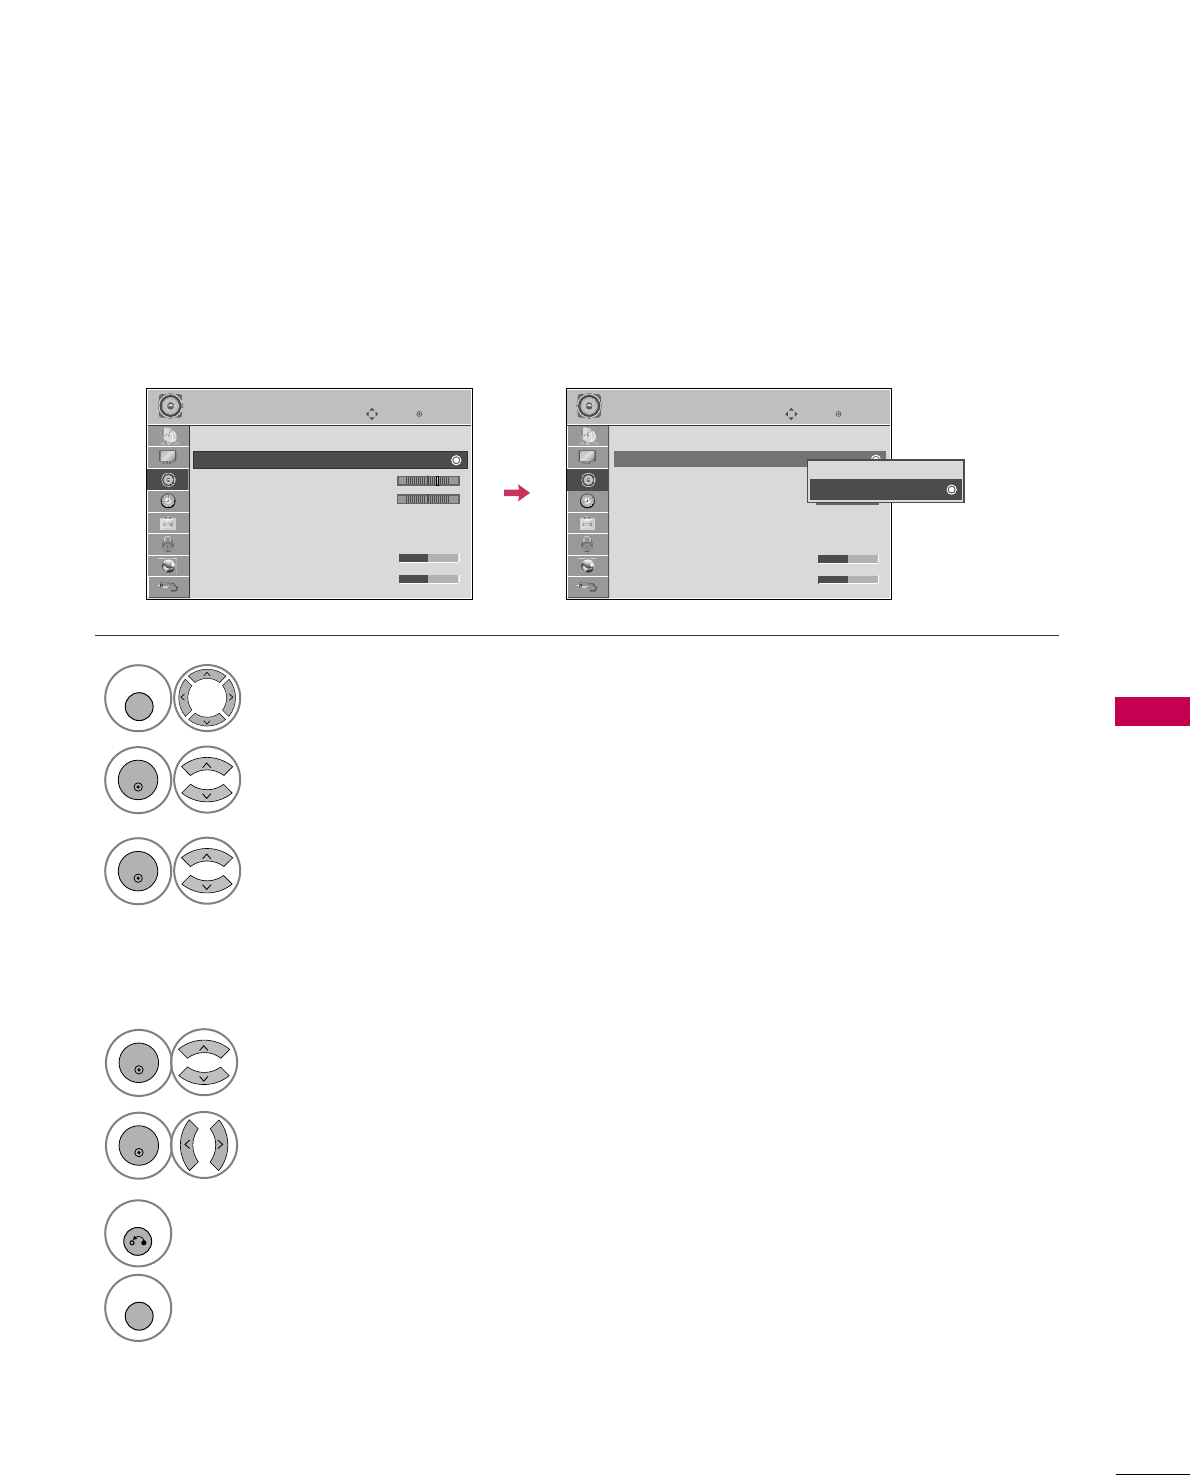
PICTURE SIZE (ASPECT RATIO) CONTROL
PICTURE CONTROL
This feature lets you choose the way an analog picture with a 4:3 aspect ratio is displayed on your TV.
■ RGB-PC input source use 4:3 or 16:9 aspect ratio.
■You can also adjust AAssppeecctt RRaattiiooin
the QQ..MMEENNUU.
■Press the RRAATTIIOObutton repeatedly to
select the desired picture format.
Select PPIICCTTUURREE.
Select AAssppeecctt RRaattiioo.
Select the desired picture format.
1
MENU
3
2
ENTER
ENTER
4
RETURN
Return to the previous menu.
MENU
Return to TV viewing.
Enter
Move
PICTURE
E
Aspect Ratio : 16:9
Picture Wizard
Energy Saving
: Off
Picture Mode : Standard
• Backlight 70
• Contrast 90
• Brightness 50
• Sharpness 70
Enter
Move
PICTURE
E
Aspect Ratio : 16:9
Picture Wizard
Energy Saving
: Off
Picture Mode : Standard
• Backlight 80
• Contrast 90
• Brightness 50
• Sharpness 60
16:9
Just Scan
Set By Program
4:3
Zoom
Cinema Zoom 1
PICTURE CONTROL
91
16:9
Adjust the picture horizontally, in a linear pro-
portion to fill the entire screen.
Just Scan
Normally the edges of video signals are cropped
1-2%. Just Scan turns off this cropping and
shows the complete video.
Notes: If there is noise on the edges of the original
signal, it will be visible when Just Scan is activated.
JJuusstt SSccaannoperates only in
DTV/CADTV/Component/HDMI-DTV/DVI-DTV
(720p/1080i/1080p) input source.
Set By Program
Selects the proper picture proportion to match
the source’s image.
4:3
Choose 4:3 when you want to view a picture
with an original 4:3 aspect ratio.
Zoom
Choose Zoom when you want to view the picture
without any alteration. However, the top and
bottom portions of the picture will be cropped.
■When adjusting in Q.MENU menu,
a. or button: Adjust proportion of Zoom.
b. or button: Move the image on the screen.
Cinema Zoom
Choose Cinema Zoom when you want to
enlarge the picture in correct proportion.
Note: When enlarging or reducing the picture,
the image may become distorted.
■or button: Adjust proportion of
Cinema Zoom. The adjustment range is 1-16.
■or button: Move the image on the screen.
Just Scan
(4:3 4:3)
(16:9 16:9)
Set By Program
Set By Program
PICTURE CONTROL
92
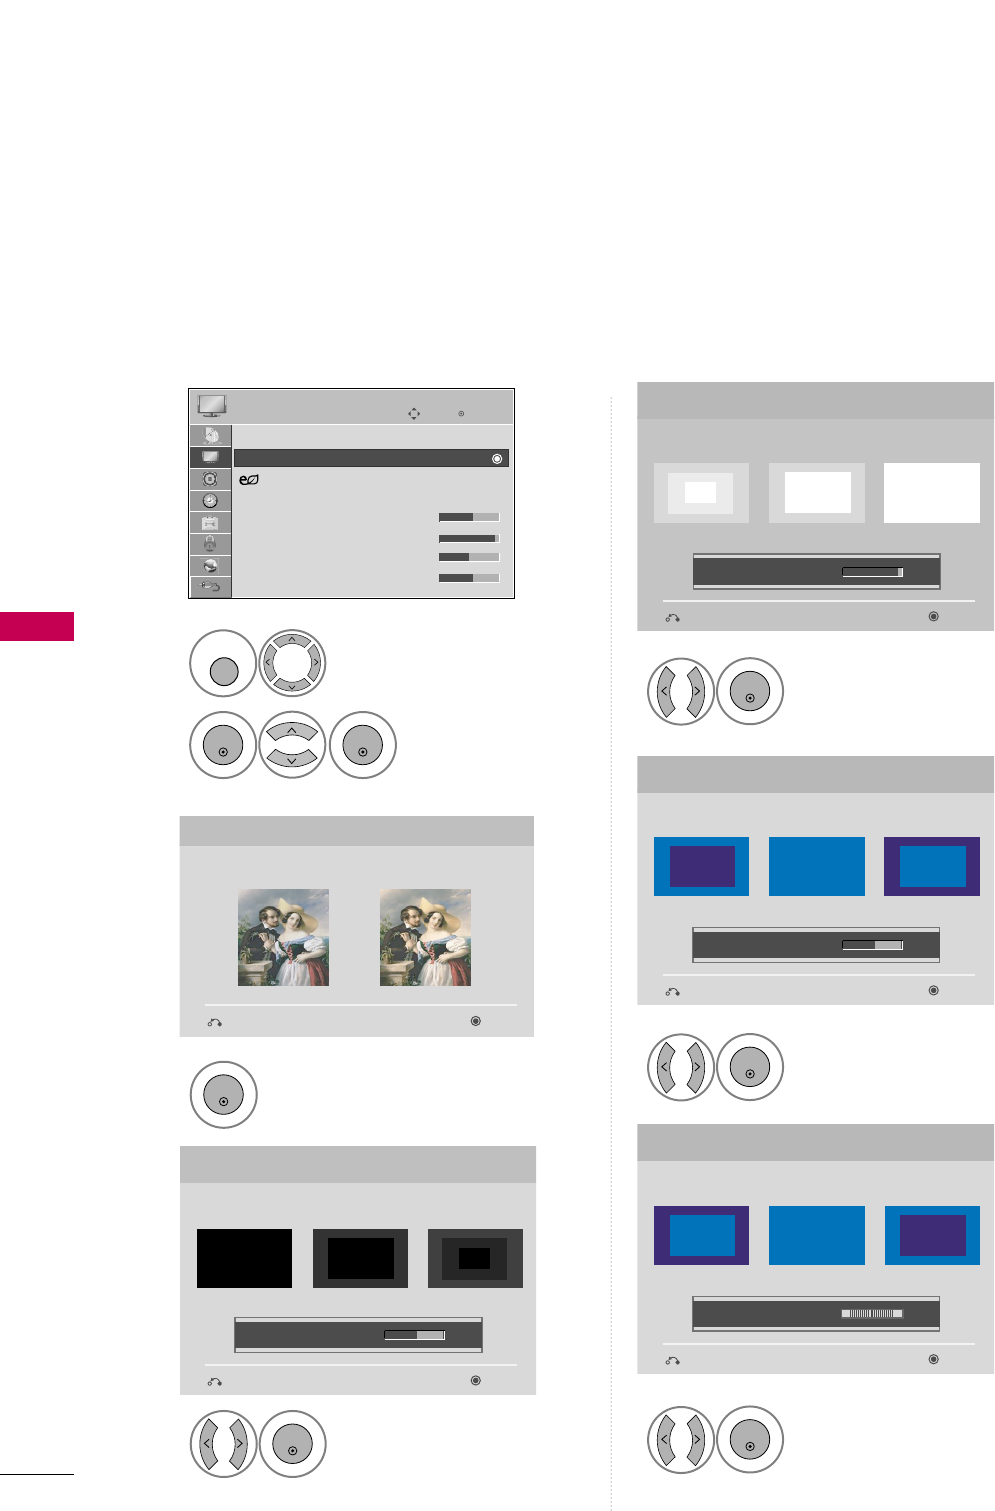
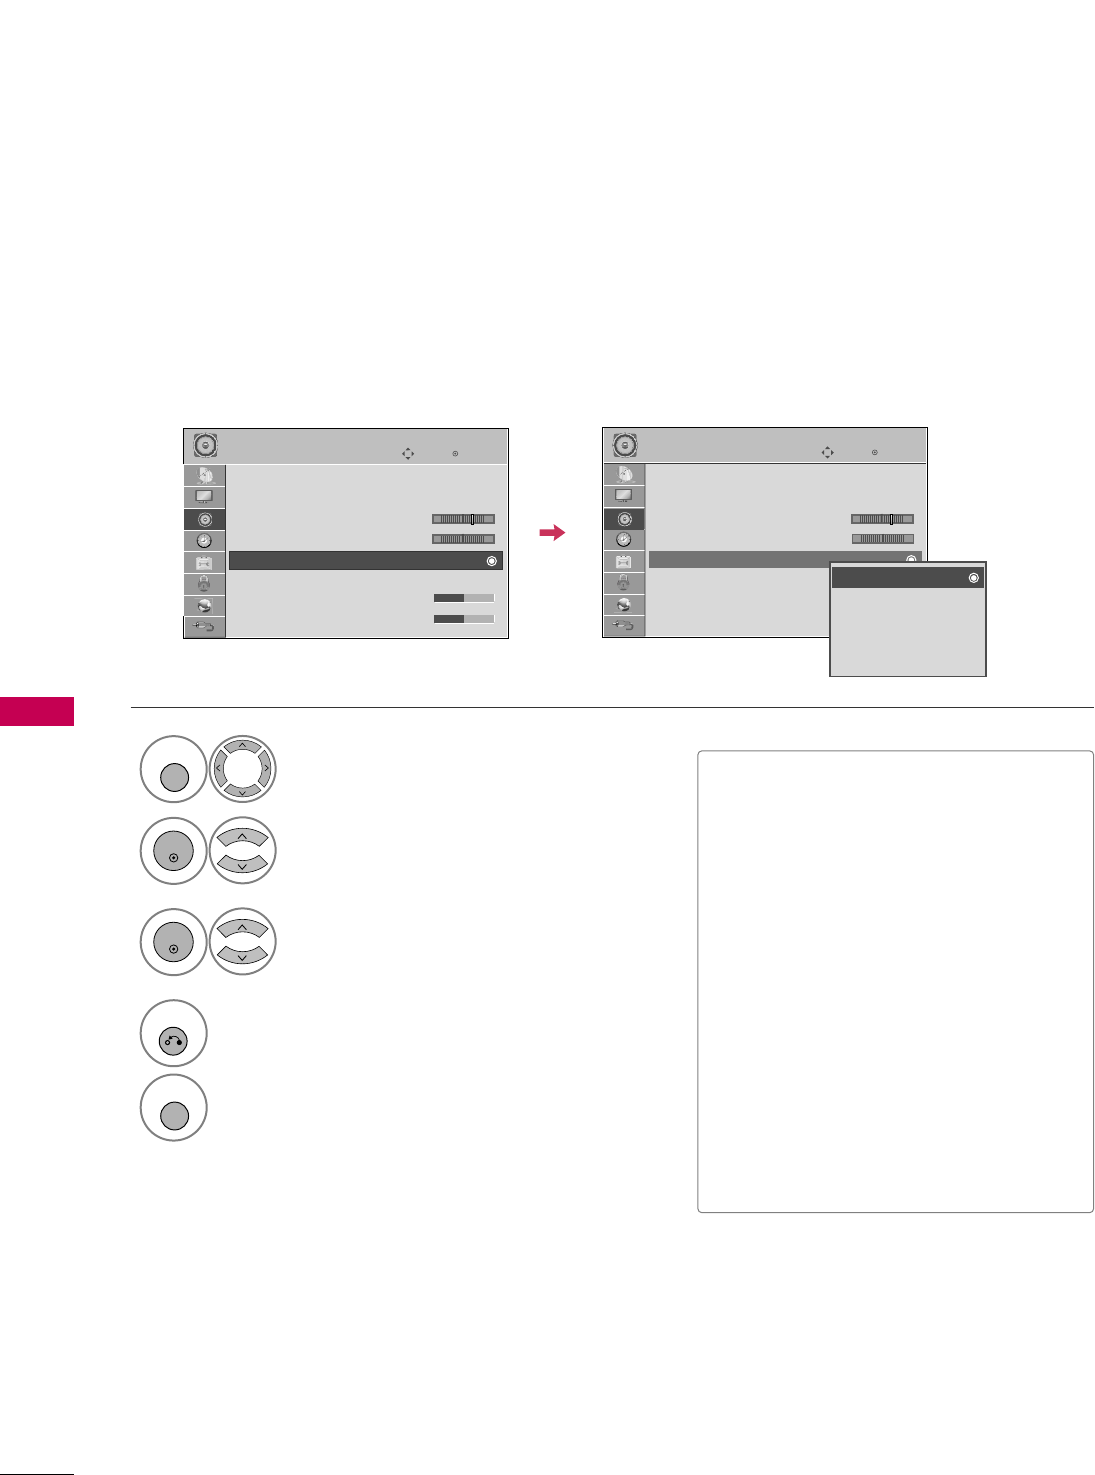
PICTURE WIZARD
PICTURE CONTROL
Select PPIICCTTUURREE.
Select PPiiccttuurree
WWiizzaarrdd.
1
MENU
2
ENTER
ENTER
Adjust PPiiccttuurree WWiizzaarrdd.
Adjust WWhhiittee LLeevveell.
3
ENTER
Adjust BBllaacckk LLeevveell.
4
ENTER
5
ENTER
Adjust CCoolloorr.
6
ENTER
Adjust TTiinntt.
7
ENTER
Picture Wizard
With Picture Wizard, you can adjust the picture quality of the
original image.
G
Black Level
Set the screen above identical to the Recommended sample
below.
NextPrevious
NextPrevious
• Brightness 50
EE
EE
Low HighRecommended
Color
Set the screen above identical to the Recommended sample
below.
NextPrevious
• Color 50
EE
EE
Low HighRecommended
White Level
Set the screen above identical to the Recommended sample
below.
NextPrevious
Low HighRecommended
• Contrast 90
EE
EE
Tint
Set the screen above identical to the Recommended sample
below.
NextPrevious
Low HighRecommended
• Tint 0
EE
EE
RG
Enter
Move
PICTURE
E
Aspect Ratio : 16:9
Picture Wizard
Energy Saving
: Off
Picture Mode : Standard
• Backlight 70
• Contrast 90
• Brightness 50
• Sharpness 70
This feature lets you adjust the picture quality of the original image.
Use this to calibrate the screen quality by adjusting the Black and White Level etc. You can calibrate the screen
quality by easily following each step.
When you adjust the image to LLooww, RReeccoommmmeennddeeddor HHiigghh, you can see the example of the changes you
made.
PICTURE CONTROL
93
Adjust HHoorriizzoonnttaall
SShhaarrppnneessss.
8
ENTER
Select input source to apply the
settings.
11
MARK
FAV
Adjust VVeerrttiiccaall
SShhaarrppnneessss.
9
ENTER
Adjust BBaacckklliigghhtt.
10
ENTER
Finish the Picture Wizard.
13
ENTER
Save.
12
ENTER
Complete
ConfirmMovePrevious
Horizontal Sharpness
Set the screen above identical to the Recommended sample
below.
NextPrevious
• H Sharpness 50
EE
EE
Low HighRecommended
Vertical Sharpness
Set the screen above identical to the Recommended sample
below.
NextPrevious
• V Sharpness 50
EE
EE
Low HighRecommended
Backlight
Set the Backlight to your Brightness preference.
NextPrevious
• Backlight 50
EE
EE
Dark BrightRecommended
DTV
TV
AV1
AV2
Component1
Component2
RGB-PC
HDMI1
HDMI2
HDMI3
HDMI4
Select (an) input(s) to apply the settings.
Warning: The picture quality may vary according to the
different types of signal and inputs.
E
E
Mark
MARK
■If you stop the setting before the final
step, the changes will not be saved to
the TV.
■Once the PPiiccttuurree WWiizzaarrddsets the pic-
ture quality, EEnneerrggyy SSaavviinnggis changed
to OOffff automatically.
Close
The current adjustment value is saved to
Expert1.
i
For LCD TV
PICTURE CONTROL
94
PRESET PICTURE SETTINGS (PICTURE MODE)
PICTURE CONTROL
There are factory presets for picture settings available in the user menus. You can use a preset, change each
setting manually, or use the Intelligent Sensor.
Select PPIICCTTUURREE.
Select PPiiccttuurree MMooddee.
PPllaassmmaa TTVV: Select VViivviidd,SSttaannddaarrdd,
CCiinneemmaa, SSppoorrtt, or GGaammee.
LLCCDD TTVV: Select IInntteelllliiggeenntt SSeennssoorr,
VViivviidd,SSttaannddaarrdd, NNaattuurraall, CCiinneemmaa,
SSppoorrtt, or GGaammee.
1
MENU
3
2
ENTER
ENTER
4
RETURN
Return to the previous menu.
MENU
Return to TV viewing.
Enter
Move
PICTURE
E
Aspect Ratio : 16:9
Picture Wizard
Energy Saving
: Off
Picture Mode : Standard
• Backlight 70
• Contrast 90
• Brightness 50
• Sharpness 70
Intelligent Sensor
Vivid
Standard
Natural
Cinema
Sport
Game
Expert1
Expert2
Vivid
Standard
Cinema
Sport
Game
Expert1
Expert2
■VViivviidd, SSttaannddaarrdd, NNaattuurraall, CCiinneemmaa,
SSppoorrtt, and GGaammeeSettings are preset
for the optimum picture quality at the
factory.
■VViivviidd: This is the mode to maximize the
effect of the video in the retail store.
Strengthen the contrast, brightness,
color and sharpness for vivid picture.
■SSttaannddaarrdd: This is the mode to realize
optimum viewing condition for the gen-
eral user.
■NNaattuurraall: This is the mode to display the
most natural screen status.
■CCiinneemmaa: This mode optimizes video for
watching movies.
■SSppoorrtt: This is the video mode to
emphasize dynamic video and primary
color (e.g, white, uniform, grass, sky blue
etc.) by realizing the optimal screen for
sports.
■GGaammee: This is the mode to realize fast
response speed in a fast gaming screen.
■EExxppeerrtt: This is the mode to adjust the
video in detail for video quality expert
and general user.
■You can also adjust PPiiccttuurree MMooddeein
the QQ..MMEENNUU.
Enter
Move
PICTURE
E
Aspect Ratio : 16:9
Picture Wizard
Energy Saving
: Off
Picture Mode : Standard
• Backlight 70
• Contrast 90
• Brightness 50
• Sharpness 70
LCD TV
Plasma TV
■When selecting IInntteelllliiggeenntt SSeennssoorr,EEnneerrggyy SSaavviinnggis changed to AAuuttoo automatically.
■When selecting IInntteelllliiggeenntt SSeennssoorr, it is changed contrast, brightness, sharpness, color and tint auto-
matically.
■IInntteelllliiggeenntt SSeennssoorr: The most suitable picture is automatically adjusted according to the surrounding
conditions.
■Cinema: This is cinema quality mode to provide you the experience of watching a movie at home.
The user will be able enjoy the best level of satisfactory screen quality in any movie without any sepa-
rate adjustments. Cinema expresses the optimal screen quality when it is darkest.
■When selecting CCiinneemmaa, Aspect ratio changes to Just scan.
PICTURE CONTROL
95
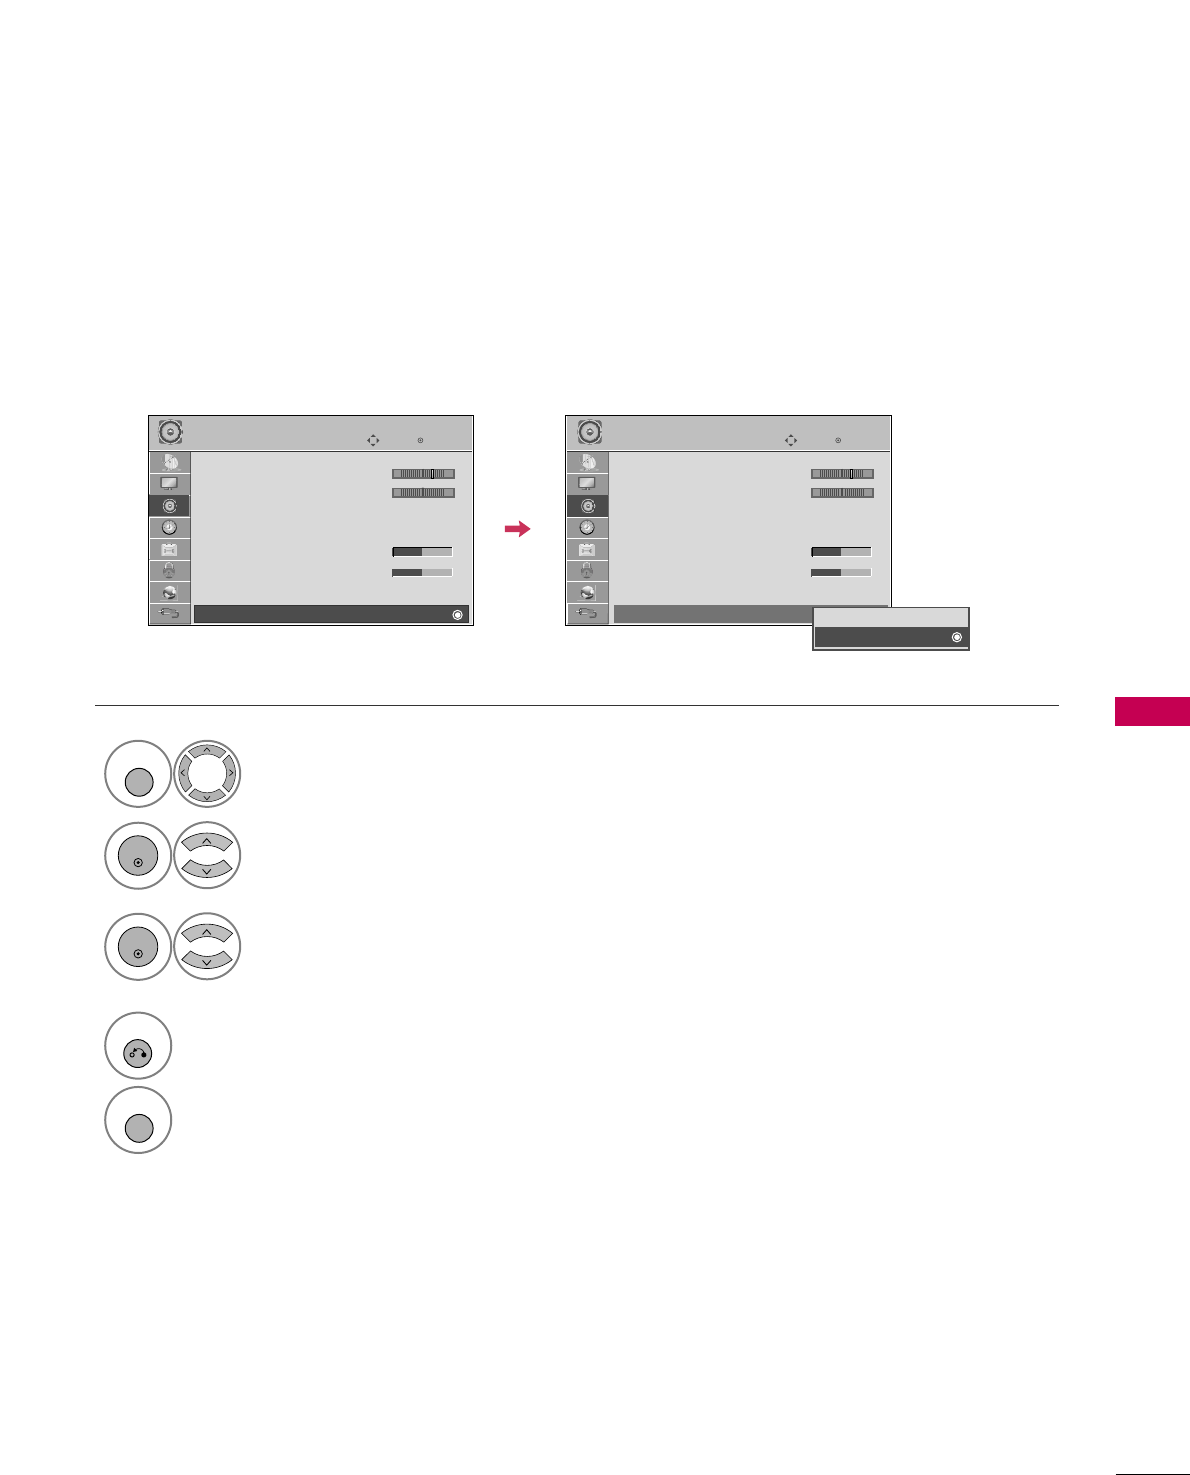
MANUAL PICTURE ADJUSTMENT - USER MODE
Adjust the picture appearance to suit your preference and viewing situations.
This feature is disabled in “PPiiccttuurree MMooddee-- CCiinneemmaa” (For Plamsa TV).
Select PPIICCTTUURREE.
1
MENU
Select PPiiccttuurree MMooddee.
2
ENTER
Enter
Move
PICTURE
E
• Backlight 70
EE
EE
EE
EE
Enter
Make appropriate adjustments.
Select BBaacckklliigghhtt(For LCD TV), CCoonnttrraasstt,
BBrriigghhttnneessss, SShhaarrppnneessss, CCoolloorr, or TTiinntt.
Select VViivviidd,SSttaannddaarrdd, NNaattuurraall,
CCiinneemmaa, SSppoorrtt, or GGaammee.
3
ENTER
4
ENTER
5
ENTER
6
RETURN
Return to the previous menu.
MENU
Return to TV viewing.
■When adjusting Energy Saving,
BBaacckklliigghhttfunction is disabled.
■BBaacckklliigghhtt(For LCD TV): This function
adjusts the brightness of LCD panel, to
control the brightness of the screen.
Adjusting the backlight is recommended
when setting the brightness of the set.
When decreasing the backlight, the
brightness of the black becomes darker
without any loss in video signal and the
power consumption is reduced.
■CCoonnttrraasstt: Increase or decrease the gra-
dient of the video signal. You may use
Contrast when the bright part of picture
is saturated.
■BBrriigghhttnneessss: Adjusts the base level of
the signal in the picture. You may use
Brightness when the dark part of the pic-
ture is saturated.
■SShhaarrppnneessss: Adjusts the level of crisp-
ness in the edges between the light and
dark areas of the picture. The lower the
level, the softer the image.
■CCoolloorr: Adjusts intensity of all colors.
■TTiinntt: Adjusts the balance between red
and green levels.
Aspect Ratio : 16:9
Picture Wizard
Energy Saving
: Off
Picture Mode : Standard
• Backlight 70
• Contrast 90
• Brightness 50
• Sharpness 70
PICTURE CONTROL
96
PICTURE IMPROVEMENT TECHNOLOGY
PICTURE CONTROL
Select PPIICCTTUURREE.
Select AAddvvaanncceedd CCoonnttrrooll.
Select your desired options.
1
MENU
3
2
ENTER
ENTER
5
RETURN
Return to the previous menu.
MENU
Return to TV viewing.
Make appropriate adjustments.
4
Enter
Move
PICTURE
E
RG
• Contrast 50
• Brightness 50
• Sharpness 50
• Color 50
• Tint 0
• Advanced Control
• Picture Reset
Screen (RGB-PC)
You can calibrate the screen for each Picture Mode or set the video value according to the special video screen.
You can set the video seeing differently for each input.
To reset to the factory default after making adjustments to each input source, execute the PPiiccttuurree RReesseett
function for each Picture Mode.
Color Temperature
FFMedium GG
Dynamic Contrast
Off
Dynamic Color
Off
Noise Reduction
Off
Gamma
Medium
Black Level
Low
Eye Care
Off
Real Cinema
Off
TruMotion 120Hz
Low
Close
E
Color Temperature
FFMedium GG
Dynamic Contrast
Off
Dynamic Color
Off
Noise Reduction
Off
Gamma
Medium
Black Level
Low
Film Mode
Off
Close
E
Enter
Move
PICTURE
E
RG
• Contrast 50
• Brightness 50
• Sharpness 50
• Color 50
• Tint 0
• Advanced Control
• Picture Reset
Screen (RGB-PC)
LCD TV
Plasma TV
PICTURE CONTROL
97
EXPERT PICTURE CONTROL
Select PPIICCTTUURREE.
Select PPiiccttuurree MMooddee.
Select EExxppeerrtt CCoonnttrrooll.
Select EExxppeerrtt11or EExxppeerrtt22.
1
MENU
3
2
ENTER
ENTER
4
ENTER
Make appropriate adjustments.
6
7
RETURN
Return to the previous menu.
MENU
Return to TV viewing.
Enter
Move
PICTURE
E
RG
• Brightness 50
• H Sharpness 50
• V Sharpness 50
• Color 50
• Tint 0
• Expert Control
• Picture Reset
Screen (RGB-PC)
Dynamic Contrast
FFOff GG
Noise Reduction
Low
Gamma Medium
Black Level
Low
Real Cinema
Off
TruMotion 120Hz
Low
Color Standard
HD
Color Gamut
Standard
Edge Enhancer
High
Close
E
Dynamic Contrast
FFOff GG
Noise Reduction
Low
Gamma Medium
Black Level
Low
Film Mode
Off
Color Standard
HD
Color Gamut
Standard
Edge Enhancer
High
xvYCC
Auto
Close
E
Select your desired menu option.
5
ENTER
Enter
Move
PICTURE
E
Aspect Ratio : 16:9
Picture Wizard
Energy Saving
: Off
Picture Mode : Expert1
• Backlight 70
• Contrast 90
• Brightness 50
• H Sharpness 50
Intelligent Sensor
Vivid
Standard
Natural
Cinema
Sport
Game
Expert1
Expert2
By segmenting categories, EExxppeerrtt11and EExxppeerrtt22provide more categories which users can set as they see
fit, offering the optimal picture quality for users.
This may also be used be a professional to help optimize the TV performance in the environment the TV is in.
LCD TV Plasma TV
PICTURE CONTROL
98
PICTURE CONTROL
■Set to warm to enhance hotter colors such as red, or set to cool to make picture
bluish.
■Adjusts the contrast to keep it at the best level according to the brightness of the
screen. The picture is improved by making bright parts brighter and dark parts darker.
■Adjusts screen colors so that they look livelier, richer and clearer. This feature
enhances hue, saturation and luminance so that red, blue, green and white look
more vivid.
■Reduces screen noise without compromising video quality.
Low : Make dark and middle gray level area of the picture brighter.
Medium: Express original picture levels.
High: Make dark and middle gray level area of the picture darker.
■You can adjust brightness of dark area and middle gray level area of the picture.
Low: The reflection of the screen gets darker.
High: The reflection of the screen gets brighter.
Auto: Realizing the black level of the screen and set it to High or Low automatically.
■Set black level of the screen to proper level.
■This function enables to select 'Low' or 'High' in the following mode: AV (NTSC-M),
HDMI or Component. Otherwise, 'Black level' is set to 'Auto'.
■Adjust the brightness of the screen to prevent the screen from being too bright.
Dims extremely bright pictures.
■This feature is disabled in “PPiiccttuurree MMooddee--VViivviidd, CCiinneemmaa, IInntteelllliiggeenntt
SSeennssoorr
(For LCD TV)
”.
■Makes video clips recorded in film look more natural by eliminating judder effect.
■DVD and Blu-ray movies are filmed at 24 frames per second. With LG Real Cinema,
every frame is consistently processed 5 times in 1/24 of a second producing 120
fps with TruMotion or 2 times in 1/24 of a second producing 48 fps without
TruMotion, thus totally eliminating the judder effect.
High: Provides smoother picture movement.
Low: Provides smooth picture movement. Use this setting for standard use.
Off: Use this setting when "High" and "Low" setting result in noise.
■TruMotion120Hz provides even better quality for movies than 3:2 Pull-
Down conversions.
■TruMotion can reduce the perception of blur on fast moving scenes by displaying
120 images per second.
■It is used for the best picture quality without any motion blur or judder when you
enter a quick image or Film Source.
■TruMotion120Hz works with all inputs except PC mode.
■If you enable "TruMotion 120Hz", noise may appear on the screen.
If this occurs, set "TruMotion 120Hz" to "Off".
Dynamic Contrast
Dynamic Color
Noise Reduction
Gamma
Black Level
Eye Care
(For LCD TV)
Real Cinema
or
Film Mode
TruMotion 120Hz
(For LCD TV)
Color Temperature
PICTURE CONTROL
99
■Convert the color of a different video to HD color.
■This is the function to adjust the overall color of the screen to the feeling you want.
a. Method : 2 Points
- Pattern: Inner, Outer
- Red/Green/Blue Contrast, Red/Green/Blue Brightness:
The adjustment range is -50 - +50.
LCD TV
b. Method : 10 Point IRE
- Pattern: Inner, Outer
- IRE (Institute of Radio Engineers) is the unit to display the size of the video signal
and can be set among 10, 20, 30 - 100. You can adjust Red, Green or Blue accord-
ing to each setting.
- Luminance: This function displays calculated luminance value for 2.2 gamma. You can
input luminance value you want at 100 IRE, than the target luminance value for 2.2
gamma is displayed at every 10 steps from 10 IRE to 90 IRE.
- Red/Green/Blue: The adjustment range is -50 - +50.
Plasma TV
b. Method : 20 Point IRE
- IRE (Institute of Radio Engineers) is the unit to display the size of the video signal
and can be set among 5, 10, 15 - 100 Plasma TV. You can adjust Red, Green or Blue
according to each setting.
- Red/Green/Blue: The adjustment range is -50 - +50.
■As the tool used by the experts to make adjustments by using the test patterns, this
does not affect other colors but can be used to selectively adjust the 6 color areas
(Red/Green/Blue/Cyan/Mgt/Yellow).
Color difference may not be distinctive even when you make the adjustments for the
general video.
Adjusts Red/Green/Blue/Yellow/Cyan, Magenta.
- Red/Green/Blue/Yellow/Cyan, Magenta Color: The adjustment range is -30 - +30.
- Red/Green/Blue/Yellow/Cyan, Magenta Tint: The adjustment range is -30 - +30.
- This feature is disable in RGB-PC and HDMI-PC mode.
*This feature is not available for all models.
■As the technology to reduce the power consumption while keeping the same bright-
ness, this has the effect of reducing power consumption, improvement in contrast.
White Balance
Color Management System
OPC
Color Standard
Standard: Displays standard color area.
Wide: Mode to use and set the rich color area of the display.
■Maximize the utilization of color to increase color quality.
Color Gamut
■Show clearer and distinctive yet natural corners of the video.
Edge Enhancer
■This is the pattern necessary for expert adjustment.
■This function is enabled in "PPiiccttuurree MMooddee- EExxppeerrtt" when you watch DTV.
Expert Pattern
■This is the function to filter the specific colors of the video.
You can use the RGB filter to set color saturation and hue accurately.
Color Filter
■This is the function to express richer color.
■This feature represents rich color as much as conventional video signal.
■This function is enabled in "PPiiccttuurree mmooddee- CCiinneemmaa, EExxppeerrtt" when xvYCC sig-
nal is inputted through HDMI.
xvYCC
PICTURE CONTROL
100
ENERGY SAVING
PICTURE CONTROL
It reduces the TV’s power consumption by lowering the backlight level.
The default factory setting complies with the EEnneerrggyy SSttaarrrequirements and is adjusted to the comfortable
level to be viewed at home.
You can increase the brightness of your screen by adjusting the EEnneerrggyy SSaavviinngglevel or by setting the PPiiccttuurree
MMooddee.
Select PPIICCTTUURREE.
Select EEnneerrggyy SSaavviinngg.
1
MENU
2
ENTER
3
ENTER
4
RETURN
Return to the previous menu.
MENU
Return to TV viewing.
Intelligent Sensor
Off
Minimum
Medium
Maximum
Enter
Move
PICTURE
E
Aspect Ratio : 16:9
Picture Wizard
Energy Saving
: Off
Picture Mode : Standard
• Backlight 70
• Contrast 90
• Brightness 50
• Sharpness 70
Auto
Off
Minimum
Medium
Maximum
Screen off
FF High GG
Enter
Move
PICTURE
E
Aspect Ratio : 16:9
Picture Wizard
Energy Saving
: Off
Picture Mode : Standard
• Backlight 70
• Contrast 90
• Brightness 50
• Sharpness 70
LCD TV Plasma TV
■When selecting SSccrreeeenn ooffff, TV turned
off after 3 seconds.
■If you adjust “EEnneerrggyy SSaavviinngg--AAuuttoo
(For LCD TV), MMiinniimmuumm, MMeeddiiuumm,
MMaaxxiimmuumm”, BBaacckklliigghhttfeature will not
work.
■When selecting AAuuttoo, BBaacckklliigghhttis
automatically adjusted through
IInntteelllliiggeenntt sseennssoorraccording to the
surrounding conditions (For LCD TV).
■Press the EENNEERRGGYY SSAAVVIINNGGbutton
repeatedly to select the appropriate
Energy Saving setup.
PPllaassmmaa TTVV: Select IInntteelllliiggeenntt
SSeennssoorr, OOffff, MMiinniimmuumm, MMeeddiiuumm, or
MMaaxxiimmuumm.
*When selecting
IInntteelllliiggeenntt SSeennssoorr
LLCCDD TTVV: Select AAuuttoo, OOffff,
MMiinniimmuumm, MMeeddiiuumm, MMaaxxiimmuumm, or
SSccrreeeenn OOffff.
Select LLooww, MMiiddddllee, or HHiigghh.
PICTURE CONTROL
101
PICTURE RESET
Settings of the selected picture modes return to the default factory settings.
Select PPIICCTTUURREE.
Select PPiiccttuurree RReesseett.
Initialize the adjusted value.
1
MENU
4
2
ENTER
Select YYeess.
3
ENTER
ENTER
5
MENU
Return to TV viewing.
Enter
Move
PICTURE
E
RG
• Contrast 50
• Brightness 50
• Sharpness 50
• Color 50
• Tint 0
• Advanced Control
• Picture Reset
Screen (RGB-PC)
Resetting video configuration...
ii
Enter
Move
PICTURE
E
RG
• Contrast 50
• Brightness 50
• Sharpness 50
• Color 50
• Tint 0
• Advanced Control
• Picture Reset
Screen (RGB-PC)
No
Yes
All picture settings will be resetted.
Continue?
?
PICTURE CONTROL
102
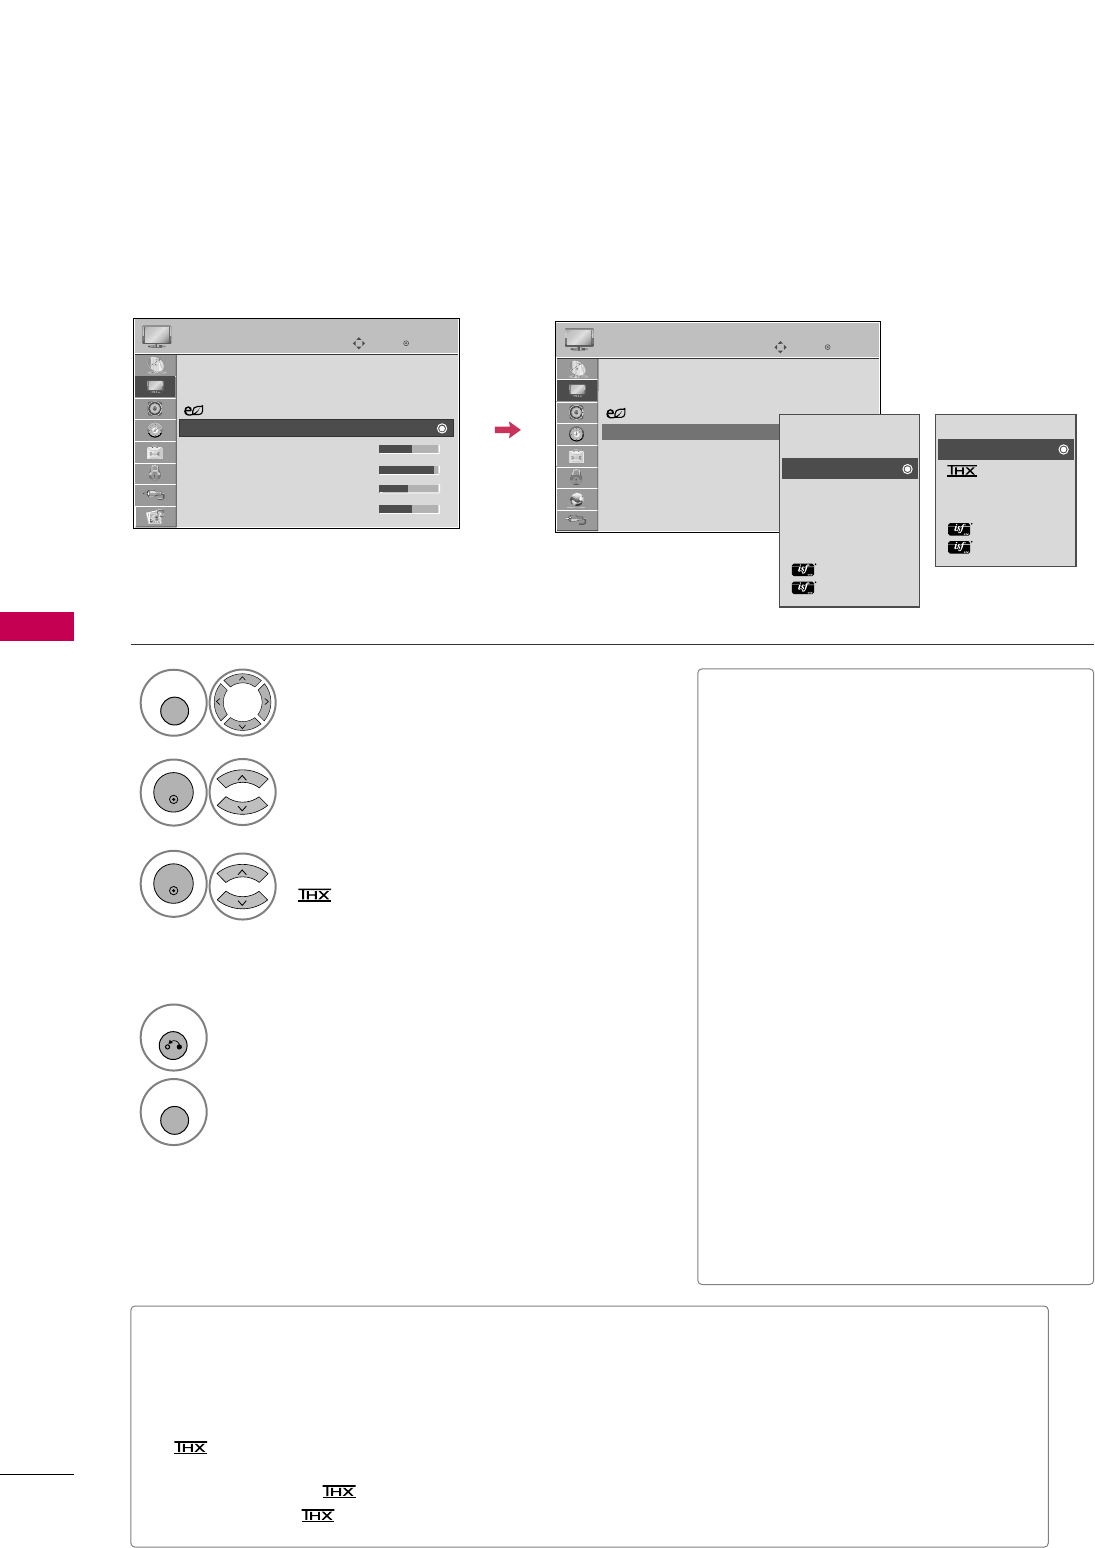
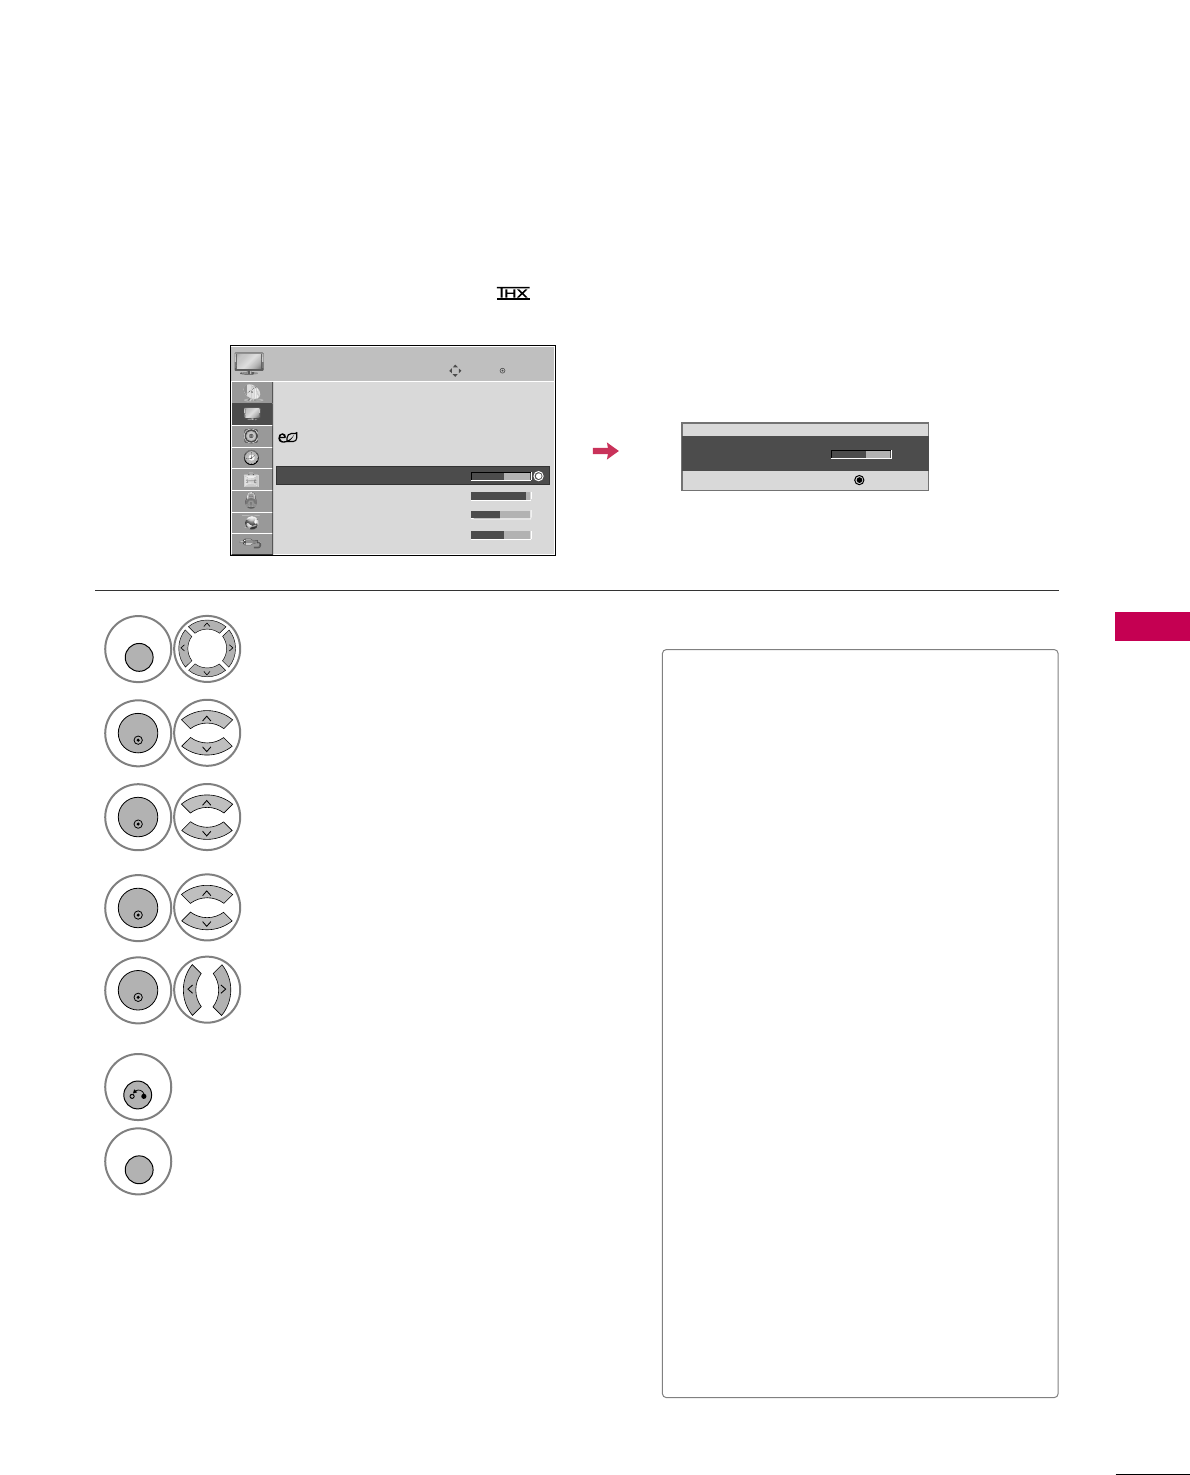
THX MEDIA DIRECTOR -
For Plasma TV
PICTURE CONTROL
Enter
Move
OPTION
Enter
Move
OPTION
Menu Language : English
Audio Language : English
Input Label
THX Media Director : Off
SIMPLINK : On
Key Lock : Off
Simple Manual
Caption : Off
Menu Language : English
Audio Language : English
Input Label
THX Media Director : Off
SIMPLINK : On
Key Lock : Off
Simple Manual
Caption : Off
EE
EE
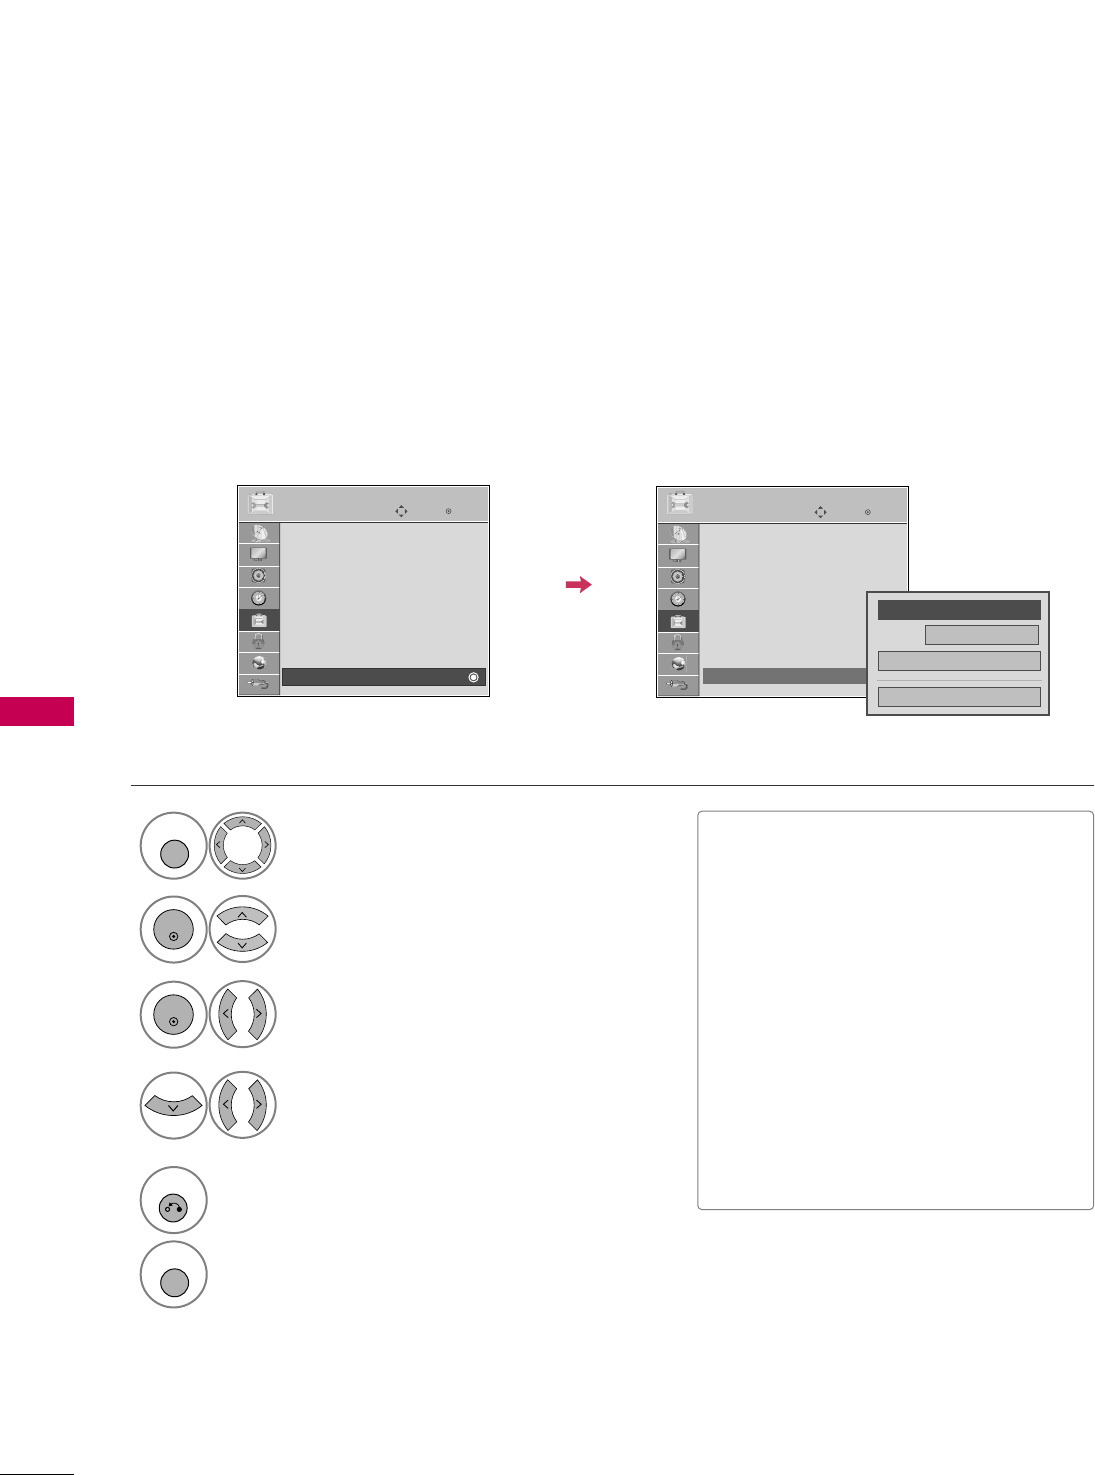
Select OOPPTTIIOONN.
Select TTHHXX MMeeddiiaa DDiirreeccttoorr.
1
MENU
2
ENTER
Select OOnnor OOffff.
3
ENTER
4
RETURN
Return to the previous menu.
MENU
Return to TV viewing.
?
Off
On
PICTURE CONTROL
103
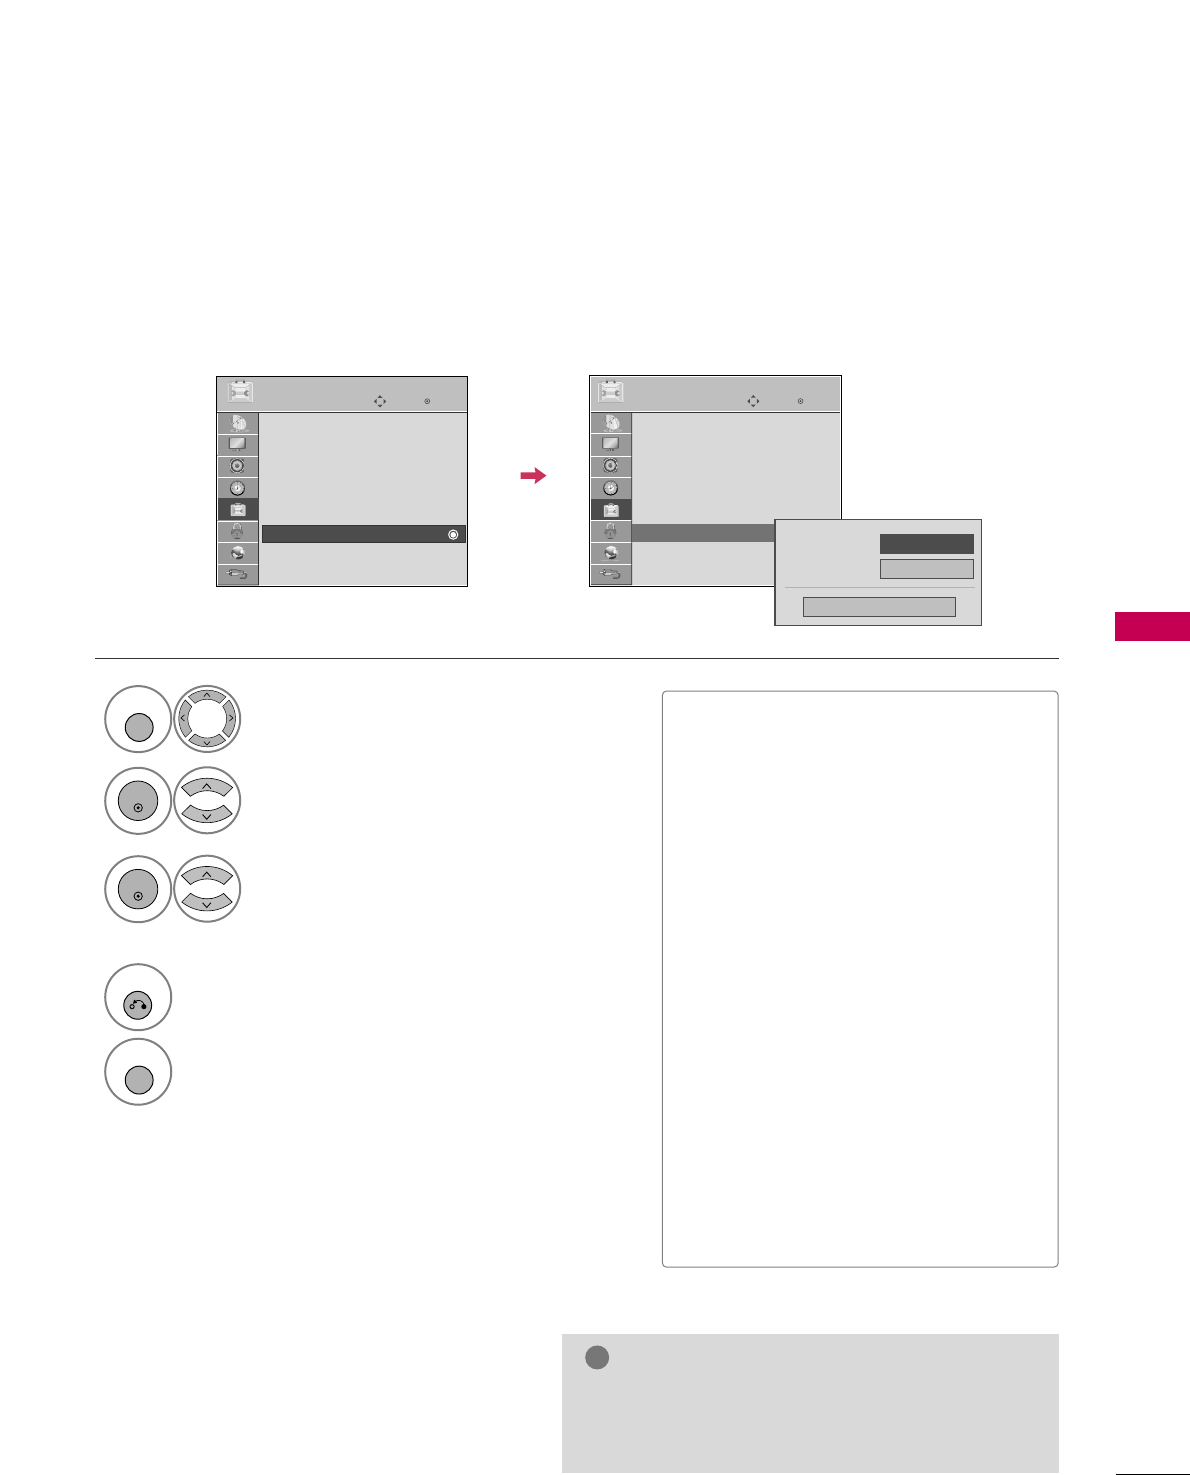
IMAGE STICKING MINIMIZATION (ISM) METHOD -
For Plasma TV
A frozen still picture displayed on the screen for prolonged periods can result in a ghost image. You can use
Orbiter to help prevent image sticking. The other two functions are for removing a ghost image.
Select OOPPTTIIOONN.
Select IISSMM MMeetthhoodd.
1
MENU
2
ENTER
Select NNoorrmmaall, OOrrbbiitteerr, CCoolloorr WWaasshh,
or WWhhiittee WWaasshh.
3
ENTER
4
RETURN
Return to the previous menu.
MENU
Return to TV viewing.
Enter
Move
OPTION
SIMPLINK : On
Key Lock : Off
Simple Manual
Caption : Off
Set ID : 1
ISM Method
Demo Mode : Off
Initial Setting : Home Use
Enter
Move
OPTION
SIMPLINK : On
Key Lock : Off
Simple Manual
Caption : Off
Set ID : 1
ISM Method
Demo Mode : Off
Initial Setting : Home Use
Power Light
Standby Light
On
Close
FF On GG
EE
GGAn excessive ghosted image may be impossible to
clear entirely with White Wash. To return to nor-
mal viewing, press the any button.
NOTE
!
■NNoorrmmaall: If image sticking is never a
problem, ISM is not necessary - set to
Normal.
■OOrrbbiitteerr: Orbiter may help prevent
ghost images. However, it is best not to
allow any fixed image to remain on the
screen. To avoid a ghost image on the
screen, the image will move every 2 min-
utes.
■CCoolloorr WWaasshh: The color block with the
screen moved a little and the white pat-
tern are alternately displayed. It is diffi-
cult to see the after image on all colors.
Once it has been corrected it will not be
visible in any color.
■WWhhiittee WWaasshh: White Wash removes
ghost images from the screen. Use spar-
ingly. Watch the TV normally for a while
before using this feature to see if the
ghost image disappears on its own.
PICTURE CONTROL
104
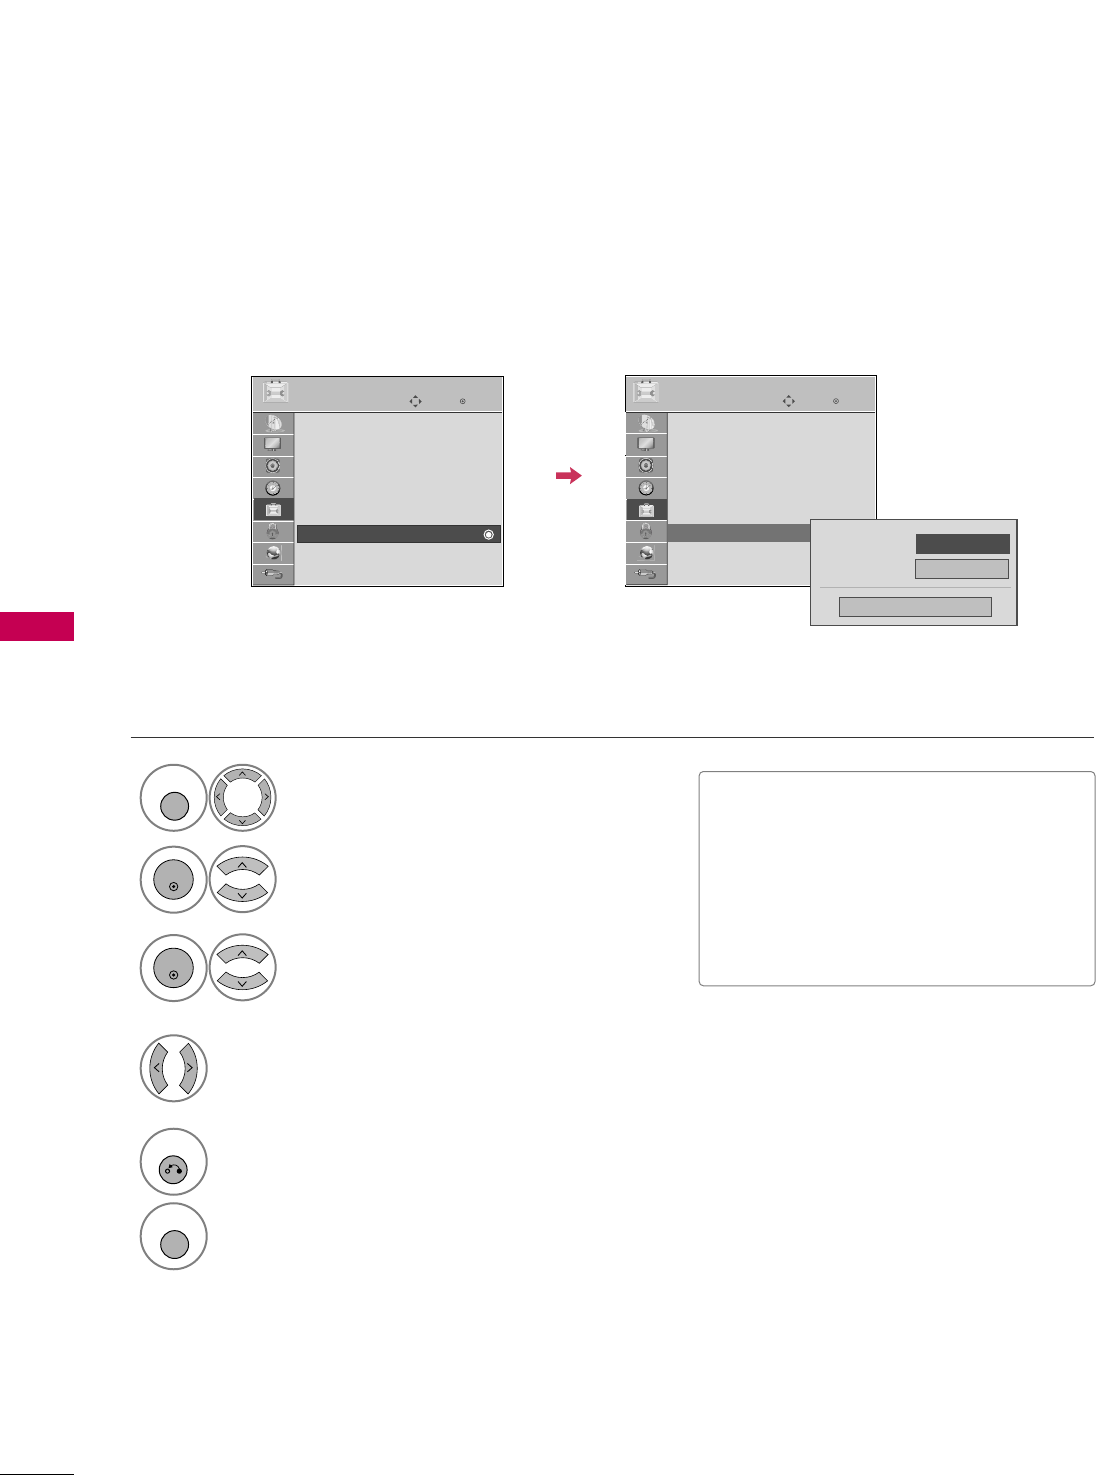
POWER INDICATOR -
For LCD TV
PICTURE CONTROL
Select OOPPTTIIOONN.
Select PPoowweerr IInnddiiccaattoorr.
1
MENU
2
ENTER
Select SSttaannddbbyy LLiigghhttor PPoowweerr LLiigghhtt.
3
ENTER
Select your desired options.
4
5
RETURN
Return to the previous menu.
MENU
Return to TV viewing.
■SSttaannddbbyy LLiigghhtt: Determines whether to
set the indicator light on the front of the
TV to OOnnor OOffffin standby mode.
■PPoowweerr LLiigghhtt: Determines whether to set
the indicator light on the front of the TV
to OOnnor OOffff when the power turns on.
Enter
Move
OPTION
SIMPLINK : On
Key Lock : Off
Simple Manual
Caption : Off
Set ID : 1
Power Indicator
Demo Mode : Off
Initial Setting : Home Use
Enter
Move
OPTION
SIMPLINK : On
Key Lock : Off
Simple Manual
Caption : Off
Set ID : 1
Power Indicator
Demo Mode : Off
Initial Setting : Home Use
Power Light
Standby Light
On
Close
FF On GG
EE
Adjust the power/standby indicator light of TV front.
PICTURE CONTROL
105
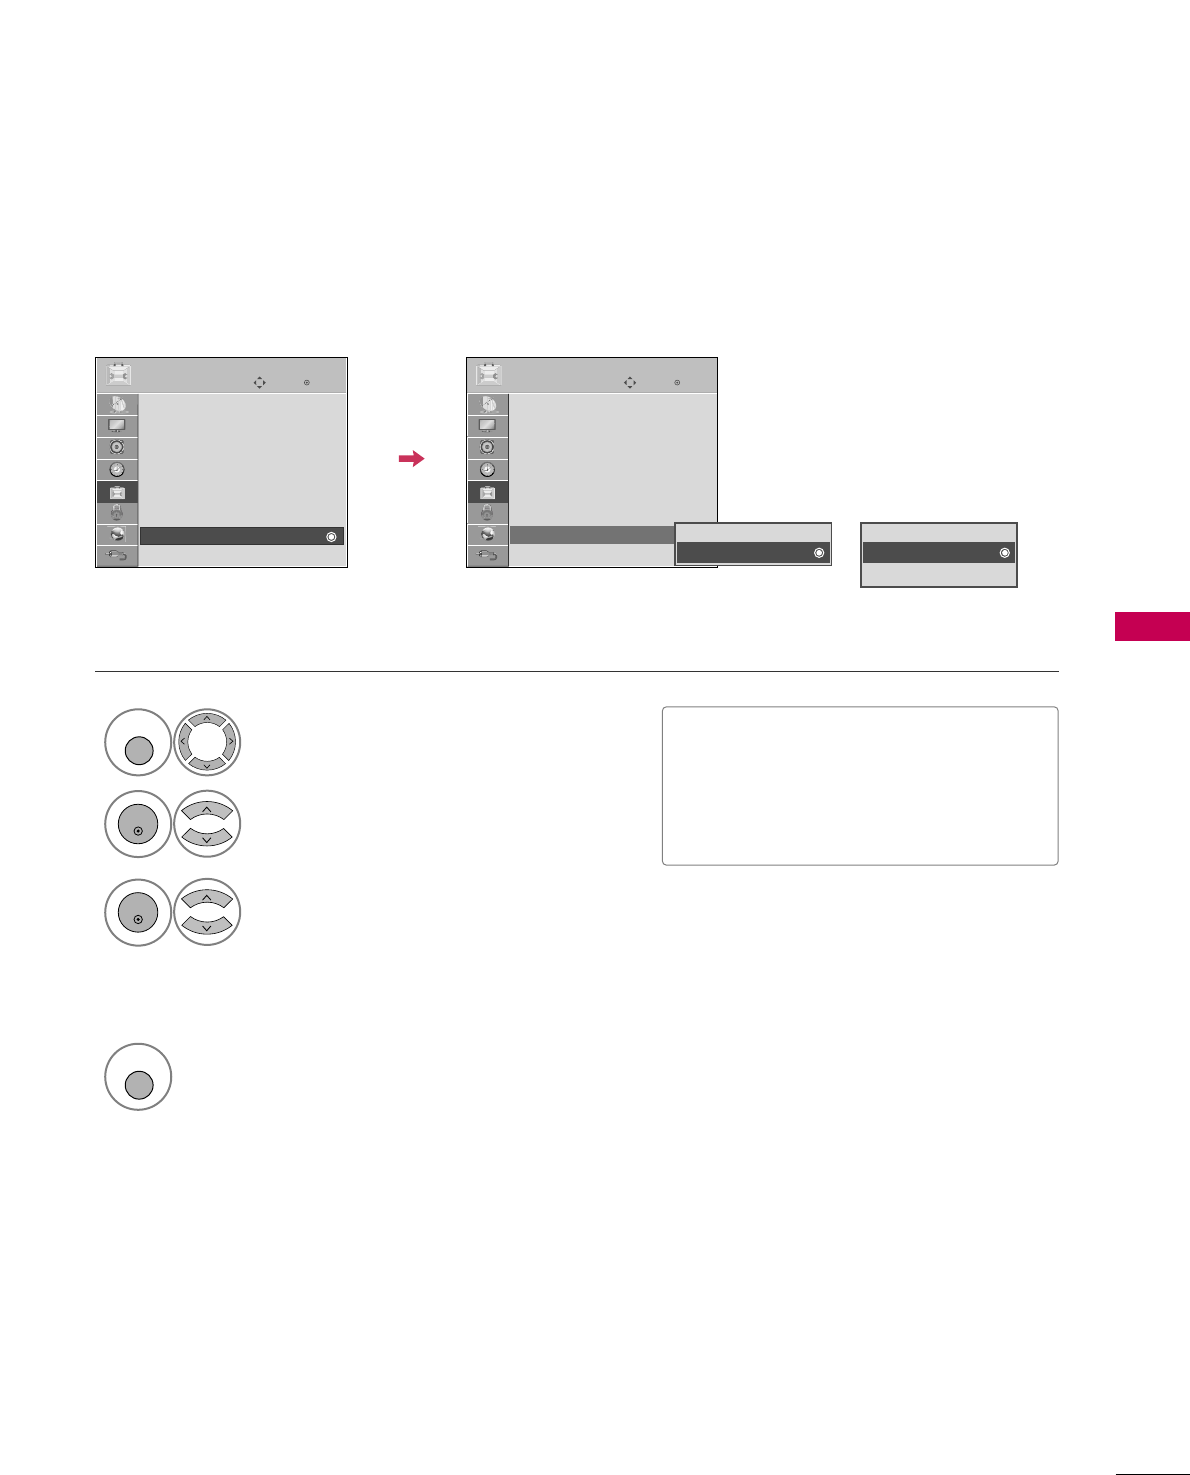
DEMO MODE
Select OOPPTTIIOONN.
Select DDeemmoo MMooddee.
1
MENU
2
ENTER
PPllaassmmaa TTVV: Select LLEEDD OOnnor LLEEDD
OOffffto show the various feature of
the TV.
LLCCDD TTVV: Select OOnnto show the vari-
ous feature of the TV.
3
ENTER
4
MENU
Return to TV viewing.
After a while, DDeemmoo MMooddeestarts.
If you want to stop the demo, press any button
(Except VOL +, - and MUTE button).
Enter
Move
OPTION
SIMPLINK : On
Key Lock : Off
Simple Manual
Caption : Off
Set ID : 1
Power Indicator
Demo Mode : Off
Initial Setting : Store Demo
Enter
Move
OPTION
SIMPLINK : On
Key Lock : Off
Simple Manual
Caption : Off
Set ID : 1
Power Indicator
Demo Mode : On
Initial Setting : Store Demo
EE
Off
On
Off
On (LED On)
On (LED Off)
Displays a slide show to explain the various feature of this TV.
■This feature is disabled in “IInniittiiaall
SSeettttiinngg--HHoommee UUssee”.
■LLEEDD OOnn: ?
■LLEEDD OOffff: ?
LCD TV
Plasma TV
SOUND & LANGUAGE CONTROL
106
AUTO VOLUME LEVELER (AUTO VOLUME)
SOUND & LANGUAGE CONTROL
Auto Volume makes sure that the volume level remains consistent whether you are watching a commercial or a
regular TV program.
Because each broadcasting station has its own signal conditions, volume adjustment may be needed every
time the channel is changed. This feature allows users to enjoy stable volume levels by making automatic
adjustments for each program.
Select AAUUDDIIOO.
Select AAuuttoo VVoolluummee.
Select OOnnor OOffff.
Enter
Move
AUDIO
E
LR
Enter
Move
AUDIO
E
LR
1
MENU
3
2
ENTER
ENTER
Auto Volume : Off
Clear Voice II : Off
• Level 3
Balance 0
Sound Mode : Standard
•
SRS TruSurround XT:
Off
• Treble 50
• Bass 50
Auto Volume : On
Clear Voice II : Off
• Level 3
Balance 0
Sound Mode : Standard
•
SRS TruSurround XT:
Off
• Treble 50
• Bass 50
Off
On
4
RETURN
Return to the previous menu.
MENU
Return to TV viewing.
-+ -+
SOUND & LANGUAGE CONTROL
107
CLEAR VOICE II
By differentiating the human sound range from others, it improves the sound quality of voices.
Enter
Move
AUDIO
E
LR
Enter
Move
AUDIO
E
LR
Auto Volume : Off
Clear Voice II : Off
• Level 3
Balance 0
Sound Mode : Standard
•
SRS TruSurround XT:
Off
• Treble 50
• Bass 50
Auto Volume : Off
Clear Voice II : On
• Level 3
Balance 0
Sound Mode : Standard
•
SRS TruSurround XT:
Off
• Treble 50
• Bass 50
Select AAUUDDIIOO.
Select CClleeaarr VVooiiccee IIII.
Select OOnnor OOffff.
1
MENU
3
2
ENTER
ENTER
6
RETURN
Return to the previous menu.
MENU
Return to TV viewing.
Select LLeevveell.
4
ENTER
Make appropriate adjustments.
5
ENTER
Adjustment for Clear Voice Level
With selecting OOnn
-+ -+
Off
On
SOUND & LANGUAGE CONTROL
108
PRESET SOUND SETTINGS (SOUND MODE)
SOUND & LANGUAGE CONTROL
Sound Mode lets you enjoy the best sound without any special adjustment as the TV sets the appropriate
sound options based on the program content.
Select AAUUDDIIOO.
Select SSoouunndd MMooddee.
Select SSttaannddaarrdd, MMuussiicc,
CCiinneemmaa, SSppoorrtt, or GGaammee.
1
MENU
3
2
ENTER
ENTER
Enter
Move
AUDIO
E
LR
Enter
Move
AUDIO
E
LR
Auto Volume : Off
Clear Voice II : Off
• Level 3
Balance 0
Sound Mode : Standard
•
SRS TruSurround XT:
Off
• Treble 50
• Bass 50
Auto Volume : Off
Clear Voice II : Off
• Level 3
Balance 0
Sound Mode : Standard
•
SRS TruSurround XT:
Off
• Treble 50
• Bass 50
Standard
Music
Cinema
Sport
Game
■SSttaannddaarrdd, MMuussiicc, CCiinneemmaa, SSppoorrtt,
and GGaammeeare preset for optimum
sound quality at the factory.
■You can also adjust SSoouunndd MMooddeein
the QQ..MMEENNUU.
■SSttaannddaarrdd: Offers standard-quality
sound.
■MMuussiicc: Optimizes sound for listening to
music.
■CCiinneemmaa: Optimizes sound for watching
movies.
■SSppoorrtt: Optimizes sound for watching
sports events.
■GGaammee: Optimizes sound for playing
games.
4
RETURN
Return to the previous menu.
MENU
Return to TV viewing.
-+ -+
SOUND & LANGUAGE CONTROL
109
SOUND SETTING ADJUSTMENT - USER MODE
SRS TRUSURROUND XT
Adjust the sound to suit your taste and room situations.
Select this option to sound realistic.
Select AAUUDDIIOO.
Select SSoouunndd MMooddee.
Select TTrreebblleeor BBaassss.
1
MENU
4
2
ENTER
Select SSttaannddaarrdd, MMuussiicc,
CCiinneemmaa, SSppoorrtt, or GGaammee.
3
ENTER
ENTER
Enter
Move
AUDIO
LR
E
Auto Volume : Off
Clear Voice II : Off
• Level 3
Balance 0
Sound Mode : Standard
•
SRS TruSurround XT:
Off
• Treble 50
• Bass 50
Enter
Move
AUDIO
LR
E
Auto Volume : Off
Clear Voice II : Off
• Level 3
Balance 0
Sound Mode : Standard
•
SRS TruSurround XT:
Off
• Treble 50
• Bass 50
Select AAUUDDIIOO.
Select SSRRSS TTrruuSSuurrrroouunndd XXTT.
Select OOnnor OOffff.
1
MENU
3
2
ENTER
ENTER
■If sound quality or volume is not at the level
you want, it is recommended to use a separate
home theater system or amp to cope with dif-
ferent user environments.
■If you select “CClleeaarr VVooiiccee IIII--OOnn”, SSRRSS
TTrruuSSuurrrroouunndd XXTTfeature will not work.
■SSRRSS TTrruuSSuurrrroouunndd XXTT: TruSurround XT is a
patented SRS technology that solves the prob-
lem of playing 5.1 multichannel content over
two speakers.
6
RETURN
Return to the previous menu.
MENU
Return to TV viewing.
4
RETURN
Return to the previous menu.
MENU
Return to TV viewing.
Make appropriate adjustments.
5
ENTER
Close
EE
EE
• Treble 50
• Bass 50
•
SRS TruSurround XT
Off
-+ -+

SOUND & LANGUAGE CONTROL
110
BALANCE
SOUND & LANGUAGE CONTROL
Select AAUUDDIIOO.
Select BBaallaannccee.
Make appropriate adjustments.
1
MENU
3
2
ENTER
ENTER
Adjust the left/right sound of speaker to suit your taste and room situations.
Enter
Move
AUDIO
Enter
Move
AUDIO
LR
E
Auto Volume : Off
Clear Voice II : Off
• Level 3
Balance 0
Sound Mode : Standard
•
SRS TruSurround XT:
Off
• Treble 50
• Bass 50
LR
E
Auto Volume : Off
Clear Voice II : Off
• Level 3
Balance 0
Sound Mode : Standard
•
SRS TruSurround XT:
Off
• Treble 50
• Bass 50
Close
EE
EE
Balance 0 LR
4
RETURN
Return to the previous menu.
MENU
Return to TV viewing.
-+ -+
SOUND & LANGUAGE CONTROL
111
TV SPEAKERS ON/OFF SETUP
Turn the TV speakers off if using external audio equipment.
In AAVV, CCoommppoonneenntt, RRGGBBand HHDDMMII with HDMI to DVI cable, the TV speaker can be operational even when
there is no video signal.
If you wish to use an external Hi-Fi system or a SRS System, turn off the TV’s internal speakers.
Enter
Move
AUDIO
E
• Level 3
Balance 0
Sound Mode : Standard
•
SRS TruSurround XT:
Off
• Treble 50
• Bass 50
• Reset
TV Speaker : On
Select AAUUDDIIOO.
Select TTVV SSppeeaakkeerr.
Select OOnnor OOffff.
1
MENU
3
2
ENTER
ENTER
4
RETURN
Return to the previous menu.
MENU
Return to TV viewing.
LR
Enter
Move
AUDIO
E
• Level 3
Balance 0
Sound Mode : Standard
•
SRS TruSurround XT:
Off
• Treble 50
• Bass 50
• Reset
TV Speaker : On
LR
Off
On
-+ -+
SOUND & LANGUAGE CONTROL
112
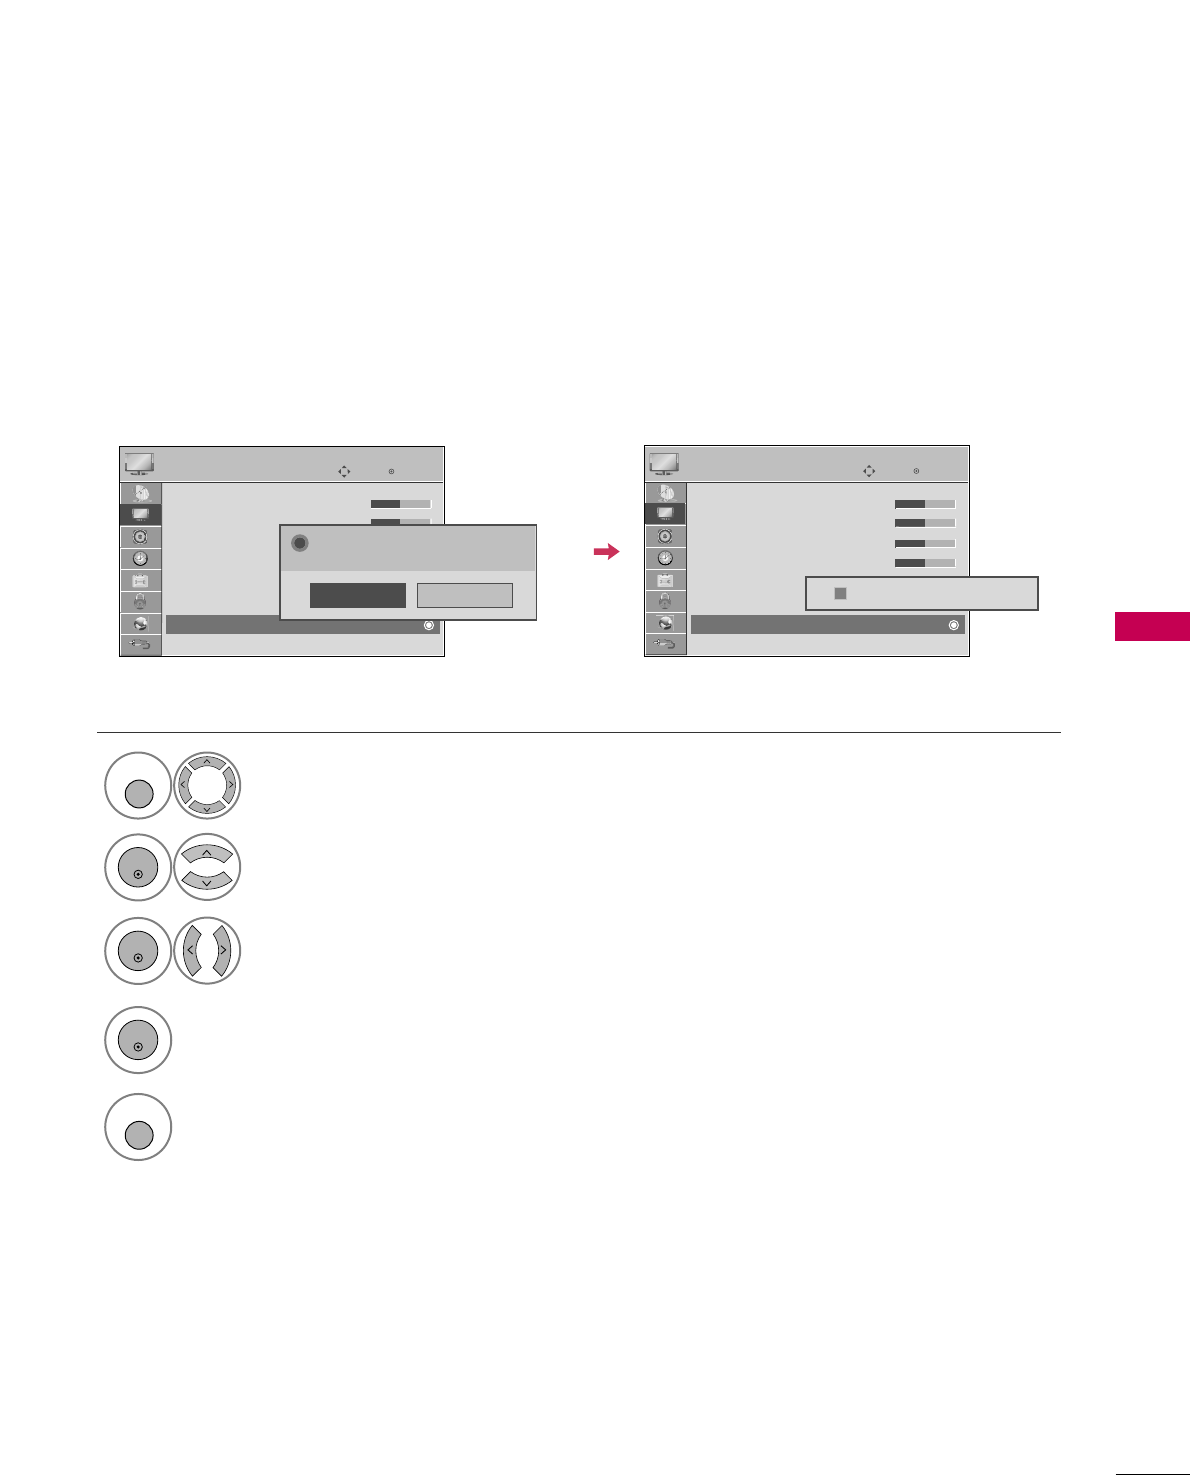
AUDIO RESET
SOUND & LANGUAGE CONTROL
Settings of the selected Sound Mode return to the default factory settings.
Select AAUUDDIIOO.
Select RReesseett.
1
MENU
2
ENTER
Initialize the adjusted value.
3
ENTER
4
MENU
Return to TV viewing.
Enter
Move
AUDIO
E
• Level 3
Balance 0
Sound Mode : Standard
•
SRS TruSurround XT:
Off
• Treble 50
• Bass 50
• Reset
TV Speaker : On
LR
Enter
Move
AUDIO
E
• Level 3
Balance 0
Sound Mode : Standard
•
SRS TruSurround XT:
Off
• Treble 50
• Bass 50
• Reset
TV Speaker : On
LR
Resetting audio configuration...
ii
-+ -+
SOUND & LANGUAGE CONTROL
113
STEREO/SAP BROADCAST SETUP
For Analog only: This TV can receive MTS stereo programs and any SAP (Secondary Audio Program) that accom-
panies the stereo program if the station transmits an additional sound signal. Mono sound is automatically used
if the broadcast is only in Mono.
Select SSAAPP.
Select MMoonnoo, SStteerreeoo, or SSAAPP.
Return to TV viewing.
1
Q. MENU
3
2
Q. MENU
Select MMuullttii AAuuddiioo.
Select other languages.
Return to TV viewing.
1
Q. MENU
3
2
Q. MENU
Analog TV Digital TV
A
English
FF Multi Audio GG
SOUND & LANGUAGE CONTROL
114
AUDIO LANGUAGE
SOUND & LANGUAGE CONTROL
Other languages may be available if a digital signal is provided by the broadcasting station.
This feature operates only in DTV/CADTV mode.
Select OOPPTTIIOONN.
Select AAuuddiioo LLaanngguuaaggee.
Select your desired language.
1
MENU
3
2
ENTER
ENTER
4
RETURN
Return to the previous menu.
MENU
Return to TV viewing.
Enter
Move
OPTION
Enter
Move
OPTION
Menu Language : English
Audio Language : English
Input Label
THX Media Director : Off
SIMPLINK : On
Key Lock : Off
Simple Manual
Caption : Off
Menu Language : English
Audio Language : English
Input Label
THX Media Director : Off
SIMPLINK : On
Key Lock : Off
Simple Manual
Caption : Off
English
Spanish
French
EE
EE
SOUND & LANGUAGE CONTROL
115
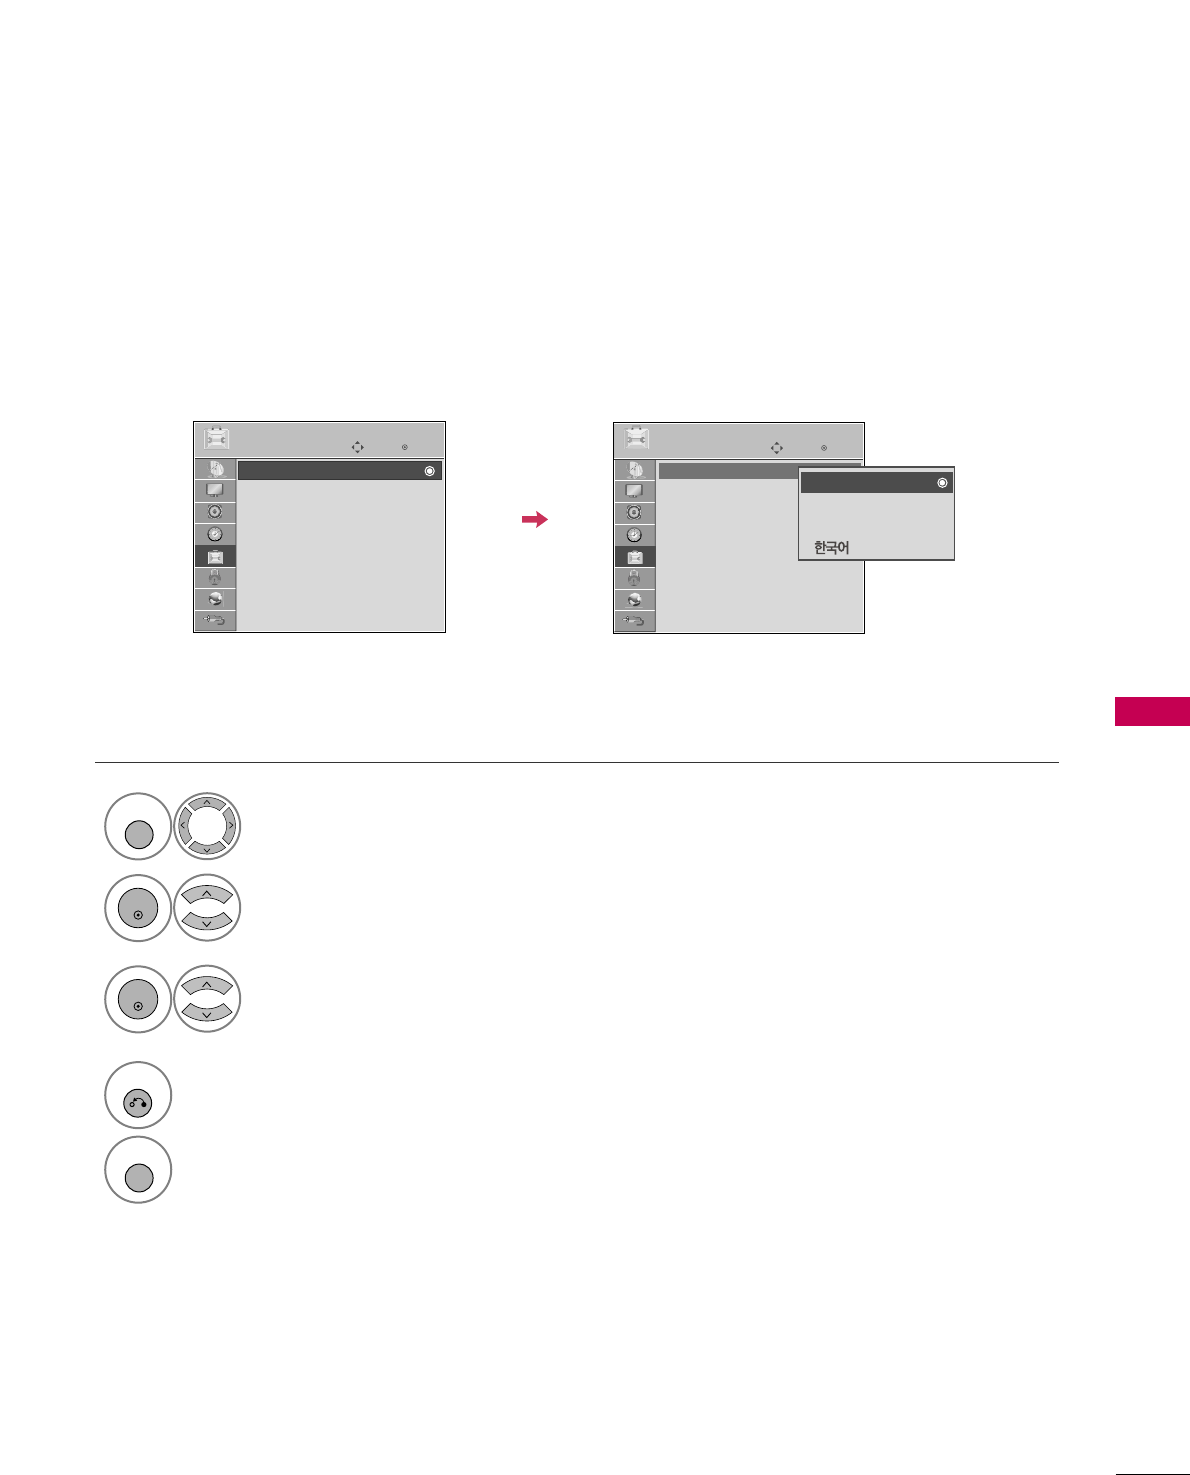
ON-SCREEN MENUS LANGUAGE SELECTION
The menus can be shown on the screen in the selected language.
Select OOPPTTIIOONN.
Select MMeennuu LLaanngguuaaggee.
Select your desired language.
From this point on, the on-screen menus will
be shown in the selected language.
1
MENU
3
2
ENTER
ENTER
4
RETURN
Return to the previous menu.
MENU
Return to TV viewing.
Enter
Move
OPTION
Enter
Move
OPTION
Menu Language : English
Audio Language : English
Input Label
THX Media Director : Off
SIMPLINK : On
Key Lock : Off
Simple Manual
Caption : Off
Menu Language : English
Audio Language : English
Input Label
THX Media Director : Off
SIMPLINK : On
Key Lock : Off
Simple Manual
Caption : Off
EE
EE
English
Español
Français
SOUND & LANGUAGE CONTROL
116
CAPTION MODE
SOUND & LANGUAGE CONTROL
Captions are provided to help people with hearing loss watch TV. Select a caption mode for displaying cap-
tioning information if provided on a program. Analog caption displays information at any position on the screen
and is usually the program's dialog. Caption/Text, if provided by the broadcaster, would be available for both
digital and analog channels on the Antenna/Cable. This TV is programmed to memorize the caption/text mode
which was last set when you turned the power off. This function is only available when CCaappttiioonnMode is set OOnn.
Select OOPPTTIIOONN.
Select CCaappttiioonn.
Select OOnn.
1
MENU
3
2
ENTER
ENTER
Select CCCC11-44or TTeexxtt11-44.
4
Analog Broadcasting System Captions
■When selecting OOffff, Sub-menus for
Analog, DTV, and Digital Option become
disabled.
■CCAAPPTTIIOONN
The term for the words that scroll
across the bottom of the TV screen;
usually the audio portion of the pro-
gram provided for the hearing impaired.
■TTEEXXTT
The term for the words that appear in a
large black frame and almost cover the
entire screen; usually messages provid-
ed by the broadcaster.
5
RETURN
Return to the previous menu.
MENU
Return to TV viewing.
Enter
Move
OPTION
Enter
Move
OPTION
Menu Language : English
Audio Language : English
Input Label
THX Media Director : Off
SIMPLINK : On
Key Lock : Off
Simple Manual
Caption : Off
Menu Language : English
Audio Language : English
Input Label
THX Media Director : Off
SIMPLINK : On
Key Lock : Off
Simple Manual
Caption : CC1
EE
EE
Mode CC1
Close
Digital Option
FF
On
GG
SOUND & LANGUAGE CONTROL
117
Digital Broadcasting System Captions
Choose the language you want the DTV/CADTV Captions to appear in.
Other Languages can be chosen for digital sources only if they are included on the program.
This function in only available when Caption Mode is set On.
Select OOPPTTIIOONN.
Select CCaappttiioonn.
Select OOnn.
1
MENU
3
2
ENTER
ENTER
Select CCCC11-44, TTeexxtt11-44, or
SSeerrvviiccee11- 66.
4
5
RETURN
Return to the previous menu.
MENU
Return to TV viewing.
Enter
Move
OPTION
Enter
Move
OPTION
Menu Language : English
Audio Language : English
Input Label
THX Media Director : Off
SIMPLINK : On
Key Lock : Off
Simple Manual
Caption : Off
Menu Language : English
Audio Language : English
Input Label
THX Media Director : Off
SIMPLINK : On
Key Lock : Off
Simple Manual
Caption : CC1
EE
EE
Mode CC1
Close
Digital Option
FF
On
GG
SOUND & LANGUAGE CONTROL
118
SOUND & LANGUAGE CONTROL
Caption Option
Customize the DTV/CADTV captions that appear on your screen.
This function in only available when Caption Mode is set On.
Select OOPPTTIIOONN.
Select CCaappttiioonn
Select OOnn.
1
MENU
3
2
ENTER
ENTER
Select CCuussttoomm.
5
ENTER
Customize the SSiizzee, FFoonntt, etc., to your
preference. A preview icon is provided at
the bottom of the screen, use it to see the
caption language.
6
Select DDiiggiittaall OOppttiioonn.
4
Size A Standard
Font Font 1
Text Color White
Text Opacity
Solid
Edge Type
None
Edge Color
Black
Bg Color Black
Bg Opacity
Solid
Close
FFCustom GG
■SSiizzee: Set the word size.
■FFoonntt: Select a typeface for the text.
■TTeexxtt CCoolloorr: Choose a color for the
text.
■TTeexxtt OOppaacciittyy: Specify the opacity
for the text color.
■BBgg ((BBaacckkggrroouunndd)) CCoolloorr: Select a
background color.
■BBgg ((BBaacckkggrroouunndd)) OOppaacciittyy: Select
the opacity for the background color.
■EEddggee TTyyppee: Select an edge type.
■EEddggee CCoolloorr: Select a color for the
edges.
7
RETURN
Return to the previous menu.
MENU
Return to TV viewing.
Enter
Move
OPTION
Enter
Move
OPTION
Menu Language : English
Audio Language : English
Input Label
THX Media Director : Off
SIMPLINK : On
Key Lock : Off
Simple Manual
Caption : Off
Menu Language : English
Audio Language : English
Input Label
THX Media Director : Off
SIMPLINK : On
Key Lock : Off
Simple Manual
Caption : CC1
EE
EE
Mode CC1
Close
Digital Option
On
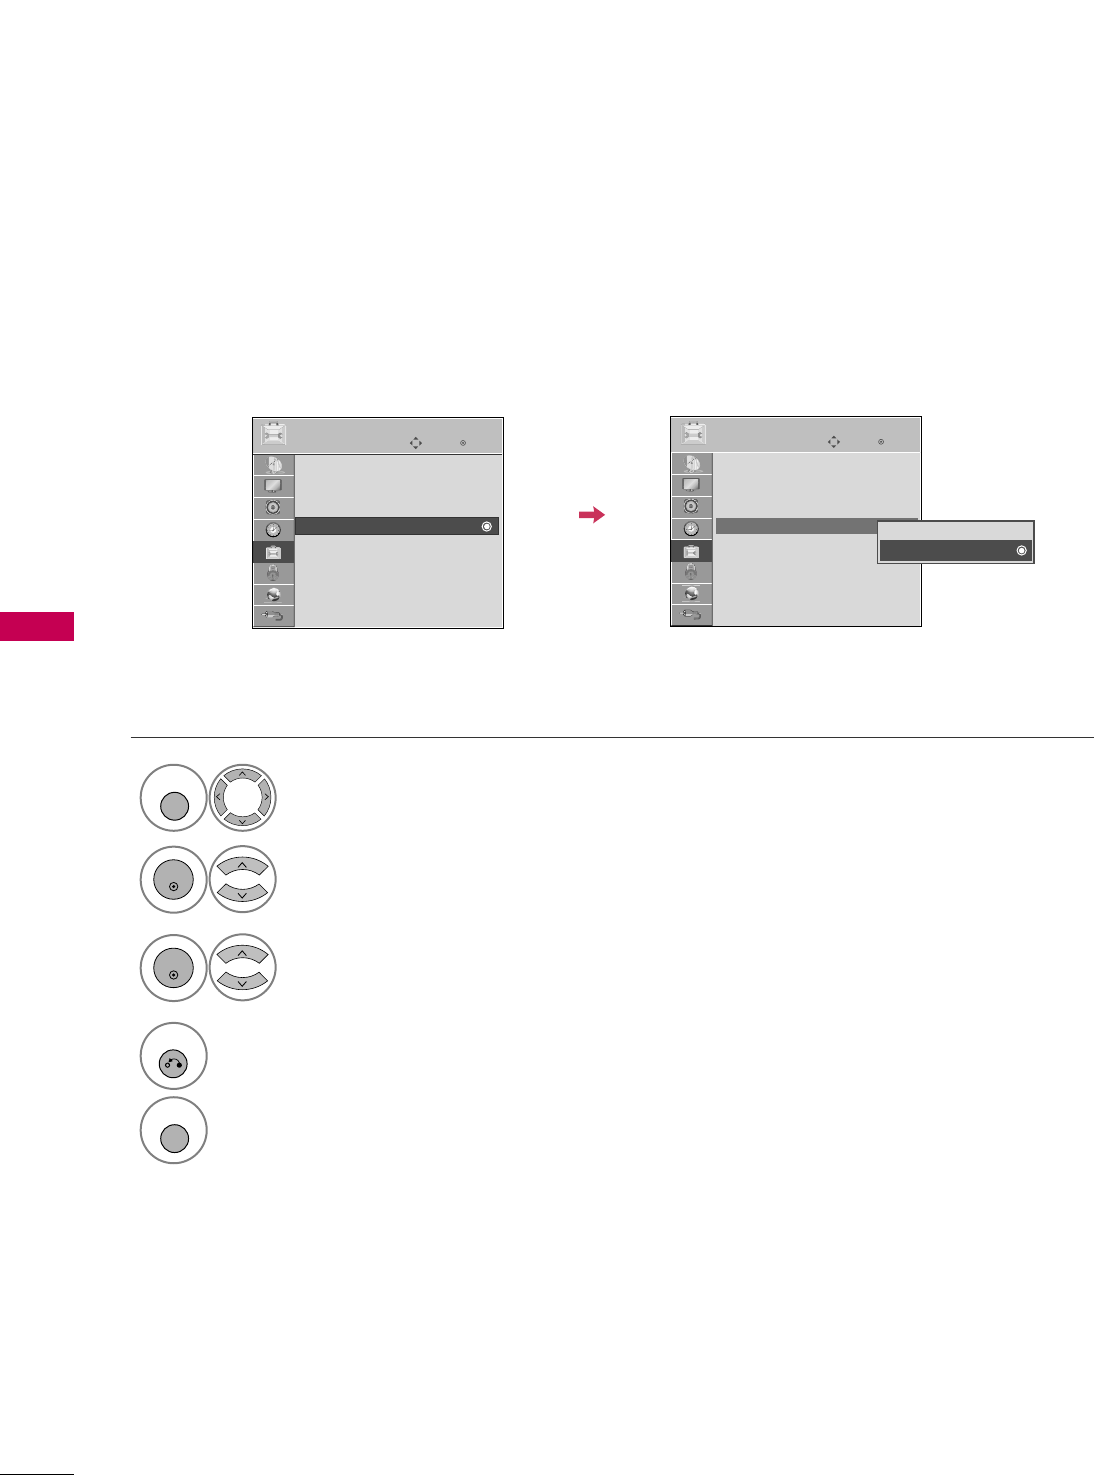
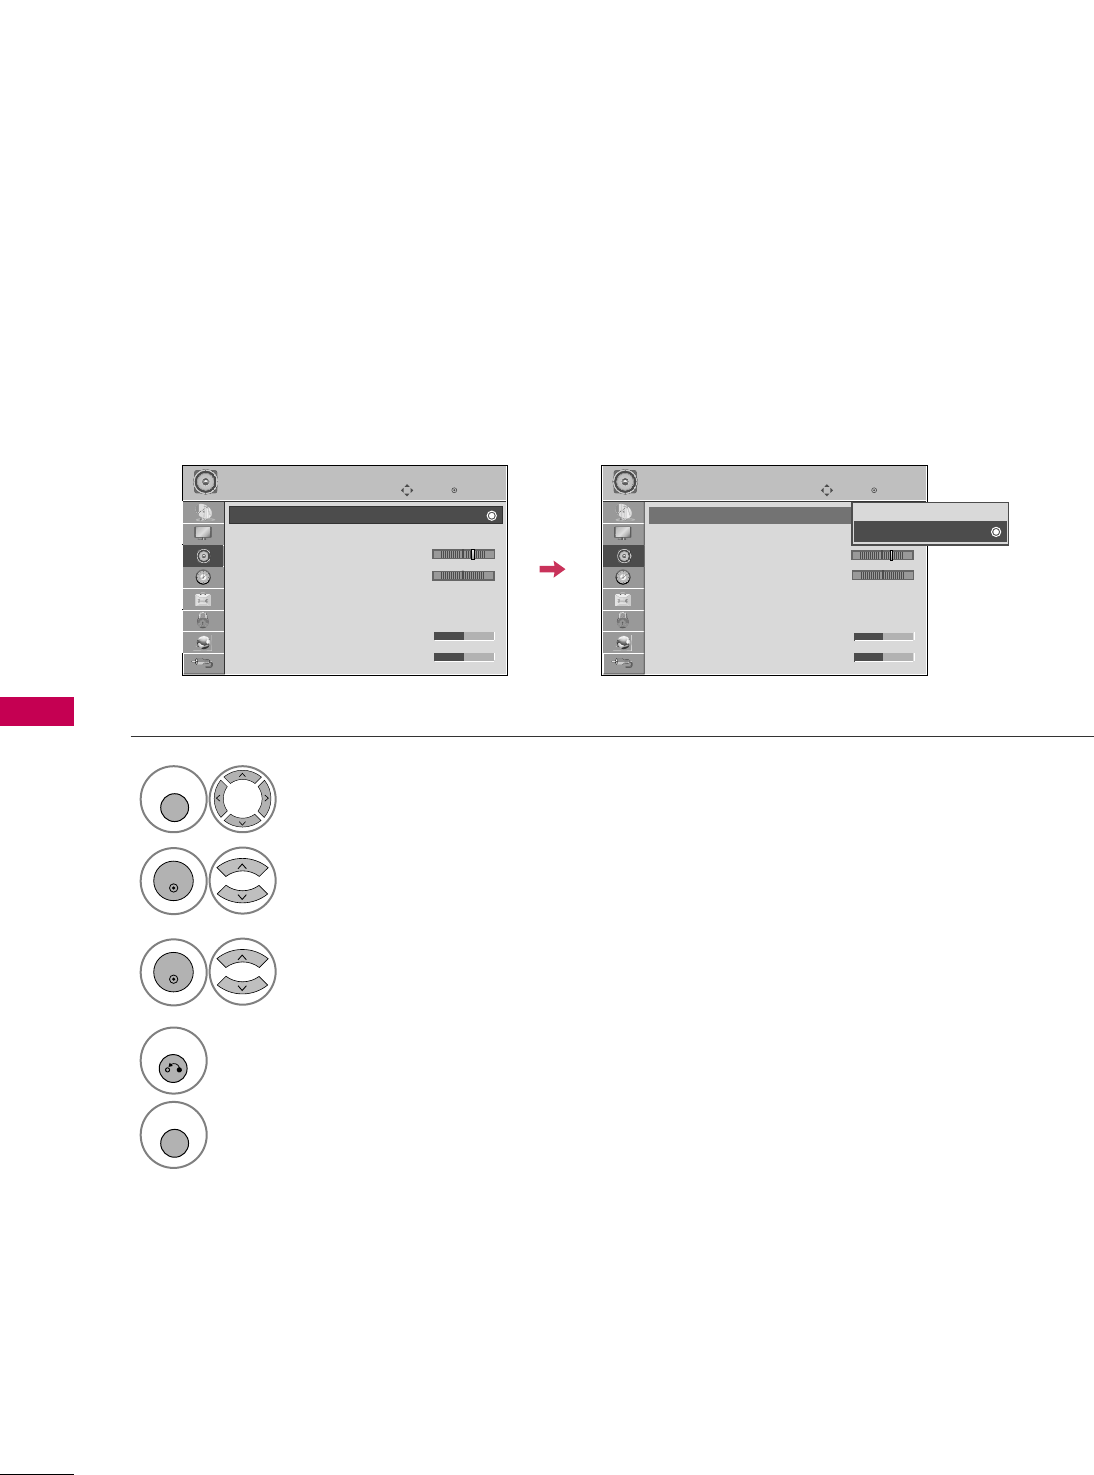
TIME SETTING
119
CLOCK SETTING
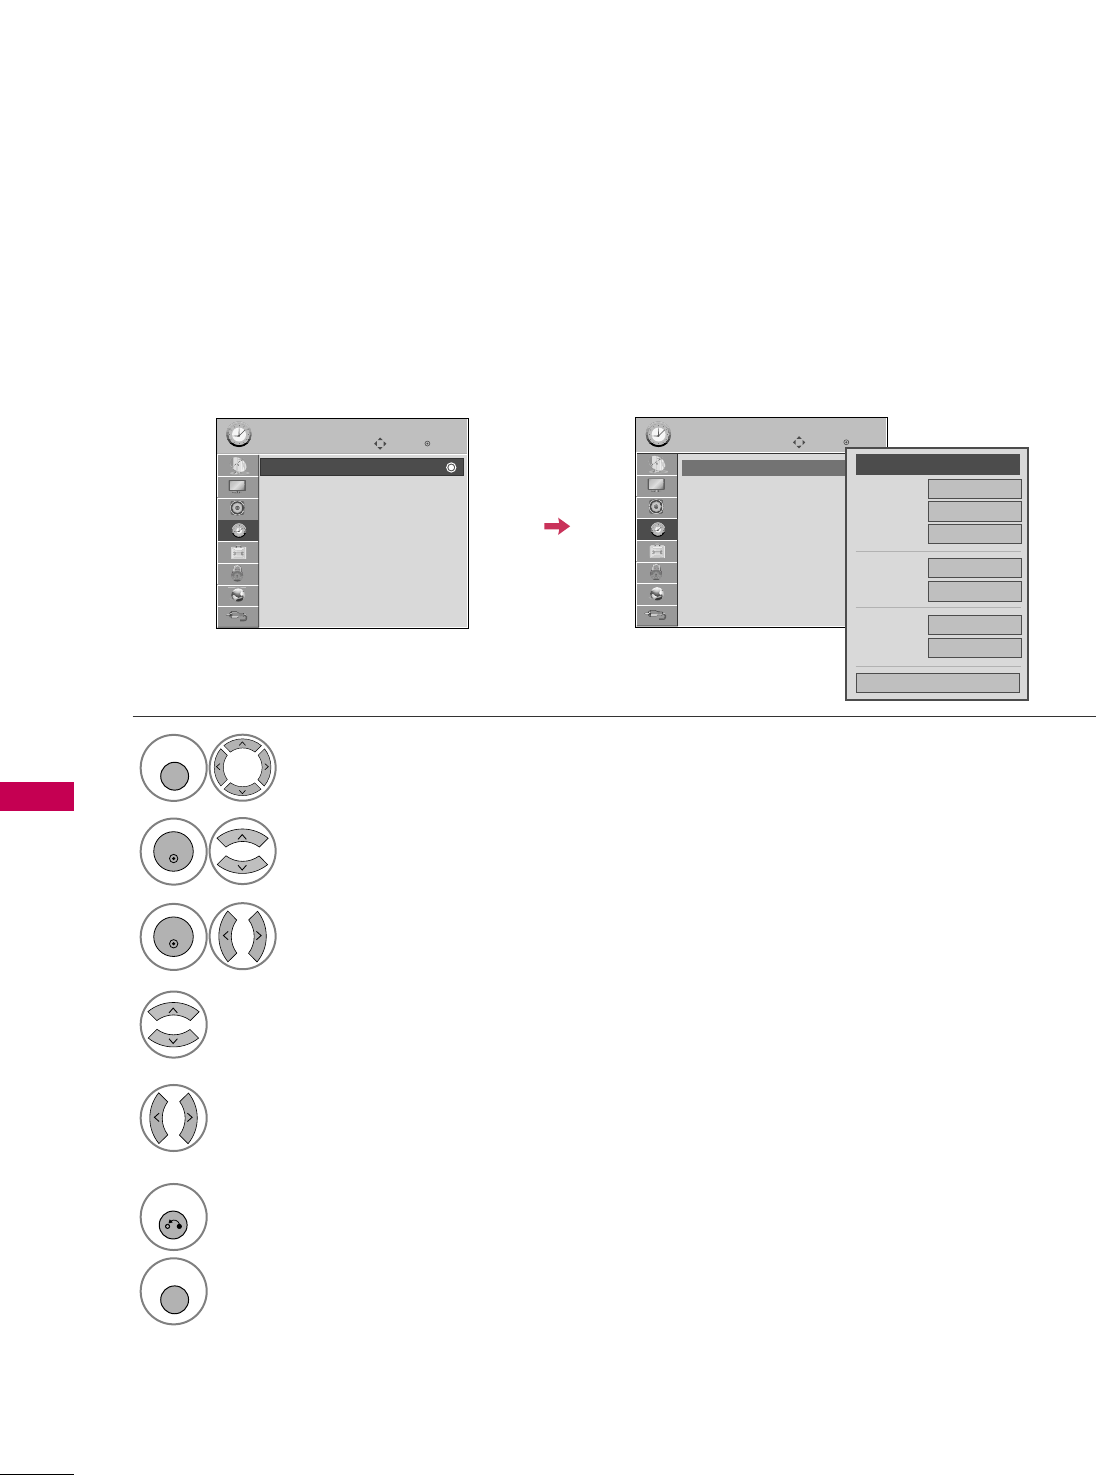
TIME SETTING
Auto Clock Setup
The time is set automatically from a digital channel signal.
The digital channel signal includes information for the current time provided by the broadcasting station.
Set the clock manually if the current time is set incorrectly by the auto clock function.
Enter
Move
TIME
Enter
Move
TIME
Clock
Off Time : Off
On Time : Off
Sleep Timer : Off
Clock
Off Time : Off
On Time : Off
Sleep Timer : Off
Month
Date 21
Year 2009
Hour 10 AM
02
Minute 10
Time Zone Eastern
Daylight
Saving Auto
Close
FF Auto GG
Select TTIIMMEE.
Select CClloocckk.
Select AAuuttoo.
1
MENU
3
2
ENTER
ENTER
Select your viewing area time zone.
• U.S.A: EEaasstteerrnn, CCeennttrraall, MMoouunnttaaiinn,
PPaacciiffiicc, AAllaasskkaa, or HHaawwaaiiii.
• Canada: EEaasstteerrnn, CCeennttrraall, MMoouunnttaaiinn,
PPaacciiffiicc, NNeeww FF..llaanndd, or AAttllaannttiicc.
4
Select AAuuttoo, OOffff, or OOnn(depending on
whether or not your viewing area observes
Daylight Saving time).
5
6
RETURN
Return to the previous menu.
MENU
Return to TV viewing.
TIME SETTING
120
TIME SETTING
Manual Clock Setup
If the current time setting is wrong, reset the clock manually.
If this TV is unplugged once or turn off with the AC power control switch on the TV, reset the CClloocckkfunction.
Enter
Move
TIME
Enter
Move
TIME
Clock
Off Time : Off
On Time : Off
Sleep Timer : Off
Clock
Off Time : Off
On Time : Off
Sleep Timer : Off
Select TTIIMMEE.
Select CClloocckk.
Select MMaannuuaall.
1
MENU
3
2
ENTER
ENTER
Select the Year, Month, Date, Hour, or Minutes
option.
4
Set the Year, Month, Date, Hour, or Minutes
option.
5
6
RETURN
Return to the previous menu.
MENU
Return to TV viewing.
Month
Date 21
Year 2009
Hour 10 AM
02
Minute 10
Time Zone Eastern
Daylight
Saving Auto
Close
FF
Manual
GG